Difficulty, Decision Points and collectibles
Read this once before you start. Four systems run through the whole game: difficulty options, Decision Points, three collectible sets, and warnings that close off earlier locations.
- On the start screen, press PLAY and choose Casual, Advanced, Hardcore or Custom mode. Custom mode lets you set Easy or Hard mini-games, hint and skip charge times and sparkle indicators. Many mini-games also have EASY and HARD buttons on their right edge, and some layouts differ between the two.
- Decision Points: some dialogue choices show a star value. Each of the four story summaries (Chapter 1 London, Chapter 2 Toronto, Chapter 3 Scotland and the Bonus Chapter) has five decisions worth up to 13 points: three worth 1, one worth 0, 2 or 4, and one worth 6 that is tagged DELUXE.
- Outcome cards: each summary lights one of three cards labelled 0, 4 and 10. A score of 7 of 13 lights the 4 card and 13 of 13 lights the 10 card. We could not confirm when the 0 card appears or the exact score at which a card changes, so treat 4 and 10 as likely thresholds rather than fixed rules. Because 7 is the most you can score without the Deluxe choices, the 10 card appears to need them.
- Deluxe content: four dialogue choices carry a DELUXE tag and a +6 star: Laura's museum, Isabella's hidden room, Glenna's house and the ravine. Selecting one opens extra rooms and puzzles. Reviews on the official store page say these scenes require the Deluxe purchase. This guide covers all four in separate sections marked Deluxe. If you do not own them, take the other answer, which gives 0, and skip those sections.
- Collectibles: there are 70 Pocket Watches, 10 Overlooked Trinkets and 10 Lost Heirlooms. A banner names the set and the running count each time you find some. Each watch site gives one to three at once, and each watch banner has a button labelled "Laura Montgomery's Office". We never saw that button opened, so we cannot say what it leads to or whether watches buy anything there. Positions are given where you pass them, and the last part has a checklist. The running watch counts quoted in the walkthrough assume you have taken every earlier site in this guide's order, so yours will differ if you skipped one or went in another order.
- Point-of-no-return warning: before some final tasks the game asks you to confirm because you will not be able to go back to previous locations and find the remaining items. Press NO, collect what you still need, then return and press YES. This guide marks four: the ruby cabinet, Isabella's safe, Bankfort's grave and the bonus altar. Other locations can end without one, such as Greystone Hall when you take the Thief Mask, so sweep each location before its last task.
Gabriel's study: unlock the laptop
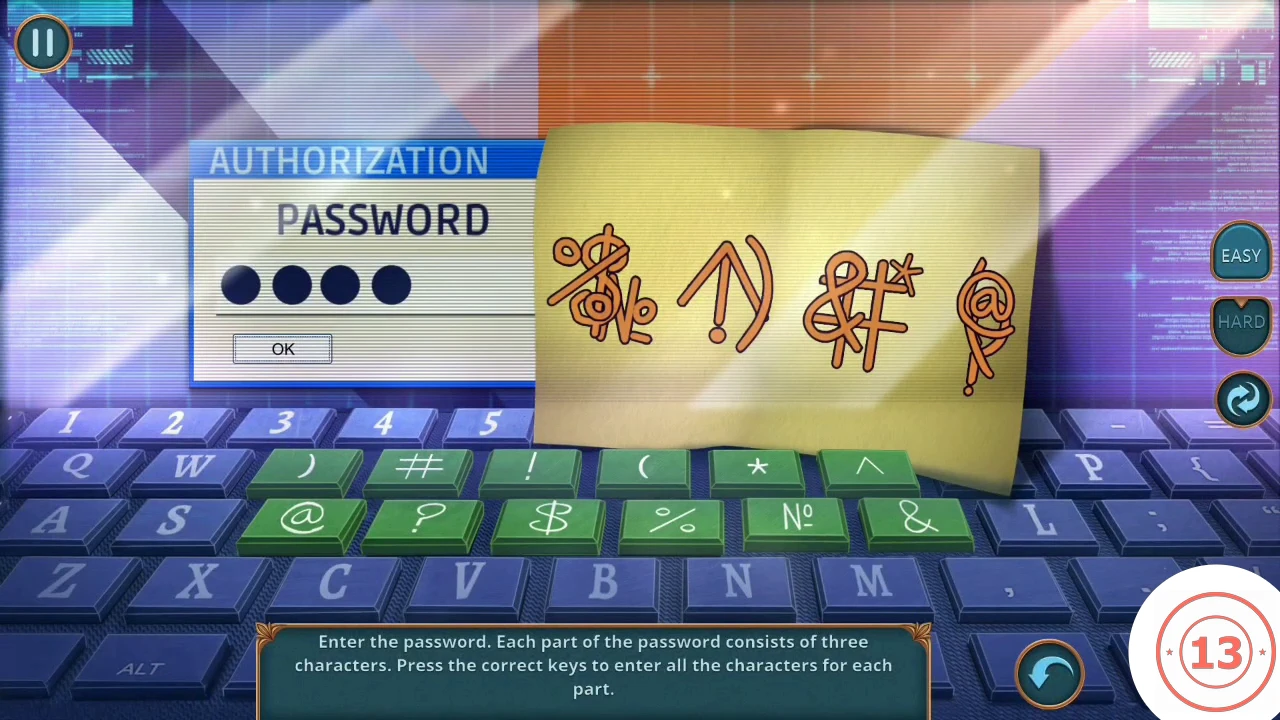
Gabriel Vanyard starts in his study. The laptop needs power and a password, and the password puzzle uses a fixed set of keys.
- Open the laptop on the desk. Gabriel wants to check his mail, but the battery icon shows it has no power. If the tutorial prompt appears, choose whichever help setting you prefer.
- Click the wooden cabinet door to the left of the desk. Gabriel says he locks it with a special key. Take the Suction Cup that sparkles in this close-up.
- Click the stereo beside the parrot and take the Charger.
- Use the Charger on the laptop. The password screen opens.
- Password: the note shows four tangled symbols, each made of three keyboard characters. Press the three characters in each symbol, using every green key once. Symbol 1 is $, % and №. Symbol 2 is ^, ! and ). Symbol 3 is &, # and *. Symbol 4 is @, ? and (. A dot lights after each correct symbol.CODE$ % № / ^ ! ) / & # * / @ ? (
- Read the new email, then take the CD at the laptop.
- Put the CD in the stereo. The music startles the parrot, which flies off and leaves the Figure of Knight.
- Open the desk close-up with the red box and books. Take the Hook Bracelet, read the Award, then take the Lace Handkerchief underneath.
- In the same close-up, stand the Figure of Knight beside its twin. The red box opens and gives the Star Amulet.
- Use the Star Amulet on the cabinet door lock. Read the diary inside, then click the bag to leave for London.
Airport: the luggage pile
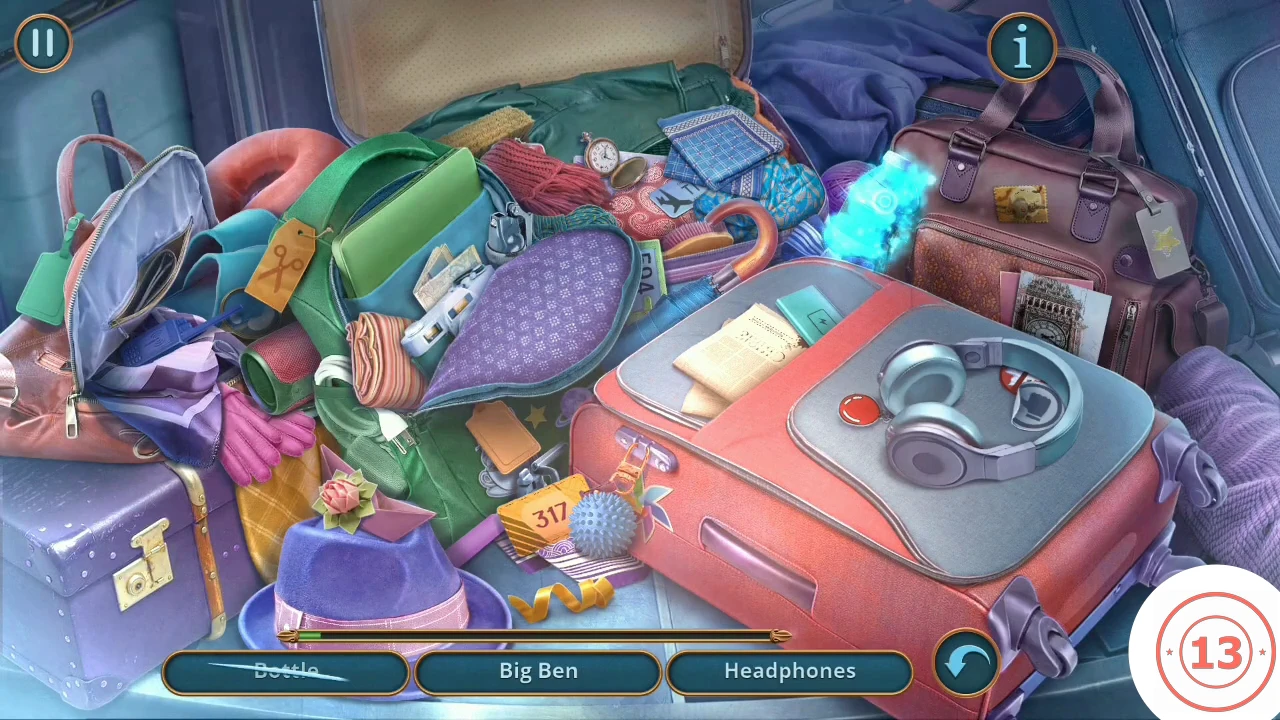
At London Airport a stranger needs first aid. A hidden-object scene inside the luggage pile holds the kit.
- Optional: click the leather bag to read Gabriel's ID card. A new task tells you to help the man who collapsed.
- Take the Luggage Tag from the airport floor, then click the luggage pile. Close any advertisement pop-up.
- Find each item named in the bar at the bottom: Bottle, Big Ben, Headphones, Scarf, Massage Ball, Umbrella, Portable Speaker, Neck Pillow, Slippers, Ticket, Selfie Stick and Power Bank. The bar shows three names at a time and refills as you find them. The red suitcase then opens and you get the First-Aid Kit.
- Use the First-Aid Kit on Oliver. The FIELD MEDIC achievement unlocks.
- Decision (1 point): choose "Are you okay? Maybe we should call for an ambulance?" for +1 star. "(Say nothing)" gives 0.
- Finish talking to Oliver. He hands you the Map of London.
Airport: navigate the taxi
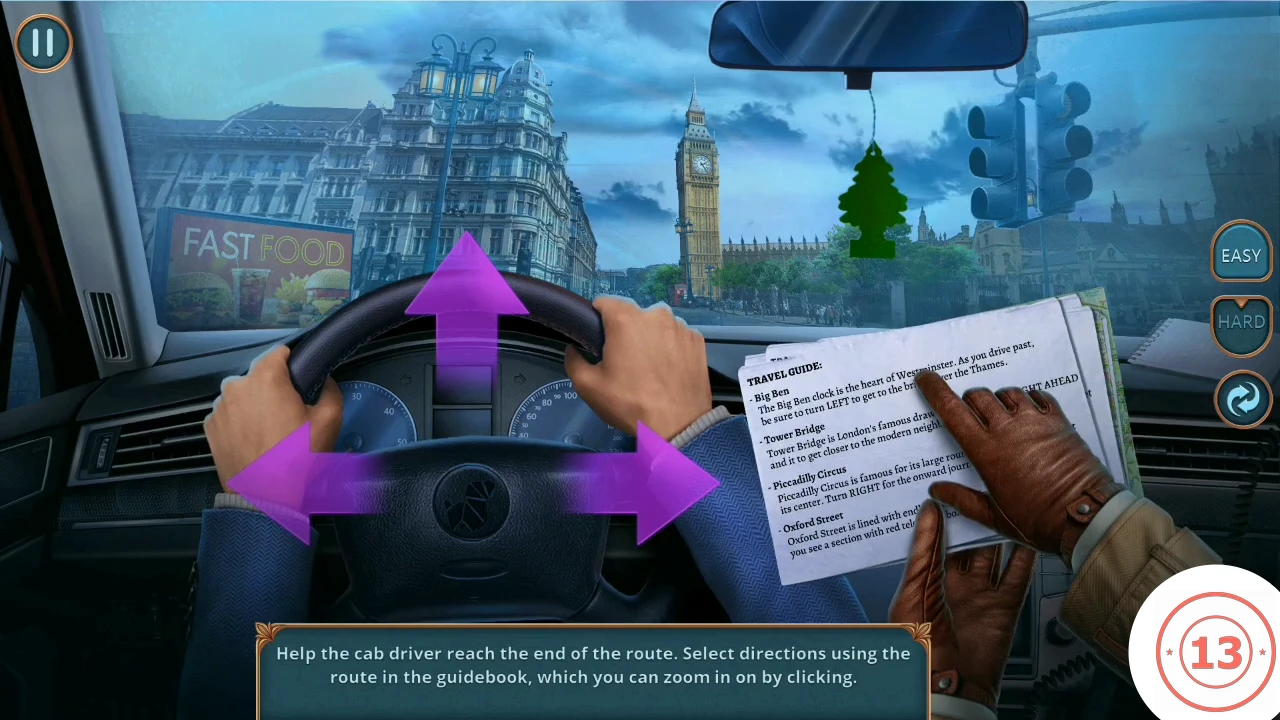
The taxi driver follows your directions from the travel guide. The route has seven turns.
- Take the Notepad from the airport and click the yellow Taxi freephone. Use the Map of London on it.
- Click the guidebook to read it. Press the arrows in this order: LEFT at Big Ben, STRAIGHT at Tower Bridge, RIGHT at Piccadilly Circus, STRAIGHT on Oxford Street, then LEFT, STRAIGHT and RIGHT for the remaining landmarks on the guide's second page. The cab drives you to the Montgomery estate.CODELEFT, STRAIGHT, RIGHT, STRAIGHT, LEFT, STRAIGHT, RIGHT
Montgomery estate: the foyer
Laura Montgomery greets you. The foyer gives the first Trinket and the items you need for her office.
- Decision (1 point): choose "Tell me more about the ring." for +1 star. "You don't seem hurt, though." gives 0.
- Laura gives you the Archive Keycard.
- Overlooked Trinket: click the tablet on the stand at the lower left of the foyer. Trinkets are morphing objects, so look for something whose shape or screen is changing as you watch.
- Open the glass display case on the right of the foyer. Take the Flower Decoration from the ledge (1 of 2). Gabriel will not break the glass, so use the Suction Cup on it, lift the glass off and take the Mirror.
- Use the keycard on the wooden door and enter Laura's office.
Laura's office: the maid's offer and the first scene
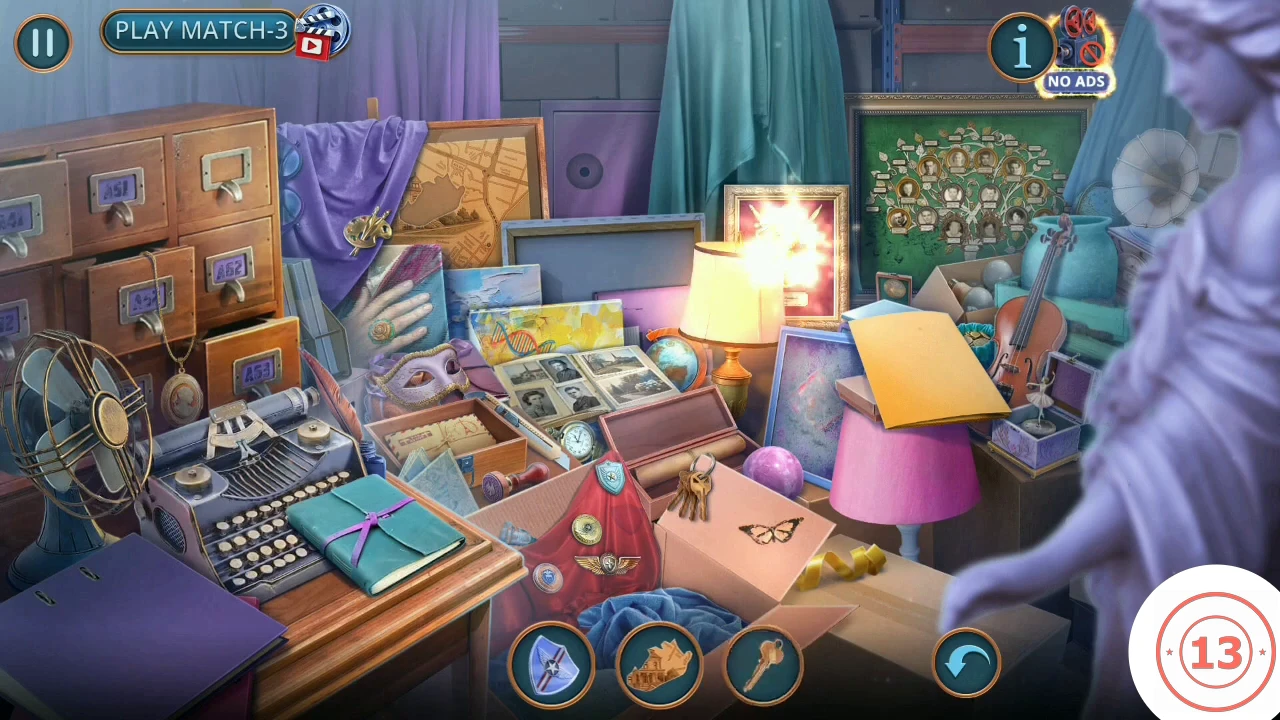
The maid offers the first Deluxe choice. The parcel, the hatch and the first office hidden-object scene follow.
- Talk to the maid. Decision (6 points, Deluxe): "Oh, I'll definitely take a look." opens the museum and gives +6 stars; "I don't have time for that." skips it. If you accept, follow the two Deluxe museum sections.
- Open the parcel on the side table. It holds a tablet map for fast travel, which stays at the corner of the screen.
- Pocket Watches: pick up the set on the side table (running count 2 of 70).
- Overlooked Trinket: click the small box on the green armchair by the office window.
- Take the first Ruby from the side-table area.
- Open the wall hatch. Use the Mirror to reveal the latch, then the Hook Bracelet to pull the bolt back.
- Hidden-object scene: find each object whose silhouette is shown in the inventory bar. The CLUE HUNTER achievement appears for finding 20 objects. When the scene is done you receive the Flask with Water.
Deluxe: Laura's family museum, first visit
Only if you accepted the maid's offer and own the Deluxe content. A door marked Museum Hall opens from Laura's office. This guide splits it into two visits: this short one now, and a second one after the dog and the second object scene. Finish both before placing the Rubies, because the warning closes the estate.
- Accept with "Oh, I'll definitely take a look." The maid says the museum is open. The Museum Hall door in the office opens and you gain +6 stars.
- Go through the Museum Hall door. The task asks you to learn more about the Montgomery family. Take the Staple Remover at the globe's plinth.
- Open the box on the shelf and pull its staples with the Staple Remover. Take the Ship Model Part.
- Open the ship model case. Fit the Ship Model Part on the hull. The hull opens; take the Golden Birds item and the Ribbon.
Laura's office: the window latch
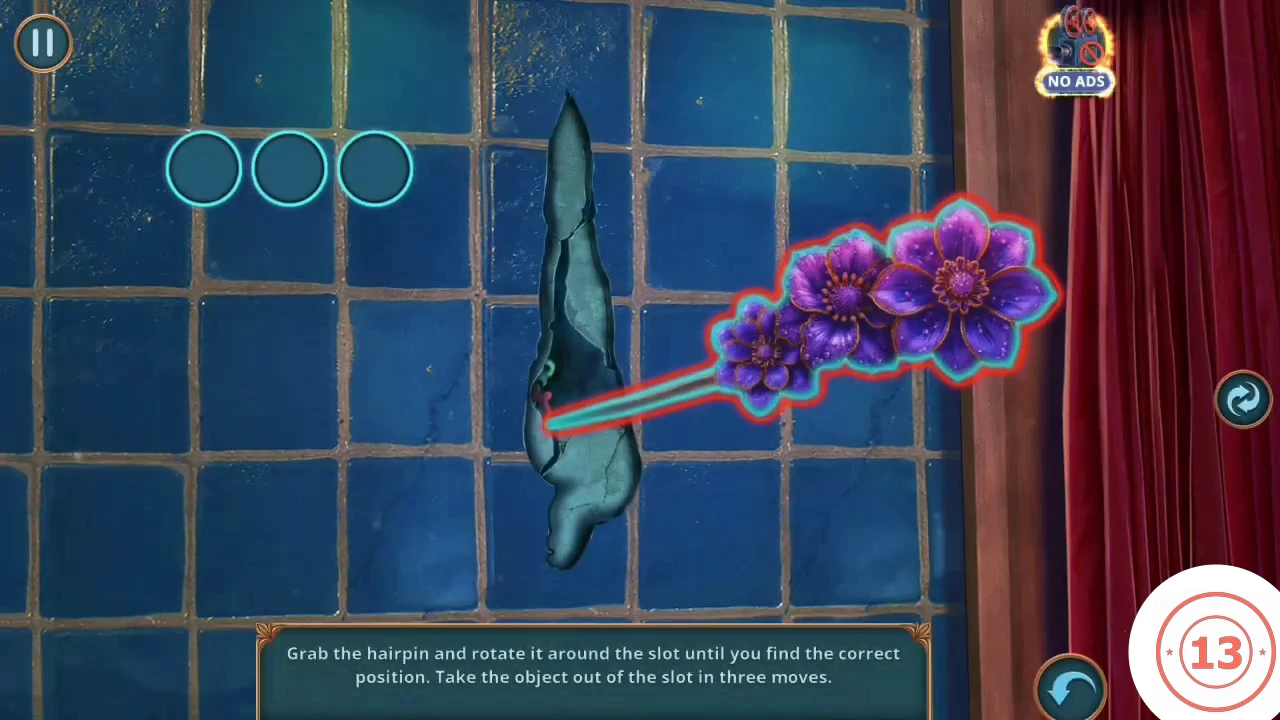
The flask frees a Hairpin. Use it on the window latch in three moves.
- At the side table, pour the Flask with Water on the red stain, then wipe it away with the Lace Handkerchief. Take the Hairpin.
- Use the Hairpin on the window slot. Grab it and rotate it around the slot until it snaps into the correct position, then take it out. Do this three times; a green circle lights for each success. You then receive the Clock Hands.
- Put the Clock Hands on the gold wall clock beside the curtain. Take Flower Decoration 2 of 2.
Foyer portrait: flowers on the lattice
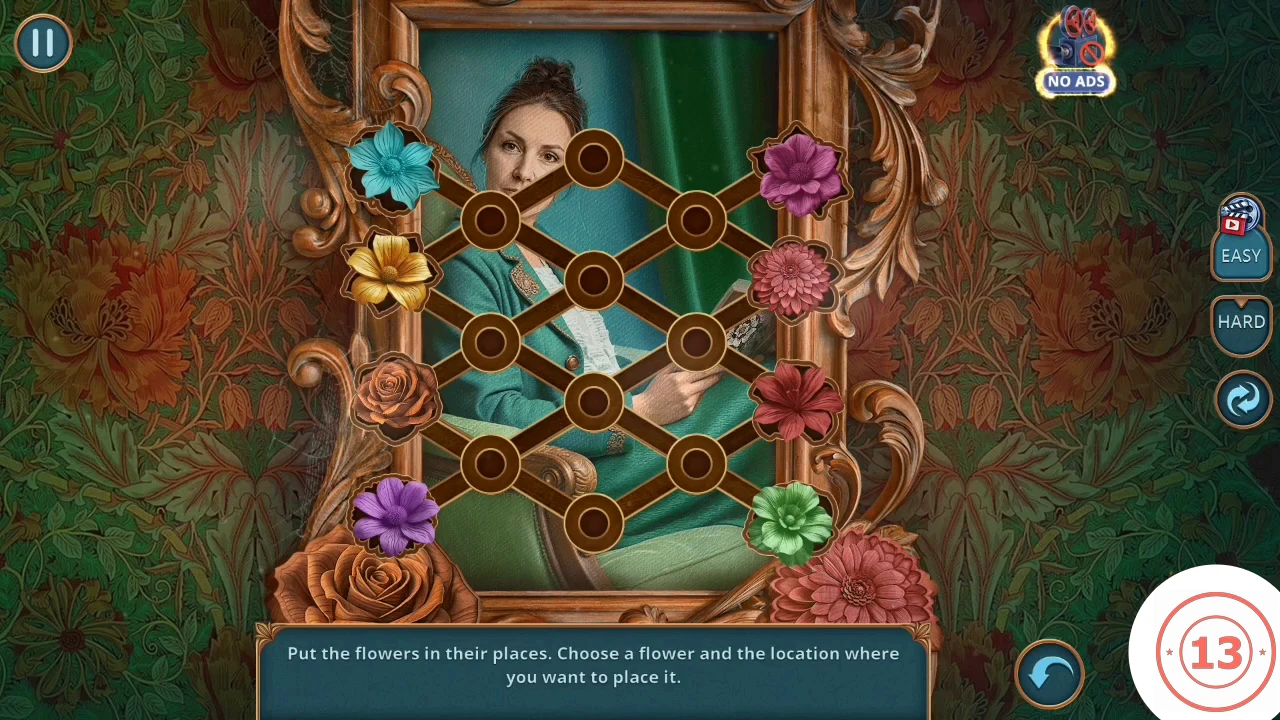
The flowers fit around Laura's portrait. Moves run along the wooden lattice; a green outline confirms a flower is in the right place.
- In the foyer, open Laura's portrait and add both Flower Decorations.
- Click a flower, then a free position, to move it. Bring every flower to its slot. Left side from the top: green, red, magenta, coral dahlia. Right side from the top: teal, purple, yellow, orange rose. Use the free nodes in the middle as temporary parking. Each correct flower gains a green outline. This guide gives the target layout rather than every move. When all eight are home, the niche opens: take the Folding Cane.
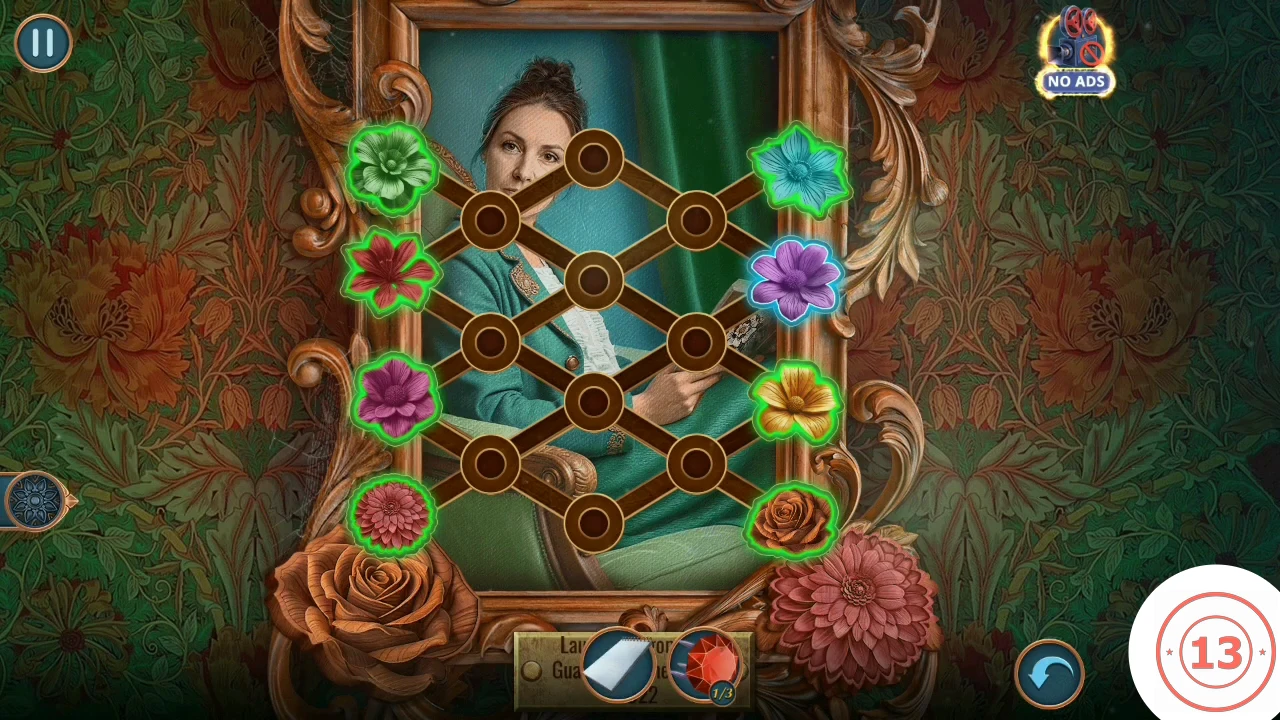
The target layout. All eight flowers show a green outline when they are home.
Laura's office: curtain, dog and second scene
The Folding Cane opens the path to the tin that moves the dog, and the second Ruby lies under it.
- Use the Folding Cane on the green curtain's ring in the foyer. The blinds alcove behind it opens: "The button's broken. I need something to push it all the way in." Take the Opener lying beside the crate: "Who keeps stuff in the blinds? Anyway, I need to get it out." The cane stays in your inventory.
- Open the tin on the office side table with the Opener and take the pet food.
- Give the pet food to the dog on its bed. When it moves off, take the second Ruby from the bed.
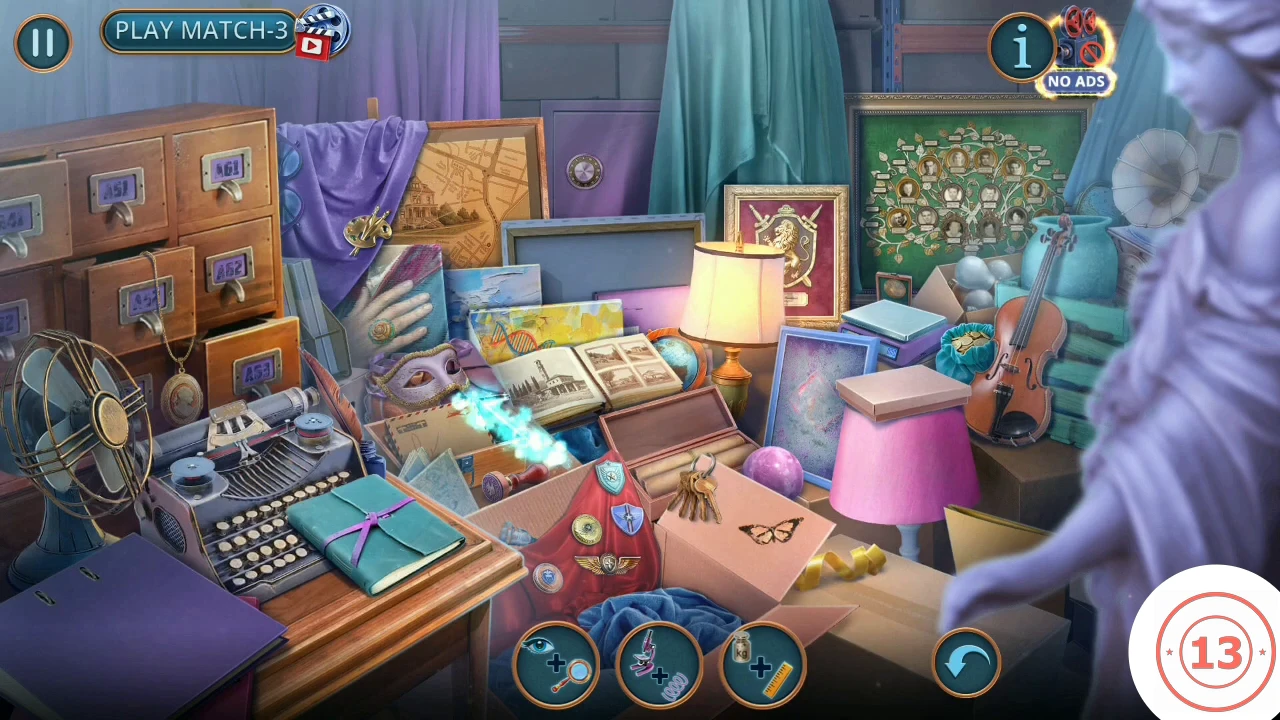
- Open the office hidden-object scene again. Find the objects by their silhouettes. You receive the King's Portrait.
Deluxe: Laura's family museum, second visit
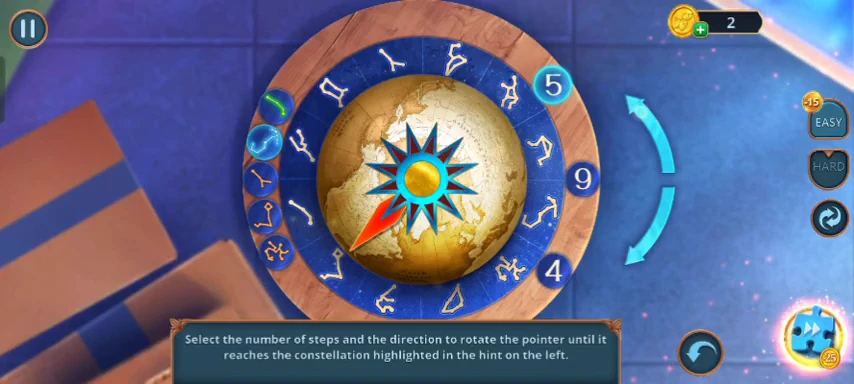
Only with the museum open. The dog must be gone from its bed. The compass puzzle's order comes from the on-screen hint, so read the hint rather than copying a move list.
- In the foyer's blinds alcove, put the red Ribbon from the ship model on the crate. The lid opens: take the Ballerina Figurine.
- Back in the museum, place the Ballerina Figurine on the music box by the globe. Take the Lipstick it releases.
- Open the lower case of the ship model and write on it with the Lipstick. The compartment opens; take the golden bird inside.
- Open the birdcage music box. Place the golden birds on it. A gold piece comes out; take it.
- In the office, open the dog's bed. With the dog gone, fit the gold piece in the small plaque on the wall. Take the Globe Piece.
- Use the Globe Piece on the museum globe.
- The left column lists five constellations, and the highlighted one is the current target. Press a step button (they read 5, 9 and 4 in our example, so check yours), then pick a direction. Count the sectors from the pointer to the target on the twelve-sector ring and choose the number and direction that land on it. Each constellation turns green when reached. After the last one, a drawer opens with a scroll inside.
- Read the scroll, "Anulum Virtutis": "Ring of power: gift, curse, legacy". The task completes and the CURSED ECHO achievement unlocks. Return to the office.
Laura's office: the portrait tree
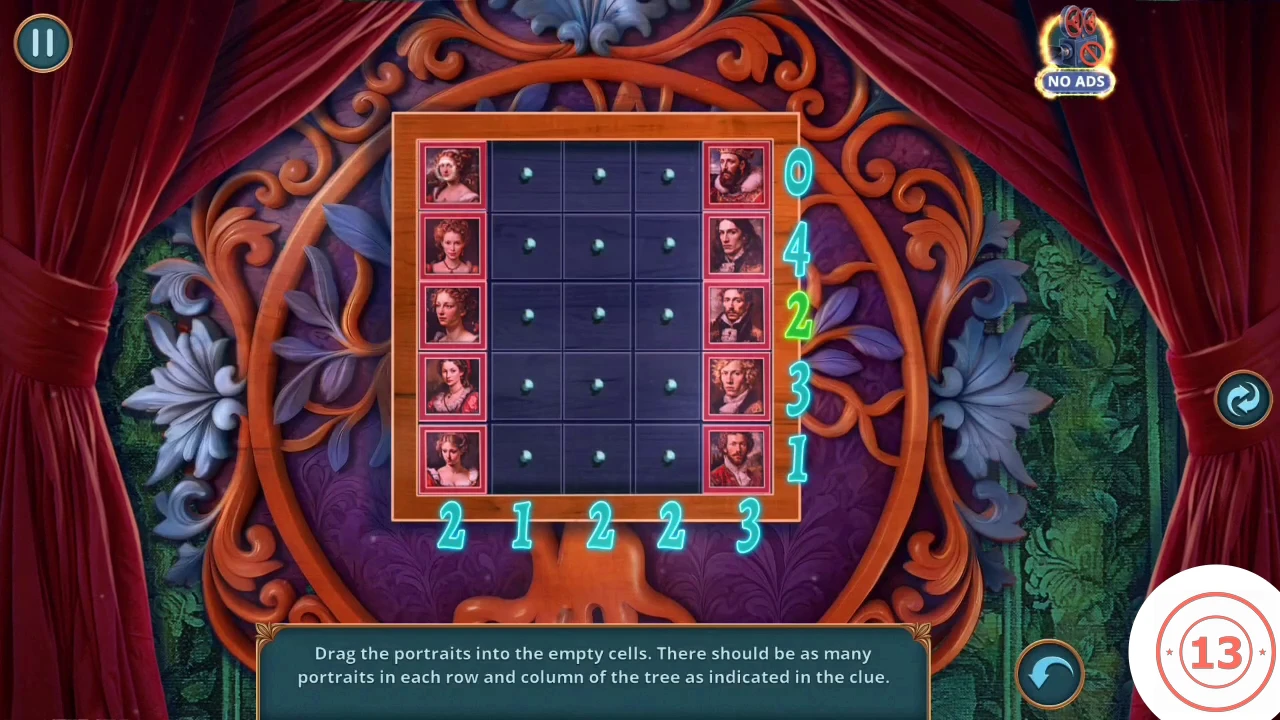
A logic grid: portraits fill the cells so each row and column matches its number. The layout below is one accepted answer.
- Open the gold clock close-up and place the King's Portrait in the panel beside it.
- Drag portraits into empty cells. Row counts from top to bottom are 0, 4, 2, 3, 1; column counts from left to right are 2, 1, 2, 2, 3. Example accepted layout: row 2 columns 1, 2, 4 and 5; row 3 columns 1 and 5; row 4 columns 3, 4 and 5; row 5 column 3. All the numbers turn green and a small gold reward enters your inventory.
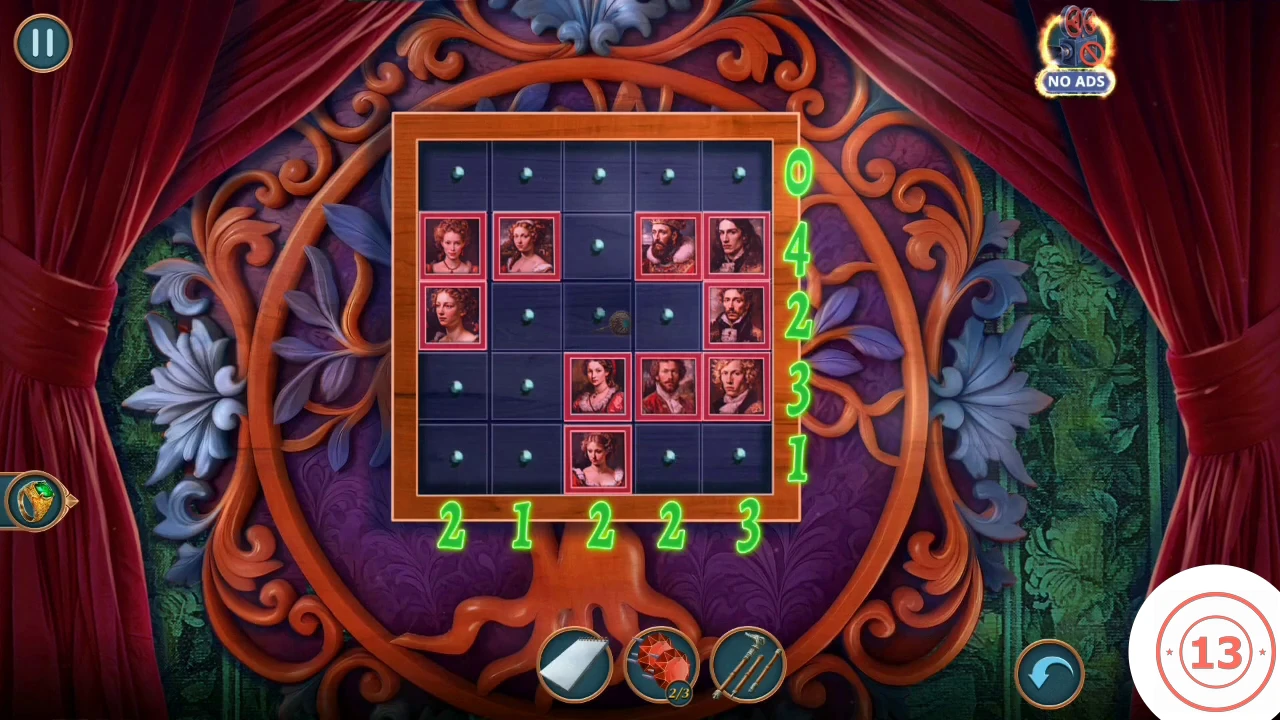
An example accepted layout. All the numbers turn green when the counts are right. - In the foyer, open the blinds alcove and use the gold reward on the small panel on the left. A drawer slides out of the crate. Take what it holds: the Light Bulb and, if you see a white coil, the Bowstring.
- Screw the Light Bulb into the foyer lamp. Take the third Ruby and three more Pocket Watches (running count 5 of 70). You also need the Bowstring by this point. Its label can appear at the alcove drawer or as this lamp view closes, so check your inventory and look in the drawer again if it is missing.
Laura's office: the ruby cabinet
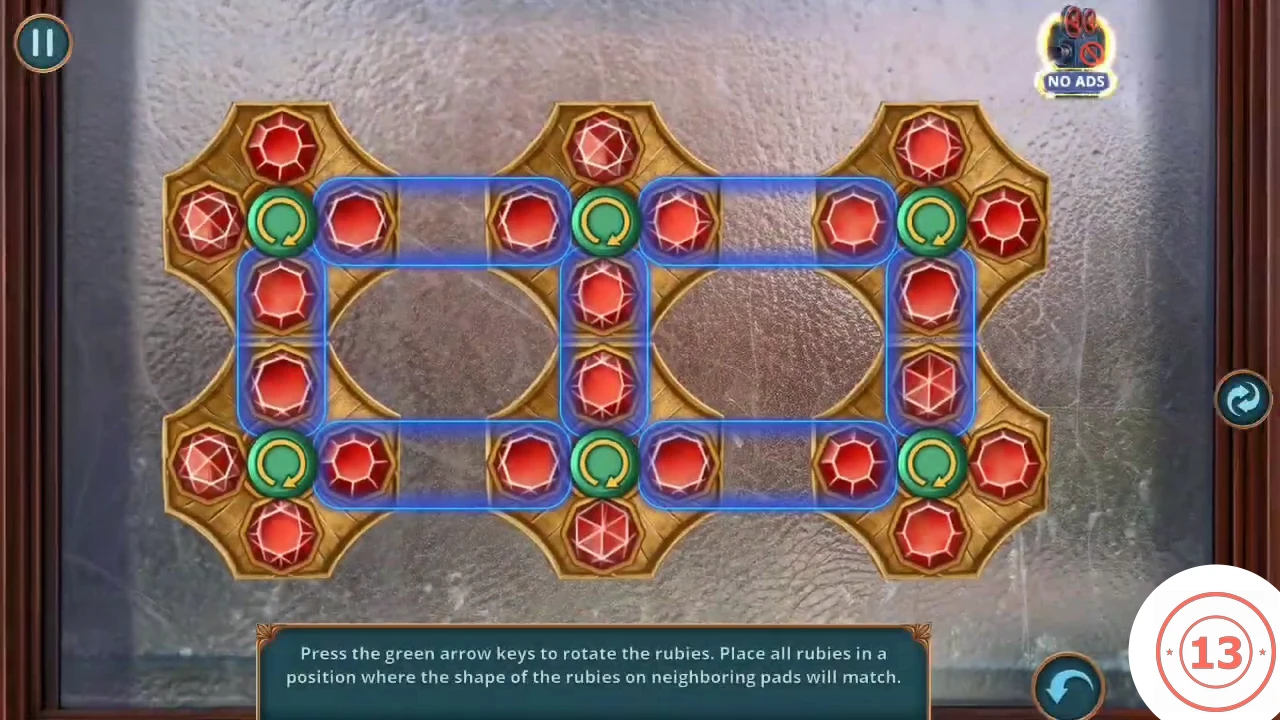
This finishes the estate. Collect everything you want first because the warning locks you out afterwards.
- Place the Rubies in the office cabinet door. The warning appears: finish collecting, then press YES.
- Press the green arrow on a pad to rotate its four rubies. Blue links join pairs of rubies on neighbouring pads, and each linked pair must share the same cut. Work from one end and leave solved pads alone. Starting rotations may vary, so this guide gives the rule rather than a move list. When every link matches, the cabinet opens and a masked thief steals Laura's ring.
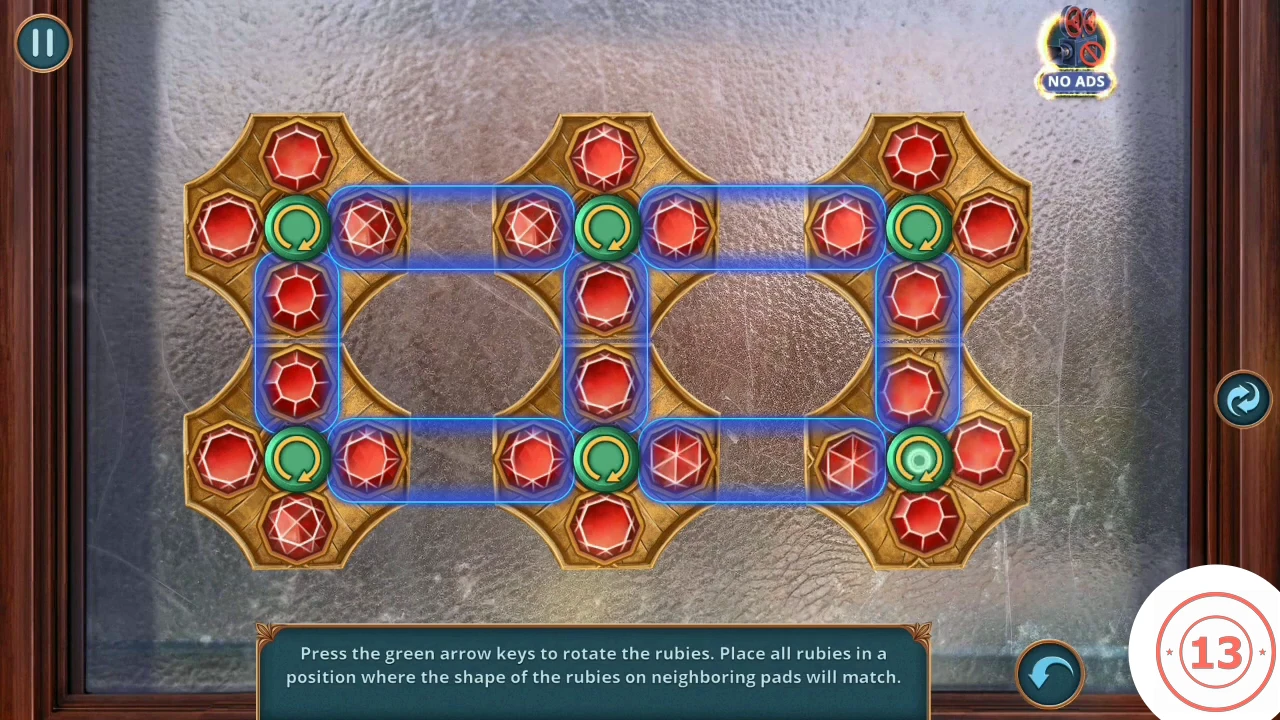
One solved state from our example. Every pair of linked rubies has the same cut, so your pad positions may differ. - Cutscene decision (2 or 4 points): when the thief says "Give me the ring!", three options float over the scene. "Hand over the ring" gives 0, "Stall him" +2 and "Outsmart him" +4. The dog distracts him, the shot misses, and Laura sends you to check on her brother in Ireland.