CHAPTER 3
Churchyard: the bagpipe note
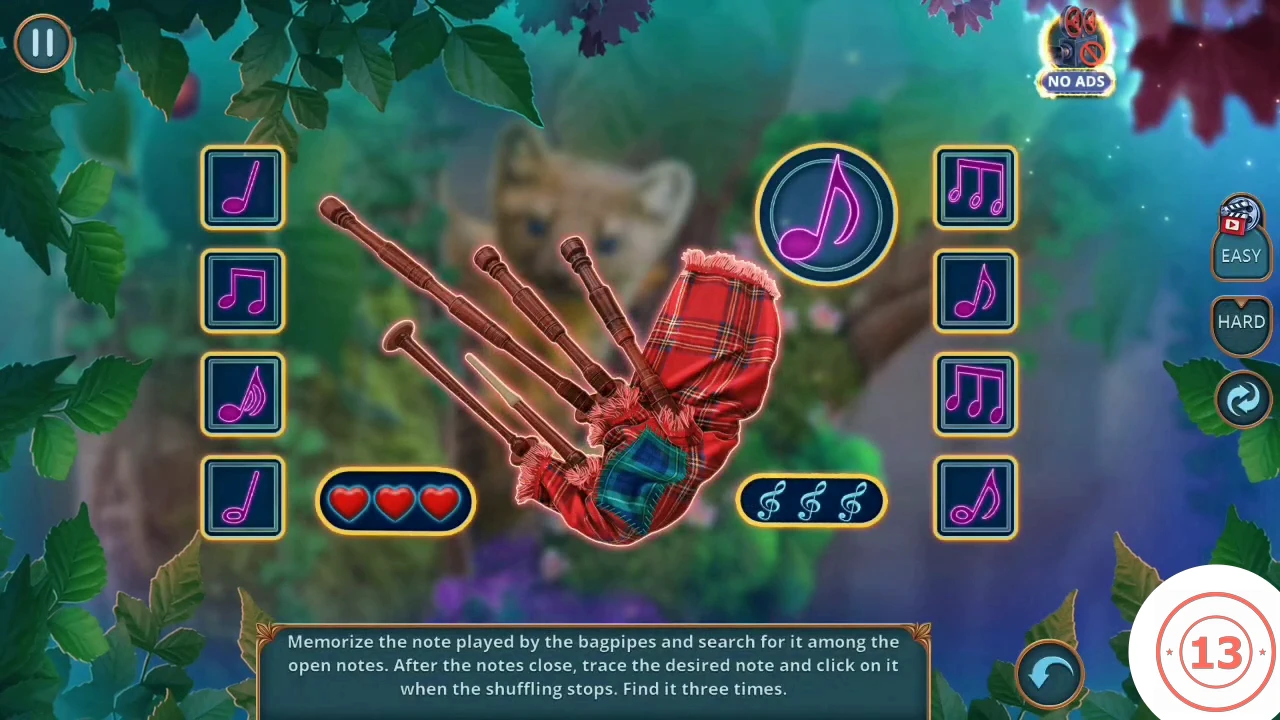
Scare the fox off the tree with the note the bagpipes play.
- Open the fox's tree and use the Bagpipes.
- The note to find shows at top right. Memorize it among the open notes, follow it with your eye while they shuffle, and click it when they stop. Do this three times.
- Open the base of the tree. "I can make something useful out of this, I'm sure. Just need the right materials." Take the Corkscrew beside the cement bag.
CHAPTER 3
Churchyard: cast the Ouroboros
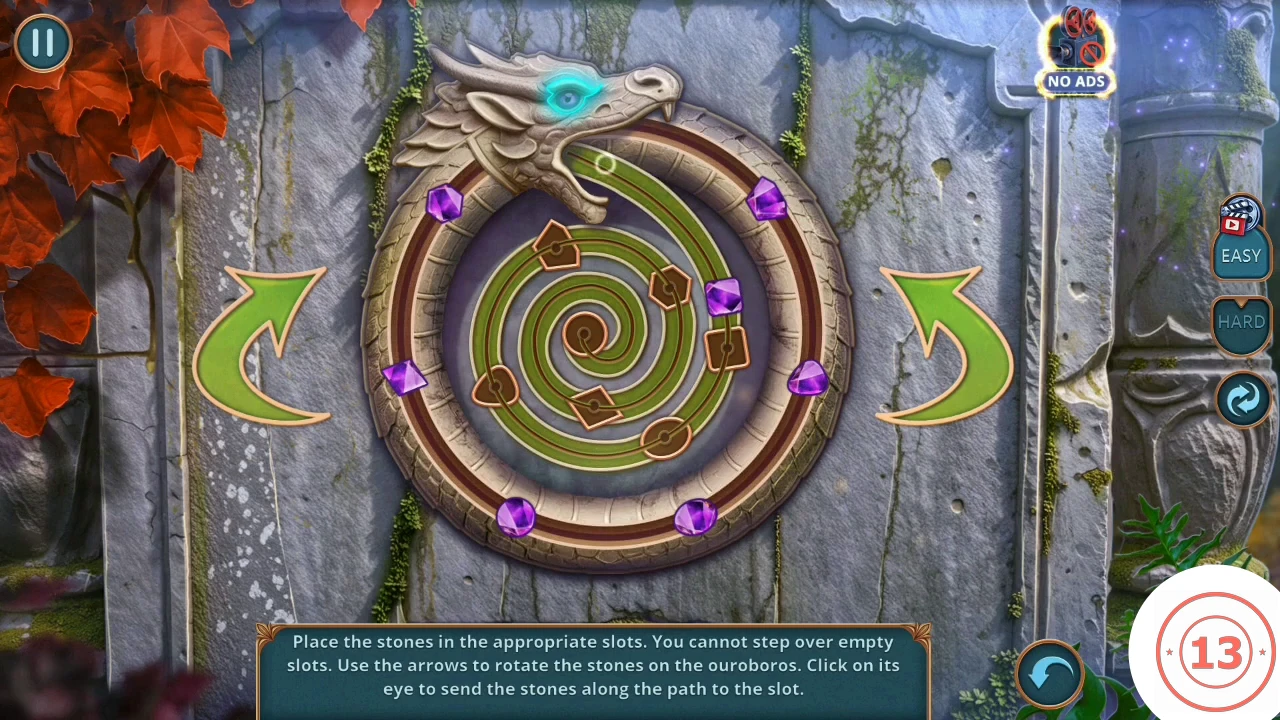
Gather water and cast the key for Bankfort's grave. The grave ends your chance to go back.
- Open the tube at the web and pull the Cork with the Corkscrew.
- At the well in the village, put the Cork in the leaking bucket.
- Use the Empty Bottle on the bucket.
- Open the cement bag. Use the purple ring piece on the Clay box to make a mold, pour in the Bottle of Water to mix the cement, and dry it with the Pocket Fan.
- Open Bankfort's grave and place the Ouroboros. Warning: "If you complete this task, you won't be able to go back to previous locations and find the remaining items." Finish the Deluxe house and collectibles first, then choose YES.
- Use the arrows to rotate the outer ring of stones. Click the eye to send the stone at the head along the spiral to the matching slot. A stone cannot jump over an empty slot, so fill the innermost slots first. When all are placed, the eye lights up and the grave opens.
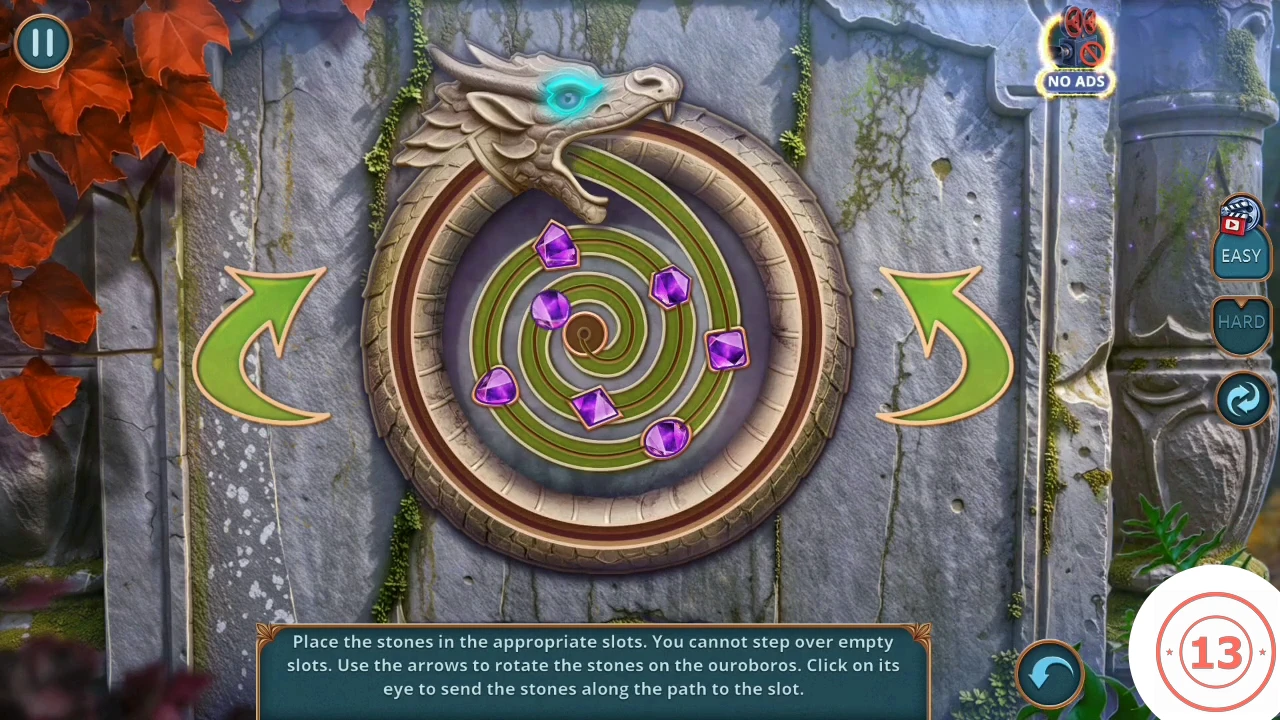
All the stones placed, with the serpent's eye lit. - Read the note: "The ring was found near St. Brigitte's Temple on the Rock of Destiny, the only place where the enchantment can be broken and the ring destroyed." The book says: "There's only one way to destroy the ring. Immerse it in molten silver and cover it with crystal dust." Take the Glue.
- Harry attacks. Choose Do nothing (0), Distract him (+2) or Disarm him (+4). Glenna holds him at gunpoint and you leave for the Rock of Destiny.
CHAPTER 3
Temple ruins: the frames on the bridge
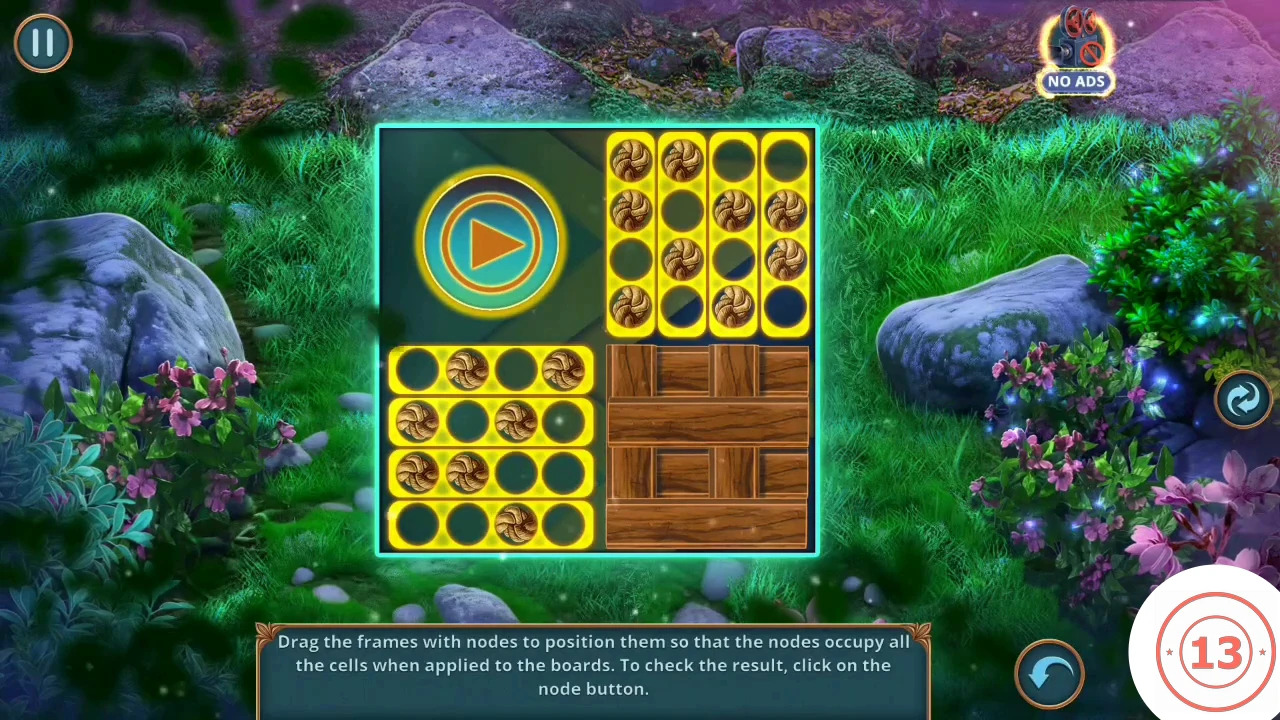
Clean the detector at the fire bowl, then repair the bridge.
- Arrive at the ruins.
- Open the fire bowl. Take the Broken Metal Detector leaning against it. "This moss looks like it has been here forever. How can I get it off, though?" Scrape the moss with the Seashell. Pocket Watches are under it (running count 49 of 70).
- Lost Heirloom: click the green-gold object at the top of the stone steps, behind the rocks.
- Open the broken bridge.
- Drag the two node frames over each board so that every cell is covered once they overlap, then press the play button to test. There are three boards in a row. After the third, the bridge is repaired.
- Albert asks about the ritual site. "We'll search every inch of this place and find it." gives +1; "It's been ages. The place we're looking for might be gone." gives 0. "Let's cross this bridge when... well, now! I just have to fix it."
CHAPTER 3
Rock of Destiny: pot, statue and object pile
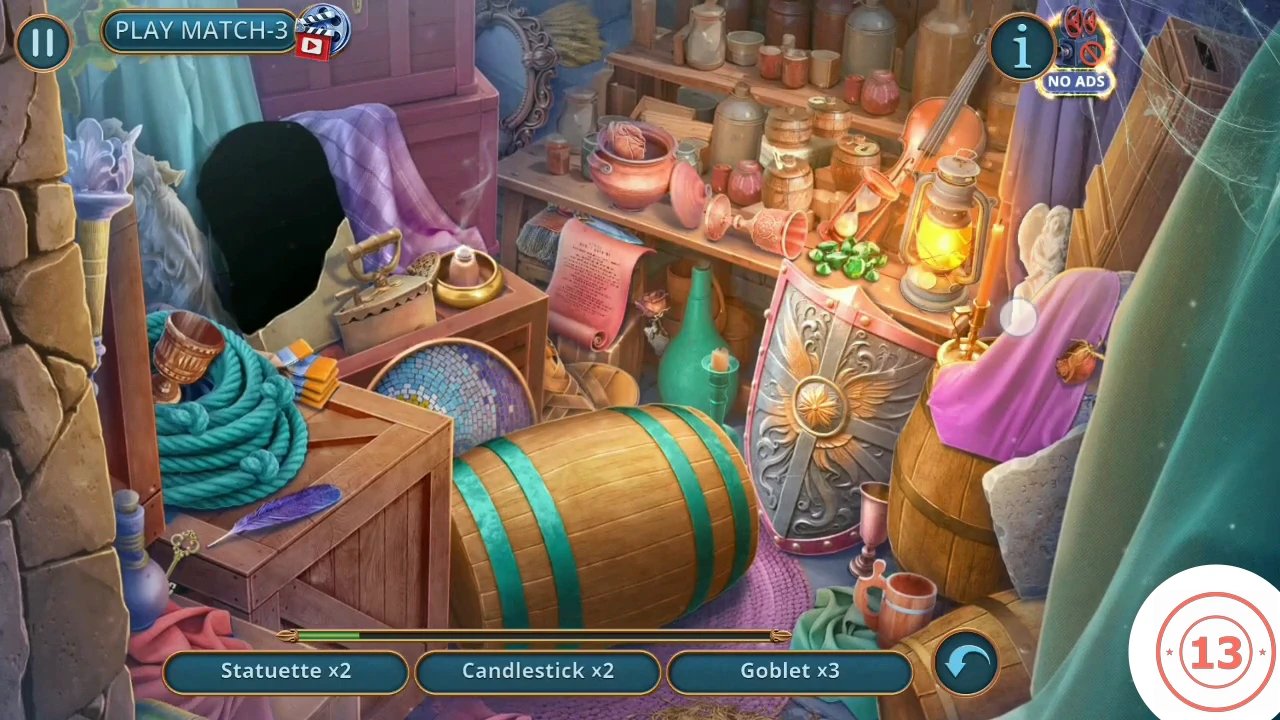
Mend the pot, complete the statue and search the pile for the Stone Dial.
- Overlooked Trinket: at the lower left of this field, click the small round red-rimmed object at the right end of the red flower bed, just left of the grey rock.
- Open the leaf pile, then the stones with the broken pot. Take the Metal Bowl and the Pocket Watches (running count 50 of 70) from inside the pot, and the Knight Figurine.
- Open the niche and set the Knight Figurine on the board. The chest opens: take the Pot Fragment.
- Open the broken pot, add the Pot Fragment and fix it with the Glue. Take the pot.
- Open the statue and give her the second vase.
- Find every item on the list: Statuette x2, Candlestick x3, Goblet x3, Dried Rose x3. You receive the Stone Dial.
CHAPTER 3
Ritual site: detector and signal chips
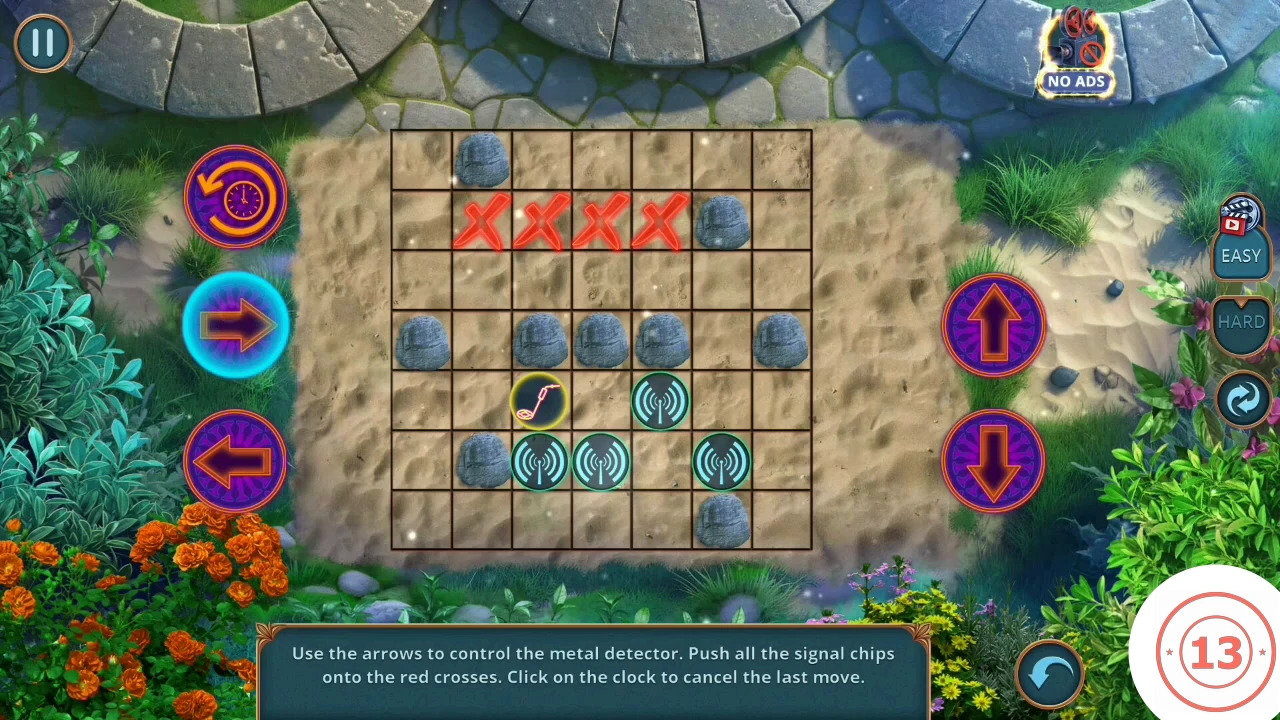
Burn the leaves to find the circle, then use the detector to find silver.
- Open the stone pedestal row and set the Stone Dial in the empty circle. Take the Magnifying Glass.
- Open the leaf pile under the sunbeam and use the Magnifying Glass: the focused sun burns the leaves. Under the ash lies a purple circle and the note Silver Melt of Destruction: Ring, Melted silver, Crystal dust. Take the Batteries.
- Albert: "This is the place... Ah! The ring is burning me! It's like it's fighting back. It wants to fulfill the curse before we can stop it!" Decision (1 point): "I'll perform the ritual alone - it's safer that way." gives +1; "This is seriously creeping me out..." gives 0. Then take the Ring.
- Open the Broken Metal Detector in your inventory and fit the Batteries.
- Open the sand by the pedestals and use the Metal Detector.
- Use the four arrows to walk the detector. Push every signal chip onto a red cross; chips cannot be pulled, and stones block them. The clock cancels the last move. EASY has two crosses in one row; HARD has four crosses in the top row. Push chips along the row into the far crosses first. This guide gives the method rather than a move list. When every cross is filled, you receive Silver.
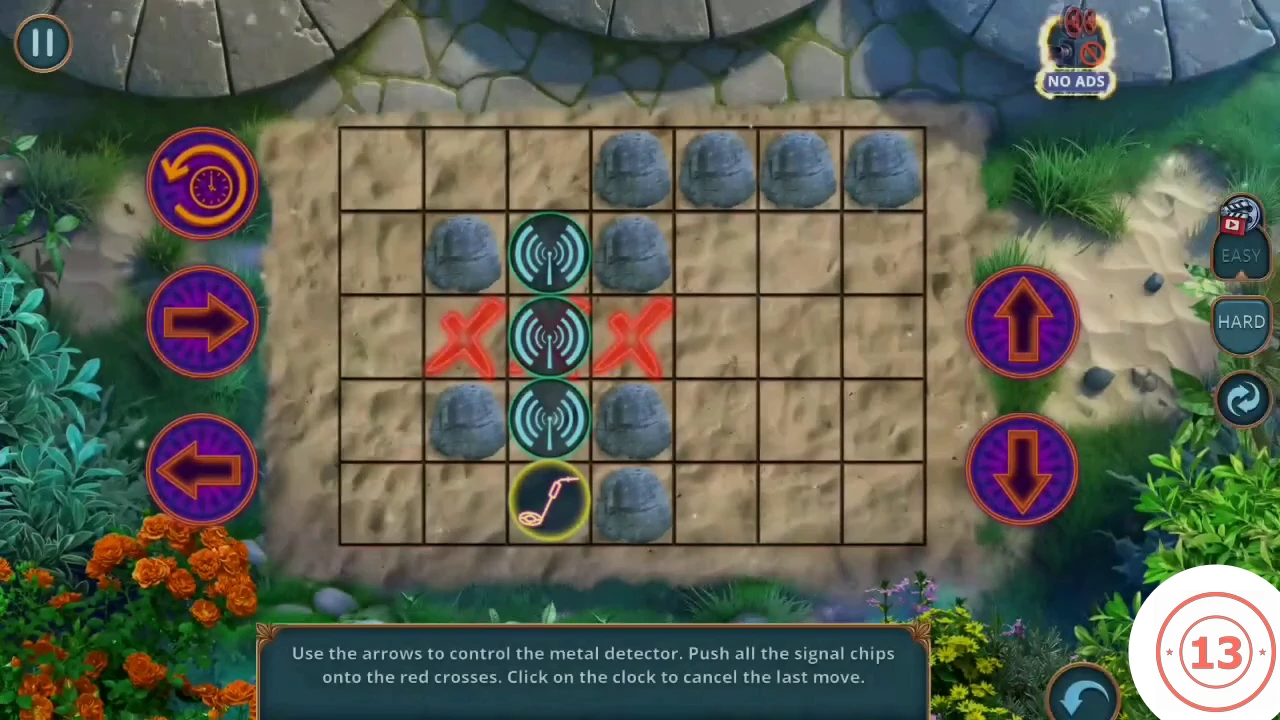
The same board on EASY, with two crosses in one row. - Open the fire bowl. Set the Metal Bowl on its rim and put the Silver in it. The tongs swing the pot over the flames. Take the Melted Silver. "Whoa! Did something... change?"
CHAPTER 3
Destroying the ring
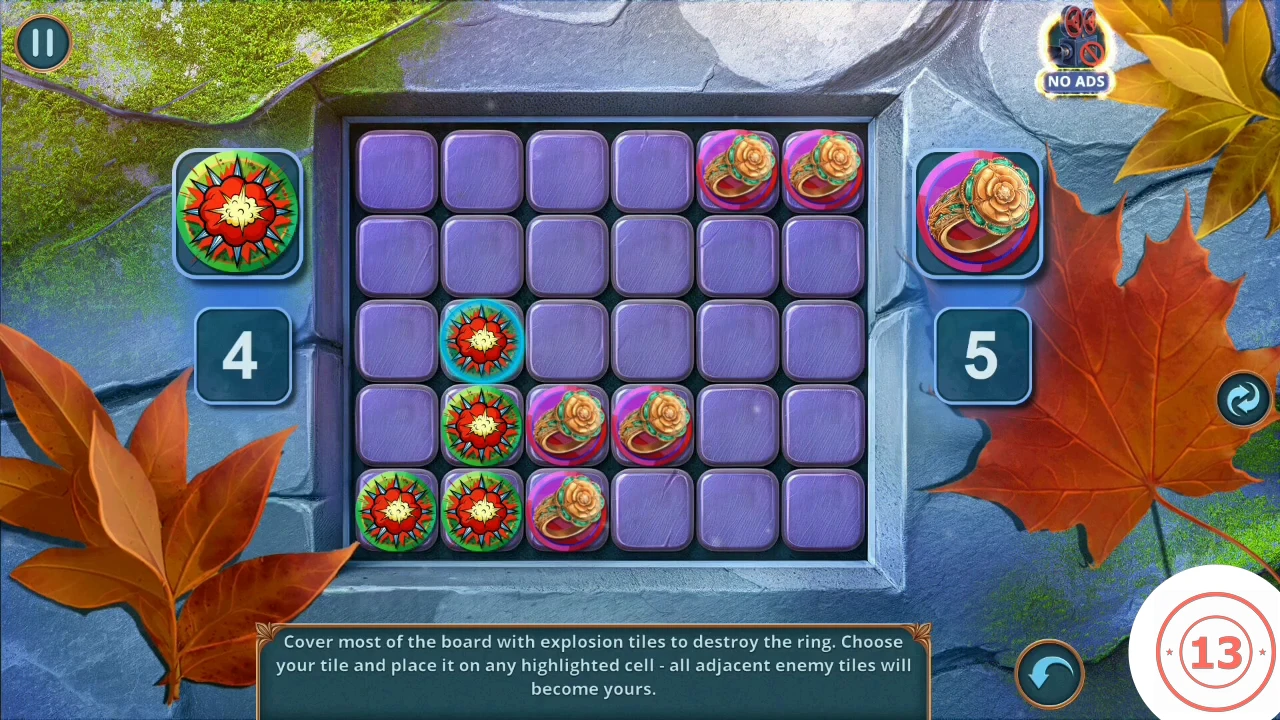
A riddle scene, a punch-chip grid and the final tile battle finish the story.
- Open the object pile. Each riddle gives two hints; click the object they describe. Metal + Sharp: the thin knife on the shelf beside the pot. Parchment + Knowledge: the rolled red scroll. Smoke + Incense: the gold incense burner on the crate. Shards + Pattern: the mosaic plate. Clay + Jar: the terracotta pot with its lid on the shelf. Fiber + Nodes: the teal rope. Handle + Fire: the torch at the top left. Metal + Lock: the small gold key by the blue bottle and feather. Warrior + Defense: the shield. Leather + Shoes: the brown shoes near the green bottle. Stone + Writings: the grey stone slab by the barrel. Sand + Time: the hourglass on the shelf.
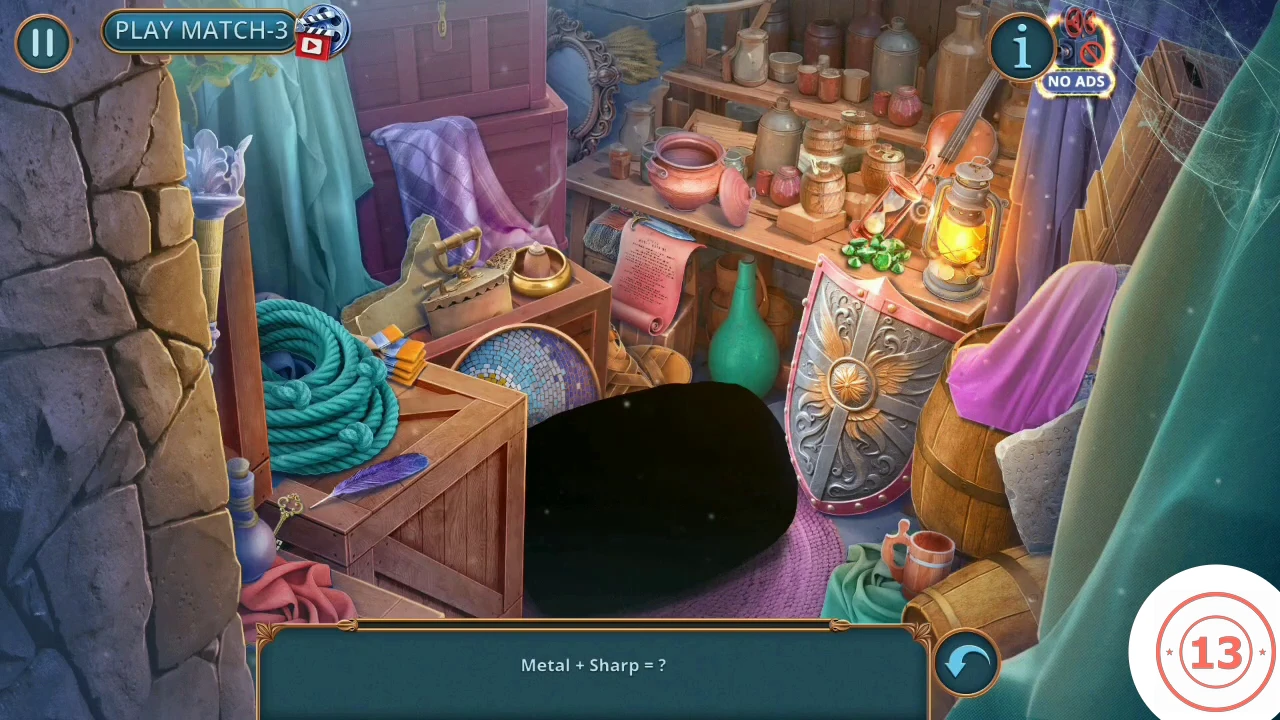
The riddle pile. The bottom bar gives two hints for each object. - Open the cow and feed it the Thistle. It moves away from the fence. Take the Peg.
- Open the niche and use the Peg.
- Each chip fires rays in four directions until a gap. Cover every cell with four chips. Example solution on HARD: row 1 column 1, row 3 column 5, row 4 column 7, row 6 column 3. If your layout differs, place chips where their rays reach the most uncovered cells. You then receive the Brush and Pocket Watches (running count 52 of 70).CODEr1c1, r3c5, r4c7, r6c3 (Hard)
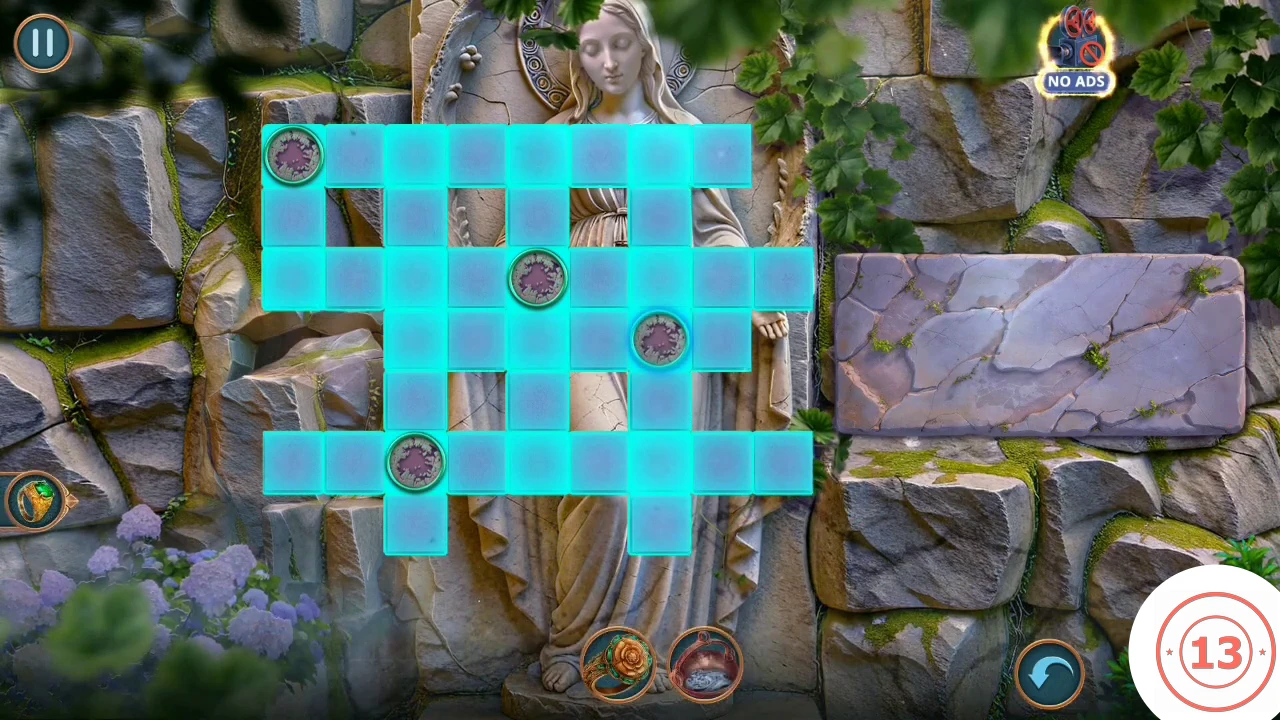
Our example on HARD: four chips whose rays cover the grid. - Open the standing stones. "So dirty! I can use a brush or a duster." Sweep the three glowing blue marks with the Brush.
- Open the purple circle and fill its three slots: the bowl of Melted Silver in the left slot, the Ring in the bottom slot, the blue-tipped Brush in the top slot.
- Place a tile on any highlighted cell; every enemy tile next to it turns to your color. Cover most of the board. Prefer cells that flip many tiles and leave few openings. An example win finished 22 to 8, so you do not need every cell. When you win, the ring is destroyed.
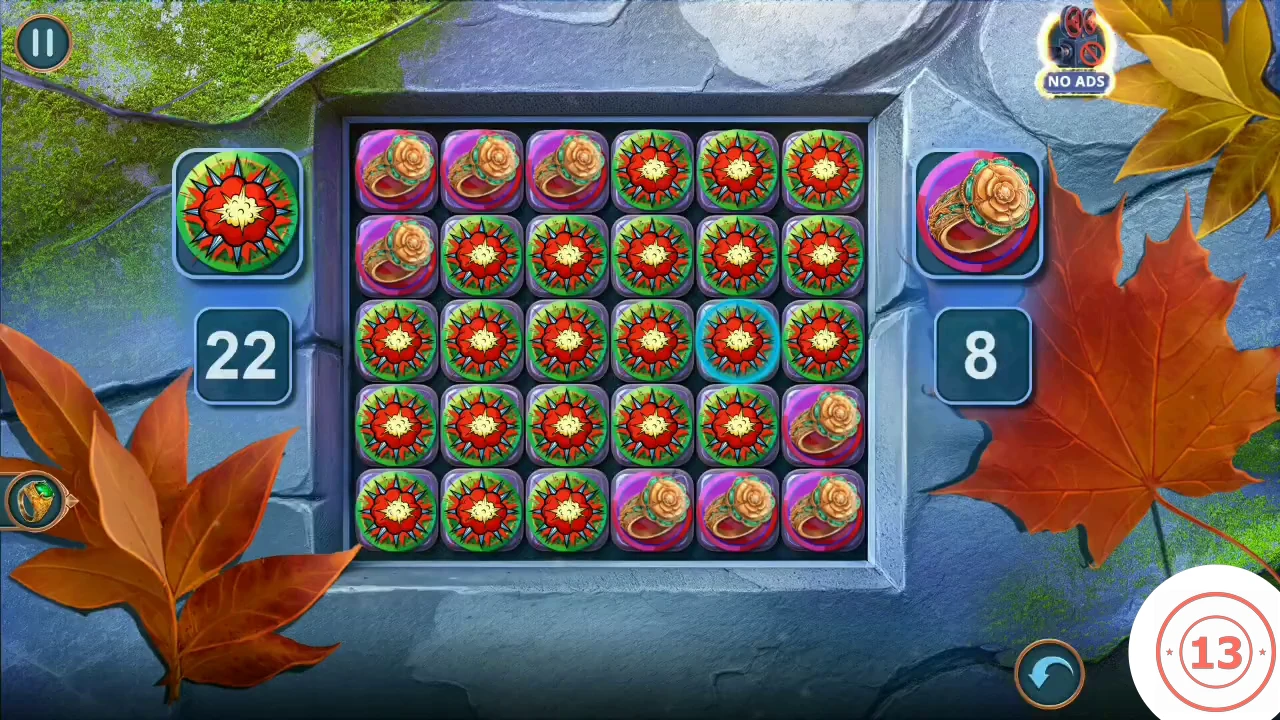
An example win at 22 to 8. You do not need to fill every cell with your own tiles.
ENDING
Chapter 3 summary and main ending
The last summary of the main story, then the ending. The ending is longer with a perfect score.
- The Decision Points screen sums the chapter out of 13: Cave in / Encourage +1; Don't look at the house / Agree to look at the house +6; Do nothing / Try to negotiate +2 / Disarm Harry +4; Reflect passively / Proceed confidently +1; Give in to fear / Carry on +1.
- Watch the ending. Albert says, "It's over! The ring has been destroyed, and we're... We're free!" Gabriel then reads, "To ensure the curse never returns, Albert and I have founded a charity." The main game ends here and the Bonus Chapter window appears.
- With a perfect score (13 of 13, the 10 card), the ending is longer. Before the charity letter, Laura says, "On behalf of the Montgomery family, I want to thank you for saving our legacy." After it, you see the portraits with their plaques and a handshake, and Laura says, "Gabriel Vanyard, your name will be forever memorialized in Montgomery history." We could not confirm what, if anything, changes at the 0 card.