Airport again: tickets to Ireland
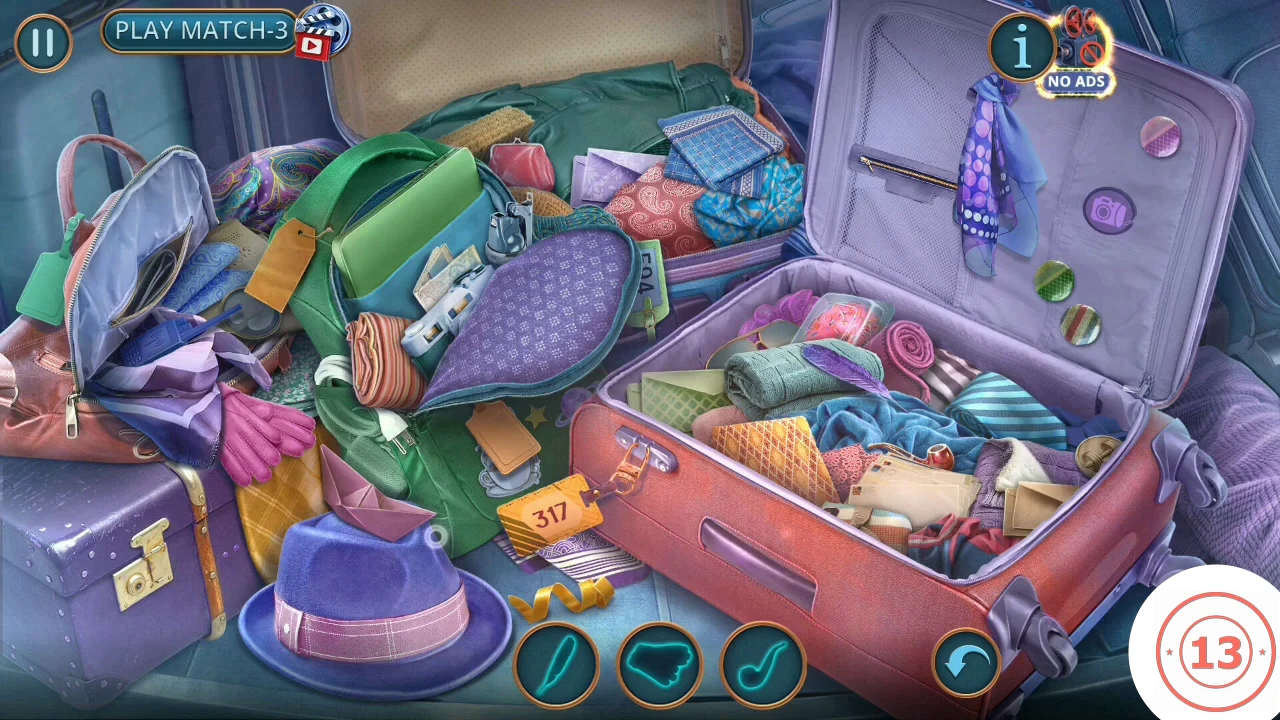
Gabriel follows the trail to Ireland. You need the flight number and your wallet.
- At the Lost and Found window, reach through with the Folding Cane. You get four items: the Screw, the Comb, the Button and the Pen.
- Open the Departures board. Put the Notepad on it, then use the Pen to copy the flight number.CODEAA330
- Open the luggage pile again. Find the objects by their silhouettes. The SECRET COLLECTOR and SHARP EYE achievements can appear here. You receive the Wallet.
- Use the Wallet and the Flight Number at the ticket desk. A cutscene flies you to Ireland.
Greystone Hall: grounds, Oliver and the library
Oliver's Irish home has three connected areas: the grounds, the study and the library. Most tools for the later puzzles come from a first sweep through them.
- On the grounds, check the leaf pile by the motorcycle. Open the birdhouse close-up and take the Disassembled Pump. Open the plaque and mailbox and take the Leaf Blower. Close the rating pop-up if it appears.
- Lost Heirloom: on the grounds, click the red rosette on the path, just in front of the planted leaves.
- Enter the house and go to the study. If you took the rosette just before this, its Heirloom banner can appear as you arrive.
- Talk to Oliver. Decision (1 point): "Ask about the conflict" gives +1; asking if anything strange happened gives 0.
- Lost Heirloom: click the small beige booklet with a blue emblem on the floor, under the small side table in front of the telescope.
- Check the study: the telescope has no lens, the green safe has no handle ("No handle. Well, I gotta hand it to them - it's even safer this way.") and the star-peg box sits among the cacti.
- Go through to the library. On the vase table, take Part of Pattern (1 of 2) and the Arrow Shaft.
- Pocket Watches: open the vase table again and click at the top right of the close-up, by the red book. This easily missed spot gives three watches (running count 8 of 70).
- Overlooked Trinket: click the teal vase on the floor below the curtain.
- Look at the double doors ("They say money opens all doors... Well, credit cards actually do.") and the armor ("Protected but unarmed.").
- Open the small seascape painting on the wall. Use the Arrow Shaft on its loose frame. You get the Arrow.
- Back outside, use the Comb from Lost and Found on the birdhouse boards. It pulls the boards off. Take the Battery.
- Open the Leaf Blower in your inventory and add the Battery.
- Use the Leaf Blower on the leaf pile. Take the Broom and the Duct Tape uncovered there. The motorcycle's tire is flat.
- Open the study desk lamp. Use the Duct Tape on the sparking wires. Take the Stethoscope and then the Lens.
Study: the telescope star route
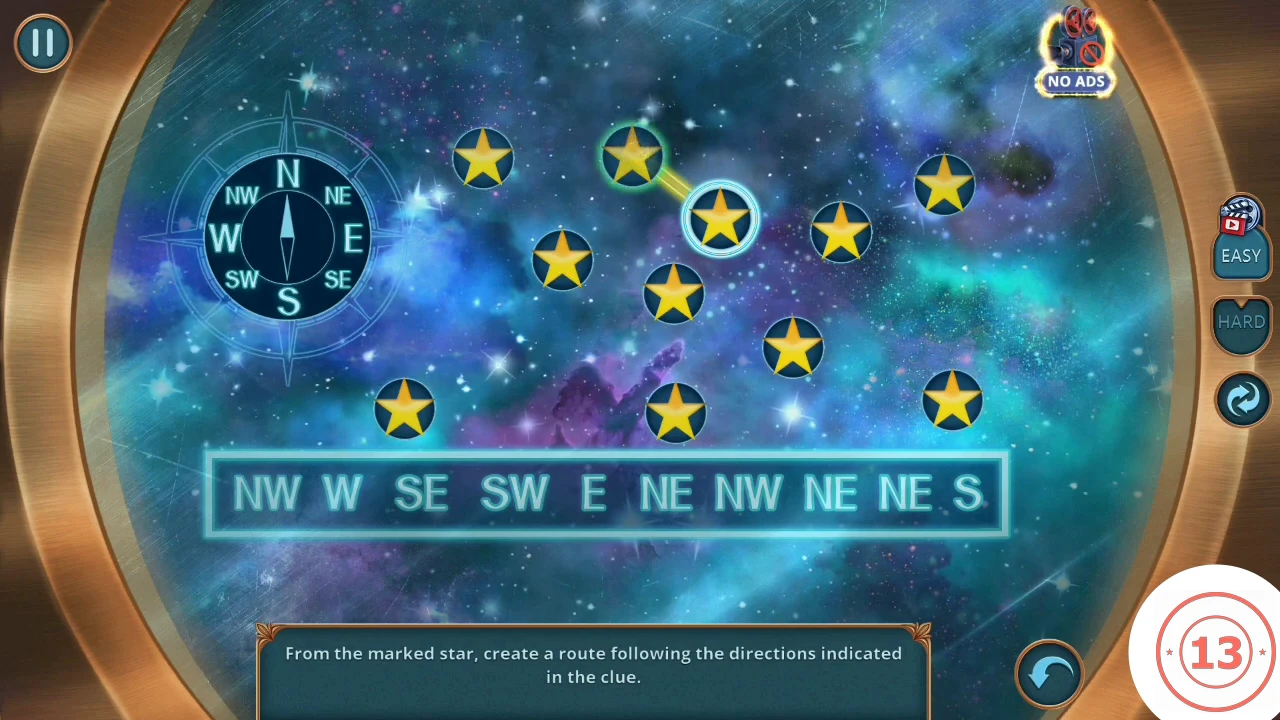
A compass clue gives a fixed list of directions. Each direction takes you to the next star.
- Open the telescope. Put the Lens by it on the table, then add the red Button and the Screw from Lost and Found. The second eyepiece mounts on the telescope.
- Start from the marked star. Click the neighbouring star in each direction in the clue, in this order: NW, W, SE, SW, E, NE, NW, NE, NE, S. The compass at the left shows the directions. The route draws in yellow and you get the Code paper.CODENW W SE SW E NE NW NE NE S
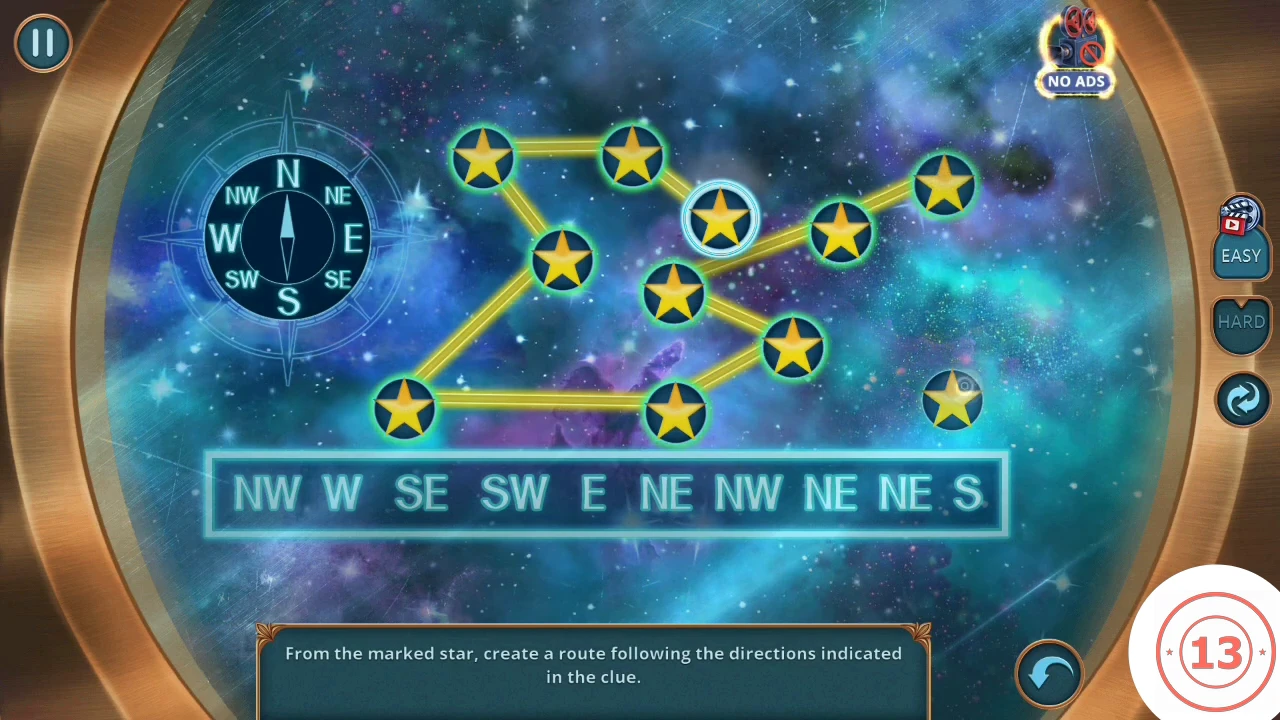
The finished star route, drawn in yellow.
Study: the star-peg box
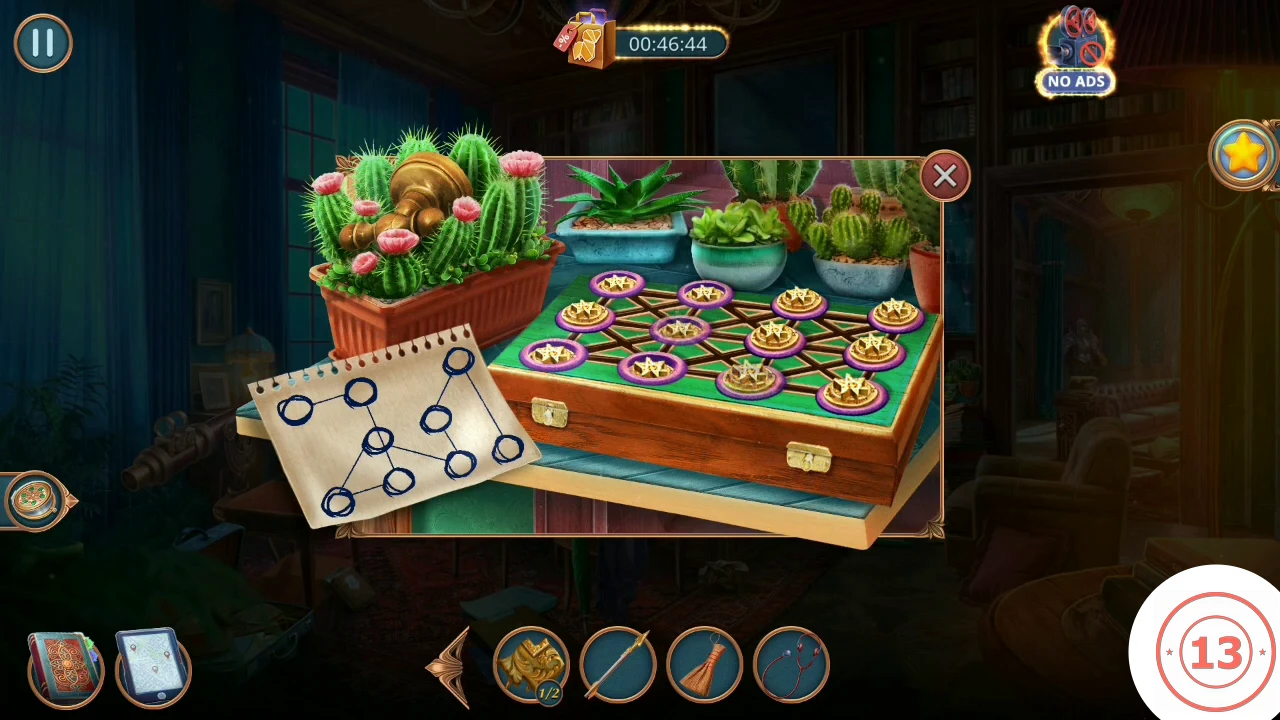
The Code paper is a map of the twelve pegs. The circled pegs are the ones to press.
- Open the box among the cacti and put the Code paper beside it.
- Think of the pegs as three rows of four. Press every peg except the third in the back row, and the first and fourth in the middle row. Those three stay raised. The box opens and you receive the Crossbow body.CODEPress all except: back row 3, middle row 1 and 4
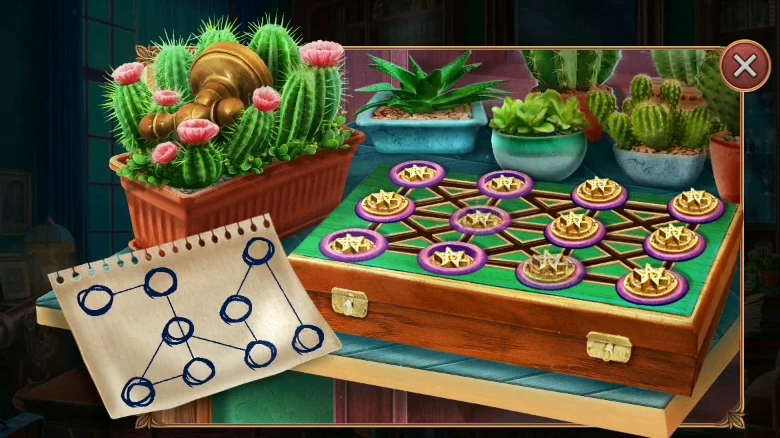
The Code paper next to the pegs. Its diagram of joined circles shows the peg pattern. - Open the Crossbow in your inventory. Add the Arrow and the Bowstring.
Grounds: the triangle rings
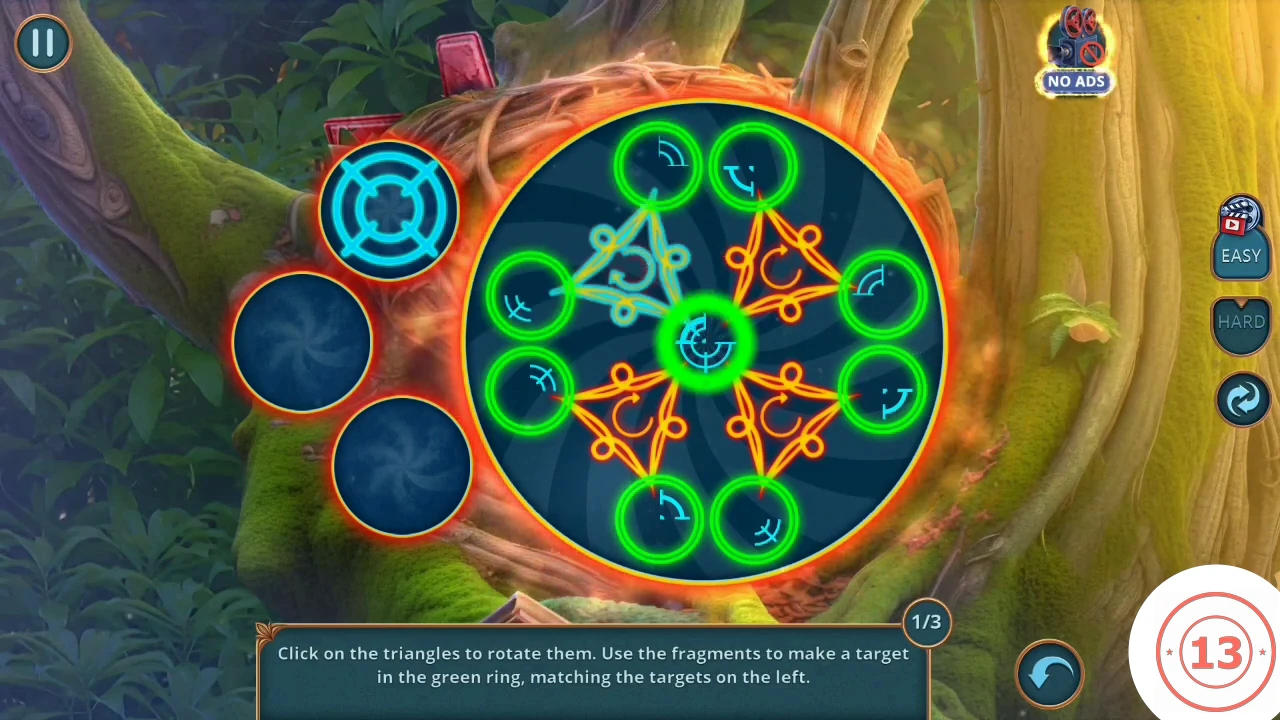
Three stages. Rotating triangles carry fragments, and you must rebuild the target on the left inside the green ring.
- Use the Crossbow on the red object caught in the nest above the birdhouse.
- Click a triangle to rotate it. Each triangle sweeps its fragment around the central green ring. Line up fragments in the ring so they form the highlighted target on the left. The counter runs 1/3 to 3/3 and each stage's target differs. Set the outer triangles first, then the last one. Starting positions may vary, so this guide gives the method rather than a move list. After the third target your shot brings down the Mailbox Horn.
- Pick up the fallen Mailbox Horn on the grounds, then use it on the mailbox beside the plaque. Take the spare keys. The JUST IN CASE achievement unlocks.
Study: the desk lock key
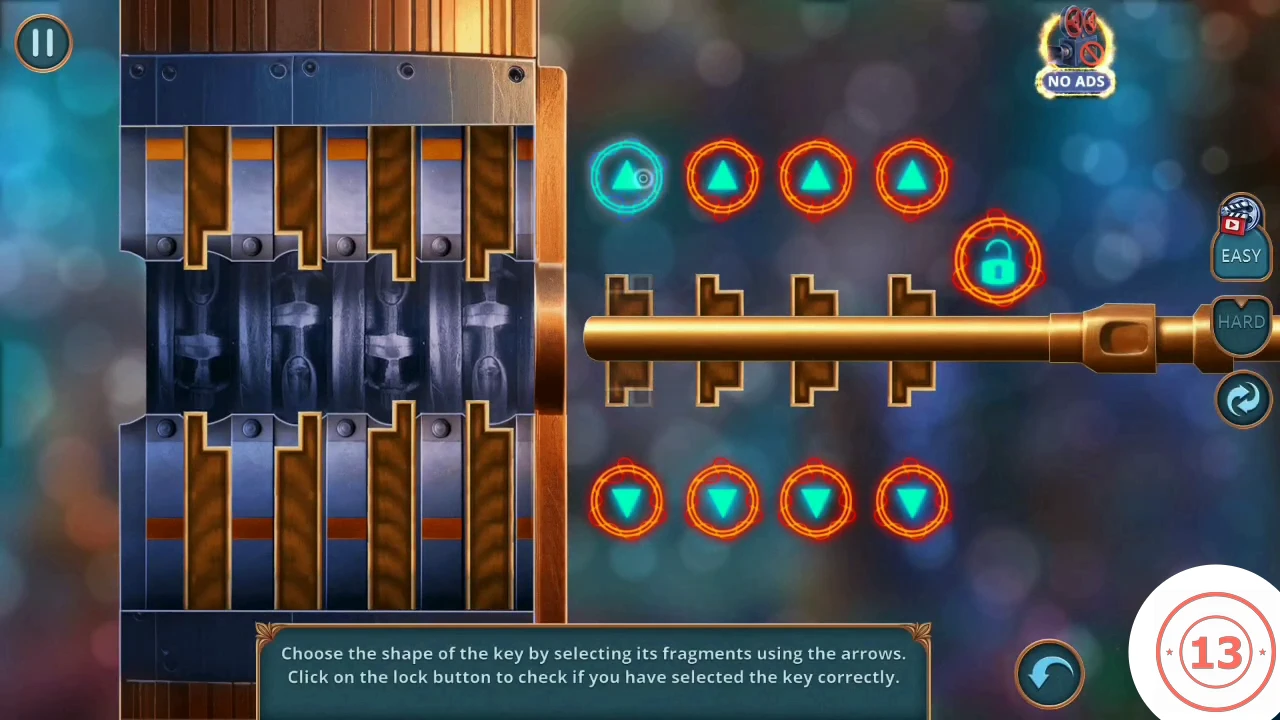
Choose the key shape that fits the lock pins, then test it.
- Open the study desk lamp close-up and use the spare keys on the desk lock.
- Press the arrows above and below the key to cycle each of the four tooth fragments. Match each tooth to the notch of the pin above and below it, then press the padlock button to test. When the key turns, the drawer opens: take the Pocket Watches (running count 10 of 70) and the Car Key.
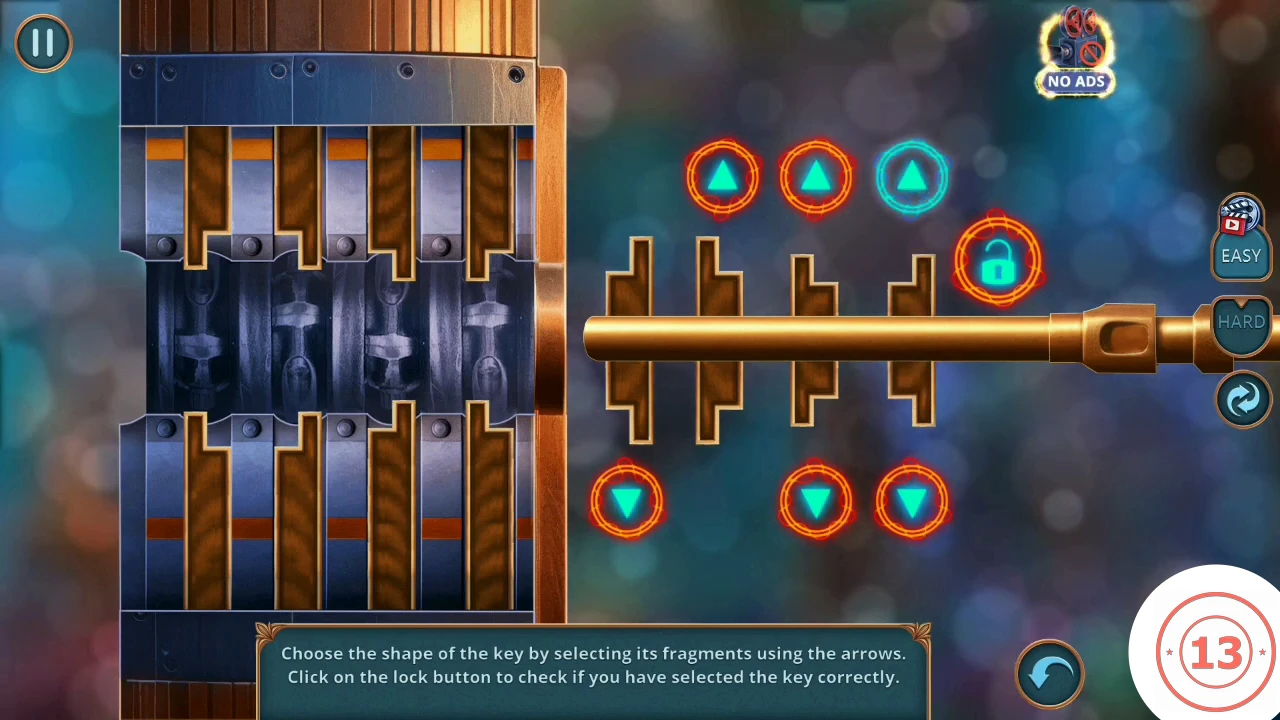
The key shape that fits this lock, just before testing it.
Grounds: the van and the motorcycle wheel
The orange van holds the pump's hose. The wheel puzzle follows, and its prize opens a box in the van.
- Unlock the van door with the Car Key. Open the close-up inside and take the Hose and the Pocket Watches there (running count 13 of 70).
- Open the Disassembled Pump in your inventory and add the Hose.
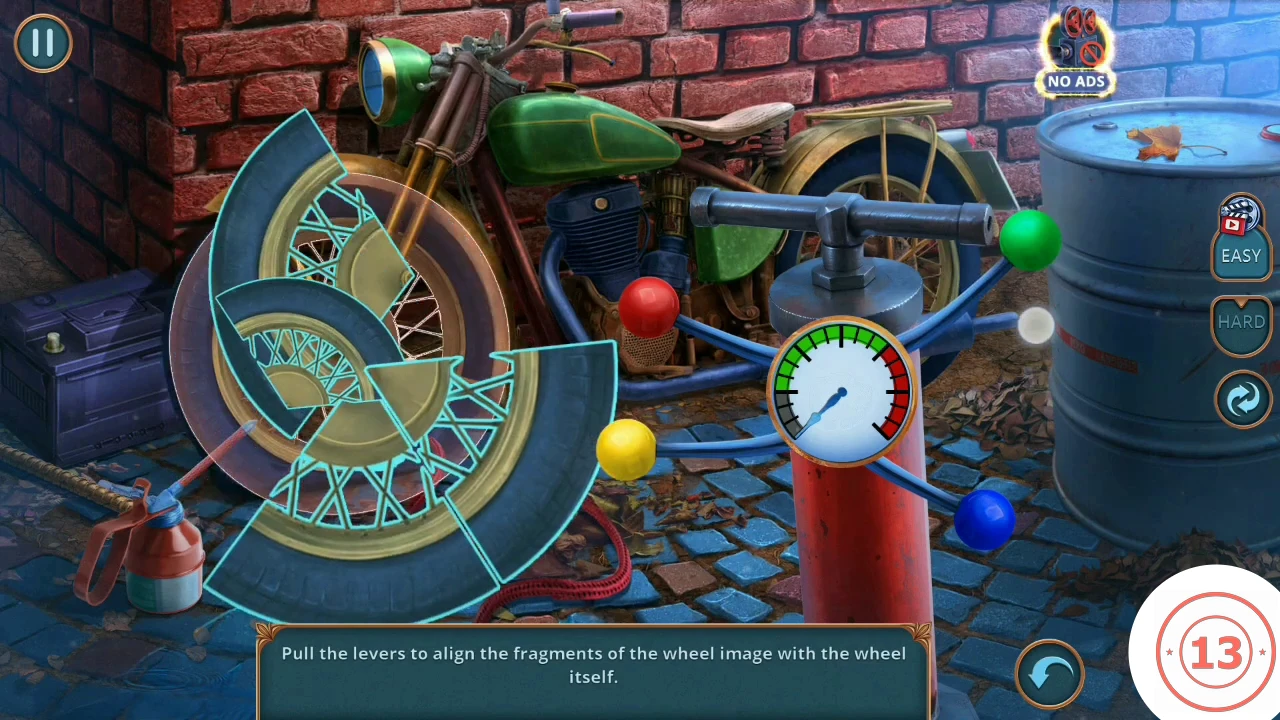
- Use the Air Pump on the motorcycle's flat tire. Pull the colored levers to rotate the wheel fragments. Each lever moves its own ring section. Line up all fragments with the wheel picture and keep the gauge in the green. Starting positions may vary, so go by the picture. The restored wheel gives you the Scissors.
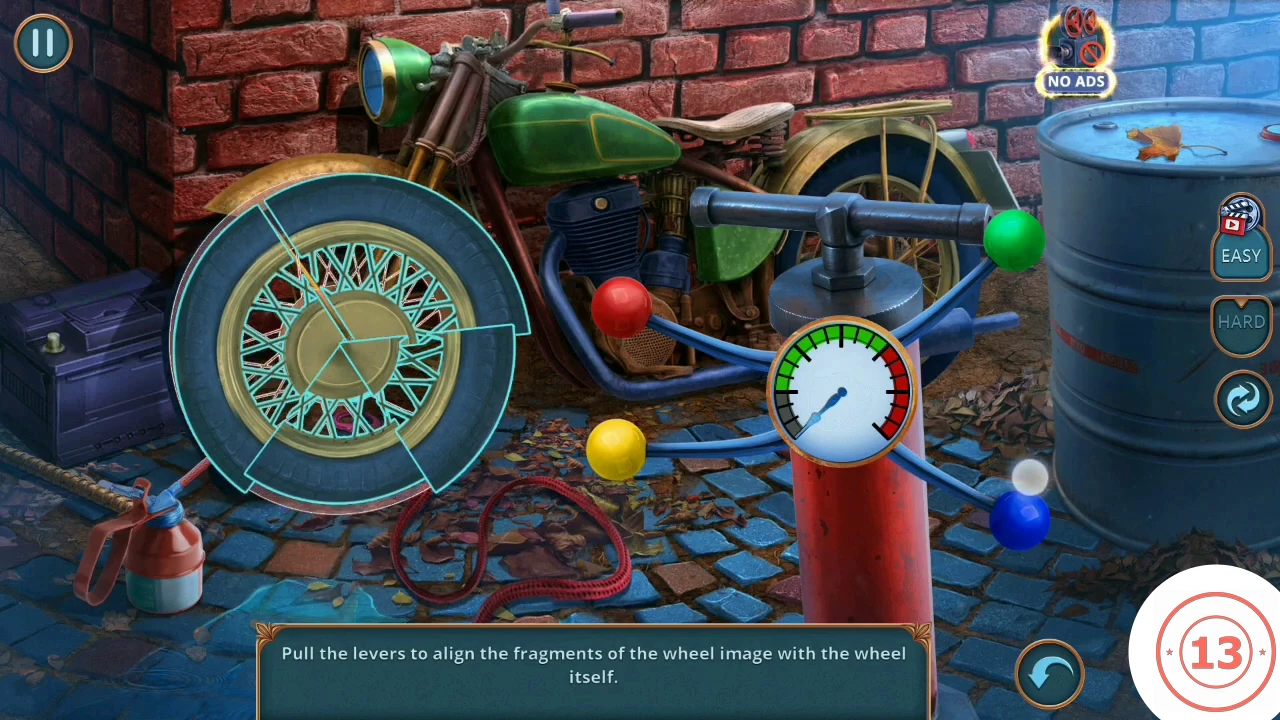
The wheel picture with its sections lined up. - Open the pink box in the van and cut it open with the Scissors. Take the Knight's Mace.
Library: the armor's pose
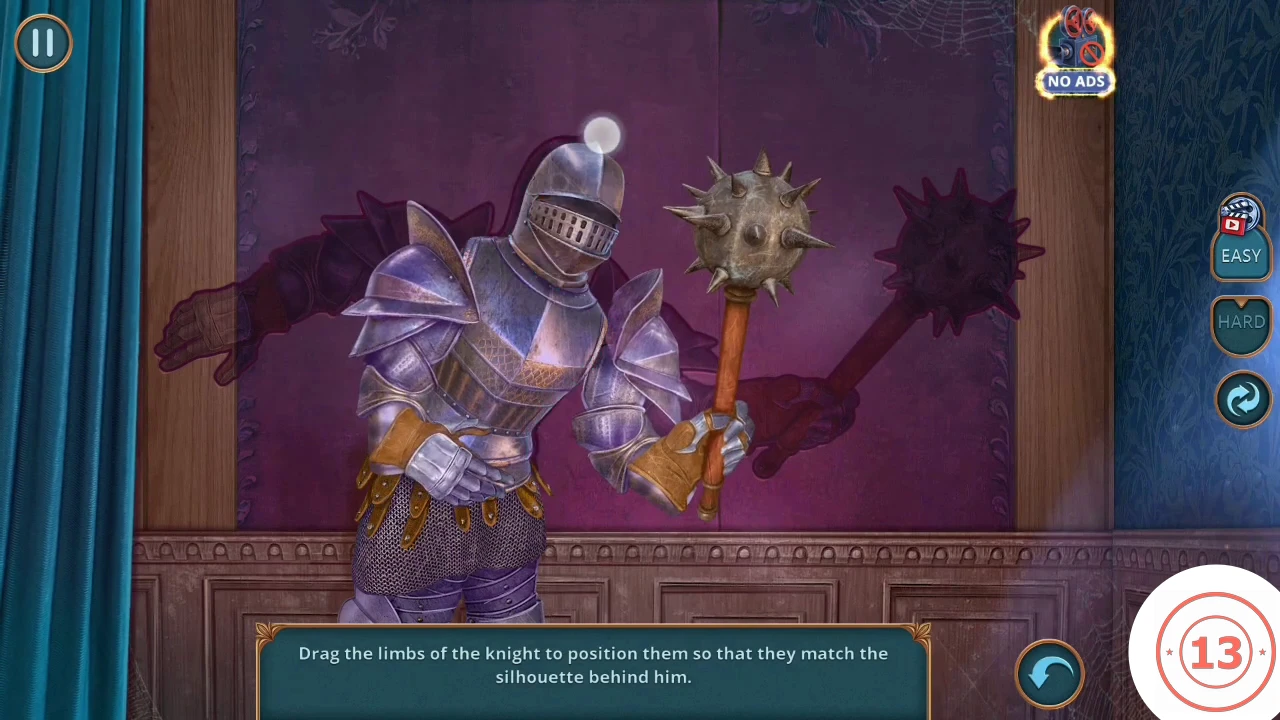
Pose the knight so it matches its shadow on the wall.
- Give the Knight's Mace to the armor in the library.
- Drag each limb (head, left arm, right arm, mace arm) until the knight's outline covers the silhouette behind him. A limb glows green when dragged. Finish with the mace arm stretched out to the upper right. The knight lowers his gauntlet; take the Gauntlet.
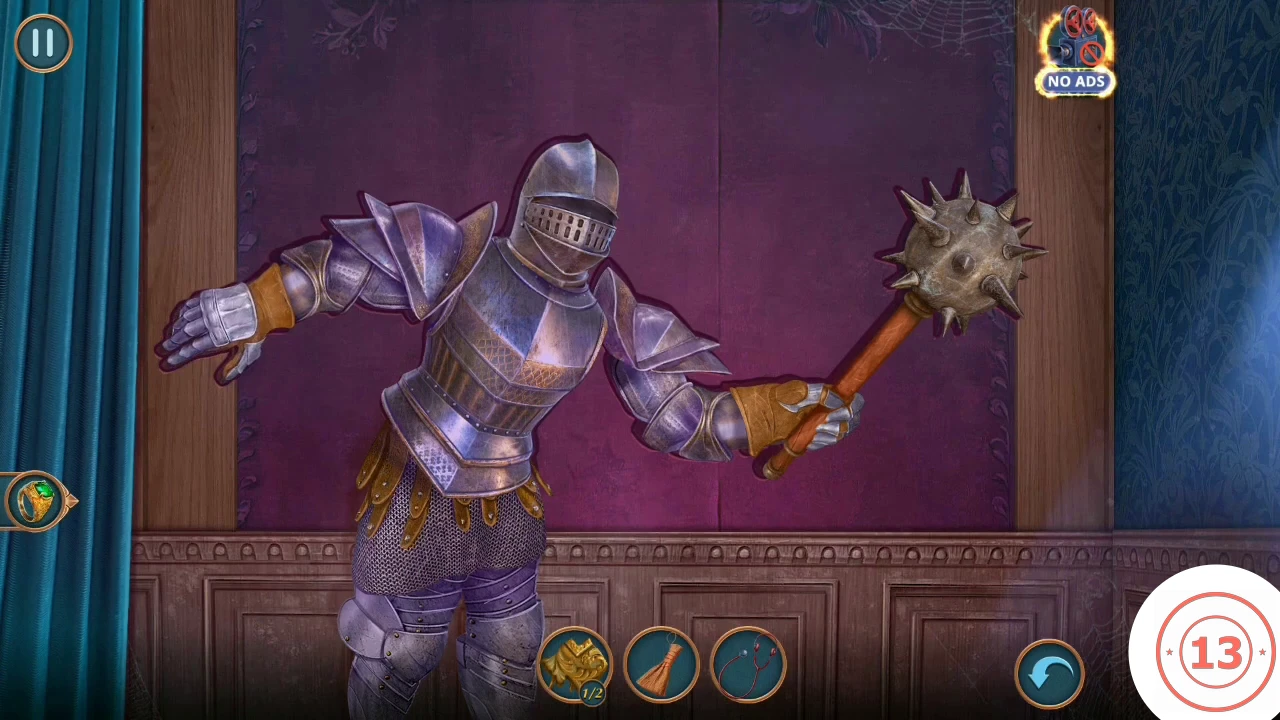
The finished pose, with the mace arm out to the upper right. - At the cactus box in the study, use the Gauntlet to reach into the spiky cactus. Take the Safe Handle.
Study: the green safe
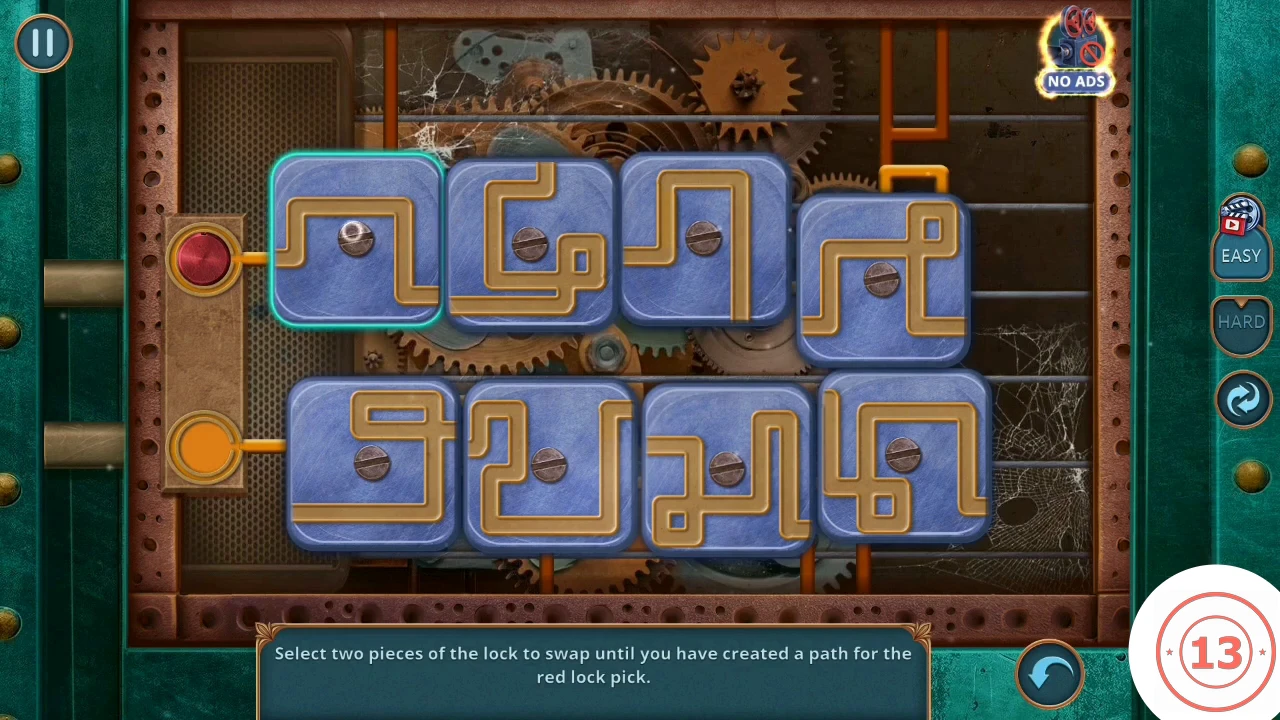
Swap the lock tiles until a path leads the red pick through.
- Open the green safe. Attach the Safe Handle, then use the Stethoscope.
- Select two tiles to swap them. Build a continuous path from the red lock pick on the left to the exit, then the same for the orange pick on the lower row. When the red dot runs through, the safe opens. Take the gold dancer figurine and the Pocket Watches (running count 15 of 70).
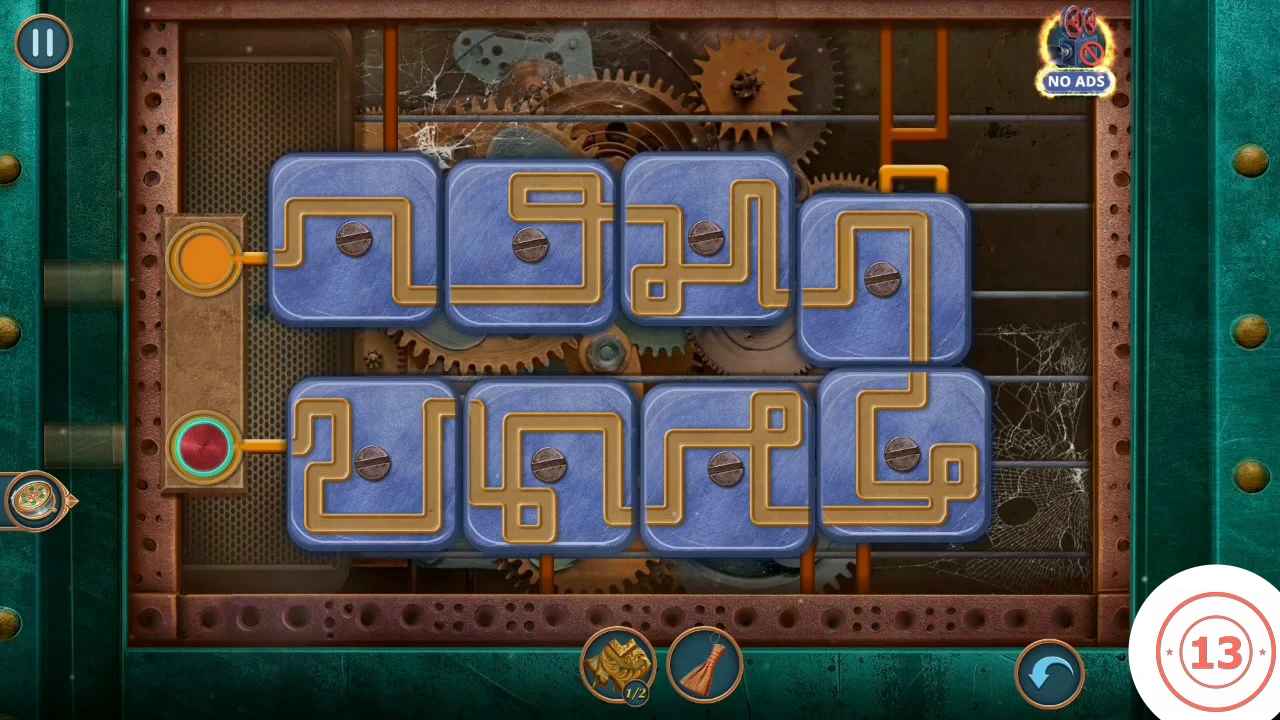
One finished arrangement of the tiles from our example.
Library: frame the painting
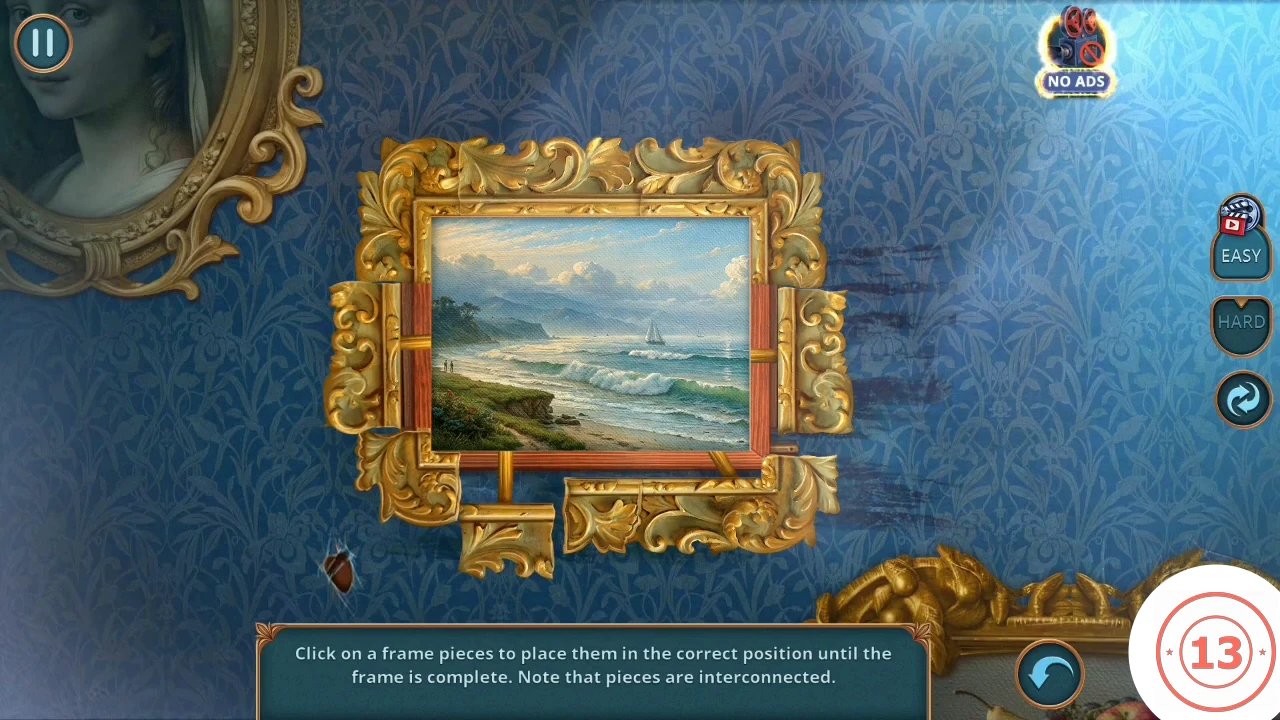
The dancer figurine and the Credit Card open the shelf with the second pattern part. The frame pieces then assemble on the painting. Taking the Thief Mask ends this location with no warning, so collect the watches, Trinket and Heirlooms at Greystone Hall first.
- Open the vase table. Put the gold dancer figurine in the shape on the green vase. A plate on the table drops open; take the Credit Card.
- Use the Credit Card on the double doors, then the Broom on the cobwebs behind them.
- Take Part of Pattern (2 of 2) and the Pocket Watches on the shelf (running count 17 of 70).
- Open the seascape painting and add both pattern parts.
- Click a frame piece to send it toward its place. Pieces are joined by rods, so moving one moves the piece linked to it. Settle corner pieces first, then the straight sides. The starting layout can differ, so this guide gives the method rather than a move list. When the frame closes, a hidden compartment behind it opens: take the Thief Mask.
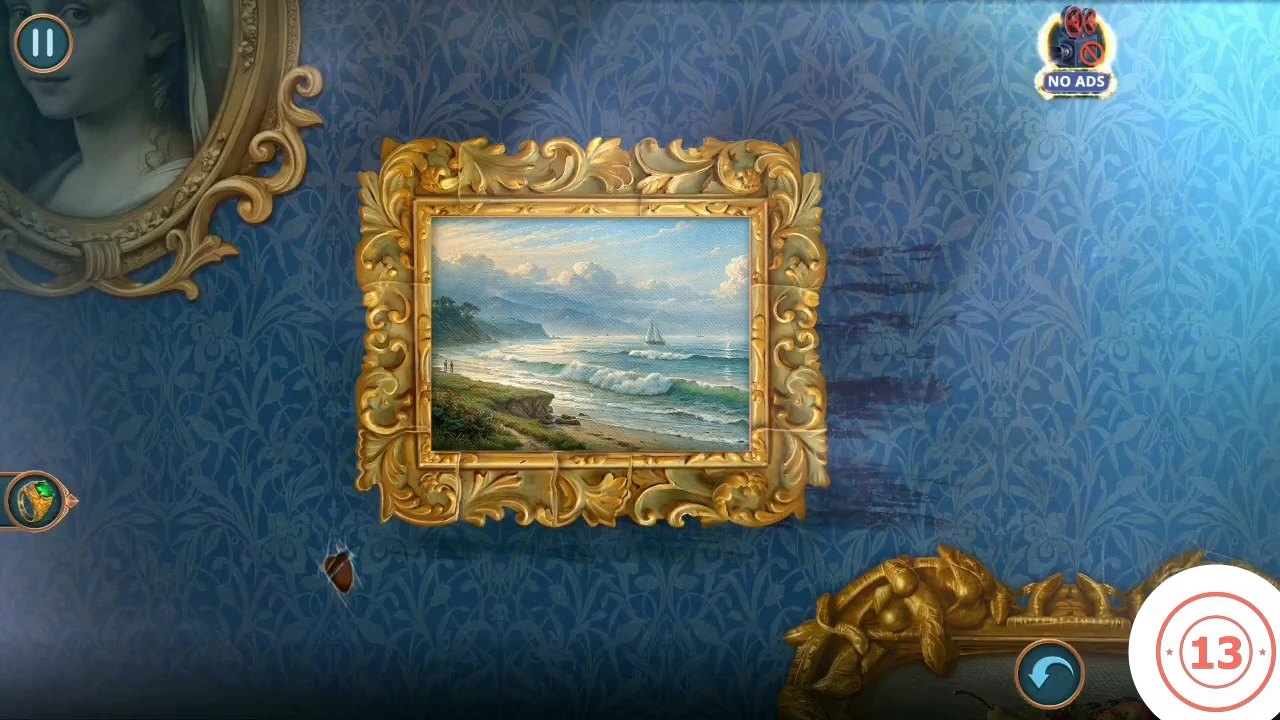
The completed frame. The hidden compartment then opens behind it.
Chapter summary and arrest
Your first Decision Points summary appears. A story scene then moves you to the police station.
- Read the summary, which reviews your five choices. Without the Deluxe museum choice, the maximum is 7 of 13.
- Close the summary. A story scene plays with no action from you: Gabriel holds up the Thief Mask, Oliver is found dead in the study, and Gabriel is arrested.