The Keeper's Cellar
Restore the power in the hidden cellar and search it.
- At the power box on the right, switch the power off, click the tangled cables so Amanda fixes them, then switch it back on.
- Collectibles: a faint animal at the top and a cat on the armchair on the right; morphing objects are the round plate at top right and the potted cactus on the left (Collector's Edition positions).
- Zoom in on the grain sack on the floor and take the safe knob.
- By the plants on the left, unzip the net curtain. Take the green first aid symbol and read the essence rules (do not mix liquids of different colours; watch the volume in the tubes). The rack is short of test tubes: "Some test tubes are missing here."
- Attach the safe knob to the large purple safe to start the rose puzzle.
The Rose Safe
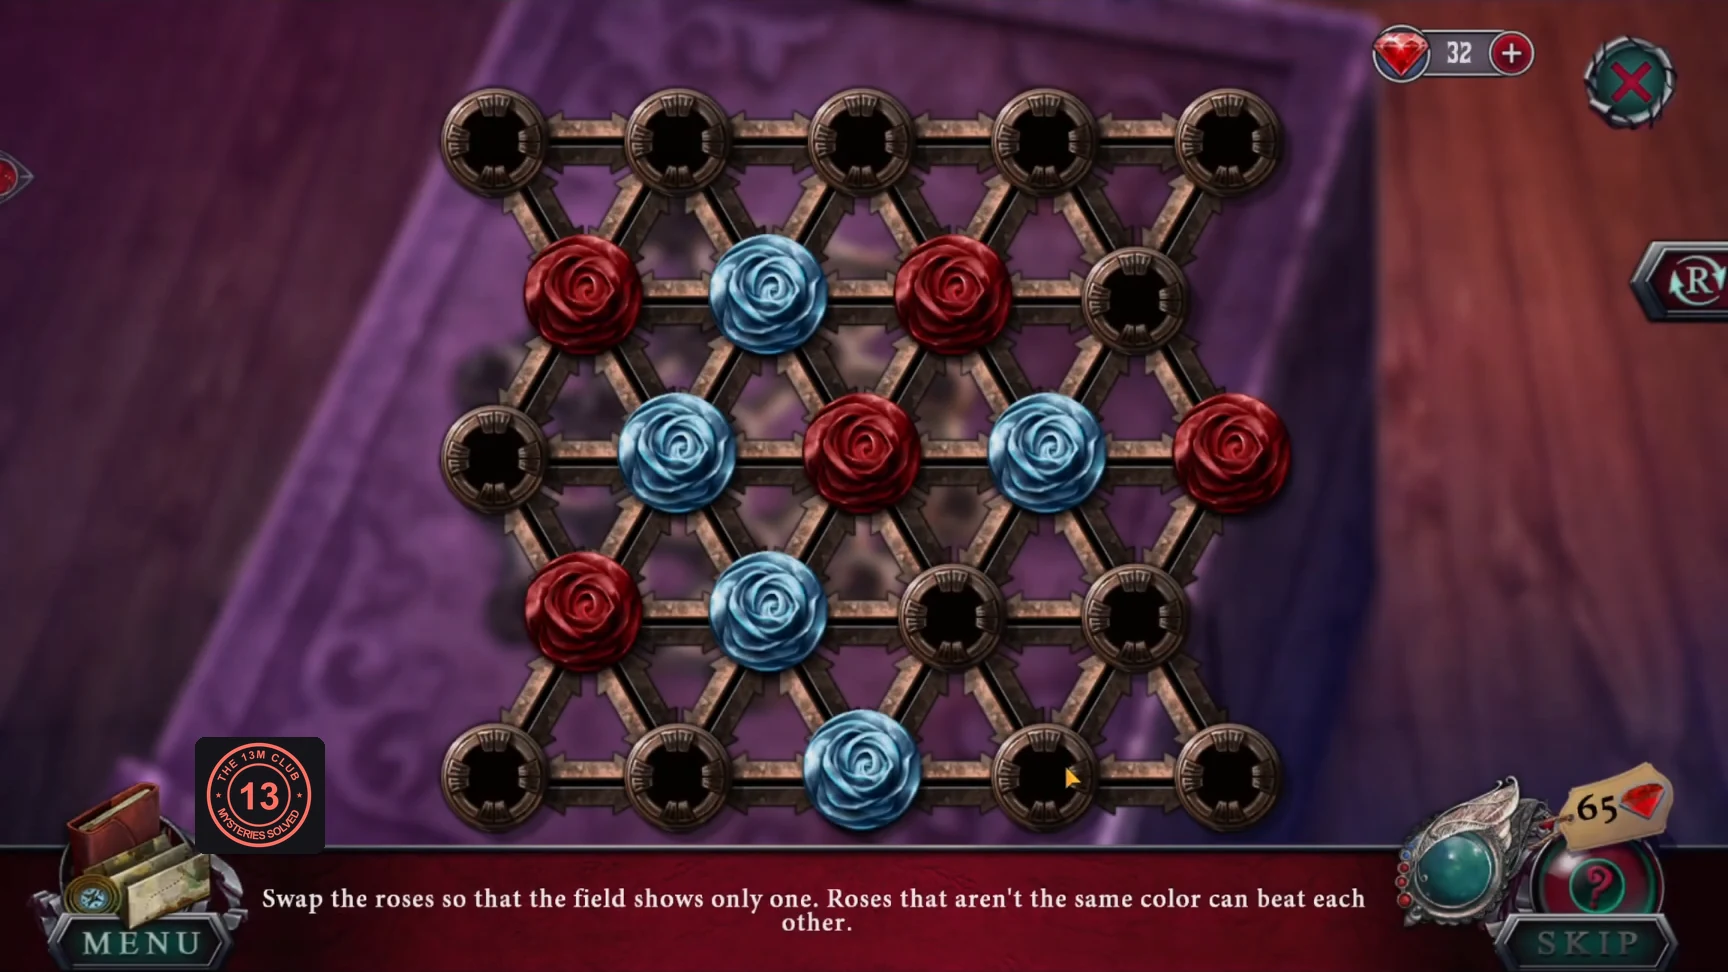
"Swap the roses so that the field shows only one. Roses that aren't the same color can beat each other." This is peg solitaire on a slanted grid. Select a rose and jump it in a straight line over a neighbouring rose of the other colour into an empty hole. The jumped rose disappears.
- Holes per row, top to bottom: 5, 4, 5, 4, 5 (numbered left to right). Start: row 1 empty; row 2 red, blue, red, empty; row 3 empty, blue, red, blue, red; row 4 red, blue, empty, empty; row 5 empty, empty, blue, empty, empty.
- Jumps 1-5: row 2 #2 blue over row 2 #3 into row 2 #4; row 3 #5 red over row 2 #4 into row 1 #4; row 4 #2 blue over row 3 #3 into row 2 #3; row 1 #4 red over row 2 #3 into row 3 #3; row 2 #1 red over row 3 #2 into row 4 #2.
- Jumps 6-9: row 5 #3 blue over row 4 #2 into row 3 #2; row 4 #1 red over row 3 #2 into row 2 #2; row 3 #4 blue over row 3 #3 into row 3 #2; row 2 #2 red over row 3 #2 into row 4 #1. One red rose remains. The safe opens, and the unconscious Keeper is inside.
Waking the Keeper (Test Tubes)
Objective "Wake the Keeper". The note says "To revive a person, use only blue essence!"
- Take test tube 1 from the Keeper's belt.
- At the brick shelf on the back wall, click the brick marked with a cross to reveal the medicine box, and take it. Open it with the first aid symbol, read the note ("To revive a person, use only blue essence!") and take test tube 2.
- Place both test tubes in the rack by the plants.
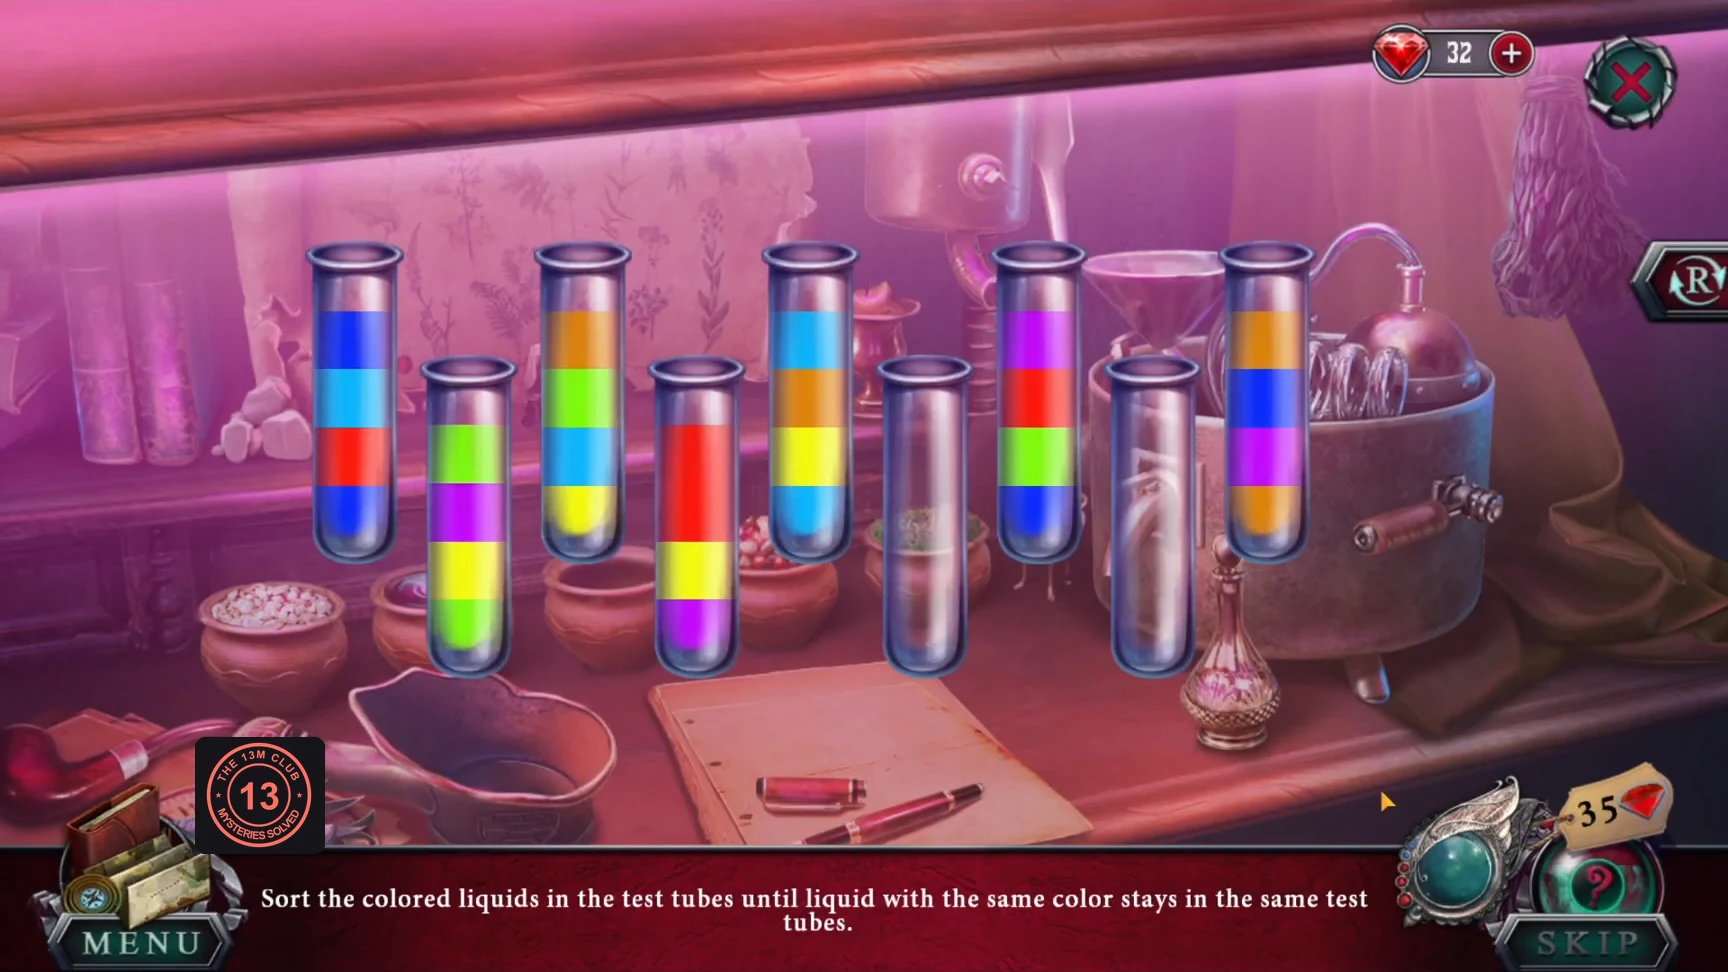
- "Sort the colored liquids in the test tubes until liquid with the same color stays in the same test tube." There are 9 tubes, each holding 4 layers. You can only pour onto the same colour or into an empty tube.
- Observed start (top to bottom; tubes 1-9 left to right): 1 dark blue, light blue, red, dark blue; 2 green, purple, yellow, green; 3 orange, green, light blue, yellow; 4 red, red, yellow, purple; 5 light blue, orange, yellow, light blue; 6 empty; 7 purple, red, green, dark blue; 8 empty; 9 orange, dark blue, purple, orange.
- Example solution (from-to): 1-6, 4-8, 5-1, 9-5, 9-6, 7-9, 7-8, 2-7, 2-9, 4-2, 9-4, 3-9, 3-7, 1-3, 1-8, 1-6, 5-9, 5-2, 3-5, 2-3, 7-2, 6-7. Your starting layout may differ; the same rules apply. When the essences are sorted, take the blue essence.CODE1-6, 4-8, 5-1, 9-5, 9-6, 7-9, 7-8, 2-7, 2-9, 4-2, 9-4, 3-9, 3-7, 1-3, 1-8, 1-6, 5-9, 5-2, 3-5, 2-3, 7-2, 6-7
- Give the blue essence to the Keeper. He explains that imposters in Order robes locked him up. Use your amulet when a fake member attacks.
The Keeper's Second Slides
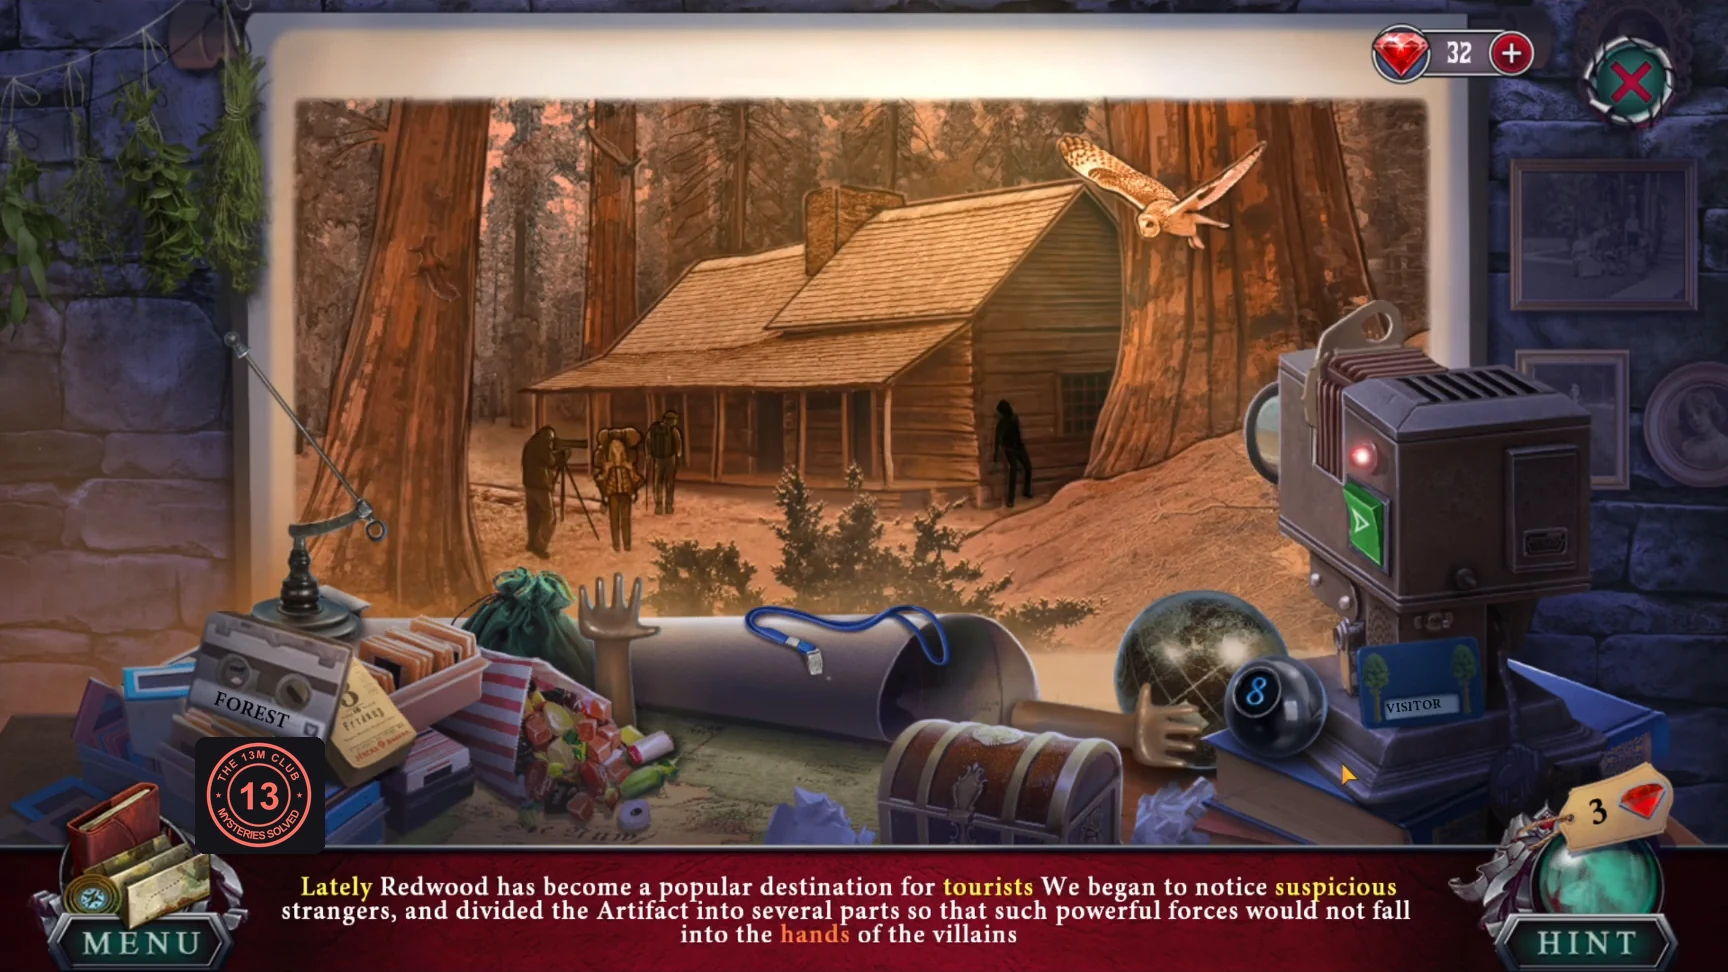
Objective "Finish watching the slides". Put the new slides in the projector upstairs. Highlighted words name objects to find. Orange words need an action.
- Slide 1: Lately, tourists, suspicious, hands. Drag the right hand to the left hand.
- Slide 2: victim's, freezing, Forest, planet. Drag the globe from the tray.
- Slide 3: predictions (magic 8-ball), imposters, visitors, stopped. Place the stop sign and drag the blue badge.
- Take the cassette. The Keeper explains the forest microphones, gives you the spare key to Tina's house and leaves for the last Artifact part (objective "Listen to forest audio recordings").
Great-Aunt Tina's House
Find the other cassettes and a way to play them.
- Unlock Tina's house with the key and enter. Collectibles: animals on the top shelf on the left and near the chair at bottom right; morphing objects are the fan/clock on the wall and the heart box on the floor (Collector's Edition positions).
- Read the newspaper clipping by Gray's doghouse. At the doghouse, sweep the cobwebs off Gray's bowl with the broom and take the bowl ("Gray, I'm starting to suspect that you are not an ordinary dog!").
- Send Gray into his doghouse. He comes back with cassette 2.
- At the round central table, take the manicure set. Pour the medicine from the bottle with the hedgehog tag into Gray's bowl.
- In the wardrobe, hang up every piece of clothing ("Part of my great-aunt's disguise, I suppose.") and take the manicure key from the coat. Unlock the manicure set: take the scissors and cassette 3 from its drawer.
- At the left desk, read the letter about the forest recordings and take the light bulb from the desk lamp. The tape player needs all the cassettes.
Tina's Desk Search
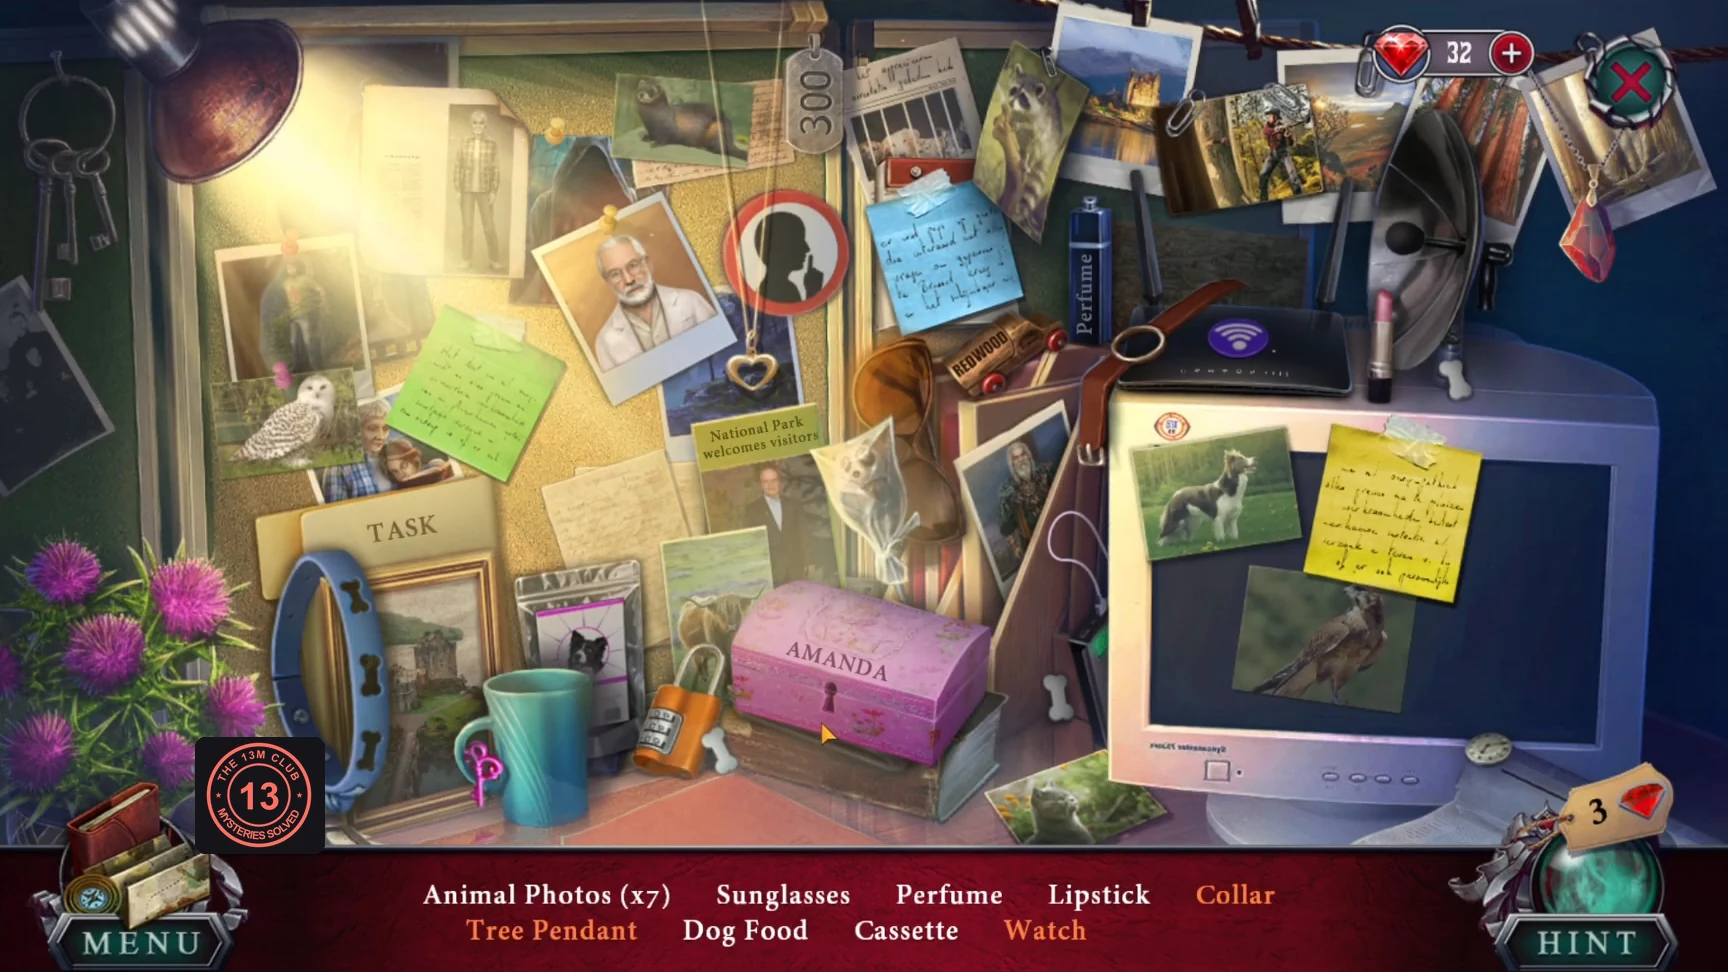
Put the bulb in the lamp on the far desk. Find the listed items. Orange names need an extra step.
- List: Animal Photos (x7), Sunglasses, Perfume, Lipstick, Collar, Tree Pendant, Dog Food, Cassette, Watch.
- Collar: find the small bone symbols lying around the desk and put them in the empty slots of the blue dog collar. Tree Pendant: take the pink key from the mug handle, unlock the pink "AMANDA" box and read the letter inside, then collect the tree pendant. Watch: attach the loose clock face to the brown strap. Finishing the list gives you the last cassette.
The Forest Recording (Wave Sync)
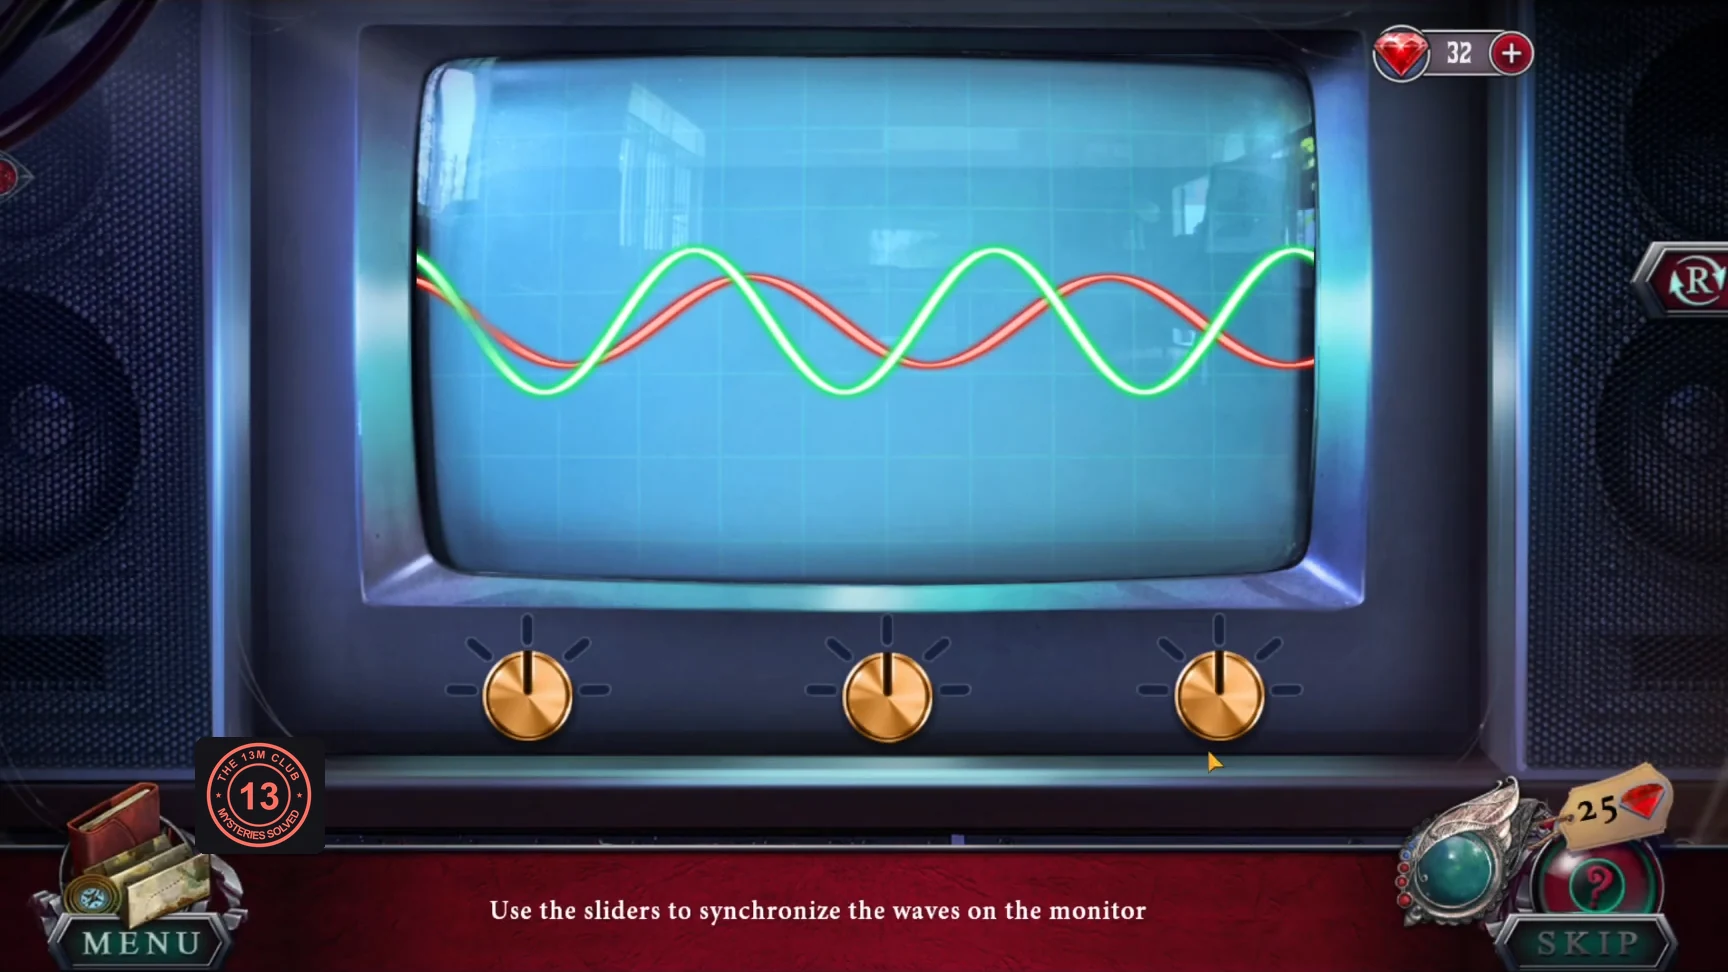
Put all four cassettes in the player on the left desk. "Use the sliders to synchronize the waves on the monitor."
- Turn the three dials to change the green wave's height, spacing and sideways shift until it lies on top of the red wave. The settings are found by eye.
- Listen: the poachers say Mallor told them to take the animals. Your phone is dead again (objective "Call the Sheriff").
Tina's Notes
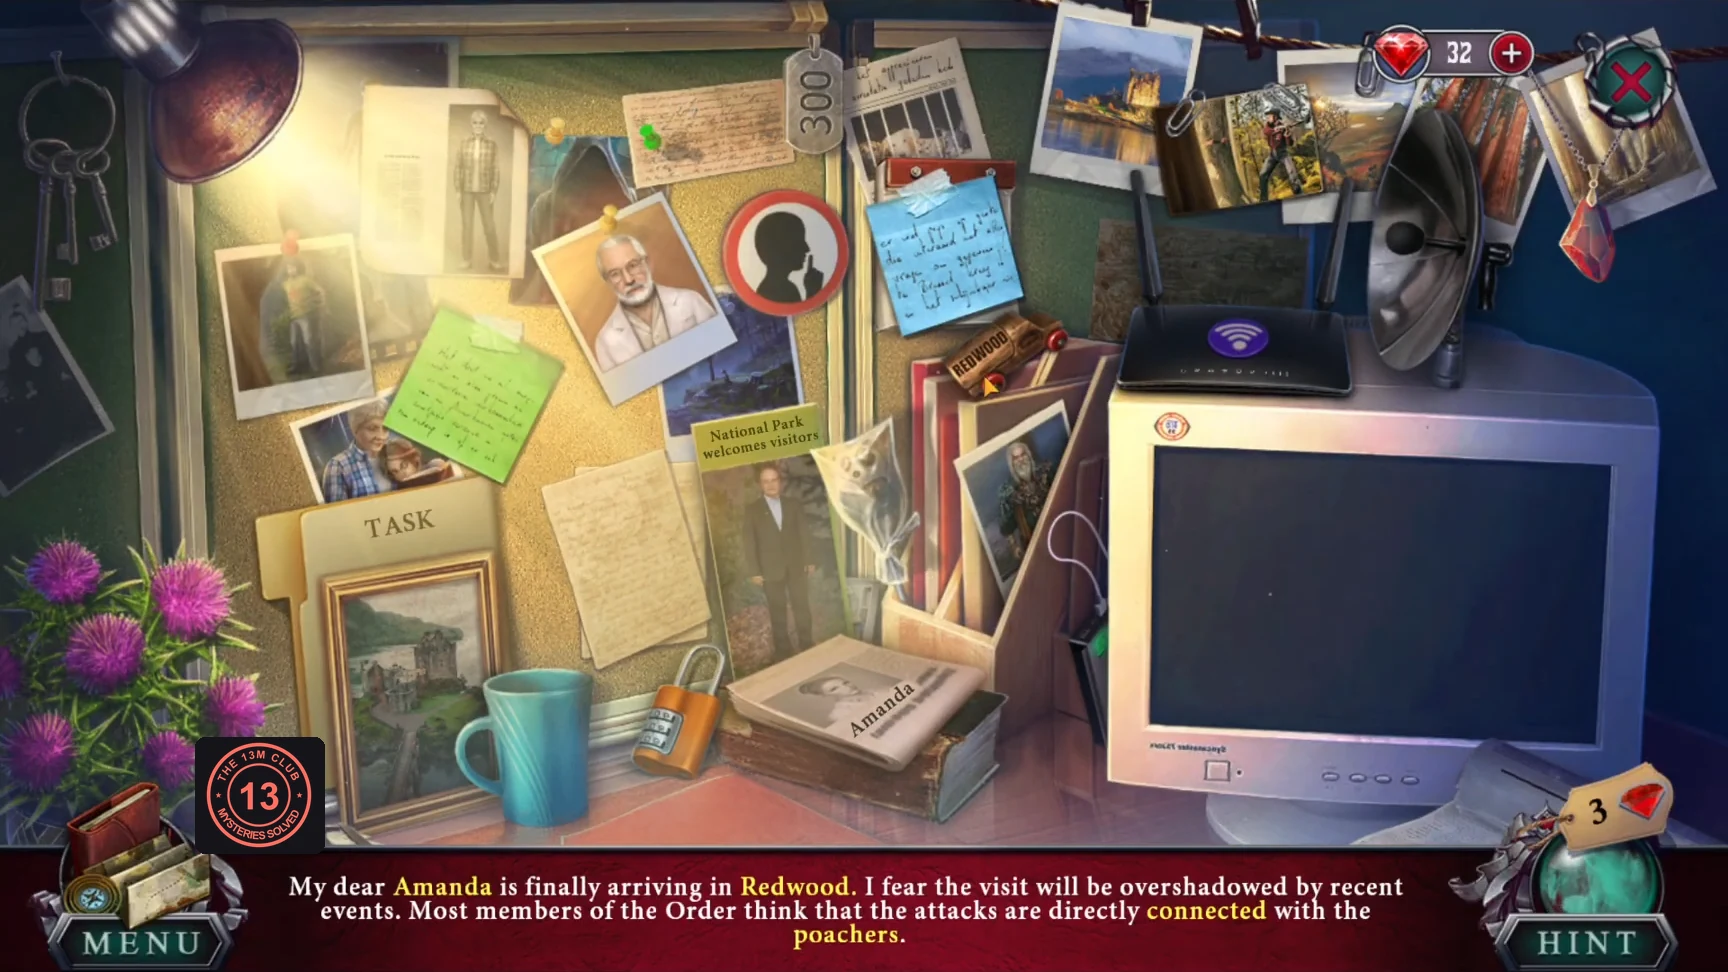
Three sticky notes on the far desk have highlighted words. Click the matching objects.
- Click each note in turn; its text appears at the bottom with highlighted words. Find a desk object for each highlighted word. Yellow note: Amanda, Redwood, connected, poachers. Blue note: Finch, locked, activists, Mallor. Green note: Keeper, microphones, task, charged. Words in a different colour need an extra action before the object can be taken. Completing the last note gives you the phone charger.
- Charge the phone and call the sheriff: "Meet me at Mallor's office in the main square. A monorail runs from the village to there."
The Hedgehog on the Rails
A hedgehog with a cup stuck on its head blocks the monorail.
- At the rails behind the tram, cut the cup off the hedgehog with the scissors and give it the bowl of medicine.
- Ride the monorail to the director's office area.