The Park Office Grounds
The Bonus Chapter (the "Bonus Game" in the game's messages) unlocks once you finish the main game. In the Collector's Edition, a message after the ending says it is now available: choose Extras on the main menu, pick Bonus Chapter, press Play and choose a difficulty. In the free version, press Play and choose Bonus Chapter instead of Main Game. Amanda is now the park director, and a hurricane is coming.
- Watch the intro. Move Amanda's phone aside and take the office key. "There's no cell reception. I'll try to get through from the landline phone in the office."
- Collectibles (Collector's Edition): an animal on the roof ridge at top left, a triangle sign on the tram kiosk, something in the grass by the lodge stairs and a backpack under the picnic table.
- At the information board by the train, take the walking stick and the metal tubes.
- At the bear statue, use the walking stick to pull the pencil case out of the branches.
- At the office door, read the closure note and take the tape. Unlock the door with the office key.
Inside the Park Office
Someone is in the dark hall: Dr. Finch, sheltering from the storm.
- Flip the light switch on the left. Talk to Dr. Finch and take the wet notes: "They won't be ruined if I let them dry".
- Collectibles (Collector's Edition): two animals on the balcony and a morphing object by the fishbowl table. A second morphing object (a stair baluster) appears after you take the ladder.
- At the left desk, take the thermal cup.
- At the right desk with the phone, put the chopsticks into the takeout box and take the seafood lunch. Take the empty bag.
- Drop the seafood into the fishbowl to distract the crab and take the animal token.
- At the TV, fit the metal tubes to the antenna and fasten them with tape. Take the note with the landline emergency number (569-9025).CODE569-9025
- Put the animal token in the empty slot of the wall map with animal figurines. The map puzzle starts later.
- Open the cabinet of lettered drawers on the right.
The Drawer Cabinet (Part 1)
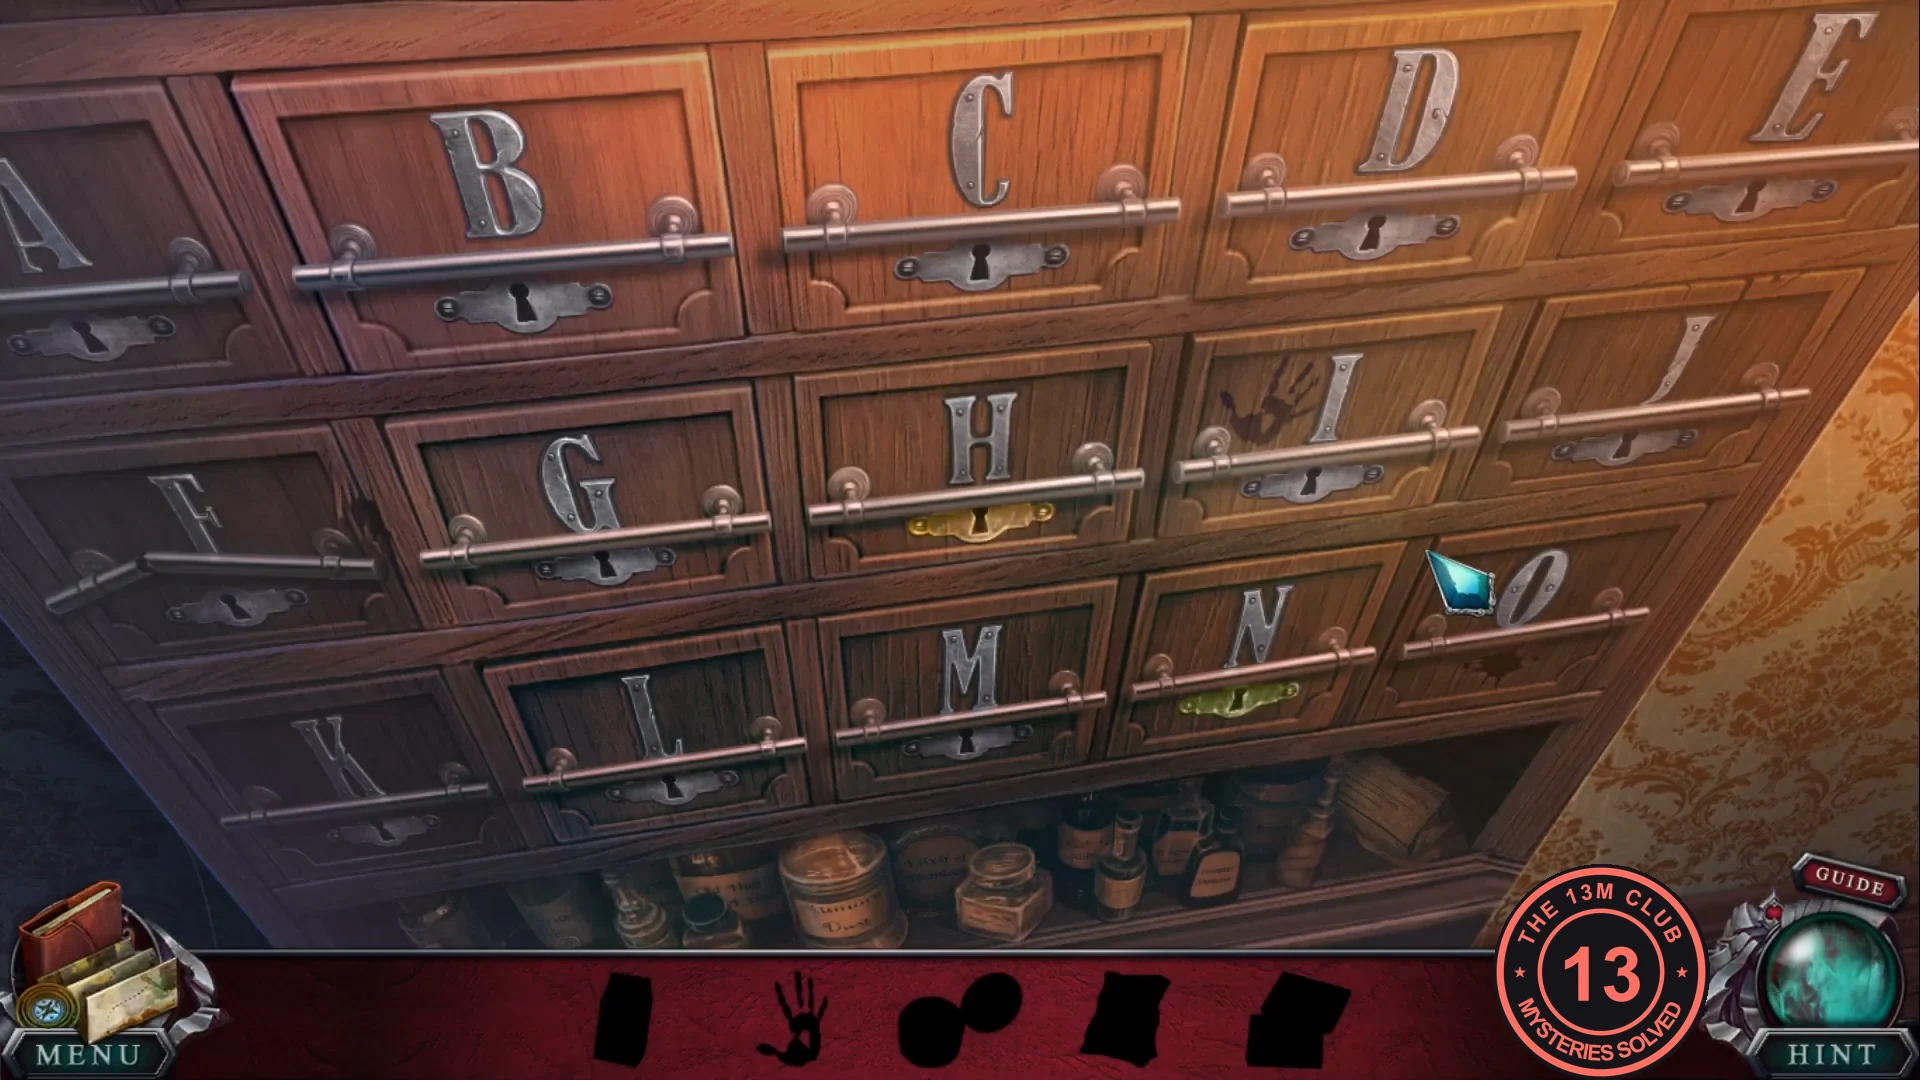
A hidden-object search in a cabinet of drawers lettered A-O. The bar at the bottom shows silhouettes of the items to find.
- Open drawers and click each item that matches a silhouette. New silhouettes replace the found ones.
- The last silhouette is the bear claw. Take the gold key from the open tin in the upper-right drawer and unlock the lower drawer under drawer I. Take the bear claw.
Calling the Sheriff
Repair the landline and call for help.
- Take the ladder from the hall.
- Outside, place the ladder against the toy-theatre roof. Take the brush and wrench from the toolbox.
- Attach the bear claw to the bear statue and take the wire from its mouth.
- At the phone desk, connect the wire to the receiver and place the emergency number. Amanda calls the sheriff.
- Talk to Dr. Finch: he will check the trailer camp, and you will check Tina's settlement.
- Outside, talk to Finch at his bicycle ("This darn bike chain keeps falling off!"). Open the saddle bag and take the scissors.
- At the left desk, cut the gift-box ribbon with the scissors. Read the card from the Children of the Forest and take the hair dryer.
- Plug the hair dryer into the socket by the TV, place the wet notes under it and dry them. Read the file and take the photos of footprints.
- Put the footprint photos on the wall map.
The Animal Map
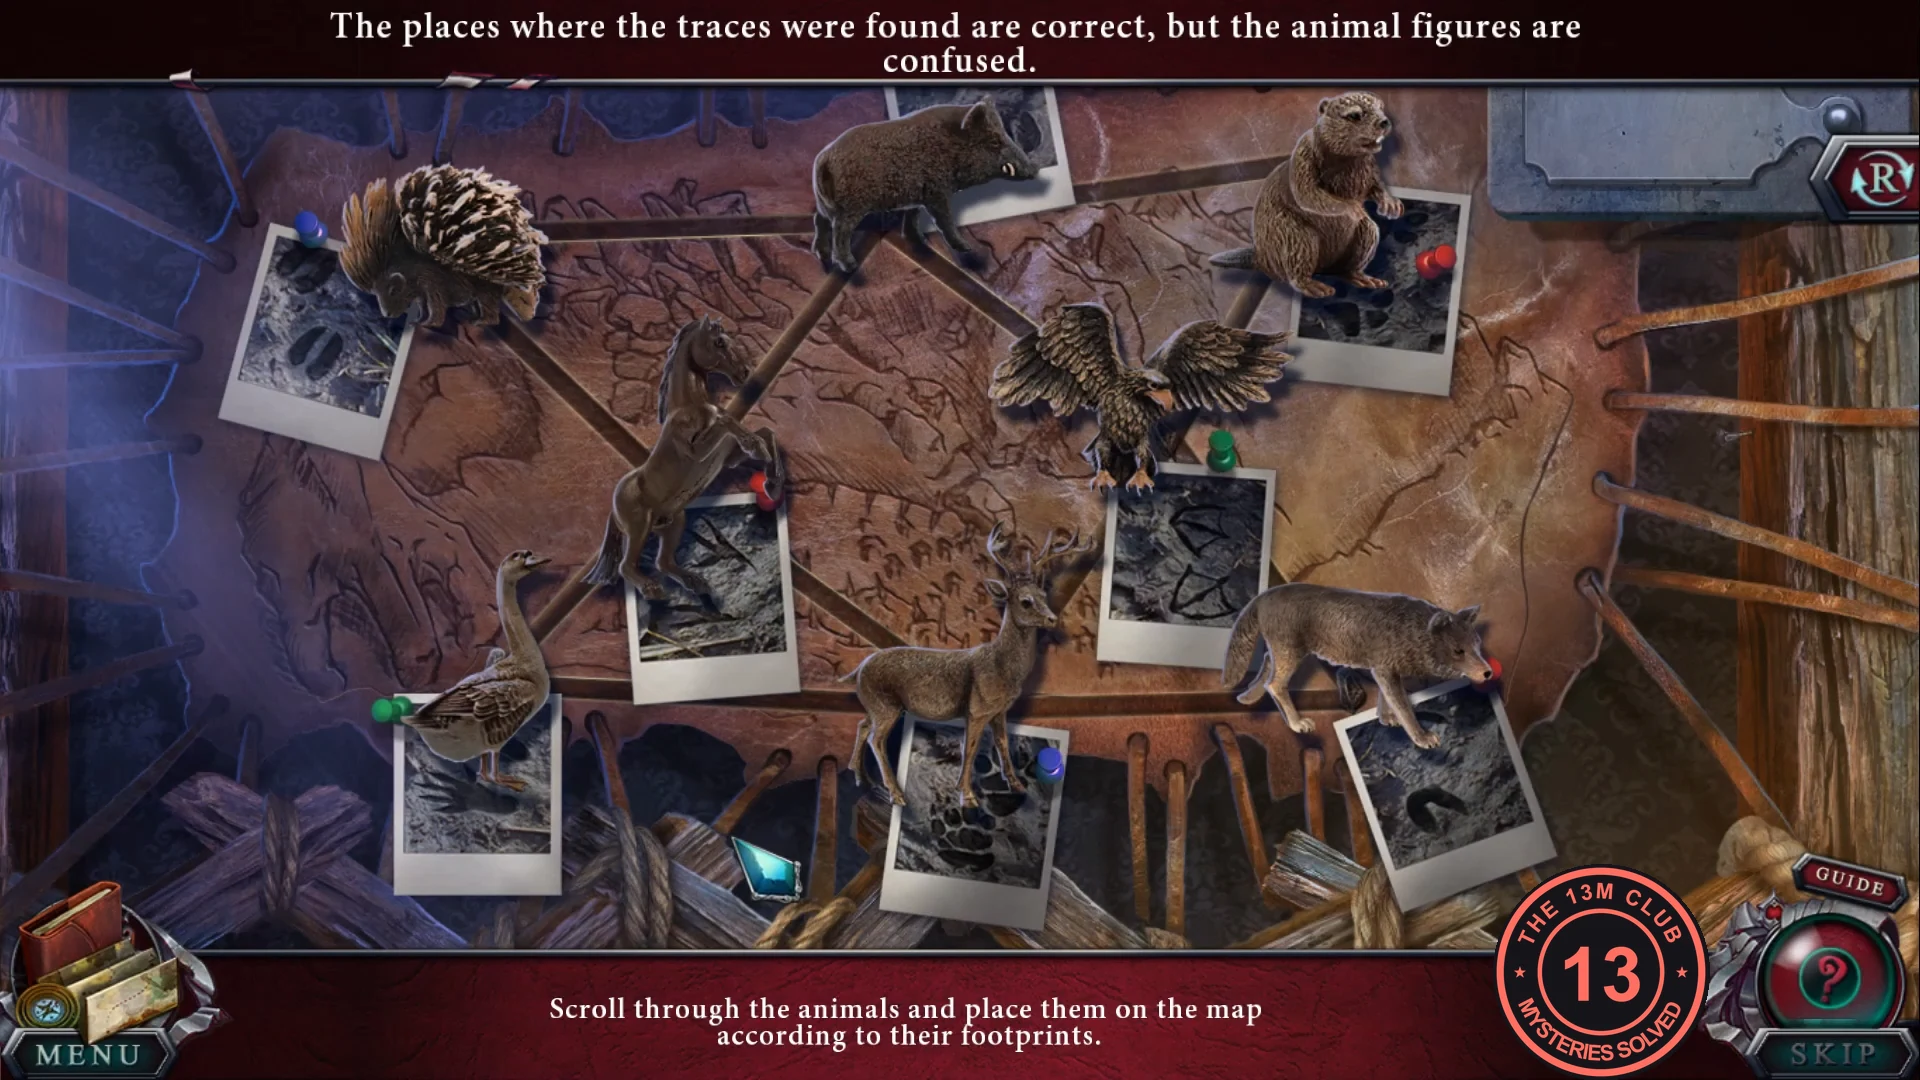
"Scroll through the animals and place them on the map according to their footprints." Eight animals sit on eight fixed spots: top-left, top, top-right, inner-left, inner-right, bottom-left, bottom and bottom-right. Four triangles each rotate three animals: A (upper-left: top-left, inner-left, top), B (upper-right: top, top-right, inner-right), C (lower-left: inner-left, bottom-left, bottom) and D (lower-right: bottom, inner-right, bottom-right). The first image marks the four triangles. Correctly placed animals glow blue. R resets.
- Starting layout: top-left porcupine, top boar, top-right beaver, inner-left horse, inner-right eagle, bottom-left goose, bottom deer, bottom-right wolf. Goal: top-left boar, top deer, top-right wolf, inner-left eagle, inner-right goose, bottom-left beaver, bottom porcupine, bottom-right horse.
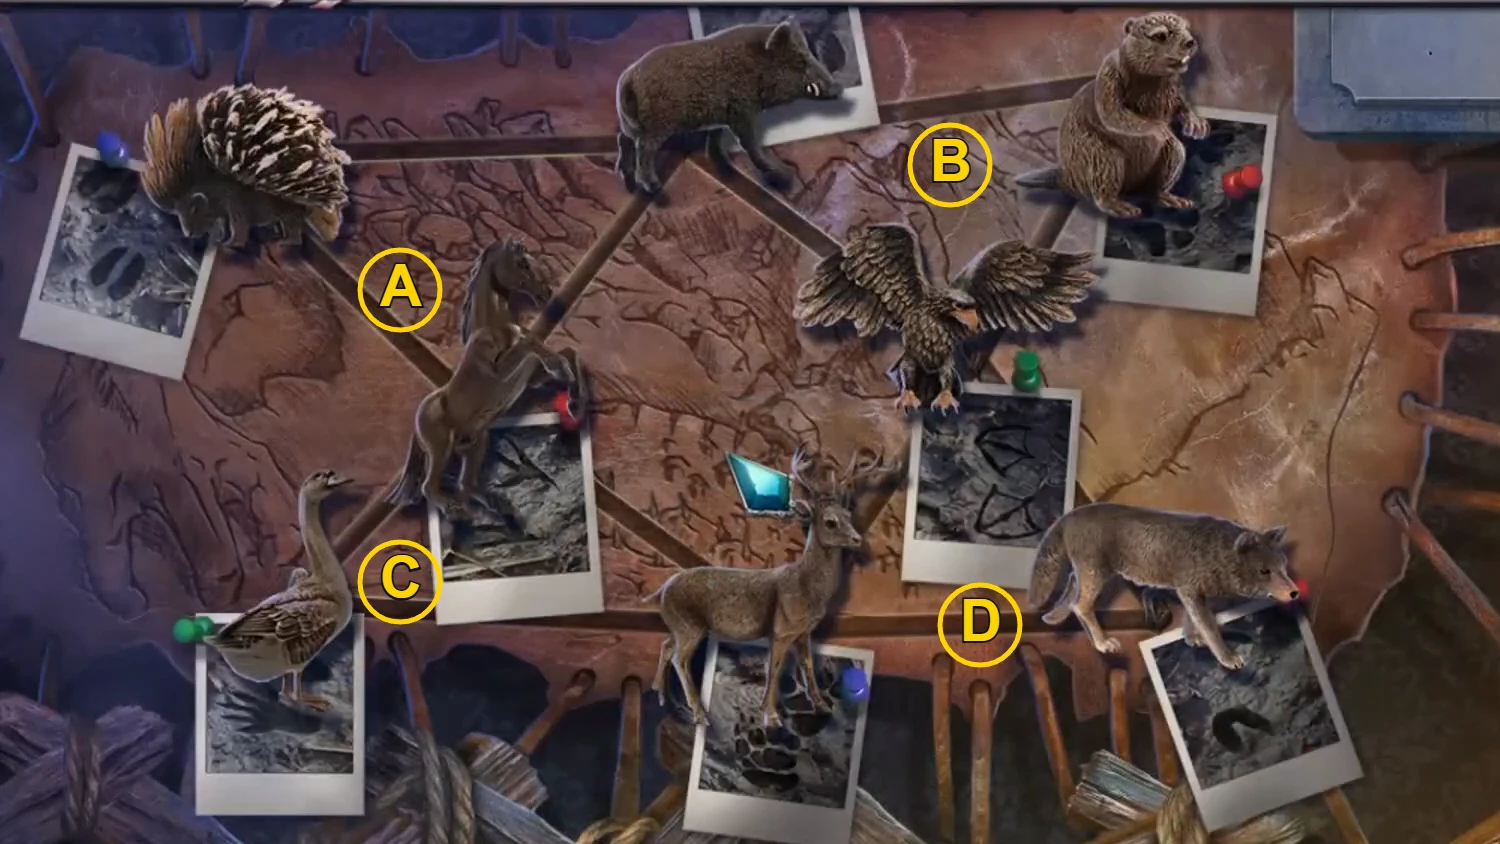
Triangles A to D. Clicking one rotates its three animals. - Click the triangles in this order: A, D, D, B, D, D, B, C, D, C.CODEA, D, D, B, D, D, B, C, D, C
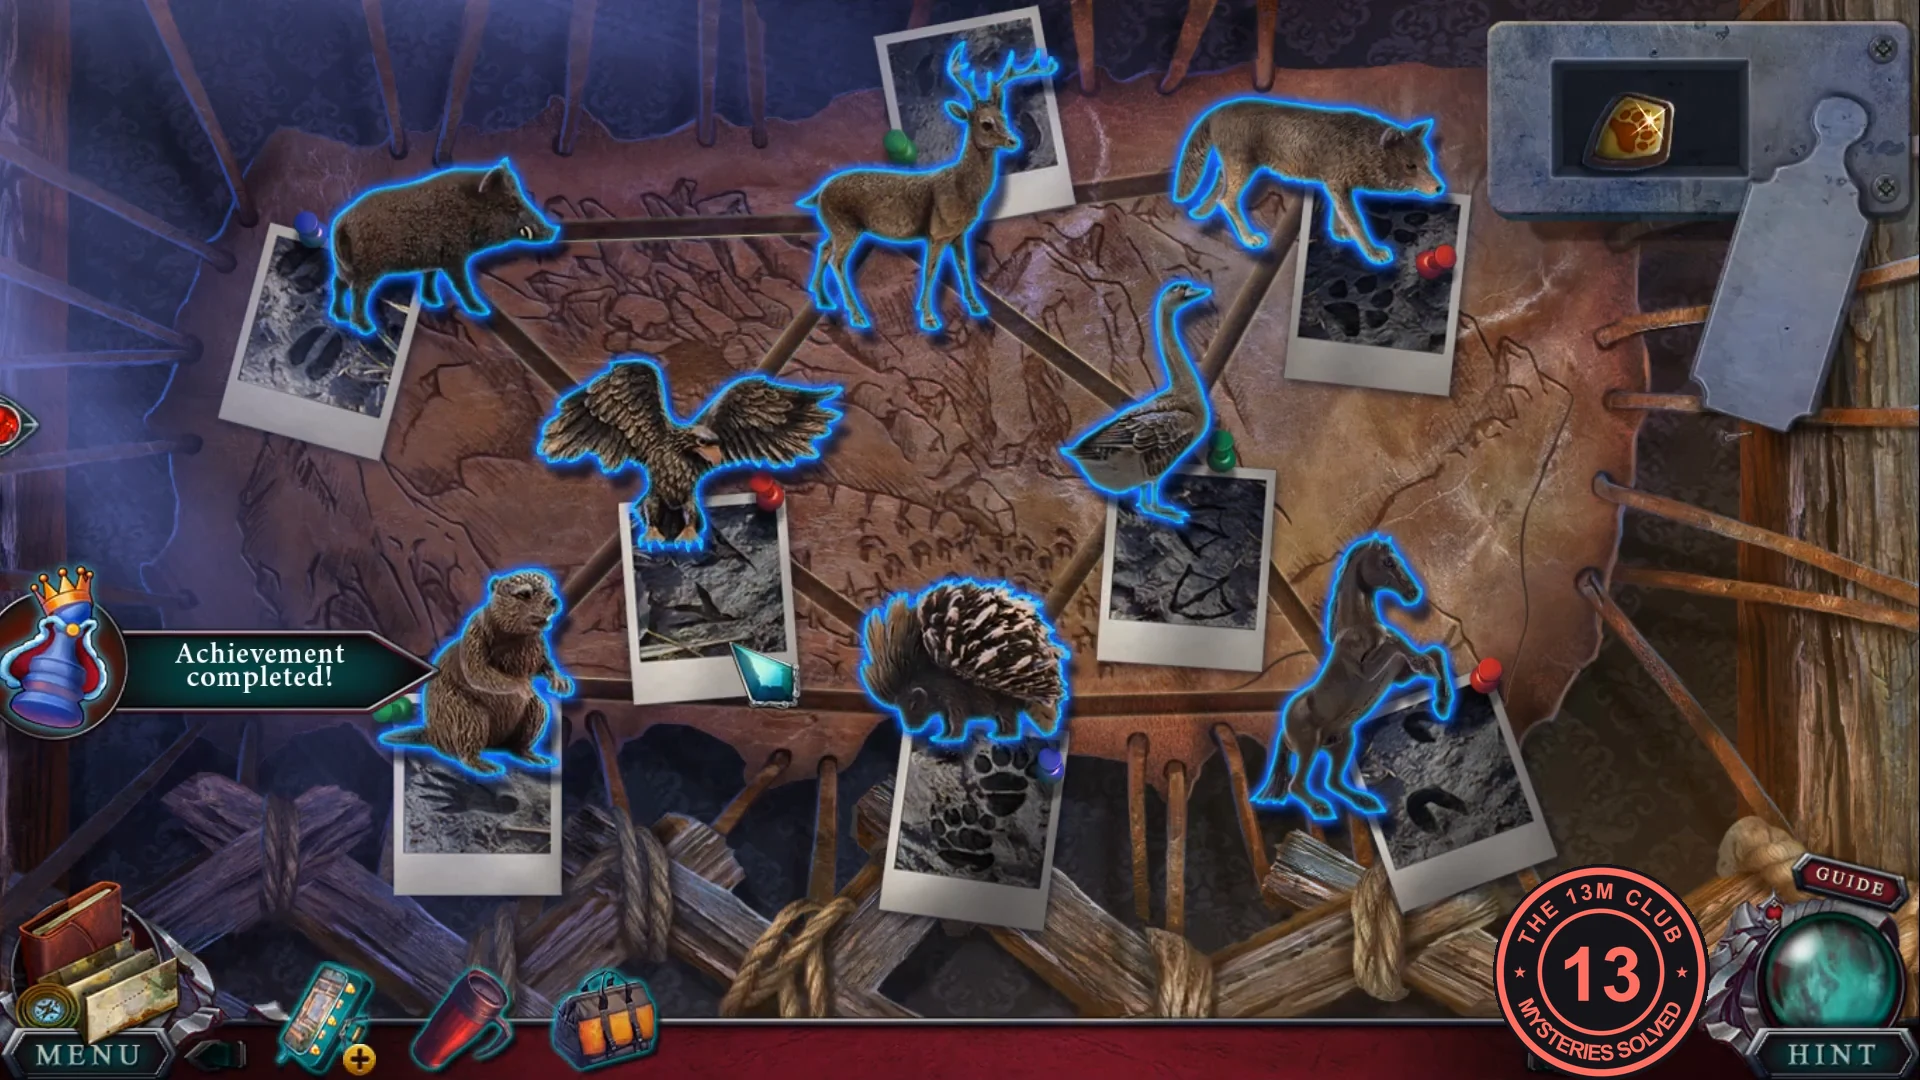
Solved: every animal glows, and the scout badge is in the compartment. - The top-right compartment opens. Take the scout badge.
The Scout Pencil Case
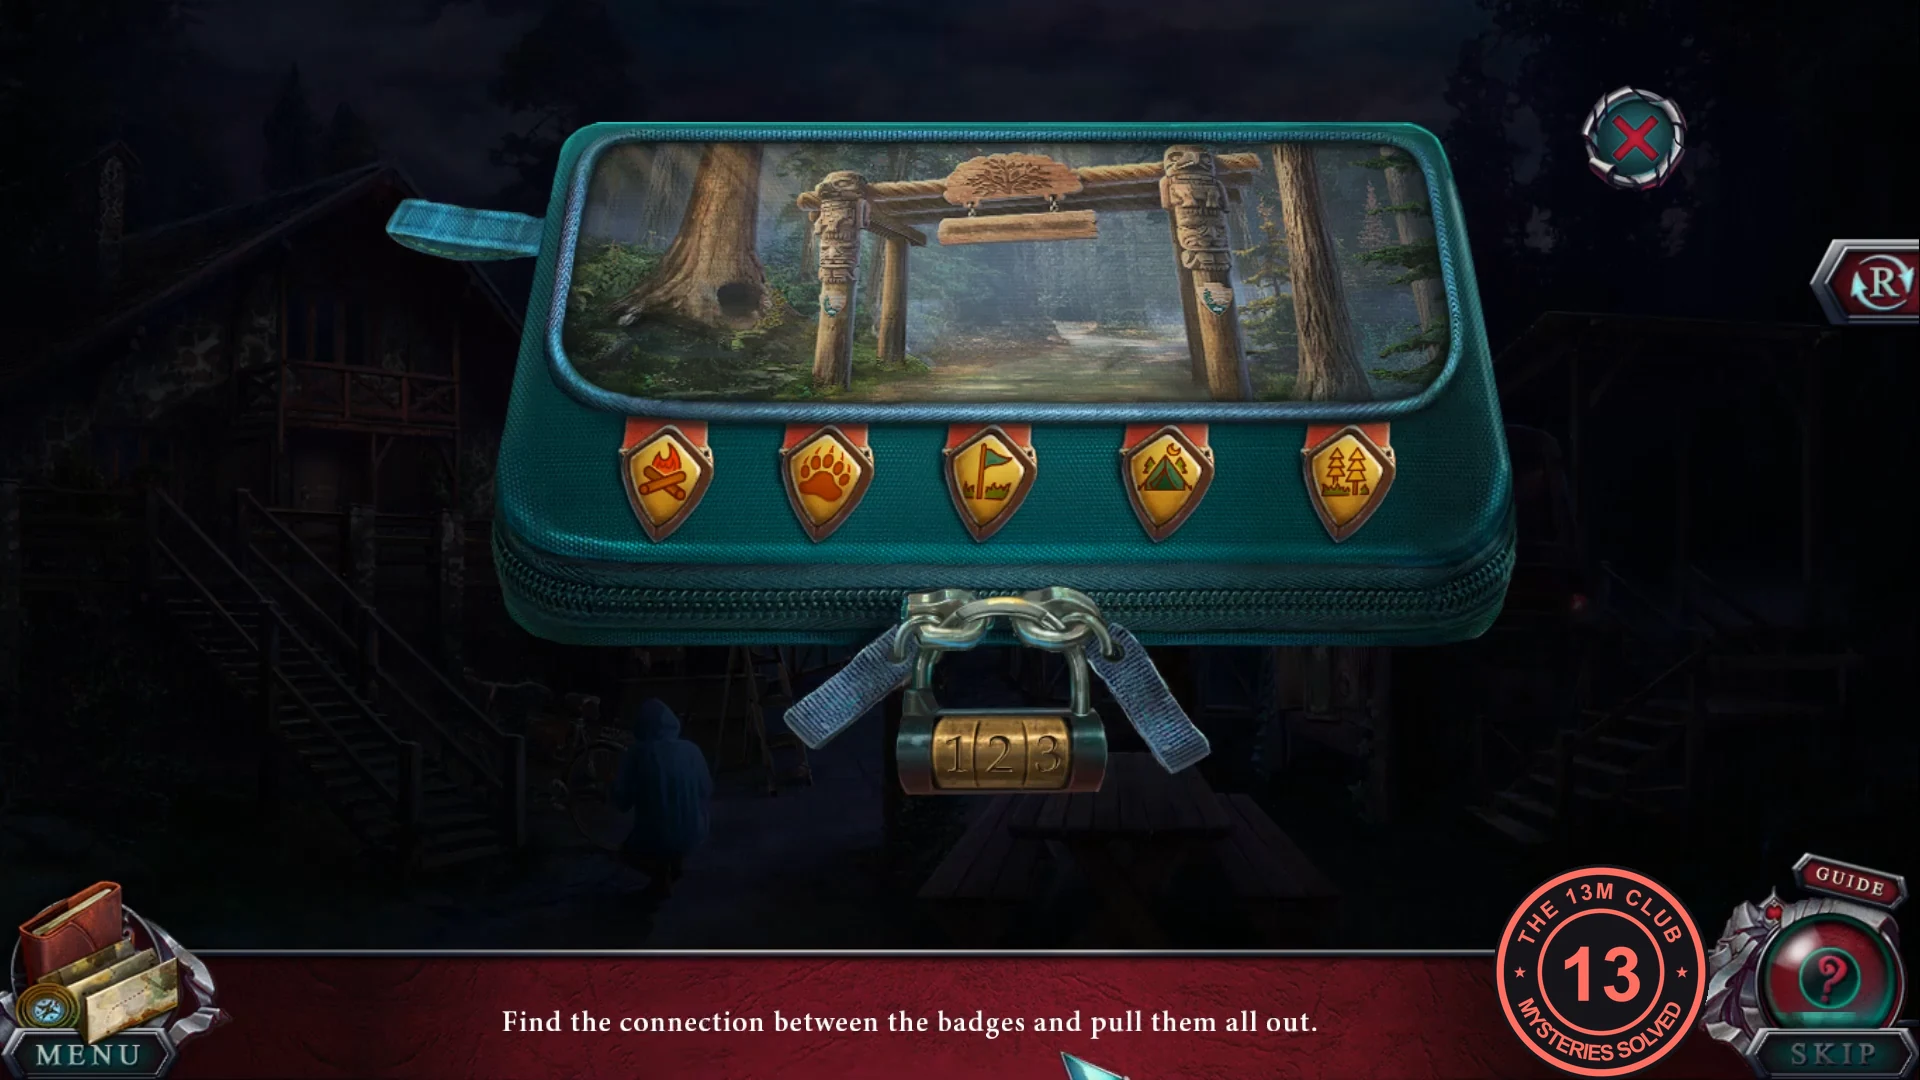
"Find the connection between the badges and pull them all out." Five badge belts (left to right: campfire, bear paw, flag, tent, trees). Clicking a belt toggles it and some others. R resets.
- Inspect the pencil case and put the scout badge (bear paw) in the empty second slot.
- With all belts in, click the campfire, flag and tent belts once each. All five belts pull out.
- Numbers on the pulled belts give the padlock code: 531. Set it on the padlock.CODE531
- Take the batteries and the SOS pager.
Fixing Finch's Bicycle
Repair the bicycle so Dr. Finch can reach the trailer camp.
- At the bicycle, scrub the rusty chain with the brush and use the wrench on the crank. Oil the chain with the oil can from the saddle bag (the chain goes back on), then attach the loose pedal lying on the ground.
- Give Dr. Finch the SOS pager. He leaves for the trailer camp.
- Put the empty bag in the drawer cabinet to start the second search.
The Drawer Cabinet (Part 2)
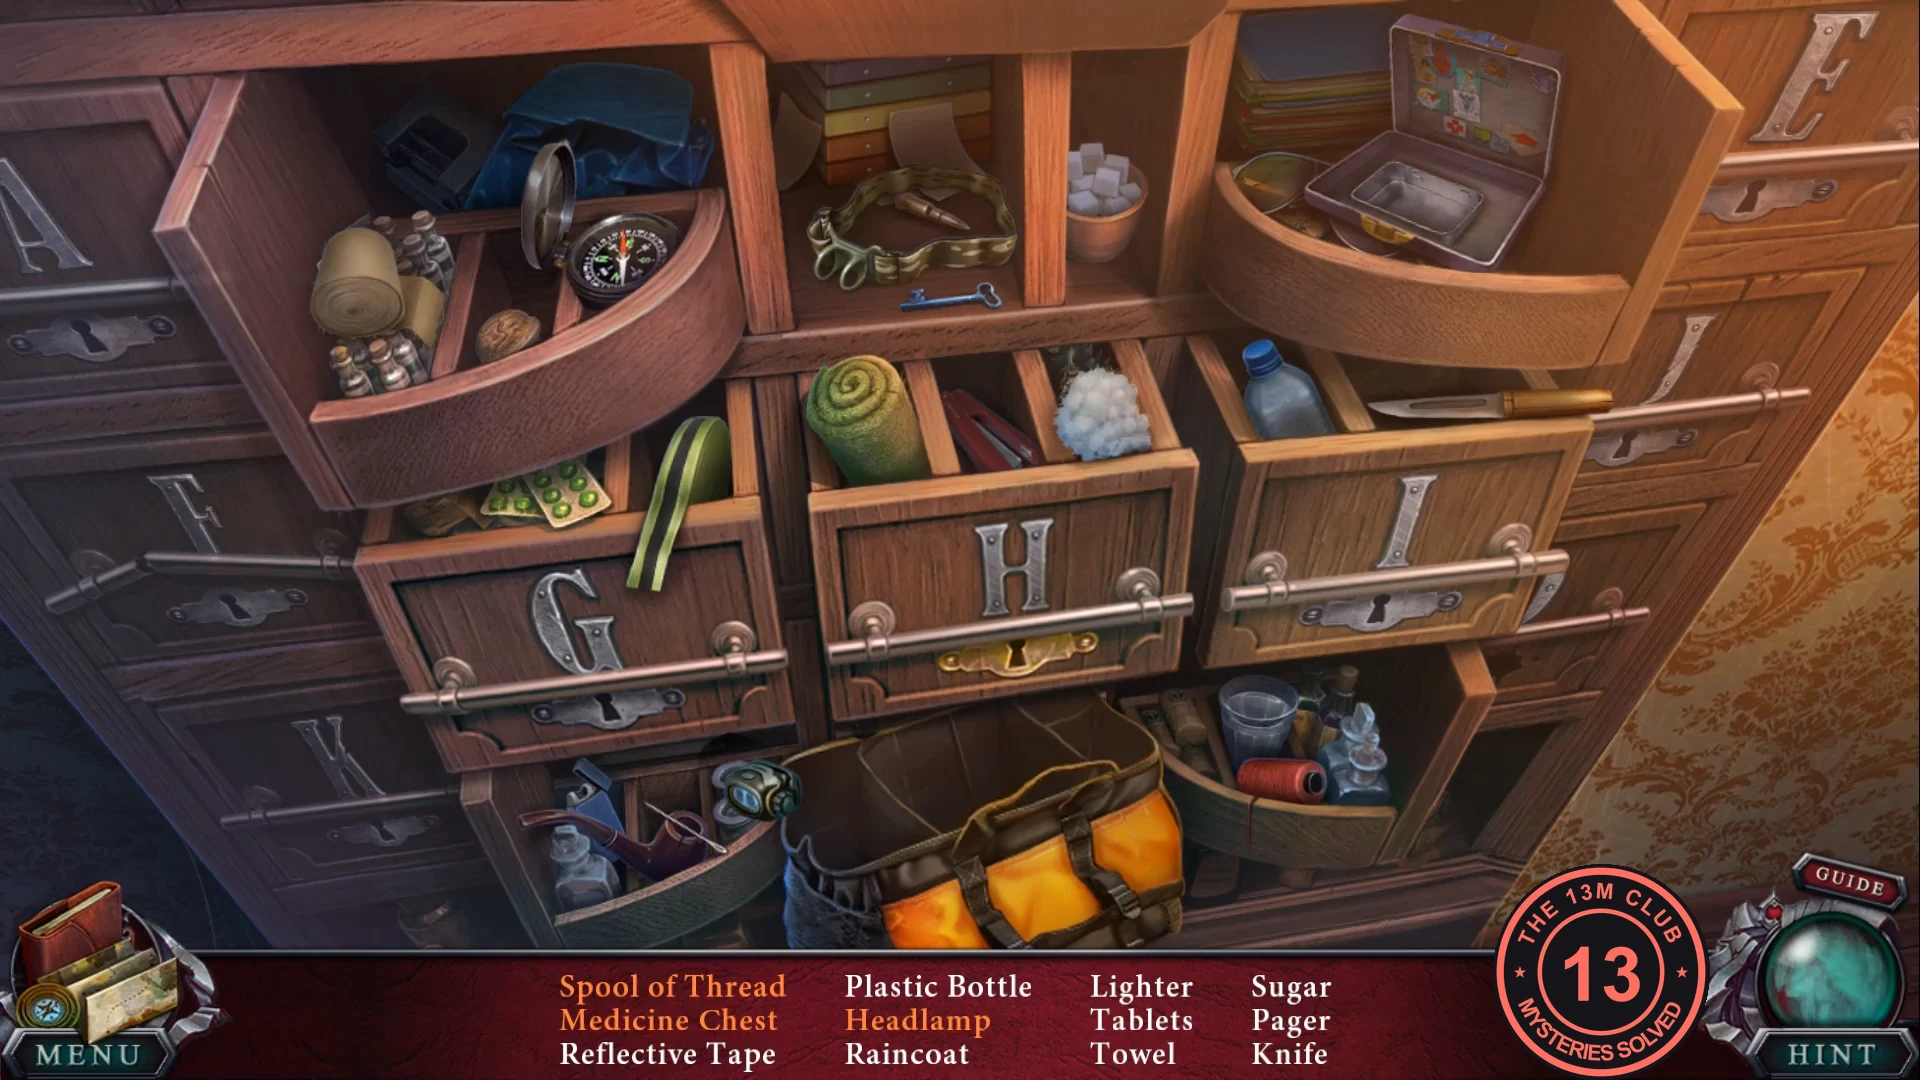
Fill the bag with rescue gear. List: Spool of Thread*, Medicine Chest*, Reflective Tape, Plastic Bottle, Headlamp*, Raincoat, Lighter, Tablets, Towel, Sugar, Pager, Knife (* = needs an extra action).
- Find the plain items in the drawers.
- Headlamp: put the lamp from the lower-left drawer (K) on the green headband on the top-centre shelf. Medicine chest: put the bandage roll and cotton into the empty tin in the upper-right drawer. The red spool is in the lower-right compartment.
- Take the full tool bag. Put it into the train outside to leave.
The Train Crash
Amanda is thrown from the train. A huge boar prowls nearby while a bird distracts it.
- Collectibles (Collector's Edition): an animal in the tree top, one by the hollow tree, a morphing object on the glass-strewn ground left of the boar, and a small red object on the right.
- Pick up the branch and use it to pull the box out of the train. In the box, take the handle, remove the broken glass and take the fire extinguisher.
- Spray the boar with the extinguisher. "It's finally gone!"
- At the tool bag, take the matches. Open the bag, put the batteries in the flashlight and take it. The medical kit is locked.
- At the brambles on the right, take the belt. Fit it to the glass shard in the box to make a sickle.
- Cut the brambles with the sickle and fill the thermal cup at the river.
- At the tree hollow, pour the water on the owl's wing and take the lock part. Use it to open the medical kit and take the kit.
- Place the medical kit beside the owl and click it until the wing is healed.
- Shine the flashlight on the left path and go that way.
The Dark Forest
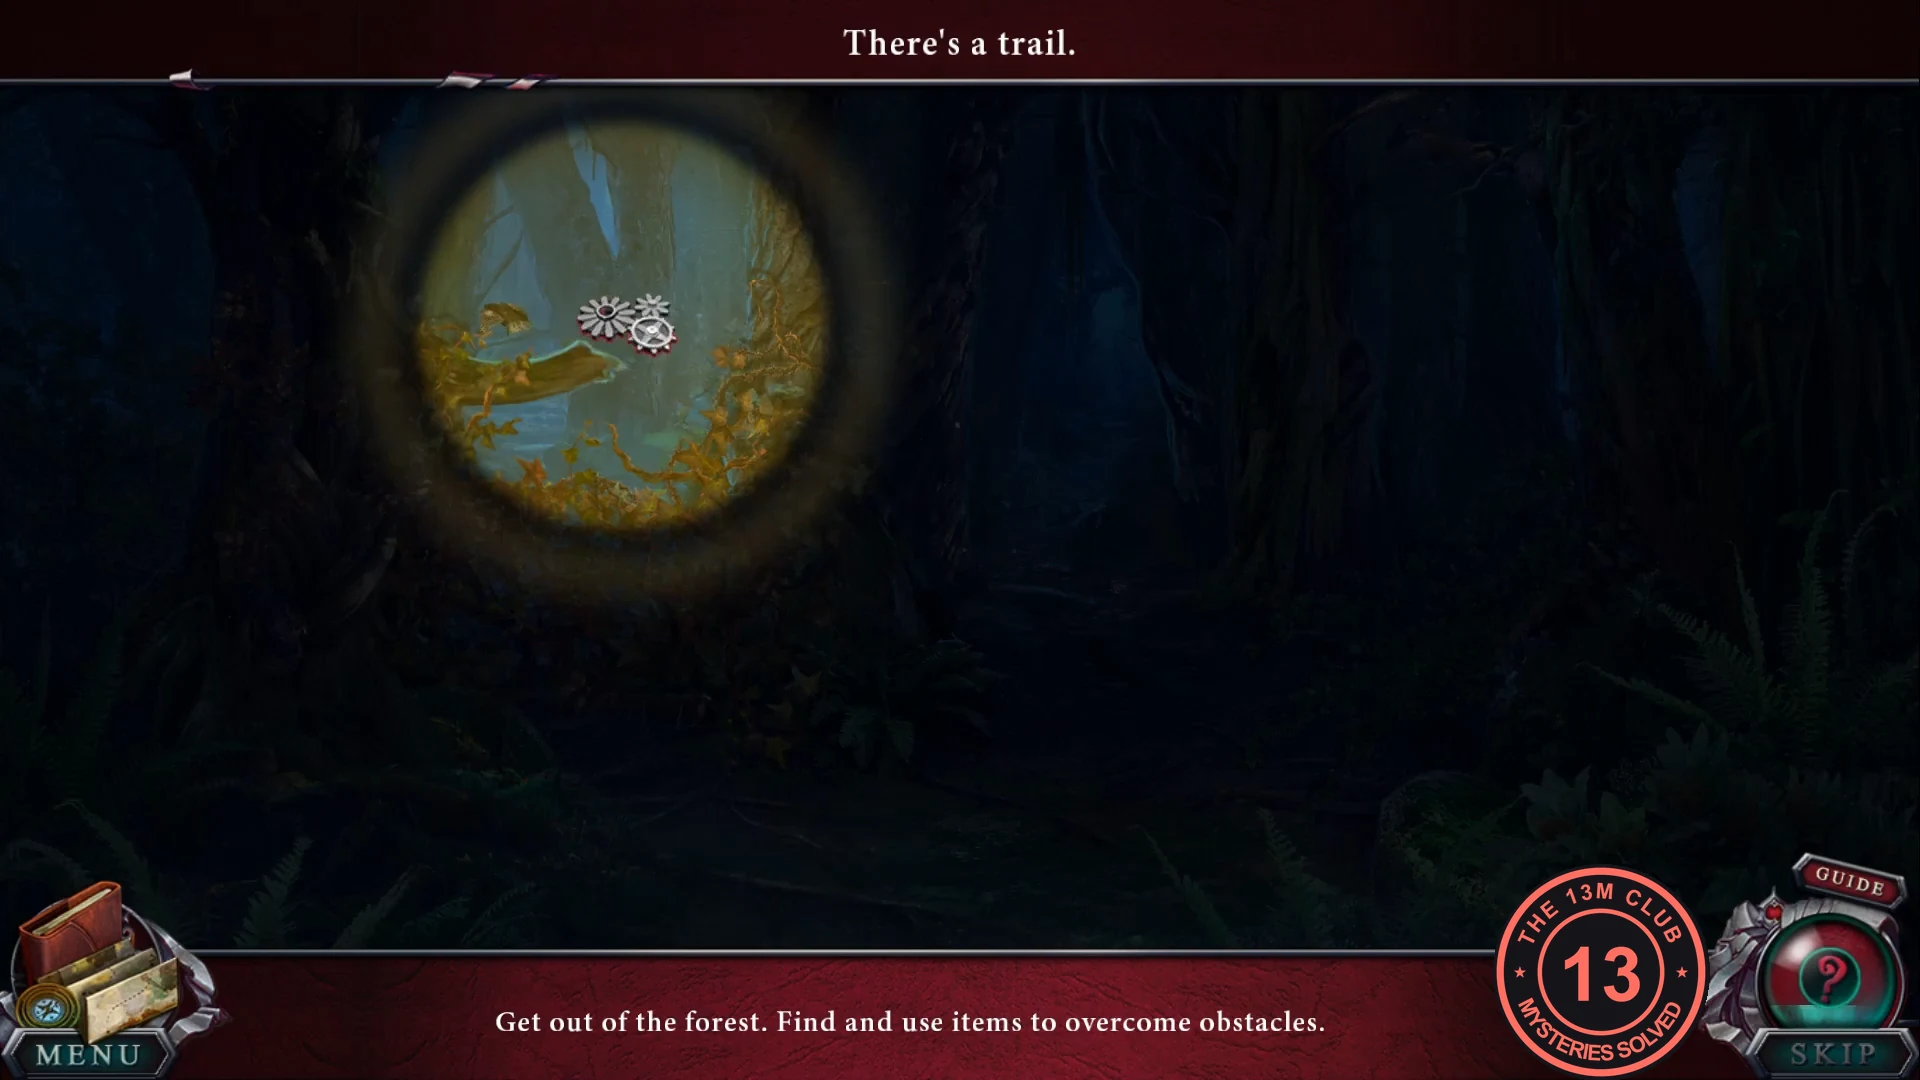
"Get out of the forest. Find and use items to overcome obstacles." Only the flashlight beam lights the screen. Use the arrows to move.
- Starting screen ("There's a trail."): bushes block the trail on the left. Take the path at the upper right to a small footbridge over a stream and find the first plank there with the flashlight.
- Take the path at the upper left to a stony stream and pick up the knife. Go back (arrow at the bottom) twice to the starting screen.
- Cut the bushes with the knife ("The passage is clear.") and take the cleared path. You reach a broken bridge with an owl in a tree; take the path at the upper right to an abandoned camp with a cooking pot.
- At the camp, find the second plank and the rubber boots, then go back to the broken bridge.
- Repair the bridge with both planks ("The passage is clear."), put on the boots and go forward to the village.
The Empty Village
"The settlement looks empty. I hope they went to Treehill. I need to check Tina's House."
- Collectibles (Collector's Edition): an animal on the eco-shop roof, one at the end of the path at the top, a green watering can by the bicycle at Tina's porch and an animal in the rocks left of the eco shop.
- In the boxes between the eco shop and the Keeper's house, take the jack.
- At the well, place the jack under the rock and the handle under the jack to move it. The well grate is locked.
- Enter Tina's house and watch Dr. Finch's video message: the trailer camp is evacuated, but the sheriff went looking for you and has lost contact. "Please find him!"