SECTION 42
Escape the Cage
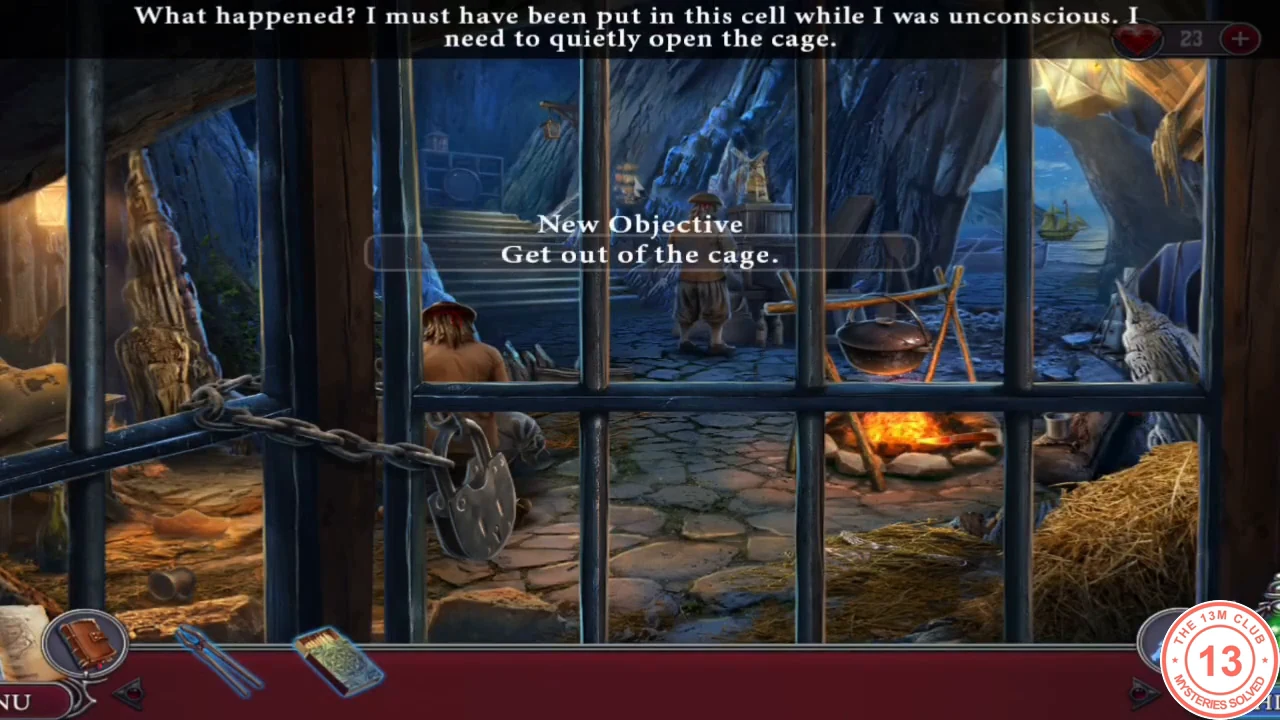
Agatha wakes up locked in a cell. Your objective is "Get out of the cage."
- Zoom into the straw at the bottom right of the cage. Take PUZZLE PIECE 1/2 and the FORK.
- Zoom into the padlock on the left and insert the FORK into the keyhole, then turn it with the PLIERS. The lock opens, the chain drops and the cage opens.
SECTION 43
Gem Duel
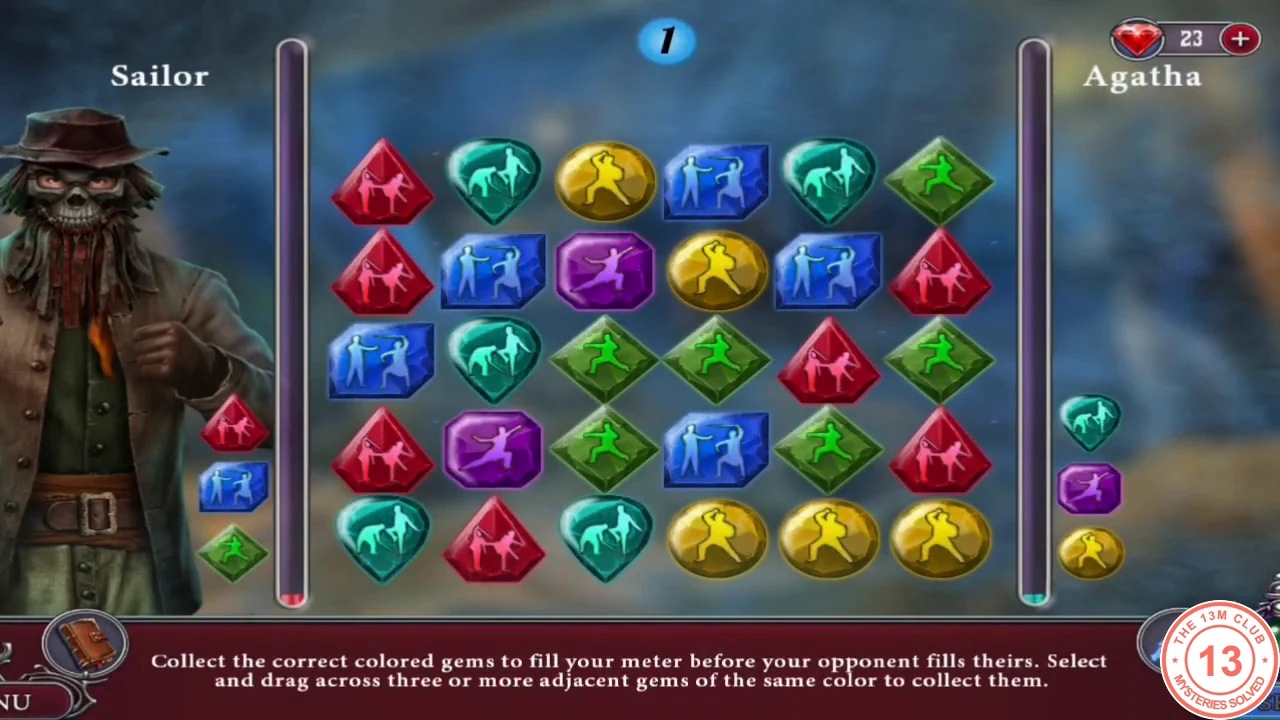
The navy captain arrives, and a ghost sailor challenges Agatha to a gem duel. Your meter is on the right, the sailor's on the left.
- Drag across three or more adjacent gems of the same colour to collect them. Only the colours shown in your column (right) fill your meter; in round 1 they are green, purple and yellow. Fill your meter before your opponent fills theirs, and prefer long chains in your colours.
- Win the second round the same way, using that round's target colours. The captain then ties up the sailors. Your objective is "Search the lair."
SECTION 44
Search the Lair
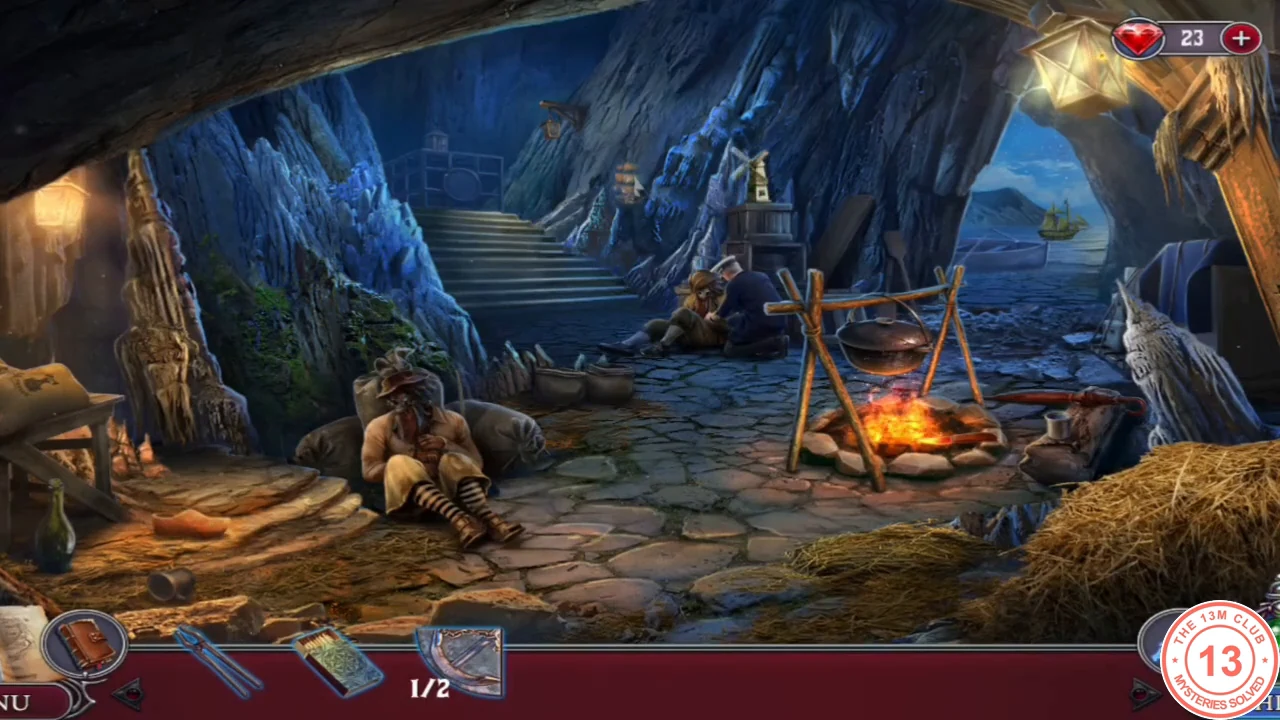
Search the campfire, the sleeping bandit and the lizard cage.
- Zoom into the campfire. Take the UMBRELLA lying over the fire. The knife in the fire is too hot: grab it with the PLIERS and cool it in the tin cup of water to get the KNIFE.
- Zoom into the sleeping bandit on the left. Take the DIARY (its lock is missing an inlay) and the TAPE from his coat. Look again and take PUZZLE PIECE 2/2 by the pipe at his feet.
- Zoom into the dark lizard cage on the right and light its lantern with the MATCHES. Put both PUZZLE PIECES in the round lock. In the lantern light, take the round INLAY from the left side of the cage, by the rope.
- Rotate the lock's rings until the engraved picture is complete; the cage door opens. Cut the lizard free with the KNIFE, then take the POCKET WATCH from the cage floor.
SECTION 45
The Diary and Drebbel's Watch
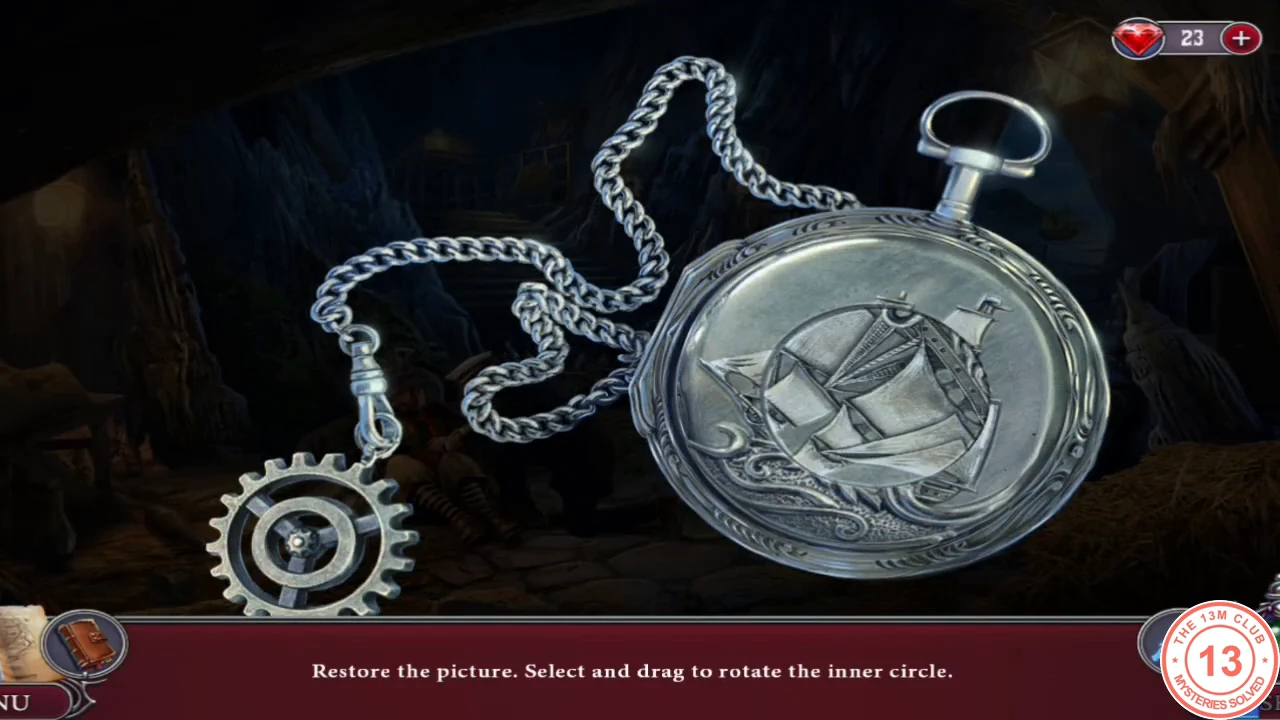
Read the bandits' orders and open the watch.
- Put the INLAY on the DIARY and open it. Read the list of names and the letter ordering the bandits to scare the lighthouse keeper and "eliminate Detective Agatha". Note the fingerprint on the letter.
- Examine the POCKET WATCH in your inventory. Drag to rotate the inner circle until the ship picture is restored. The watch opens; the lid is engraved "Drebbel". Take the folded paper (1/3).
SECTION 46
Case Board: The Smugglers
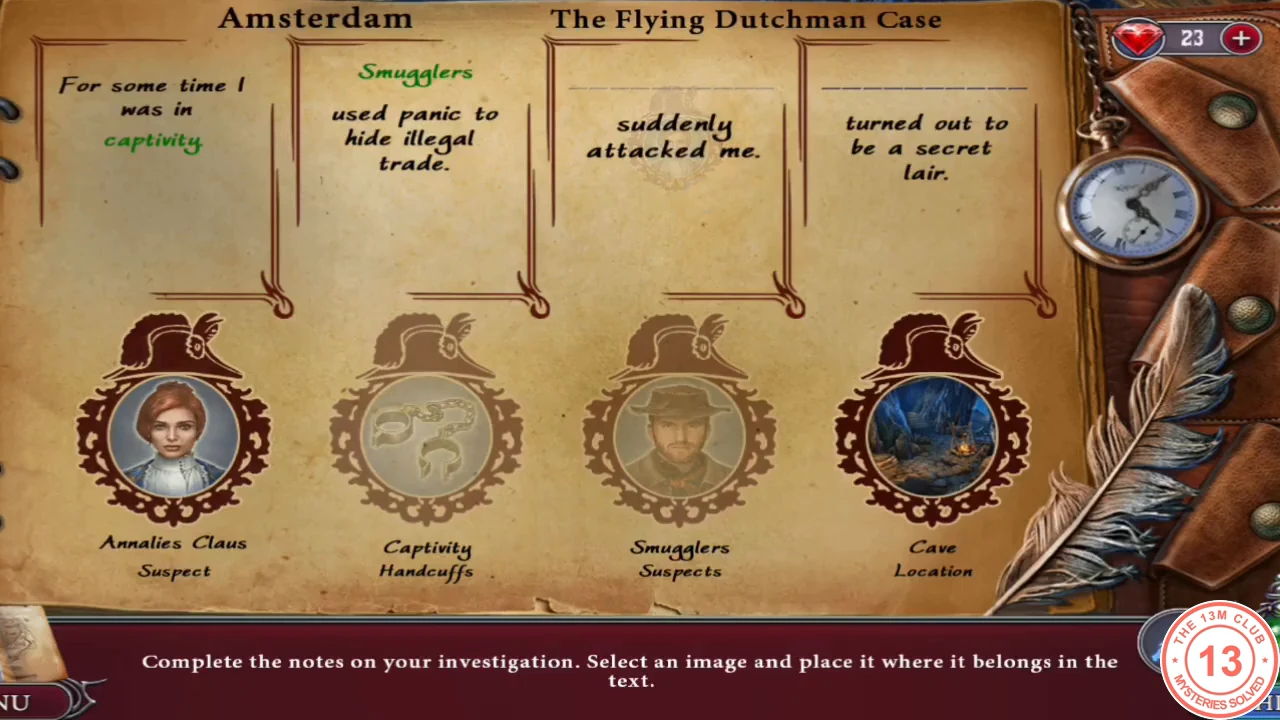
Review what happened in the lair.
- Place the photos: Captivity – "For some time I was in captivity."; Smugglers – "Smugglers used panic to hide illegal trade."; Annalies Claus – "Claus suddenly attacked me."; Cave – "The cave turned out to be a secret lair."
- Conclusions. Left: "I was captured but was able to free myself. And I was able to find quite a few clues." Right: "This cave is a smugglers' lair, and they use it to meet with customers in secret." Middle: "The mysterious client is named Drebbel." You receive the COLOSSEUM.
- The captain knows Drebbel, an engineer who lives in the city. Travel there on the map.