Drebbel's Glasses
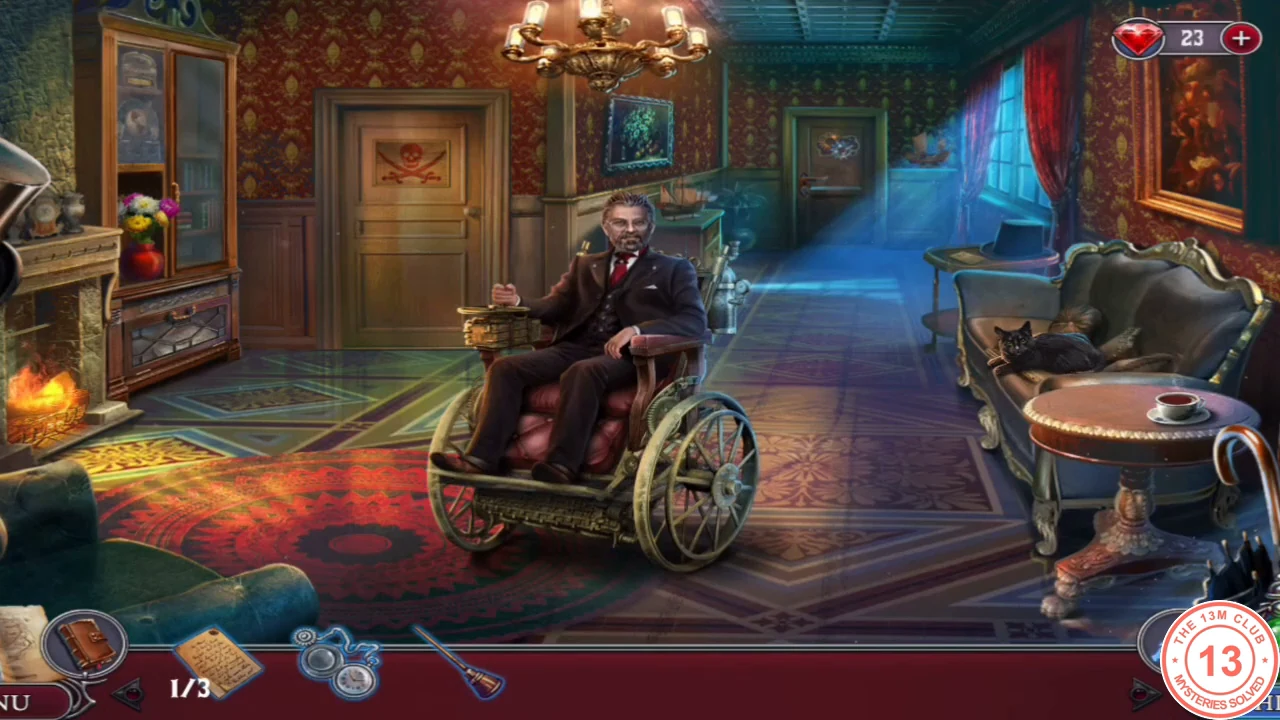
Albert Drebbel recognises the name on the watch but needs his magnifying glasses. Your objective is "Find Drebbel's glasses."
- Talk to Drebbel and show him the POCKET WATCH. He asks you to find his glasses.
- Zoom into the vase of flowers on the left cabinet and take the YELLOW FLOWER. Zoom into the glass-fronted cabinet, open the frosted door and take the CLIP-ON LENSES.
- Zoom into the sofa on the right. Lure the black cat away with the YELLOW FLOWER and take the BROKEN GLASSES lying on the newspaper.
- Examine the BROKEN GLASSES in your inventory and attach the CLIP-ON LENSES. Give the GLASSES to Drebbel.
The Secret Office
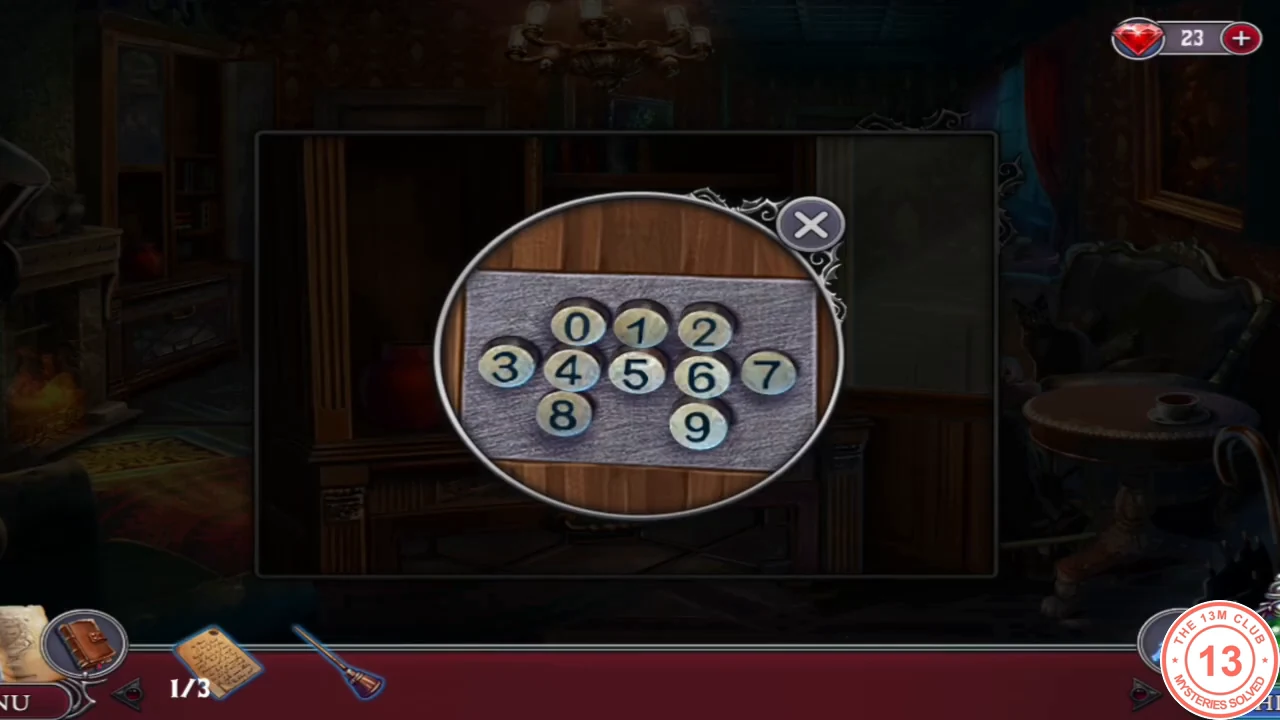
Drebbel confirms the watch was stolen together with blueprints from his secret office. The password is in a red book. Your objective is "Find evidence in Drebbel's office."
- Listen to Drebbel. He gives the GLASSES back so you can read the red book.
- Zoom into the bookshelf of the left cabinet and read the red book with the GLASSES: the code is 7831.
- Zoom into the keypad in the cabinet and enter 7-8-3-1. The secret office opens.CODE7831
The Crime Scene
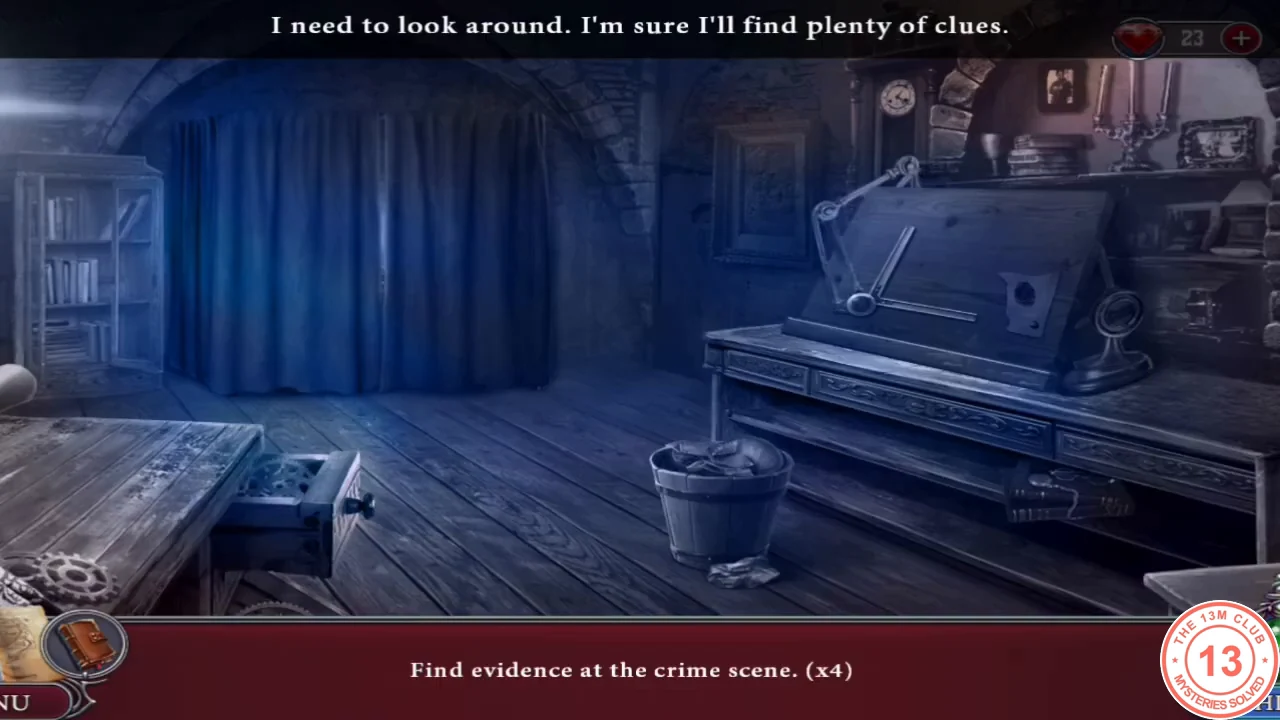
"Find evidence at the crime scene." Tap the four highlighted spots in the office to collect Agatha's observations.
- Tap the four clues: the bucket, the missing window, the torn drawing on the table and the empty spot. Then zoom into the bucket and take the TORN NEGATIVES and PIRATE MASK piece (evidence 1/3).
- Zoom into the drafting table on the right and take the scrap of paper with the thief's fingerprint (fingerprints 2/3).
- On the drafting table, place the TORN NEGATIVES and drag the pieces together into one strip. Use the BRUSH from the suitcase with the glue pot to glue each joint. Take the NEGATIVES.
- Open the dark-green curtain at the back left to enter the photo lab. The wall instructions: enlarger with negative and photo paper, then developer and fixer trays, then hang the print to dry.
Mix the Developer
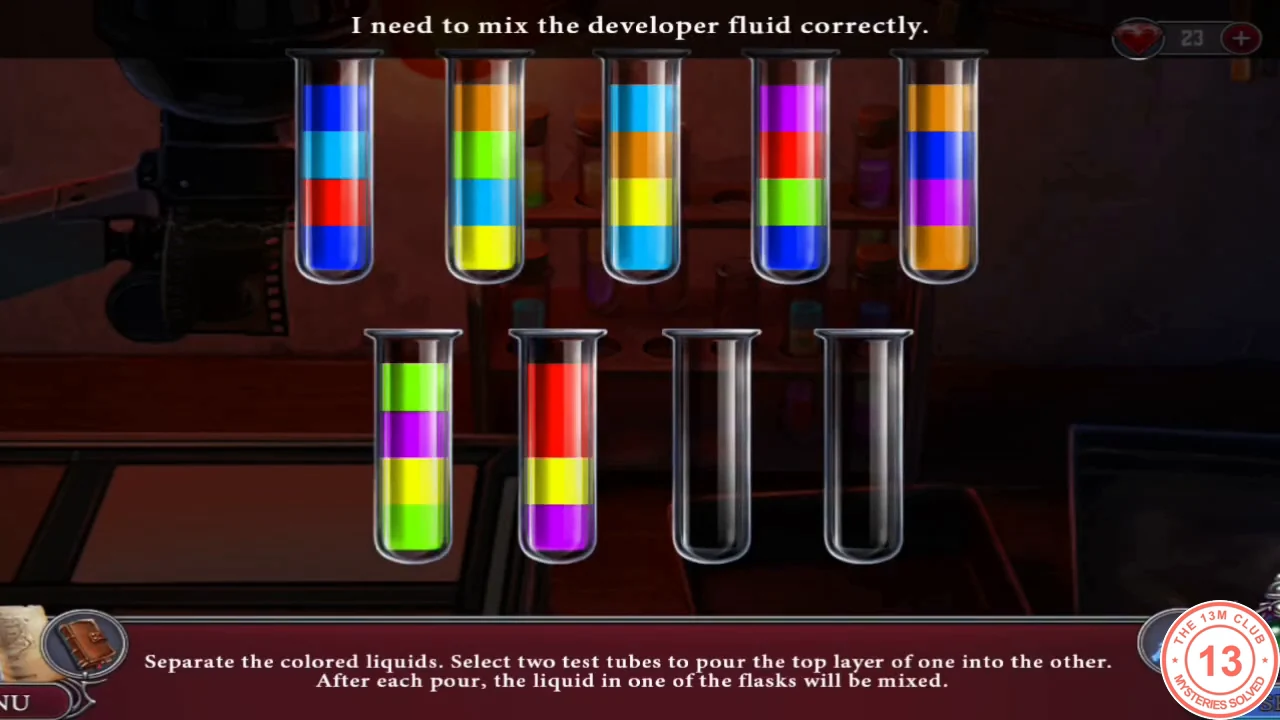
Place the NEGATIVES in the enlarger. "Separate the colored liquids. Select two test tubes to pour the top layer of one into the other. After each pour, the liquid in one of the flasks will be mixed." The reshuffle is random, so no fixed move list works.
- Pour only onto a matching top colour or into an empty tube; a mismatched pour is refused ("Perhaps I shouldn't mix the colors."). Use the two empty tubes to park layers and finish one colour at a time.
- After every pour, look for the tube that sparkles: its layers have been shuffled. Re-sort it before continuing. The puzzle ends when every tube holds one colour.
Develop the Photographs
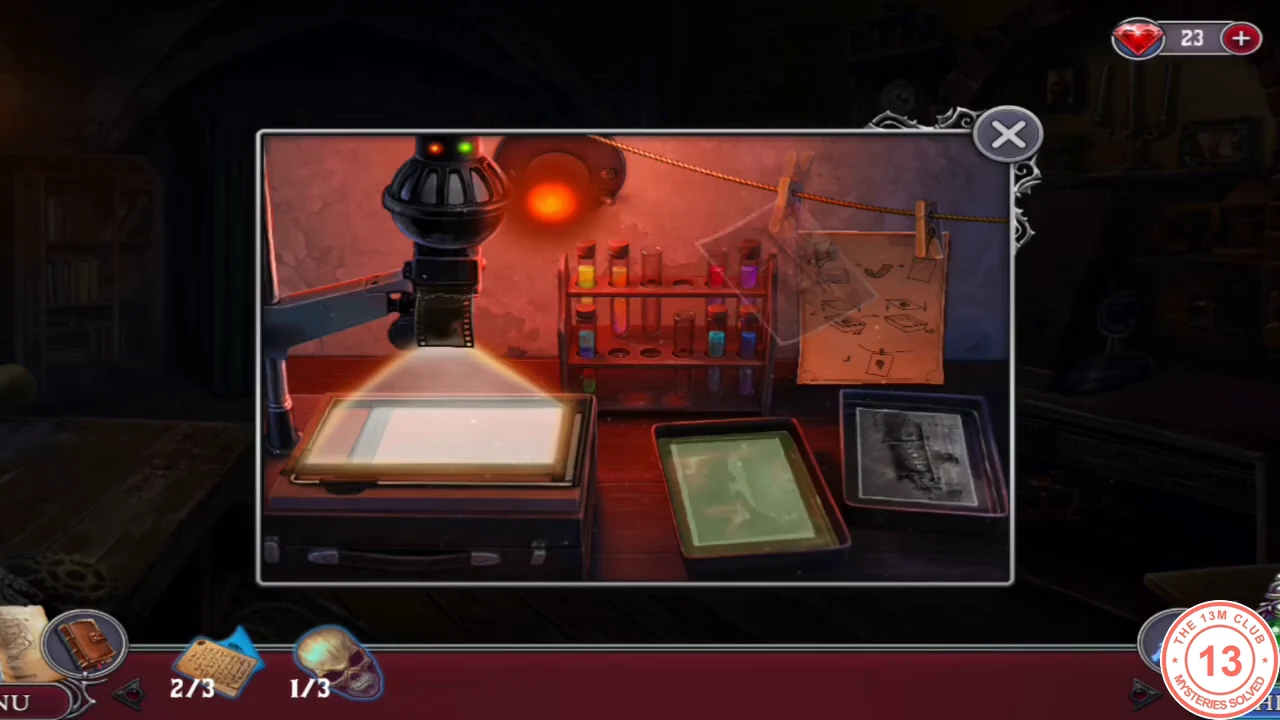
Agatha: "Great! Now I can develop the photographs."
- Tap the enlarger, move the photo paper into the developer tray, then the fixer tray, and hang it on the line. Repeat for the second print.
- Take the photo of a submarine and the photo of Drebbel with a man (evidence 3/3). Your objective is "Give the evidence to Drebbel."
- Give the EVIDENCE to Drebbel. The man in the photo is his nephew, Officer Kimmelaar, and the submarine blueprints were the ones stolen. Drebbel lets you search Kimmelaar's room. Your objective is "Search Kimmelaar's room."
Kimmelaar's Desk
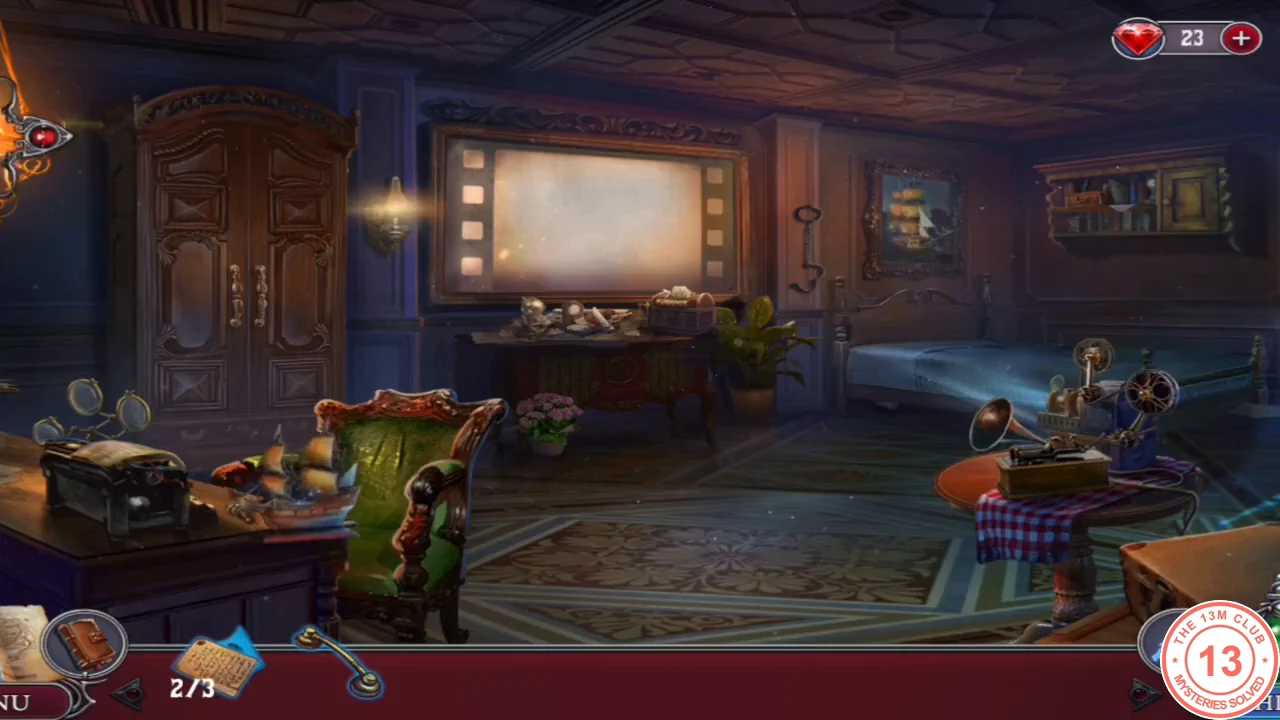
Search Kimmelaar's room: the phonograph table, desk, bookshelf and wardrobe.
- Zoom into the phonograph table at the front right and take the DRAWER PULL. The phonograph needs a special cylinder.
- Zoom into the desk and attach the DRAWER PULL to the drawer. Read the note about a battery charger hidden in the closet. Take the PENKNIFE and the battery (ELECTRONICS 1/2).
- Use the PENKNIFE on the black typewriter at the back of the desk top to open its cover and take the WIRES. They complete the ELECTRONICS set (2/2).
- Zoom into the bookshelf at the top right and take the GREEN DIARY. Its lock is missing a token.
Charge the Flashlight
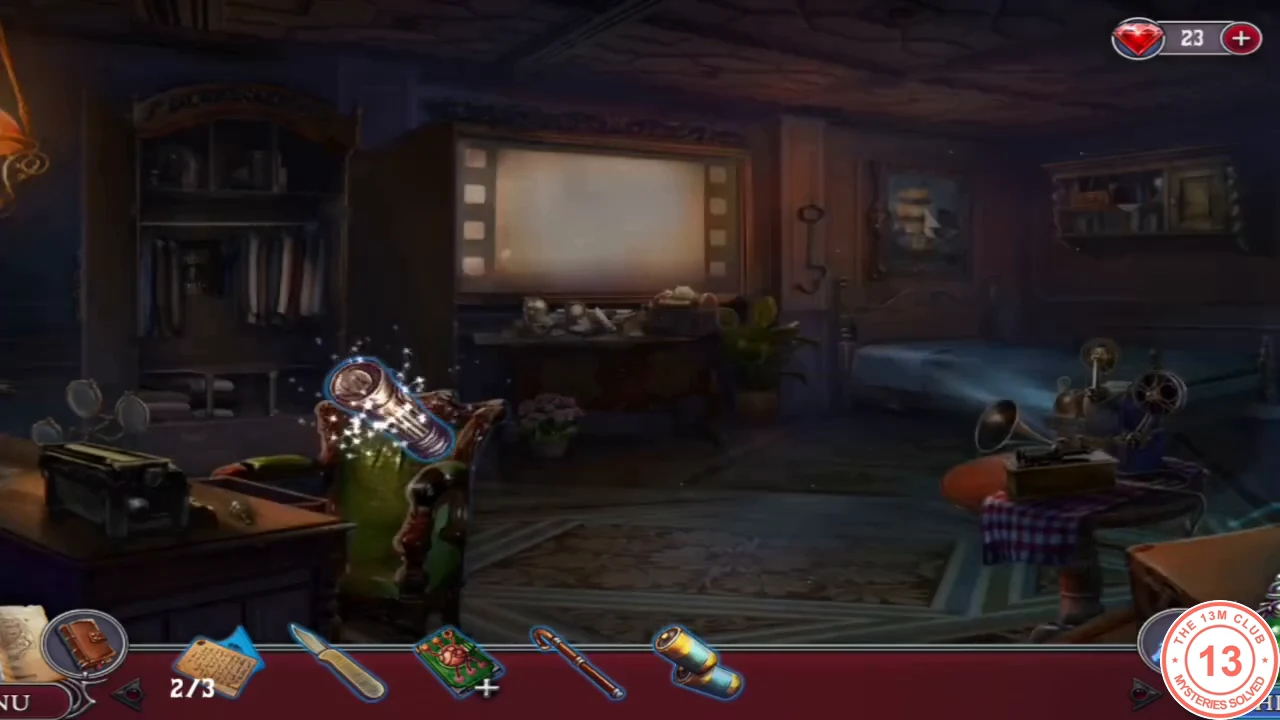
Find the hidden charger and light up the space under the bed.
- Zoom into the wardrobe on the left, open the doors and take the CANE. Zoom into the charging device behind the clothes; it is missing some parts. Fit the ELECTRONICS (the battery and the WIRES), then take the CHARGED BATTERIES.
- Zoom into the wardrobe again and take the FLASHLIGHT. Examine it in your inventory, open the cap, insert the CHARGED BATTERIES and close it.
- Zoom under the bed and shine the FLASHLIGHT: a cylinder is out of reach. Hook it out with the CANE to get the SPECIAL CYLINDER.
Film Memory: Krakatoa
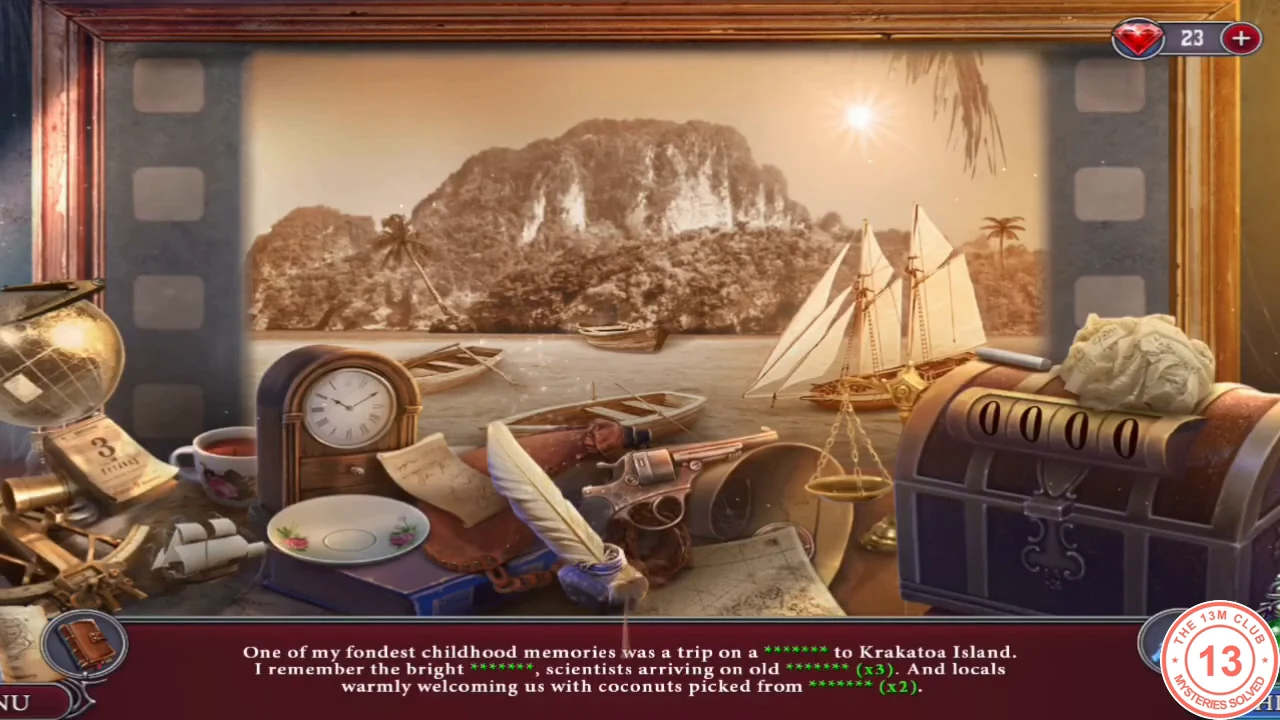
Place the SPECIAL CYLINDER on the phonograph. The projector shows Kimmelaar's memories as a story with missing words; find each one in the picture.
- Screen 1 (arrival at Krakatoa): find the sailing ship, sun, 3 rowboats and 3 palm trees.
- Screen 2 (camp): find the tent, adventurer hat, wheelbarrow and shovel.
- Screen 3 (eruption): find the smoke, 3 stones, lava and boats. The souvenir was hidden "under the map": lift the map at the bottom right of the desk and take the SHIP TOKEN.
The Diary Lock
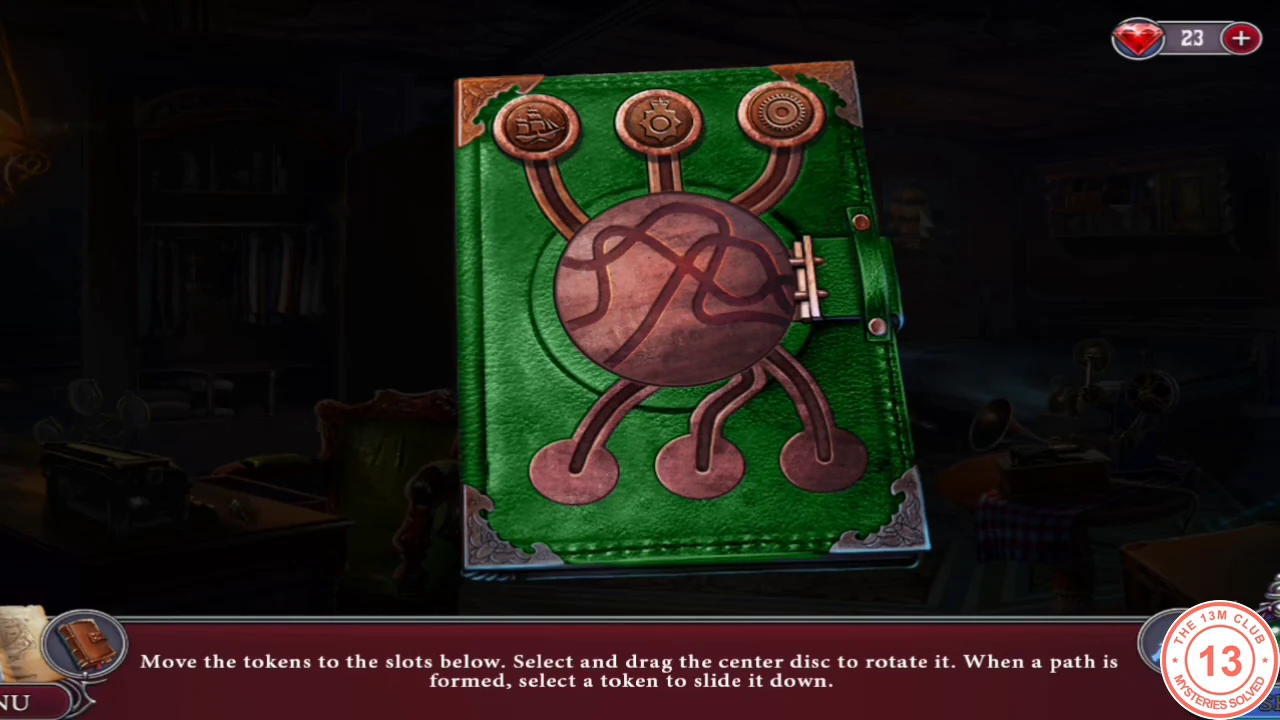
Examine the GREEN DIARY and put the SHIP TOKEN in the empty top slot. "Move the tokens to the slots below. Select and drag the center disc to rotate it. When a path is formed, select a token to slide it down."
- Rotate the centre disc until one of its grooves links a top token to an empty bottom slot, then tap that token to slide it down. If the path is not clear, the game says "That won't work." Repeat until all three tokens are at the bottom.
- Read the diary: Kimmelaar is behind the panic. You take the third fingerprint (fingerprints 3/3). Your objective is "Examine the fingerprints."
The Fingerprints Match
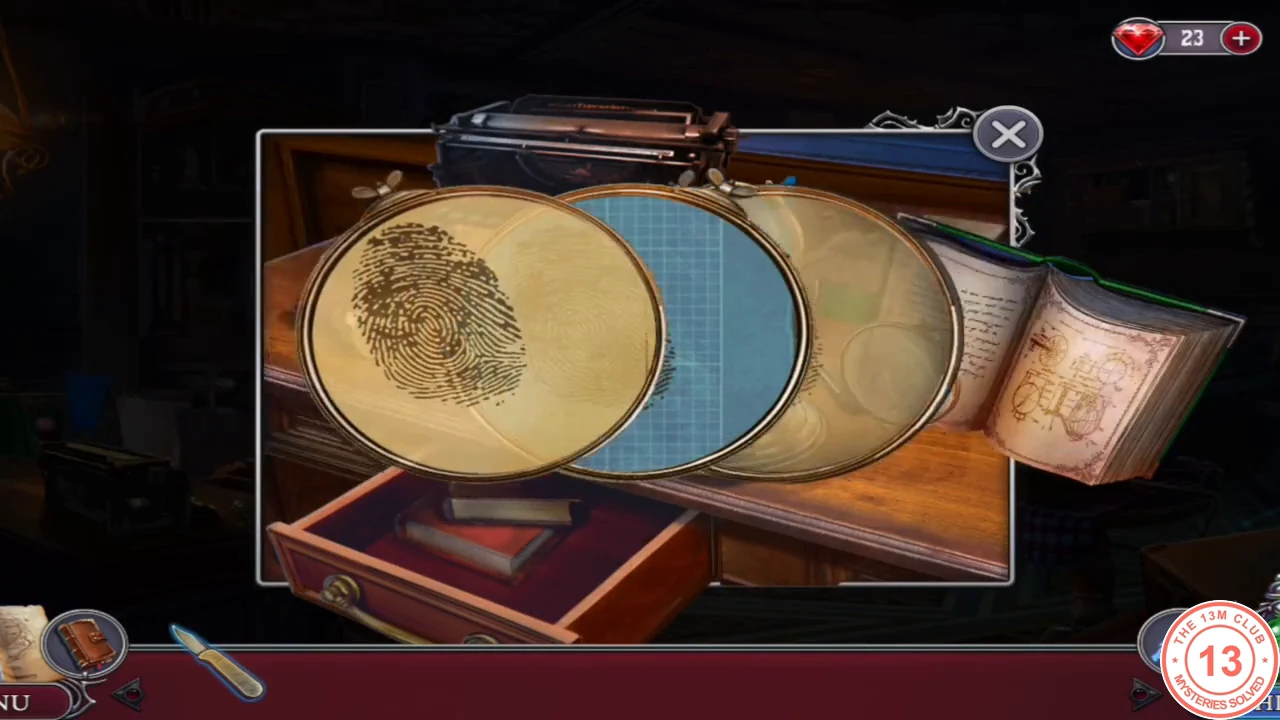
Compare the fingerprints at the desk magnifier.
- Zoom into the desk and place the FINGERPRINTS under the magnifier stand. They match: Kimmelaar is behind the attacks. Take the KEY from the base of the stand. Your objective is "Open Kimmelaar's wooden chest."
- Zoom into the small box on the bookshelf, open it with the KEY and take the FILM REEL.
Film Memory: Kimmelaar's Rise
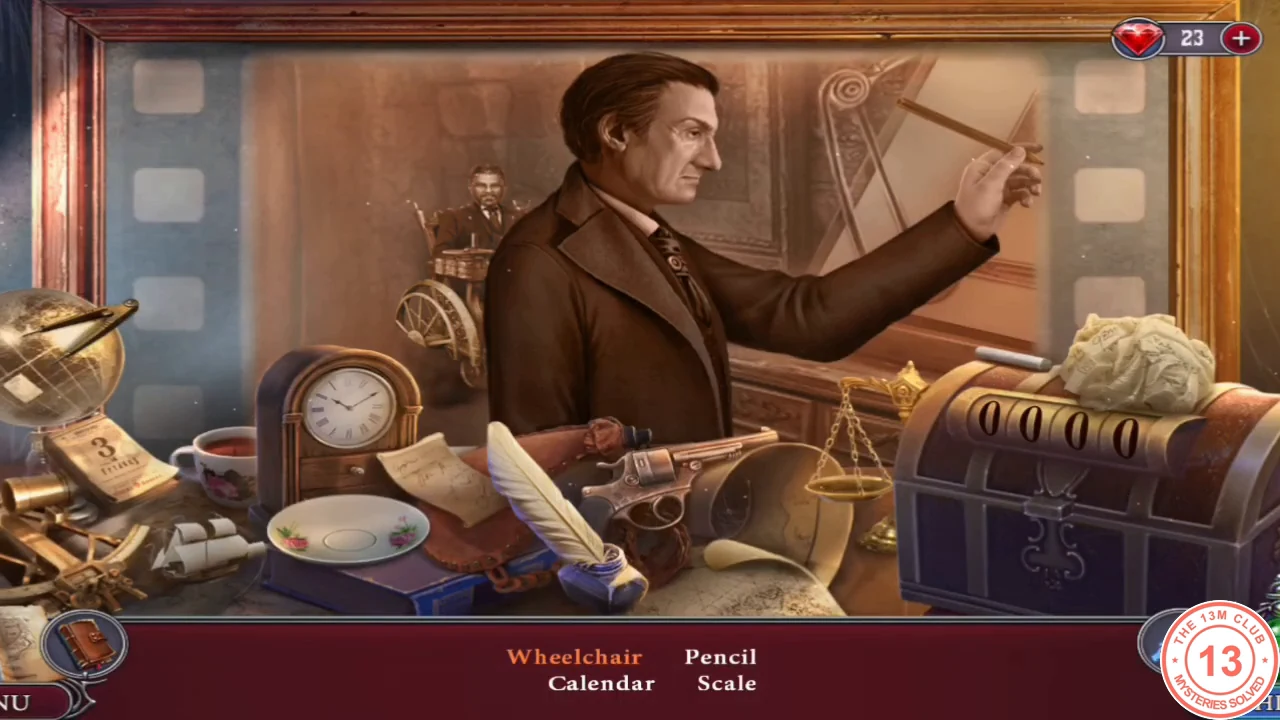
Put the FILM REEL in the projector. Find the listed objects; a word in red needs a shadow, so drag a matching object from the desk or chest into the picture.
- Scene 1 (engineering school): Wheelchair (red; drag the white saucer from the left of the desk onto the empty wheelchair outline), Calendar, Scale and Pencil.
- Scene 2 (police officer): Bag, Revolver, Tree (red; drag the crumpled paper ball from the top of the chest into the picture) and Compass.
- Scene 3 (Chief of Police): Certificate, Cup, Ship and Cigar (red; drag the thin white stick from the top left of the chest into the picture). The screen shows the code 5968.
Kimmelaar's Chest
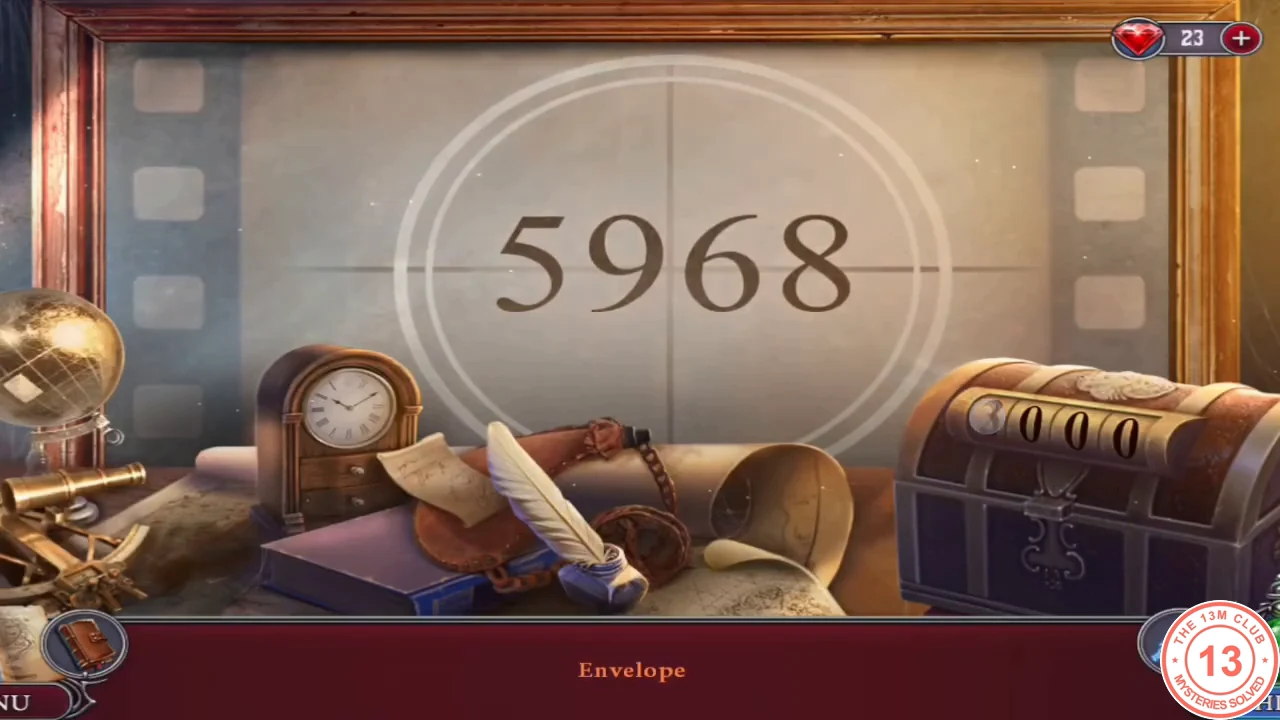
Open the wooden chest on the right of the desk.
- Zoom into the chest's dials and set 5-9-6-8. Take the ENVELOPE. Kimmelaar plans to replace the Prime Minister.CODE5968
Case Board: The Flying Dutchman Case
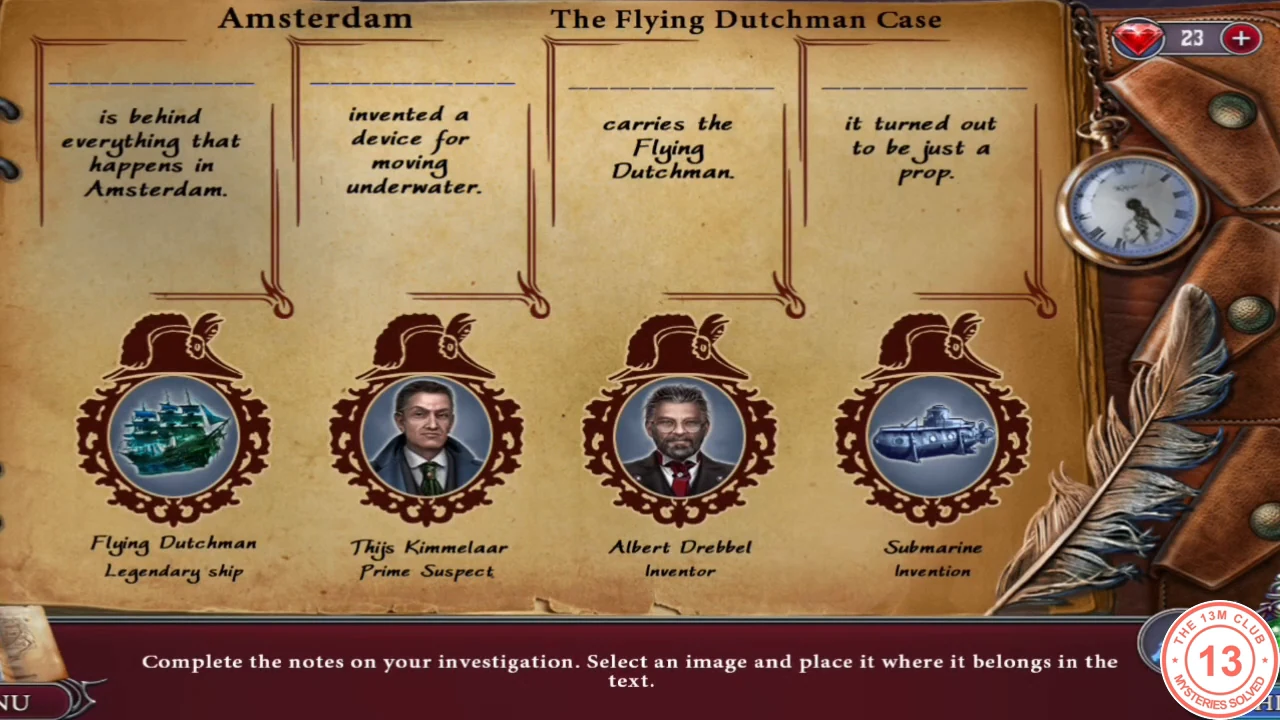
"Complete the notes on your investigation. Select an image and place it where it belongs in the text."
- Place the images: Thijs Kimmelaar – "is behind everything that happens in Amsterdam."; Albert Drebbel – "invented a device for moving underwater."; A submarine – "carries the Flying Dutchman."; The ship – "it turned out to be just a prop."
- Conclusions. Left: "Kimmelaar and Drebbel are relatives, but Drebbel knew nothing about the construction of a submarine." Right: "The Flying Dutchman is not a real ship. It is carried by a submarine." Middle: "Kimmelaar secretly planned to discredit the Prime Minister using a submarine and the myth of a ghost ship." You receive the SMALL WRENCH.
- Arjen arrives at Drebbel's apartment. Give him the FINGERPRINTS as evidence. Your objective is "Go with Arjen to the pier."