SECTION 47
Sven's Street Organ
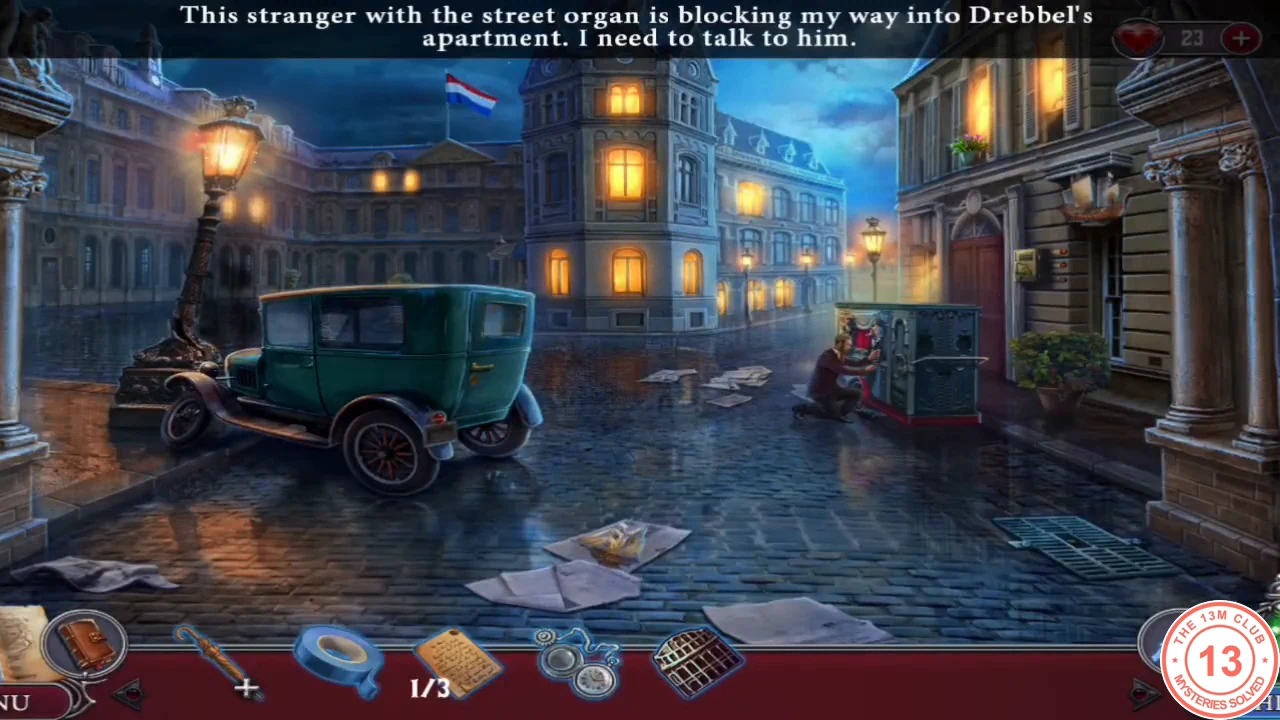
A street organ with a flat tyre blocks the way to Drebbel's door.
- Talk to the man with the street organ. Sven asks for help with the flat tyre. Your objective is "Help Sven."
- Zoom into the organ's rear wheel (right) and take the STONE lying on the cobbles below it.
- Zoom into the front door window of the green car (left) and break the glass with the STONE. Take the SUITCASE from the seat.
SECTION 48
Suitcase Landmarks
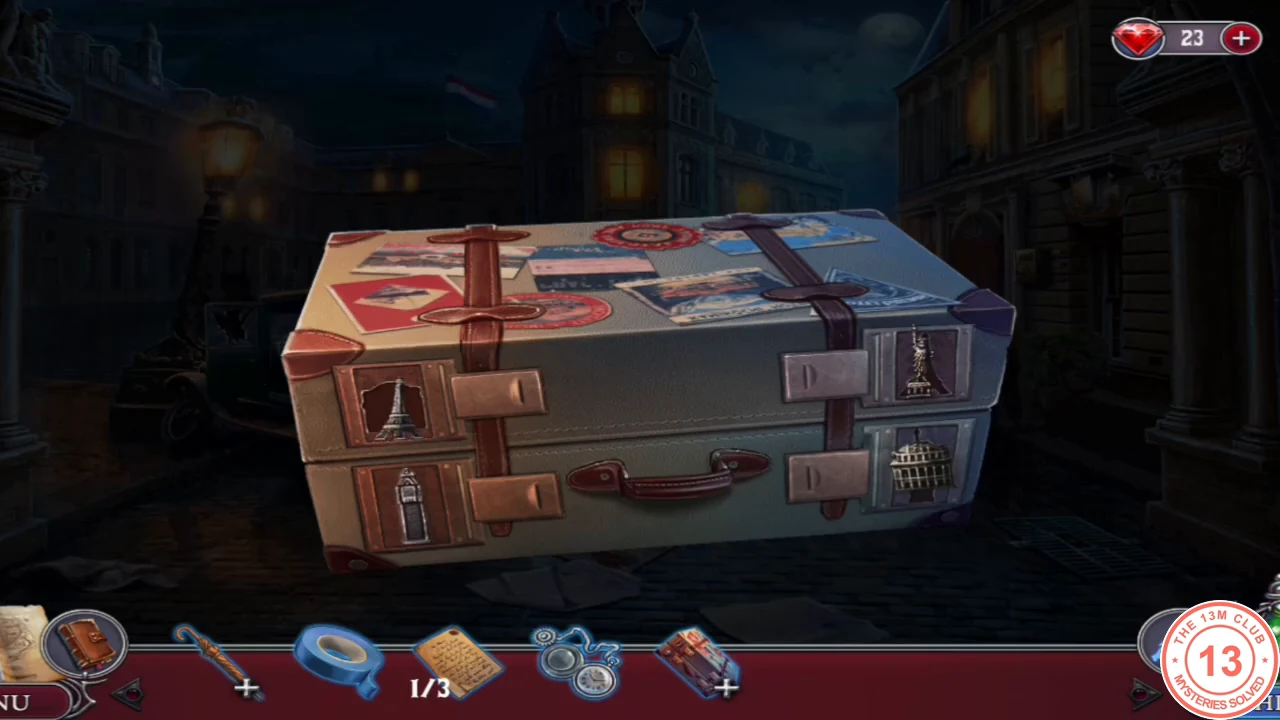
Each latch of the suitcase has two landmark silhouettes.
- Examine the SUITCASE in your inventory and place the COLOSSEUM in the empty slot. Swap the figures until each sits in its matching silhouette: left top Colosseum, left bottom Big Ben, right top Eiffel Tower, right bottom Statue of Liberty. The latches open.
- Read the postcards and take the MAGNET and the BRUSH.
SECTION 49
Fix the Flat Tyre
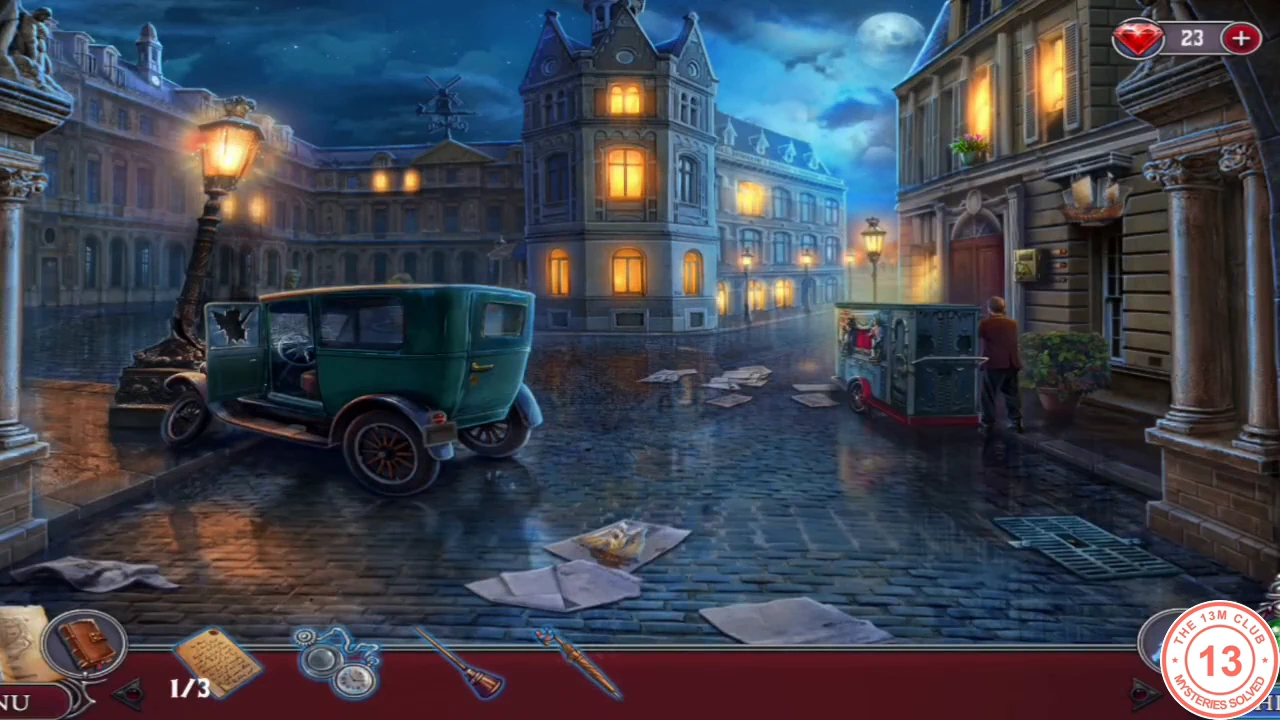
Fish the car key out of the drain, then repair the organ's wheel in the car.
- Examine the UMBRELLA in your inventory. Attach the MAGNET to the handle and secure it with the TAPE to make a MAGNET UMBRELLA.
- Zoom into the drain grate in the foreground and fish out the CAR KEY with the MAGNET UMBRELLA.
- Zoom into the car's rear door and unlock it with the CAR KEY. Take the JACK. Agatha notices a pump on the car floor.
- Zoom into the organ's wheel, place the JACK underneath and take the flat WHEEL.
- Zoom into the car's rear door again. Put the WHEEL on the floor, use the GLUE lying there to patch it, then attach the pump and inflate the tyre until the gauge needle is in the green. Take the WHEEL.
- Put the WHEEL back on the street organ. Sven thanks Agatha and gives you the SHIP figure.
SECTION 50
The Legend of the Flying Dutchman
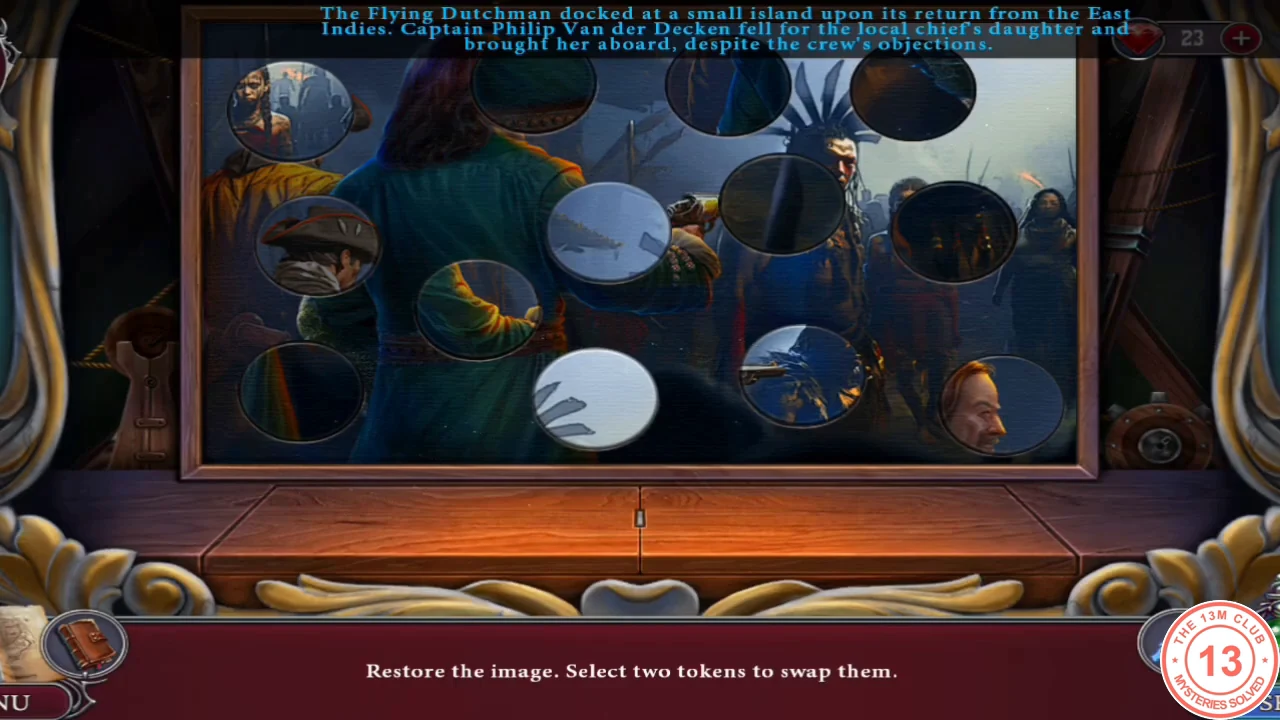
Place the SHIP on the organ's puppet stage. Your objective is "Listen to the legend of the Flying Dutchman." Each of the three pictures is scrambled: "Restore the image. Select two tokens to swap them."
- Picture 1 (the Dutchman at the island, the chief's daughter brought aboard): tap two tokens to swap them. Start with the corners and edges, then fill the middle until the picture is complete.
- Picture 2 (the red ship in a storm): restore it the same way.
- Picture 3 (the captain in his red coat at Amsterdam harbour): restore it the same way. Agatha realises Arjen's ancestor was not as innocent as Arjen believed.
- Sven moves his organ out of the way and gives you a HAIRPIN.
SECTION 51
The Intercom Wires
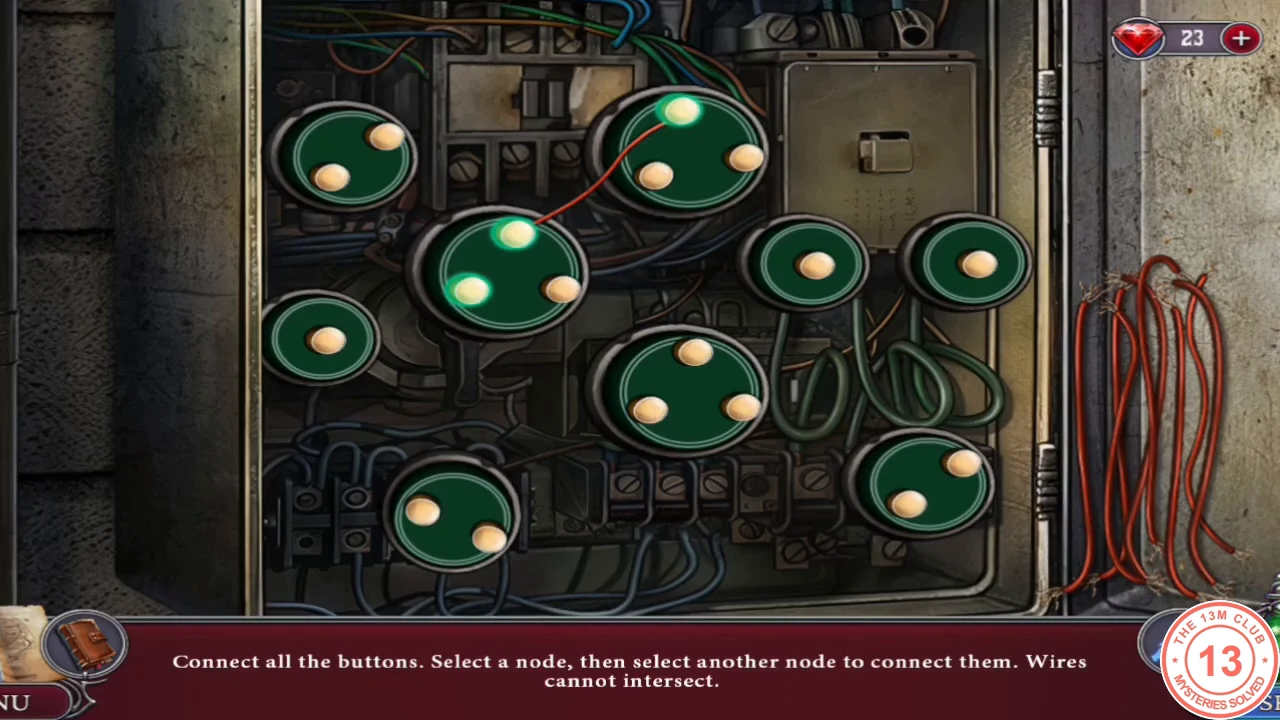
Open the intercom box beside the red door on the right with the HAIRPIN. The puzzle inside depends on your game version: older builds use the wire puzzle below, newer builds (May and June 2026 recordings) use a fuse light-up board. Follow the steps that match your screen.
- Older version ("Connect all the buttons. Select a node, then select another node to connect them. Wires cannot intersect."): each round button needs a wire on every one of its white nodes. Name the buttons by position: top left (2 nodes), top middle (3), middle left (3), far left (1), small middle right (1), small far right (1), centre (3), bottom left (2) and bottom right (2).
- Older version: connect top left to top middle; top left to middle left; middle left to top middle; top middle to small middle right; middle left to centre; centre to bottom left; bottom left to far left; centre to bottom right; bottom right to small far right. No wires cross.
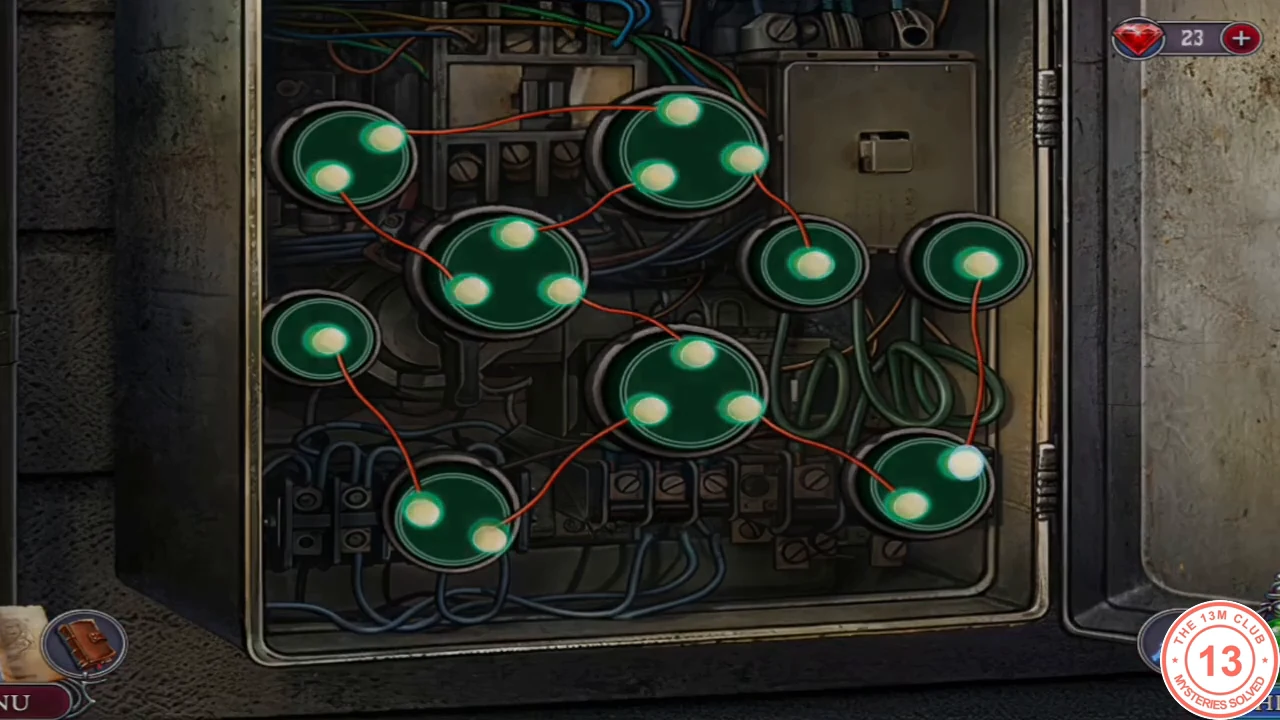
Older version, solved: nine wires, none crossing. - Newer version ("Select and light up the fuses according to the numbers near them"): each number shows how many of the fuses touching its diamond must be lit. Count the horizontal rows of fuses from the top: row 1 has 1 fuse, row 6 (the widest, across the middle) has 6, row 11 at the bottom has 1. Light these 12 fuses and leave every other fuse dark: row 2 left; row 4 leftmost; row 5 first and second from the left; row 6 fourth, fifth and sixth from the left; row 7 first, second and fifth from the left; row 8 leftmost; row 9 rightmost.CODELit fuses: r2 L · r4 1st · r5 1st,2nd · r6 4th,5th,6th · r7 1st,2nd,5th · r8 1st · r9 last
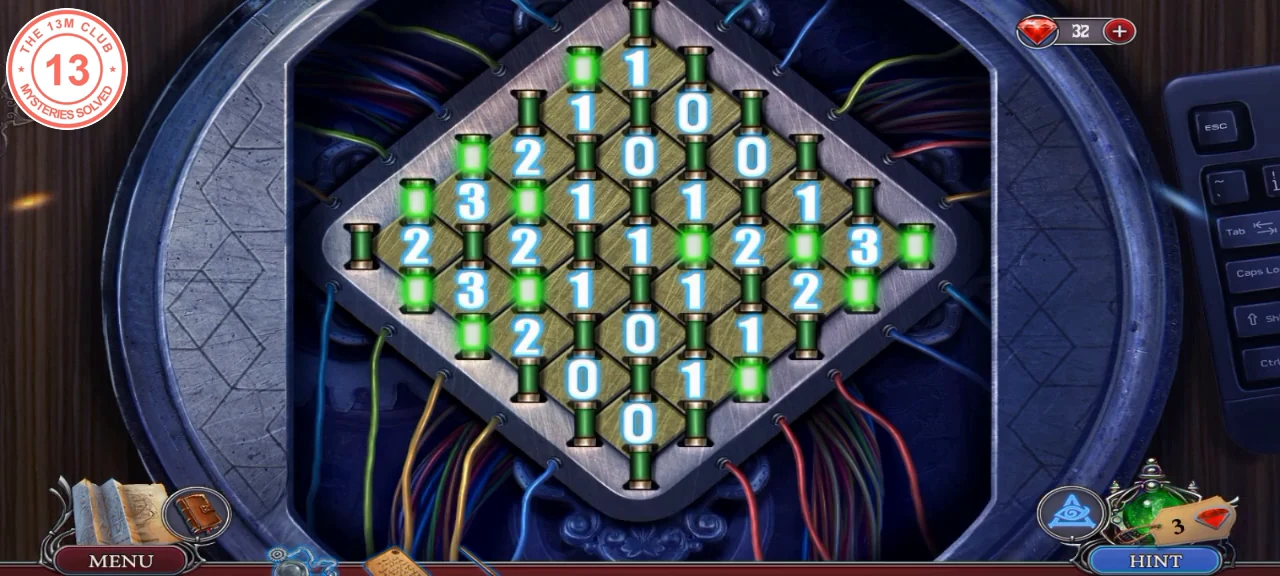
Newer version, solved: the 12 lit fuses. - Press Drebbel's name button (the intercom also lists Koster and Boer). Drebbel lets Agatha in.