Shipwrecked: Fishing for the Gulls
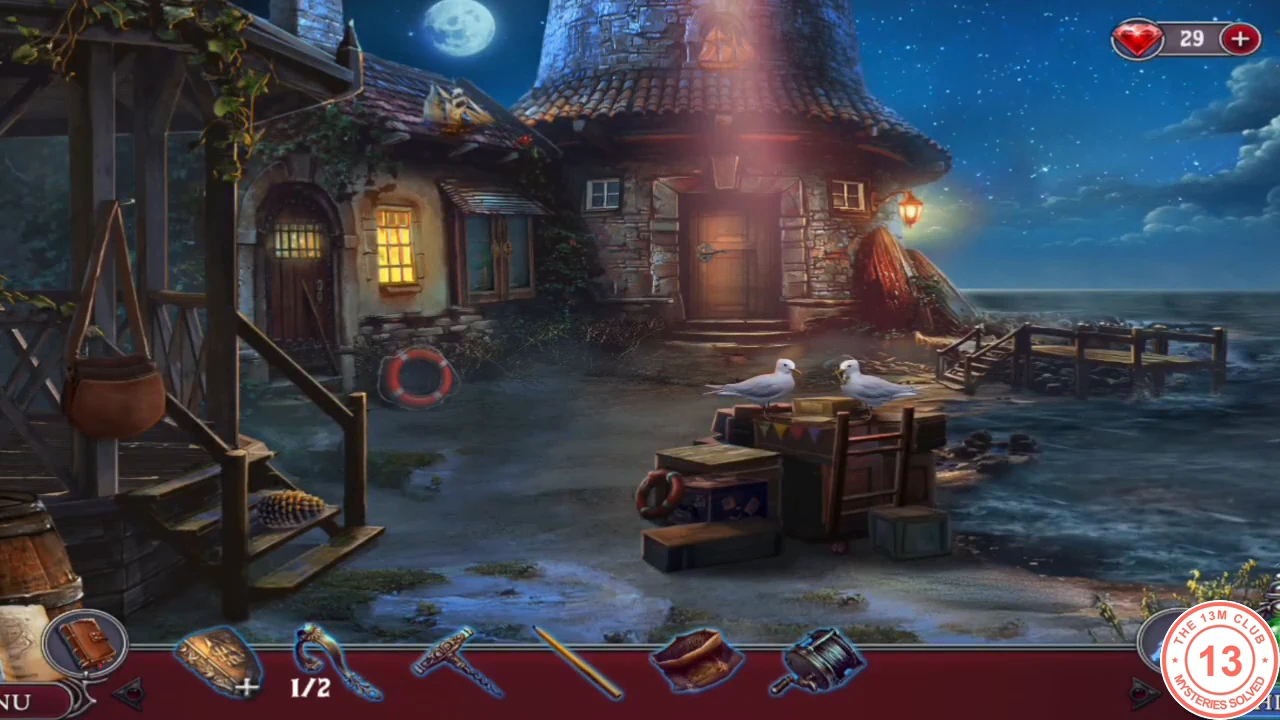
The boat sinks on the way and Agatha washes up alone on the lighthouse island. The keeper's door is locked; first, get rid of the gulls guarding the supply crates.
- After the shipwreck, read the note on the keeper's door and look through the window at the radio transmitter. The door handle is missing. Your objective is "Enter the lighthouse keeper's house."
- Zoom into the leather bag on the post to the left. Take the ornate zipper pull, which is DOOR HANDLE PIECE 1/2, then use the PAPERCLIP as a new pull to open the bag. Read the newspaper and take the CORKSCREW and the PENCIL.
- Pick up the BAIT tin in the middle of the yard. Zoom into the supply crates where the gulls sit and take the REEL at the bottom left.
- Zoom into the house door and attach the REEL to the fishing rod leaning on the left. Take the assembled FISHING ROD.
- Go to the edge of the jetty on the right. Throw in the BAIT, then use the FISHING ROD. Move the crosshair with the arrows until it turns green, select it, then select again when the slider is in the green zone. Catch two fish.
- Give the FISH to the gulls on the crates. They fly away; read the delivery note and take the ANCHOR.
Tool Board and Supply Crates
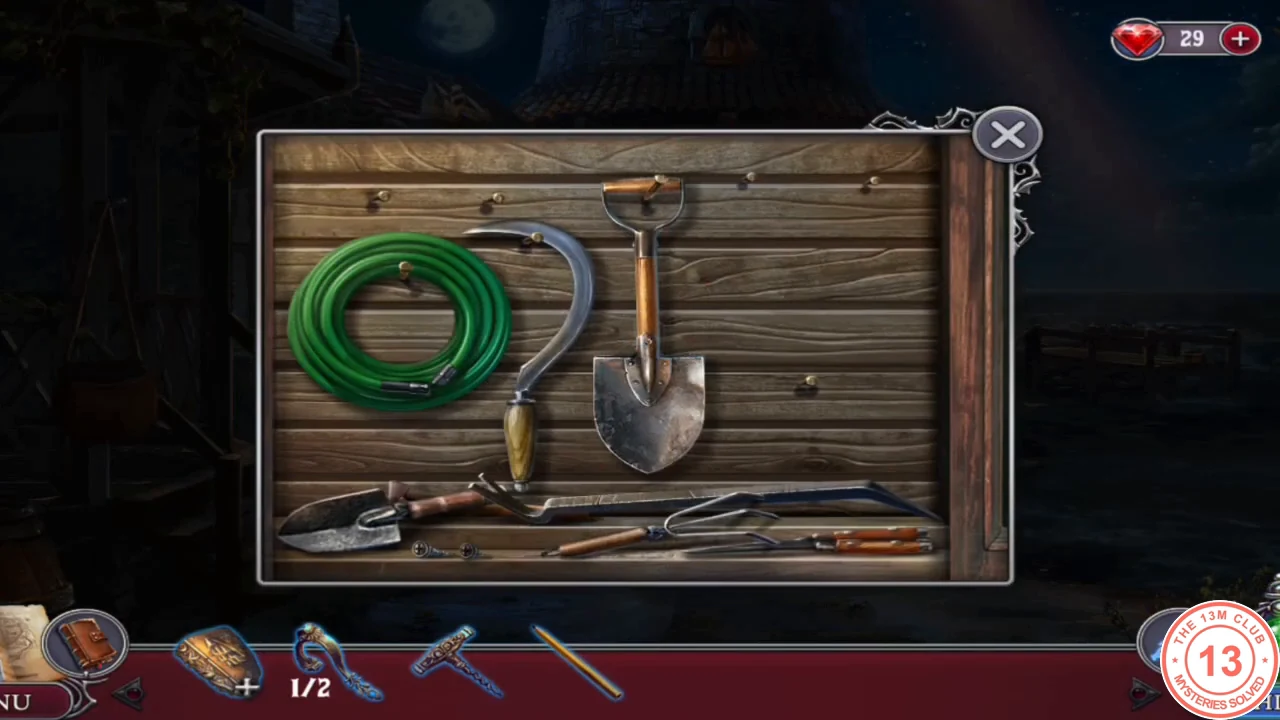
Open the tool cabinet, then search the supply crates.
- Place the ANCHOR in the empty socket of the wooden tool cabinet by the house. Hang each loose tool on its matching outline (a wrong spot gives "I don't think that's where it goes"). When the board is complete, take DOOR HANDLE PIECE 2/2 and the CROWBAR.
- Pry the four crate lids open with the CROWBAR. Search the crates in three rounds: medical items (×4), food (×6) and tools (×3). Then take the SCREWDRIVER.
- Zoom into the house door and place the assembled DOOR HANDLE on the empty back plate. Fasten both screws with the SCREWDRIVER, then use the handle to go inside.
The Keeper's House: Serpent Pieces
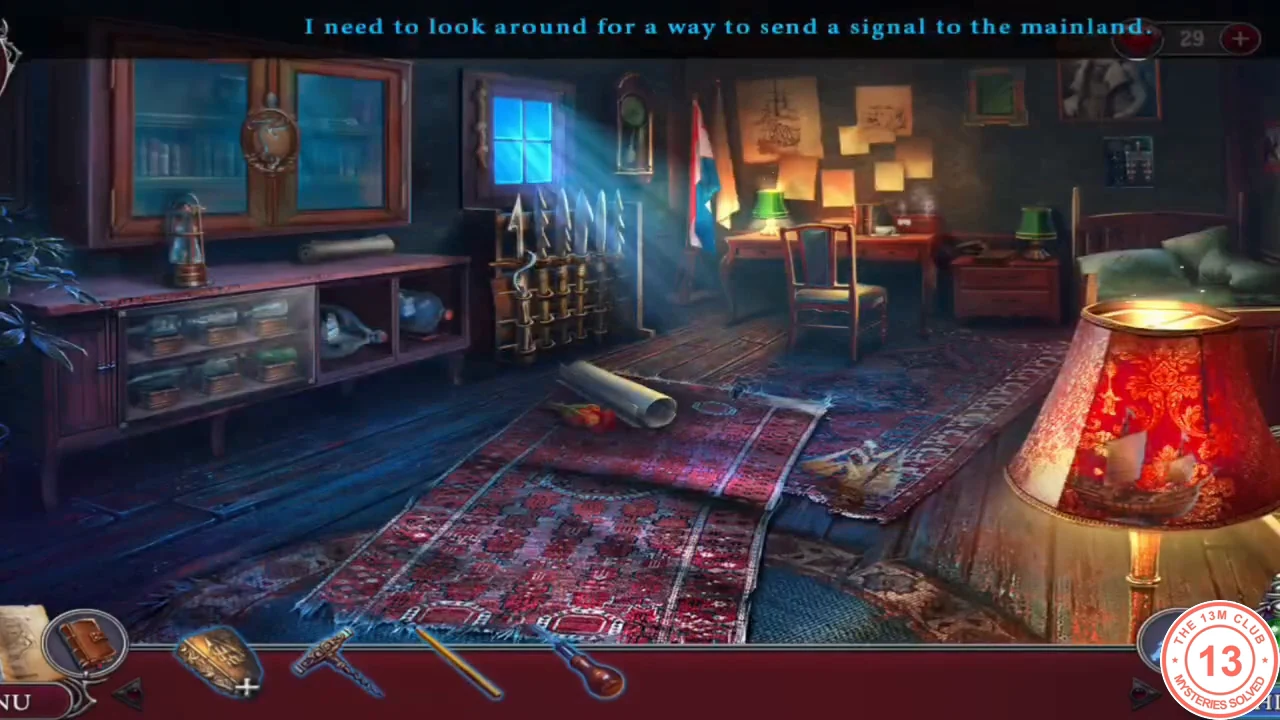
The radio is broken. Agatha decides the signal flares in the emergency cabinet are her only hope. Its tentacle lock needs three serpent pieces.
- Click the five possible ways to send a signal: the radio, the fireplace, the emergency cabinet, the flags and the small oil lamp on the cabinet. The deduction ends with "Open the emergency cabinet."
- Zoom into the harpoon rack in the centre and take SERPENT PIECE 1/3 coiled around the first harpoon.
- Zoom into the ships-in-bottles display case on the left. Remove the four corner screws with the SCREWDRIVER, lift off the glass. Take the STUD PULLER from the neck of the large bottle in the top middle, then take the green SHIP IN A BOTTLE with the octopus.
- Zoom into the desk with the lit green lamp at the back of the room. Take the KNIFE stuck in the desk, push the sketches aside and take the TWEEZERS. Rub the PENCIL over the blank notepad to reveal "Order gun oil..." (with a Y-shaped drawing), then take MYSTERIOUS NOTE PIECE 1/2 and the WRITING SET. Finally take the BULB out of the green lamp.
- At the harpoon rack, cut the rope with the KNIFE and take the HARPOON.
- Zoom into the bedside table by the bed on the right. Put the BULB in its dark green lamp; once the lamp is lit, open the "Pirate Tales" book and take SERPENT PIECE 2/3 and the MAGNIFYING GLASS from the hollow inside.
- Examine the SHIP IN A BOTTLE in your inventory. Pull the cork with the CORKSCREW and reach in with the TWEEZERS to get SERPENT PIECE 3/3.
Tentacle Lock
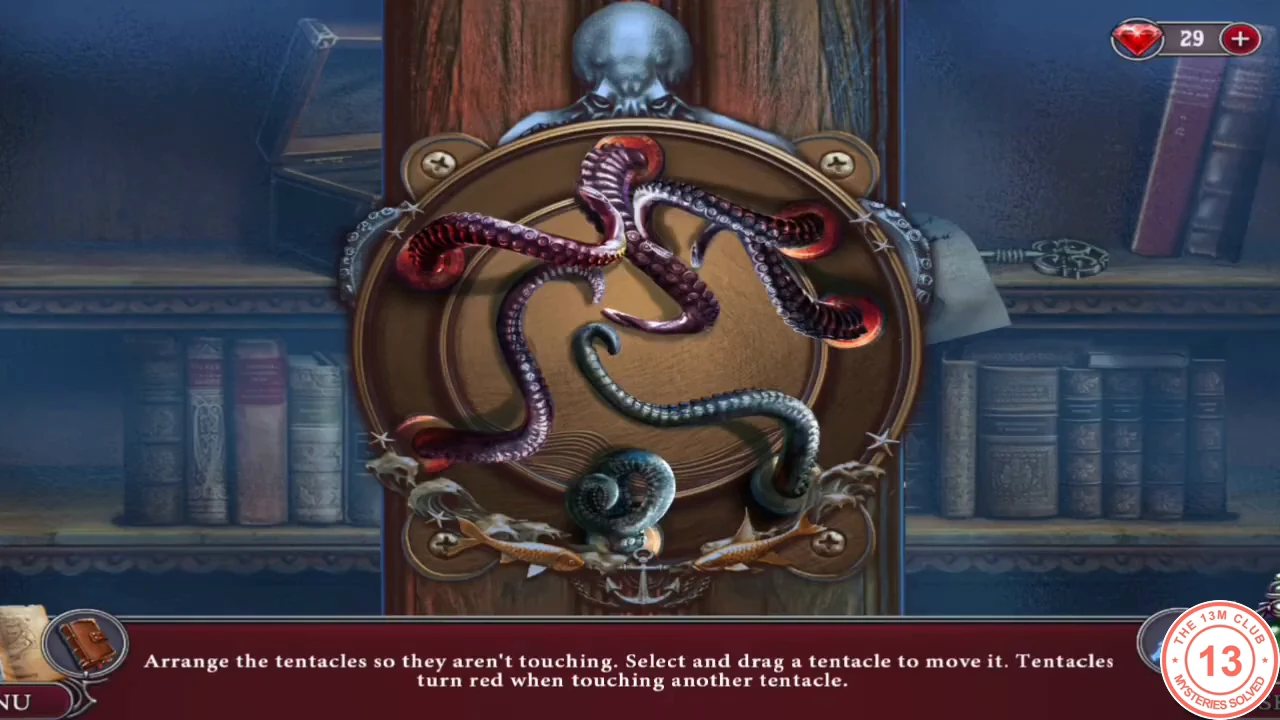
Place the three serpent pieces on the emergency cabinet to start the lock.
- Drag the tentacles until none of them touch. A tentacle glows red while it touches another. When all are clear, the cabinet opens.
- Read the keeper's note: he took the broken flare gun to the top of the lighthouse. Take the LIGHTHOUSE KEY from the shelf. Your objective is "Find the flare gun."
Lighthouse Fuse Box
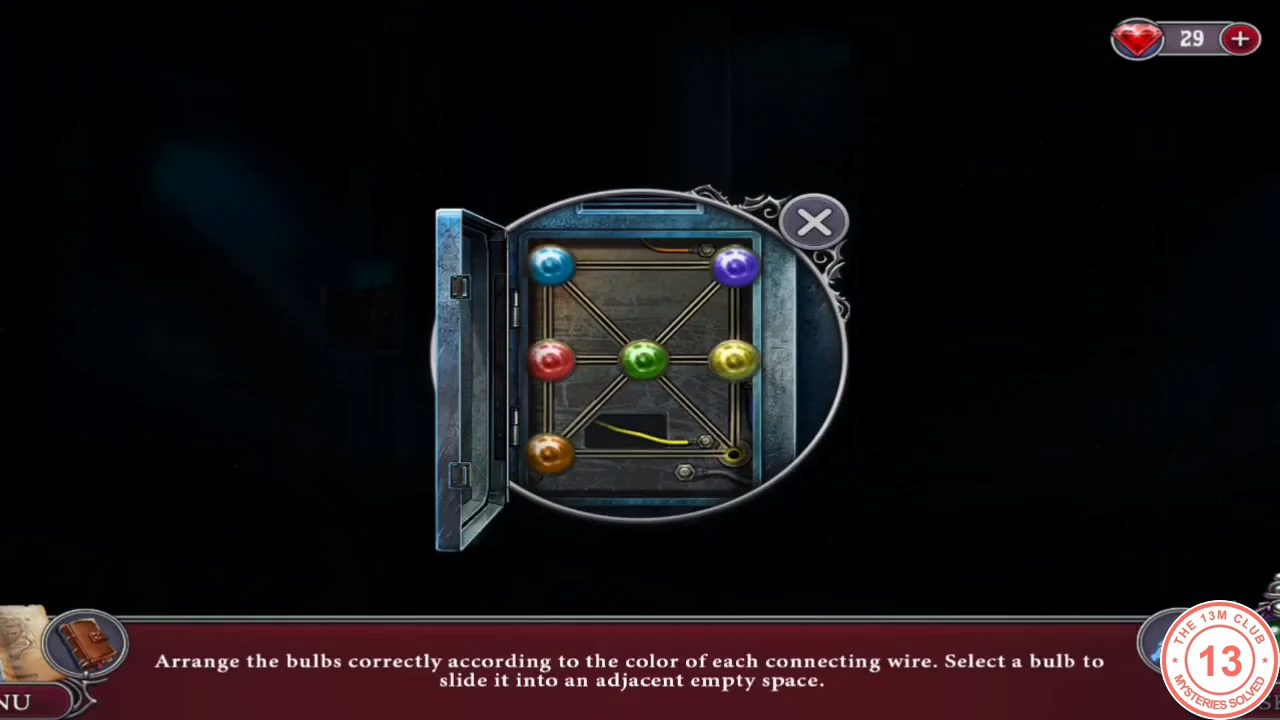
Unlock the lighthouse door to the right of the house with the LIGHTHOUSE KEY. It is dark inside; open the fuse box on the right wall. The fuse box puzzle depends on your game version: older builds use a bulb puzzle, newer builds (seen in May and June 2026 recordings) use a line-drawing board. Follow the step that matches your screen.
- Use the LIGHTHOUSE KEY on the lighthouse door and go in.
- Older version (bulb sockets): slide bulbs into the adjacent empty socket until each bulb sits on the wire of its own colour. Session result: top left empty, top right orange, middle left blue, centre green, middle right purple, bottom left red, bottom right yellow.CODETL empty · TR orange · ML blue · C green · MR purple · BL red · BR yellow
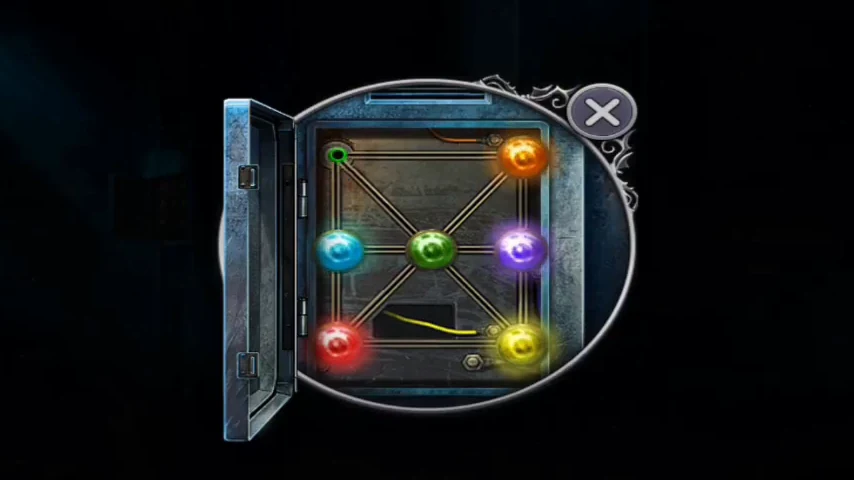
Older version, solved: each bulb sits on the wire of its own colour. - Newer version ("Fill the board with non-overlapping lines"): count rows 1 to 7 from the top and columns 1 to 9 from the left. Drag from each numbered tile to draw a line of exactly that length. Red 8 (row 1, column 2): right along row 1 to column 8, then down to the red end at row 2, column 8. Green 6 (row 2, column 2): left to column 1, then down to the green end at row 6, column 1. Yellow 5 (row 2, column 9): straight down to the yellow end at row 6, column 9. Blue 6 (row 3, column 3): down to row 4, right to column 4, down onto the rainbow tile (the line turns green), then left across the arrow tile to the green square at row 5, column 2. Yellow 11 (row 3, column 4): up to row 2, right to column 6, down to row 3, left to column 5, down through the yellow square and on to row 5, then right through the rainbow tile (turns blue) and the arrow tile to the blue square at row 5, column 8. Green 7 (row 3, column 7): down through the arrow tile to row 7, right to column 8, then up to the green end at row 6, column 8. Red 10 (row 6, column 2): zigzag along rows 6 and 7 to the right (down, right, up, right, down, right, up, right, down) and finish at the red end at row 7, column 6.CODER8 r1c2→r1c8→r2c8 · G6 r2c2→r2c1→r6c1 · Y5 r2c9→r6c9 · B6 r3c3→r4c3→r4c4→r5c4→r5c2 · Y11 r3c4→r2c4→r2c6→r3c6→r3c5→r5c5→r5c8 · G7 r3c7→r7c7→r7c8→r6c8 · R10 r6c2→r7c2→r7c3→r6c3→r6c4→r7c4→r7c5→r6c5→r6c6→r7c6
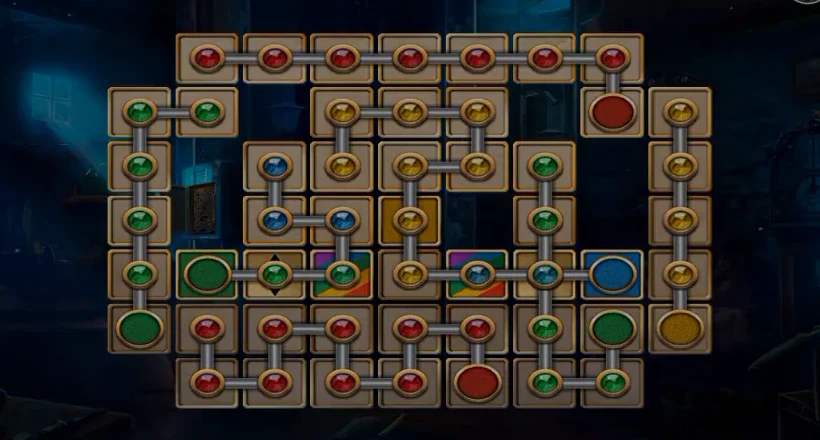
Newer version, solved: the completed fill-lines board. - The elevator cage is stuck at the top and the ladder is broken. Your objective is "Get to the top of the lighthouse." To lower the elevator by hand you need something long: use the HARPOON on the elevator shaft in the centre, and the cage comes down.
Gun Oil, Ladder and Gears
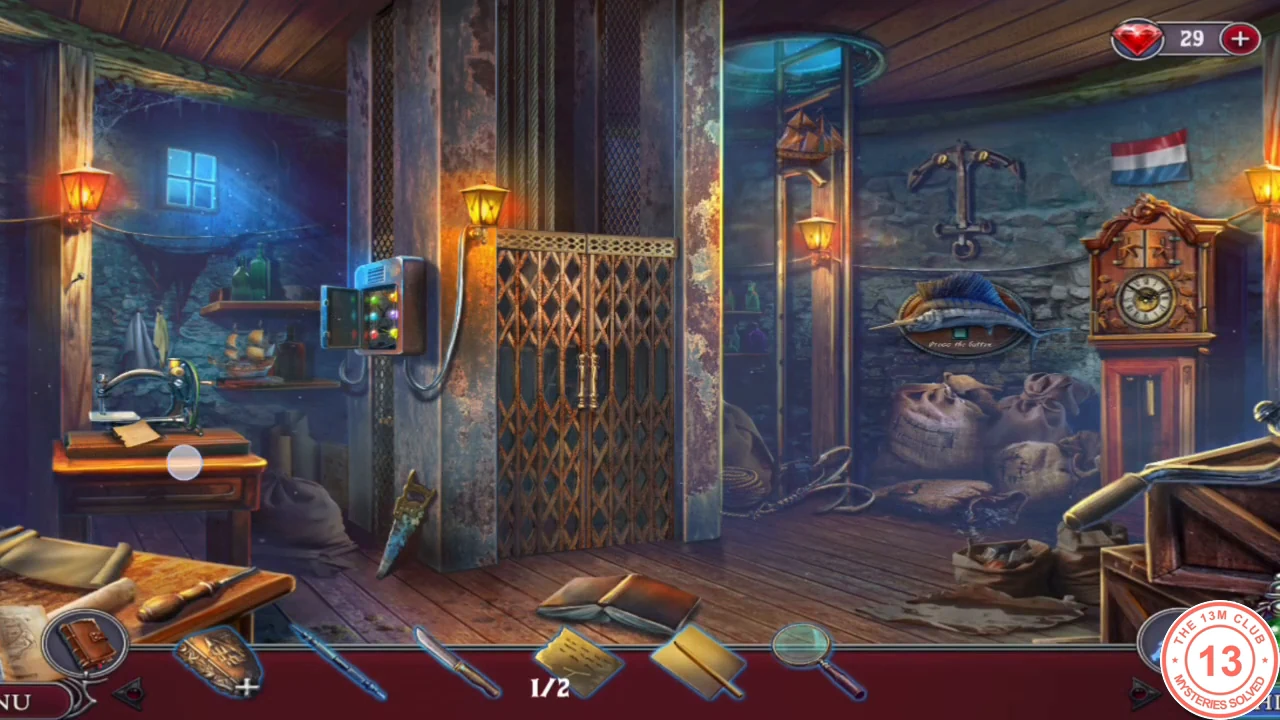
Collect five gears for the elevator mechanism.
- Read the note on the table on the left: the cuckoo clock's gears fall out at 12:00. Zoom into the sewing machine: take GEAR 1/5 lying on its base, then pry the belt off with the KNIFE to get the MACHINE BELT.
- The elevator gate has rusted shut. Go back to the yard and search the supply crates: find the items shown as silhouettes in the bar until all are found and you receive the GUN OIL.
- Oil the gate hinges with the GUN OIL, fold the gate open and take the LADDER.
- Place the LADDER under the swordfish plaque on the back wall and zoom into the plaque. Press the green button (the fish moves), then cut open the fish's belly with the KNIFE. Take GEAR 2/5, read the note and take the ELEVATOR KEY lying on it.
- Tap the LADDER standing under the swordfish to move it to the tall cuckoo clock. Turn the hands to 12:00; the cuckoo pops out, take GEAR 3/5.CODE12:00
- Take GEAR 4/5 from the top left of the elevator frame. Enter the elevator cabin, open the metal cabinet on the right wall and take GEAR 5/5.
Elevator Gear Panel
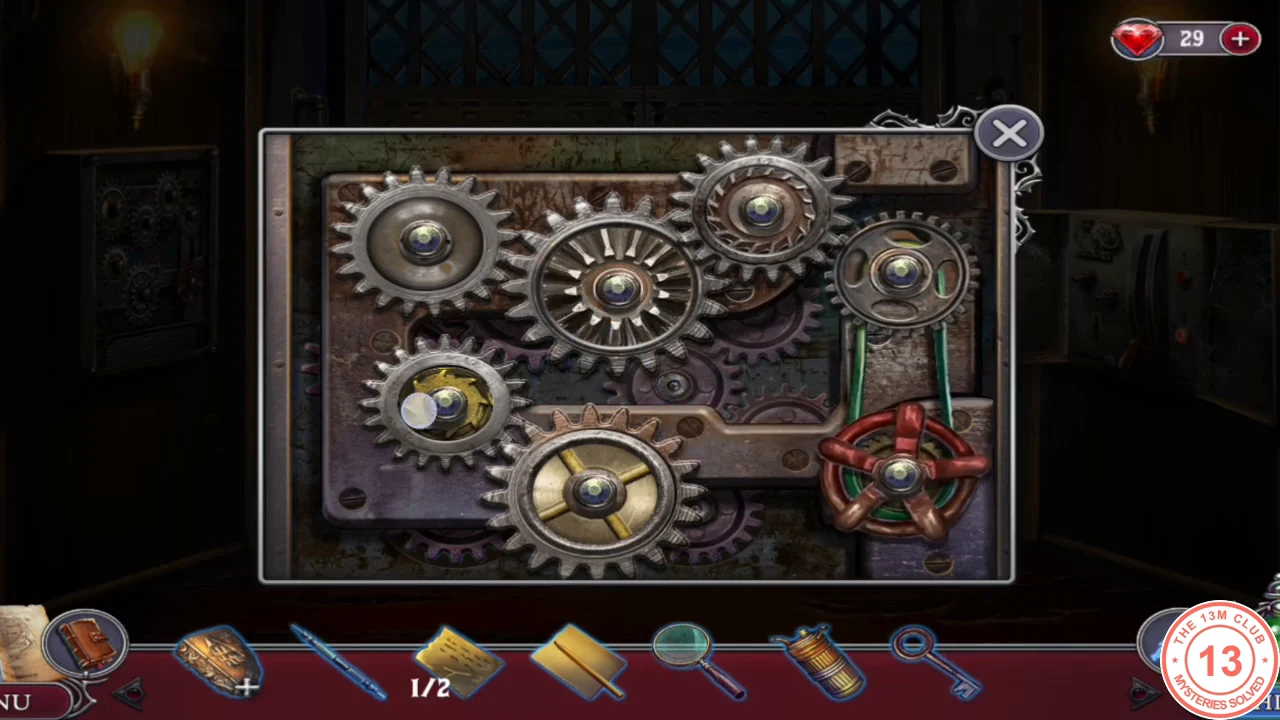
The gear panel on the left wall of the elevator cabin.
- Place the five GEARS on the panel, then add the MACHINE BELT between the top right gear and the red wheel.
- Select two gears to swap them. Swap until one unbroken chain runs from the red wheel through every gear (see the solved panel).
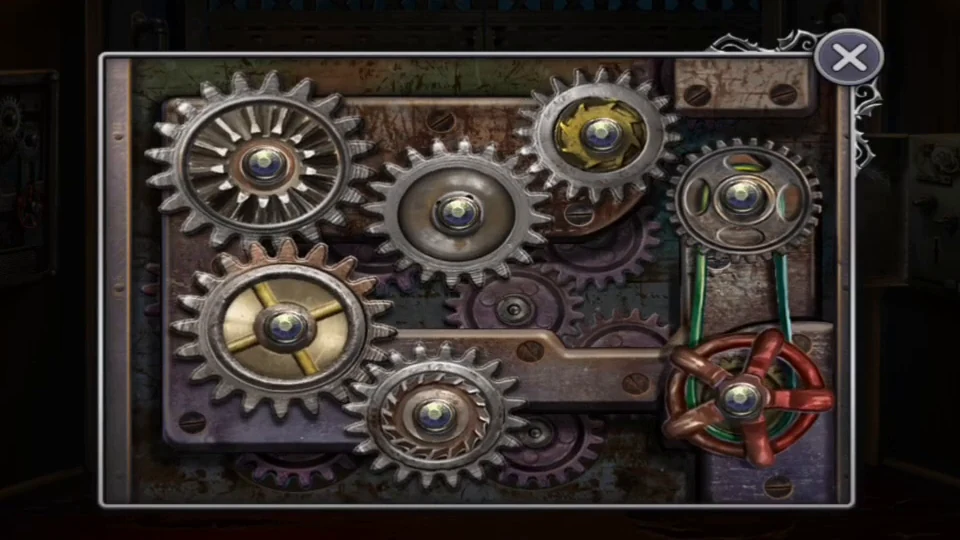
Solved gear panel: one unbroken chain from the red wheel. - Turn the ELEVATOR KEY in the cabinet keyhole and pull the lever to ride up.