SECTION 1
Find Arjen on the Platform
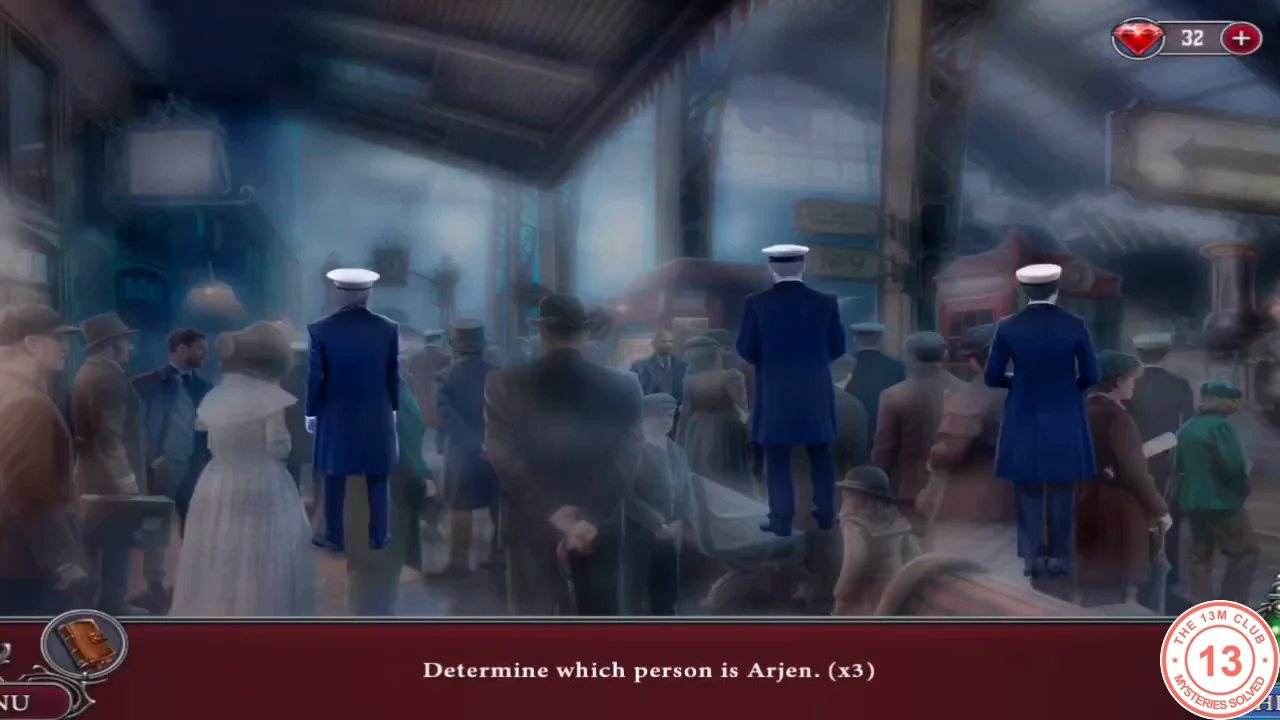
Agatha arrives by train and has to pick out Arjen from a crowd of passengers.
- Tap the six passengers wearing blue coats. The game then narrows the search to the three of them who also wear white caps: one stands just to the right of the woman in the white dress (behind her shoulder) and two are further to the right.
- Tap each of the three capped men to turn them around. Arjen is the older officer in the middle; the other two are wrong. Talk to him.
- A newsboy on a bicycle crashes into Arjen and scatters his papers. Your new task is to gather Arjen's documents.
SECTION 2
Station: Coins for the Kiosk
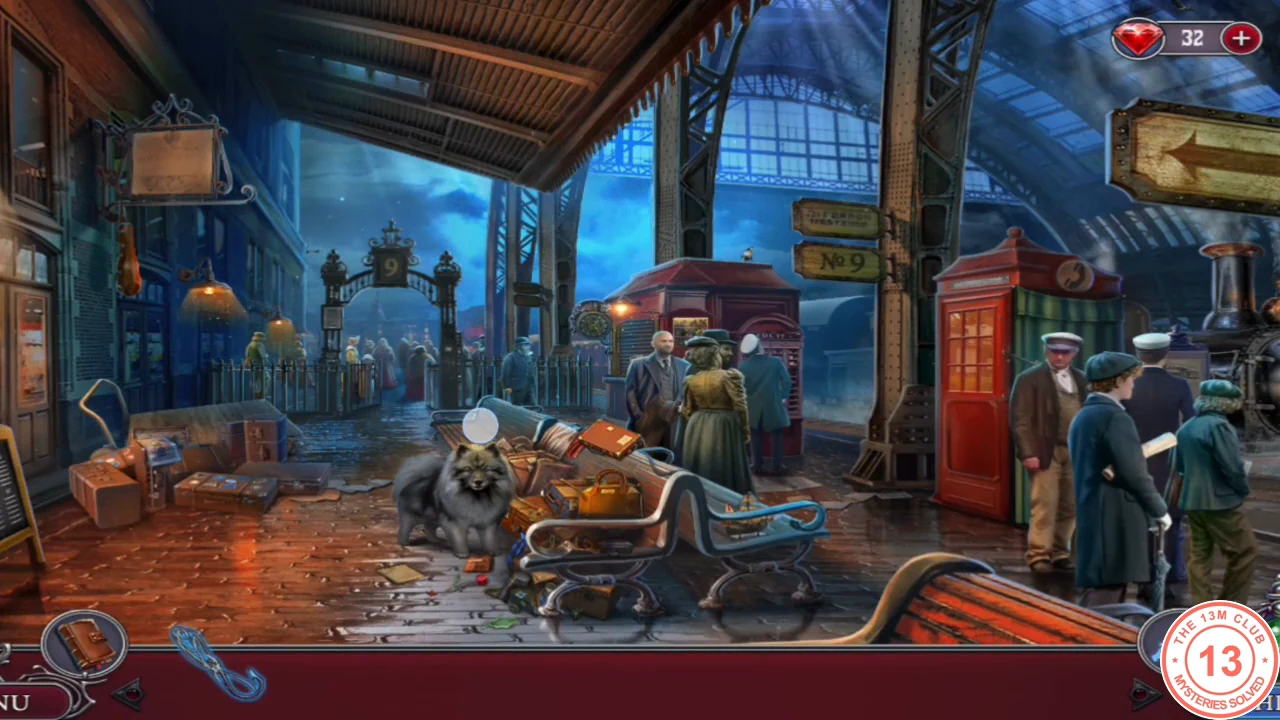
The documents are under a bench guarded by a nervous dog. You need four guilder coins to buy it a chew toy from the kiosk.
- Zoom into the bench by the dog. Take the FISHING LINE and the red NOTEBOOK. Open the notebook to read Arjen's entry and take the STRAP and DAGGER.
- Go to the red phone booth. Cut the rope holding the MAINTENANCE sign with the DAGGER, then take the STAR MEDALLION (it is labelled CART WHEEL) from the bottom of the booth. The fuse panel inside is missing one of its three switches.
- Zoom into the luggage cart and take the golden WINDING KEY from the newspaper. A coin is visible under the luggage but cannot be reached yet.
- Zoom into the kiosk counter. Take the folded MAP and read the postcard: the kiosk must be opened at 10:10. Take the CLOCK NOTE.
- Zoom into the luggage pile on the cart. Move the bags aside, open the grey suitcase and pack the scattered clothes back inside; take the SWITCH you uncover. Close the case with the STRAP.
- Attach the CART WHEEL to the luggage cart. The cart rolls away and reveals COIN 1/4.
- Put the SWITCH into the phone-booth fuse panel. The light comes on; take COIN 2/4.
- Use the WINDING KEY and the CLOCK NOTE on the clock at the top-left of the kiosk. Use the arrows to set the hands to 10:10. The clock opens: take the KIOSK KEY and COIN 3/4.CODE10:10
- Unlock the kiosk shutter with the KIOSK KEY. Read the newspaper and take the pulley block lying on it: this is HOOK 1/2 (the second hook is your reward for the first case board). Then take COIN 4/4 from the counter.
- Insert the GUILDERS into the kiosk machine and press button 4 (chew toys cost four guilders). Take the CHEW TOY.CODE4
- Give the CHEW TOY to the dog on the bench. It calms down and the bench search opens.
SECTION 3
Bench Hidden-Object Scene
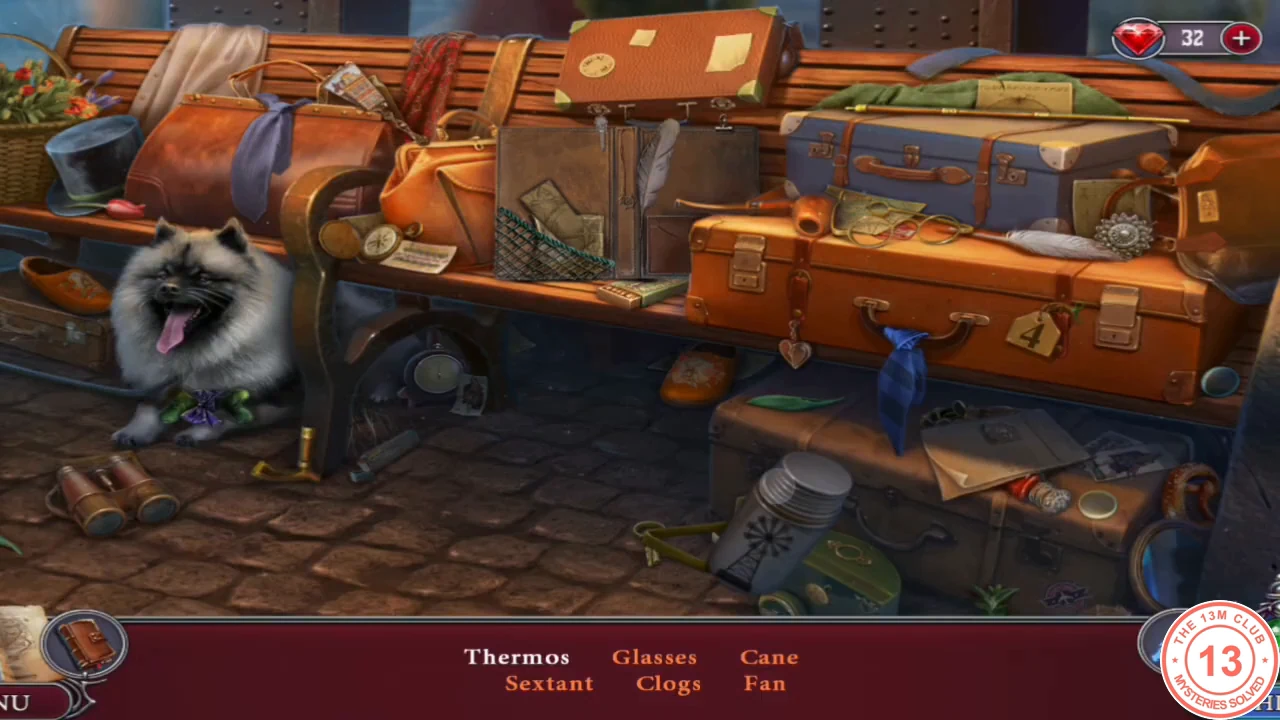
Find the listed objects among the scattered luggage. Items replace each other as you find them.
- Find the first list: Thermos, Glasses, Cane, Sextant, Clogs and Fan. The Fan opens a small picture puzzle: select two sections at a time to swap them until the image is restored.
- Find the second list: Binoculars, Compass, Pretzel, Barometer, Brooch and Hat. The last object is a Folder, which gives you the DOCUMENTS.
- Give the DOCUMENTS to Arjen. Your new objective is to get to the Royal Palace; a cab takes you there.
SECTION 4
Royal Palace Square: The Hatch
Ghost sailors have toppled a clock onto a palace guard. To free him you need the car, a rope and the hidden things in the square.
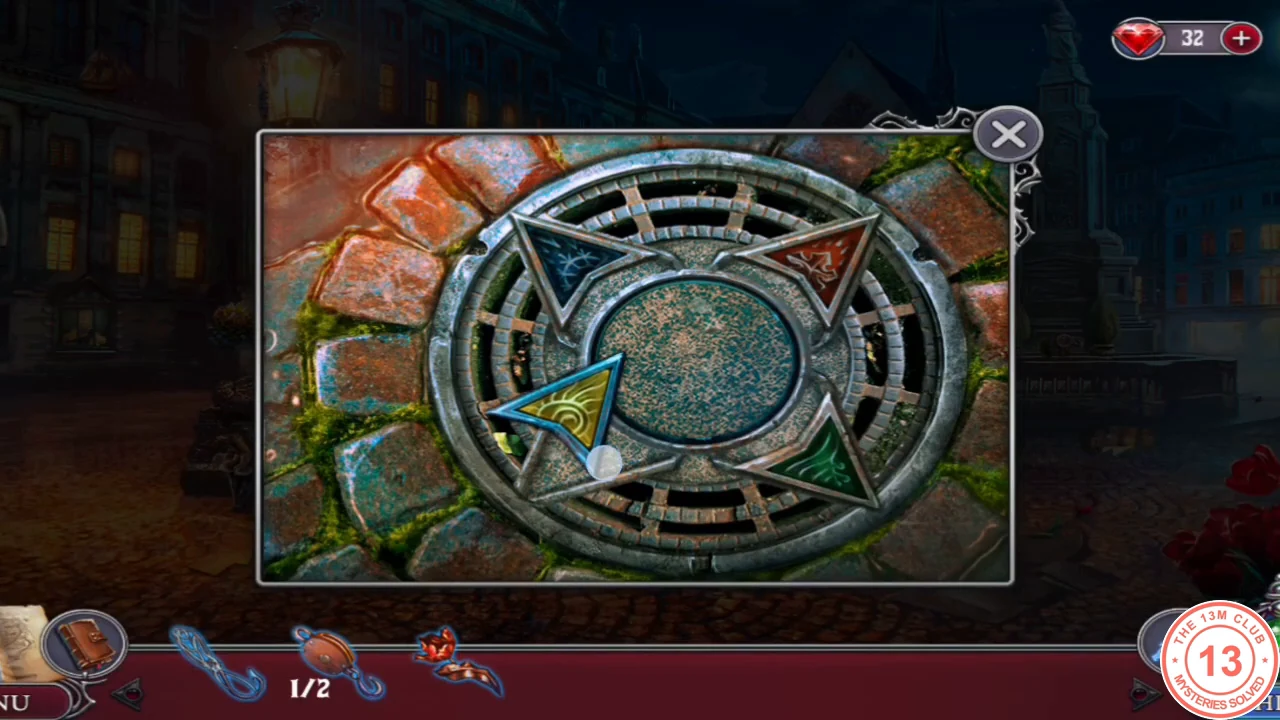
- Zoom into the round hatch in the middle of the square and pick up the RED IRON FLOWER lying on the upper-left rim of the hatch.
- Zoom into the round hatch in the middle of the square. The centre disc shows two colours each round. Press the two outer triangle buttons that match those colours. Three rounds are needed (the session showed blue + green, yellow + red, then green + yellow).
SECTION 5
Lantern, Valve and the Fountain
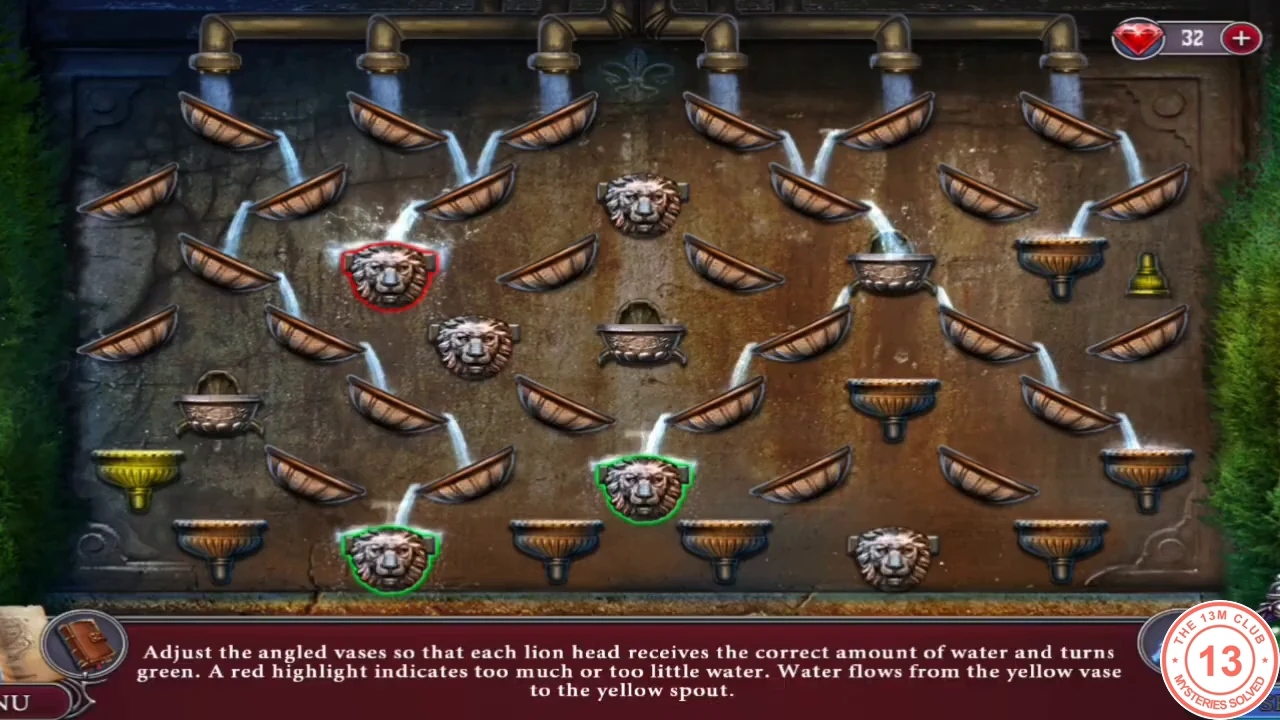
Light the hatch to retrieve a valve, then fix the fountain to reach a dropped purse.
- Use the CANE through the gap of the car's window to unlock the door. Take the BULB HORN and the LANTERN from the seat.
- Zoom into the shop window at the lower left. Honk the BULB HORN at the raven to scare it away. Take the GREEN IRON FLOWER from the sill, then the BRUSH and the gold LIGHTER from inside.
- Zoom into the lion relief at the base of the street lamp. Take and read the newspaper scroll, and pick up the blue RIBBON from the debris below the relief (keep it; it is needed later in the palace). Place the RED and GREEN IRON FLOWERS in the empty flower-shaped settings.
- Zoom into the raised lamp. Take the CORKSCREW hanging inside the open glass pane, then the LIGHTBULB, and put the bulb into the LANTERN in your inventory.
- Use the LANTERN on the open hatch. A valve is down there but out of reach; fish it out with the FISHING LINE.
- Zoom into the fountain basin on the right. Clean the filthy pipe with the BRUSH and attach the VALVE.
- Water puzzle: water starts at the yellow vase. Tilt the angled vases so each lion head receives the right amount of water. A head turns green when correct and red when it gets too much or too little. Work outward from the first vase and recheck the heads after each change; the puzzle is solved when all six heads are green.
- Take the purse from the filled basin and open it. Take the KEY RING of long toothed keys clipped to its upper edge, then read the typed note inside: "Today's attack will be near the Royal Palace!"
SECTION 6
Case Board and Freeing the Guard
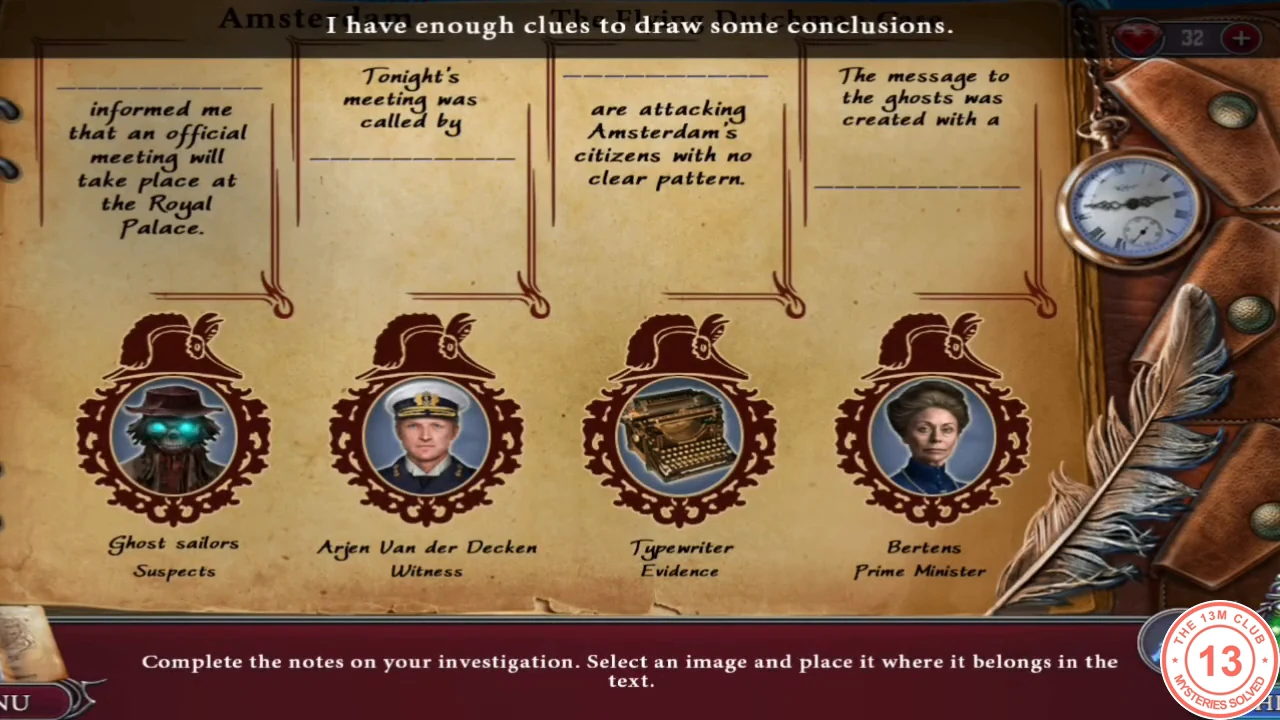
Complete the first case board, then open the car's luggage compartment for a tow rope.
- Case board: draw the conclusions. Left: "The ghosts were aware of the meeting at the palace." Middle: "Someone is orchestrating the ghost attacks." Right: "The ghosts receive messages coordinating their attacks." You receive the second HOOK, which joins HOOK 1/2 from the kiosk (both hooks are now complete).
- Open the locked luggage compartment of the car seat with the KEY RING. Two keys must be laid on top of each other to match the lock: drag the second key from the top (heart-shaped bow) and the fourth key (round, ornate bow) onto the lock.
- Take the TOW ROPE from the compartment. Examine it in your inventory (it has a plus sign) and attach the HOOKS to both ends. Then use the rope on the fallen clock to hitch it to the car; the car drags the clock away and frees the guard.
- Talk to the guard. He lets you into the palace, where the officials' meeting continues.