SECTION 21
Case Board: The Bracer
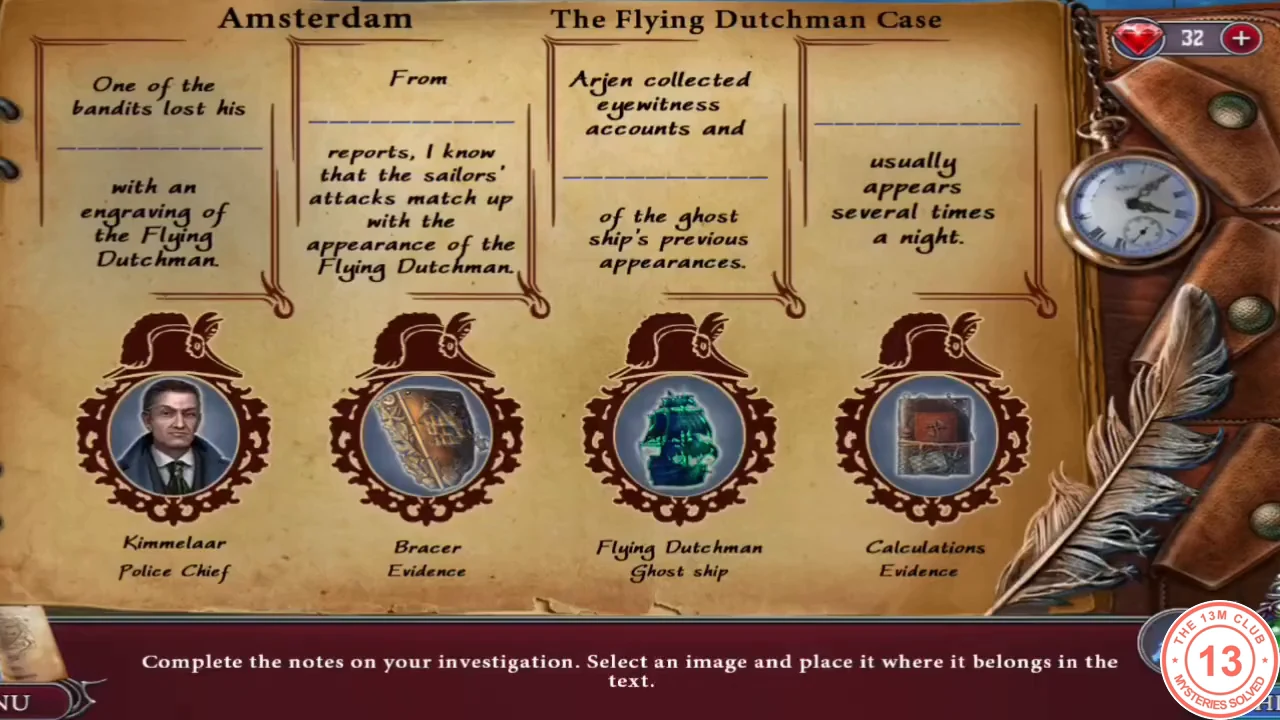
Back at Arjen's pier, review the case.
- Open the case board. Fill the blanks: one bandit lost his BRACER with an engraving of the Flying Dutchman; from KIMMELAAR'S reports the attacks match the ship's appearances; Arjen collected eyewitness accounts and CALCULATIONS; THE FLYING DUTCHMAN usually appears several times a night.
- Conclusions. Left: "The criminals are definitely related to the Flying Dutchman." Right: "We can predict when the Flying Dutchman will appear next." Middle: "Our best plan is to locate the Flying Dutchman." You receive a WICK.
- Arjen needs the witness accounts kept in his garage. Your objective is "Determine the location of the Flying Dutchman."
SECTION 22
Untangle the Net
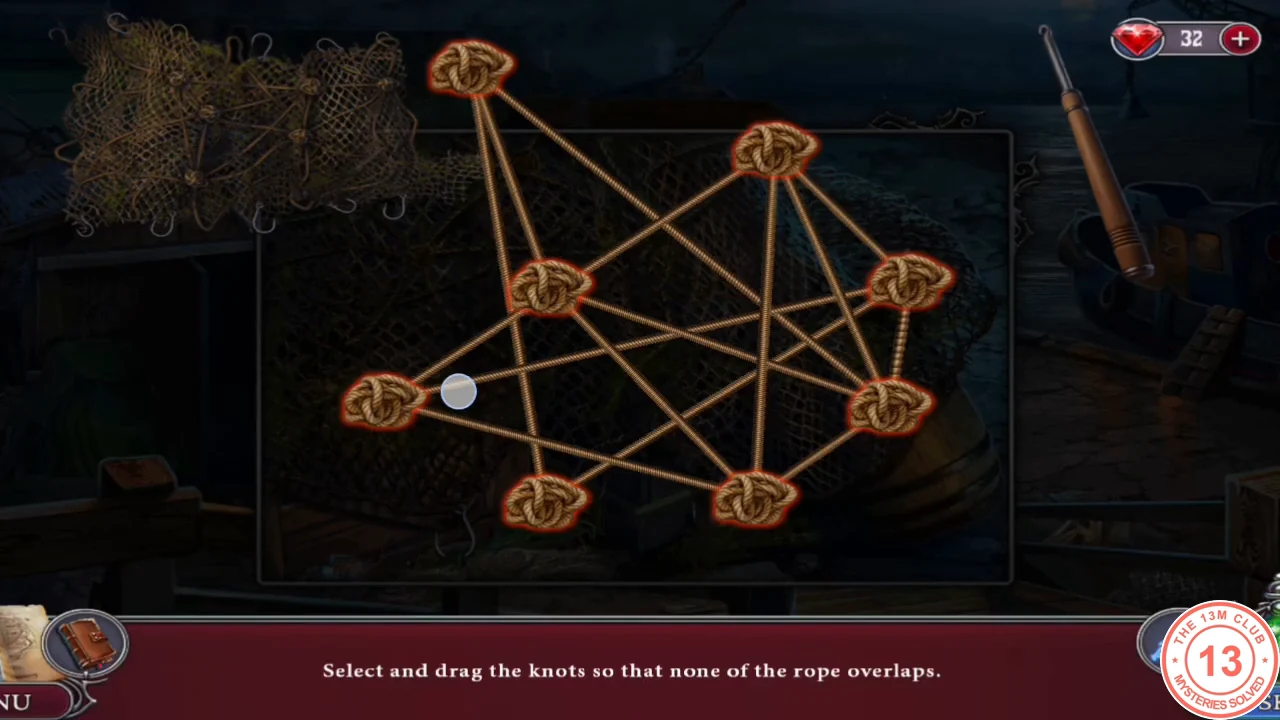
Gather a lifebuoy, the garage key and a marlinspike, then untangle the net.
- Zoom into the boat console to the right of the pier (it has 4 and 5 buttons, needed later). Read the lease agreement and take the GARAGE KEY lying on the panel. Take the LIFEBUOY from the net pile in the centre.
- Zoom into the garage doors on the left. Take the PULLEY hanging on the door and use the GARAGE KEY on the lock. Inside the dark shed, take the MARLINSPIKE from the bench.
- Use the MARLINSPIKE on the net. Drag the knots until none of the ropes cross; all knots turn green when solved. The lifted net uncovers a stack of crates.
SECTION 23
Rescue the Dog and Light the Lamp
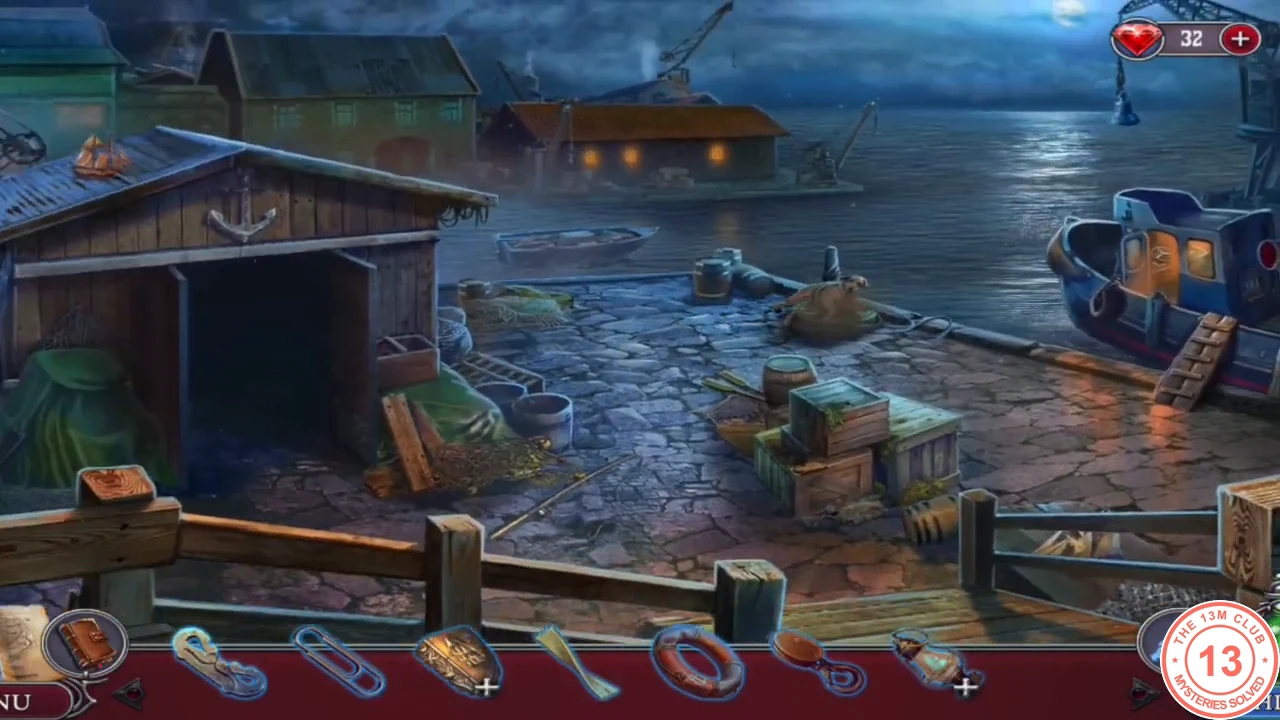
Arjen's dog falls into the water. After the rescue, light an oil lamp for the dark shed.
- Zoom into the uncovered crates. Take the LAMP from the barrel and the GOLDFISH carving from the crate on the left.
- The dog falls into the water. Throw it the LIFEBUOY. The rescued dog brings you RIGGING.
- In your inventory, combine the RIGGING with the PULLEY HOOK to make a GRAPPLING HOOK.
- Pull in the drifting rowboat on the right with the GRAPPLING HOOK. Put the GOLDFISH emblem in the chest lock, read the note and take the FLINT and the DIODE from the chest. Also take the OIL CAN from the rowboat (easy to miss).
- Examine the LAMP in your inventory and open its chimney cage. Insert the WICK from the case board, pour in the OIL, then combine the FLINT with the FIRE STARTER and light the wick to get a LIT LAMP.
SECTION 24
Arjen's Workshop
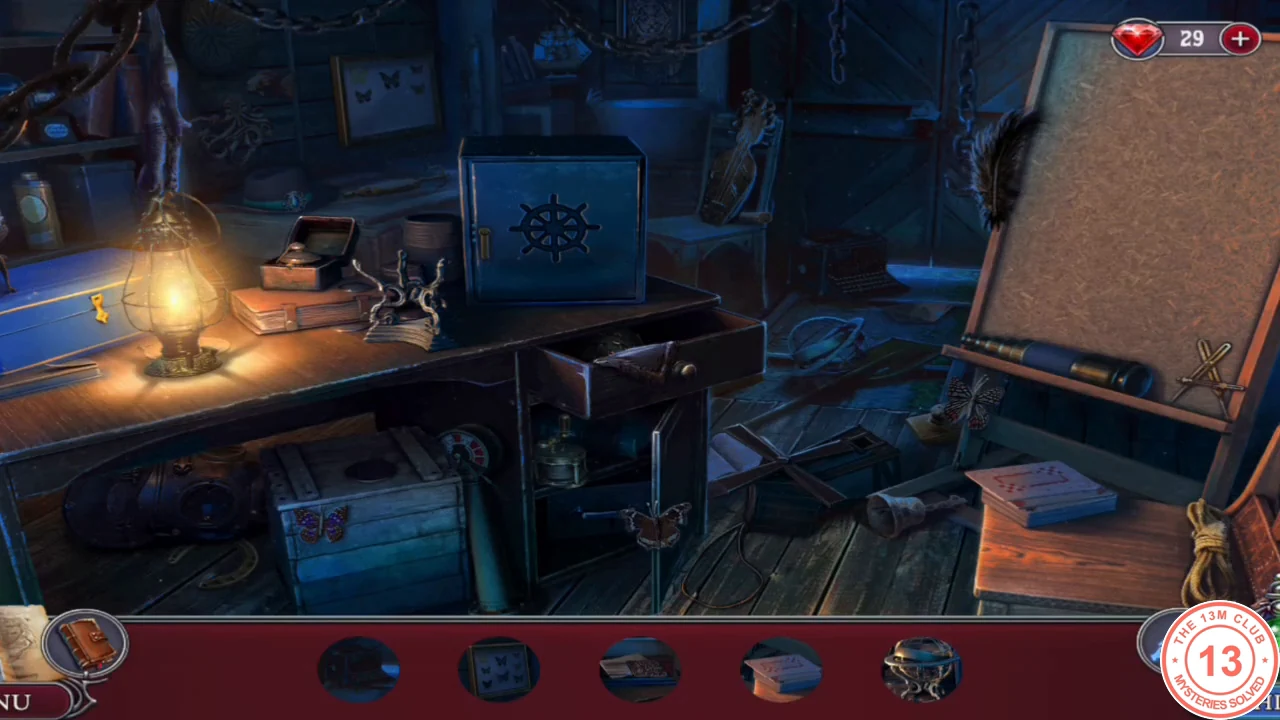
Place the lamp in the shed. The workshop is an interactive search: the bottom bar shows five silhouettes, and some goals need parts combined in the scene.
- Place the LIT LAMP in the shed. Find the silhouetted items. Examples from the session: put the metal ring found on the floor onto the brass stand to make an armillary sphere; add the butterflies (one is in front of the blue crate) to the wall frame; put the black feather by the easel into the hat; and collect the papers, gauge, spyglass and ink bottle from around the desk. New goals replace completed ones. The item names in this search are not labelled, so match each item to the outlines in the bar.
- For the last outline, tap the blue safe with the ship's wheel on the desk. It opens without a code. Take the papers inside to clear the last outline. Your goal becomes "Map": take the MAP from the safe and pin it to the easel.
- Collect Arjen's 11 notes around the shed: by the stool and easel, inside the safe, on and in the desk, near the lamp, under the desk by the crate and on the floor by the open book.
- Map puzzle: match each witness note to its place on the map. Tennis racket: the sports club on the northwest embankment. Leaf: the park at the bottom middle. Island sketch: the biggest island in the bay. Crane: the docks on the eastern waterfront. The sight lines cross at coordinates 52°41'44"N 5°24'39"E.CODE52°41'44"N 5°24'39"E
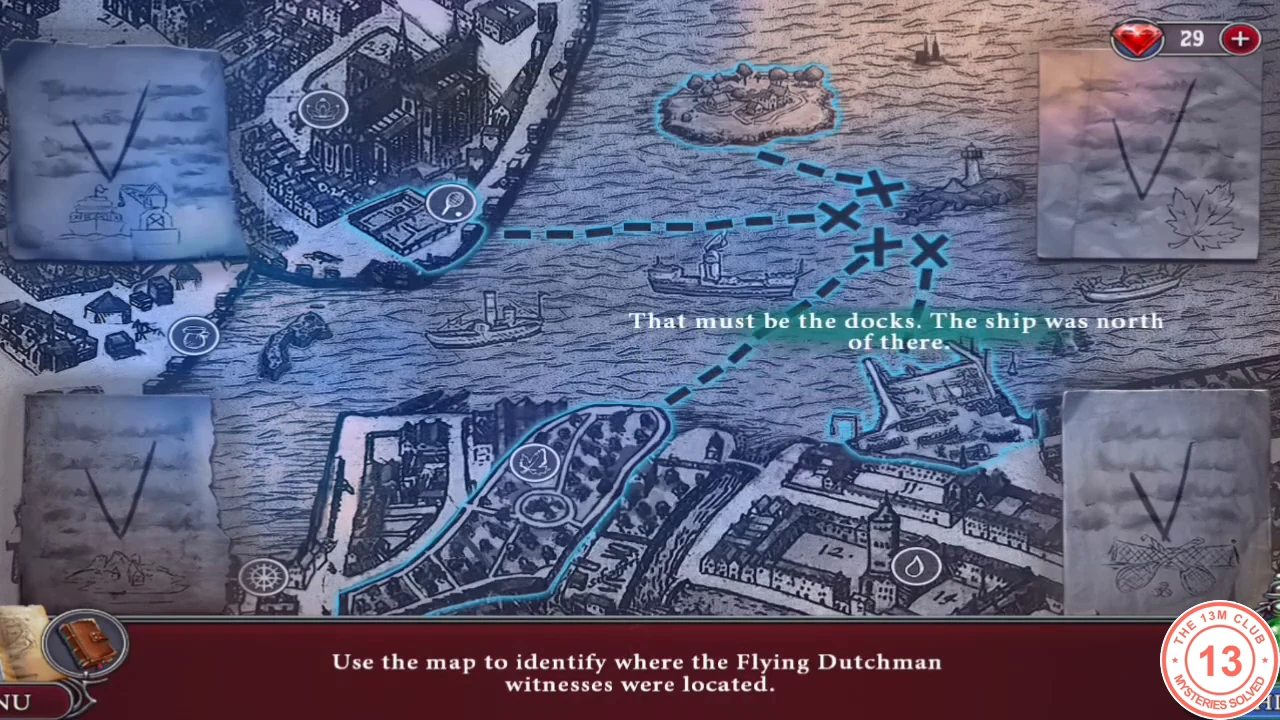
Solved map: the witness sight lines cross north of the docks. - Arjen asks you to enter the coordinates into his boat's navigator.
SECTION 25
The Ship's Navigator
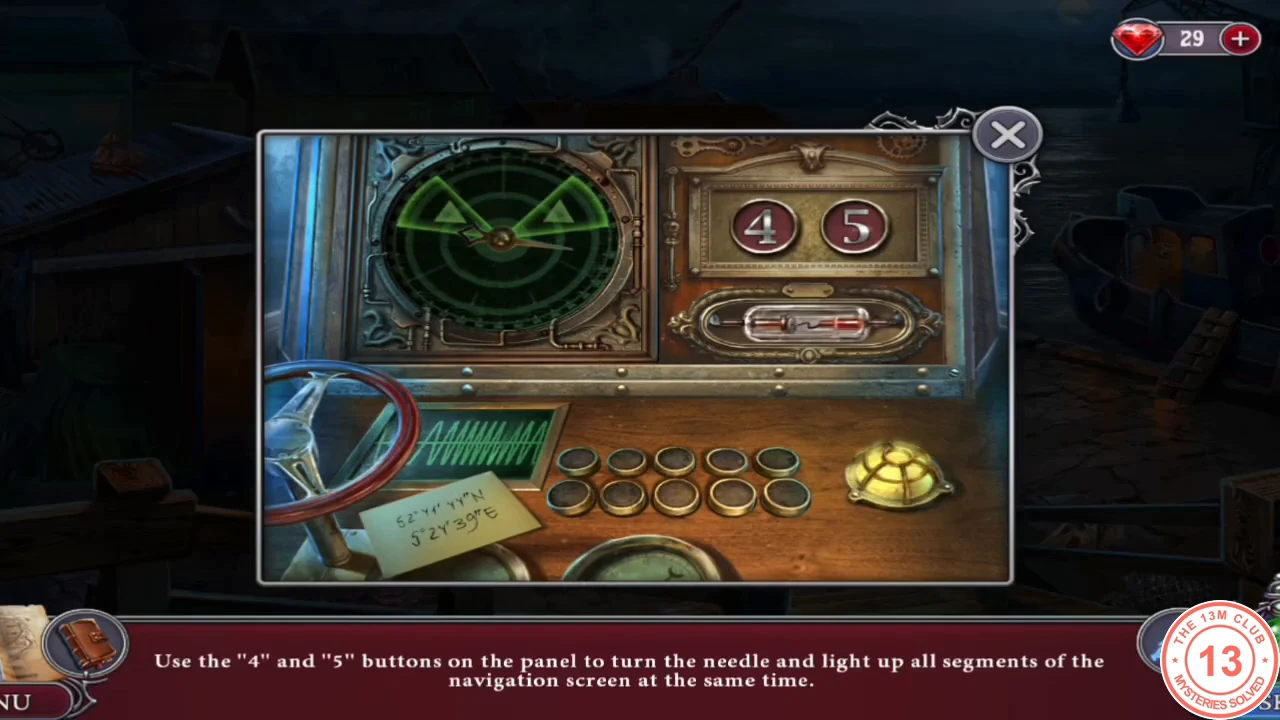
The navigation screen is divided into nine wedges. Light the eight wedges that carry a triangle at the same time; the ninth wedge at the lower right has no triangle and stays dark even when the puzzle is solved.
- Zoom into the boat console to the right of the pier. The panel has no power yet: first fit the DIODE from the rowboat chest into the empty socket, then place the COORDINATES and press the turtle button to start the navigator.
- Each press of the 4 or 5 button turns the needle, and the segment it stops on switches on or off. Keep pressing until all eight triangle wedges are lit. Session solution from two lit upper segments (eleven presses): 4, 5, 4, 4, 5, 4, 4, 4, 4, 4, 4.CODE4 5 4 4 5 4 4 4 4 4 4