Put Out the Fire
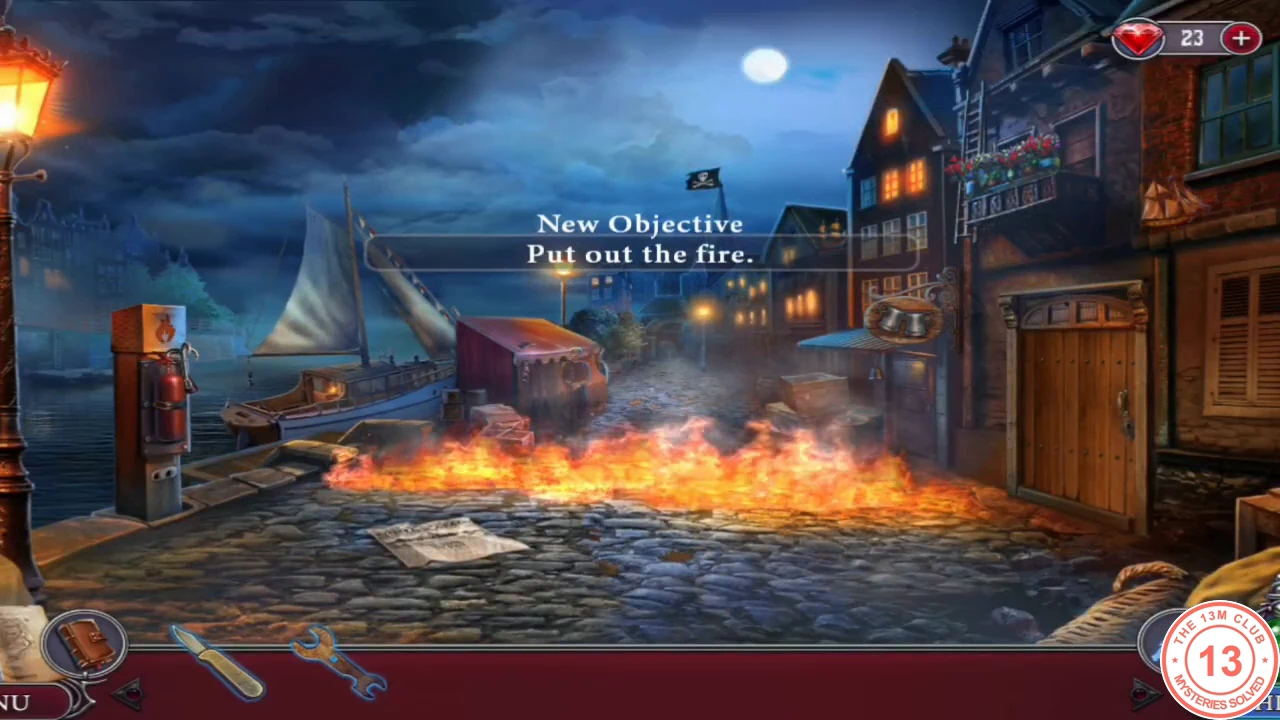
A smuggler fires at Agatha and Arjen, and Arjen gives chase. Your objective is "Put out the fire."
- Zoom into the fire-extinguisher box on the left post and take the GRAPPLING HOOK.
- Remove the four nuts holding the extinguisher with the SMALL WRENCH, then use the EXTINGUISHER on the fire. In older builds the fire goes out straight away.
- Newer version: using the EXTINGUISHER opens a stone puzzle. "Tap to switch the colors on the groups of stones. Set the colors so that no group of stones touches another group of the same color." Each tap cycles a whole group through red, blue and green. Work from one corner outward and recolour any group that touches a group of its own colour; the screenshot shows one accepted final colouring.
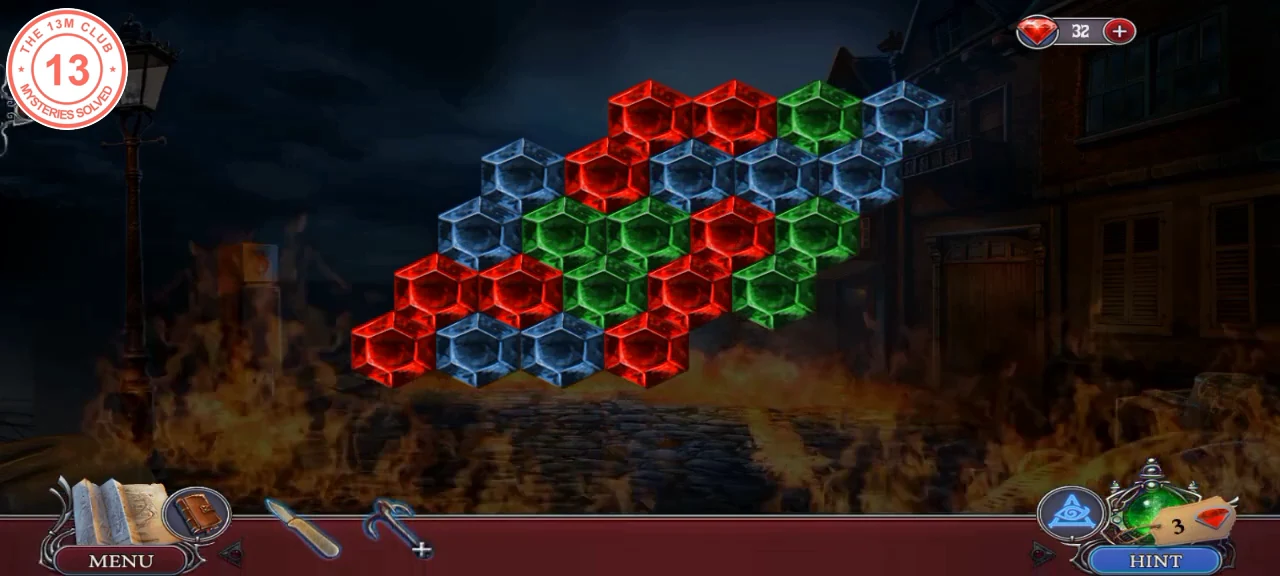
Newer version: one accepted final colouring of the stone groups. - Arjen returns and wants the ship docked here. Your objective is "Ask about the ship." Ring the bell at the tavern door on the right. The barkeeper will let you in only if you find his parrot, Sebastian. Your objective is "Find Sebastian."
Bird Feed at the Stall
Sebastian sits on the balcony and needs to be lured with food.
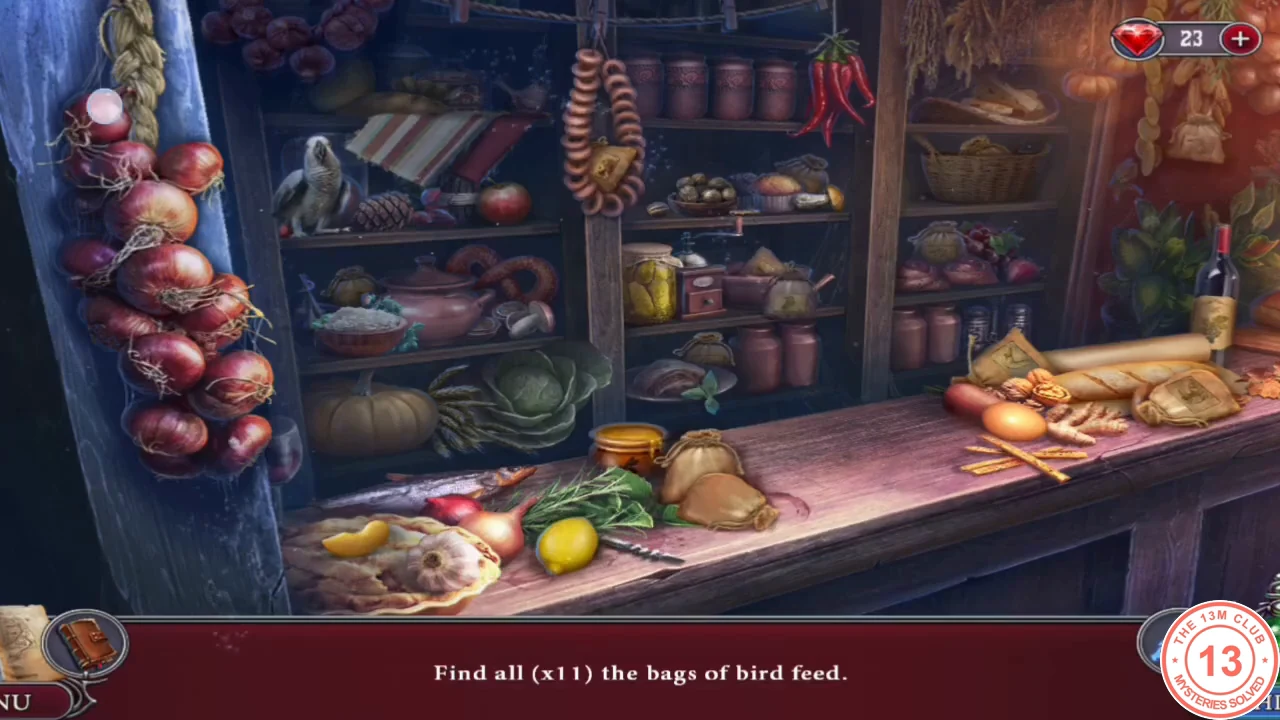
- Zoom into the red-covered stall in the middle left and cut the cover with the PENKNIFE.
- "Find all the bags of bird feed." Tap the 13 small burlap bags hidden on the shelves and the counter.
Find the Parrot Food
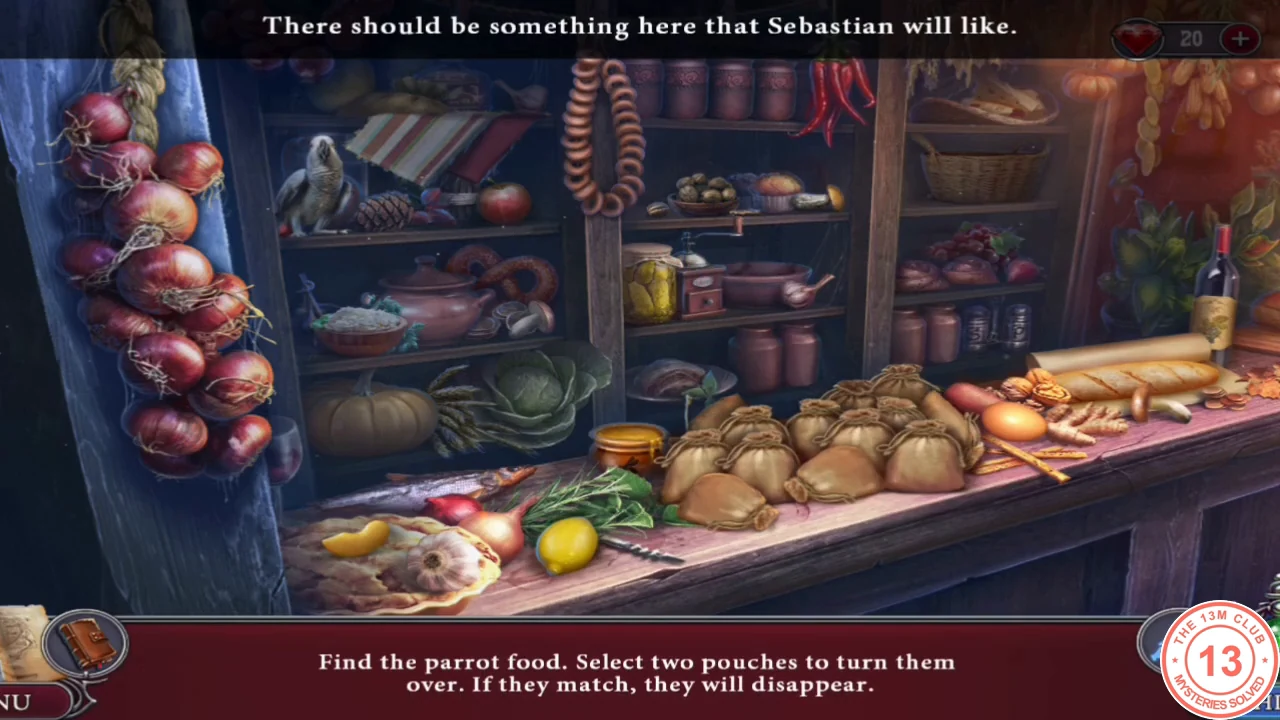
"Find the parrot food. Select two pouches to turn them over. If they match, they will disappear." The symbols are placed differently in each game.
- Turn over two pouches at a time and remember the symbols. Clear every pair; Sebastian flies down to the remaining food and you catch the PARROT.
The Barkeeper's Tools
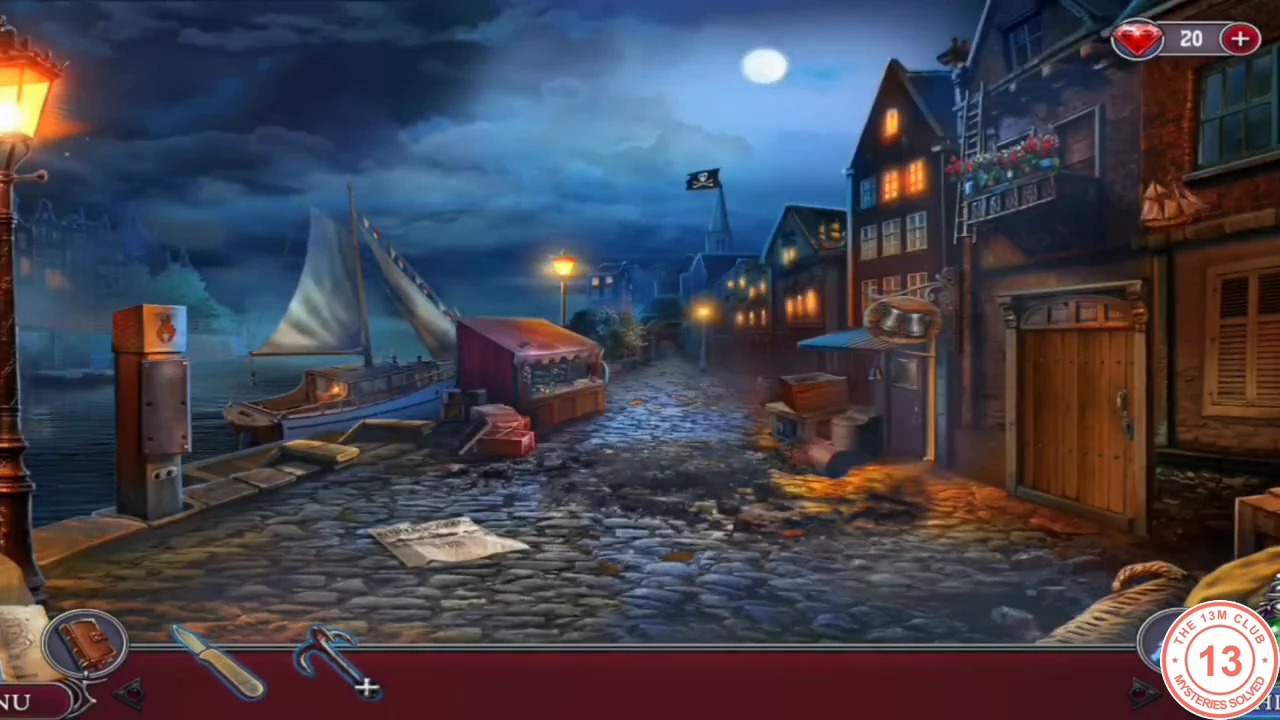
The barkeeper needs his tools from the warehouse.
- Ring the tavern bell and return the PARROT. Inside, the barkeeper gives you the WAREHOUSE KEY and a note: the tools are in a wooden box on the top shelf. Your objective is "Find the tools." Take the ROPE from the tavern table.
- Examine the GRAPPLING HOOK in your inventory and tie on the ROPE. Back on the street, zoom into the roof edge and throw the hook to pull down the LADDER.
- Unlock the warehouse door beside the tavern with the WAREHOUSE KEY. Take the red VALVE WHEEL, place the LADDER, scrape the moss off the box with the PENKNIFE and take the TOOLS.
- Give the TOOLS to the barkeeper. He wants groceries before he lends the boat and gives you the GROCERY LIST. Your objective is "Bring groceries to the barkeeper."
Grocery Shopping
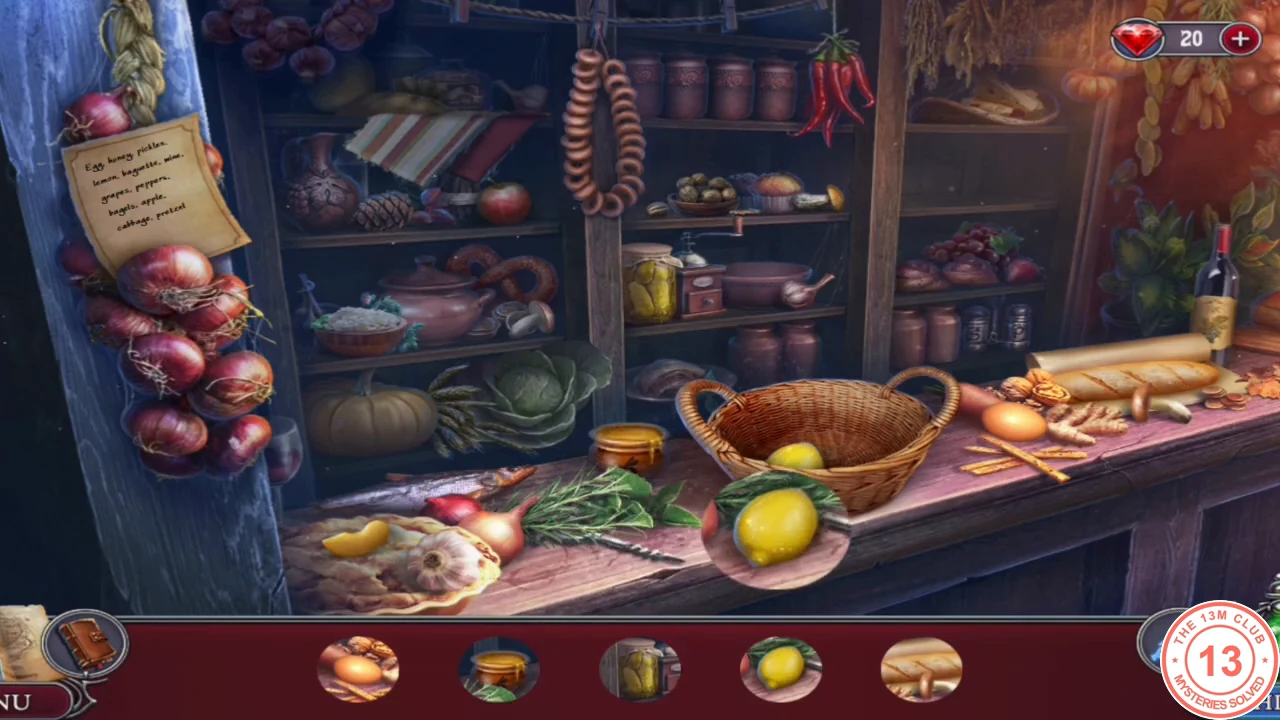
Go back to the stall with the GROCERY LIST.
- Take the BASKET from the upper right shelf and put it on the counter.
- Find the silhouetted groceries and drop each into the basket: egg, honey, pickles, lemon, baguette, wine, grapes, peppers, bagels, apple, cabbage and pretzel. Take the GROCERIES.
The Drawer Labels
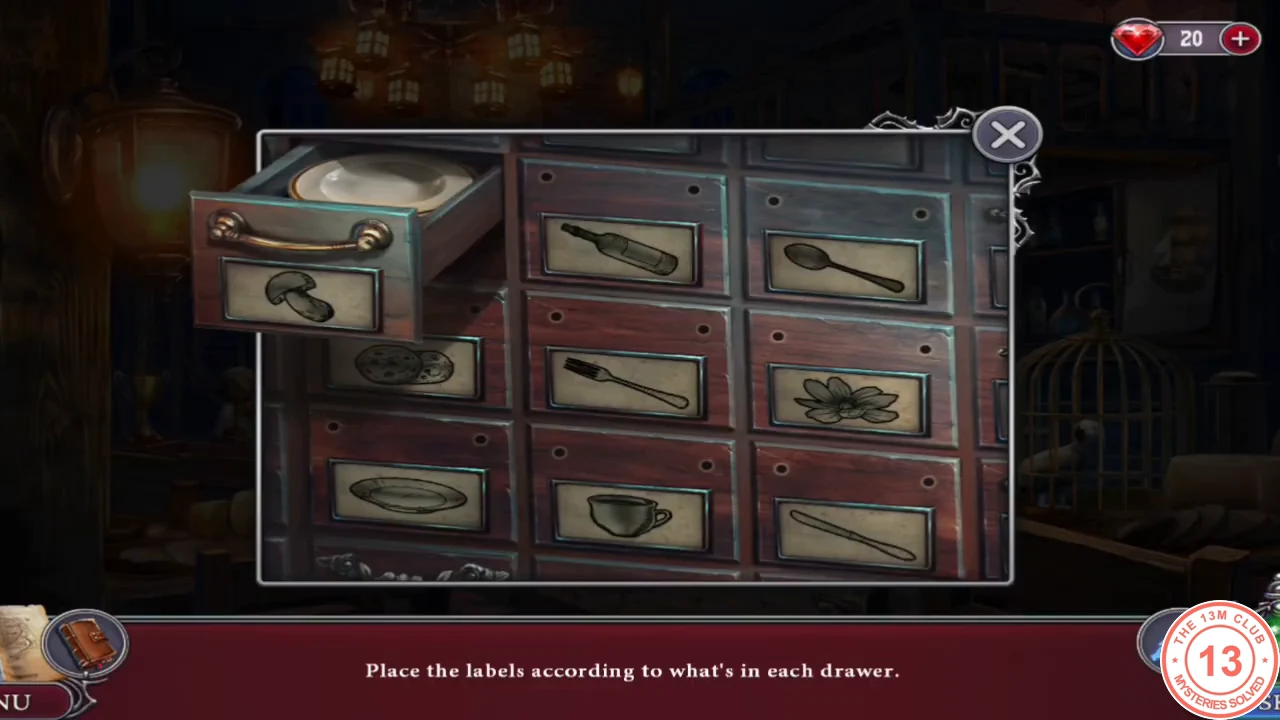
Give the GROCERIES to the barkeeper. He lost his trophy to the man at the table in a game of sjoelen and gives you the LABELS. Your objective is "Bring the barkeeper his trophy."
- Zoom into the drawer cabinet on the back left wall and place the LABELS. "Place the labels according to what's in each drawer." Tap a drawer to look inside, then drag labels between drawers.
- Final layout: top row plate, spoon, flower; middle row knife, bottle, mushroom; bottom row bowl, cookies, fork. The cookie drawer opens: take the COOKIE and CHIP 1/2.
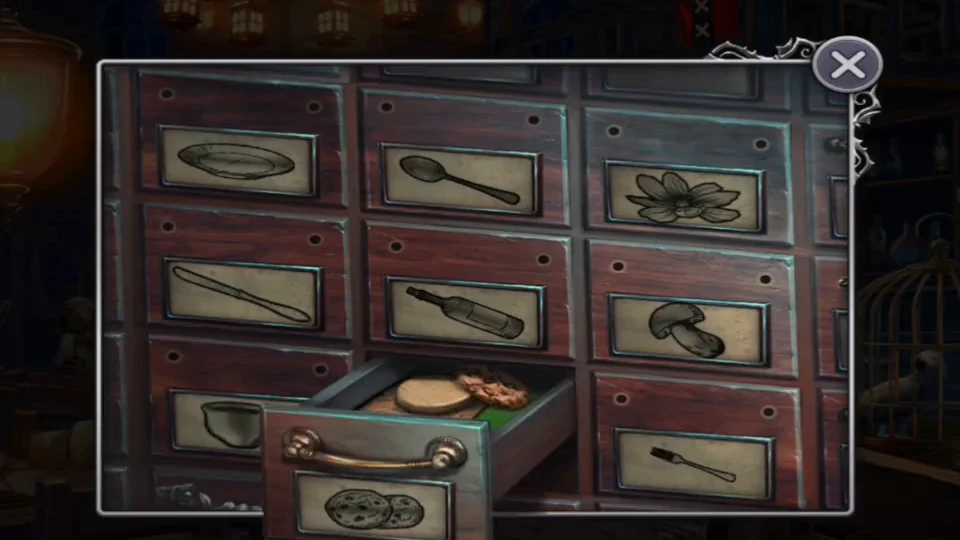
Solved drawer labels; the cookie drawer opens. - Give the COOKIE to Sebastian in his cage on the right and take CHIP 2/2.
A Game of Sjoelen
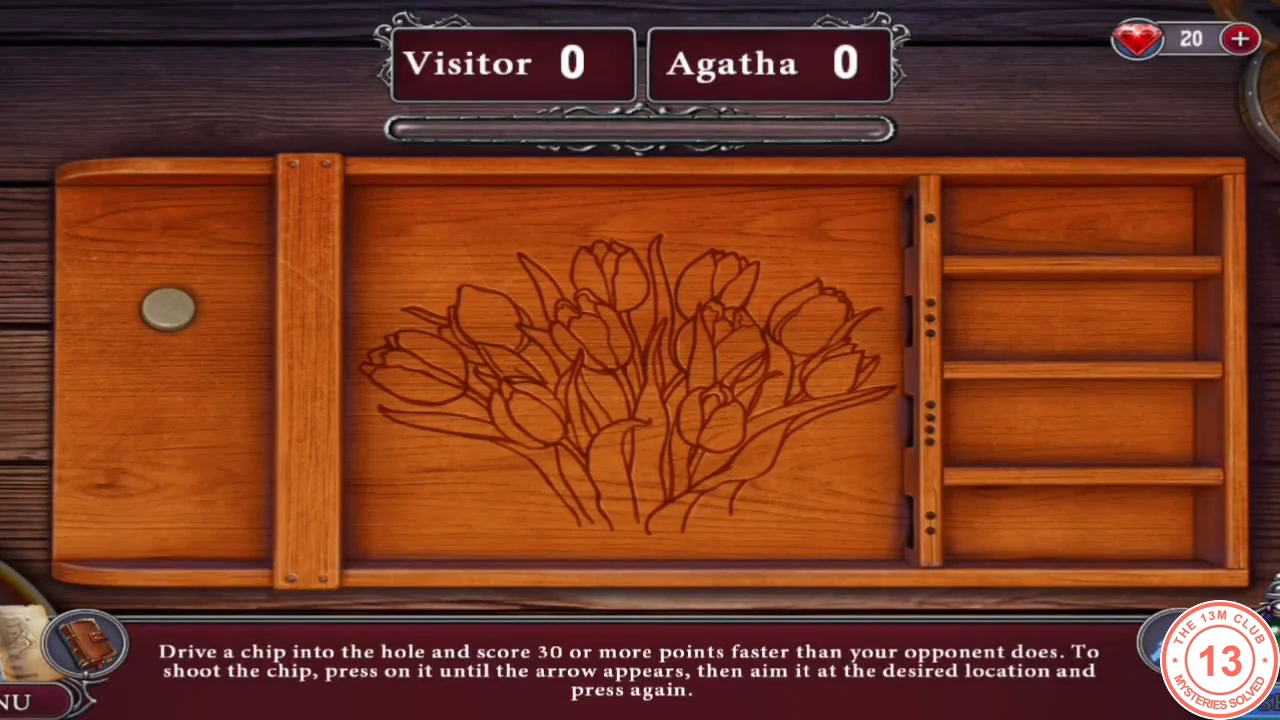
Place the CHIPS on the visitor's table. "Drive a chip into the hole and score 30 or more points faster than your opponent does. To shoot the chip, press on it until the arrow appears, then aim it at the desired location and press again."
- Aim each shot straight at a hole; the score boxes show Visitor and Agatha. Reach 30 points first to win the TROPHY.
- Give the TROPHY to the barkeeper and take the SHIP KEYS. Give them to Arjen on the pier. You set course for the Flying Dutchman.