SECTION 33
The Sailors' Belongings
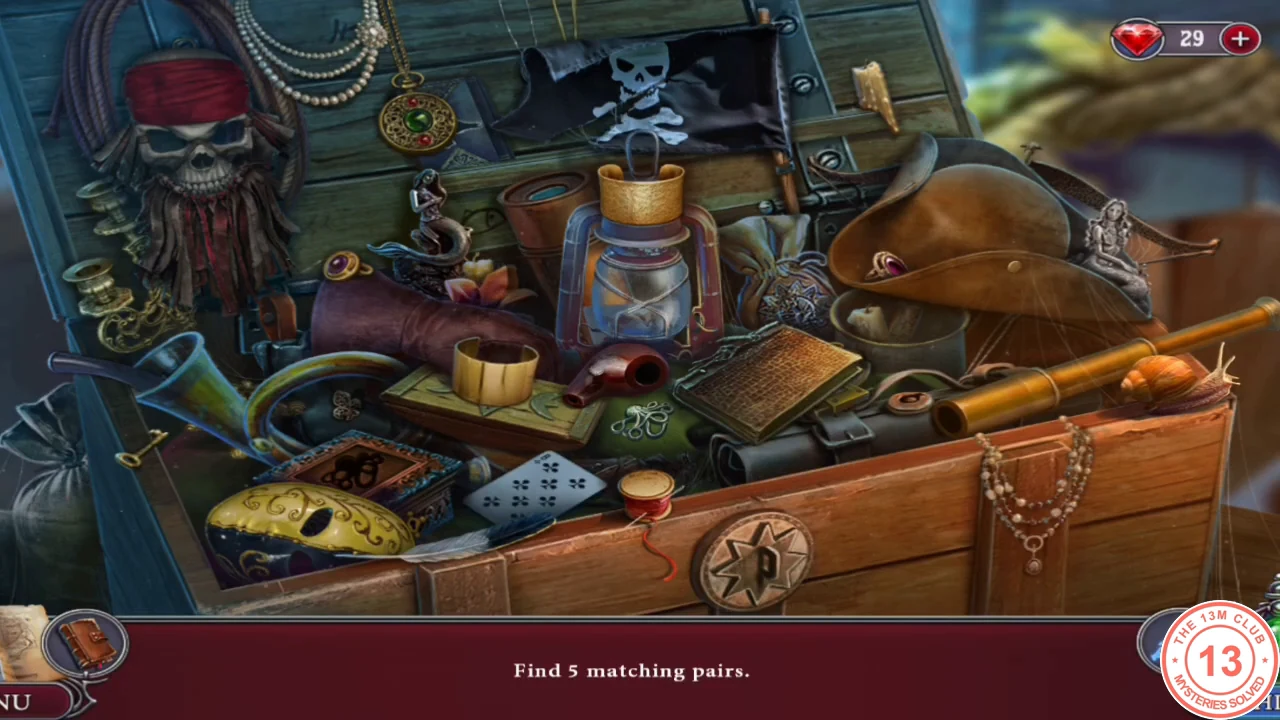
At the top of the lighthouse your objective is "Examine the sailors' belongings."
- Zoom into the chest under the green skull cloth on the left. Pick up a GLASS SHARD from the cloth and use it to cut the cloth open.
- Pairs search: find six matching pairs of objects in the chest. You receive the PIRATE MASK for the case file.
- Case board "The Flying Dutchman Case". Place the photos: Arjen – "was found in open waters"; the Flying Dutchman – "One can sail beneath the waves in a mystical ship"; the abandoned island – "Pirate sailors occasionally make stops at the abandoned island"; the ghost sailors – "are frightening the residents of Amsterdam".
- Conclusions. Left: "Arjen didn't know that the ship could surface from underwater." Right: "The ghosts deliberately frightened the lighthouse keeper so that he wouldn't be a witness to their activities." Middle: "The ghosts used the general panic among the townspeople as cover." You receive a FLARE.
SECTION 34
Telescope Constellations
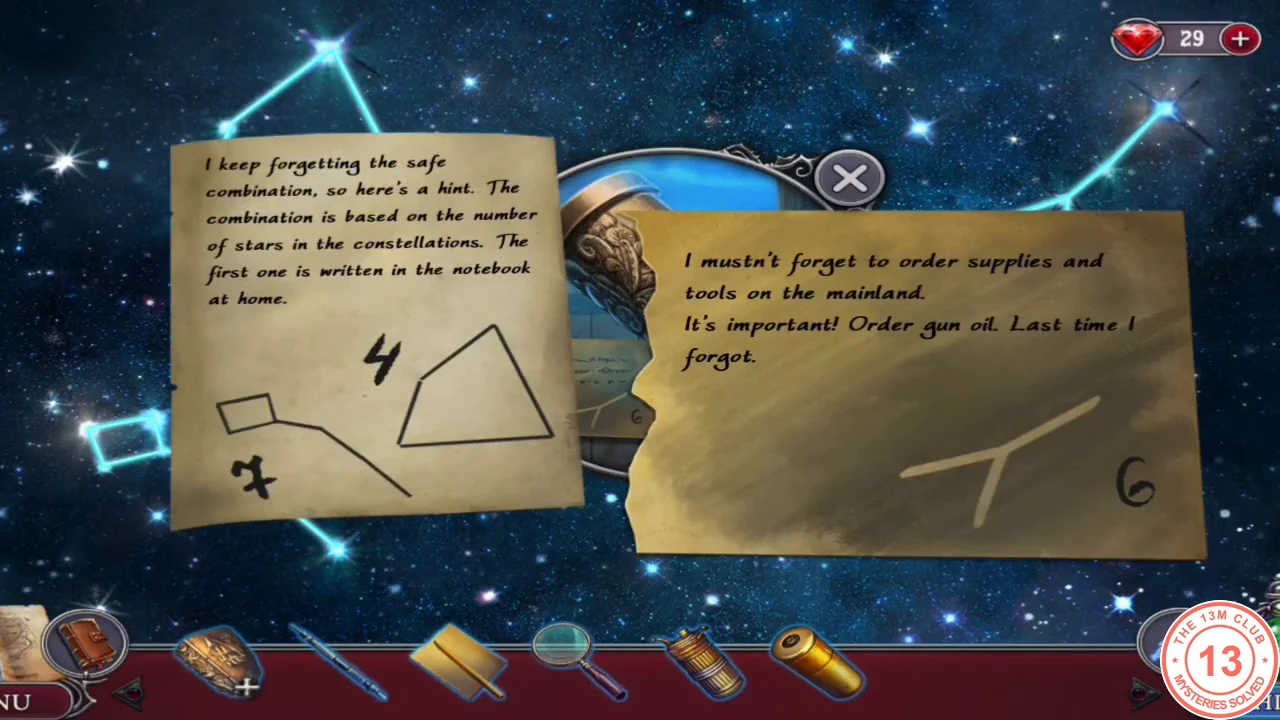
Find the safe combination in the stars.
- Zoom into the telescope on the right and take the WINDOW piece. Zoom into the hanging models by the top right window, put the WINDOW into the lighthouse model and open it. Read the safe hint inside, then take the LENS and the second note piece (2/2); together the pieces form the MYSTERIOUS NOTE.
- Put the LENS in the telescope and look through it. Place the MYSTERIOUS NOTE; the keeper's notepad from the house (Y shape) is shown beside it automatically. Click each star shape in the sky: the Y shape has 6 stars, the dipper 7 and the quadrilateral 4. Take the COMBINATION note.CODEY = 6 · dipper = 7 · quadrilateral = 4
SECTION 35
Keeper's Safe
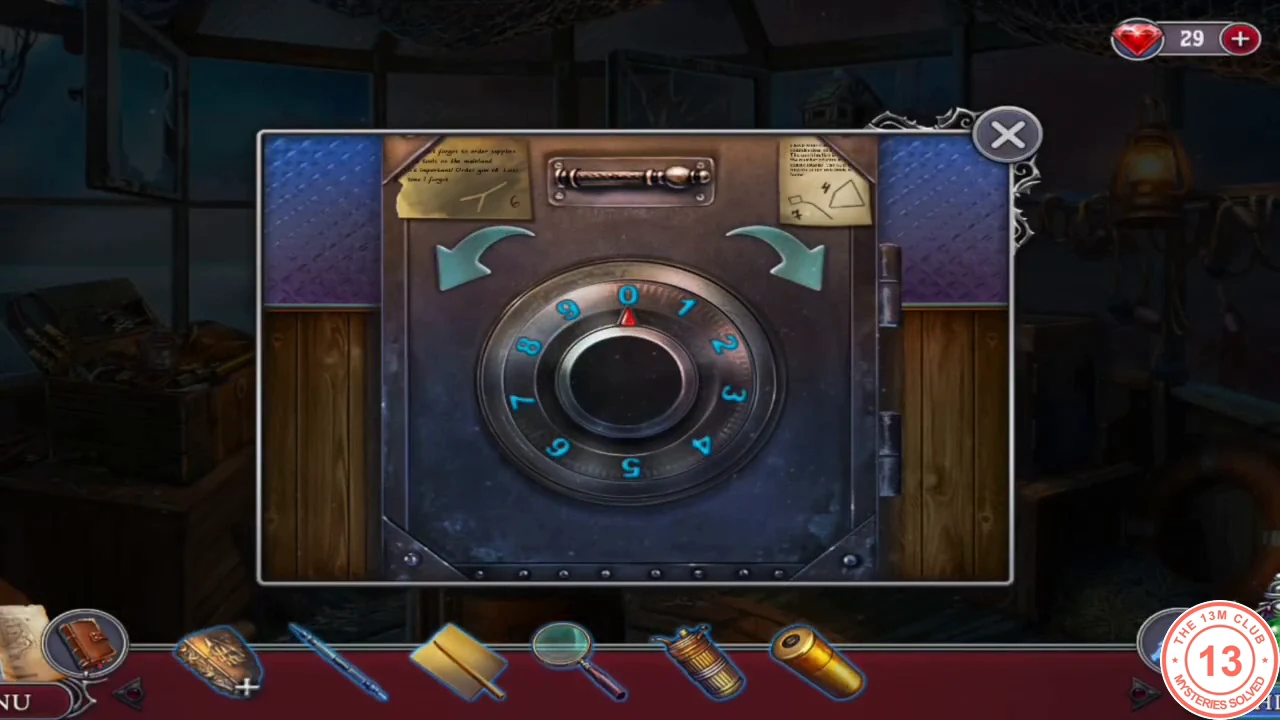
The safe stands to the right of the lamp.
- Place the COMBINATION note on the safe. Turn the dial with the arrows to 6, then 7, then 4 (the first number comes from the notebook, as the hint says). The outer door opens.CODE6 – 7 – 4
SECTION 36
Rotating Ball Maze
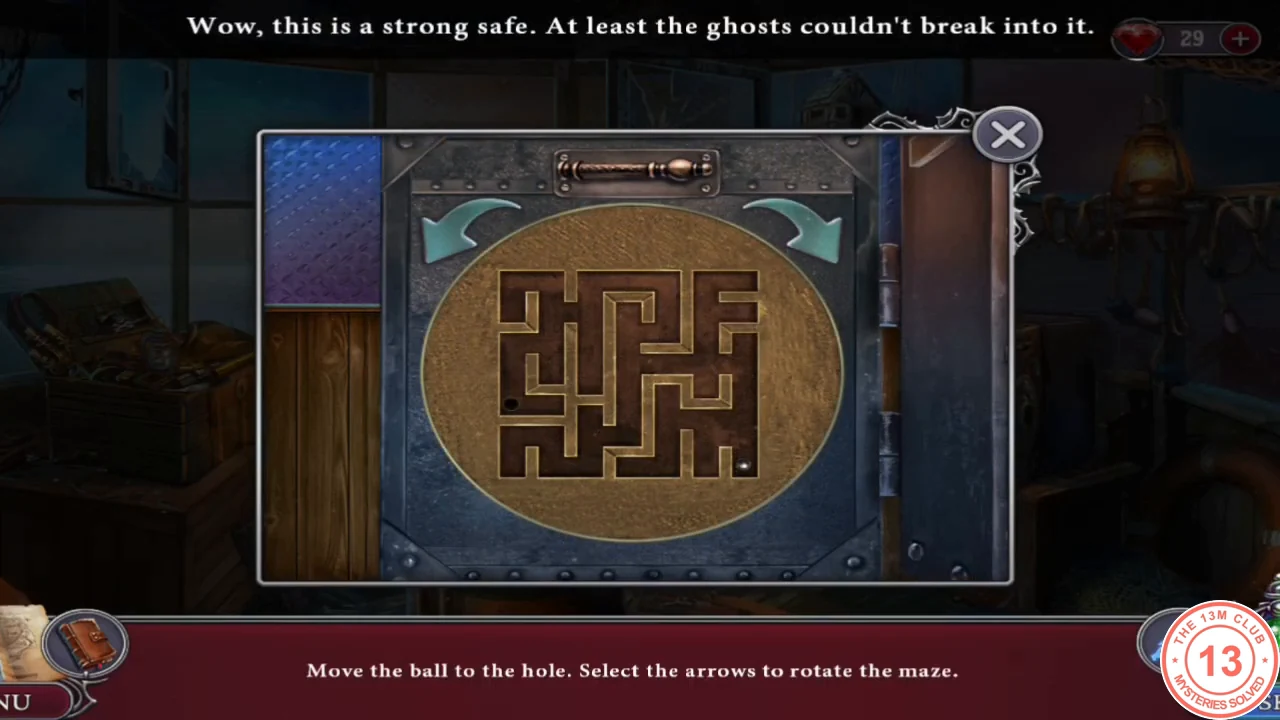
The inner door is a ball maze. Each arrow press rotates the whole board and the ball rolls downhill.
- Rotate the board with the arrows to guide the ball from the bottom right corner to the hole on the left. Work one corridor at a time: tilt so the ball rolls into the next opening, then rotate again. The maze is solved when the ball drops into the hole and the inner door opens.
- Take the FLARE GUN from the safe. It needs repairing.
SECTION 37
Repair and Fire the Flare Gun
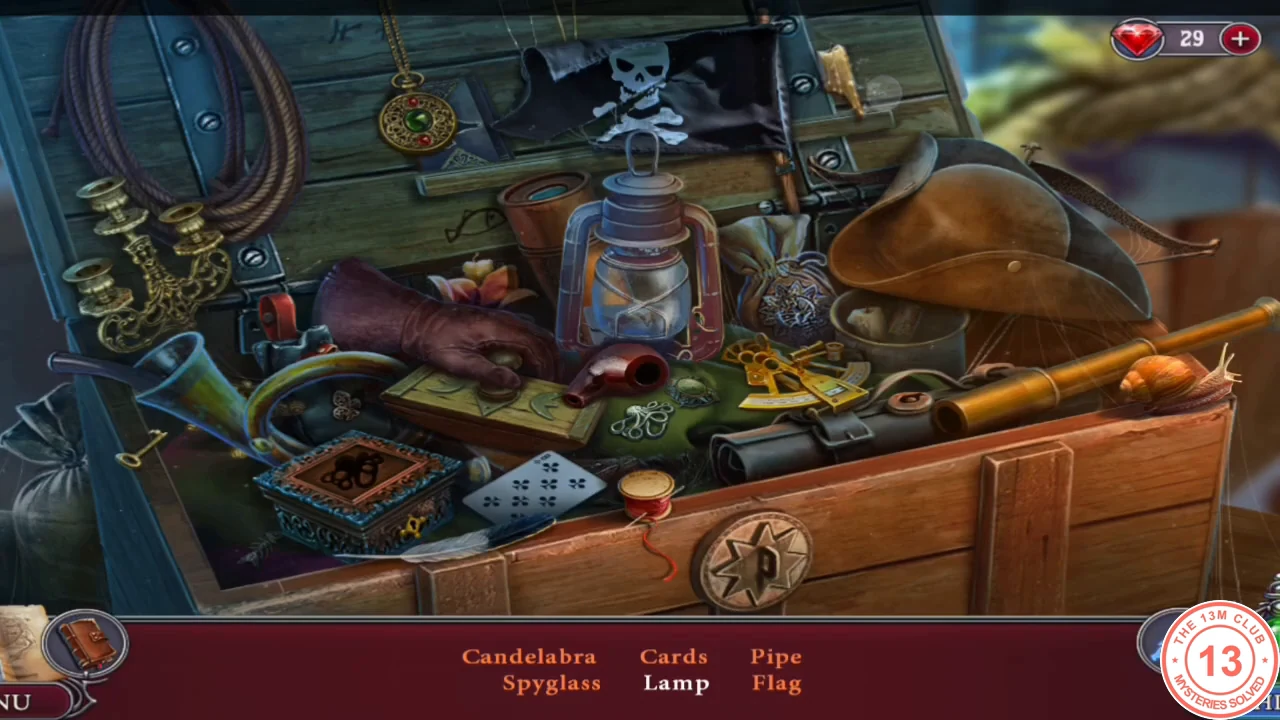
Search the sailors' chest again for a cleaning tool.
- Zoom into the sailors' chest. Round 1, find: Candelabra, Spyglass, Cards, Lamp, Pipe (two parts – find the stem too), Flag. Round 2: Medallion, Glove, Hat, Sextant, Rope. Round 3: the Barrel brush is inside the small ornate box; open it with the emblem and key found in the chest. Take the BARREL BRUSH.
- Examine the FLARE GUN in your inventory. Pour the GUN OIL into the rusty barrel, scrub it with the BARREL BRUSH and load the FLARE.
- Your objective is "Use the flare gun." Use it in the lamp room to fire the flare.