CHAPTER 4
Abandoned Hotel: The Bookshelf Again
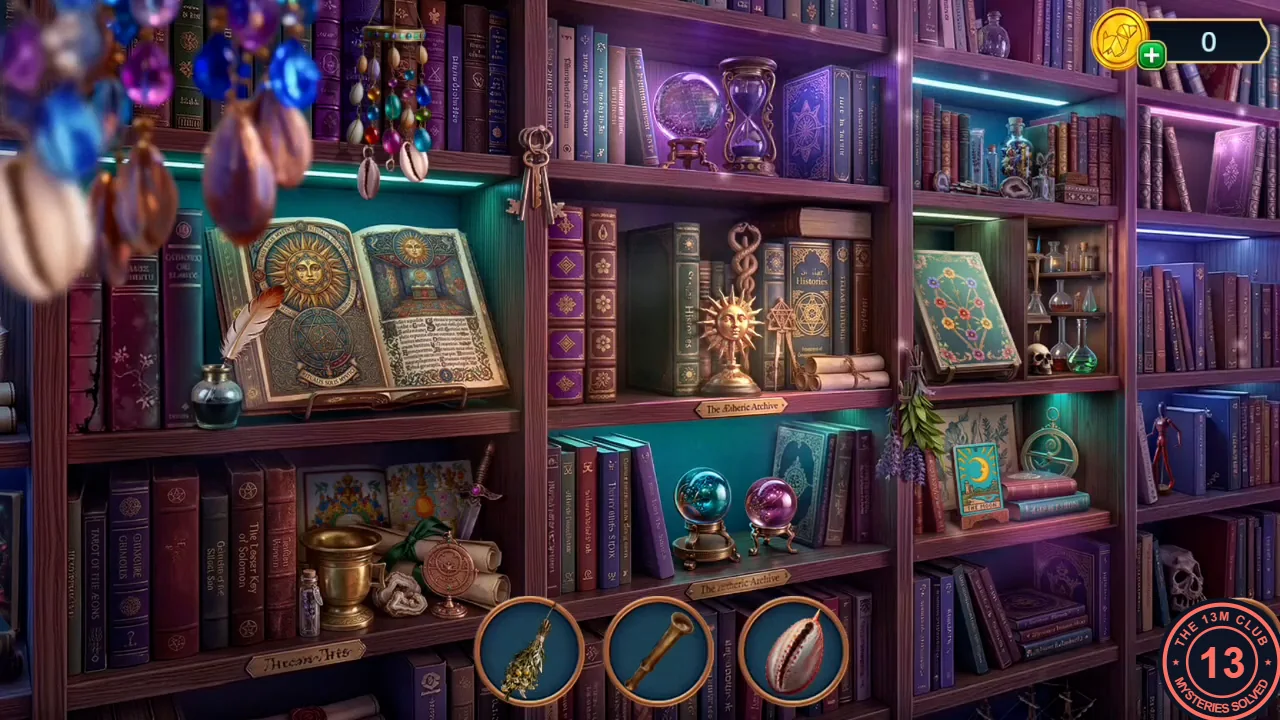
Gather what you need to mend the torn lace stocking, then search the bookshelf again.
- Jules still carries several items from Chapter 3. In the hotel lounge, put the Threads (the purple spool from the grandfather clock) on the torn lace stocking at the skull (it still needs a second part). At the lamp by the sacks, attach the Plug (from the pink umbrella on the Promenade) to the cut lamp cord (a Shell appears here) and wrap the join with the Sticky Tape (from the window sill in Caleb's office). The lamp lights; take the Slingshot Band from inside the shade.
- Search the bookshelf again. This time the round slots hold objects you place: drag each one to the spot where it belongs (three slots show at a time; the view slides when you drag towards an edge). Placements in the recording, in order: the quill into the inkwell beside the open sun book (upper left); the purple crystal ball onto the empty stand beside the blue globe on the teal shelf; the key onto the hook at the top of the middle bookcase; the green flask onto the small alchemy shelf beside the skull (right); the hourglass glass into the empty hourglass frame next to the purple globe at the top; the cowrie shell onto the hanging shell charm at the top left; the dagger next to the other dagger behind the brass mortar; the brass pestle into the brass mortar (lower left); the sun tarot card onto the card stand on the teal shelf in place of the moon card; the red wooden figure onto the blue-book shelf right of the teal shelf; the herb bundle onto the hook below the flowered book beside the skull; finally the brass ring onto the armillary sphere on the teal shelf to complete it. You receive the Tatting Shuttle.
- Mend the torn lace stocking at the skull with the Tatting Shuttle and the thread to get the Stocking.
CHAPTER 4
Cave behind the Waterfall: Finding the Ships
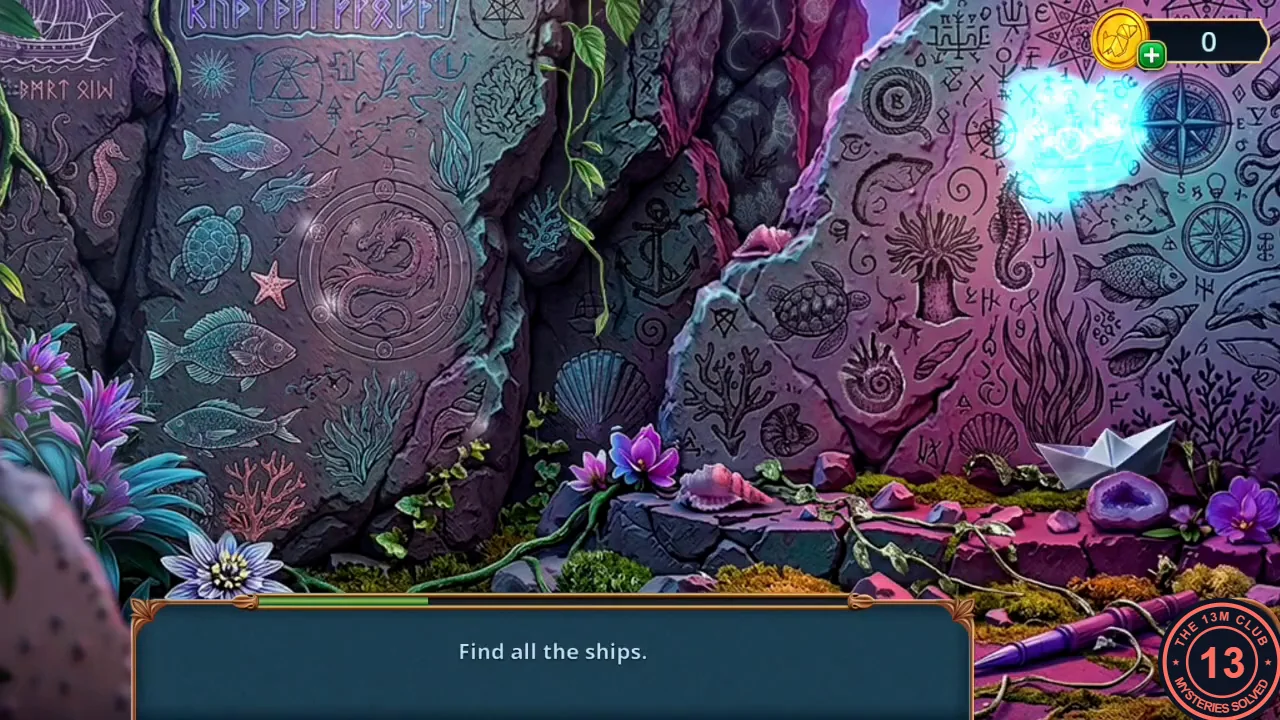
Clear the lily pond, then search the minecart cave carvings for ships.
- At the lily pond of the Underground Lake ("So much leaves and grass, I can't see anything."), open the Grabber (the ring on a long handle from the university locker drawer) and add the Stocking to make the Scoop Net. Scoop the leaves off the water and take the Shaving Foam.
- In the minecart cave find all the ships among the carvings; the wall is wider than the screen, so slide the view left and right. The recording finds 12: the tall sailing ship on the central rock between the anchor and the spiral shell; the small sailboat below the starfish, left of the serpent circle; the rowing boat just under the band of runes at the top left; the modern warship left of the big blue compass rose; the sailing ship above the runes at the far left, half behind the flowers; the small warship on the dark rock edge beside the pink opening; another small warship below the octopus, between the star and the round wheel symbols; the golden Viking longship on the rock beside the pink opening (upper right); the galleon just below it, left of the tree-of-life circle; the longship right of the octopus, above the fish; the sailing ship right of an anchor beside the purple flowers at the far right; and the white paper boat lying on the ground at the bottom left next to the geode. You receive the Morse Code.
- Place the Morse Code on the telegraph by the minecart and read Caleb's warning. Take the Brush and the Gunpowder from the drawer below. Near the Cave Entrance, scrub the ash in the open burnt chest with the Brush and spray the Shaving Foam on it.
CHAPTER 4
Near the Cave Entrance: Placing the Foam
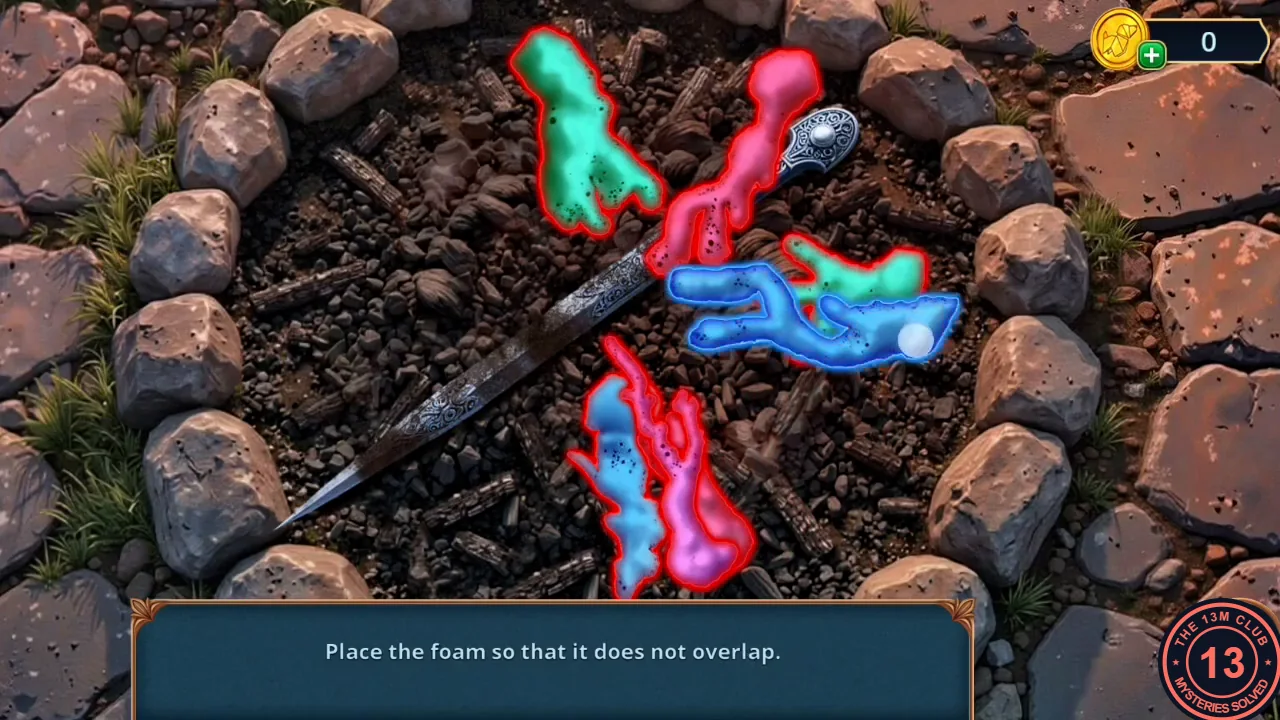
The Shaving Foam goes over the soot-covered dagger in the burnt chest near the cave.
- Drag the seven foam blobs over the soot-covered dagger so that no two blobs overlap. A blob outlined in red still touches another one; it turns green when it is clear. Spread them in a ring around the centre of the blade instead of stacking them: in the recording's finished layout the large teal hand-shaped blob is at the upper left, the branching pink blob at the top over the hilt, the long lilac blob to the left lying along the blade, the second teal hand at the right, the forked blue blob at the lower right, the other blue blob at the lower left over the blade, and the small pink blob at the bottom. When all seven are green you receive the Dagger.
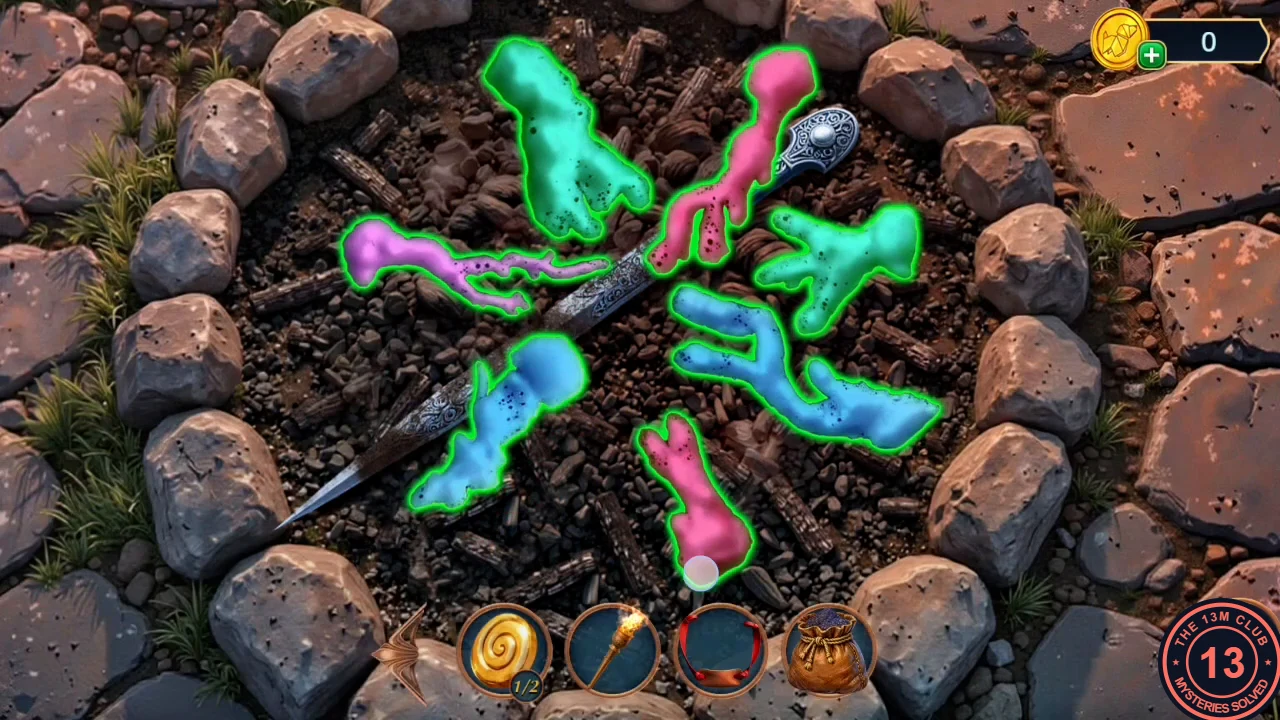
The finished layout: every blob green, none overlapping. - Back in the hotel lounge, pry open the skull's jaw with the Dagger and take the Wick and the Dynamite.
CHAPTER 4
Abandoned Hotel: The Dark Tunnel
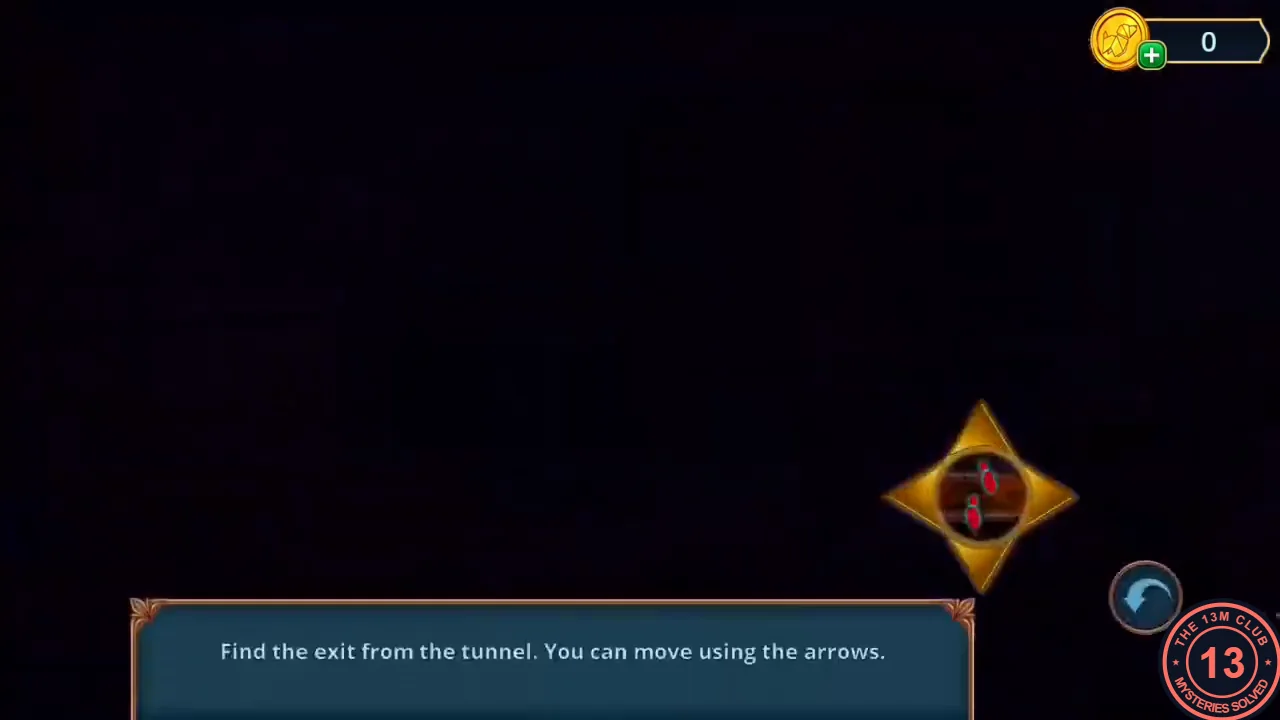
Blow open the hatch in the lounge floor and find your way through the dark tunnel.
- Place the Dynamite on the metal hatch in the floor by the drill press (the Wick alone is rejected) and light its fuse with the Torch. The hatch blows open.
- The tunnel is dark; only your marker is visible and its glowing arrow tips show open directions. From the start (lower right), move in this order, counting squares: left 2, up 1, left 1, up 1, right 1, up 2, left 1, up 2, right 1, up 3, left 2, down 1, left 2, down 2, right 1, down 3, left 1, down 1, right 1, down 3, left 2, up 1, left 3, up 1, right 2, up 2, right 1, up 2, left 2, up 1, right 1, up 2, then keep going left to leave the tunnel through the left edge.
CHAPTER 4
Jungle River: The Monkey's Drink
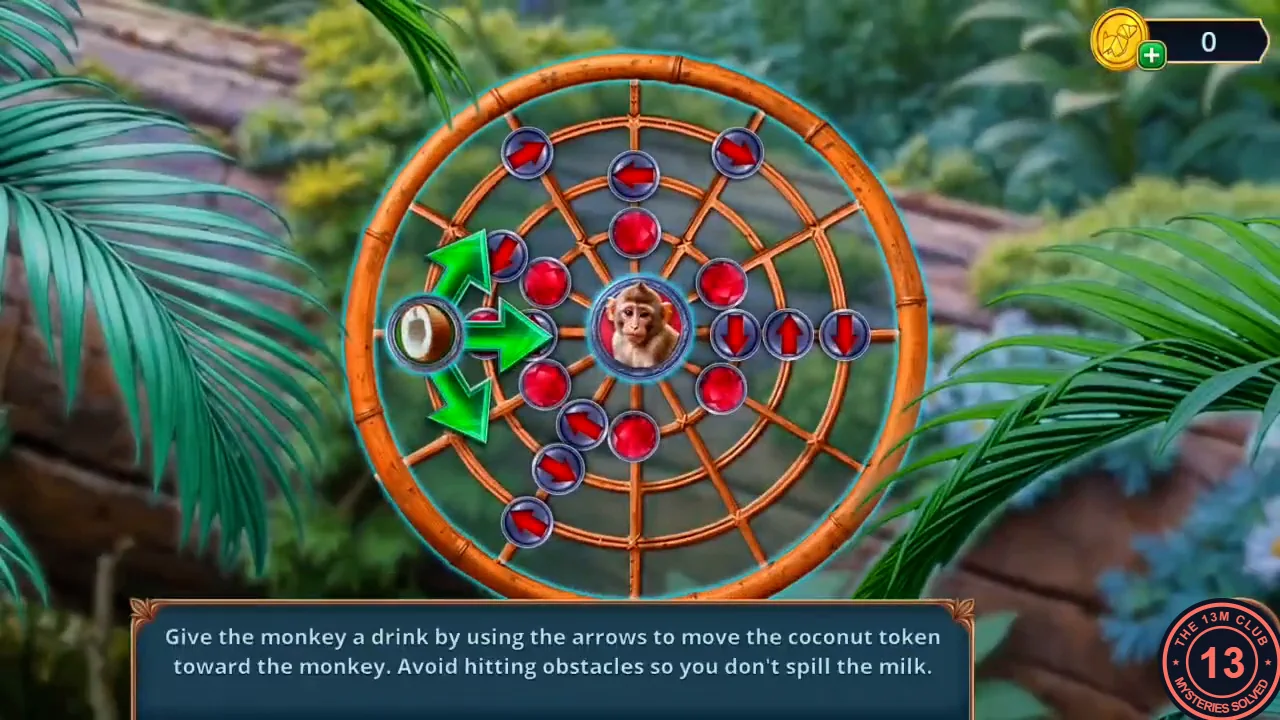
Jules needs to cross the river after Caleb.
- At the jungle river take the Colored Stone lying beside the monkey. Attach the Slingshot Band to the empty slingshot fork under the palm, load the Colored Stone and shoot down a coconut. Put the coconut in the bear trap by the winch; the trap cracks it. Take the Coconut Milk.
- Give the Coconut Milk to the monkey. The coconut token sits on the outer ring of a round web at 9 o'clock, with the monkey in the centre. The green arrows move it one node along its ring (clockwise or anticlockwise) or one ring inward or outward along a spoke; after each move the red balls and arrow discs shift, and moving onto an obstacle spills the milk, so check the board after every step. Route used in the recording (7 moves): three steps clockwise along the outer ring to 12 o'clock; one step inward to the middle ring; one step anticlockwise to 11 o'clock; then two steps inward through the inner ring into the monkey's centre.
- The monkey drinks and leaves two things on the log: take the Magnifying Glass and the silver tube with a purple cap, the Flare Gun Ammo. Use the Magnifying Glass at the winch to focus sunlight on the rope, then take the Lasso. Tie the Lasso to the vines on the fallen log.
CHAPTER 4
Jungle River: Crossing on the Vines
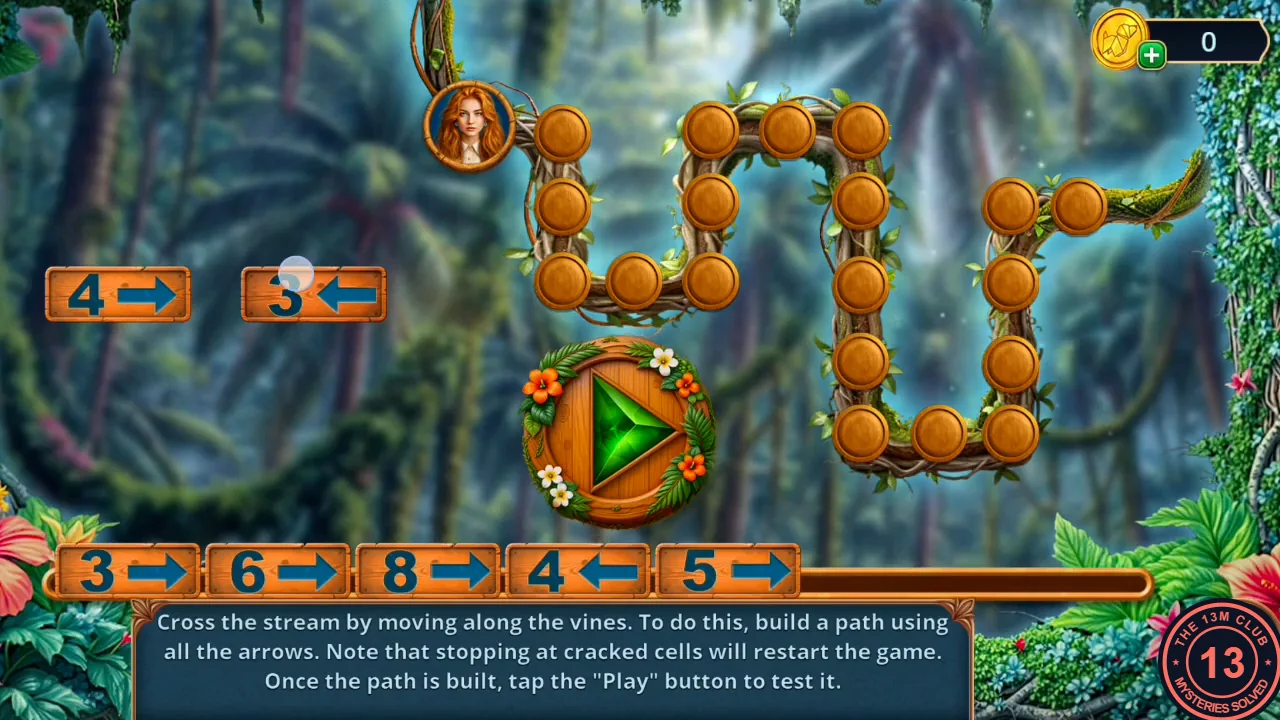
Cross the jungle river along the vines.
- Build a path with all the arrow cards and tap Play; stopping on a cracked cell restarts. The recording's working order was 3 right, 6 right, 8 right, 4 left, 5 right, 3 left, 4 right.
- Caleb waits in his motorboat. Decision point: "We will stop you! All of us!" costs 60 coins and gives 2 stars; "I... I didn't even think about it..." is free and gives none.
CHAPTER 4
Beach: The Boat Cabin Scenes
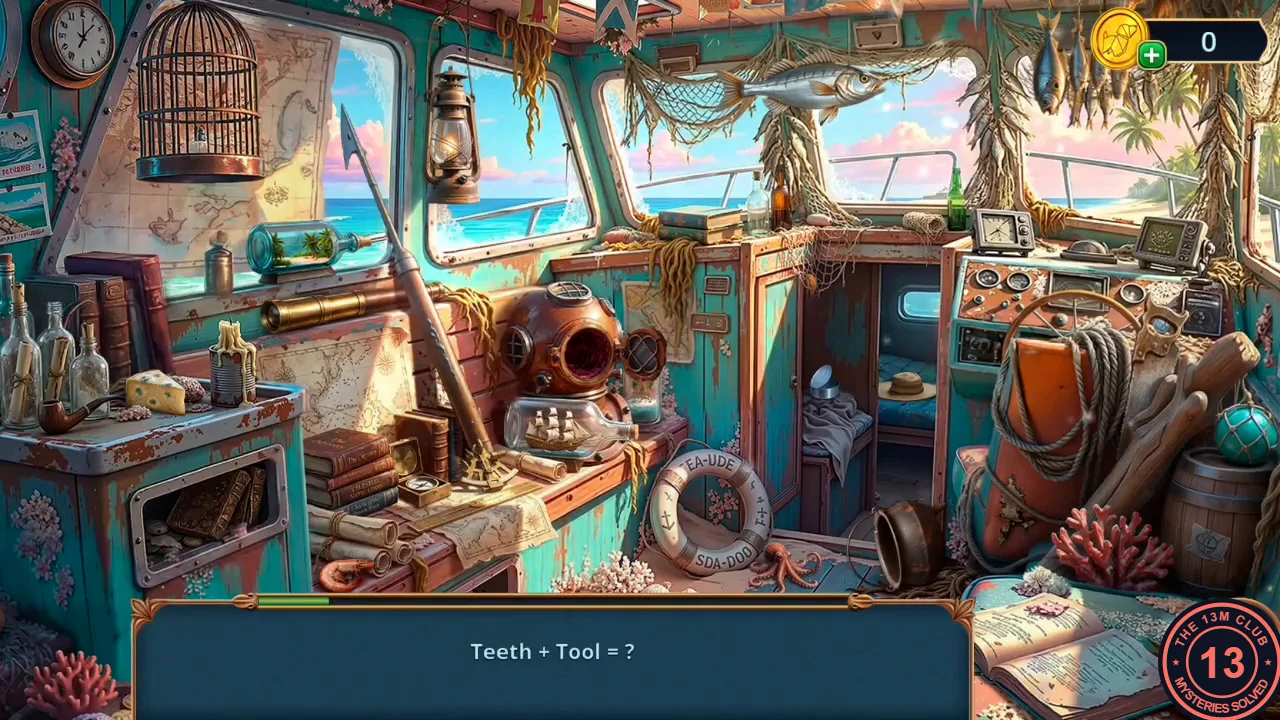
On the beach, blow the lock of the boat cabin and play its two scenes.
- On the beach, pour the Bottle of Fresh Water (from the window sill in Caleb's office) over the octopus on the sandy crate; it crawls away. Take the Flint and Steel (the crate has a sun-emblem lock). At the boat's cabin door, put the Wick and the Gunpowder into the keyhole and strike the Flint and Steel to blow the lock.
- Find all paired items in the cabin: tap two matching objects to remove them together. The recording finds six pairs: two captain's caps (a dark one on the shelf left of the harpoon, a white one on the orange fender at the right); two tobacco pipes (one on the stove top at the far left, one on the driftwood above the teal glass float at the right); two life vests (a brown one hanging behind the diving helmet, an orange one on the dashboard at the top right); two pearl necklaces (one hanging from the table edge below the ship in a bottle, one by the coral in front of the barrel at the lower right); two seagulls (one drawn on the map wall at the top left, a white figurine on the cloth in the cabin doorway); and two bells (a small one inside the life ring, the brass ship's bell at the top right). You receive the Anchor Pendant.
- At the vine-covered rock crevice, hook the sun emblem out with the Anchor Pendant; it completes the Spiral Sun Amulets (2/2). Place them in the sun-emblem lock of the sandy crate and take the Flare Gun, which has no trigger.
- Search the cabin again. Each clue line shows two words; tap the object that combines them. Clues and answers in the recording, in order: Anchovies + Small Clown – the orange clownfish in the window; Chest + Coin – the small treasure chest on top of the cabinet under the window, near the green bottle; Teeth + Tool – the saw on the rope by the steering wheel; Mouse + Moon – the cheese on the stove top at the left; Tentacles + Ink – the octopus on the floor beside the life ring; Seahorse + Crayfish – the orange shrimp under the rolled charts at the lower left of the table; Apricots + Tin – the open tin can on the folded cloth in the cabin doorway; Wind Rose + Magnet – the compass on the books left of the sextant; Anchor + Sail – the ship in a bottle in front of the diving helmet; Hay + Head – the straw hat on the bunk in the back cabin; Camping + Cooking – the black cooking pot on the floor right of the life ring; Sight + Magnifying Glass – the brass telescope above the stove at the left. You receive the Sharp Coral.
CHAPTER 4
Beach: Launching the Flare
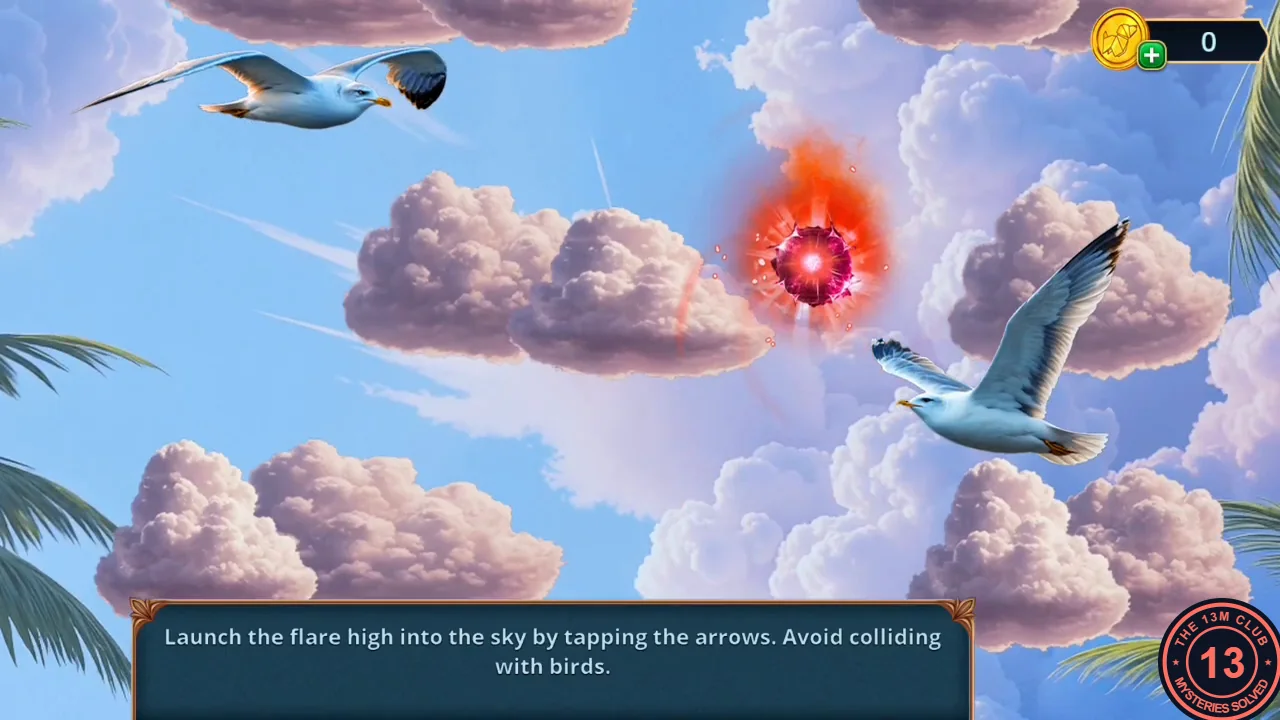
Finish the Flare Gun and send up the flare.
- Cut the vines on the rock with the Sharp Coral and take the Trigger. A Shell is on this rock.
- Open the Flare Gun from the inventory. It has two empty slots: put the Flare Gun Ammo (from the monkey’s log) into the first and the Trigger into the second.
- Steer the flare upward with the arrows and avoid the birds until it reaches the sky.
- The Decision Points journal for Chapter 4 decides the ending (0, 4 or 10 stars). See the Endings section.