The Sea Ritual Relief
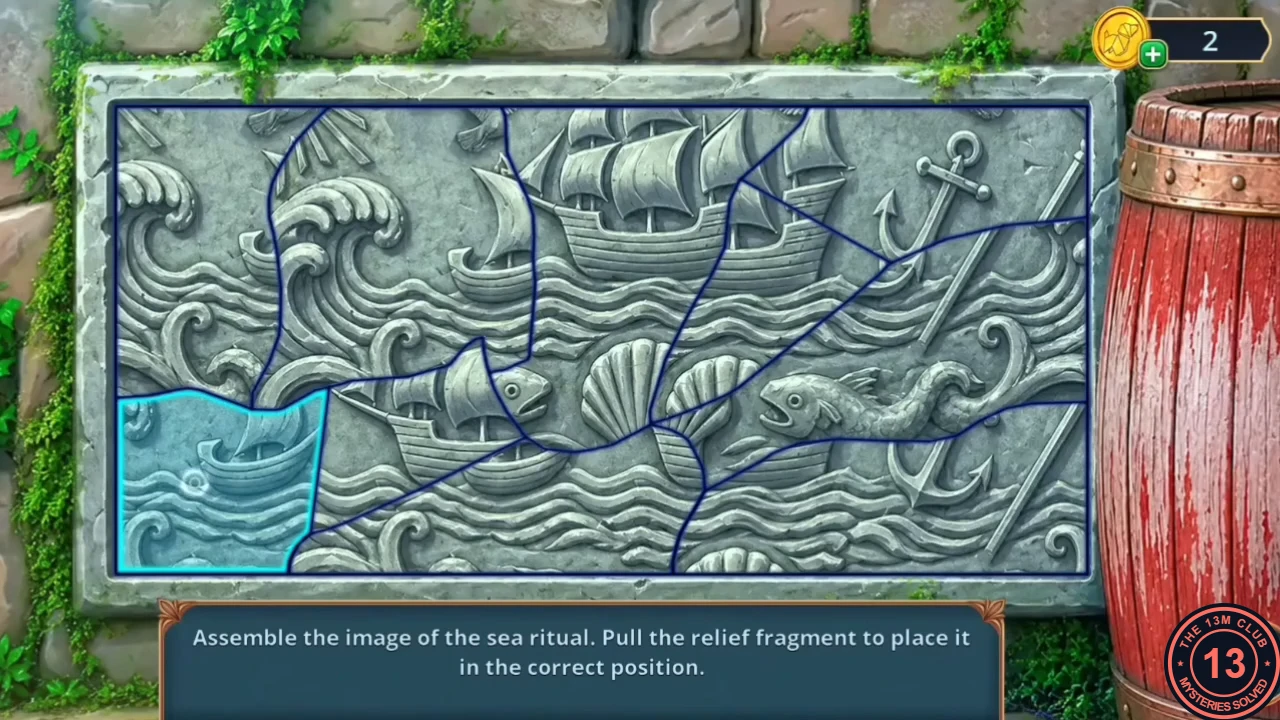
Get past the panther and complete the relief to open the passage to the hidden lagoon.
- In the cave, give the Pirate Totem to the panther by the coral altar; it moves aside. Take the Wooden Stick.
- Take the Stone Tile at the bearded statue and place it in the relief slot. Relief puzzle: drag each fragment into its outlined position to complete the sea ritual image.
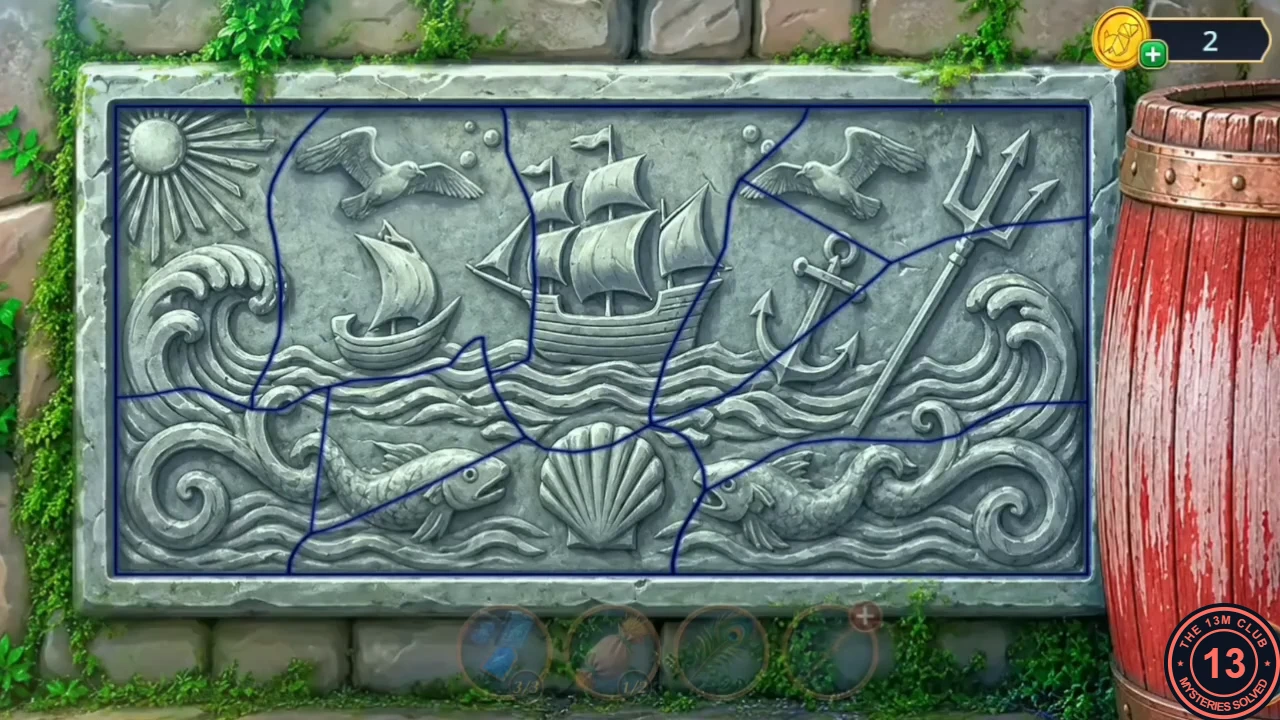
The completed relief. - Take the second Straw Bag (2/2) and the Resin from the compartment that opens in the statue. Put the Straw Bags (2/2) in the scallop niche between the two statues to open the passage to the Hidden Lagoon.
Hidden Lagoon: Paired Items
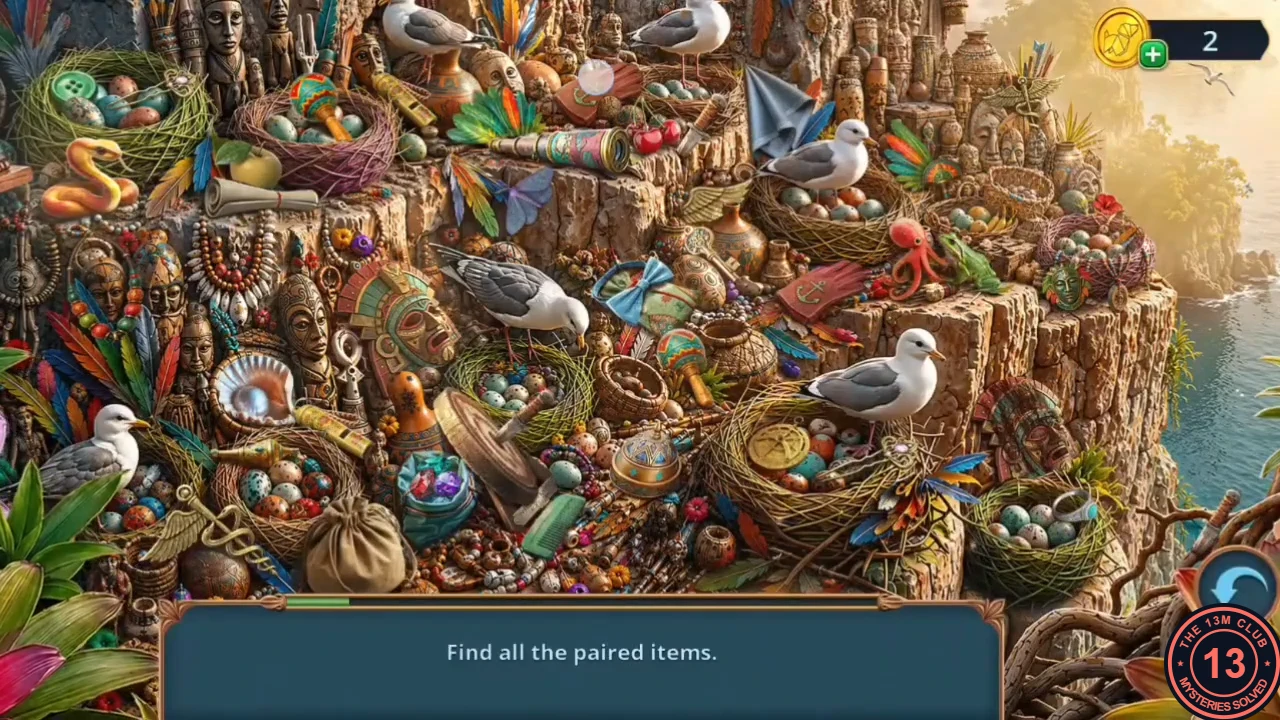
Clear the nest in the Hidden Lagoon and search it for the Shield.
- In the Hidden Lagoon, sweep the spider web off the nest with the Peacock Feather. Play the paired-items hidden-object scene: find both items of each pair. The reward is the Shield.
Cove Differences
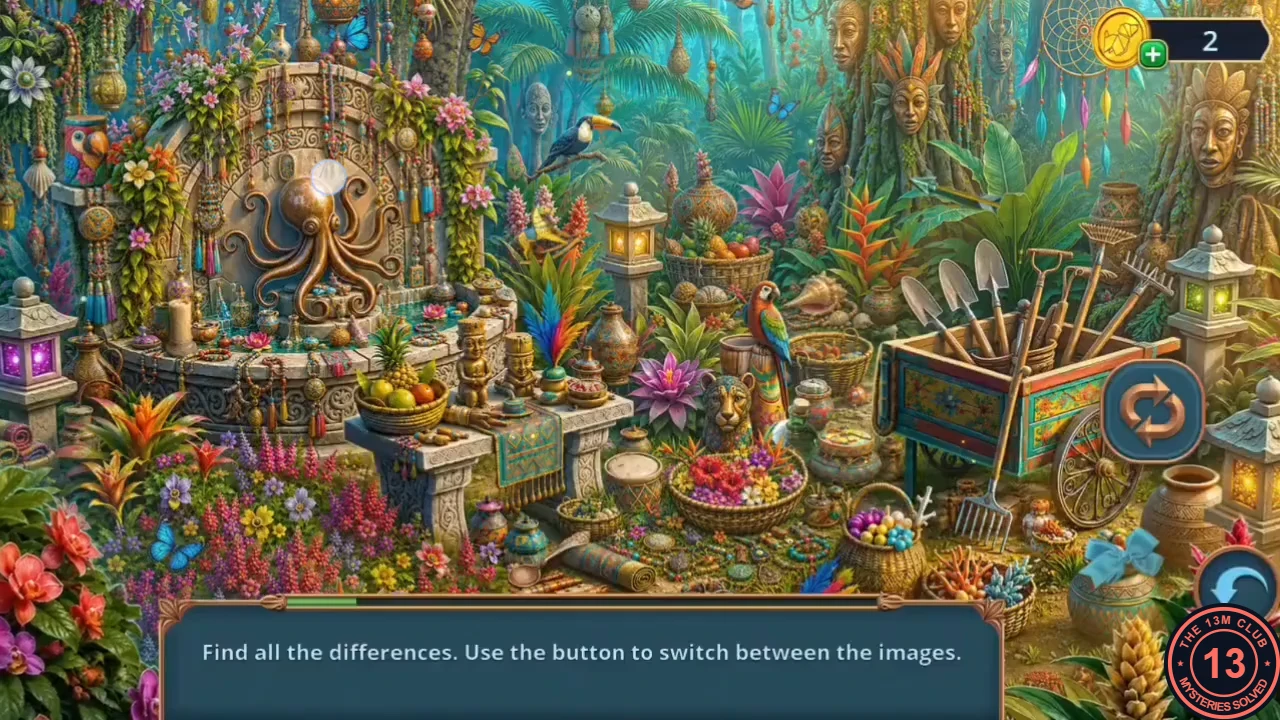
Collect the musket parts around the lagoon, the cove and the merchant ship.
- At the broken walkway over the water jets, place the Shield between the hands of the two statues. Take the Musket Base and the Necklace; the path still needs more repairs.
- At the mousetrap nook, read the note and take the Barrel and the Tow.
- At the Cove Among the Rocks, put the Necklace on the tiki; its mouth opens. Take the Toy Mouse.
- In the cove, play the spot-the-differences scene: switch between the two pictures with the button and tap every difference. The reward is the Candied Fruit. On the merchant ship, put it on the crate by the mermaid statue; the parrot flies off. Take the Wire Cutters, the Pipe and the Musket Ball from the crate.
The Squirrel
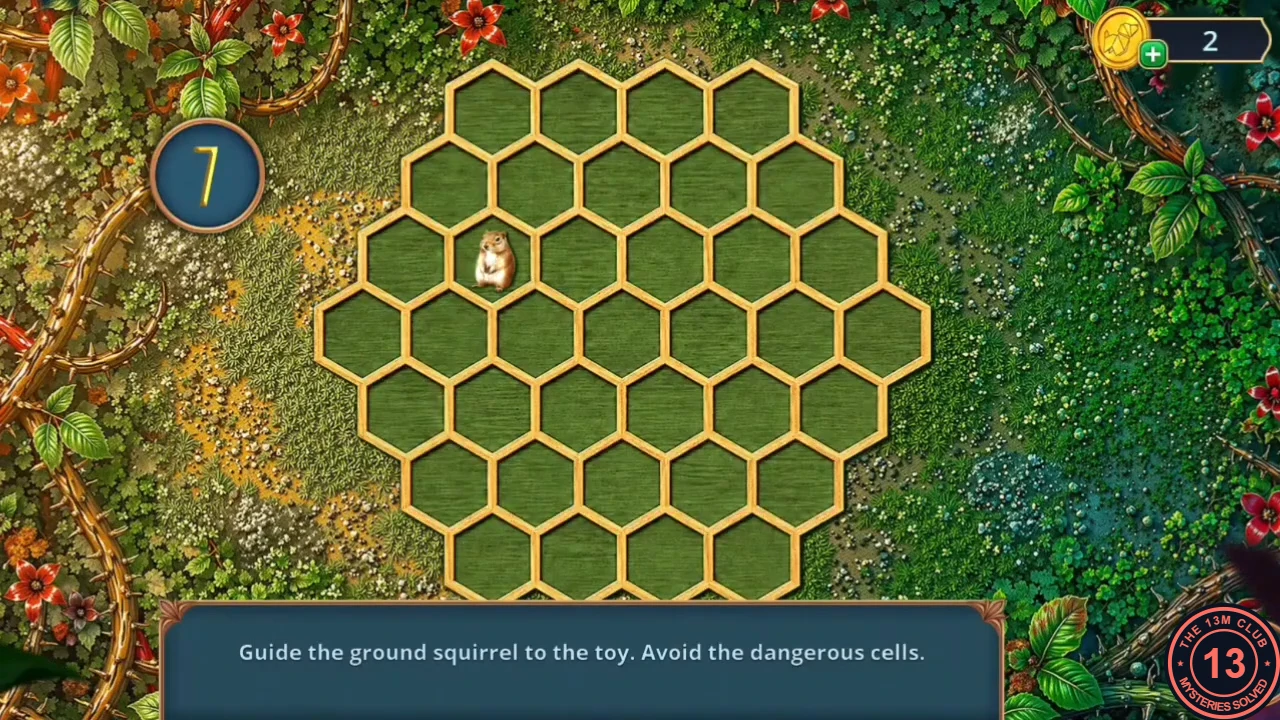
Lure the ground squirrel to the mousetrap and make a torch for the mossy steps.
- In the Hidden Lagoon, put the Toy Mouse on the mousetrap. Squirrel puzzle: guide the ground squirrel to the toy. The counter at the top left shows how many moves you have left. At the start of each stage the board briefly flashes: green cells are safe and red cells are dangerous. The colours then disappear, so memorise the safe green route before you move. Step only on cells you saw lit green; each new stage shows a new flash.
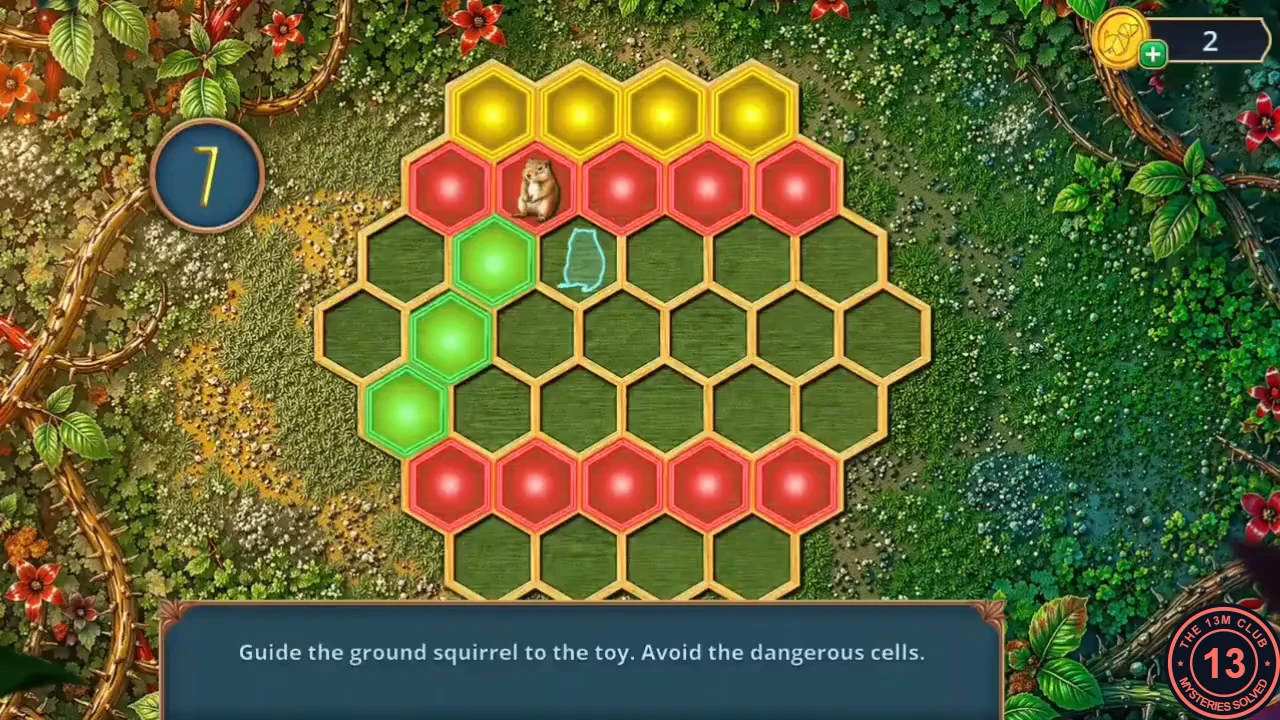
The board flashes before each stage: remember the green (safe) cells and avoid the red ones. - Take the carved square Tile (1/2) and the Flint from the weeds beside the mousetrap.
- Combine the Wooden Stick with the Resin, the Tow and the Flint to make a Torch. Burn the moss off the steps with it and take the Musket Trigger.
The Loaded Musket
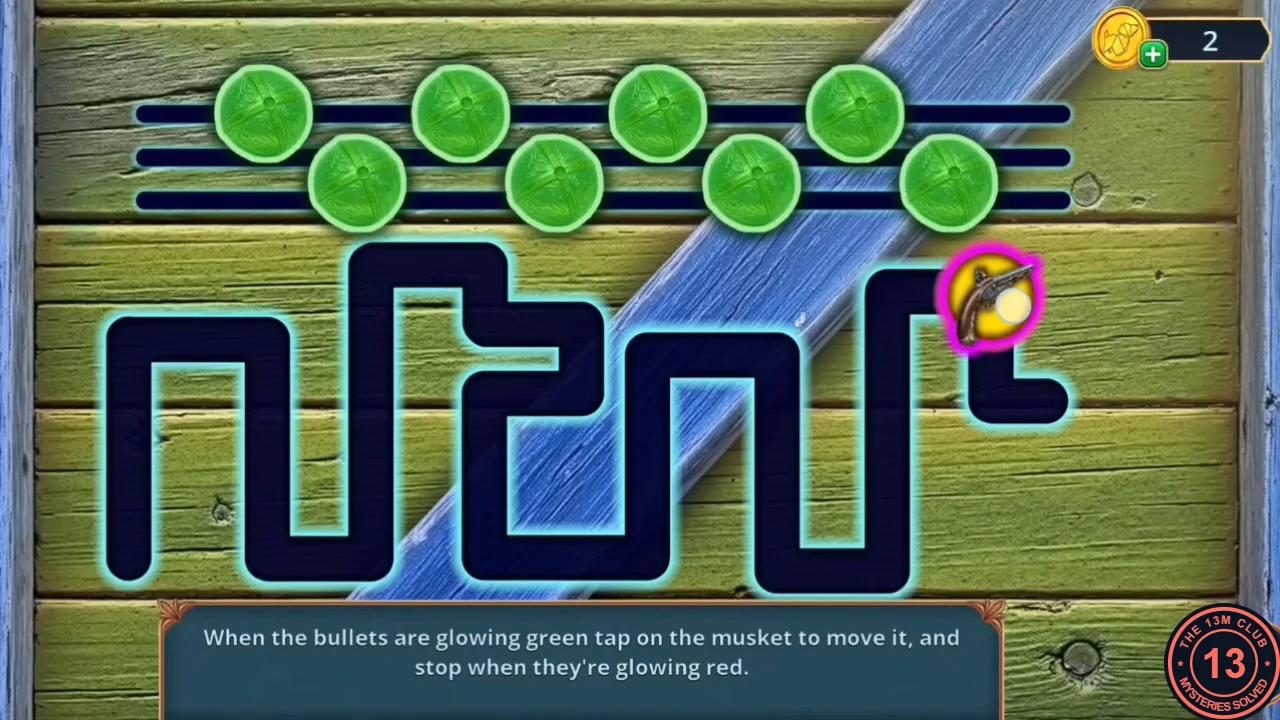
Open the padlocked crate on the merchant ship and climb to the whale's gate.
- Open the Barrel from the mousetrap nook and fit the Musket Trigger, the Musket Ball and the Musket Base into its three slots to get the Loaded Musket. Use it on the padlocked crate on the merchant ship. Musket puzzle: tap the musket to move it along the track while the bullets glow green, and stop when one glows red.
- Take the Boat Hook Handle from the crate and fit it onto the hook on the mast to make the Boat Hook. In the Hidden Lagoon, pull the red chest closer with the Boat Hook and take the second carved Tile and the Bag. Fit both Tiles (2/2) into the two sockets of the floor panel beside the broken stairs to raise them. Keep the Bag for the stone press in the Underwater Sanctuary.
- The whale surfaces at the stone gate. Final decision: choose "Show the tablet" for +6, "Talk to the whale" for +2 or "Do nothing" for 0.
Underwater Sanctuary: Crystals
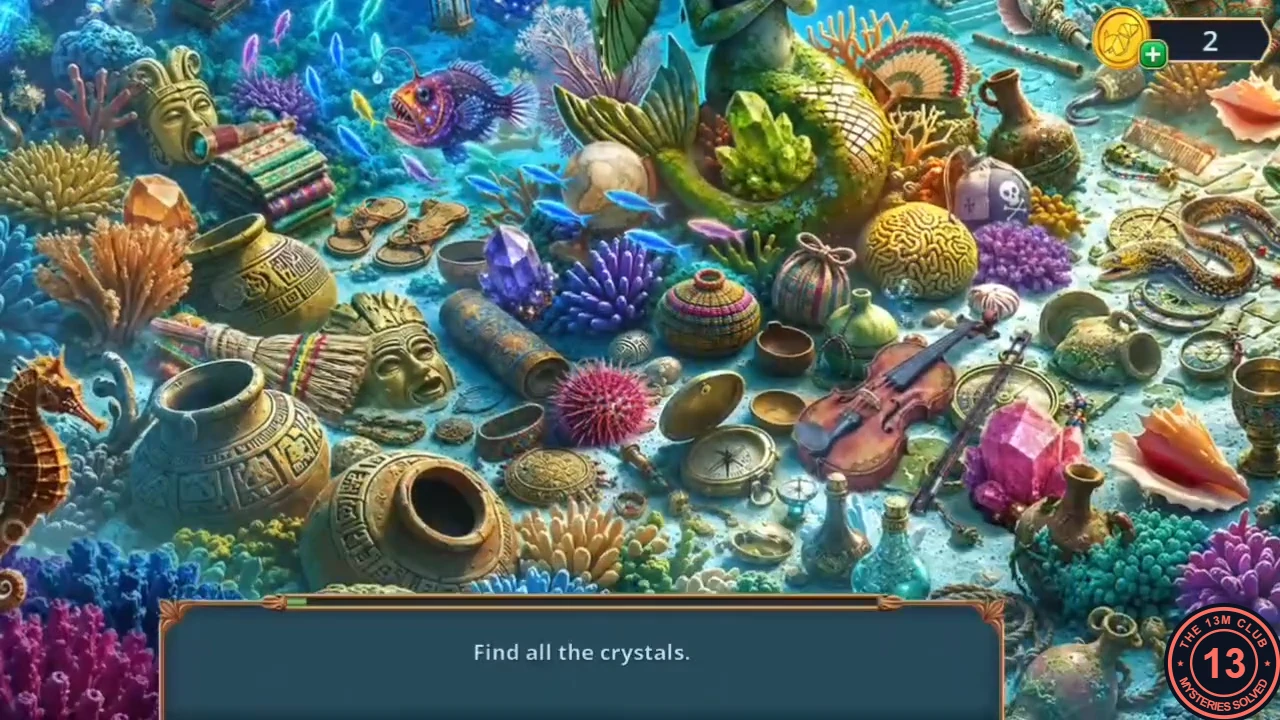
In the Underwater Sanctuary, read the notes and search the fish pool for the crystals.
- In the Underwater Sanctuary, read Merchant Emilio's note and the potion recipe at the skeleton, and take the Pressure Screw from the skeleton's hand. Cut the seam of the skeleton's sack open with the Wire Cutters and take the Net. Cast the Net over the fish pool and find all the crystals in the hidden-object scene. Take the Glowing Fish and use it in the water channel by the wall to get the Fire Disc.
Cave Crystal Silhouettes
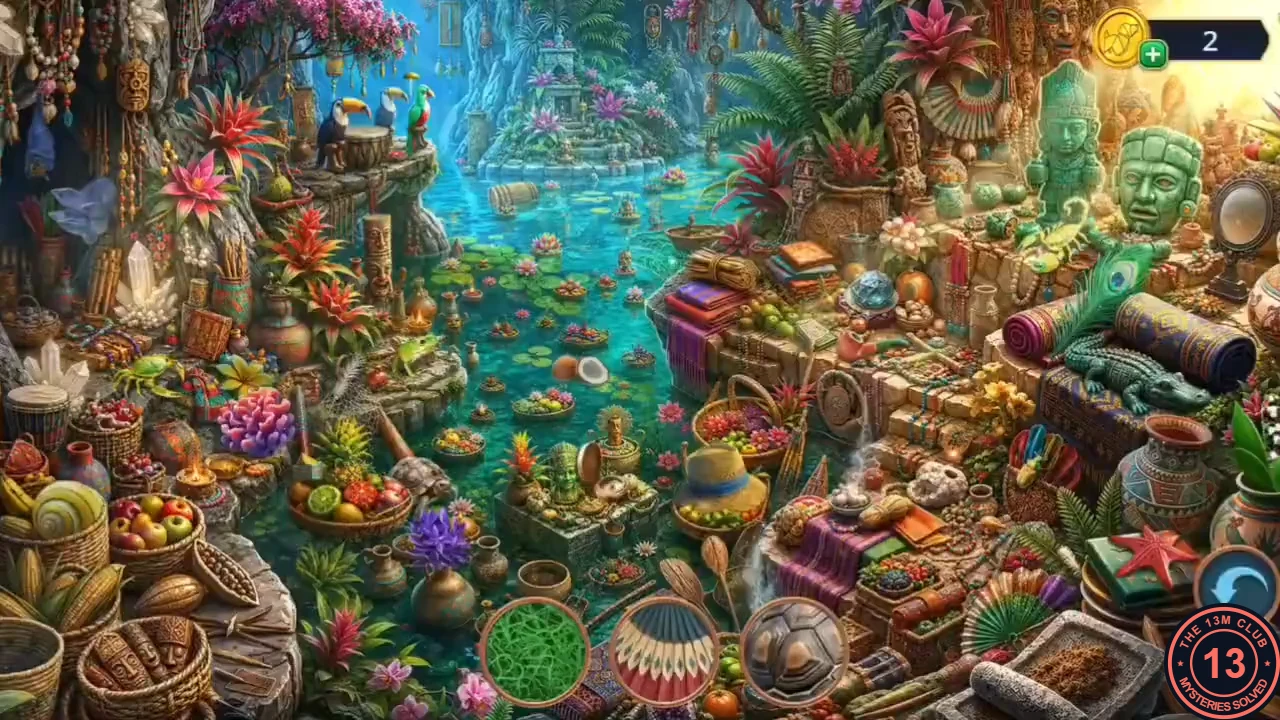
Light the stove, collect the Poisonous Plant and play the silhouette scene for the Coin.
- Put the Fire Disc in the stove niche next to the stone mortar to light the fire. The stove door opens: take the Screw.
- In the Captain's Cabin, pull the cork out of the mannequin's wooden leg with the Screw and take the Handle. Fit the Handle on the cupboard latch by the fern planter, open it and take the Poisonous Plant.
- At the glowing crystals in the cave, play the silhouette hidden-object scene. The reward is the Coin. Use it on the red chest under the net on Esteban's deck and take the Dried Seaweed. Pack it into the Pipe from the parrot crate and light it.
The Plank Bridge
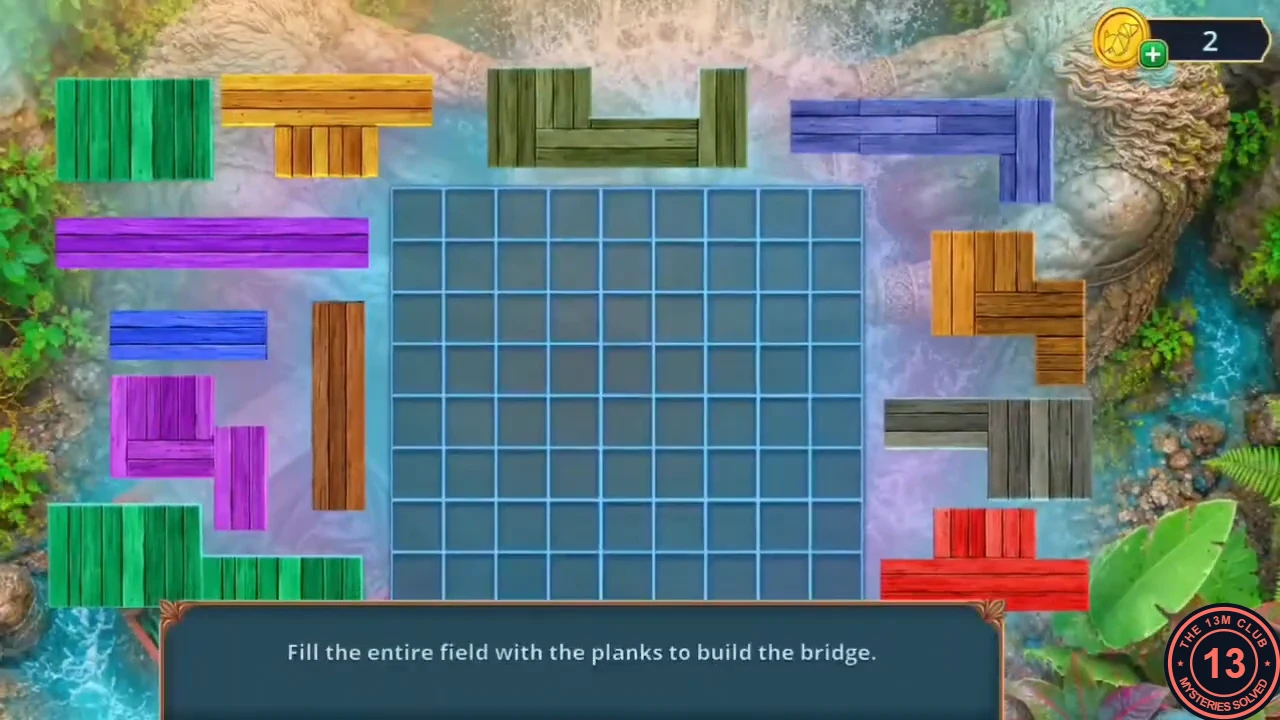
Use the pipe smoke at the coral altar, then build the plank bridge in the lagoon.
- Read the plaque on the coral altar in the cave and use the lit pipe there. The smoke reveals a recess: take the Empty Vial and the Planks.
- In the Hidden Lagoon, open the close-up of the walkway end between the two statues (by the open chest) and lay the Planks on the broken walkway. Plank puzzle: drag the planks onto the grid until every cell is covered and the bridge is complete. Then take the Reagent (a purple vial) from the chest on the walkway.
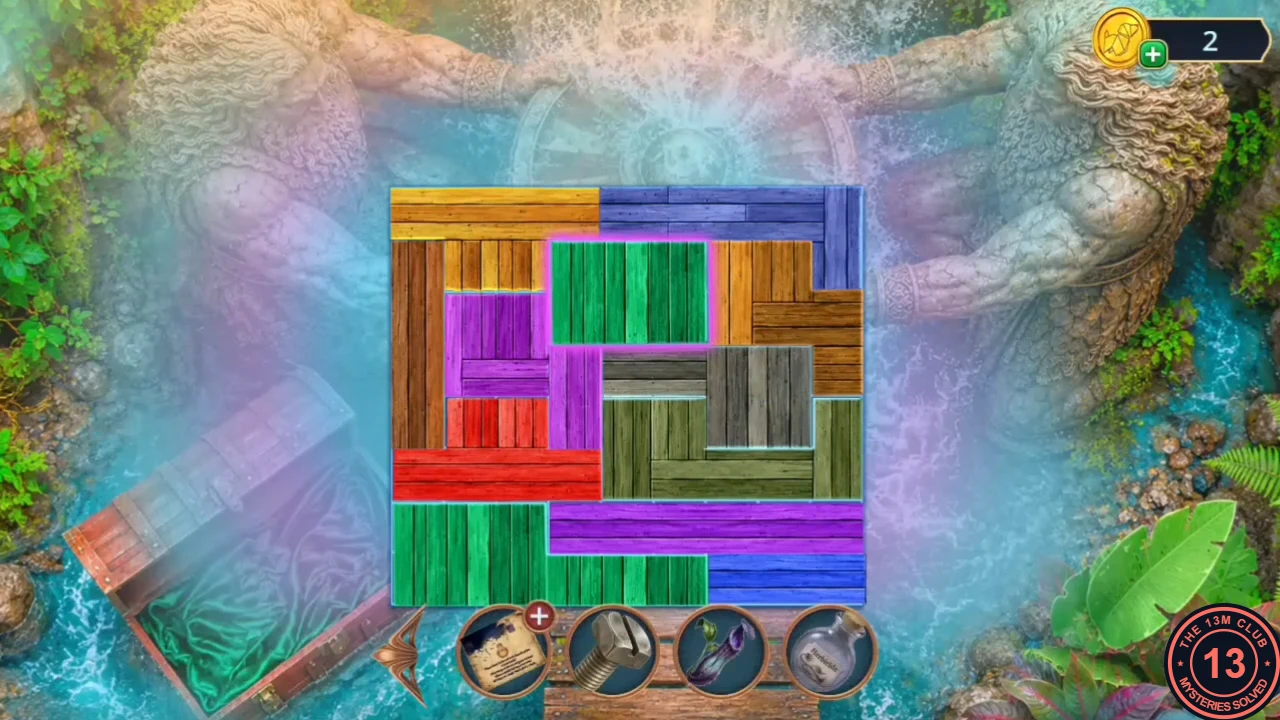
One layout that fills the grid, as used in this playthrough (the inventory bar overlaps the bottom edge).
Sanctuary Riddle Hidden Objects
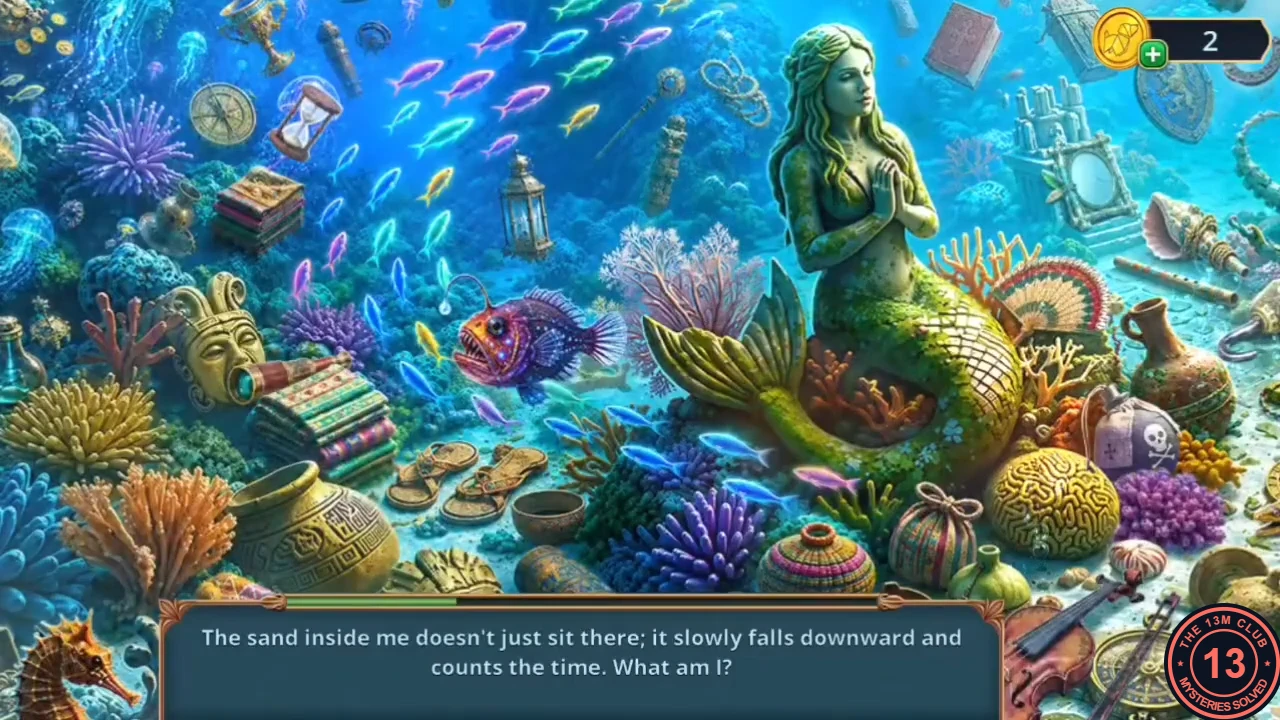
Play the riddle scene by the skeleton and mix the potion.
- In the Underwater Sanctuary, open the glowing spot by the skeleton and play the riddle hidden-object scene to get the Coral. Open the stone press beside the stove niche ("the press is disassembled"): put the Coral in, place the Bag under the spout and fit the Pressure Screw on top. The press grinds the Coral; take the Coral Dust.
- Open the potion recipe from the skeleton and fill its four slots with the Poisonous Plant, the Empty Vial, the Reagent (purple vial) and the Coral Dust. This makes the Herbicide. It does not drive off the scorpion; it is needed in the lagoon.
Nest Silhouettes
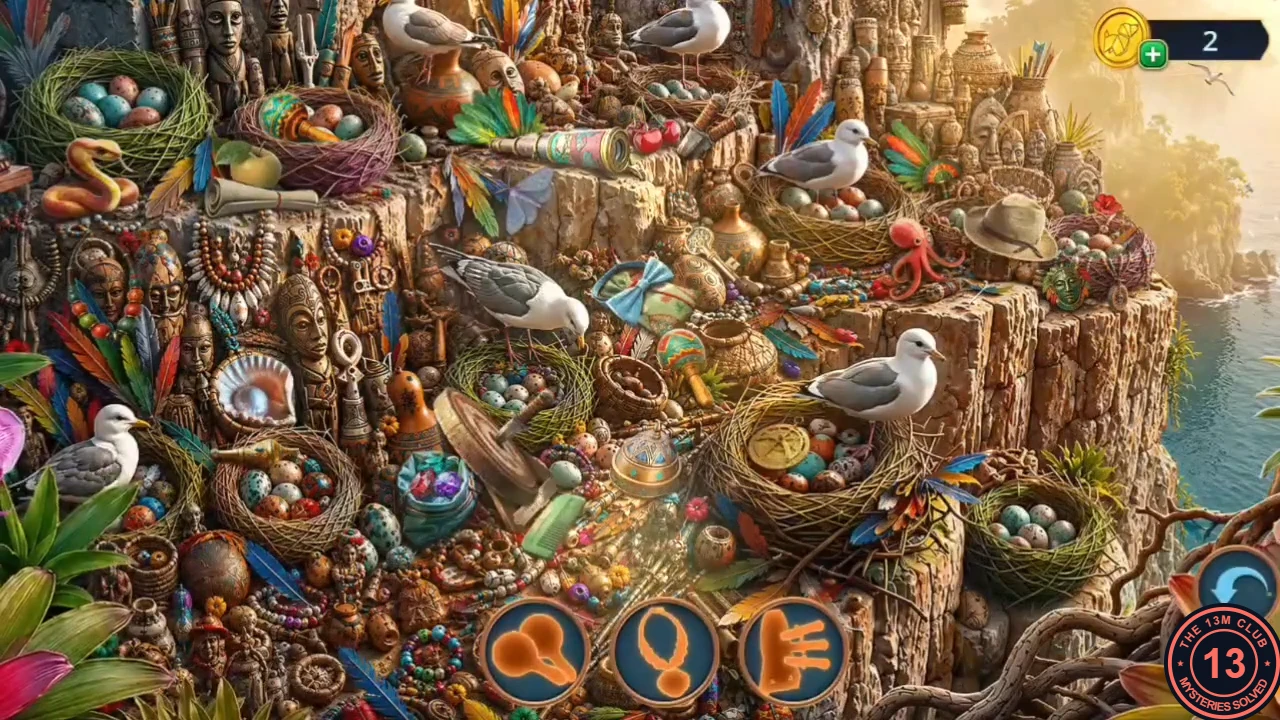
Clear the thorny vines in the lagoon, then deal with the scorpion.
- In the Hidden Lagoon, pour the Herbicide on the thorny vines and take the Stone Levers. Play the silhouette hidden-object scene at the nests. The reward is the Heavy Goblet.
- In the sanctuary, trap the scorpion under the Heavy Goblet and take the Palm Brush. Brush the skeleton and take the second Stone Lever.
The Stone Levers and Nodes
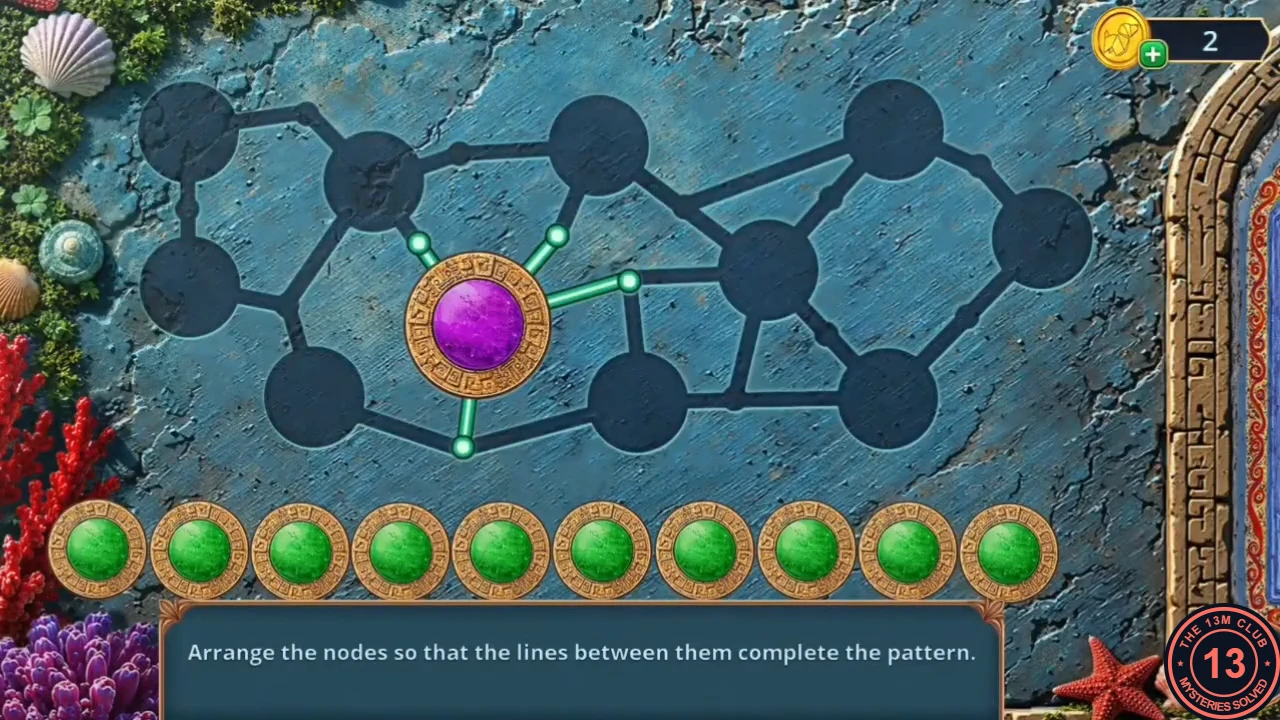
Open the last wall of the sanctuary to finish the game's story.
- Insert the Stone Levers into both round slots in the wall. The wall opens and reveals three empty recesses: insert the three Tablet Fragments (3/3) into them. Node puzzle: place the nodes on the sockets so the lines between them complete the pattern. The chapter ends with the decision summary and the final ending.
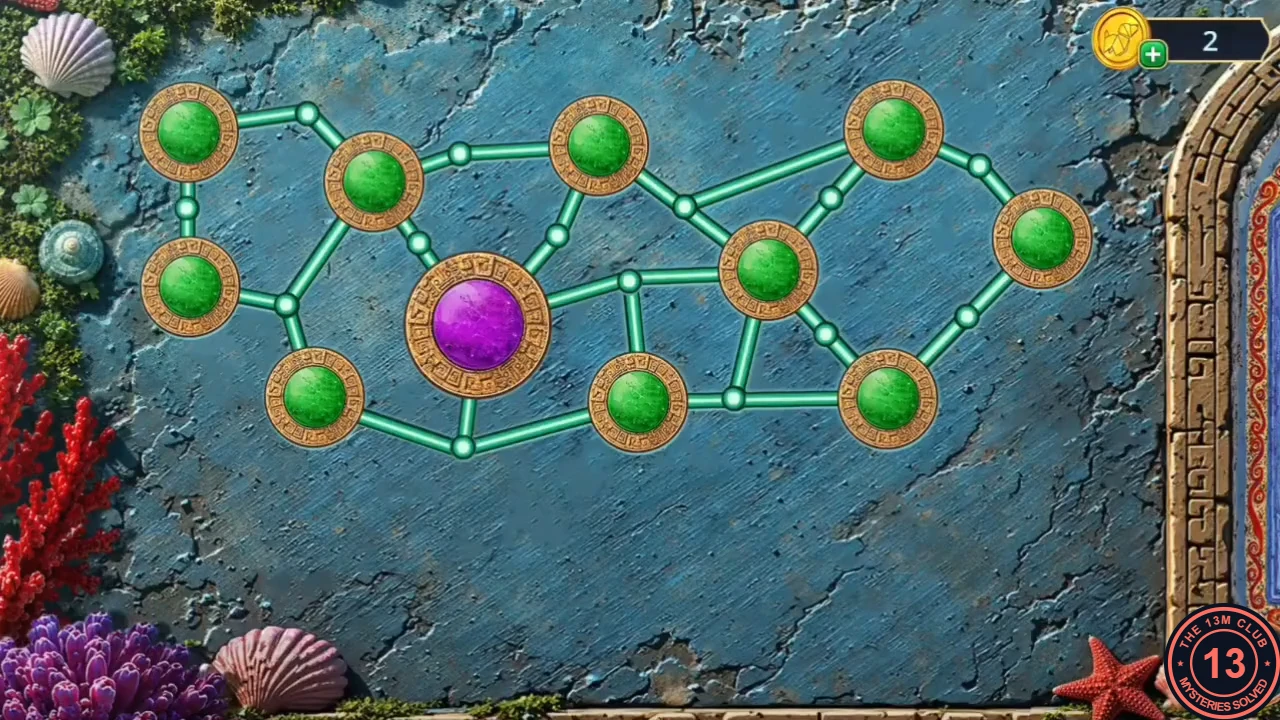
The completed node pattern.