CHAPTER 2
The Clock Mechanism
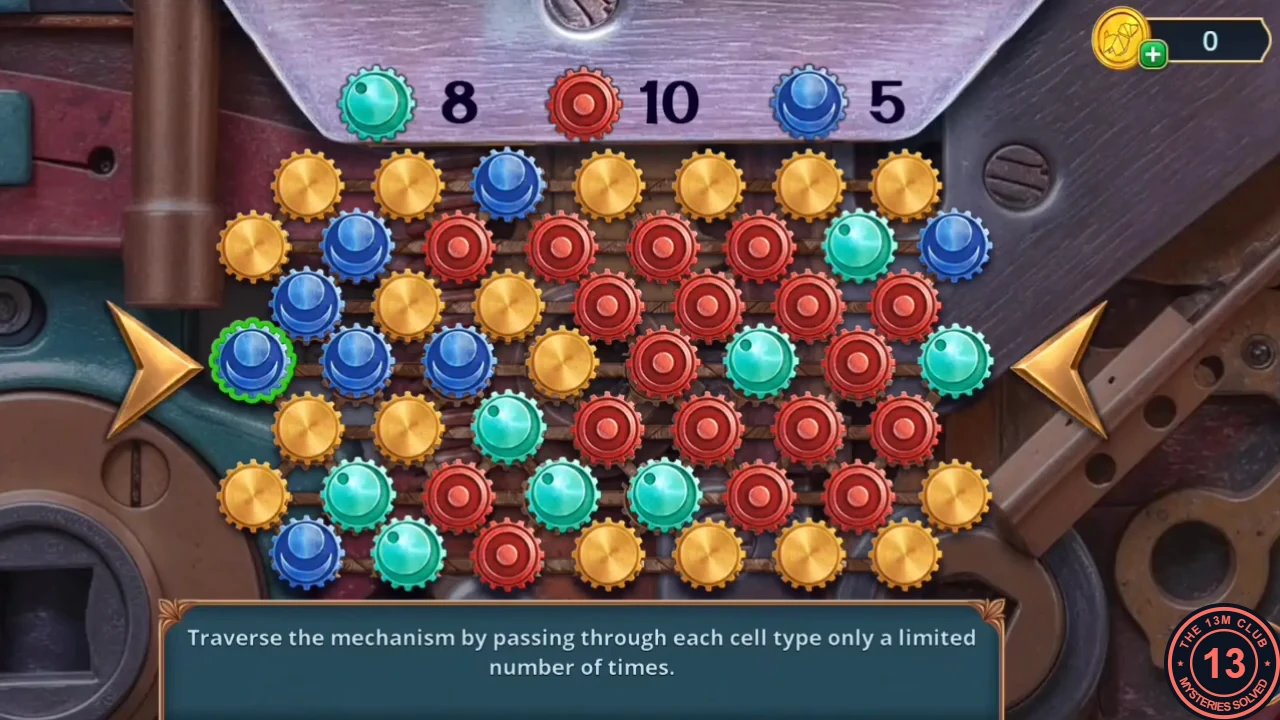
Make a spring for the cuckoo clock and repair its mechanism.
- Take the Pliers from the yard steps and pull the Spring out of the Mousetrap with them.
- Fit the Spring in the cuckoo clock on the desk. Mechanism puzzle: draw a route from the left arrow to the right arrow. Each colour of cell has a counter showing how many times the route may pass through that colour, so plan the route so that every counter is used exactly. Take the Ball.
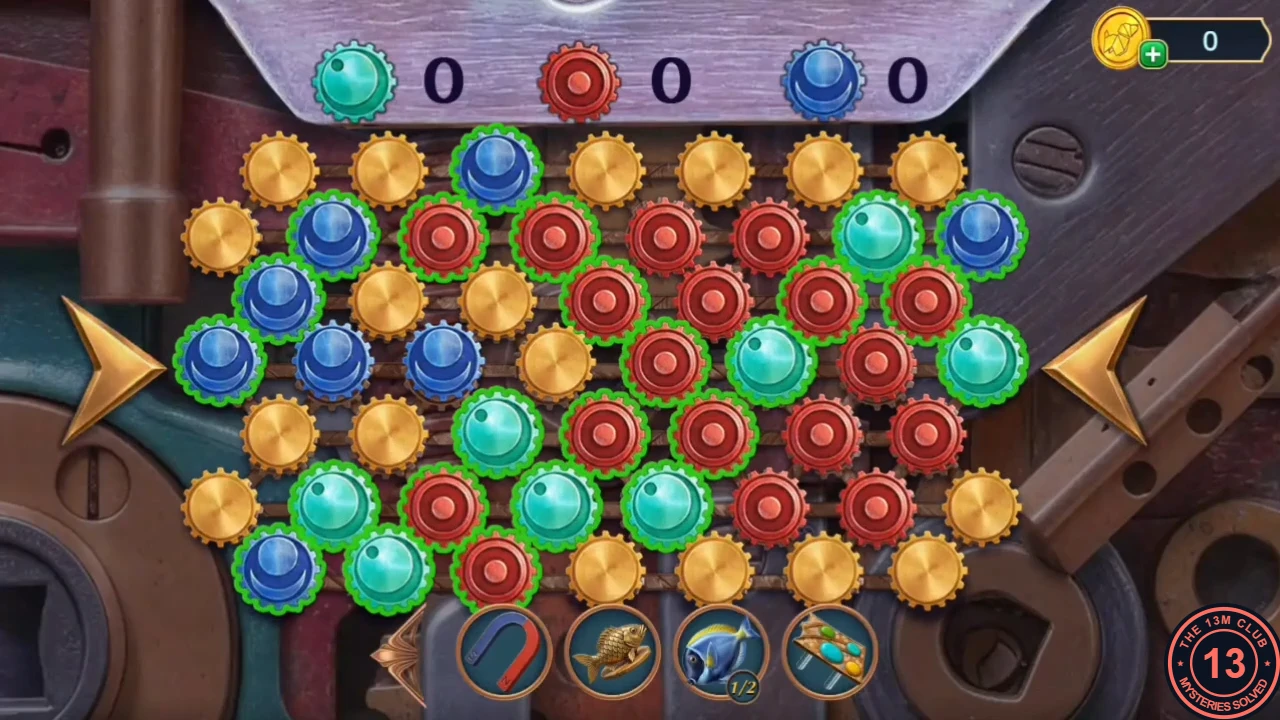
Example completed route from this playthrough; every counter is used up. - Fit the Ball as the missing wheel of the heavy cabinet and roll it aside. Go through the door to the Coastal Path.
CHAPTER 2
Coastal Path: Temple Pool
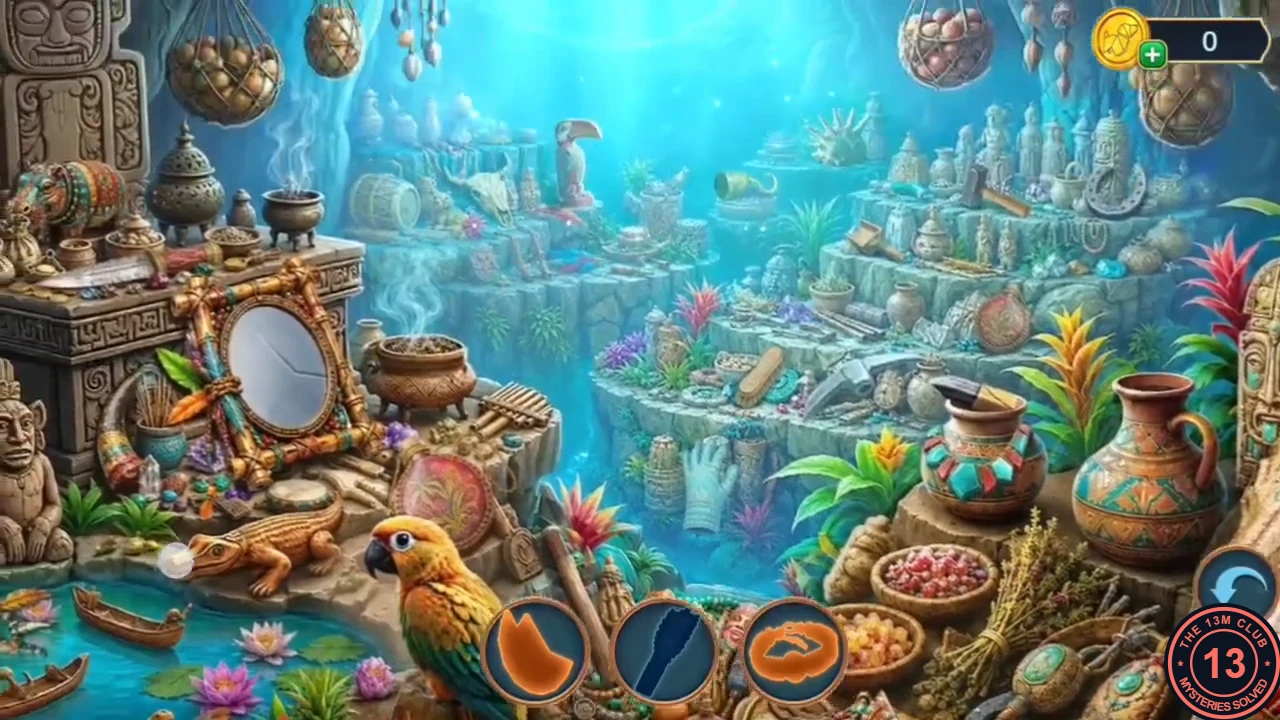
Behind the heavy cabinet a door opens onto the Coastal Path, with a vine wall, a cave and a fish rack.
- At the vine wall, use the Magnet to pull out the shiny metal objects: the Harpoon Handle and then the Crowbar. Take the Beetle Figurine.
- Prise the boulders away from the cave mouth with the Crowbar. Play the temple-pool hidden-object scene (silhouette mode). The reward is the Fly Figurine.
CHAPTER 2
The Fish Rack
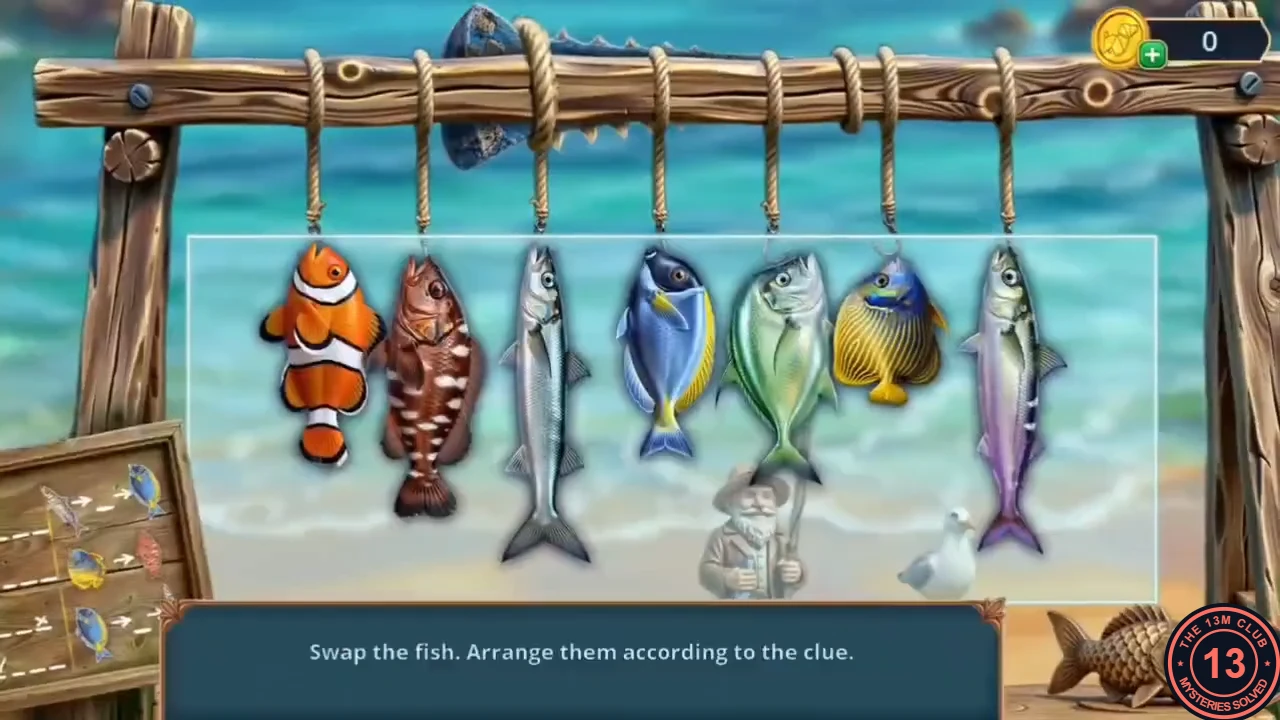
Catch the second fish and arrange the fish rack by the clue board.
- At the cart by the frog statues, put the Fly Figurine and the Beetle Figurine on the two frogs' tongues. The frogs move off the buried urn: take the Clownfish and the first Mask. The Clownfish completes the fish set with the Dried Fish (2/2). Keep the Fish Figurine for later.
- Hang both fish (the Dried Fish and the Clownfish) on the fish rack. Swap pairs of fish until their order matches the clue board at the lower left. Take the Sawfish's Nose.
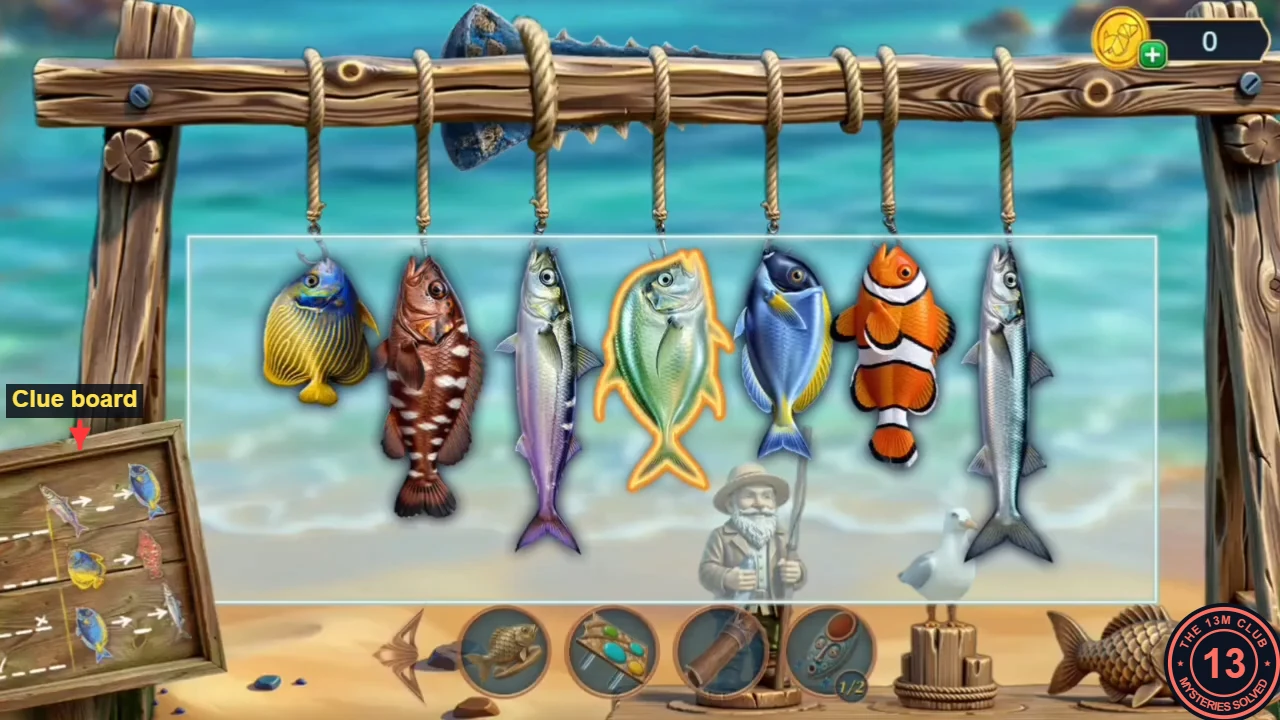
Solved order, left to right: yellow-and-blue fish, brown spotted fish, silver fish with a purple tail, green-yellow fish, blue fish, clownfish, plain silver fish. - On the Sunken Ship, saw through the shark's ribcage with the Sawfish's Nose and take the Belt. Use the Belt in the cage to hook out the glass sphere and take the Lens.
CHAPTER 2
Sea-Floor Silhouettes
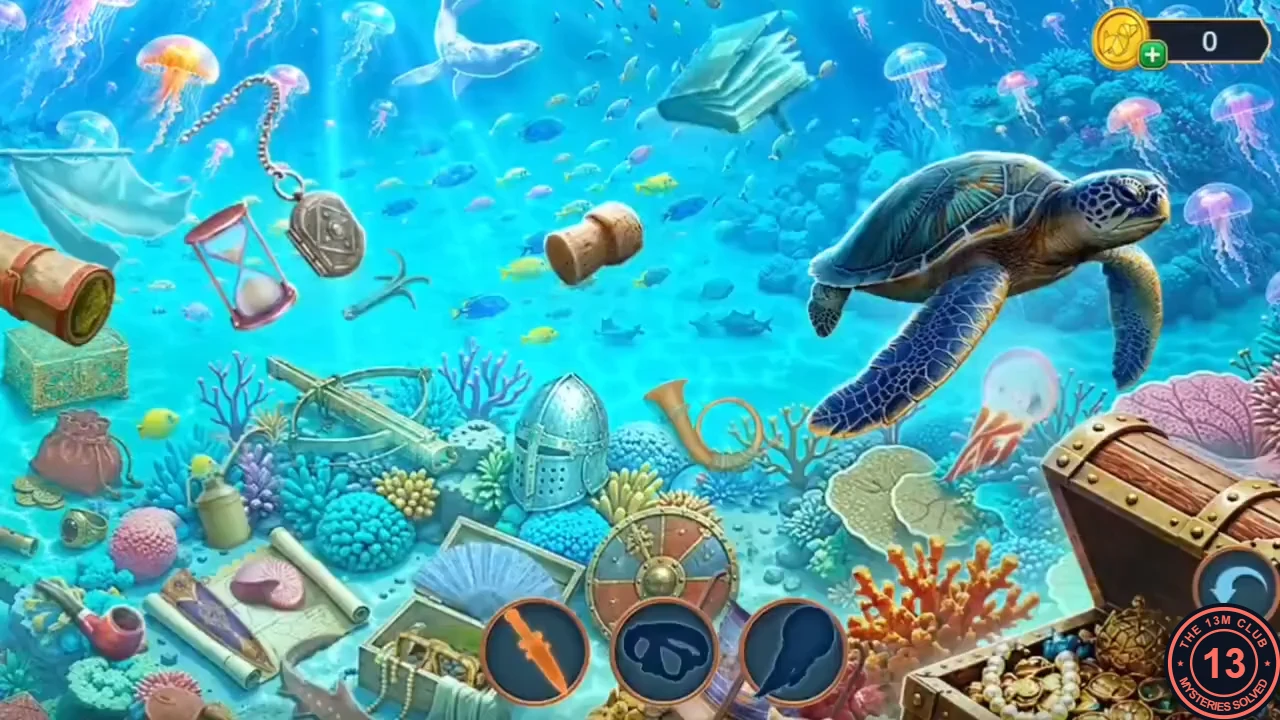
Replay the sea-floor scene for the Pearl that opens the malachite box.
- Play the sea-floor hidden-object scene again (silhouette mode) for the Pearl. Put the Pearl in the purple shell on the malachite box at the top of the lighthouse and take the Wooden Wing.
CHAPTER 2
The Cormorant Mechanism
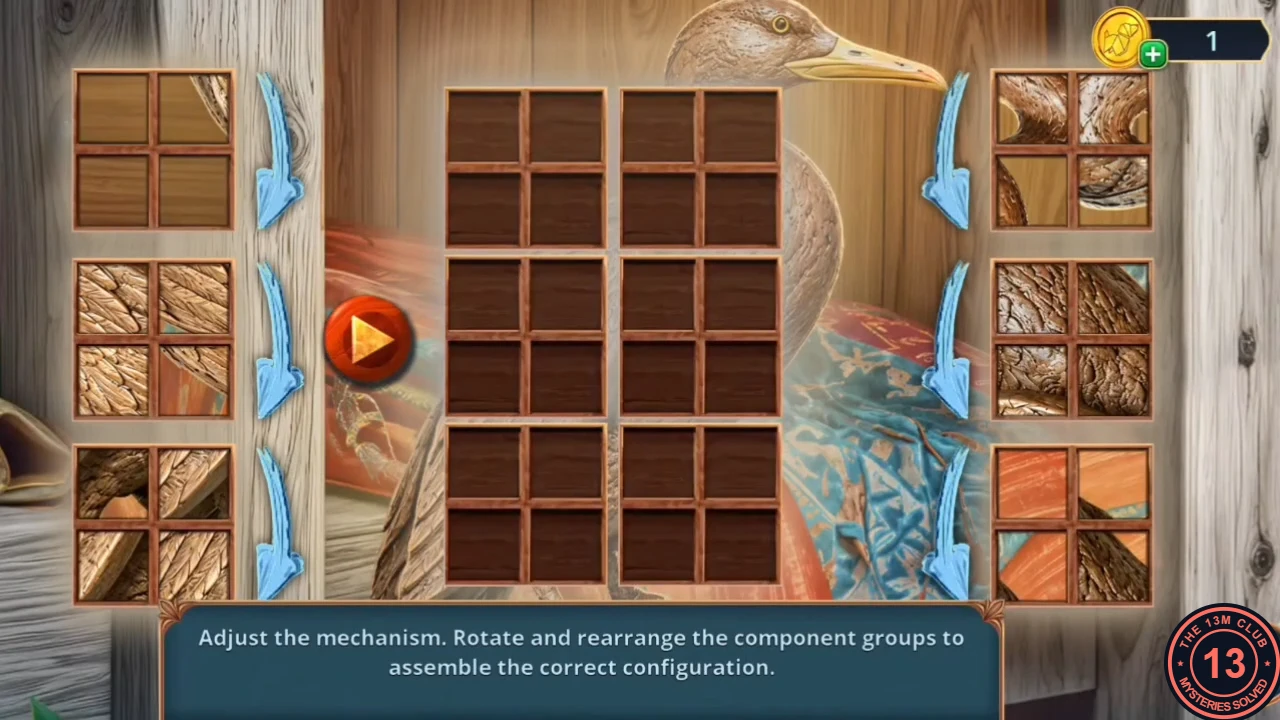
Repair the wooden cormorant on the Sunken Ship.
- Fit the Wooden Wing on the cormorant on the Sunken Ship. Mechanism puzzle: rotate and swap the tile groups until the centre board shows the target configuration, then press Play. Take the Glass with Holes.
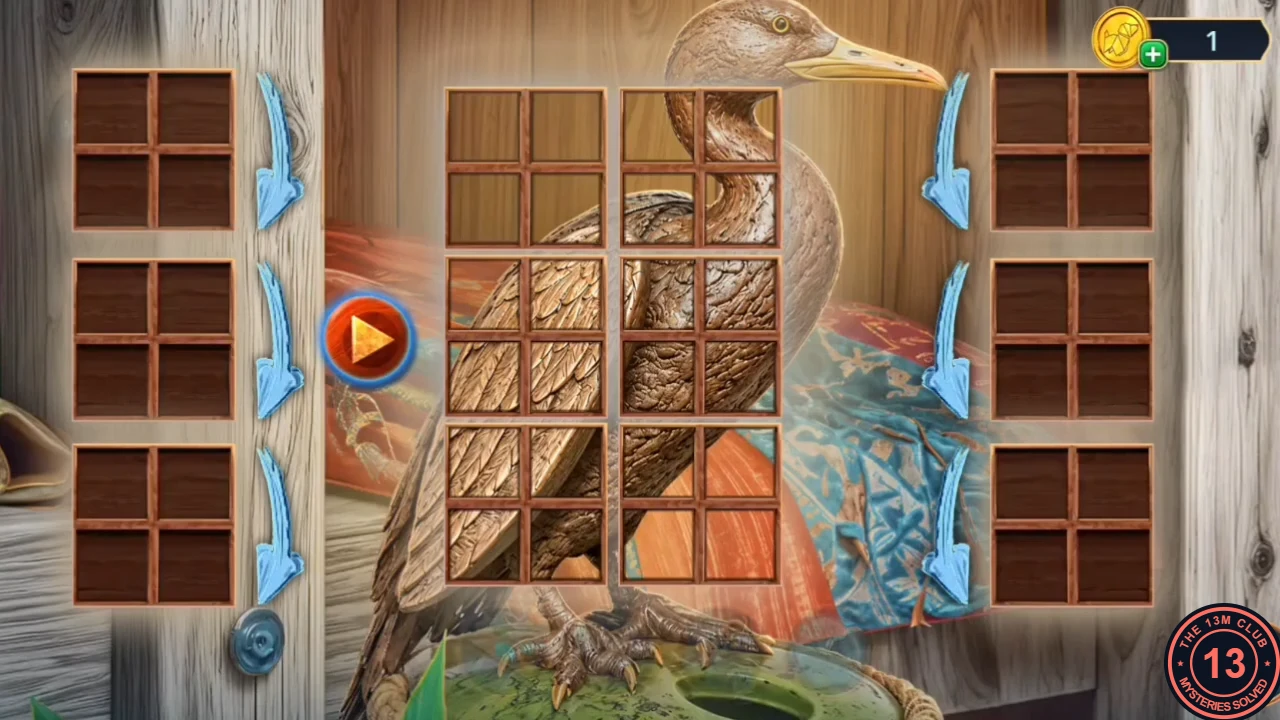
All six groups in place; press Play. - At the gem mosaic beside the lamp at the top, put the Mosaic Fragment into the gap, then lay the Glass with Holes over the mosaic. Take The Scheme of Weaving and the Adjustment Ring from the compartment that opens.
CHAPTER 2
The Telescope Focus
Tune the telescope to read the hidden drawings.
- Fit the Adjustment Ring and the Lens to the telescope. Focus puzzle: tap when the arrows line up with the hint marks. Take the Lens with Drawings.
- On the Coastal Path fish rack, put the Lens with Drawings and the Fish Figurine on the counter. The drawer opens: take the Stone Disc. Fit the Stone Disc on the cart and take the Saber Fragment from the sand.
CHAPTER 2
Cave Paired Items
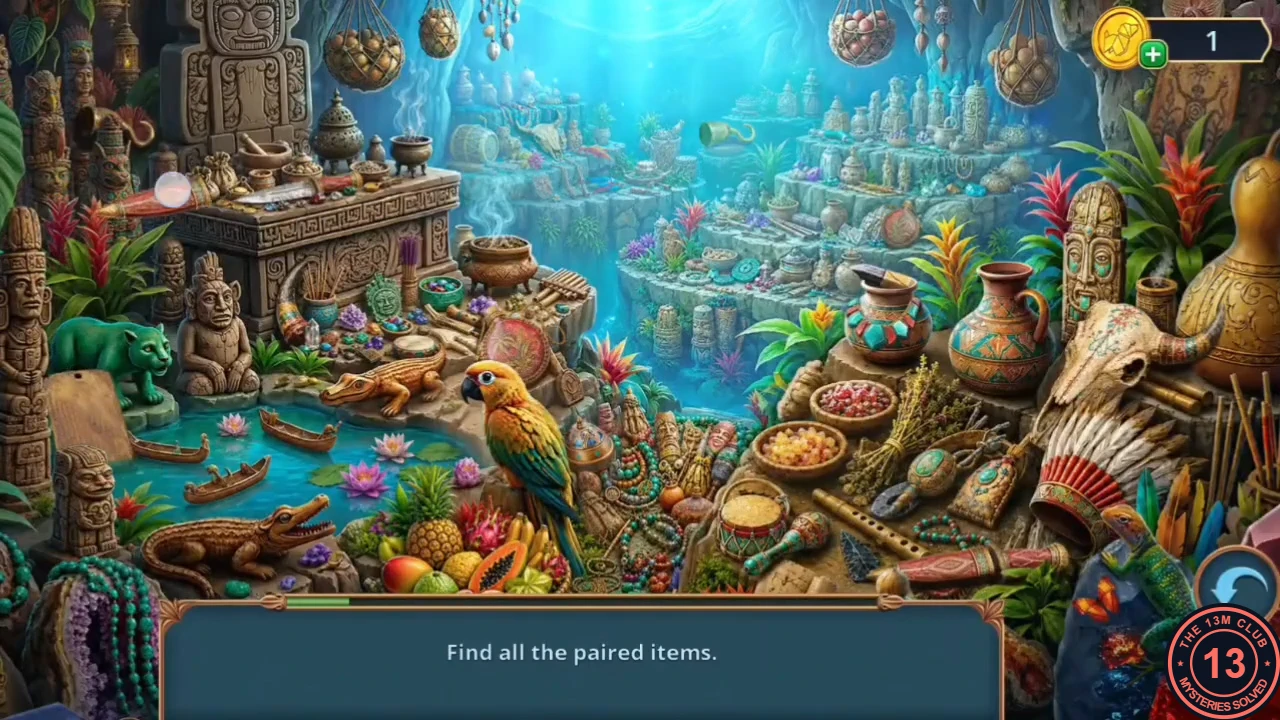
Replay the cave scene for the Tusk.
- Play the cave hidden-object scene again, this time finding all the paired items. The reward is the Tusk. Fit it on the elephant statue on the island shore so the statue has both tusks, then take the Boot that it releases.
CHAPTER 2
The Masks
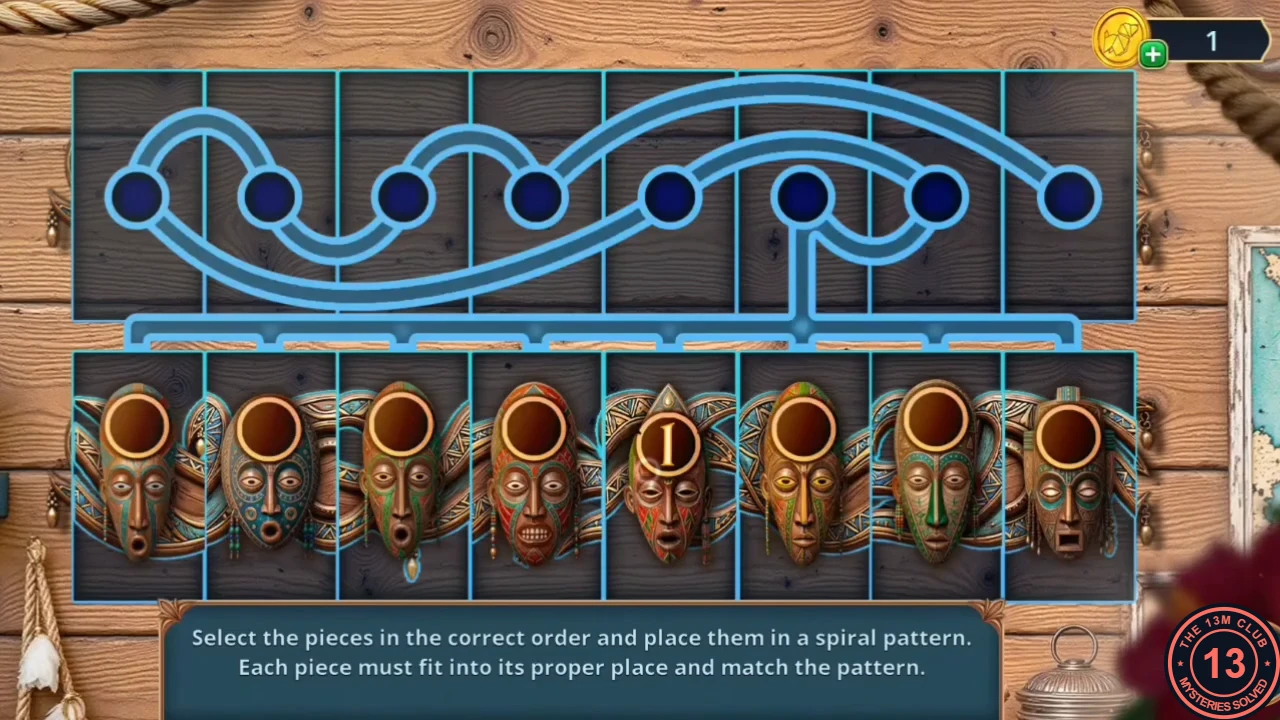
Collect the second mask and set the masks in the right order.
- On Mateo's deck, scoop the water out of the barrel with the Boot and take the second Mask from the bottom.
- Hang both Masks on the wall bracket in Mateo's cabin. Mask puzzle: the masks must be selected in the right order (each picked mask shows its number) and then fly into the spiral above. Counting the masks in the bottom row from the left, select them in this order: 5, 2, 7, 4, 6, 8, 3, 1. A Horseshoe then appears on the deck by the mast: take it, fit it on the deck hatch beside the nest as a handle, open the hatch and take the Tile Fragment.
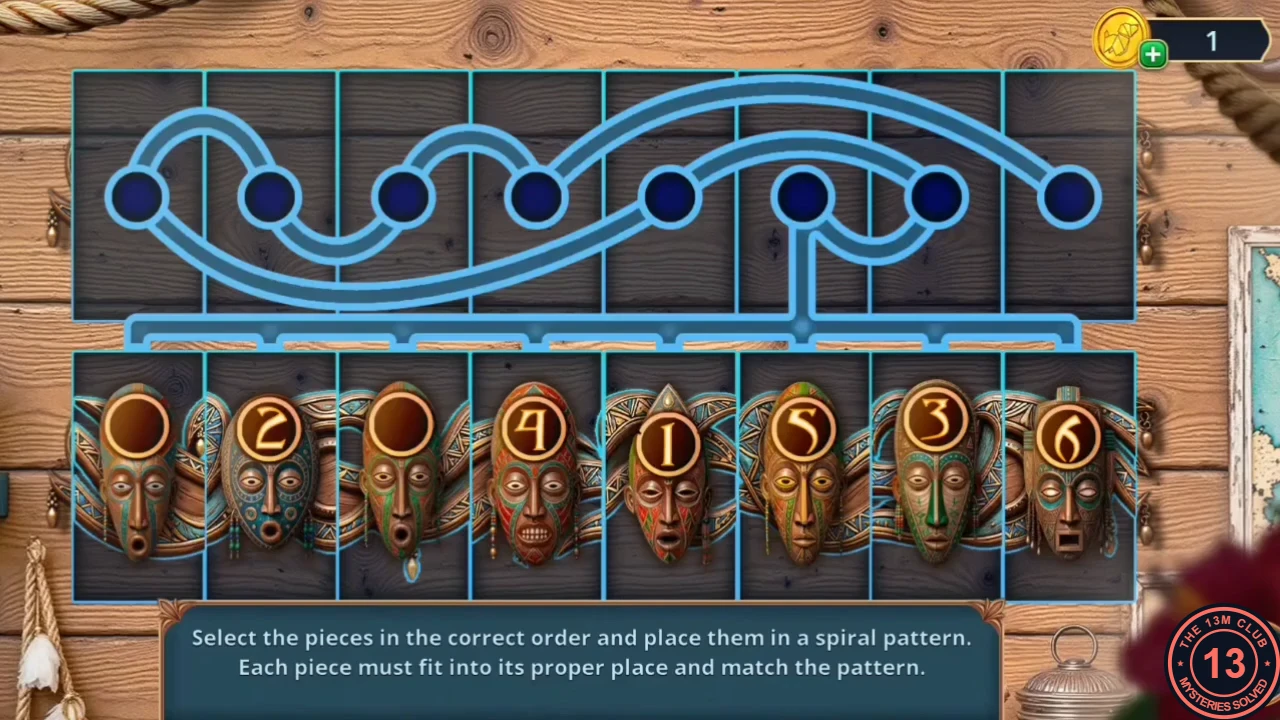
Partway through: each picked mask shows its pick number. This is not a full solution.
CHAPTER 2
The Stone Plate
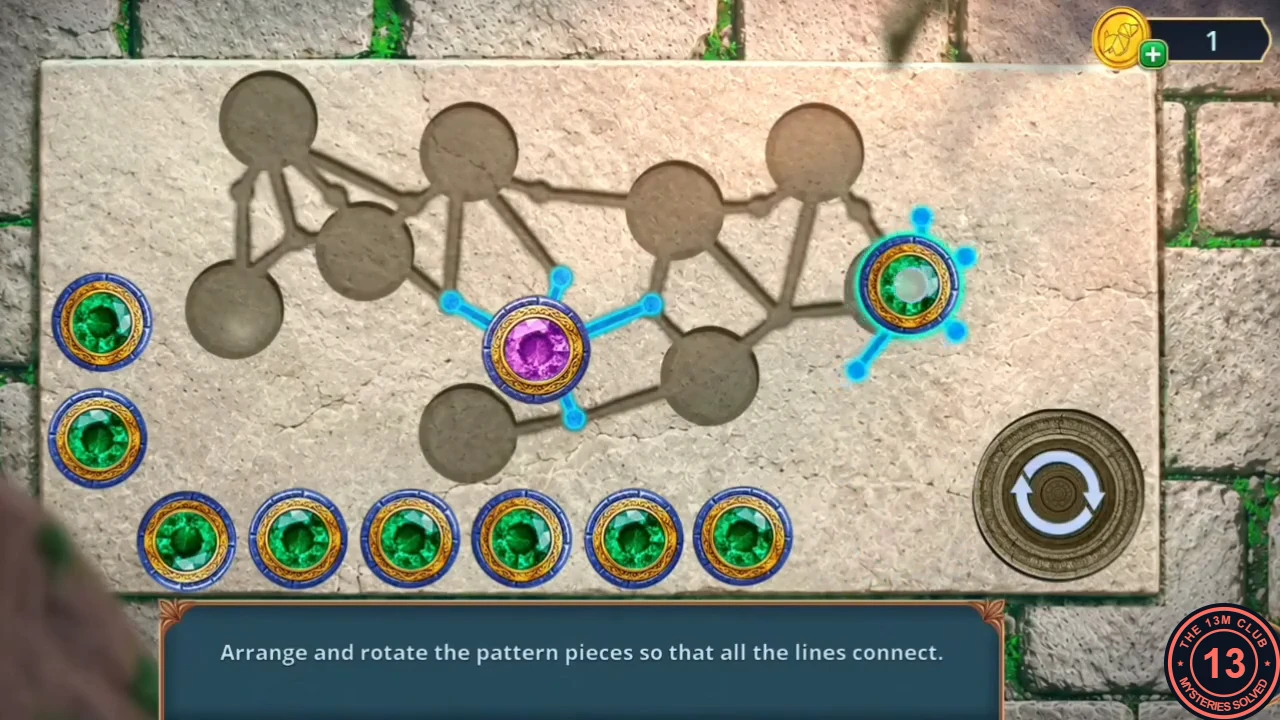
Open the stone plate at the top of the lighthouse with the Tile Fragment.
- At the chest at the top of the lighthouse, fit the Tile Fragment to start the stone plate puzzle. Arrange and rotate the pieces until every carved line connects with its neighbours. Read the former caretaker's note and take the Firewood. Then lift the glowing blue stone tablet out of the chest: this is the first of three Tablet Fragments, which you need at the very end of Chapter 4.
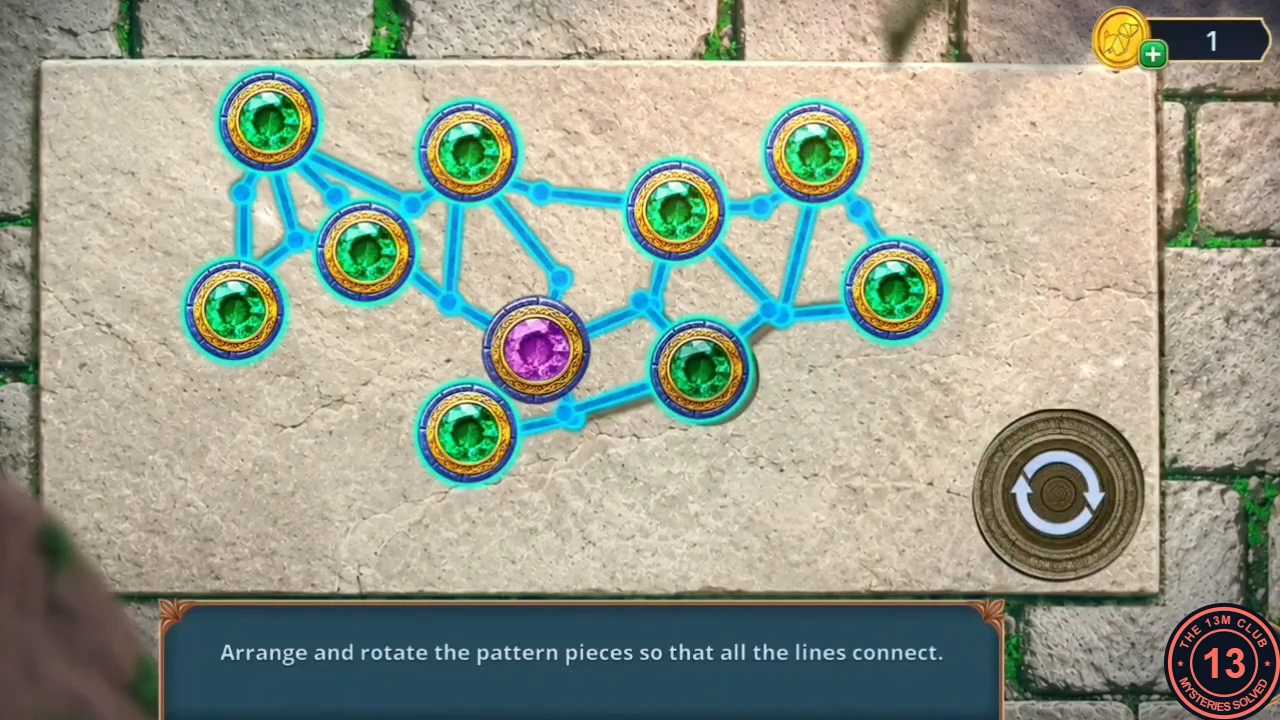
The completed plate with every line connected. - The floor gives way under Inara. Decision: choose "Protect Inara" for +6, "Warn Inara" for +2 or "Freeze" for 0.
CHAPTER 2
Workshop Silhouettes
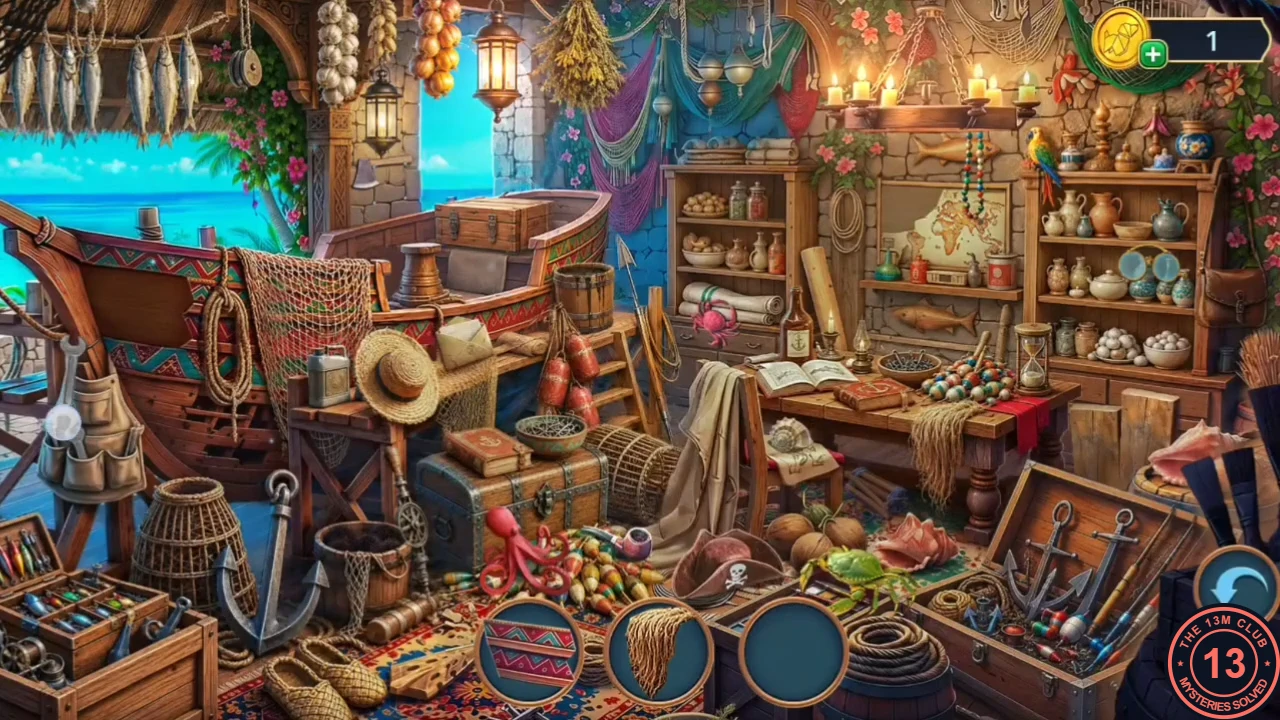
Light the lighthouse fire and search the workshop for the Coin.
- Put the Firewood in the lamp bowl at the top and light it with the Lighter. Take the Sextant.
- On Santa Marilla City Pier, set the Sextant in the stone block with the compass rose and take the Oar Piece (1/3); keep it for Chapter 3. Play the workshop hidden-object scene (silhouette mode) for the Coin.
CHAPTER 2
Lighting the Lighthouse: Weaving
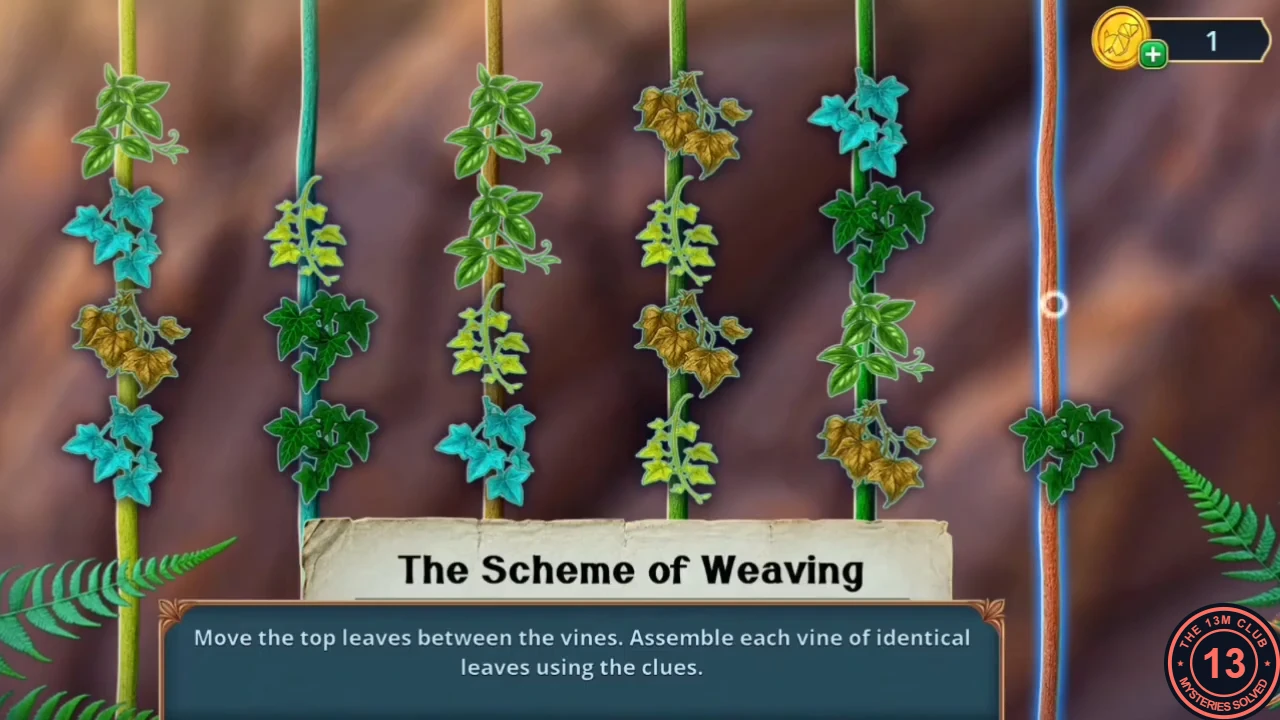
Weave the vine wall to finish the chapter.
- On the Coastal Path, put the Coin in the slot on the fish rack counter. Take the Nut Key and the Crochet Hook from the box that opens; keep the Nut Key for Chapter 3.
- At the vine wall, place The Scheme of Weaving and use the Crochet Hook. Weaving puzzle: tap a vine to move its top leaf onto another vine. Use the scheme's clues to sort the leaves until each vine carries only one kind of leaf. The chapter ends with the decision summary and the chapter outcome.