My Ship's Deck: The Icon Ring
Inara wants to question the people of San Esteban before the waves get too high. Prepare your own ship first.
- On your ship, open the rowboat crate close-up and take the first Coral Disc (1/2) and the Copper Rivets from the top of the tied crate. At the shark cage, take the Coconut.
- Open the giant oyster in the cage with the Nut Key from Chapter 2 and take the Awl.
- Open the Saber Fragment in your inventory and add the Awl, the Copper Rivets and the Harpoon Handle to its three slots to make the Machete.
- Cut the ropes on the rowboat crate with the Machete and take the Feathered Brush, the Rope and the Wooden Mallet (the crate itself still needs a chain and hook). At the base of the helm, smash the shell crust with the Wooden Mallet, sweep it away with the Feathered Brush and take the Starfish.
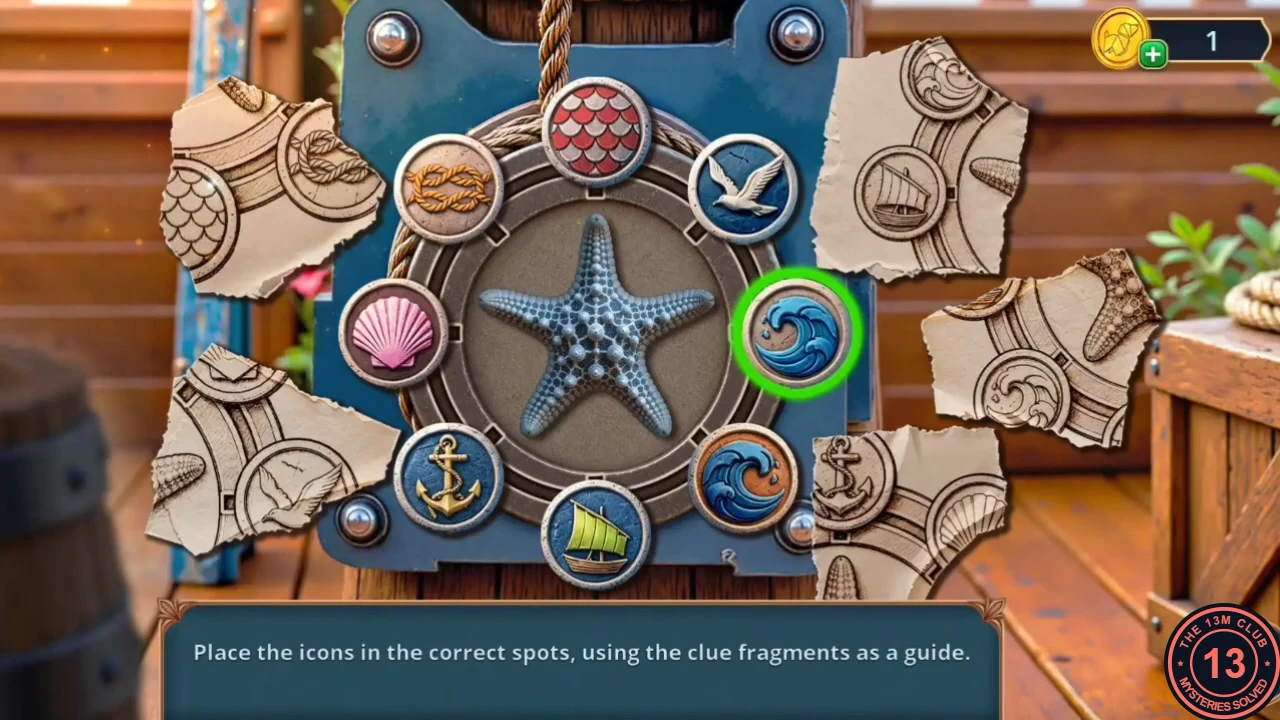
- Place the Starfish in the crank lock of the snake barrel. Icon ring puzzle: put each icon in the spot shown by the torn clue fragments around the ring. Solution, clockwise from the top: anchor, scallop shell, seagull, rope knot, red scales, waves, sailboat, waves.
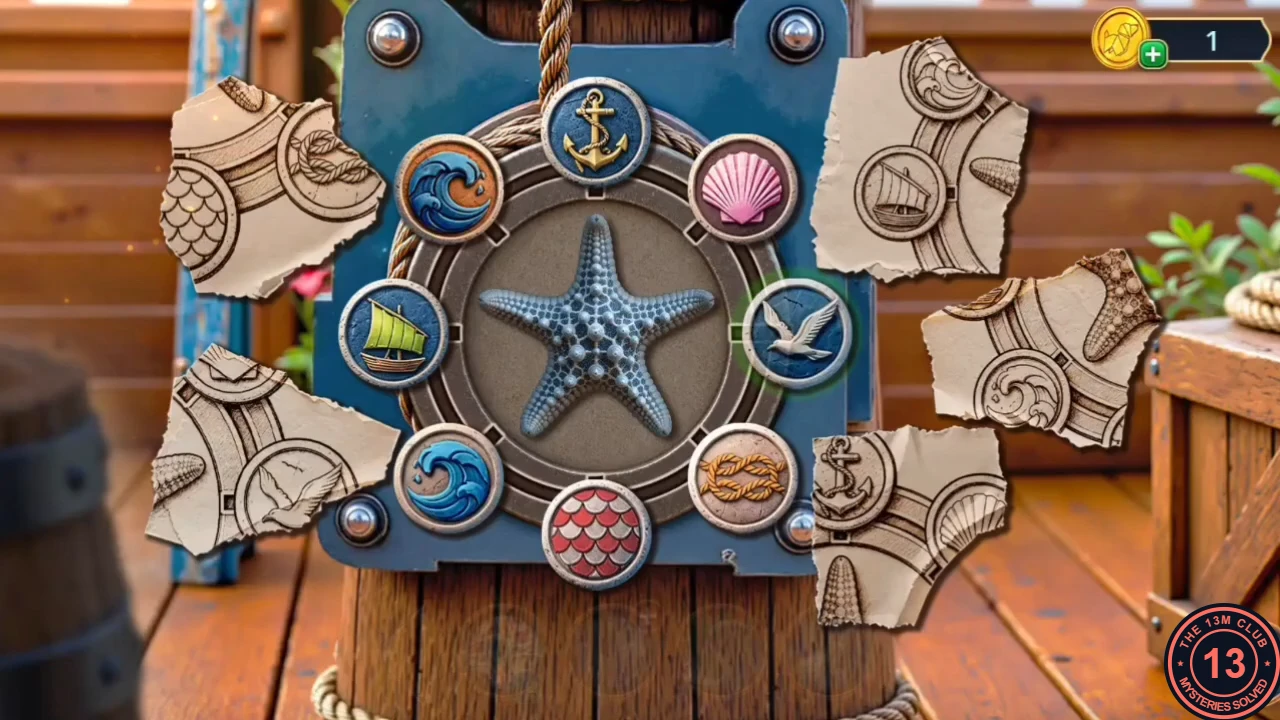
Solved ring: anchor at the top, then clockwise as listed in step 5.
San Esteban Coast: Shop Hidden Objects
A local man saw the whale come right up to the shore. Open the way from the beach into the town.
- On the San Esteban Coast, a local man says noises were heard on the pier at night. Decision: answer "We came to stop this. If you know anything else, tell us." for +2. "I see. Then let's take a look around." gives 0.
- At the crab rock, take the Sulfur and the Match. The stone is too heavy to move by hand: use the Oar Piece as a lever and take the second Coral Disc from under it. The purple sea plants nearby give off pungent smoke; you will deal with them later.
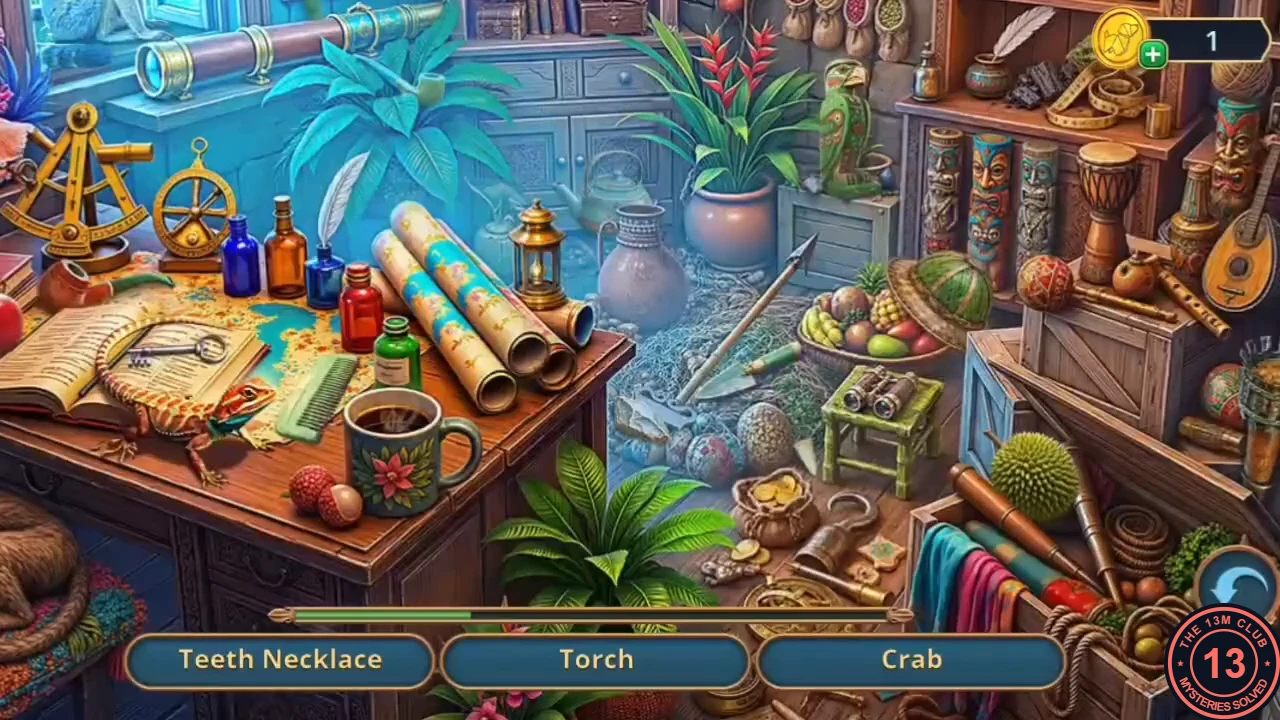
- At the red door, take the Sealed Bottle from the latch and set both Coral Discs in the two circles to open the shop. Play the shop hidden-object scene (item list). The reward is the Shell Scraper.
The Coconut Bomb
Make a bomb to clear the way from the beach into the town.
- Scrape the bark of the tree trunk with the Shell Scraper and take the Bark with Symbols. Place it at the holy spring well; the well opens. Take the Harpoon Tip, the first Small Spring (1/2) and the Gunpowder.
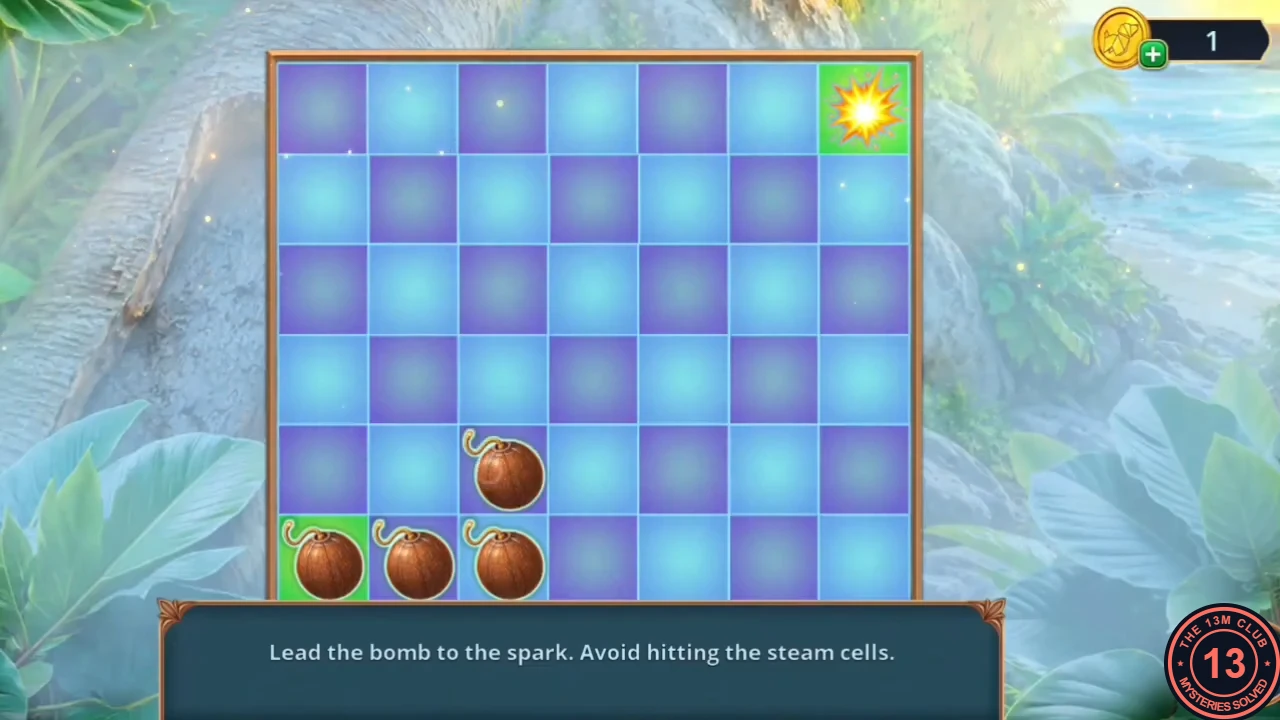
- Open the Coconut in your inventory and add the Sulfur, the Rope and the Gunpowder to make the Coconut Bomb. Place it at the cracked rock beside the tree and light its fuse with the Match. Bomb puzzle: the bomb slides in the direction you choose until something stops it. Guide it to the spark at the top right without letting it stop on a steam cell.
San Esteban Streets: Fabric Shop
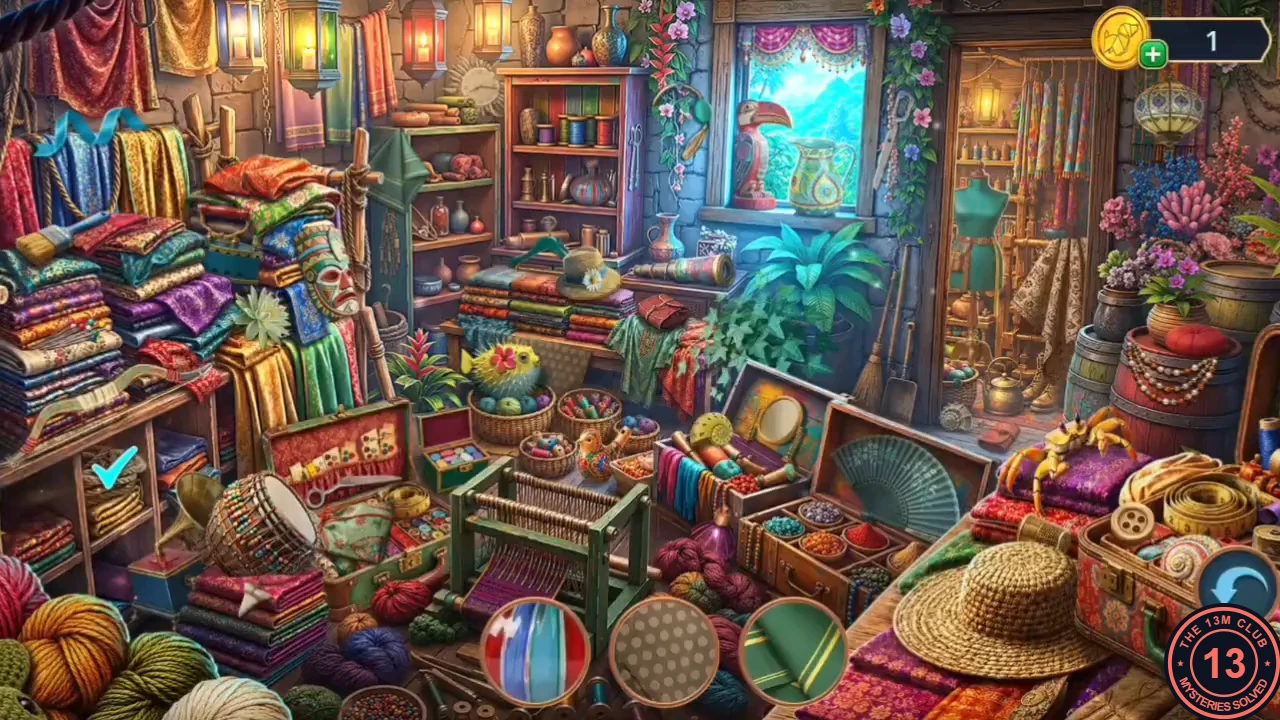
In the streets, open the fabric shop for the parts of a navigation device.
- In San Esteban Streets, open the close-up of the barrels under the vase shelf. Something is stuck between them: use the Harpoon Tip to hook out the Broken Navigation Device and take it (it needs three parts). Take the Corkscrew from the bushes by the fountain, open the Sealed Bottle with it and take the Sailor's Bandana. Wipe the GOODS sign with the Bandana and take the Little Screw; the sign swings aside.
- Play the fabric-shop hidden-object scene (silhouette mode). The reward is the Fish Trowel. Dig in the sand by the path post with it and take the Bottle Cap and the Whale Fin.
The Palm Alley
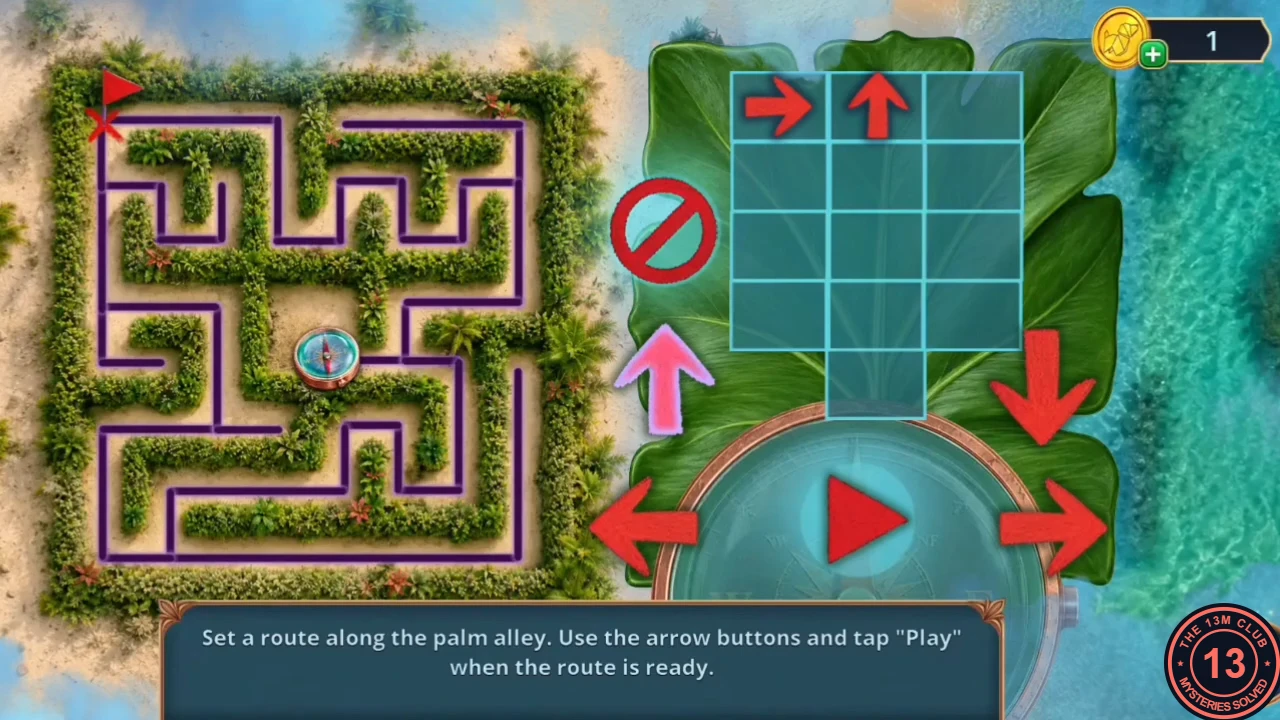
Repair the navigation device and program the route through the palm alley to the fish market.
- Fit the Whale Fin on the whale fountain; its mouth opens. Take the Coins, the Fish Net and the Brass Plate. Open the Broken Navigation Device in your inventory and add the Brass Plate, the Bottle Cap and the Little Screw to make the Compass. The Coins do not fit the device; keep them for the scales at the quay.
- Set the Compass on the path post. Palm-alley puzzle: the maze on the left shows the alley, with the compass as your starting point and a red flag as the goal. Enter one arrow on the program board for each straight stretch of the route from the compass to the flag, in order, then tap Play. Plan the whole route on the maze first, because the compass only moves once you tap Play.
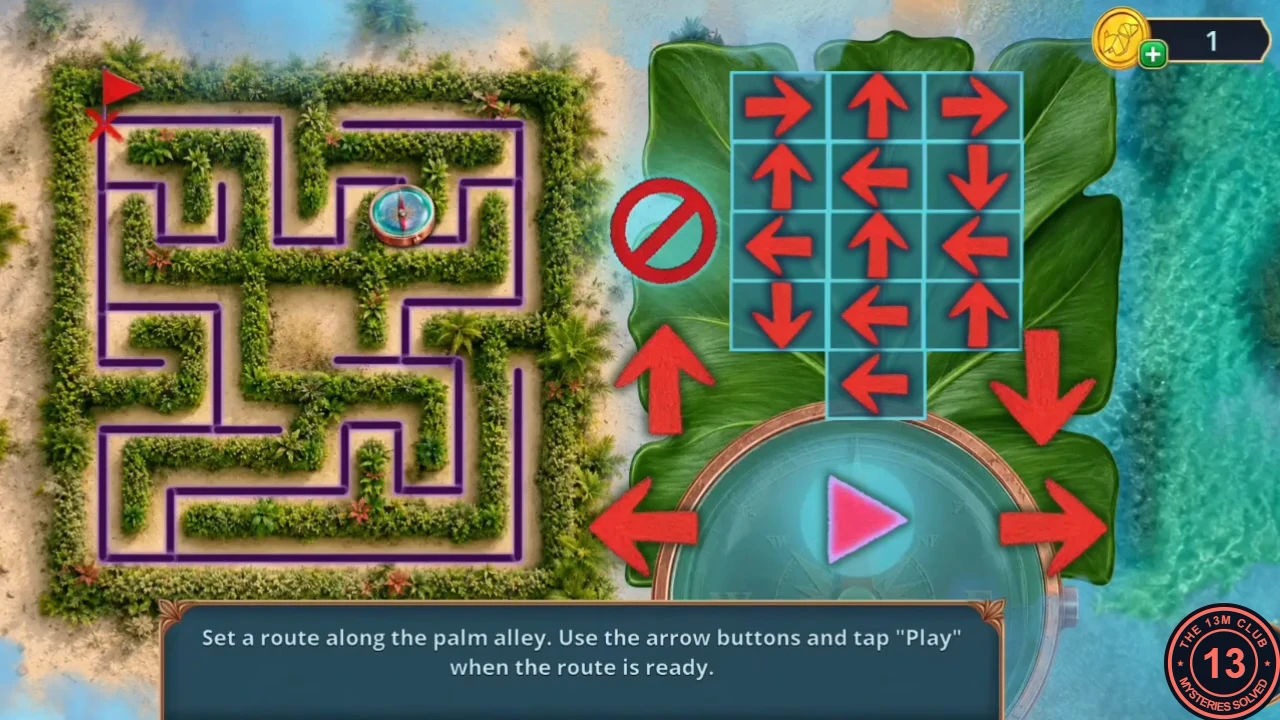
The program board as filled in this playthrough; after Play the compass reached the flag.
Fish Market: The Slingshot
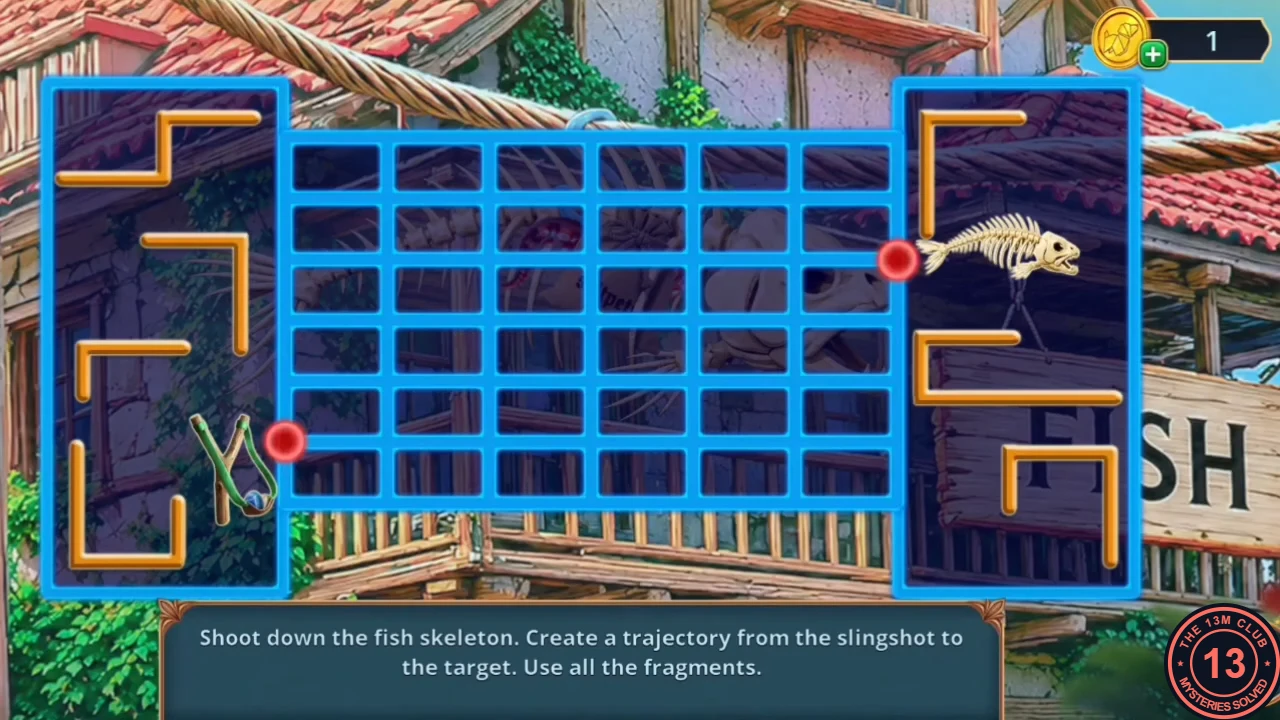
A seahorse on the fish-house wall and a fish skeleton hanging overhead hide the next clues.
- At the Fish Market, take the Woven Basket from the beach. Sweep the pile of sand and rubbish with the Feathered Brush and take the Pearl. Place the Pearl in the seahorse on the red door, then take the Slingshot from the seahorse.
- Use the Slingshot on the fish skeleton hanging above the market to start the slingshot puzzle. Use every path fragment to build one continuous trajectory from the slingshot (red dot on the left) to the target (red dot on the right). The skeleton falls when the path is complete.
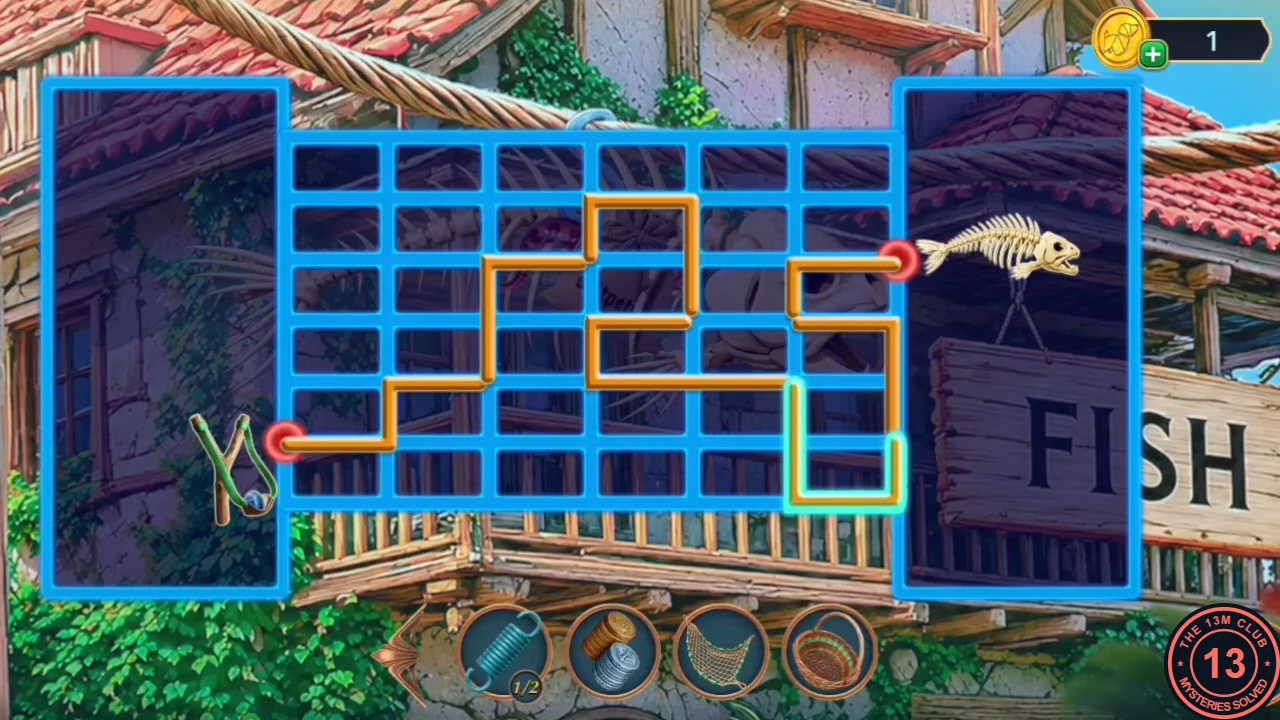
The completed trajectory: every fragment used in one continuous path to the target. - At the fallen skeleton in the shallows, use the Fish Net and take the Saltpeter and the Octopus Tentacle. In the beached rowboat, take the Mortar and Pestle, then sift the sand with the Woven Basket and take the Gold.
The Shark Cage
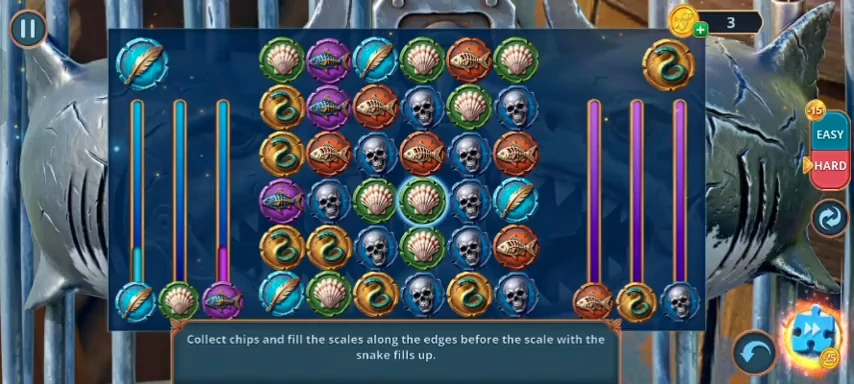
Return to your ship to open the shark cage.
- On your ship, pull the object out of the helm porthole with the Octopus Tentacle and take the Shark Teeth. Place them on the shark cage.
- Chain-match puzzle: link chains of matching chips to fill the scales along the edges before the snake's scale fills up. The board is random, so look for long chains rather than following a fixed sequence; the game offers an easier mode if needed. Take the Rattle Tail from the opened cage and fit it on the tail of the snake barrel; the snake opens its mouth. Take the Empty Shell from the snake's mouth.
Shop Differences
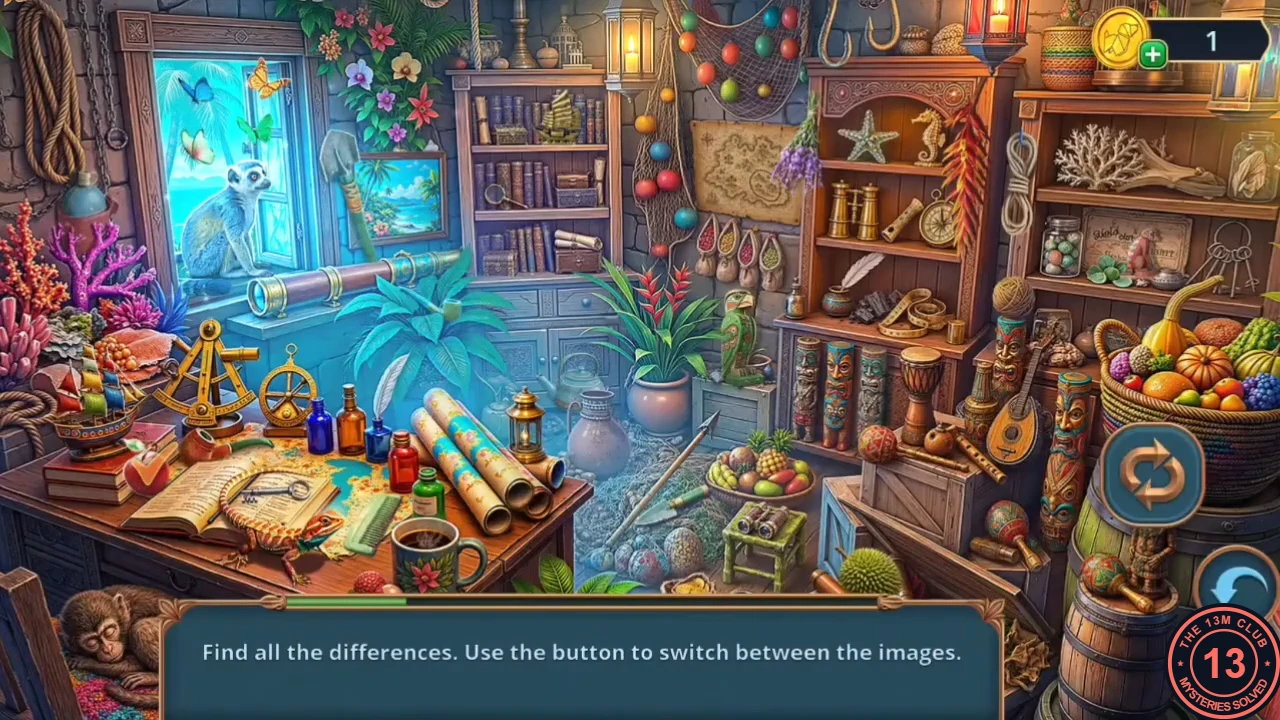
Use what was in the cage on the coast and play the differences scene at the shop.
- On the coast, put the Empty Shell beside the crab on the rock; the hermit crab moves in. Take the Hourglass. A sparkle at the shop starts a spot-the-differences scene: switch between the two pictures with the button and tap every difference. The reward is the Rum Barrel.
- At the Fish Market, hang the Rum Barrel on the empty chain swing and take the Vinegar. Pick up the Boot on the beach. The beached rowboat is full of water: scoop it out with the Boot and take the Wooden Shield from the bottom, then lay the shield across the puddle to reach the market quay.
San Esteban Pier: Combination Hidden Objects
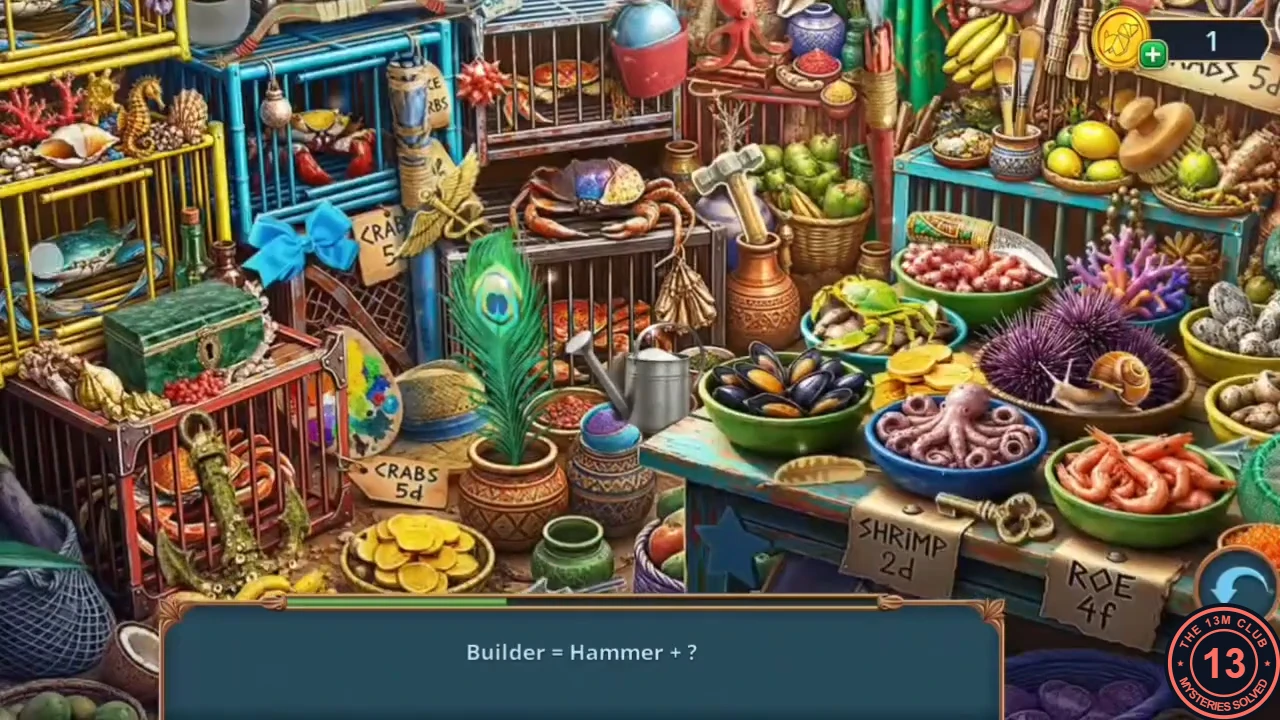
Someone is screaming at the quay: a man is caught in a net on the hooks in the water.
- Inara runs towards the screams. Decision: choose "Help" for +6, "Get ready" for +2 or "Do nothing" for 0. Inara goes to the man either way.
- At the statue with the scales (riddle: "One rings in the palm of your hand, the other quietly slips away"), put the Coins on one pan and the Hourglass on the other. The scales balance and the statue lets go of the Tribal Drum. Take the Little Shrimp and the Tribal Drum.
- Scare the seagull off the spice-stall cloth with the Tribal Drum. Keep the Little Shrimp; you need it later for the turtle food. Play the combination hidden-object scene: for each word, find the two objects that make it up, for example Fire = Kindling + Flint and Night = Star + Moon. The reward is the Crab Claws.
The Hook Net
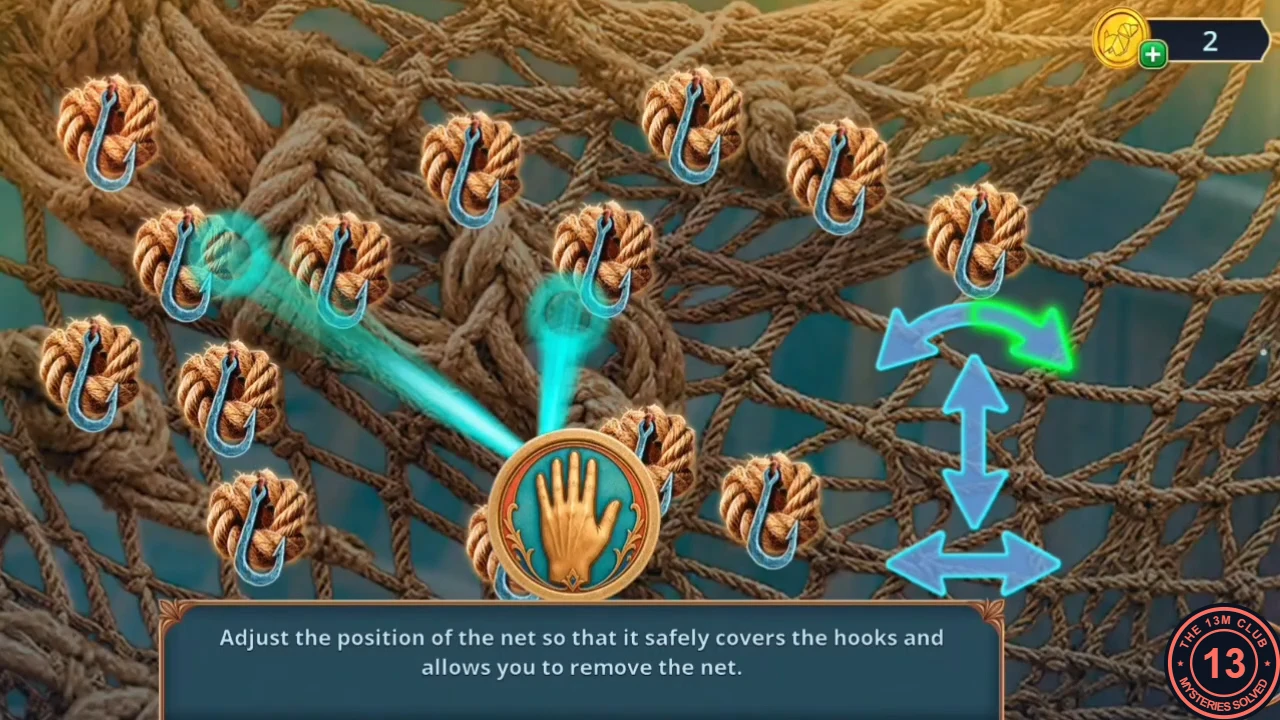
Open the storeroom hatch and free the net from the hooks.
- At the jar table, use the Crab Claws to drive the crabs away and take the second Small Spring. Fit both Small Springs on the hatch of the blue storeroom door with the golden cormorant and take the Mango and the Instruction.
- Place the Instruction on the net at the statue. Net puzzle: a glowing tool with a hand button in the middle and three arms lies on the net. Use the rotate, up/down and left/right controls to move it until the ends of its arms sit on hooks, then press the hand: those hooks are released. Move the tool to the next group of hooks and repeat until no hooks are left and the net comes free.
Boat Workshop
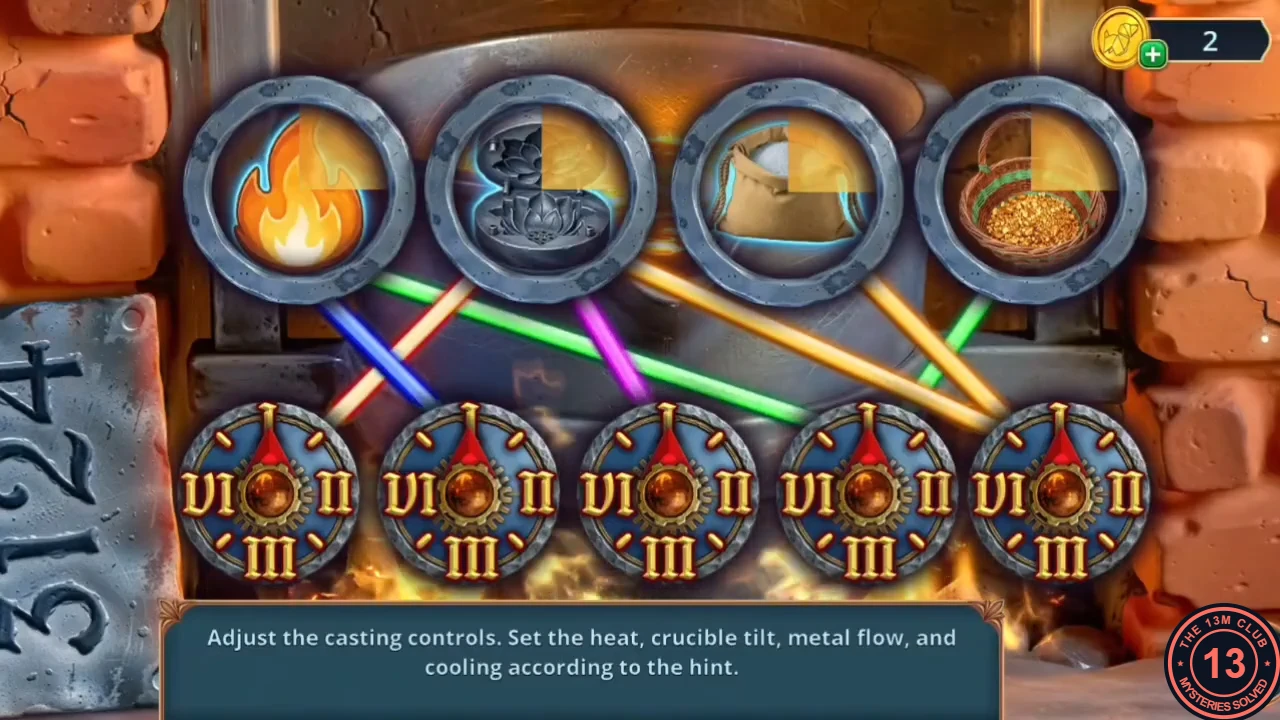
Cast a golden flower in the workshop forge to open the hidden floor passage.
- In the Boat Workshop, take the Lotus Mold from the coral box. Put the Lotus Mold, the Saltpeter and the Gold in the forge. Casting puzzle: the plate by the forge reads 3124, and the coloured lines link the four ingredients to five dials. Each dial shows I at the top, II on the right, III at the bottom and IV on the left. Set the five dials, from left to right, to I, III, I, IV, II. Take the Golden Lotus.CODE1-3-1-4-2
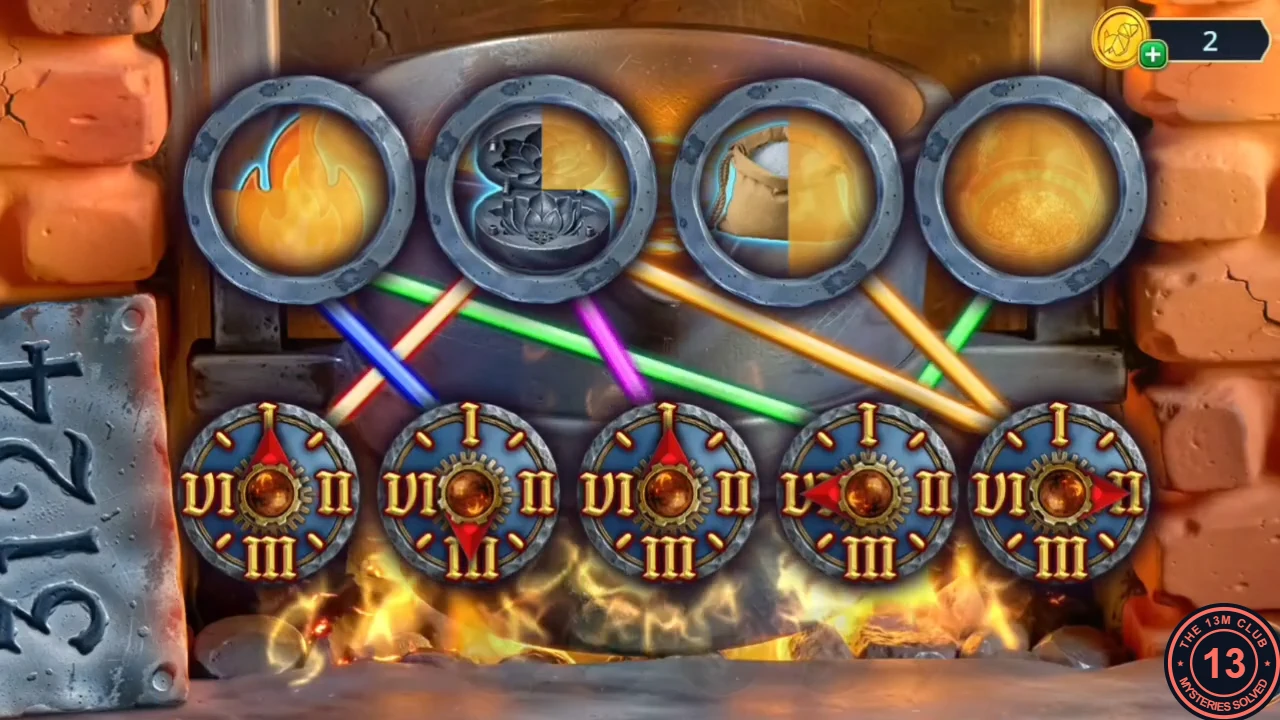
The dials set as in step 1. - Read the note by the floor hatch ("Where the golden flower blooms, a secret passage will be revealed.") and set the Golden Lotus in it. Take the Fish Bone and the Pumice.
- At the shelf with spilled green paint, soften the paint with the Vinegar, scrape it off with the Pumice and take the Leather Gloves.
Fabric Shop Silhouettes Again
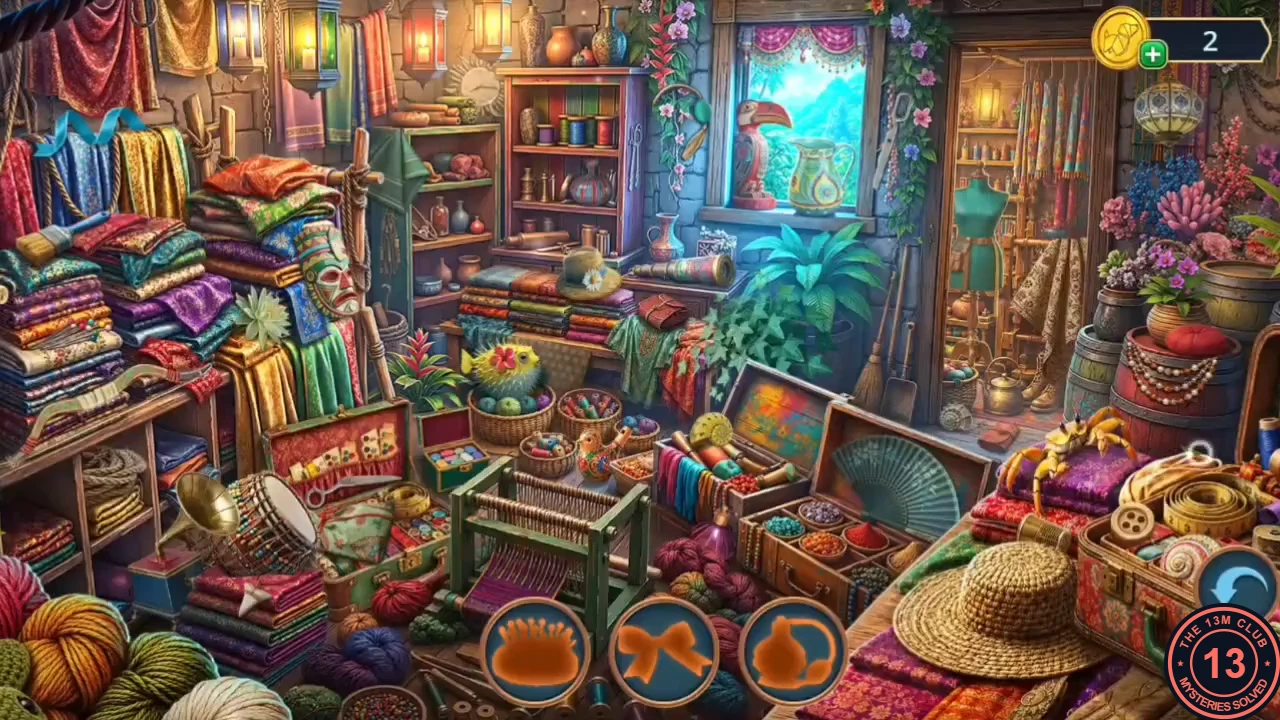
The man caught in the water is still hanging on. Find a rope to pull him out.
- Play the fabric-shop hidden-object scene again (silhouette mode) for the Jug. Put it in the empty middle place on the barrel shelf in the streets and take the Steering Wheel.