My Ship's Deck: The Tide Dials
The whale has wrecked Esteban's ship. Get your own ship ready and plot a course to reach him.
- On your ship, open the map table. Use the blue scallop emblem on the logbook and take the Fin. Cut the red cloth on the crate with the Spur, then take the Tricorn Hat and the first Wooden Spokes (1/2) from the crate.
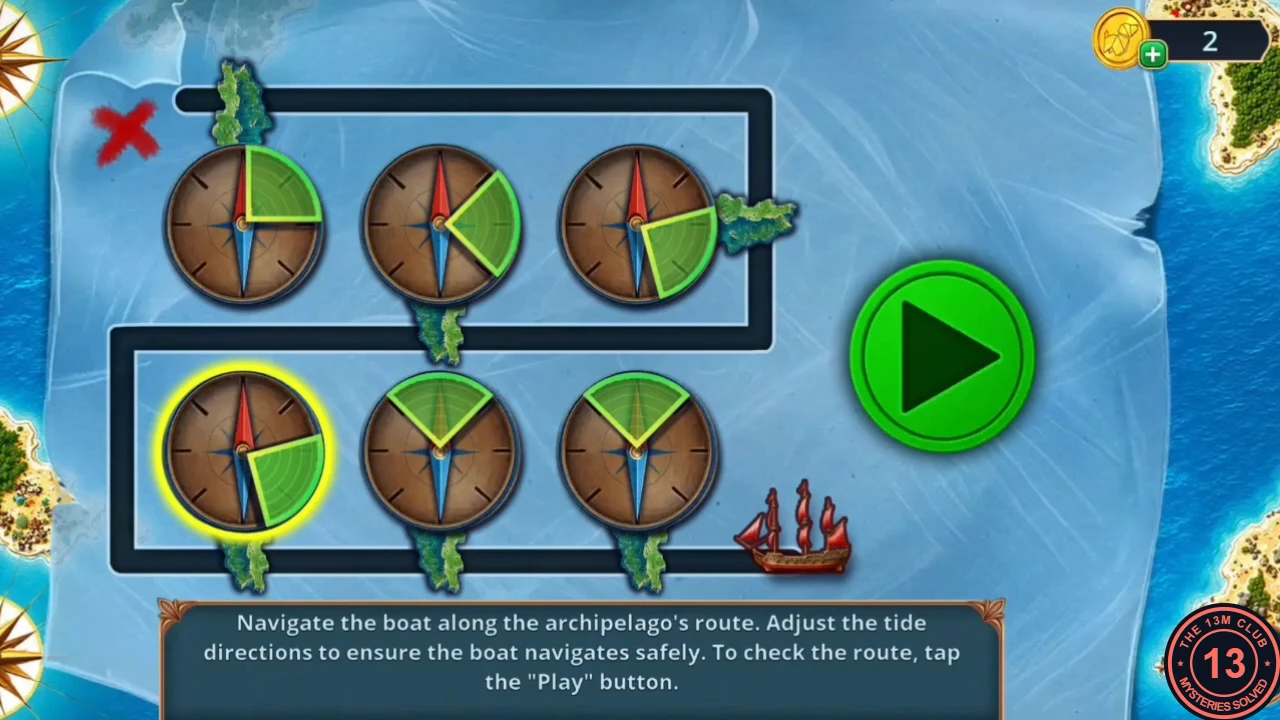
- At the fish figurehead, fit the Fin on the fish (the Empty Decanter does not work here) and take the Tide Chart from its mouth. Place the Tide Chart on the map table. Tide puzzle: turn the six tide dials until the water lets the boat follow the route through the archipelago, then press Play.
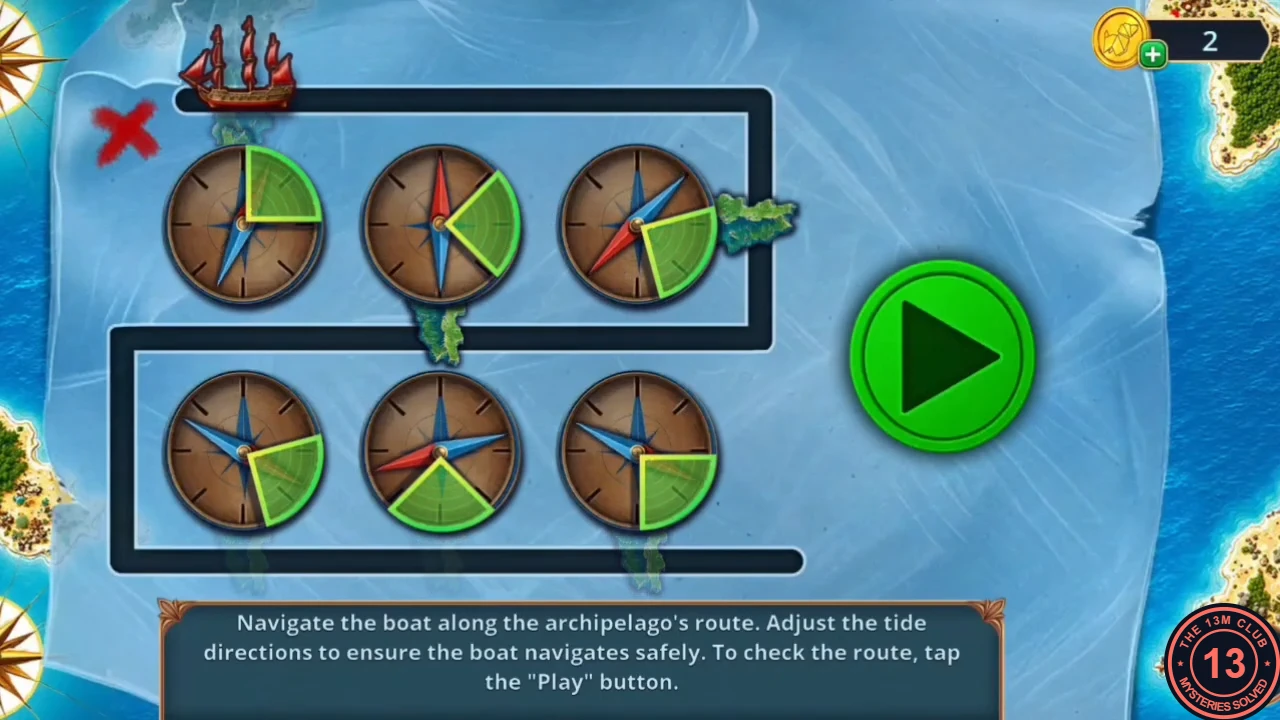
The dial settings used in this playthrough, with the boat already sailing the top channel.
The Arrow Route
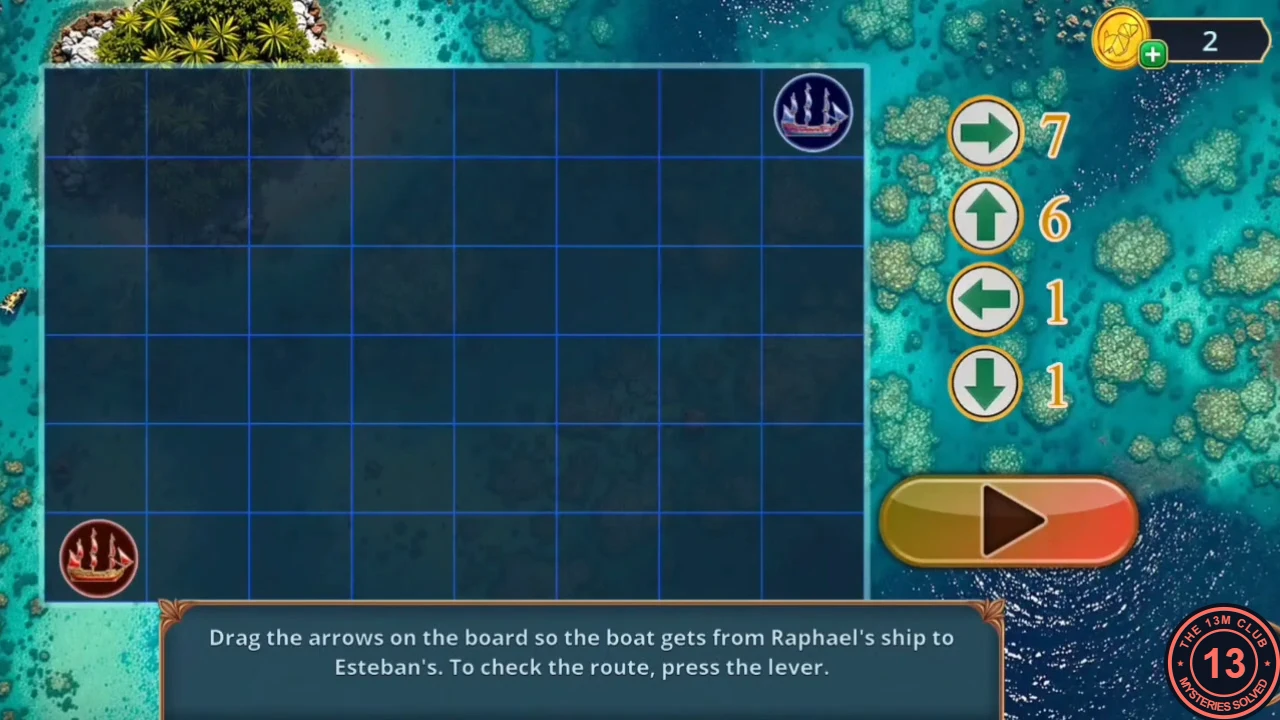
Free the figurehead chain and lay the route to Esteban's ship.
- Take the Tap Handle by the map table, fit it on the water barrel and fill the Empty Decanter to get Water.
- At the mast lantern, pour on the Water and wipe the dirty glass with the Shirt Sleeve from Chapter 3. Take the Crab Claw Handle and the Fishhook. Use the claw grabber in the narrow gap to take the Obsidian Eye.
- Open the padlock on the figurehead chain with the Fishhook. Arrow puzzle: drag the arrow tiles onto the board so they form a route from Raphael's ship to Esteban's ship, then pull the lever to sail.
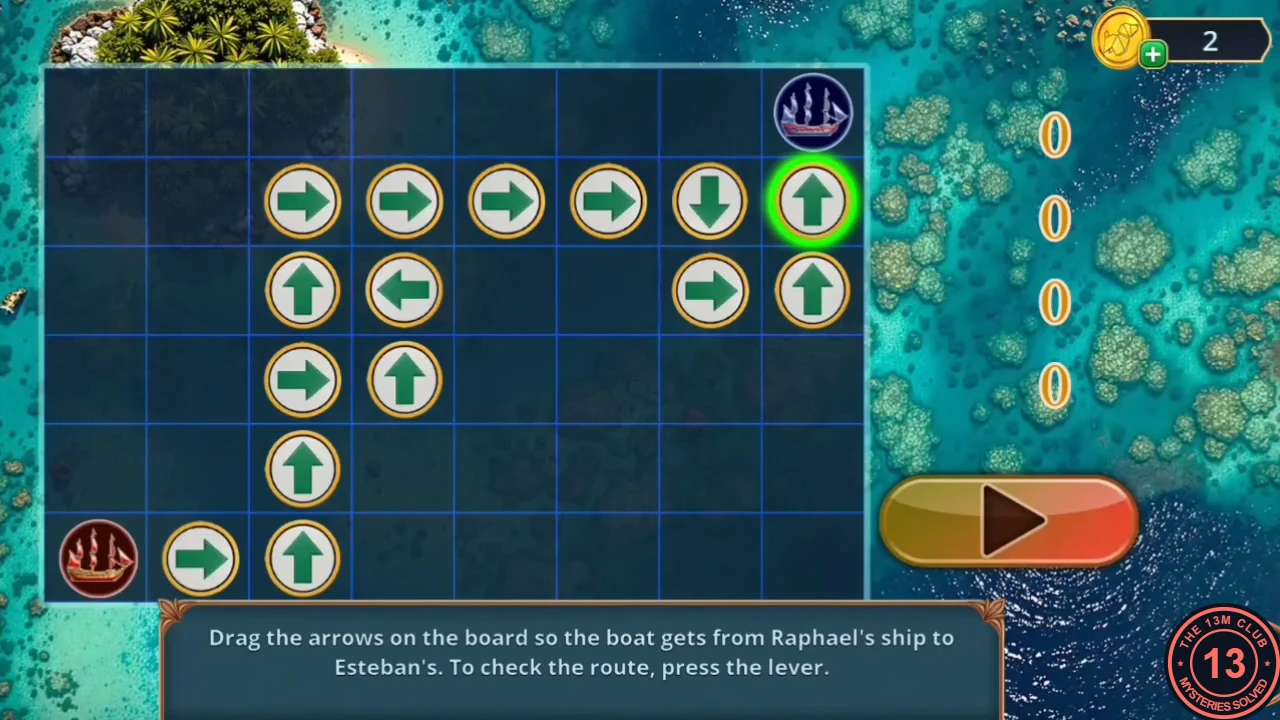
The finished arrow route from Raphael's ship (bottom left) to Esteban's ship (top right); all tile counters at 0.
Deck of Esteban's Ship: The Bells
Esteban admits that the tablet was split into three pieces and sold.
- On the deck of Esteban's ship, talk to Esteban. Decision: answer "You've already covered up the truth. Now tell me everything you know about the bay." for +2. "Then lead us there. Now." gives 0.
- Open the box at the broken helm, read the expedition permit and take the Captain's Ring. Put the Obsidian Eye in the shark head on the barrel and take the Leather Belt from its mouth.
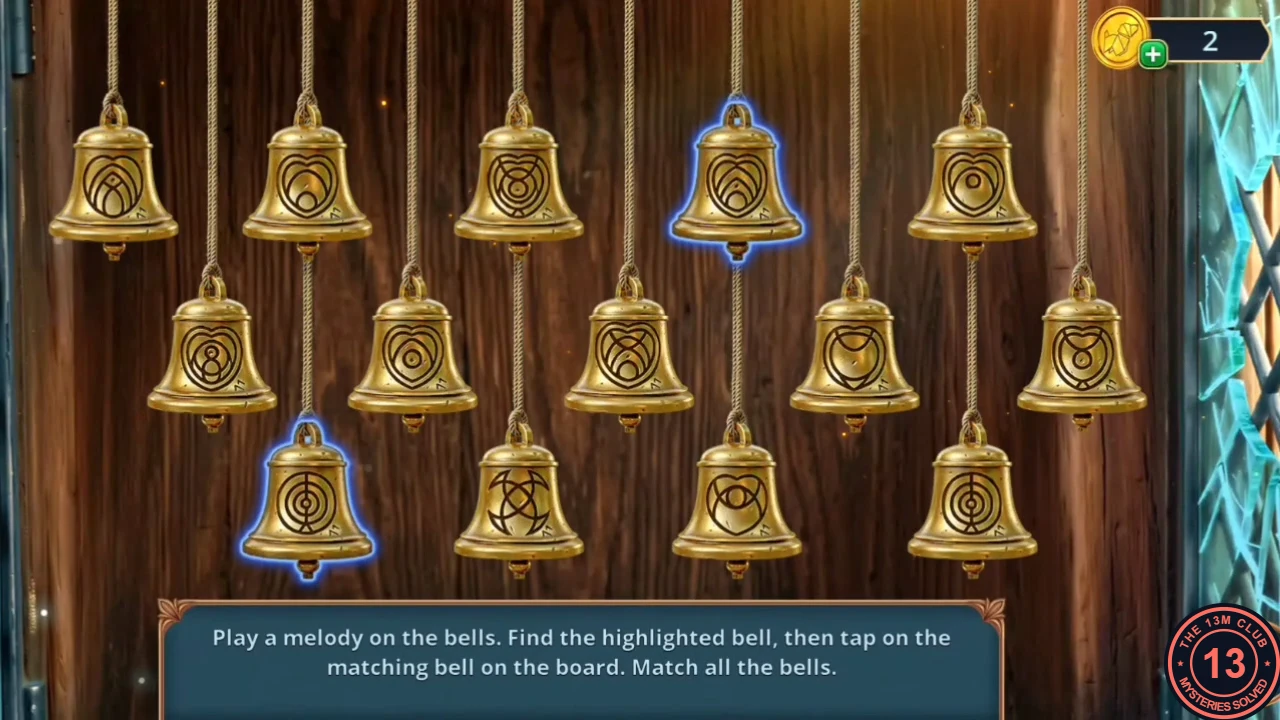
- At the lantern box on the mast, push the Leather Belt through the hole in the cracked glass and pull the lattice open. Bell puzzle: watch which bell lights up and tap the matching bell on the board; repeat until every bell is matched. Take the Matches from the compartment below.
Captain's Cabin: The Amulets
Open the cabin door on Esteban's ship and dress the mannequin.
- Burn the net over the chest with the Matches. Take the Knight's Gauntlet and the Anchor Fragment.
- Back on your own deck, pry open the green crate by the water barrel with the Anchor Fragment and take the Corkscrew. Open the Sealed Fish Oil you took at the Fish Market in Chapter 3 with the Corkscrew to get Fish Oil.
- On Esteban's ship, pour the Fish Oil on the carved fish on the cabin door. The gull flies off and the door opens.
- In the Captain's Cabin, take the Rope from the table. Set the Captain's Ring in the telescope lock and take the Hint stencil. Lay the Hint over the bookshelf, pull out the Marine Biology book and take the Captain's Medallion.
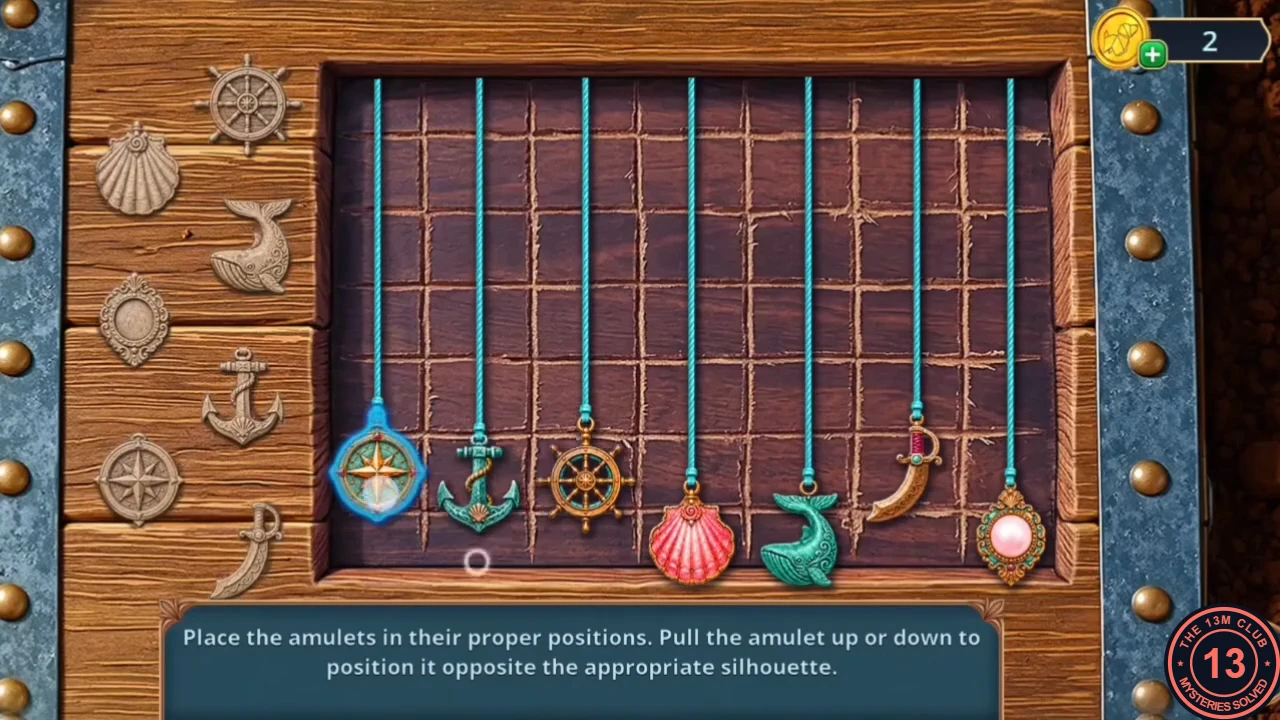
- Put the Tricorn Hat and the Captain's Medallion on the mannequin, then take the blue box of Gunpowder and the Trowel. Dig in the fern planter with the Trowel. Amulet puzzle: slide each amulet up or down until it faces its matching silhouette. Take the Ring with Hooks.
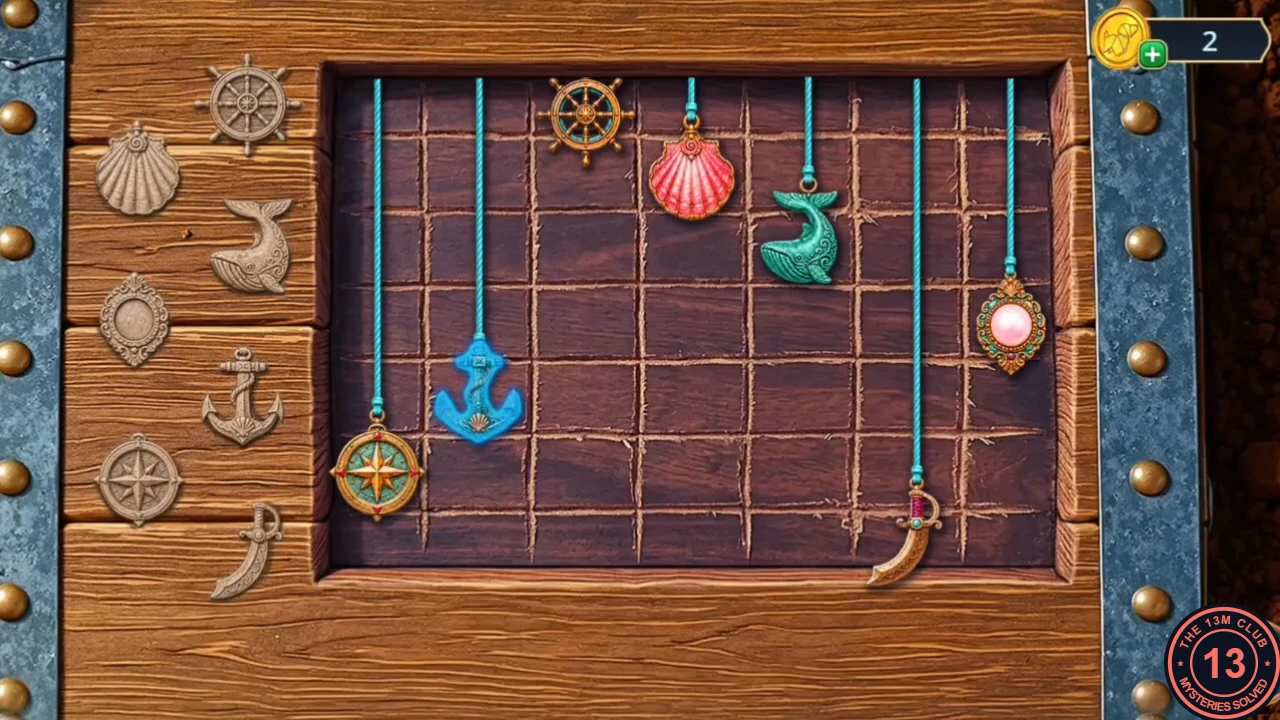
Solved: wheel, scallop, whale, pendant, anchor, compass and dagger each level with their silhouettes.
The Steering Wheel Gears
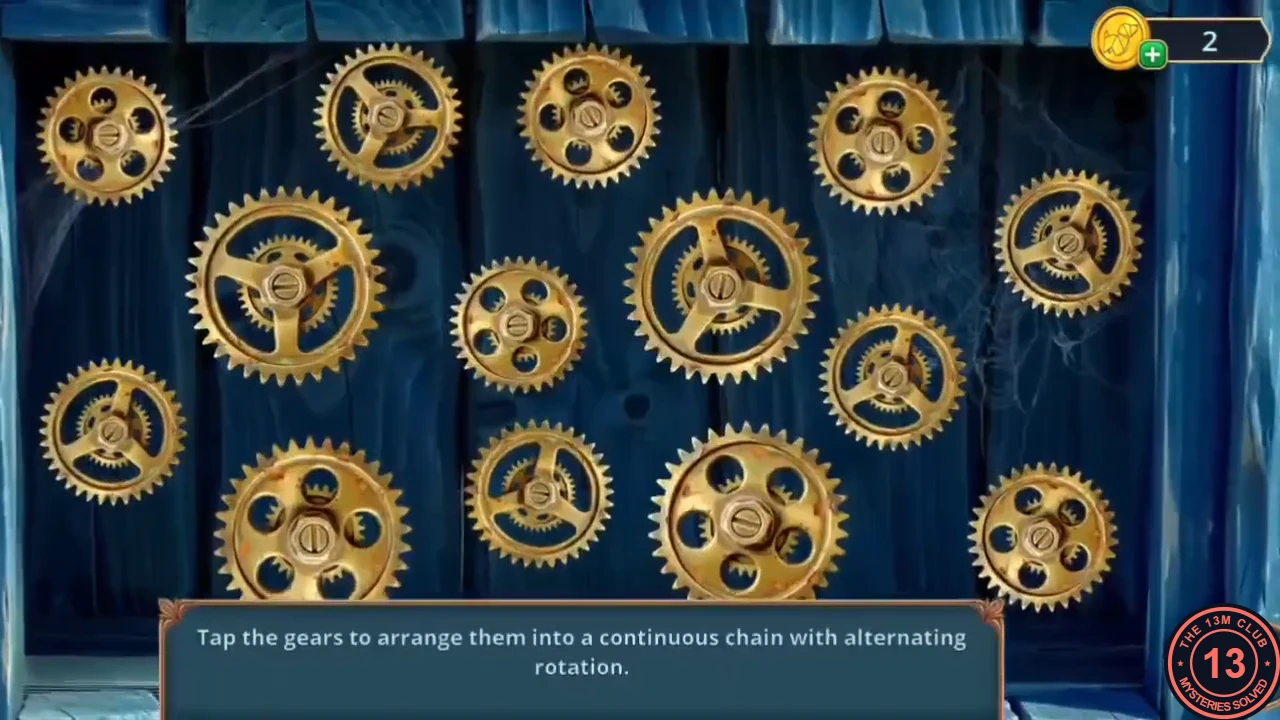
Repair Esteban's steering wheel so the ship can sail to the bay.
- On Esteban's deck, place the Ring with Hooks in the U-shaped recess of the mast hatch. Take the Pearls (1/2), the pouch and the second Wooden Spokes (2/2). Mount the repaired wheel on the helm. Gear puzzle: tap the gears to place them so they form one continuous chain, with neighbouring gears turning in opposite directions.
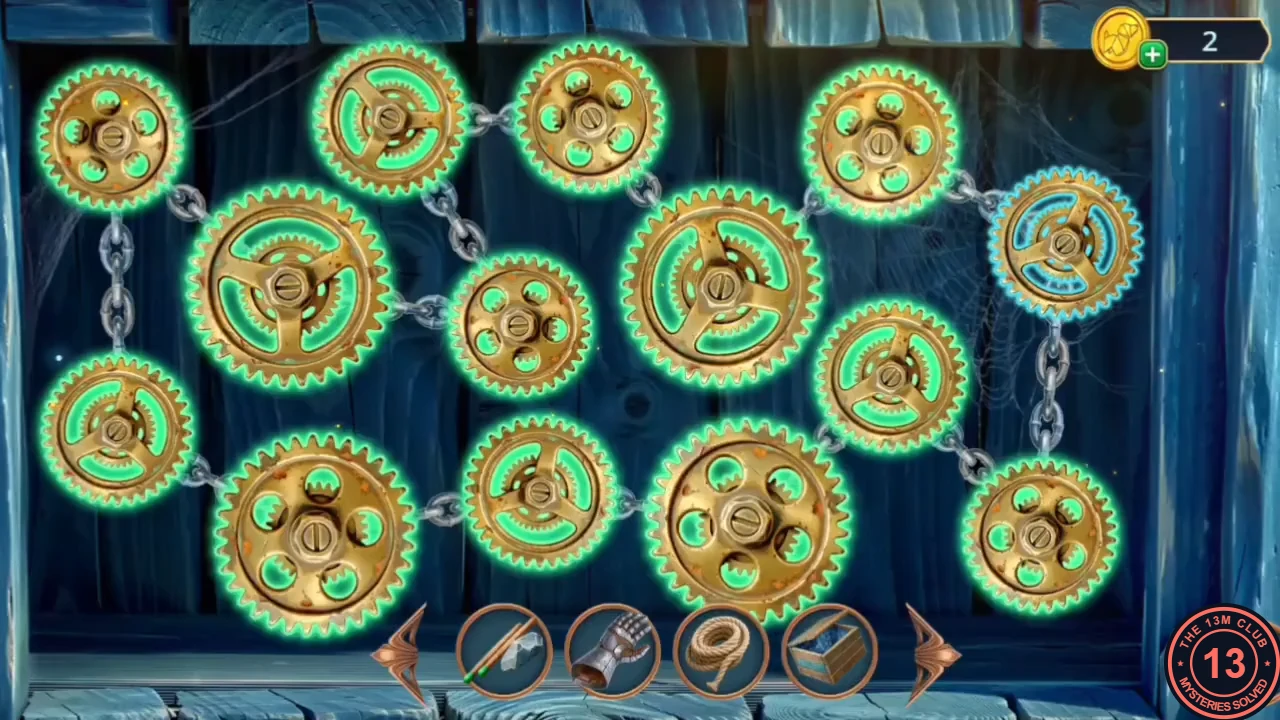
The completed chain, with every gear linked (the inventory bar appears as the puzzle closes).
Cove Among the Rocks: Octopus Shrine
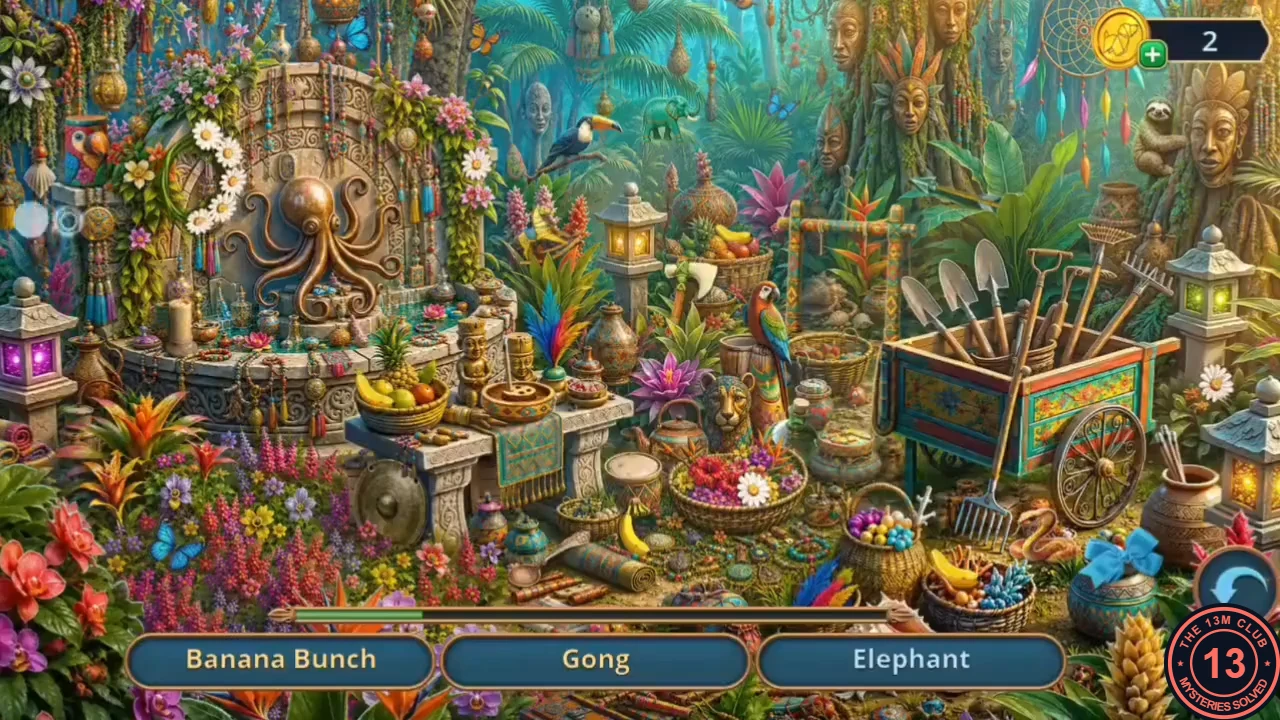
An old merchant ship lies wrecked in the bay. Extend the walkway to reach it.
- At the Cove Among the Rocks, take the Pin at the cannon rock. Clear the sharp growth with the Knight's Gauntlet and take the Scraper. Scrape the moss mound by the tiki, read Merchant Marko's note and take the Mallet.
- At the dock post, place the Rope and the Pin and drive them in with the Mallet to extend the walkway. From the floating plank, take the Palm Leaf, the Brick and the first Vessel (1/2).
- Fan the purple mist away with the Palm Leaf. Play the hidden-object list at the octopus shrine. Take the Ship's Gangplank and lay it across the gap to board the merchant ship.
Wrecked Merchant Ship: The Tablet
Search the wreck for the chest that held another tablet fragment.
- On the wrecked merchant ship, talk to Esteban. Decision: answer "You know the habits of merchants. Where would they most likely hide it?" for +2. "Let's check the surviving part of the ship." gives 0.
- Take the second Pearls (2/2) and the Sealed Pendant by the cracked deck boards. Break the boards with the Brick, read Master Valdes's journal and take the Slingshot with Stone.
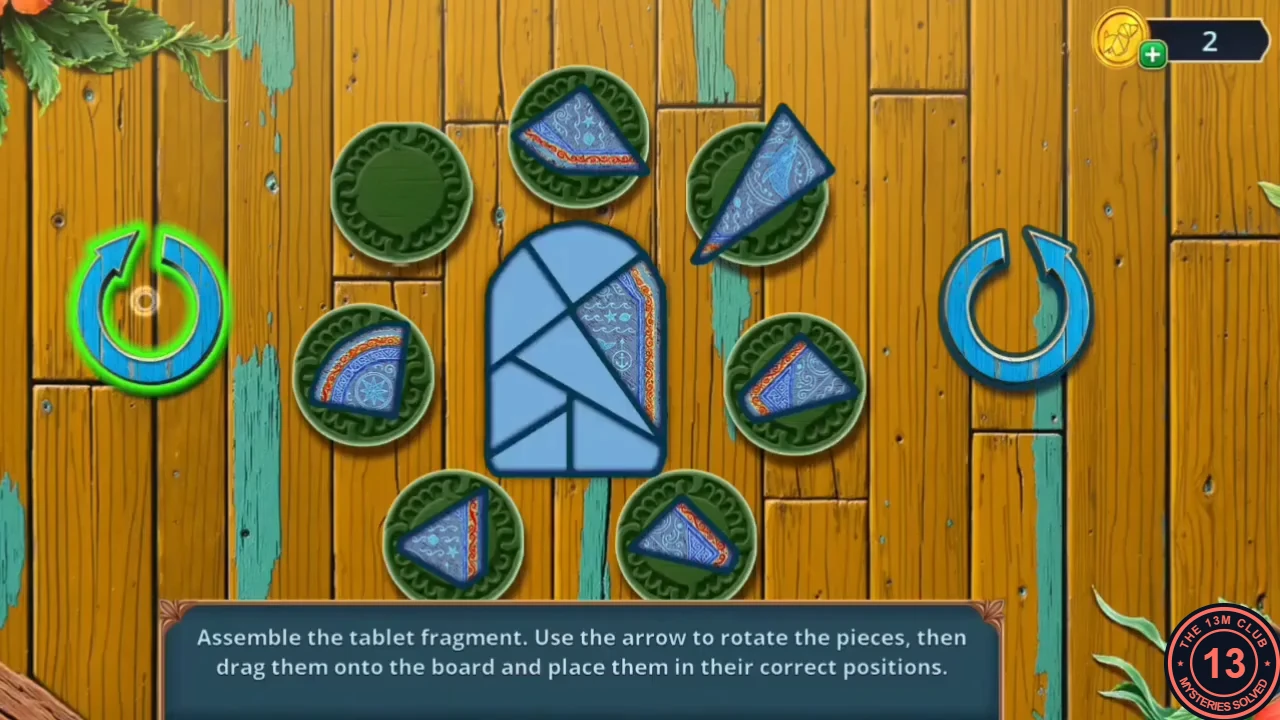
- Shoot the Twisted Shell-Horn down from the mast with the Slingshot. Put it in the mermaid statue's hands and take the Bone Hand. Spring the bear trap with the Bone Hand. Tablet puzzle: rotate each tablet piece with the arrows until its carvings line up, then drag it into the arched board so the pattern continues across the joins.
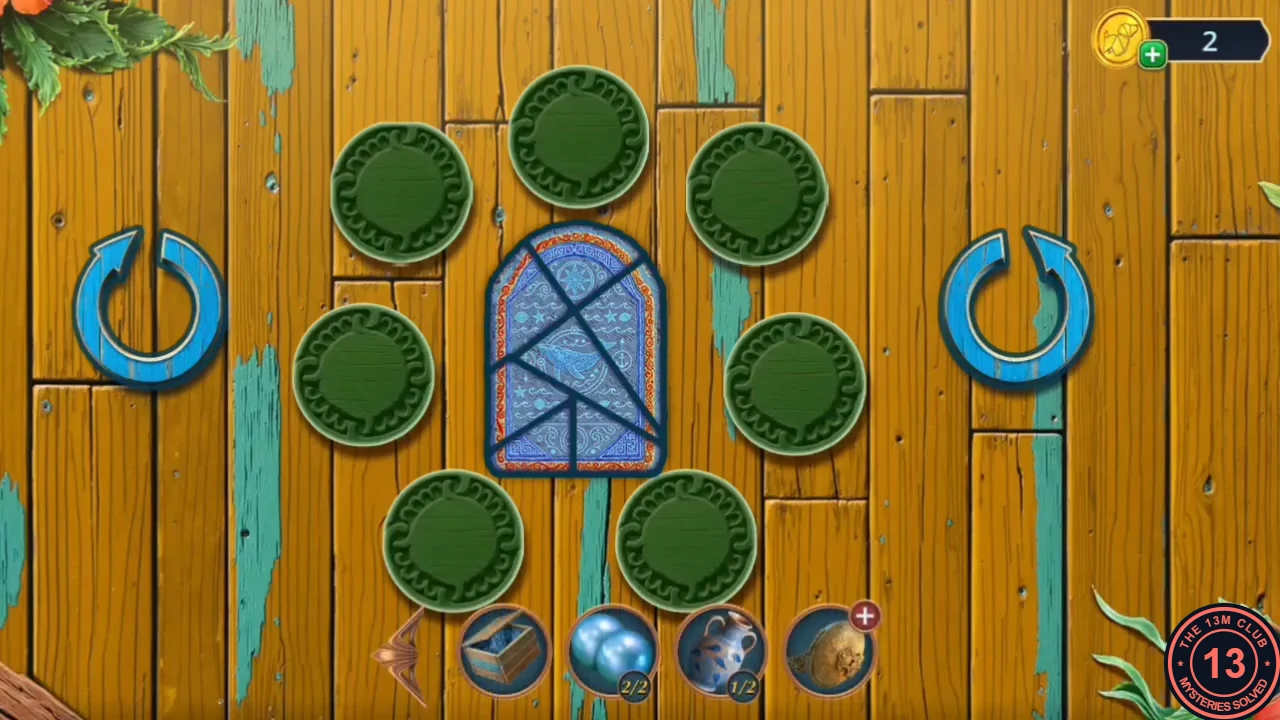
The completed tablet: every fragment in the arch, the pattern continuing across the joins. - Pick up the red cloth that appears on the deck. Talk to Inara. Decision: answer "We must return the tablet according to its pattern." for +2. "Let's go to the cave." gives 0.
The Cannon
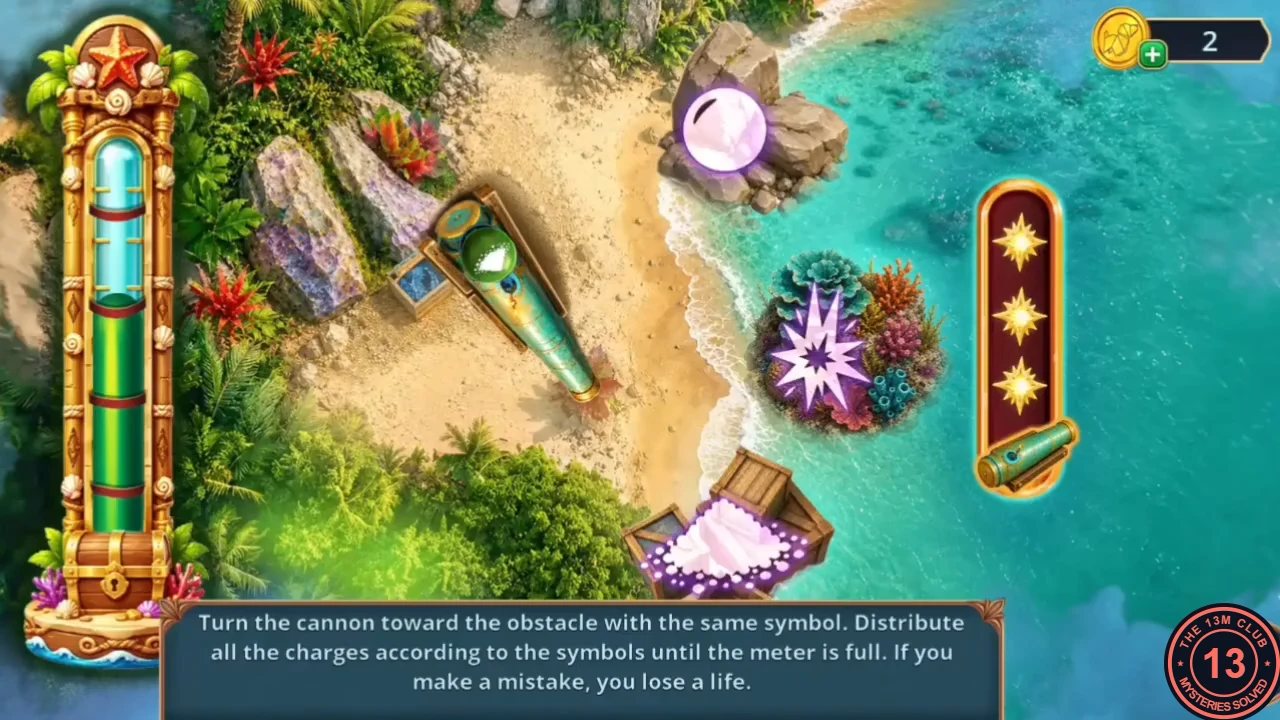
Blast open the way into the sanctuary with the old cannon.
- At the tiki by the moss mound, pick up the hot Cannonball with the red cloth and put it in the cannon's muzzle, then pour in the Gunpowder. Cannon puzzle: turn the cannon towards the obstacle that shows the same symbol as the current charge and fire; repeat until the meter is full. A wrong shot costs a life.
Cave in the Rocks: The Coral Altar
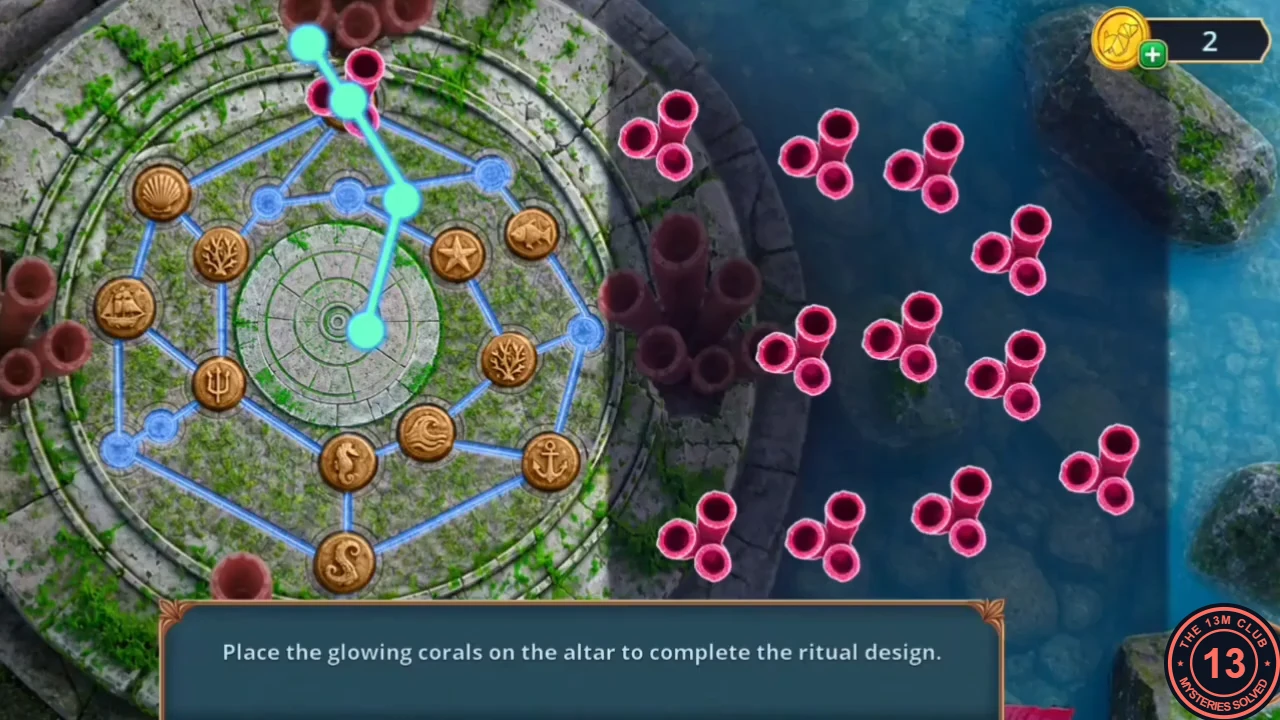
The crate with the last fragment ended up inside the sanctuary cave.
- In the Cave in the Rocks, read the cargo note at the idol altar and take the Straw Bags and the Totem Sketch. Put the Pearls in the idol's hands and set the tablet fragment in the centre. One fragment is still missing.
- Take the Glowing Corals by the pool and place them on the panther altar. Coral puzzle: the altar shows a faint blue ritual design. Each coral cluster you drop onto the board lights a short chain of line segments. Leave a coral only where its whole lit chain runs along the faint blue lines. If the lit chain cuts across the design, for example into the plain centre stone, drag the coral off again and try another coral or spot. Keep going until every line of the design glows and no corals are left. Then take the Hook Paw and the Pearl Necklace from the altar.
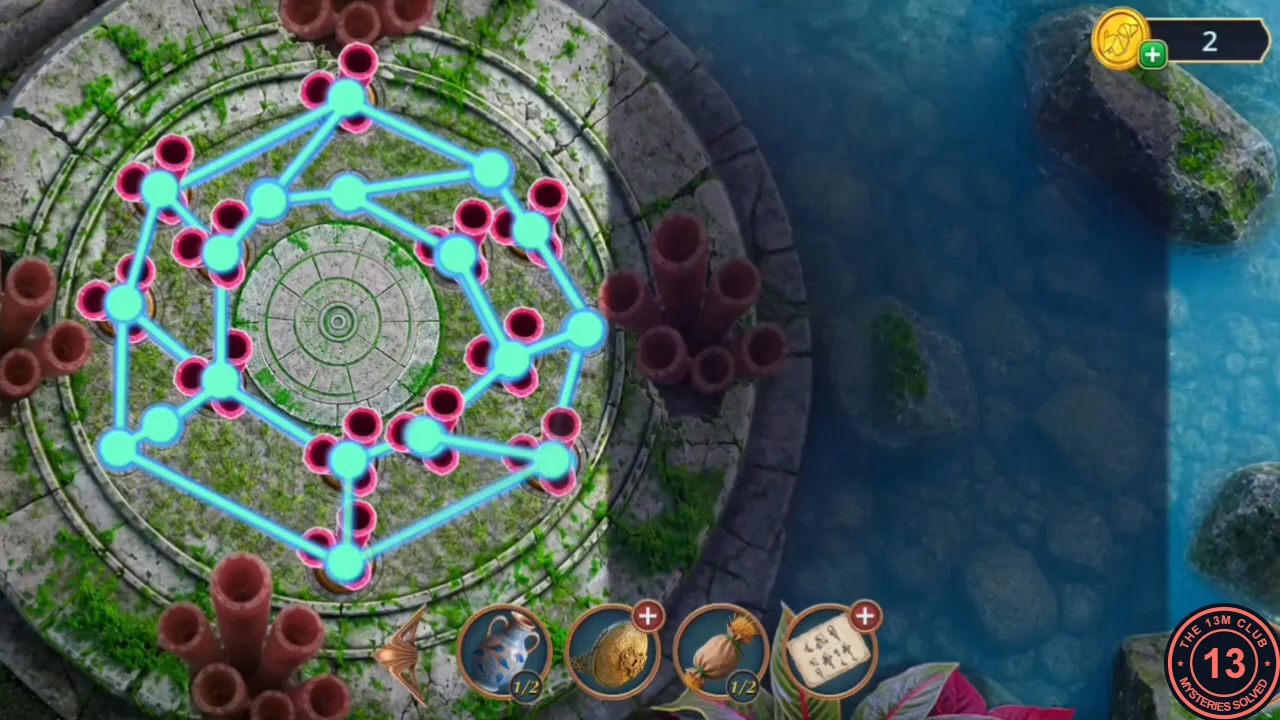
The completed ritual design: every node holds a coral and the whole design is lit.
Cave Riddle Hidden Objects
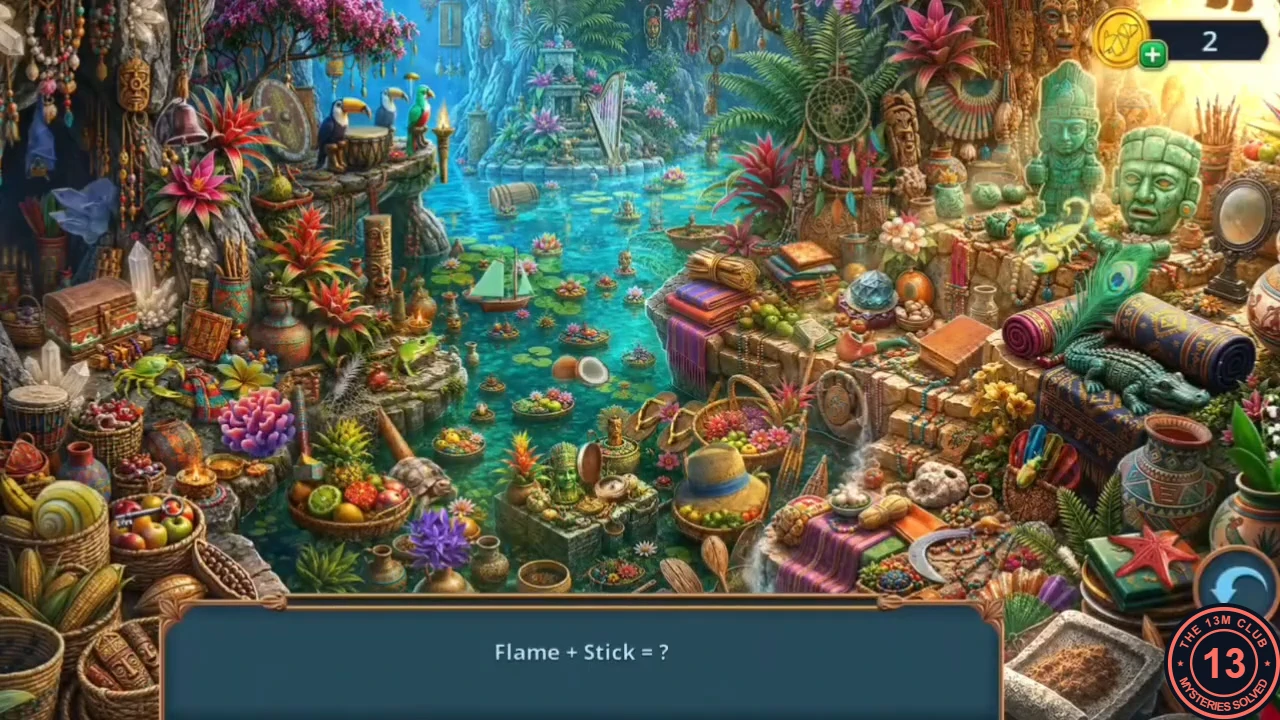
Open the crystal cluster in the cave and solve the two-word riddles.
- Place the Pearl Necklace at the scallop on the plinth of the right-hand statue and take the Pickaxe. Break the crystal cluster with it. Play the hidden-object scene with two-word riddles. The reward is the Tar Plug.
The Pirate Totem: The Vessels
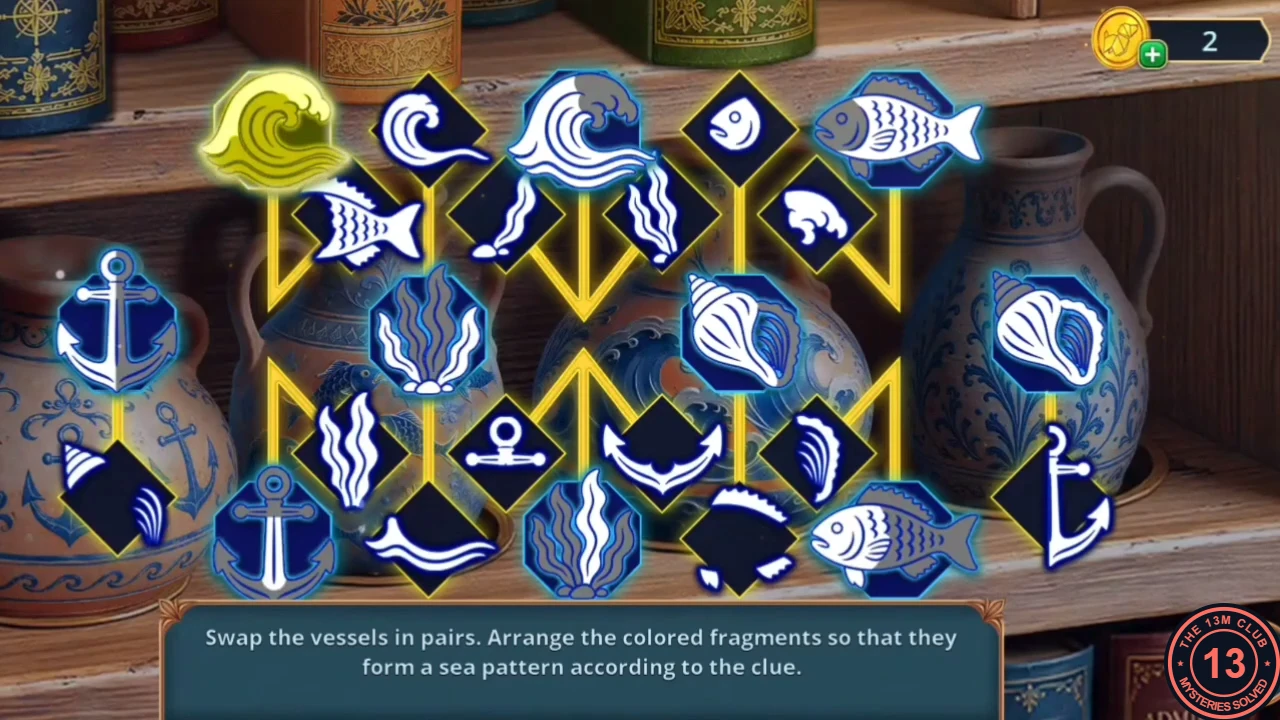
Collect the parts of the pirate totem from the cabin and the wreck.
- In the Captain's Cabin, fit the Tar Plug as the missing handle on the drawer of the table below the telescope. Open the drawer and take the second Vessel (2/2) and the Wooden Leg. A shell can also be collected in the cabin here.
- Put both Vessels on the empty shelf of the wall cabinet. Vessel puzzle: tap two vessels to swap them. Arrange them so their coloured fragments form the sea pattern shown by the clue. Take the Crossbow.
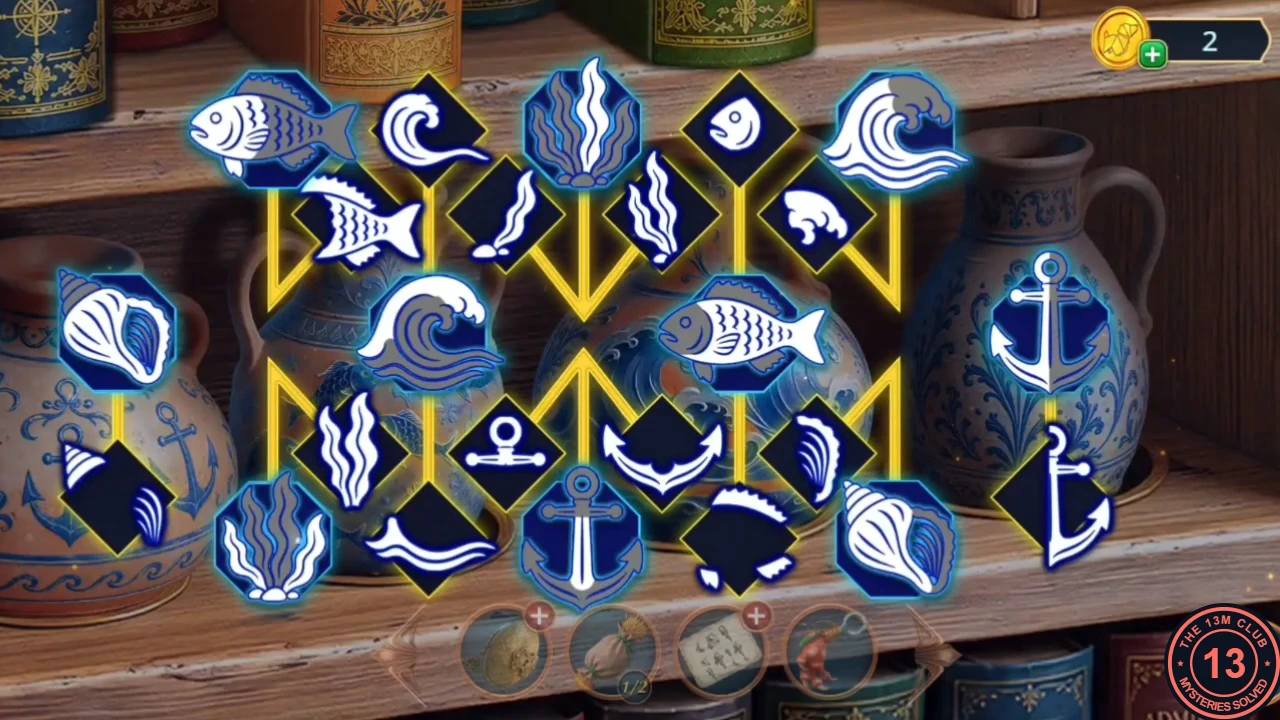
The solved cabinet as the puzzle closed in this playthrough. - On the merchant ship, shoot the Crossbow into the deep hole and take the Small Key. Open the Sealed Pendant with the Small Key and take the Portrait Part. Fit it into the portrait medallion on the mast and take the Peacock Feather and the Skull. Open the Totem Sketch and place the Skull, the Wooden Leg and the Hook Paw on it to make the Pirate Totem.