Bread for the Elder: Ring Toss
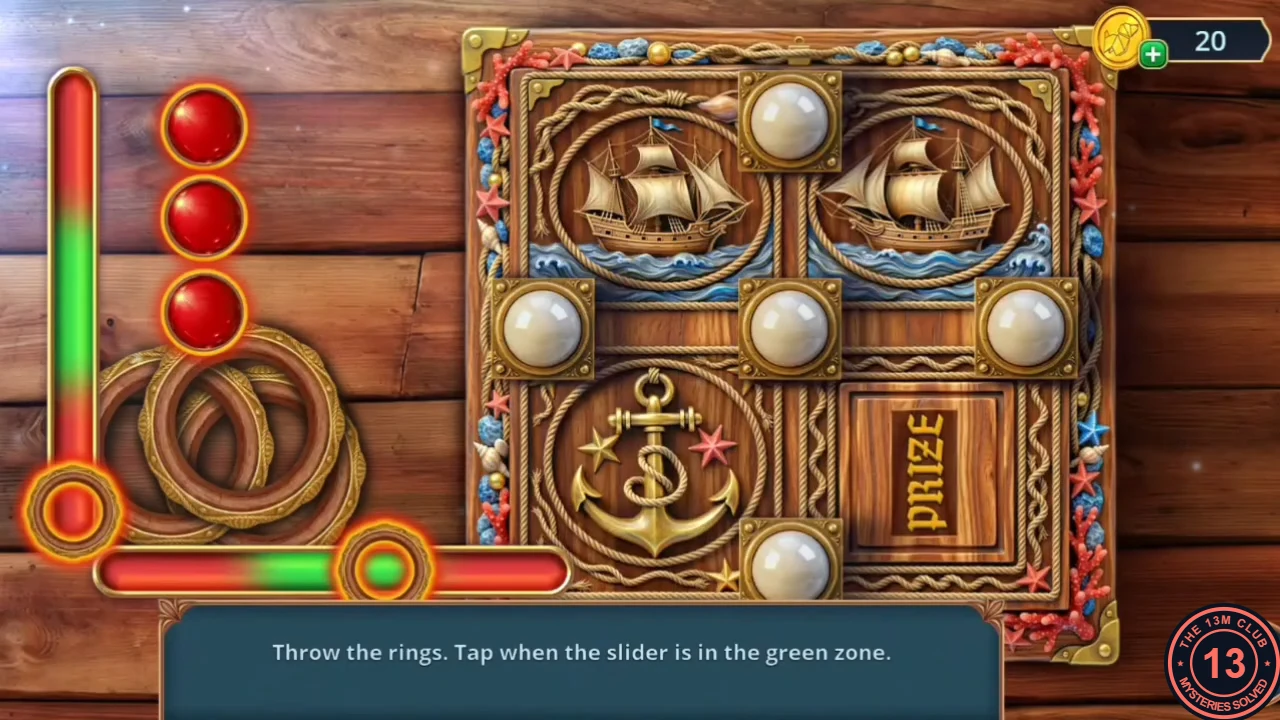
Gather the ingredients for the elder's bread, plus the last two wooden rings for the pub's ring toss.
- At the stump by the Elder's House, read the note about the guardian and take the Yeast and the Wooden Ring (3/3).
- In the pub, place the three Wooden Rings by the PRIZE box. Ring toss: tap when the moving slider is inside the green zone to land each ring. Take the Hand Puppet.
- At the Elder's House, use the Hand Puppet to move the cactus aside and clear the roots behind it. Take the Flour. A shell is also hidden here.
- At the table by the pub fireplace, put the Salt, the Yeast and the Flour into the bowl to bake the Freshly Baked Bread.
- Give the bread to the elder, Don Elias. Inside his house he tells the legend of the guardian whale, and the whale appears.
- Final Chapter 1 decision: when the whale appears, choose "Go and have a look around" for +6, "Inspect the ship" for +2 or "Stay" for 0.
Lagoon's Shipyard: Aiming the Bow
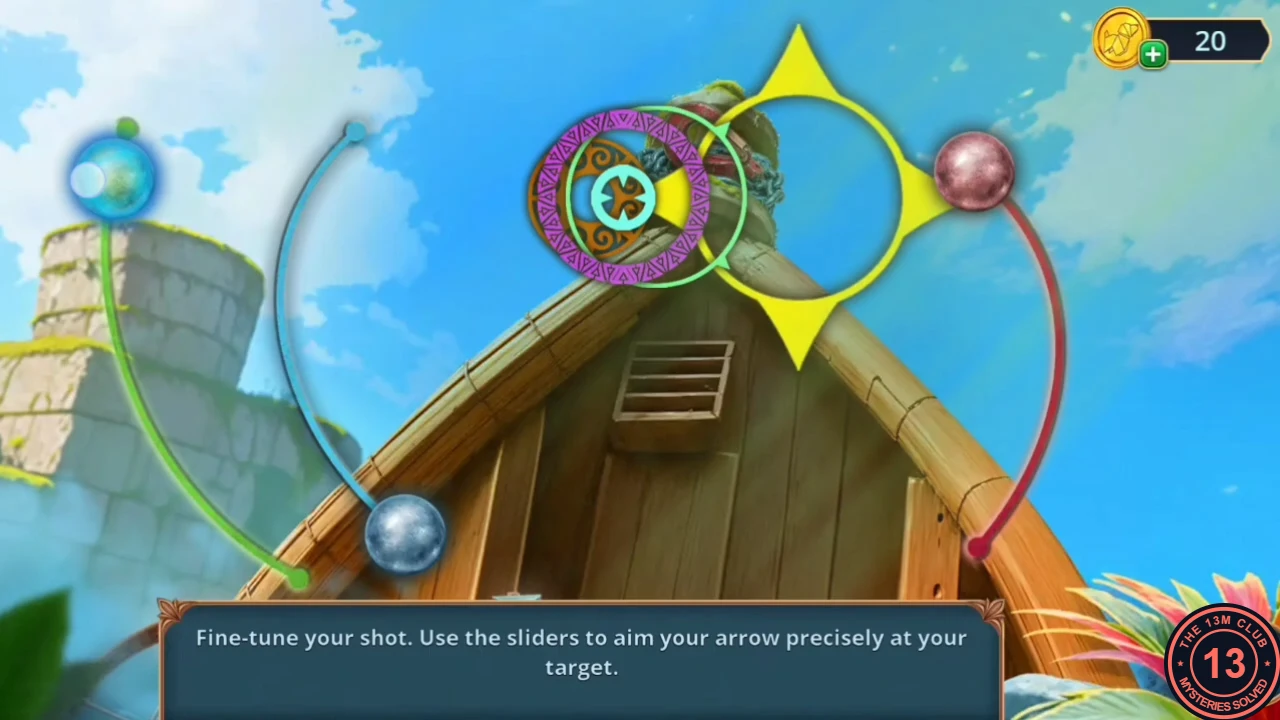
After the elder's story, the whale strikes the shipyard. Free the chain at the wrecked prow with a well-aimed arrow.
- In the elder's room, take the first Winged Medallion (1/2) from the bottom of the faded tapestry. At the parrot statue, take the first Flag (1/2) and the Weaving Shuttle. Then lay the inked leaf stencil on the green glass box beside the parrot cage and carve it with the Glass Carving Chisel. Take the Stained Glass Window Part.
- Travel to Lagoon's Shipyard. Take the Threads and the Horsehair.
- String the Bow with the Horsehair and add the Arrow to get the Bow with Arrow. Shoot at the wrecked boat prow. Aiming puzzle: move the green, blue and red sliders until the crosshair sits exactly on the purple target ring at the tip of the prow, then shoot.
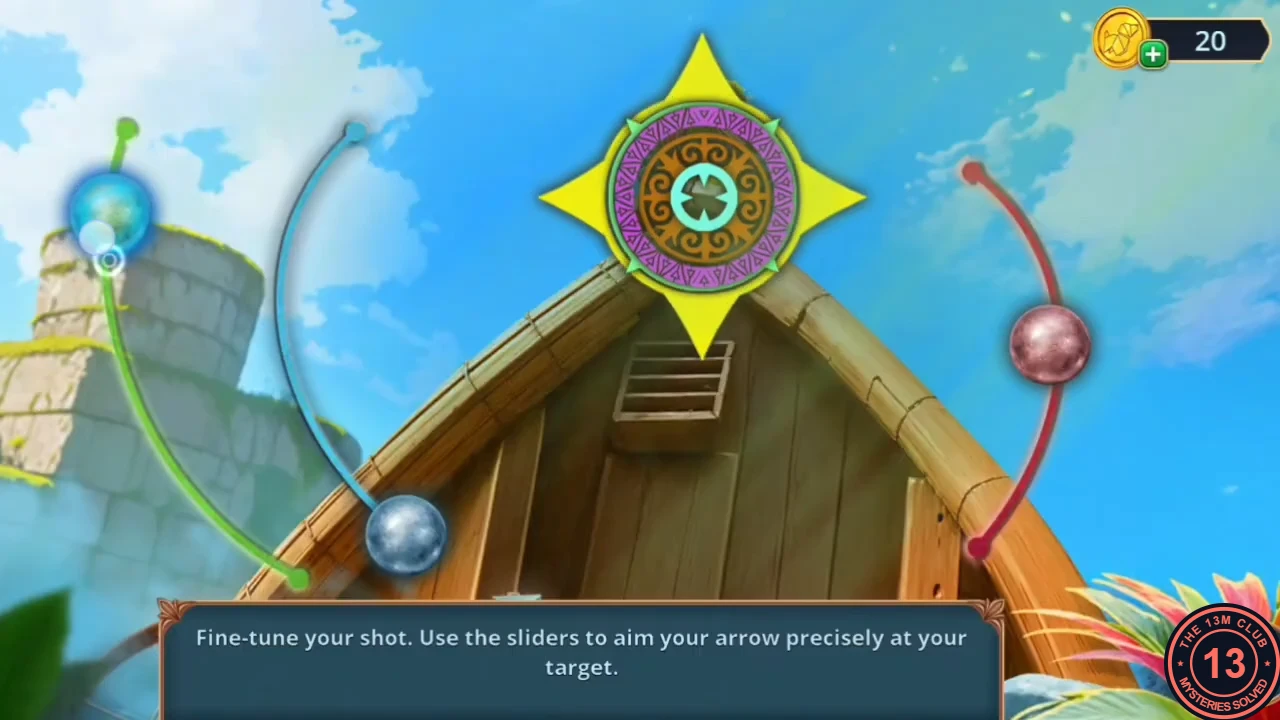
On target: the crosshair sits exactly on the purple ring.
The Tapestry Loom
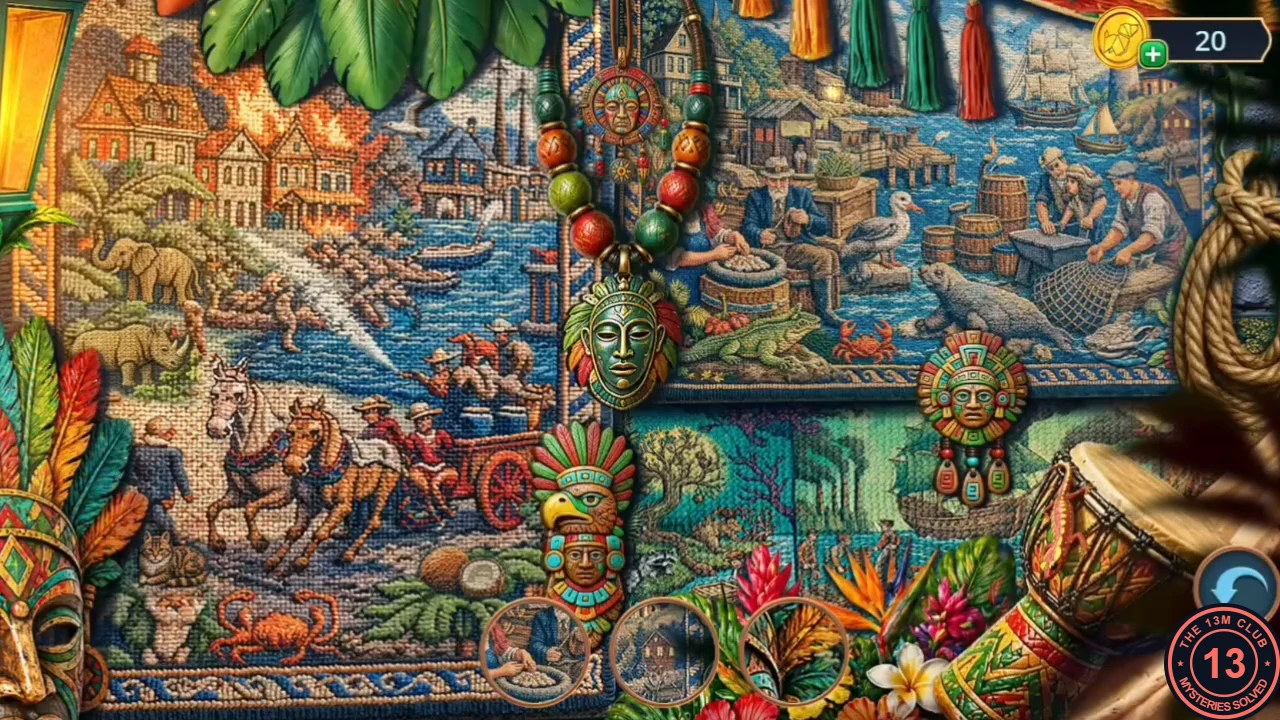
Put out the workshop fire, help the injured man and repair the elder's tapestry loom.
- Take the Chain that the shot loosened and put it on the crate by the fallen bell, then fit the Shackles beside the bell to complete the lifting rig. Lift the bell and take the Sandbag from under it.
- Put out the fire in the workshop with the Sandbag. Read the note and take the Bandages. A shell is on the lower-left frame of this close-up.
- Bandage the injured man's wound and take the Weaving Reed beside him. He still cannot walk.
- In the elder's house, repair the tapestry loom by filling its three slots with the Threads, the Weaving Reed and the Weaving Shuttle. Find the listed items in the tapestry hidden-object scene. The reward is the Sapphire.
The Prayer Book
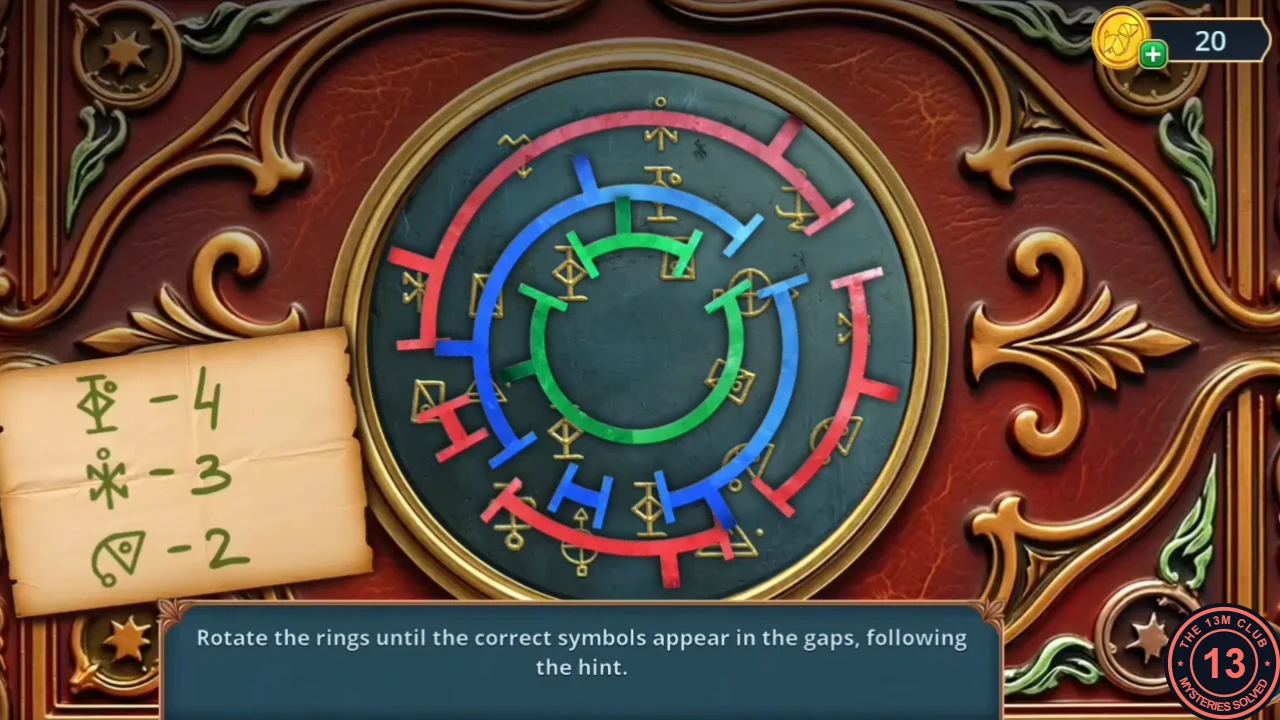
The elder's globe, the chapel statue and the altar bowl lead to the prayer book on the pew.
- Set the Sapphire in the base of the parrot statue in the elder's house. The drawer below opens: take the second Flag (2/2). Put both Flags on the globe. It opens: take the Belt and the Jack-plane. A coin is still stuck inside.
- In the chapel, fit the Stained Glass Window Part into the whale window. Take the Broken Wire Cutters (keep them for Chapter 2) and the Statue's Hand from the slot that opens. Attach the hand to the Virgin statue and take the Stone Sphere.
- Put the Stone Sphere in the bowl on the altar. Take the Decoder and the Crab Claw from the drawer that opens. Use the Crab Claw on the elder's globe to pull out the Coin.
- A shell lies on the chapel's left-hand steps.
- Put the Coin in the slot on the pew to open the prayer book. Fit the Decoder onto the book's strap to reveal the hint card. Rotate the red, blue and green rings until the symbols showing in the gaps match the hint card: four of the first symbol, three of the asterisk-shaped symbol and two of the leaf-shaped symbol. The matching symbols light up gold when the book is solved.
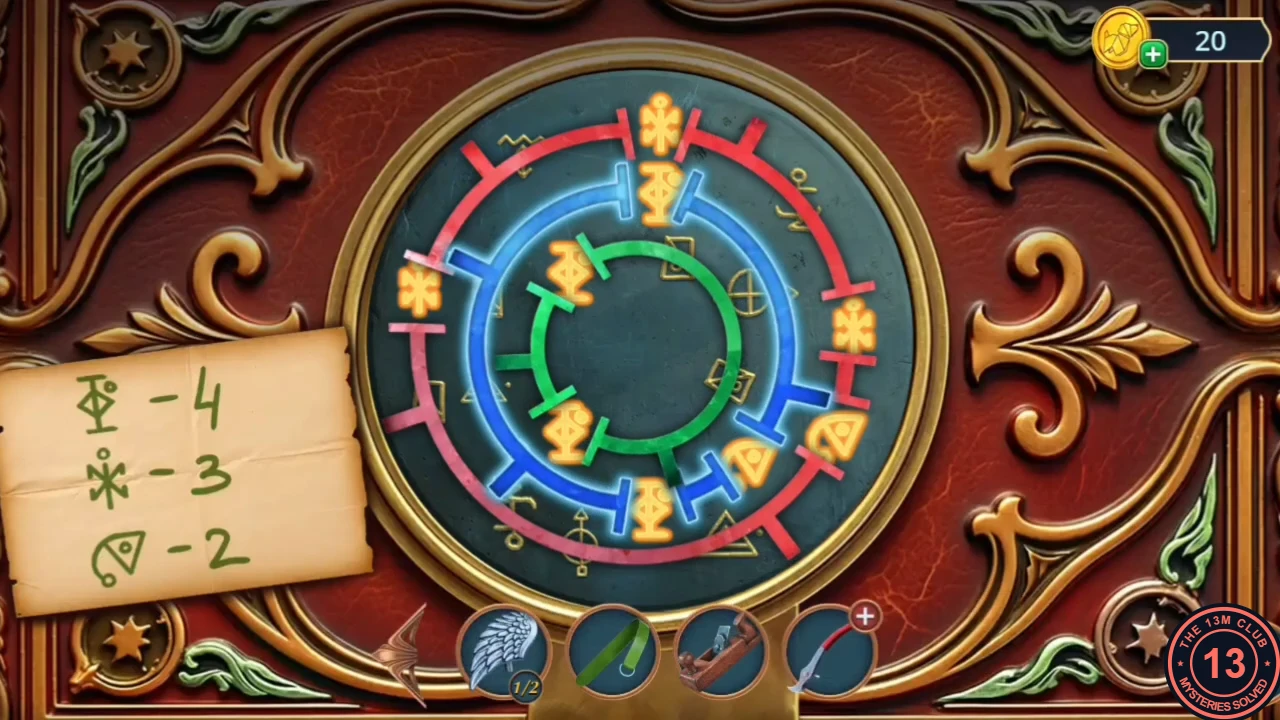
Solved: the matching symbols light up gold.
Elder's House: Paired Items
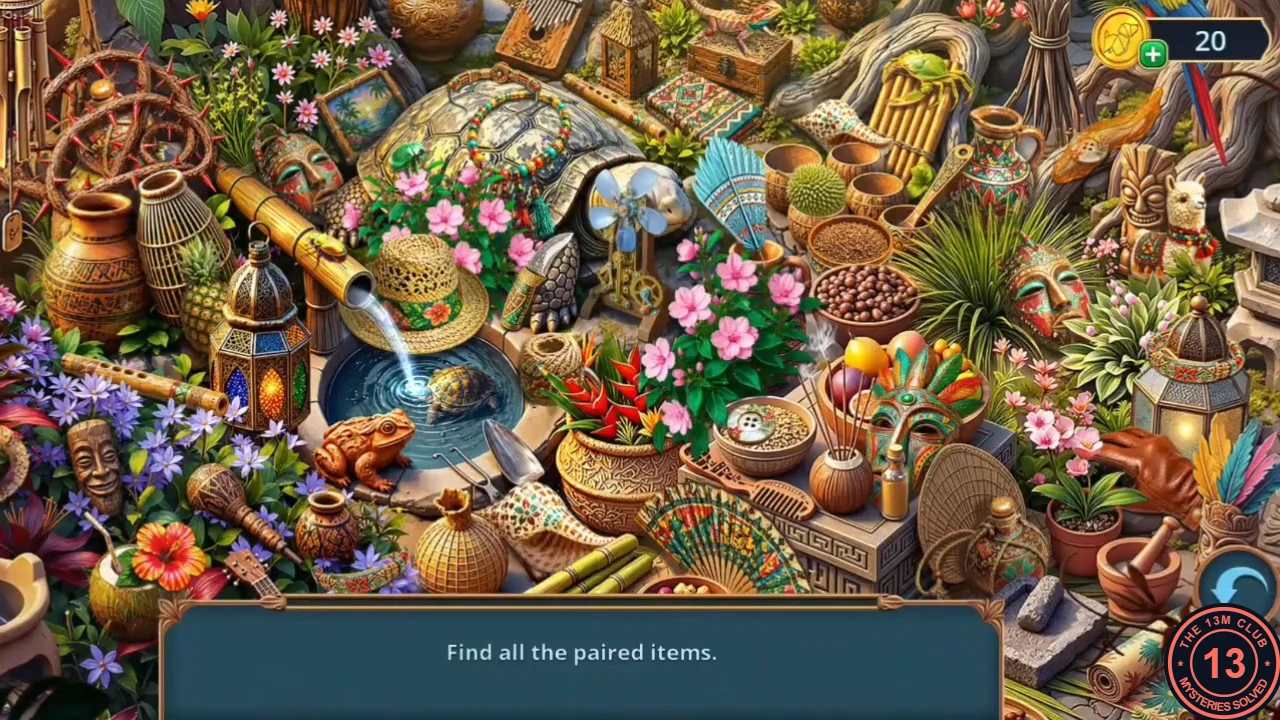
A new hidden-object scene at the Elder's House gives you the diagram for a wooden whale.
- A sparkle at the Elder's House opens a paired-items hidden-object scene: find both items of each pair. The reward is the Whale Figurine Diagram.
The Bamboo Pipes
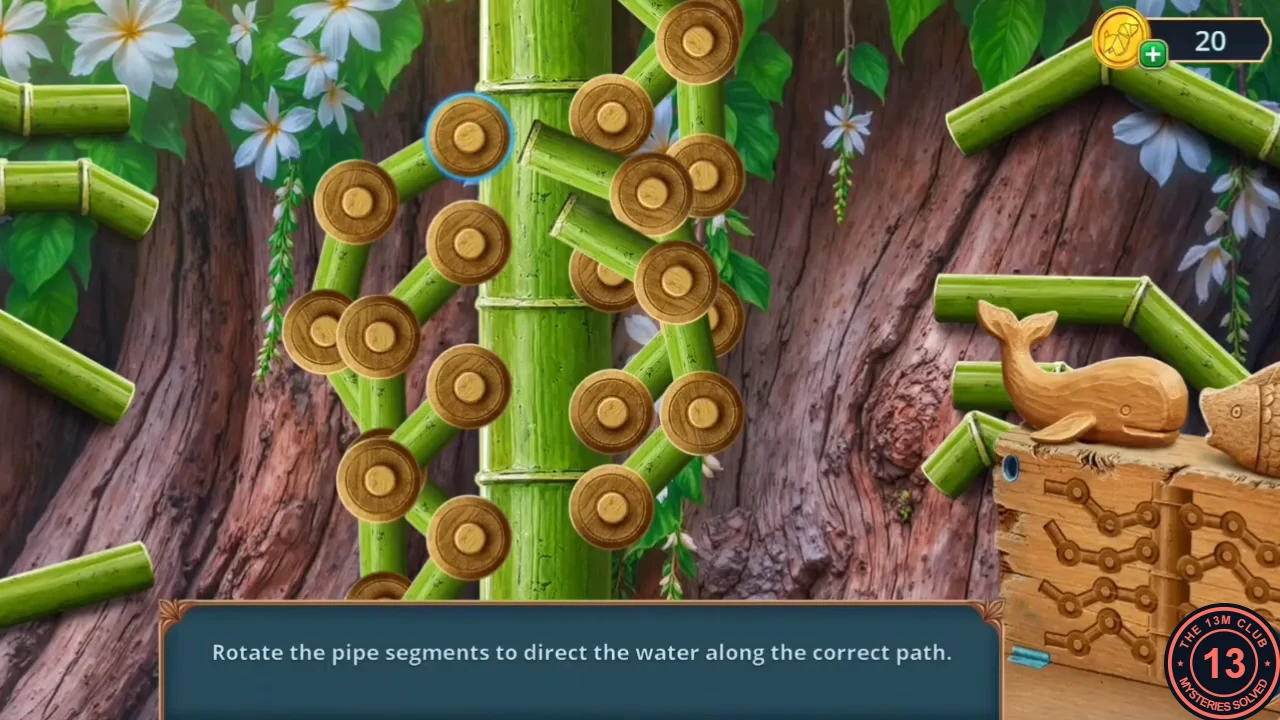
Carve a wooden whale to open the box at the elder's well, then restore the water flow.
- At the stump by the Elder's House, put the Whale Figurine Diagram on the rough wooden carving and shape it with the Jack-plane. Take the Whale Figurine.
- Place the Whale Figurine in the box beside the bamboo spout at the well. Puzzle: rotate the pipe joints so that water flows along one continuous path. The carved panel on the box at the lower right shows the shape of the correct route; copy it on the pipes.
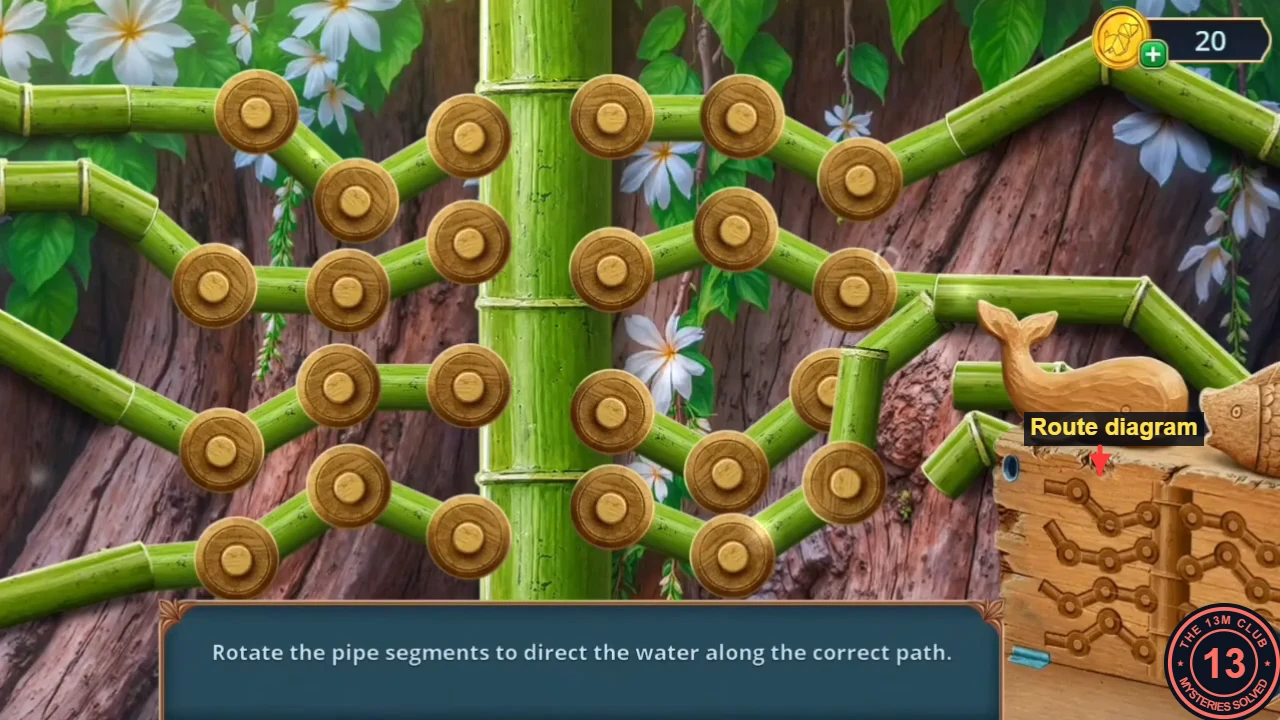
Solved pipes; the carved diagram on the box shows the route to copy.
Fountain Flowers, Three of Each
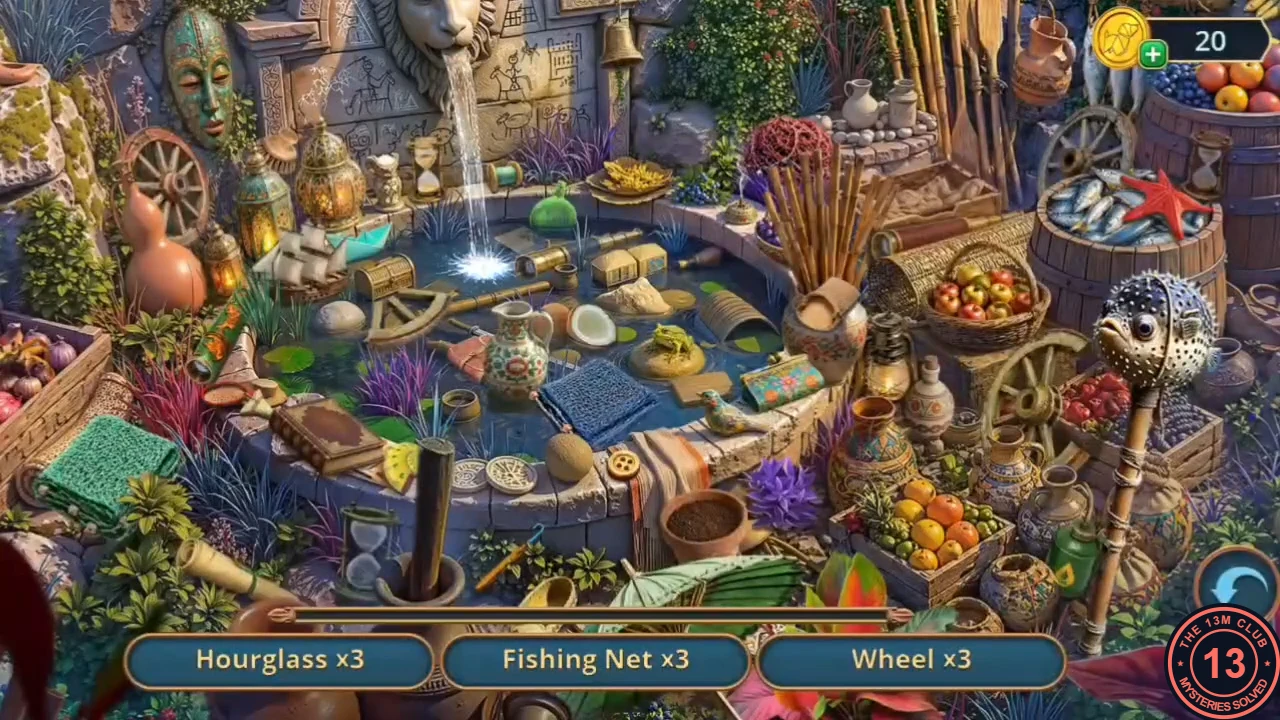
Collect the sailcloth and the second medallion, then replay the fountain scene in the streets.
- With water flowing again, take the Scissors from the well.
- At the shipyard, cut the reed bundle beside the bell with the Scissors. Take the Piece of Sailcloth and the second Winged Medallion (2/2). Put the completed Winged Medallion on the owl lock of the green satchel in the workshop and take the Chess Piece with Hole from inside.
- In the streets, play the fountain hidden-object scene again; this time each listed item must be found three times. The reward is a Brush.
The Elder's Chest
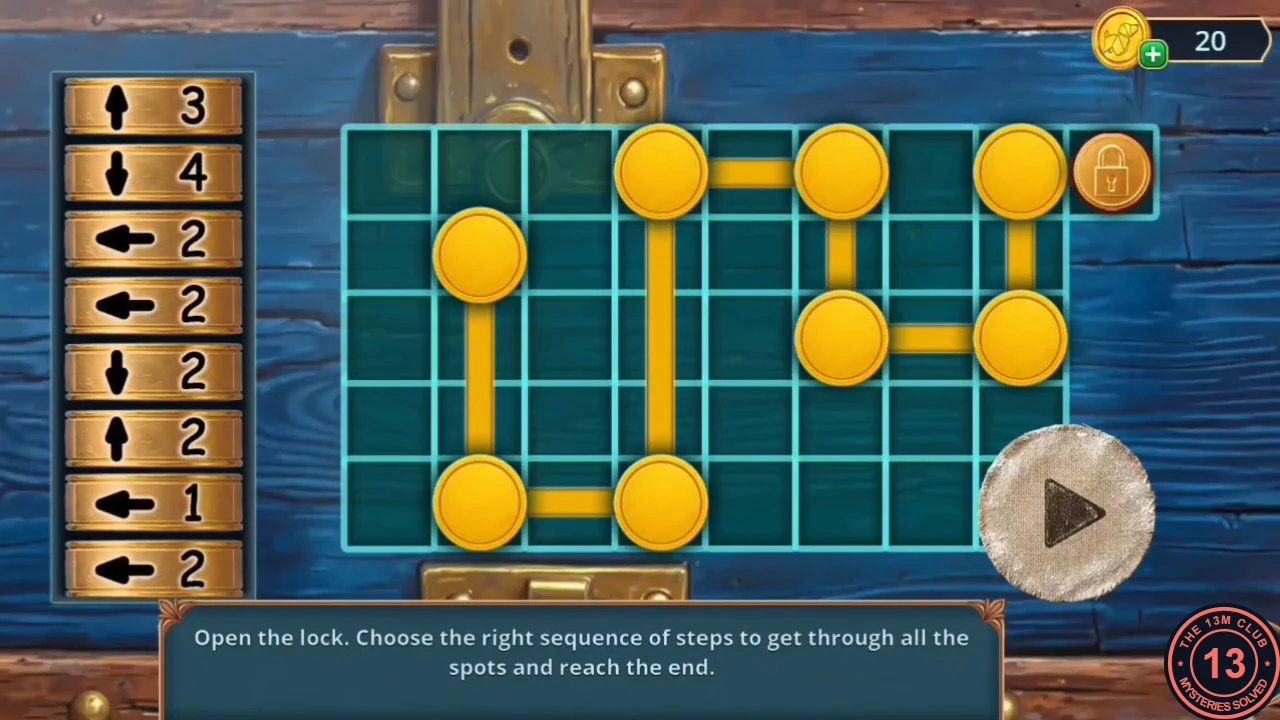
A clue on a dusty bottle opens the elder's blue chest.
- In the elder's house, dust the bottle beside the parrot statue with the Flour, then sweep it with the Brush. Arrows appear on the glass: down 4, left 2, left 2, down 2, up 2, left 1. Take the bottle, which becomes the Code.CODE↓4 ←2 ←2 ↓2 ↑2 ←1
- Open the elder's blue chest with the Code. Pick the step tiles in the order shown on the bottle: down 4, left 2, left 2, down 2, up 2, left 1. Two spare tiles (up 3 and left 2) are not needed. Every spot lights up and the chest opens. Take the Crowbar.CODE↓4 ←2 ←2 ↓2 ↑2 ←1
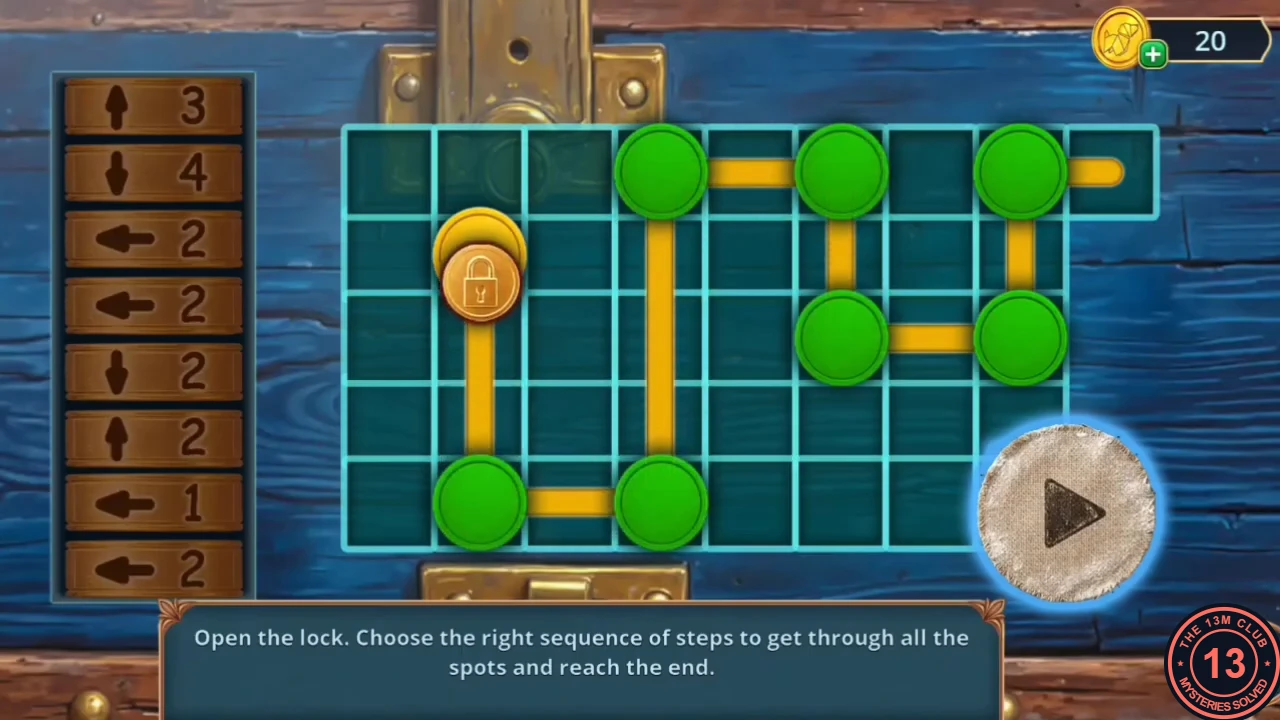
Solved: every spot turns green.
Tapestry Differences
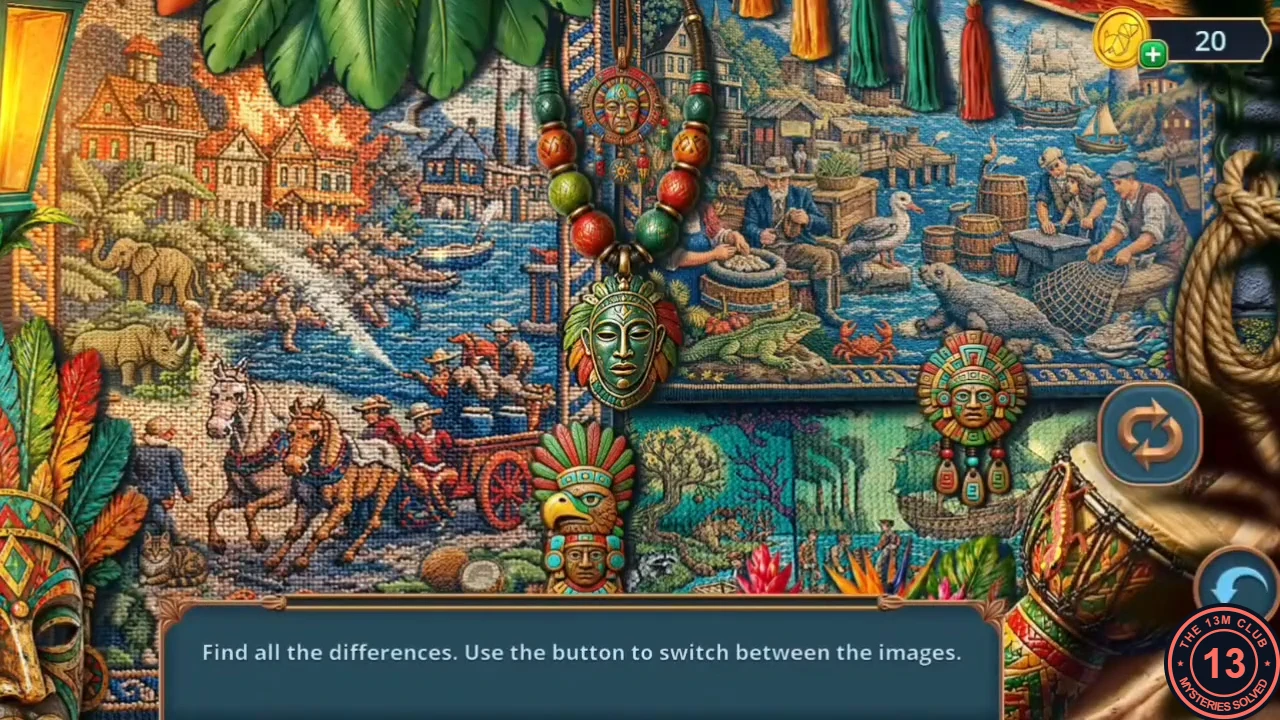
Distract the parrot to get the Pencil, then play the differences scene at the elder's tapestry.
- On the pier, prise the fish padlock off the blue chest beside the crab with the Crowbar. Take the Mirror and the Branch.
- In the elder's house, hang the Mirror in the parrot's cage. The parrot turns to look at its reflection: take the Pencil from the green box it was guarding.
- Use the Pencil at the elder's tapestry to start a spot-the-differences scene. Use the switch button to flip between the two pictures and tap every difference. The reward is the Ship Wheel Part.
The Amulet Board
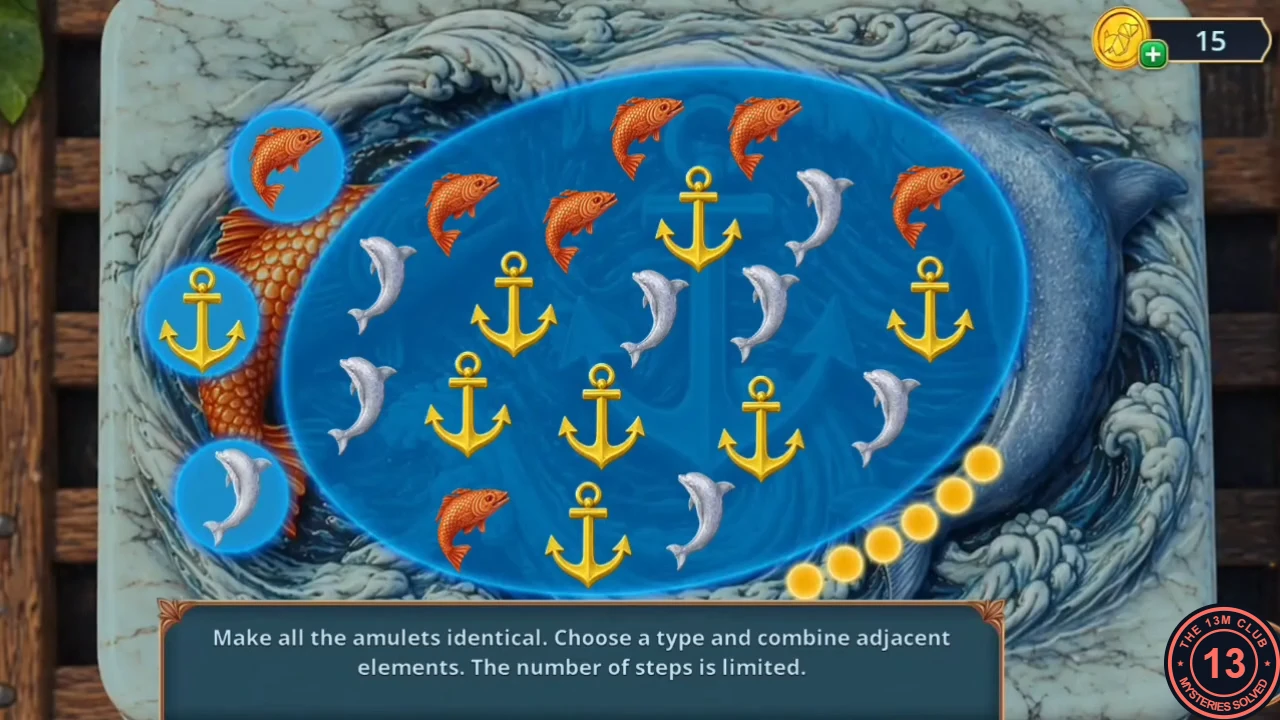
Repair your ship's helm and play the amulet board for the Dynamite.
- Fit the Ship Wheel Part on your ship's helm. Take the Anchor Amulet from the compartment that opens.
- Place the Anchor Amulet to start the amulet board. Choose an amulet type with the buttons on the left. Your connected group of amulets changes to that type and joins any neighbouring amulets of the same type. Make the whole board one type before the step counter runs out. Each time, choose the type that joins the most neighbouring amulets. The starting board can differ, so plan from your own layout. Take the Dynamite.
Treating the Injured Man
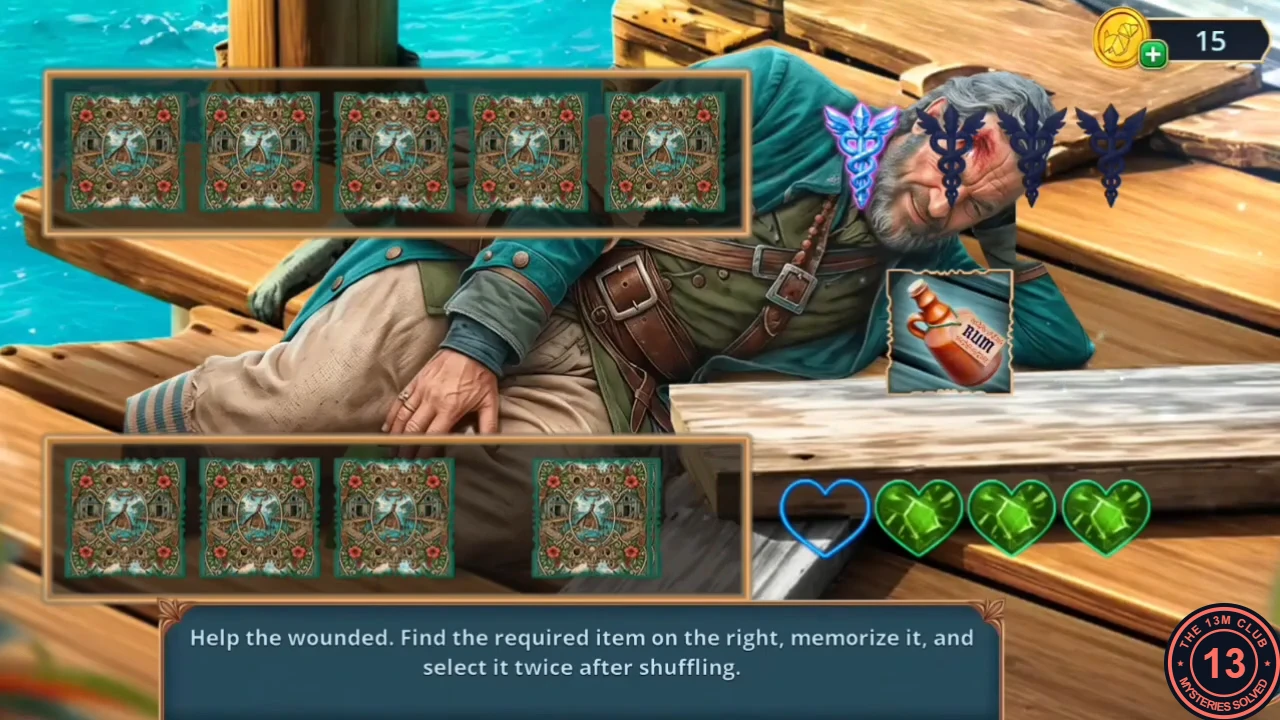
Blast the breach at the shipyard and treat the injured man to finish the chapter.
- At Lagoon's Shipyard, put the Dynamite on the wrecked prow and light it with the Matches to clear the breach. Take the Rum.
- At the shipyard, wrap the Belt around the injured man's leg, set the Branch along it as a splint and give him the Rum. Puzzle: memorise the item shown on the right; after the cards shuffle, pick that item twice. Complete all the rounds to finish the treatment. The chapter ends with the decision summary and the chapter outcome.