Sea-Symbol Tiles
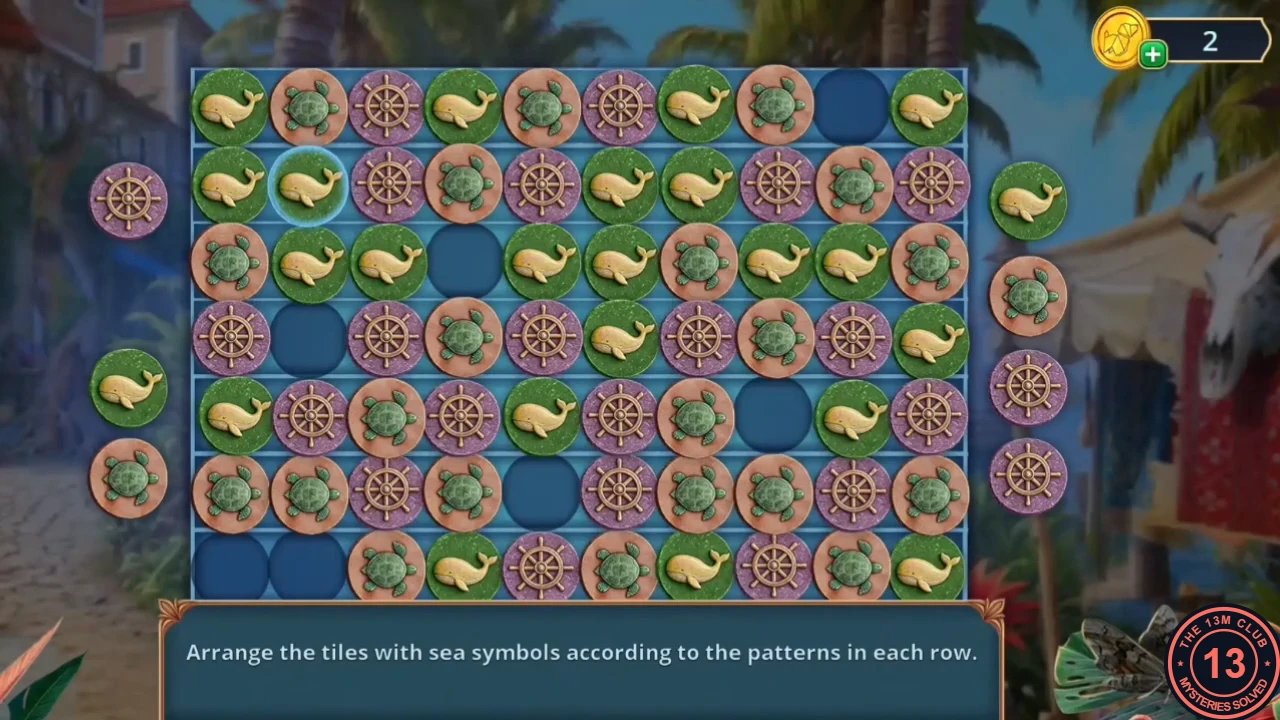
Open the tile panel and pull the man out of the water.
- Fit the Steering Wheel on the whale fountain valve. Tile puzzle: arrange the sea-symbol tiles (whale, wheel and turtle) so every row matches the pattern hints beside it. Take the Lighthouse Figurine.
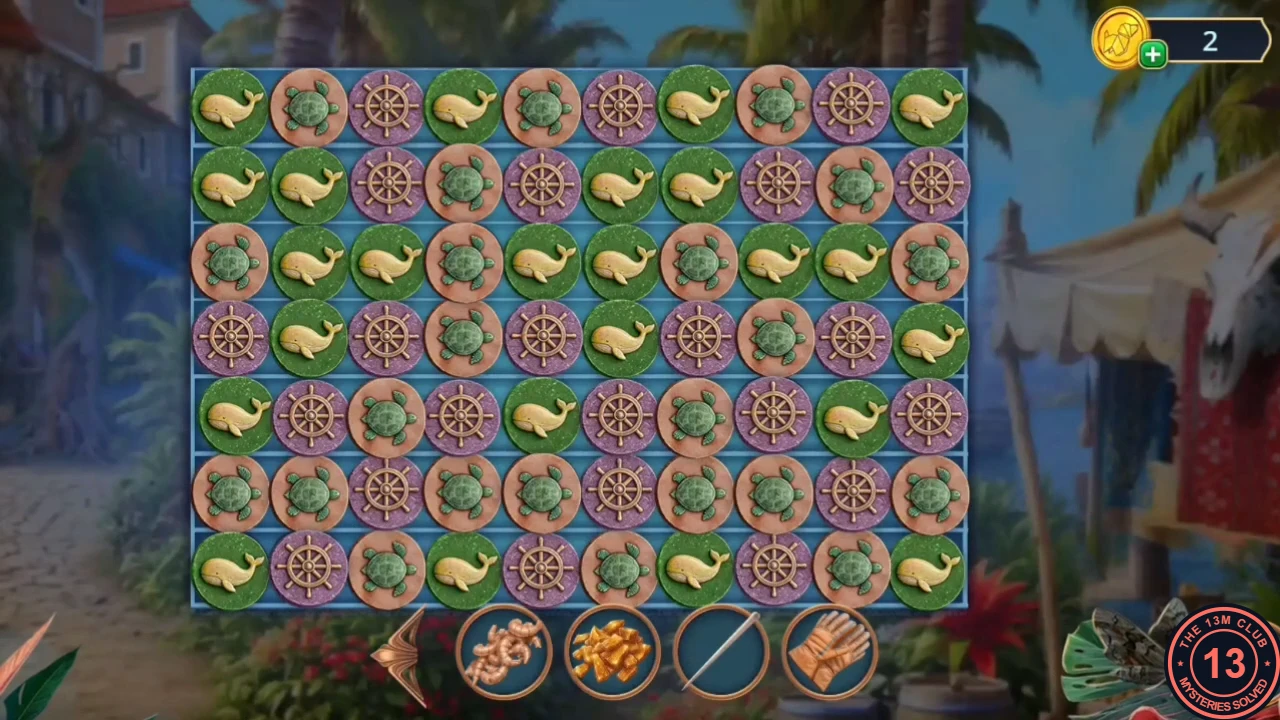
The completed tile grid. - Place the Lighthouse Figurine on the ship diorama in the workshop coral box and take the Rope. At the quay, use the Rope to pull the man, Yari, out of the water.
- Yari says "People take what is not theirs". Decision: answer "We saved you. It's time to return the favor. Tell us what you know." for +2. "Thank you. We can manage on our own from this point on." gives 0. Yari then shows a drawing of the tablet.
Fish Market Counting
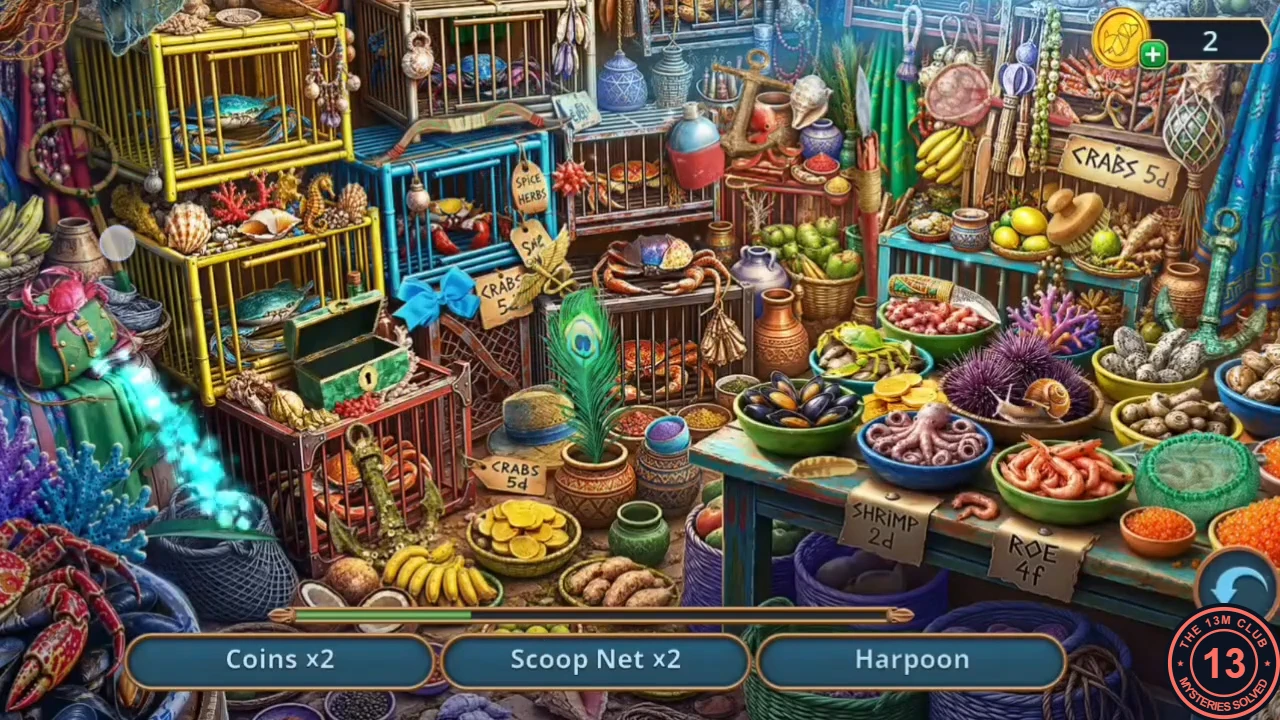
Catch a jellyfish to light the symbols on the jar table.
- Play the Fish Market counting hidden-object scene: find three each of Coins, Scoop Nets, Harpoons and Anchors. The reward is the Jar with Jellyfish.
The Shark Sculpture
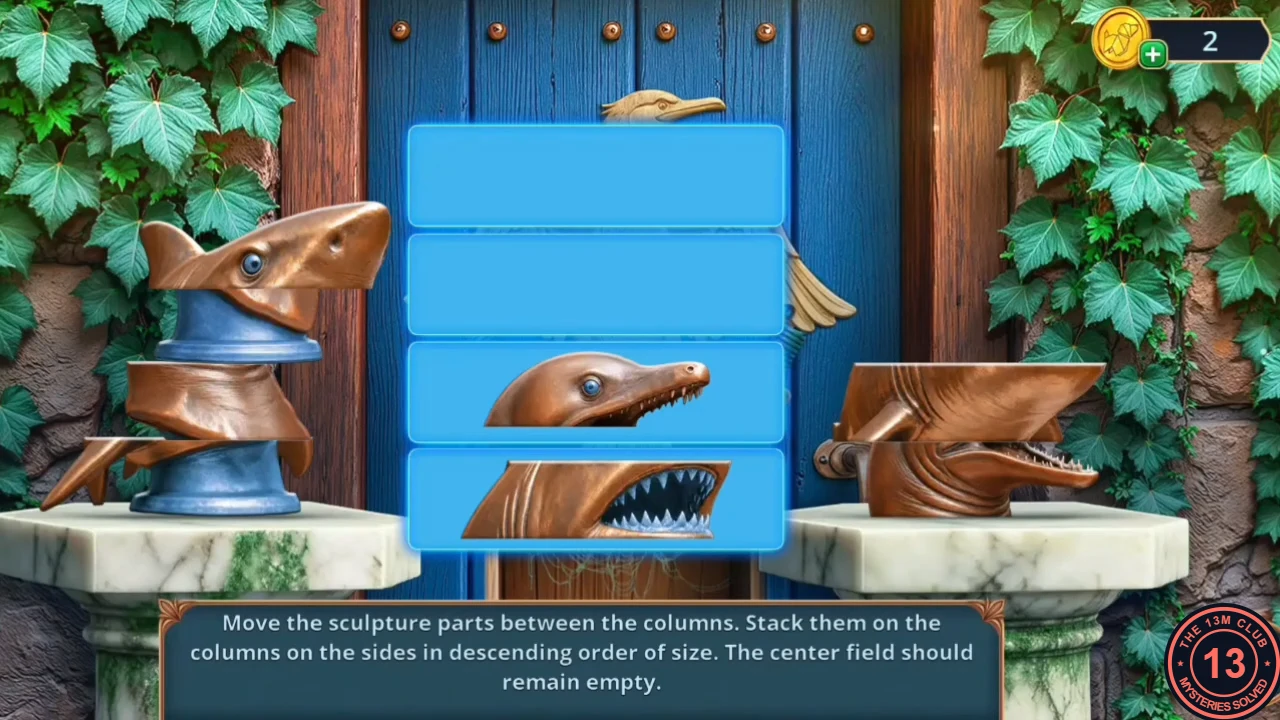
Open the storeroom with the shark sculpture.
- Set the Jar with Jellyfish on the jar table; its glow reveals the symbols on the cylinders. Take the Shark's Head.
- Set the Shark's Head on the pedestal by the blue storeroom door. Sculpture puzzle: move the parts one at a time between the three columns so both side columns end up holding their parts in order of size, largest at the bottom, with the centre column empty. Use the centre column as temporary space while you reorder the parts.
Flooded Warehouse: The Crates
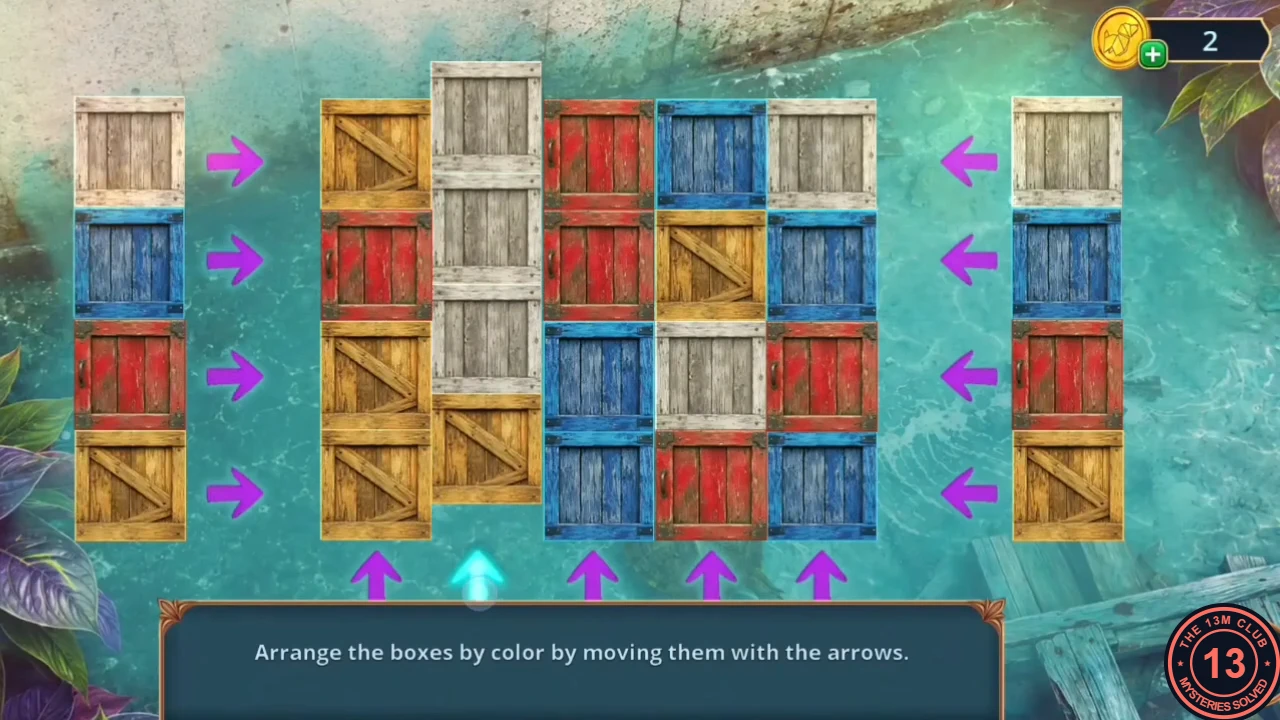
An electric stingray guards the flooded floor. Work through the cabinet, chest and crates to reach the hidden statue.
- In the Flooded Warehouse, put on the Leather Gloves at the stone tablet and pick the Map Piece and the Wine List out of the water beside the electric stingray. The list points to bottle #17 in the wine cabinet: take the Hairpin.
- Pick the padlock of the chest under the potted tree with the Hairpin and the Fish Bone. Take the Magnet, the Ship Lantern and the Seaweed.
- At the jar table, put the Seaweed, the Mango and the Little Shrimp in the three slots to make Turtle Food. Feed the turtle at the whale fountain and take the Turtle. In the warehouse, take the Palm-Fiber Brush and the small bowl from the water by the crates, then release the Turtle there.
- Crate puzzle: slide the rows and columns of crates with the side and bottom arrows until each row matches the reference colours: white, blue, red and yellow from top to bottom. Take the Rope Pin (1/2), the Whale Oil, the Brush and the Wooden Support.
The Bracelet
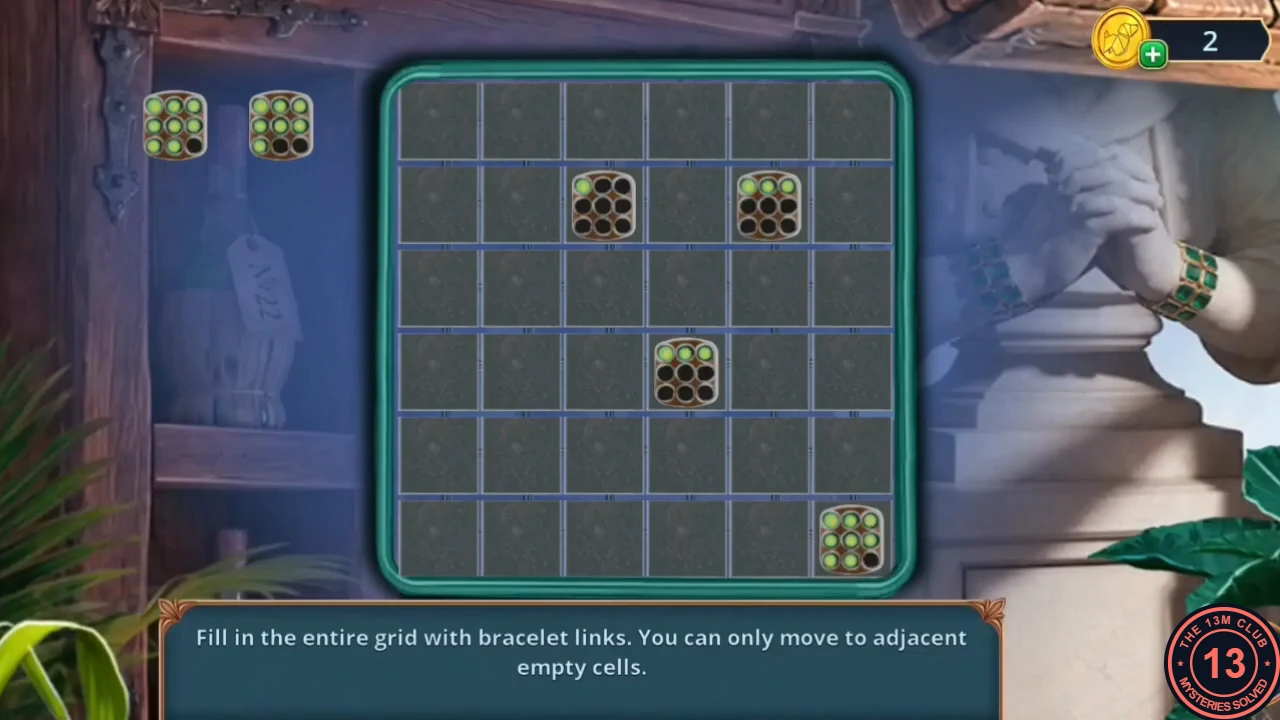
Open the wine cabinet shutter and complete the bracelet grid.
- At the stone tablet, Raphael wants to see which buttons were pressed before. Scoop the white powder with the bowl and dust the buttons with the Palm-Fiber Brush. Fingerprints show on the triangle button (top middle), the middle-left button and the bottom-left button, and the compartment opens. Take the Leather Cuffs.
- Prop up the wine-cabinet shutter with the Wooden Support, then put the Leather Cuffs on the statue behind it. Bracelet puzzle: several bracelet tiles sit in the grid, and each shows a counter of green dots, which is how many links it still has to lay. Tap a tile to see the empty cells next to it, then tap a neighbouring empty cell to extend its chain by one link; each link uses one dot. The spare tiles at the left are placed in an empty cell first and then extended in the same way. Fill every cell of the grid so that every counter reaches zero. Lay the longest chains first, along the edges and around the other tiles, and keep the short chains for the gaps that remain. Take the Clippers.
The Rope Pins
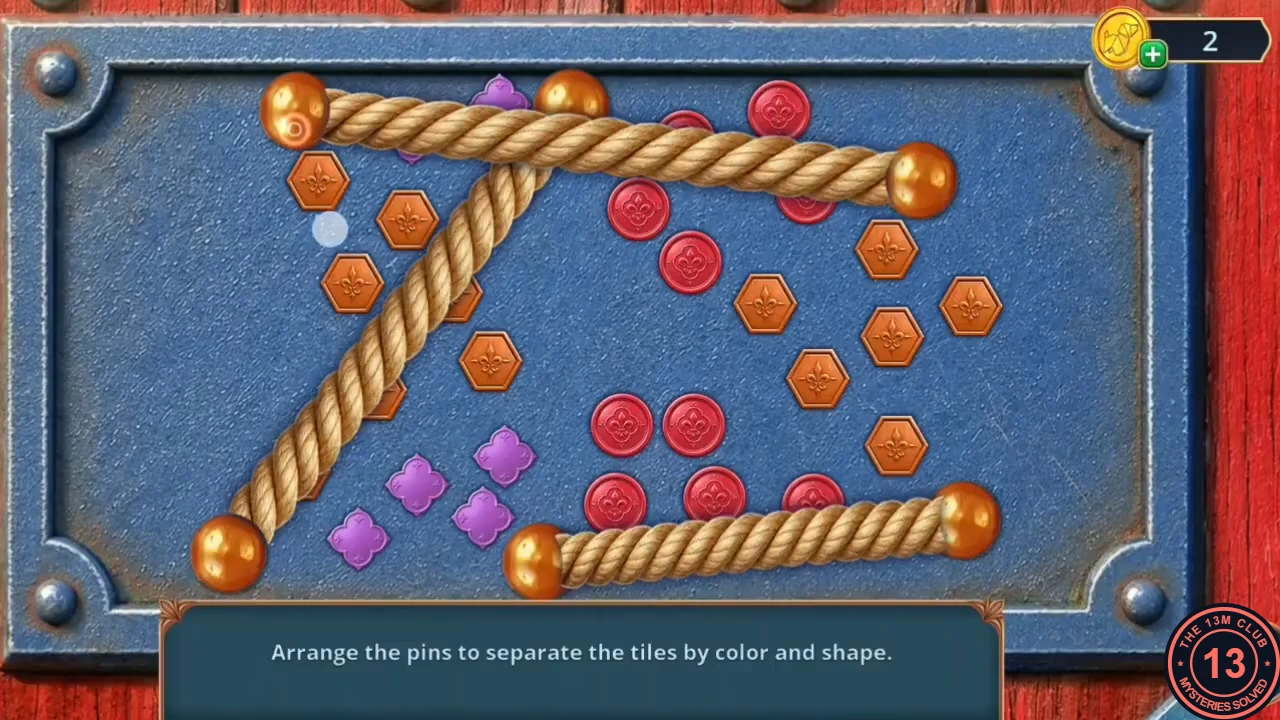
The seahorse door at the fish market leads into a ruined house where the tablet may have been hidden.
- At the Fish Market, cut the blue rope over the hanging barrel with the Clippers and take the Sealed Fish Oil and the second Rope Pin. Place the Rope Pins on the panel of the seahorse door. Rope puzzle: position the rope pins so the ropes divide the tiles into separate groups of orange hexagons, red circles and purple diamonds.
Pier House Shelves
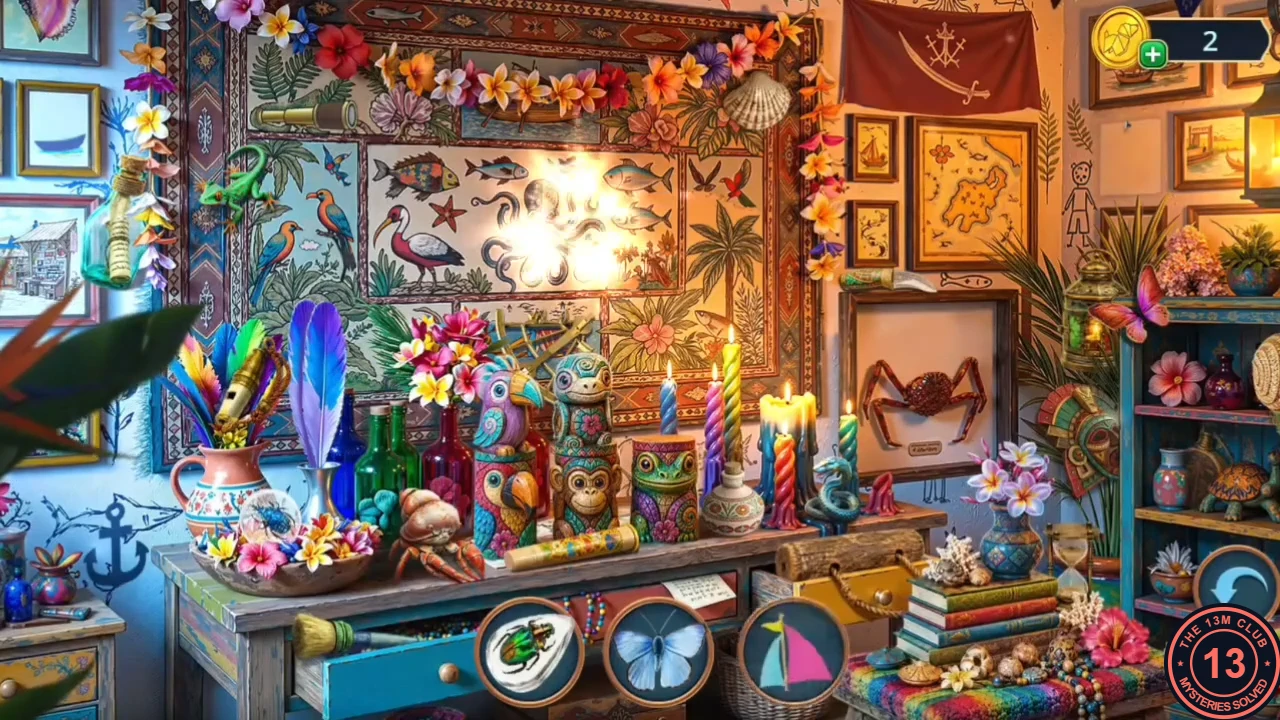
Search the Pier House and mix the permanent dye.
- In the Pier House, Inara says people searched here for the tablet before. Decision: answer "Let's look for the tablet. Finding it is our best chance to get to the truth." for +2. "It's too early to jump to conclusions." gives 0.
- Hang the Ship Lantern on the hook beside the green whale chest and take the Shirt Sleeve from the lit niche. Take the Mechanism Parts (1/2) in the room. Pull the Old Oil Lamp and the second Mechanism Part out of the blue drawer behind the torn wallpaper with the Magnet. At the armchair by the fireplace, fit the Mechanism Parts (2/2) into its lock, open the cabinet and take the Empty Decanter (blue jug) and the Stone Hammer.
- In the Boat Workshop, smash the red coral in the coral box with the Stone Hammer, grind it in the Mortar and Pestle and take the Coral Dust. Mix it with the Whale Oil to make the Permanent Dye.
- At the octopus fresco in the Pier House, set the Permanent Dye by the candles and paint the outline with the Palm-Fiber Brush. Play the shelves hidden-object scene (silhouette mode). The reward is the Chain with Hook.
Back Along the Coast: Riddle Hidden Objects
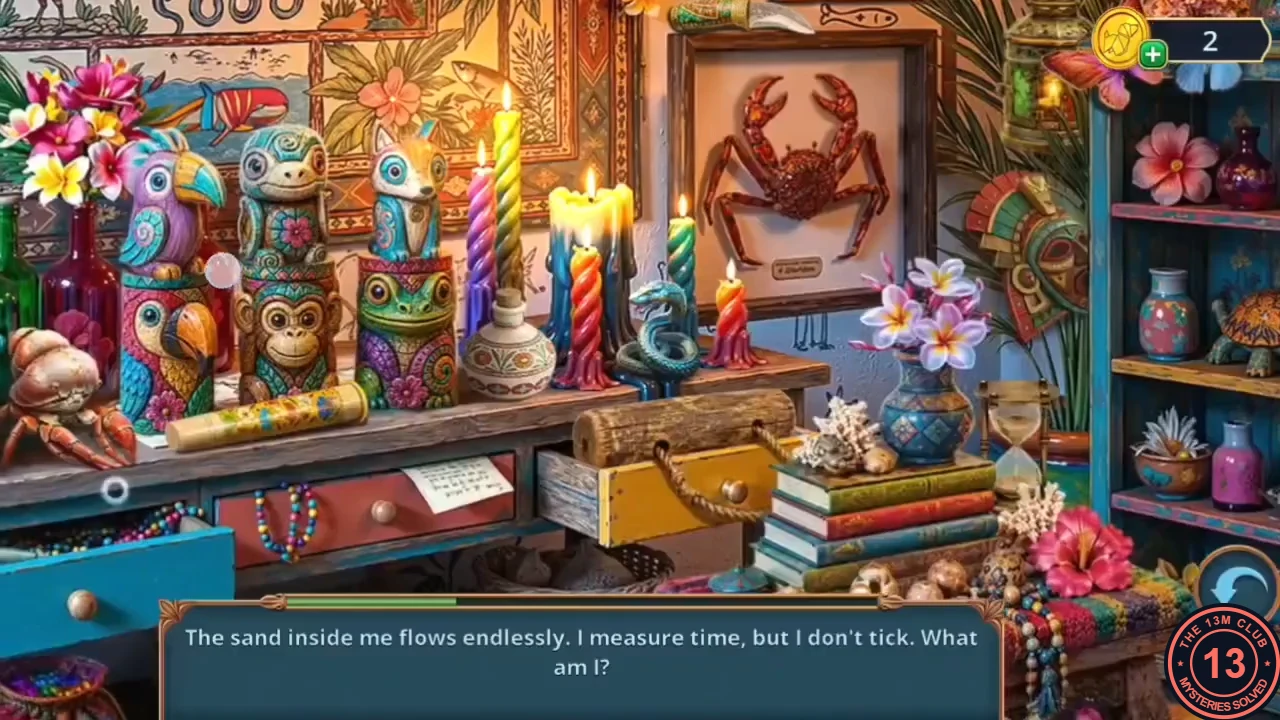
The chain completes the rowboat crate on your ship and starts a chain of trades along the coast.
- On your ship, fix the Chain with Hook to the rowboat crate and take the Tricorn Hat. On the coast, smother the smoking purple plants by the crab rock with the Tricorn Hat and take the Jagged Coral.
- At the holy spring well, a plain knife will not cut the vines; it needs something serrated. Cut them with the Jagged Coral and take the Mask and the Blacksmith's Tongs from the niche.
- In the Pier House fireplace, lift the Spur out of the embers with the Blacksmith's Tongs. A sparkle starts a riddle hidden-object scene: read each riddle and tap the object it describes. The reward is the Whale Figurine.
The Whale Rows
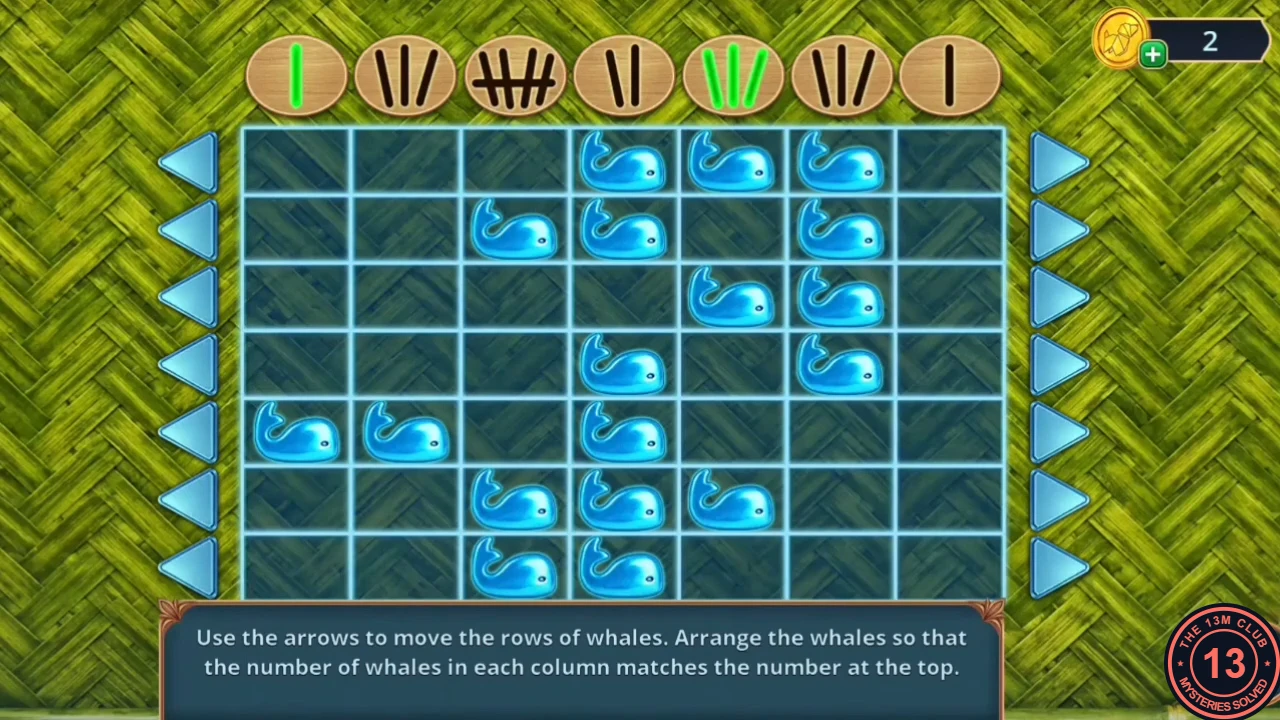
Shift the rows of whales so each column matches its tally.
- Put the Whale Figurine in the slot of the green chest. Whale puzzle: shift the rows of whales with the side arrows until each column holds as many whales as the tally above it. Take the Shell.
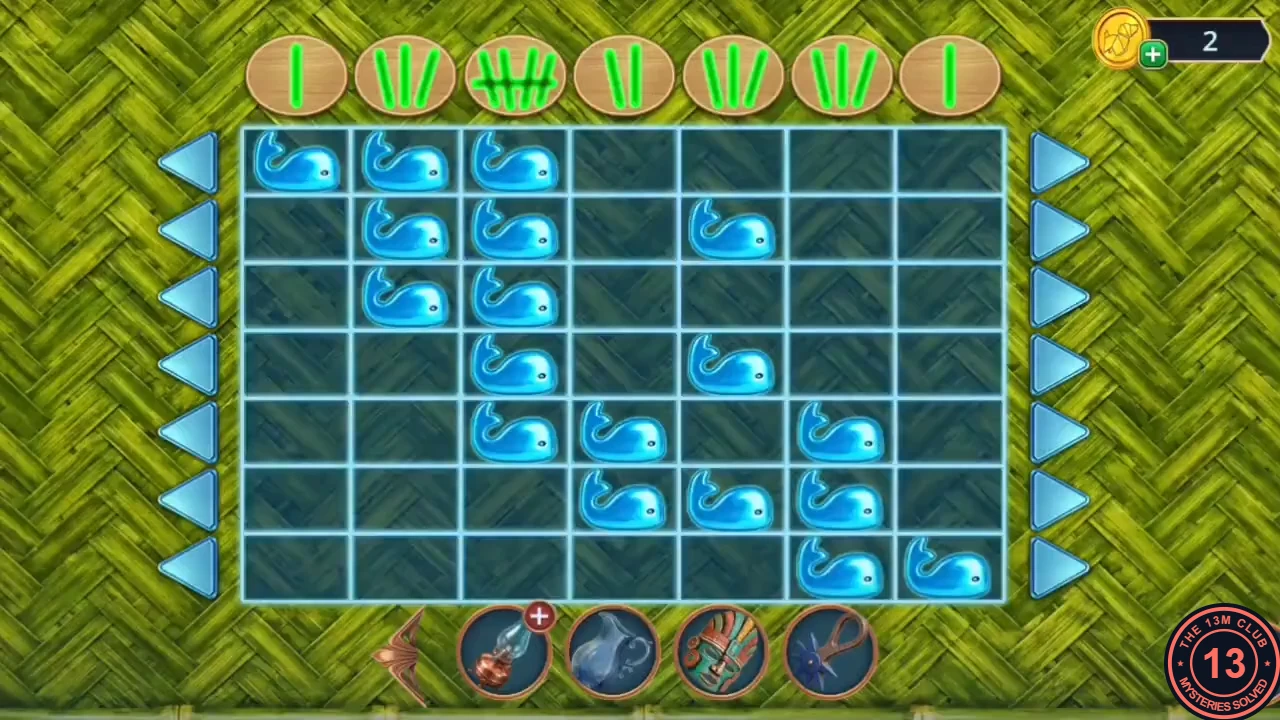
Solved: each column holds as many whales as its tally (1, 3, 5, 2, 3, 3, 1 from left to right).
The Earring Rings
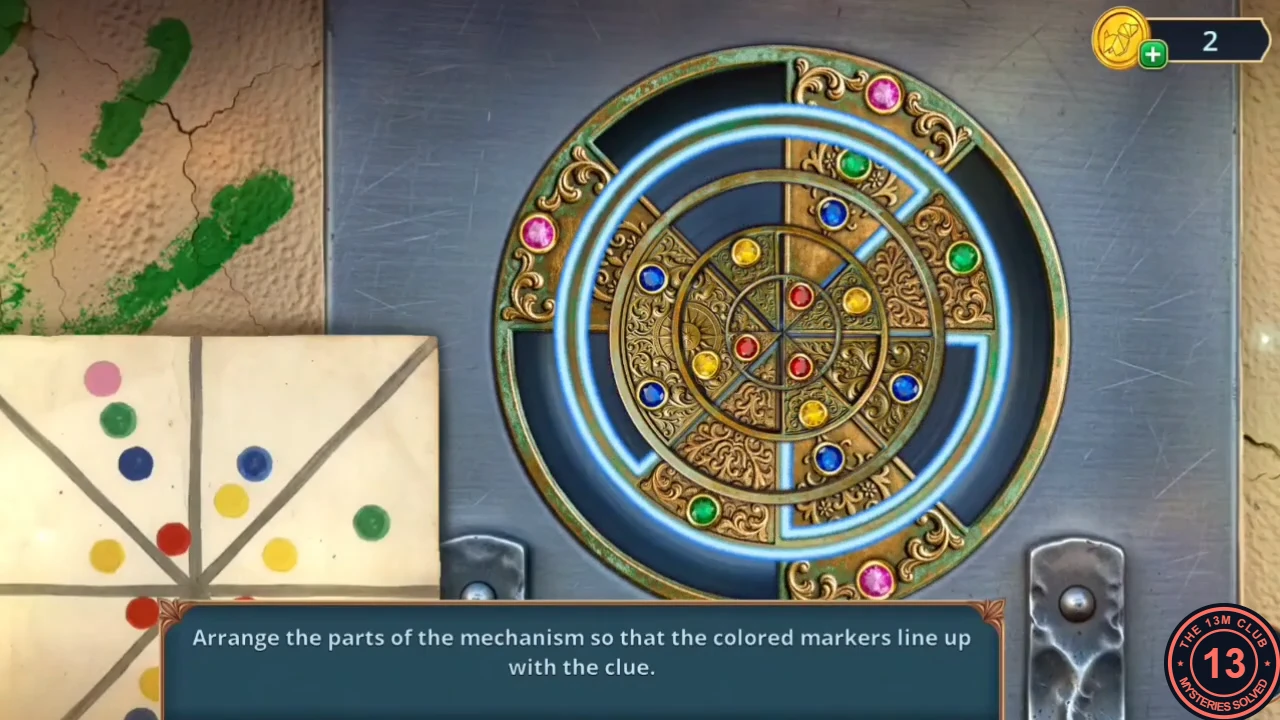
Line up the earring rings to open the next compartment.
- Place the Shell in the hand of the mermaid statue by the forge and take the Captain Earring. Fit it in the ring slot of the metal plate on the paint shelf. Ring puzzle: turn the rings until the coloured markers line up as shown on the dot clue card. Take the Big Leaf and the Screwdriver.
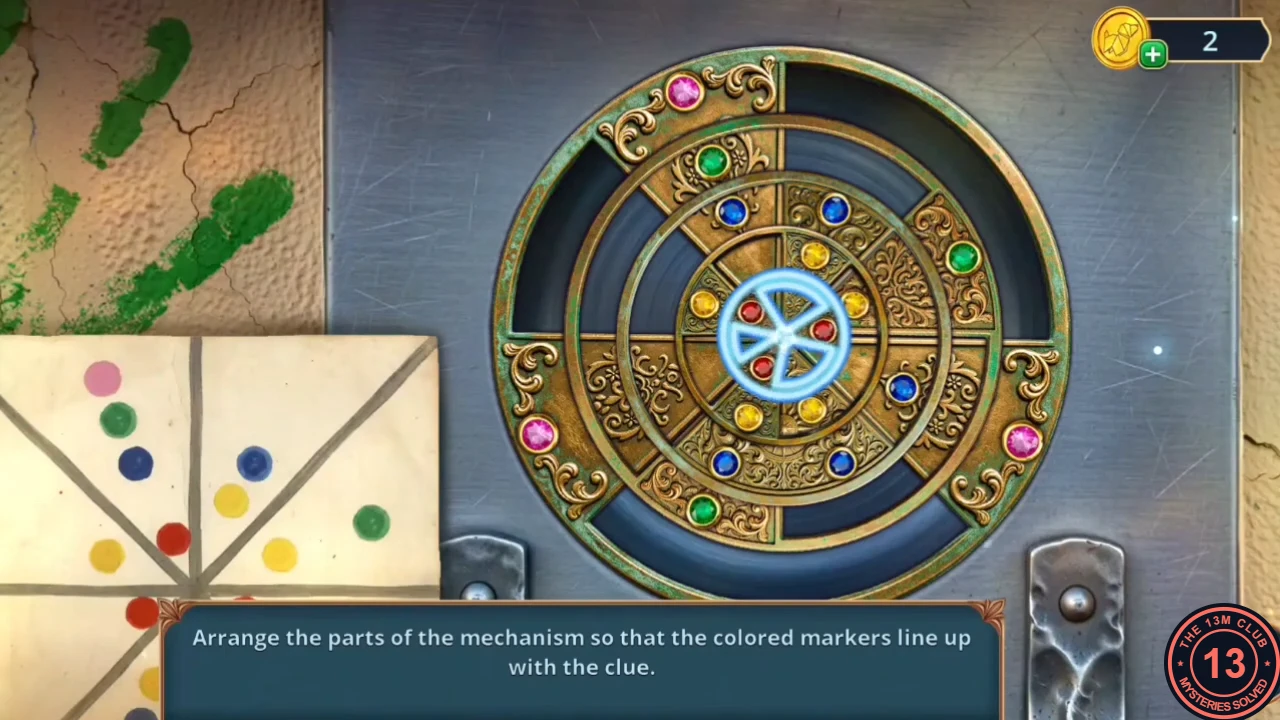
Solved: the markers line up with the clue.
The Tablet Map
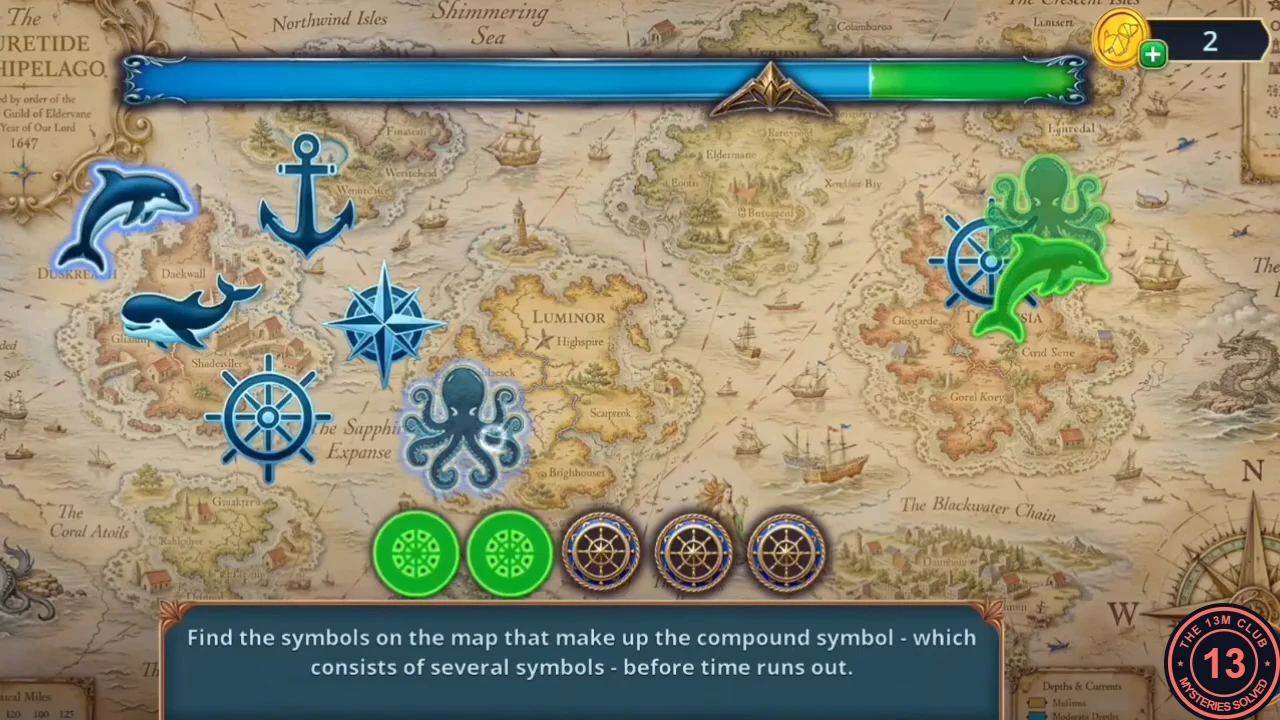
Open the last compartments and reveal the map hidden under the wallpaper.
- In the Pier House, hang the Mask in the empty outline beside the green chest. The lever is stuck. Open the Old Oil Lamp with the Screwdriver and take the Oil. Oil the lever track, pull the lever and take the Fish Knife from the niche behind the masks.
- In the Flooded Warehouse, lay the Big Leaf under the trunk of the potted tree and cut the bark with the Fish Knife. Take the Resin.
- At the Pier House blue drawer, the torn map on the wallpaper is missing a piece. Put the Map Piece in the gap and glue it with the Resin to reveal the map. Timed puzzle: read the rules and tap START. For each compound symbol shown, find on the map the separate symbols it is made from before time runs out. The game may offer an easier difficulty for this puzzle. The chapter ends with the decision summary and the chapter outcome.