Santa Marilla City Pier: The Rope Ladder
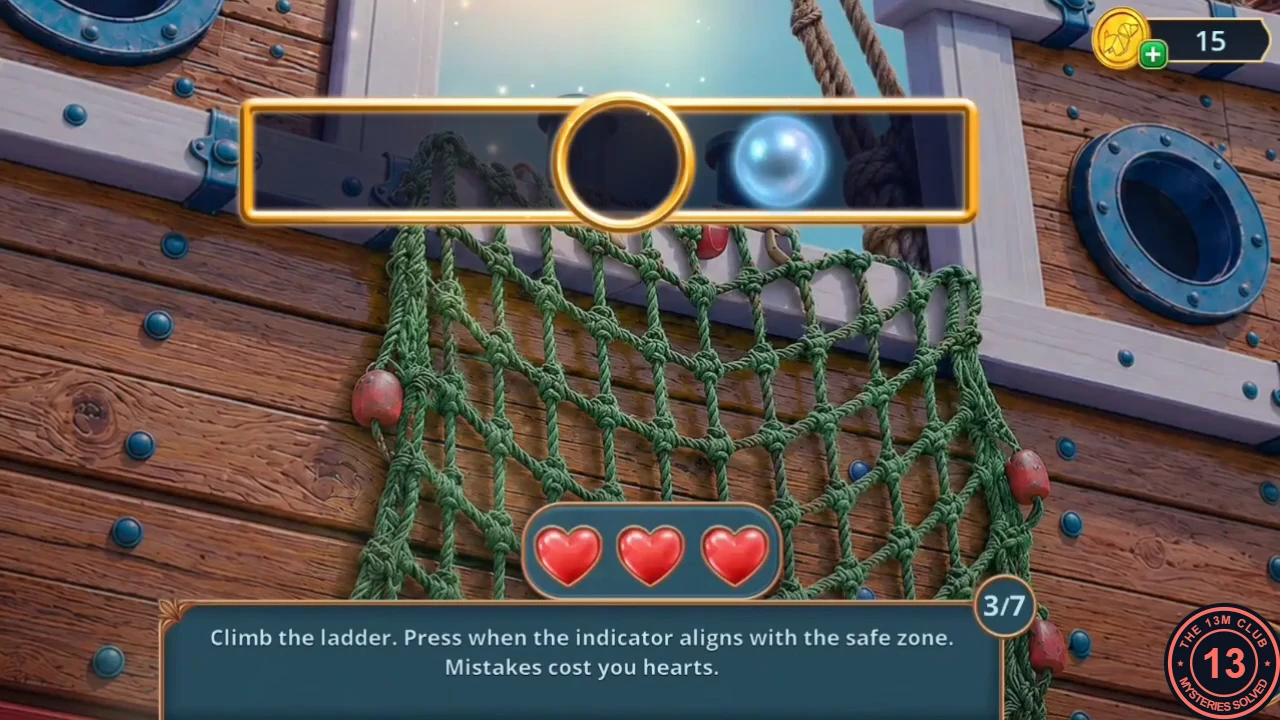
Mateo knows an island with a lighthouse that the whale attacked. First get aboard his ship, which is moored by the closed boatyard on Santa Marilla City Pier.
- At the boatyard door, read the closure notice and take the Scarf from the padlock hook, then the Paper. At the stone block with the compass rose, take the Hook and use it to pull the Palm Leaf out from under the stone step.
- In the rowboat, sweep the broken blue glass beside the octopus basket with the Palm Leaf and take the Antique Hand Drill. Drill out the lid of the heavy striped barrel by the rocks and take the Cutters' Part. Open the Broken Wire Cutters from the Chapter 1 chapel window in your inventory and add the Cutters' Part to make the Wire Cutters.
- Cut the chain on the boat crate with the Wire Cutters and take the Assembly Scheme and the Tackle. Use the Tackle on the hull of Mateo's ship beside the barrel to hang a rope ladder.
- Climb the rope ladder: tap when the moving marker is inside the safe zone. There are seven rungs and you have three hearts; each miss costs one heart.
Mateo's Ship: Boatyard Hidden Objects
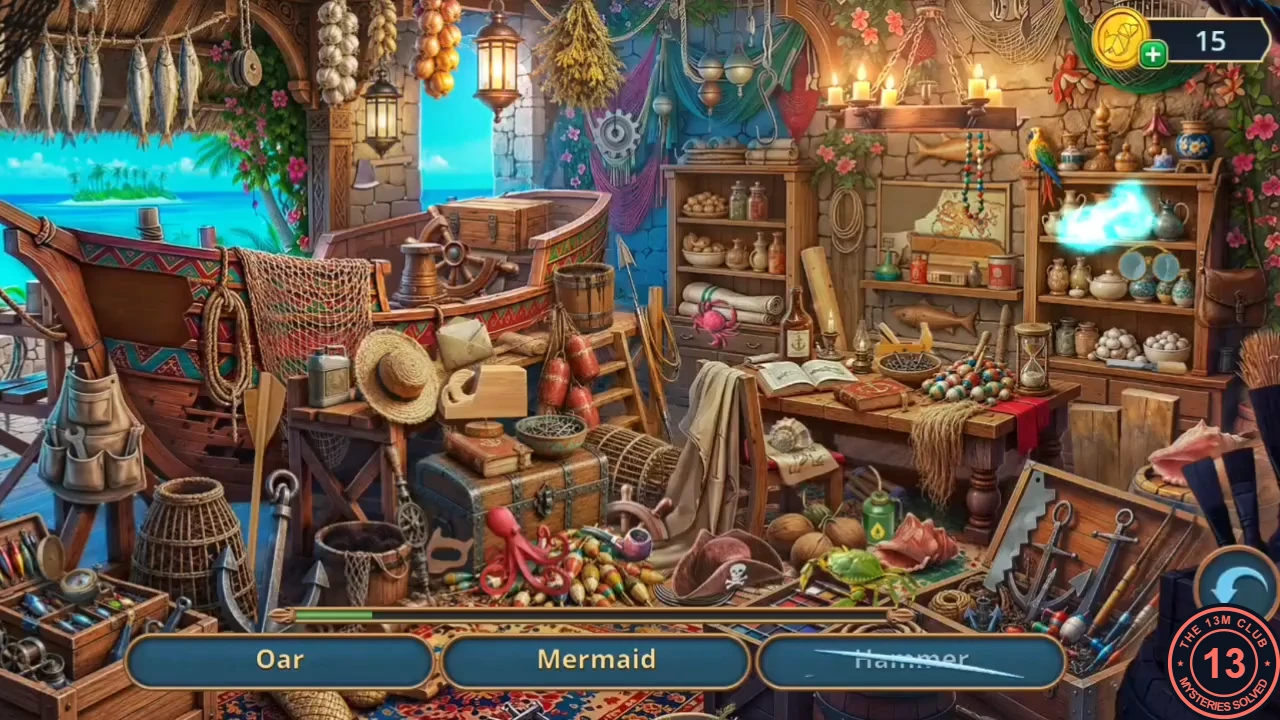
Prepare Mateo's ship for the voyage: open the cabin and search the boatyard.
- On Mateo's ship, the cabin door handle is broken. Fit the Chess Piece with Hole (from the green satchel in Chapter 1) as a new handle and open the door. Read Inara's note and take the Oil Lantern from the shelf inside.
- Take the Sail-Raising Wheel from the deck and fit it on the pulley post by the helm. Take the Ruler it releases.
- Combine the Paper, the Ruler and the Assembly Scheme to fold an Origami Bird. Give it to the seagull on the nest by the deck grate; the gull flies off. Take the Large Key from the nest.
- Back on the pier, open the boatyard padlock with the Large Key. Find the listed items in the boatyard hidden-object scene. The reward is Fresh Water.
The Sea Map
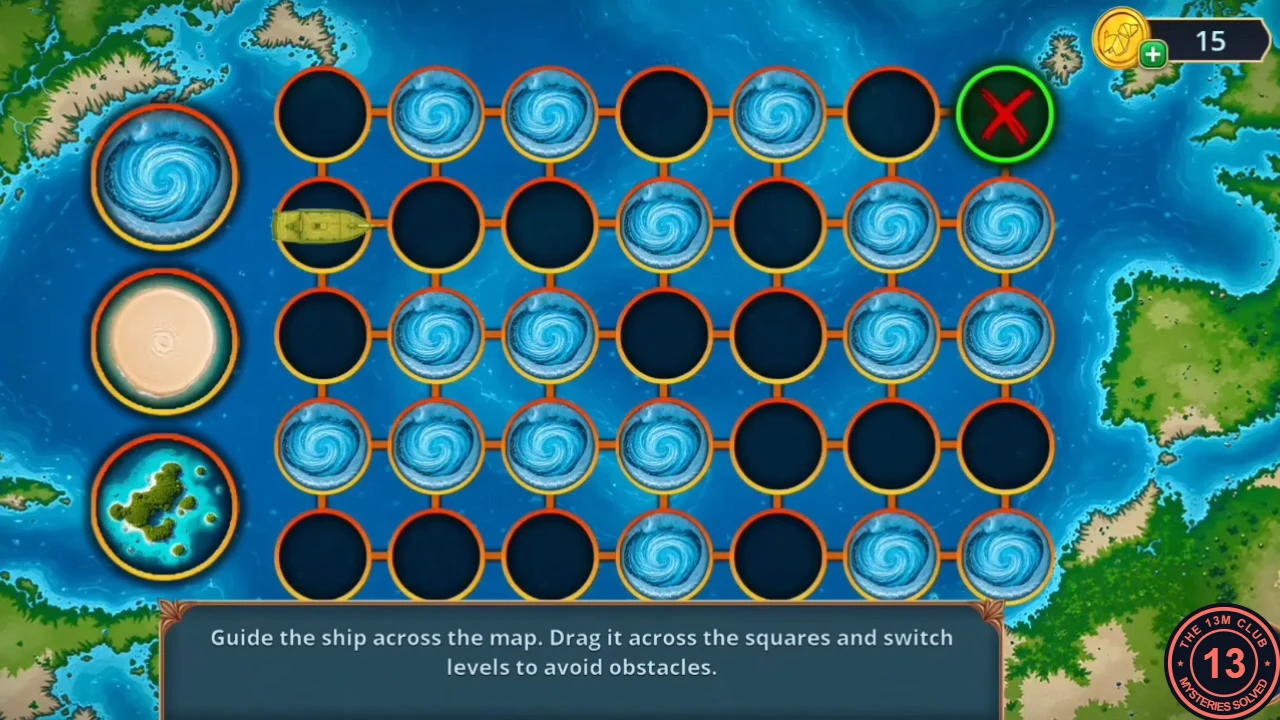
Plot the route to Lighthouse Island on the sea map.
- Offer the Fresh Water to the octopus in the rowboat basket. It leaves, and you can take the Dividers from among the shells.
- On Mateo's deck, open the map table. Take the rolled rug off the chart (keep it for later) and the Pencil from the water barrel. Draw the course with the Dividers and the Pencil, take the Map Piece with Route and place it at the helm.
- Sea-map puzzle: drag the ship from circle to circle towards the goal circle at the top right (a red X inside a green ring). The three buttons on the left switch between the whirlpool, sandbank and island layers, and each layer shows different obstacles. Before every move, switch to a layer where the next circle is clear, so the ship never enters a blocked circle.
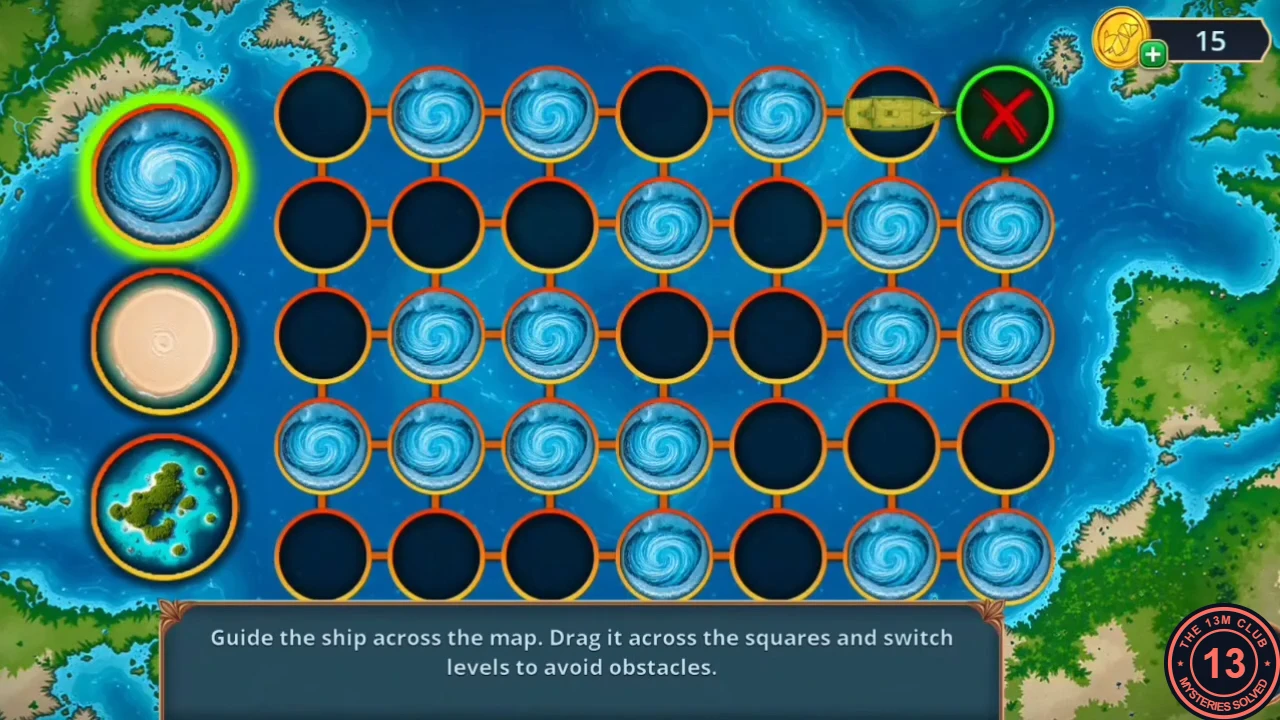
The ship next to the goal circle at the top right.
Lighthouse Island: The Rake
Esteban stays on the shore while Raphael and Inara look for a way up to the lighthouse.
- On Lighthouse Island, Esteban says he will scout the shore. Decision: answer "Be careful, and don't even think about hiding it if you find anything!" for +2. "Aye, stay on shore. Just don't disappear like last time." gives 0. Esteban hands you a Mirror either way.
- At the rusty winch on the log, read the note and take the Bamboo Stick. Reflect sunlight onto the dry seaweed with the Mirror to burn it away and take the Bark.
- Use the Bark on the elephant statue's spout to divert the water. Take the Broken Signpost and the Boards that were hidden behind it.
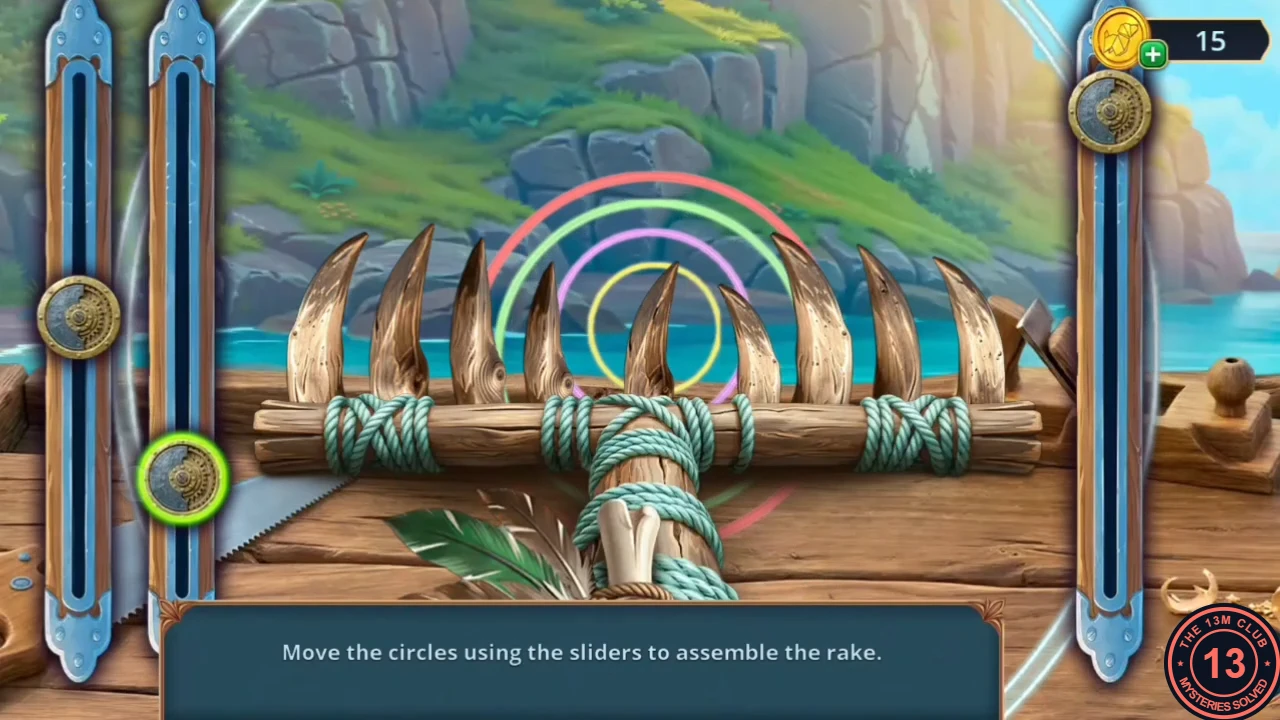
- At the cliff dock workbench, lay the Boards on the bench to start the rake assembly. Move the coloured circles with the sliders until they all line up with the rake head, then take the Rake.
- Clear the thorny vines over the spring with the Rake and take the Knife. Open the rolled rug in your inventory and add the Piece of Sailcloth from Chapter 1 (the folded white cloth), the Scarf and the Knife to make the Rope Ladder. Hang it at the cliff dock and climb down to the Sunken Ship.
Sunken Ship: Symbol Memory
A wrecked ship lies at the foot of the cliff. A lantern clue and a symbol chest give you the tool for the shark skull.
- At the edge of the jellyfish pool, take the Paper and the Wax. At the one-winged cormorant, hang the Oil Lantern on the hook: its light reveals six symbols on the planks. Lay the Paper over the lit symbols and trace them with the Pencil to get the Code.
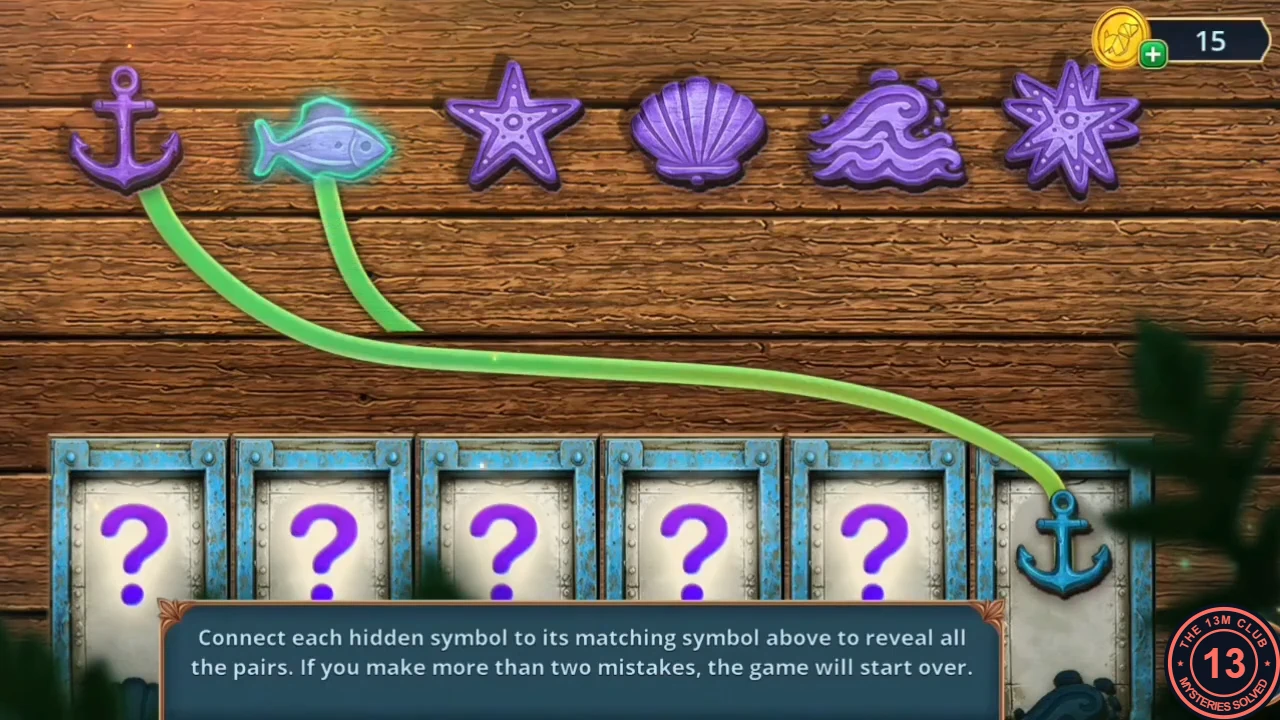
- Use the Code on the chest with six symbol wheels by the cage. Memory puzzle: connect each hidden card to its matching symbol above. More than two mistakes restarts the round. Take the Helmet and the Torch.
- Wedge the Helmet under the shark skull to prop its jaws open. Take the Pointers and the Bone from its mouth.
The Way to the Lighthouse: Geyser Crossing
Repair the signpost at the spring and cross the geyser field to reach the lighthouse yard.
- Back on the island shore, fit the Bone into the rusty winch on the log as a crank and turn it to haul up a chest. Take the Nails and the Wick.
- At the spring path, stand the Broken Signpost up and fix the Pointers to it with the Nails. The way to the lighthouse opens.
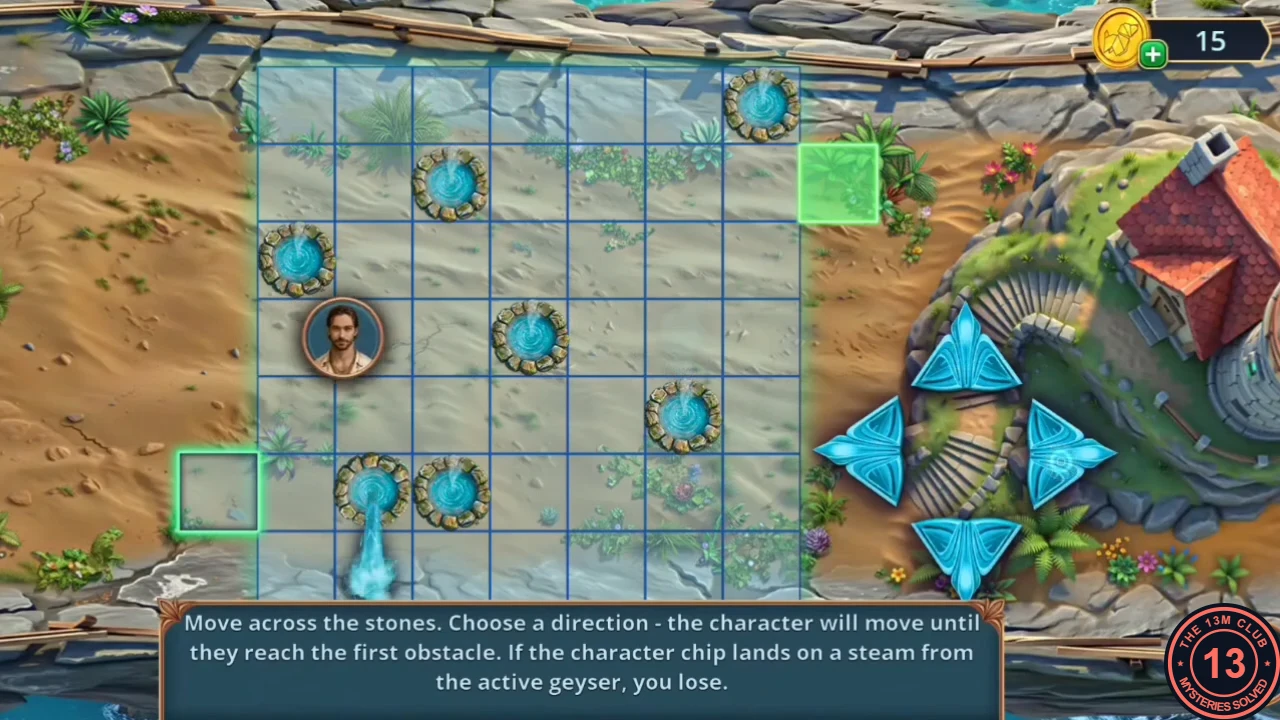
- Geyser crossing: pick a direction and Raphael's chip slides until it reaches the first obstacle. If it stops on steam from an active geyser, the attempt fails. The geysers switch on and off, so watch them and only move when the stopping cell will be clear. Use the geyser stones as stoppers to work up and right to the green square by the lighthouse steps.
Near the Lighthouse: Combination Hidden Objects
The lighthouse yard is closed by a gate. Blast it open and search the yard.
- Read the note in the yard. At Poseidon's altar, take the carved wooden whale half, the Pumpkin Seeds and the Gunpowder. Open the Bamboo Stick in your inventory and add the Wax, the Gunpowder and the Wick to make the Explosives.
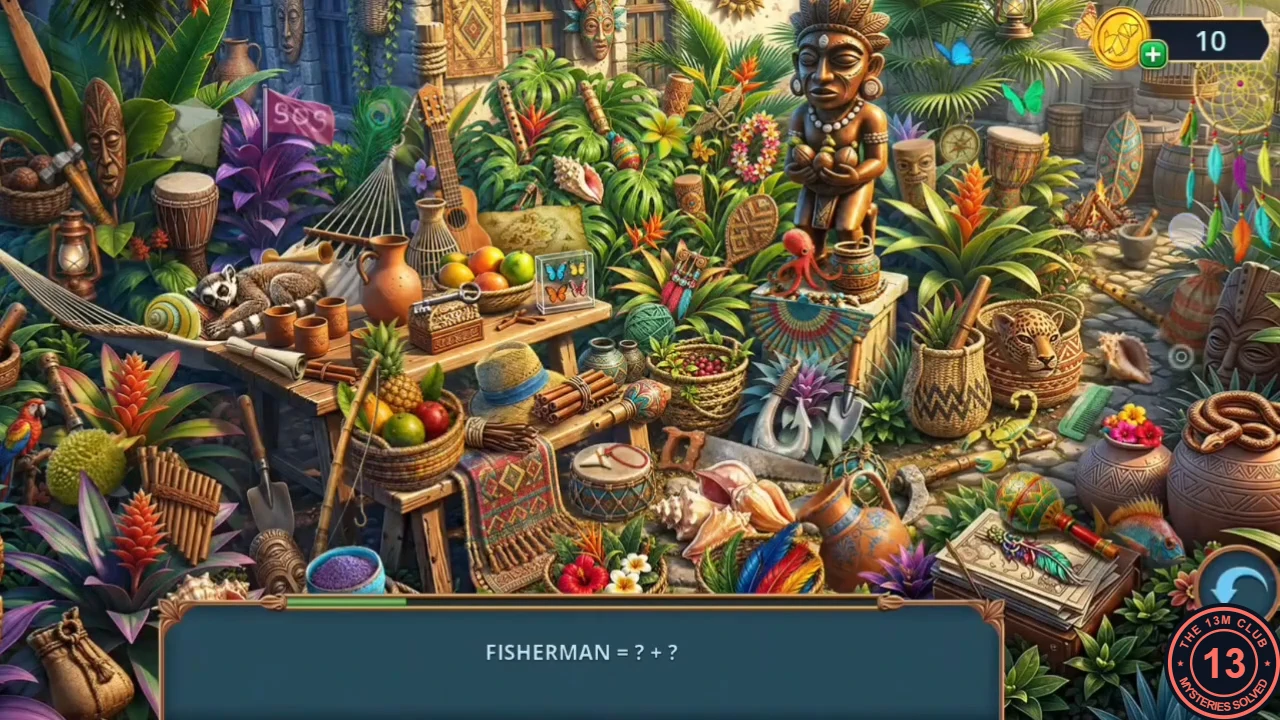
- Place the Explosives on the flower-shaped lock of the gate and set them off. Behind the gate, play the combination hidden-object scene: for each listed word, find the two objects that make it. The reward is the Poseidon Figurine.
The Ships Puzzle
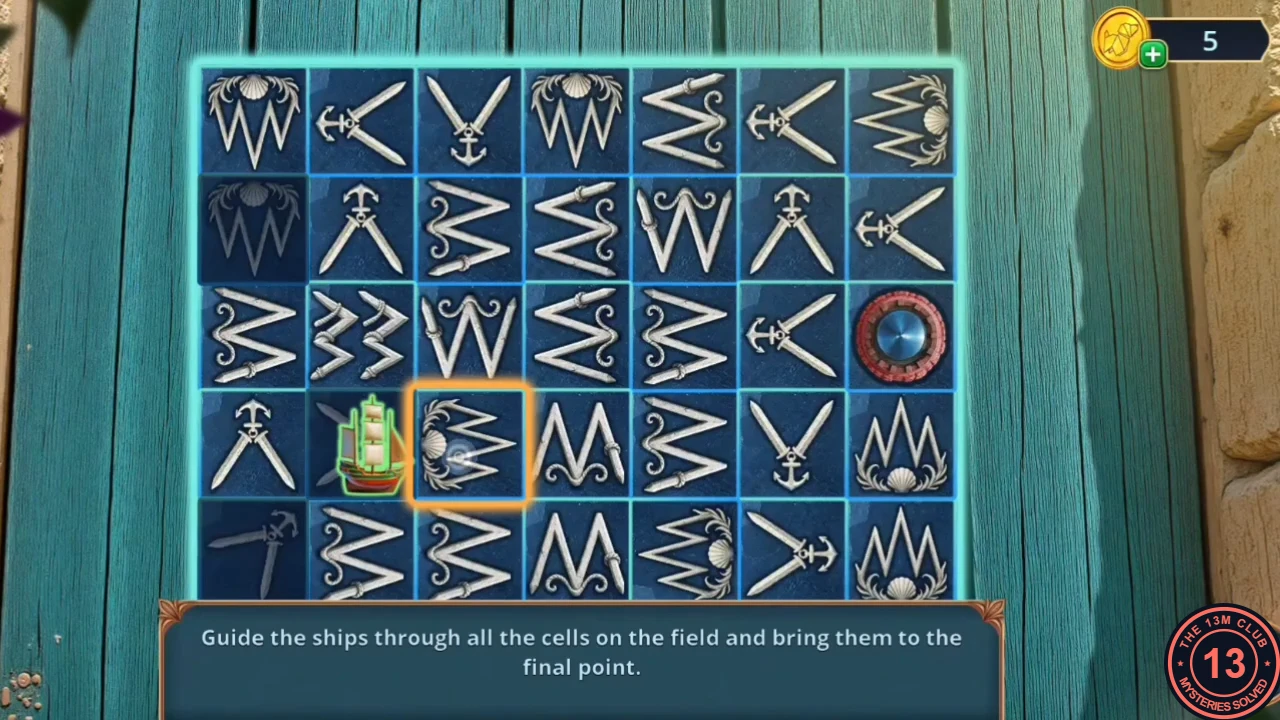
Drive the rats from the house door and solve the ships puzzle to get inside.
- Put the Poseidon Figurine on the altar; his trident breaks the stone. Take the Gong and the second Pumpkin Seeds.
- Rats block the house door. Set up the Gong beside them and strike it with the Torch; they run away. Take the Nettle Potion from the brushwood.
- At the flowerpot, read the riddle tag and take the Jar. Plant both Pumpkin Seeds and pour on the Nettle Potion: the pumpkin grows and breaks the pot. Take the Brush, the Broken Whale Figurine and the Lighthouse Figurine. A shell is hidden in the brushwood by the house door.
- Put the Lighthouse Figurine on the shelf by the door to start the ships puzzle. The oar symbol on each tile works as an arrow: from the tile the ship is on, it can move any number of tiles in the direction that arrow points. Move it so that it visits every tile exactly once (visited tiles go dark) and finishes on the lifebuoy. Because the route must end on the lifebuoy, it helps to work backwards first: look for the tiles whose arrows point at it.
Lighthouse: The Island Disc
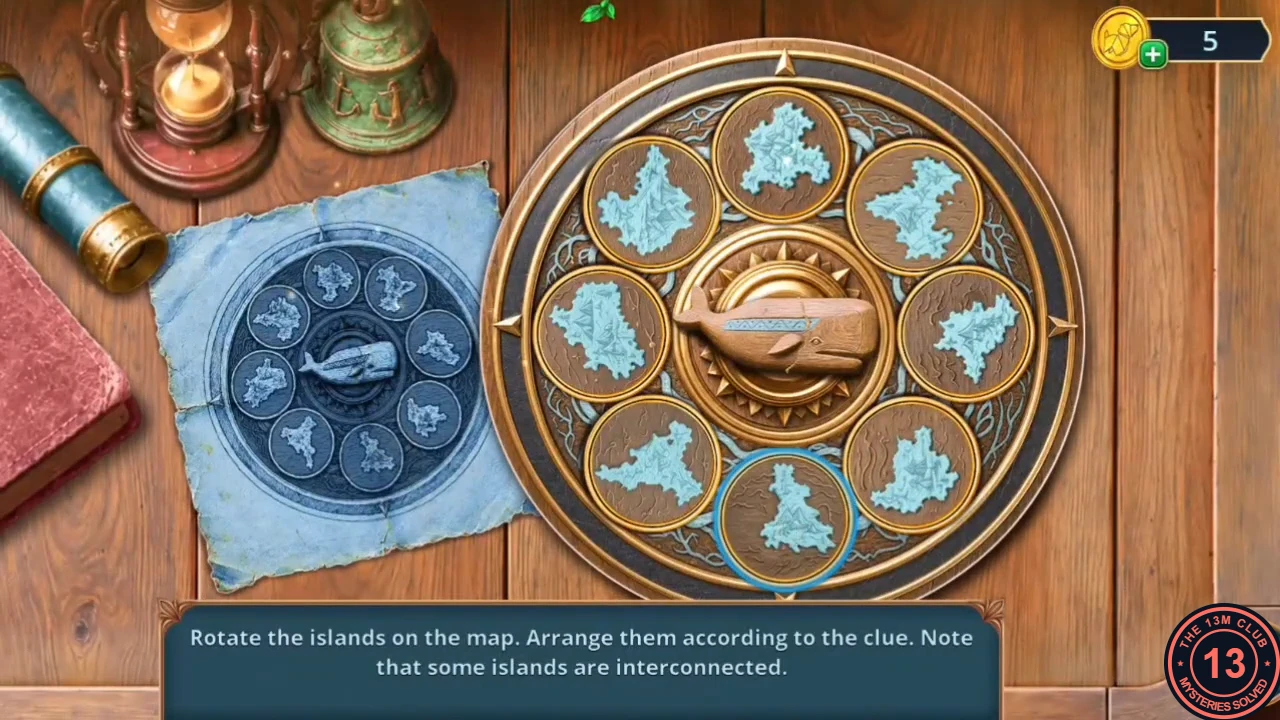
The lighthouse keeper lets you search the house. His log mentions an elders' tablet that once calmed the whale before it was stolen.
- Inside the lighthouse, the keeper says you may search. Decision: answer "Please, tell us what else you noticed. It will help stop the whale." for +2. "Thank you, we got this well at hand." gives 0.
- Take the Sling from the broken steps and the Frying Pan from the floor. The desk drawer is stuck: use the Frying Pan on it to open it. Read the caretaker's log on the desk, which says an elders' tablet calmed the whale until it was stolen, and take the Lighter.
- Melt the wax on the broken steps with the Lighter and take the Crocodile Skull and the Sail. Use the skull to break the rope on the drawer of the wheeled cabinet and take the Resin and the Pin. Open the carved whale half in your inventory and add the Resin and the Broken Whale Figurine to glue them into the Wooden Whale.
- Set the Wooden Whale in the island disc on the shelf. Rotate the island tiles to match the clue sheet; some tiles turn together. When every island matches, the drawer opens: take the Seashell.
Lighthouse Yard Silhouettes
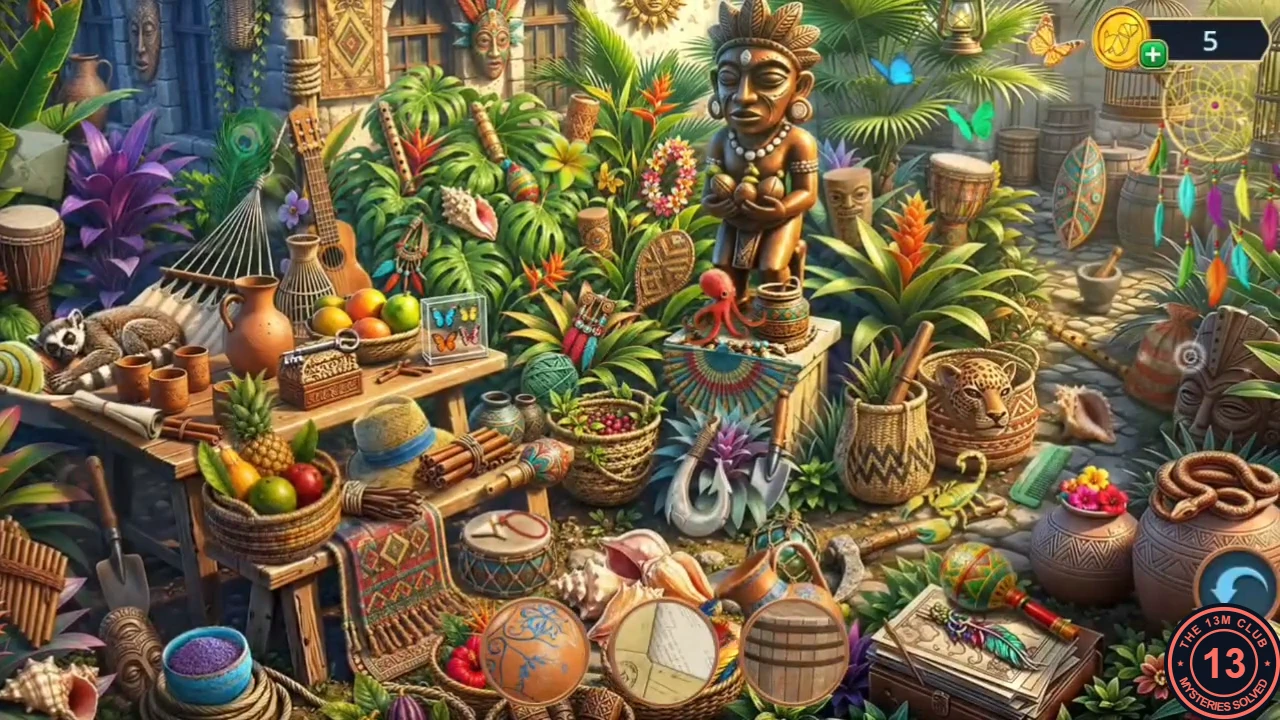
Gather the tools to repair the broken staircase, starting with the whale oil and the ethanol.
- At the broken pumpkin pot outside, scrape the moss off with the Seashell, then collect the Termites with the Jar.
- On the island shore, put the Termites on the wooden log beside the winch chest; they eat through it and you can take the Coconut. Fit the Sling and the Coconut onto the Y-shaped branch on the cliff to make a slingshot and knock down the pot. Take the Whale Oil.
- Play the lighthouse-yard hidden-object scene again (silhouette mode) for the Ethanol. Pour it on the dried ink on the lighthouse shelf and take the Arrowhead from the blue cloth.
Lighthouse Top: Sea-Floor Riddles
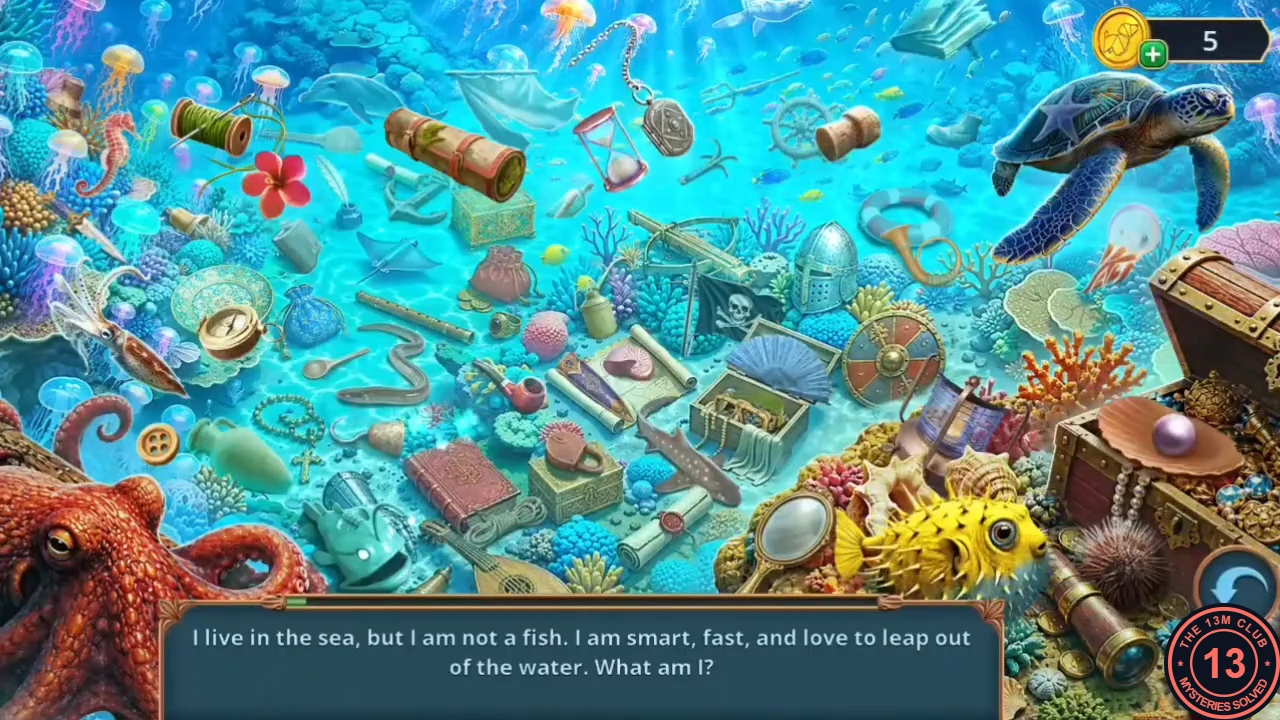
Repair the staircase, climb to the lantern room and play the sea-floor riddle scene.
- On the Sunken Ship, slit the tied sack beside the cormorant with the Arrowhead and take the Lattice. Use it to repair the broken staircase in the lighthouse and climb to the top.
- At the top, Inara suggests looking for something the old keeper hid. Decision: answer "Lighting the fire and finding a hiding place could be the key to everything." for +2. "Maybe we shouldn't. The whale might get even angrier." gives 0.
- Oil the telescope gears with the Whale Oil and work it in with the Brush, then take the Magnet and the Blades.
- Fit the Pin, the Sail and the Blades to the toy boat on the desk. Take the Fish Figurine, then the Caviar.
- On the Sunken Ship, put the Caviar at the edge of the jellyfish pool; the jellyfish move away. Play the sea-floor riddle hidden-object scene: read each riddle and tap the object it describes. The reward is the Lizard Figurine.
The Star Amulet
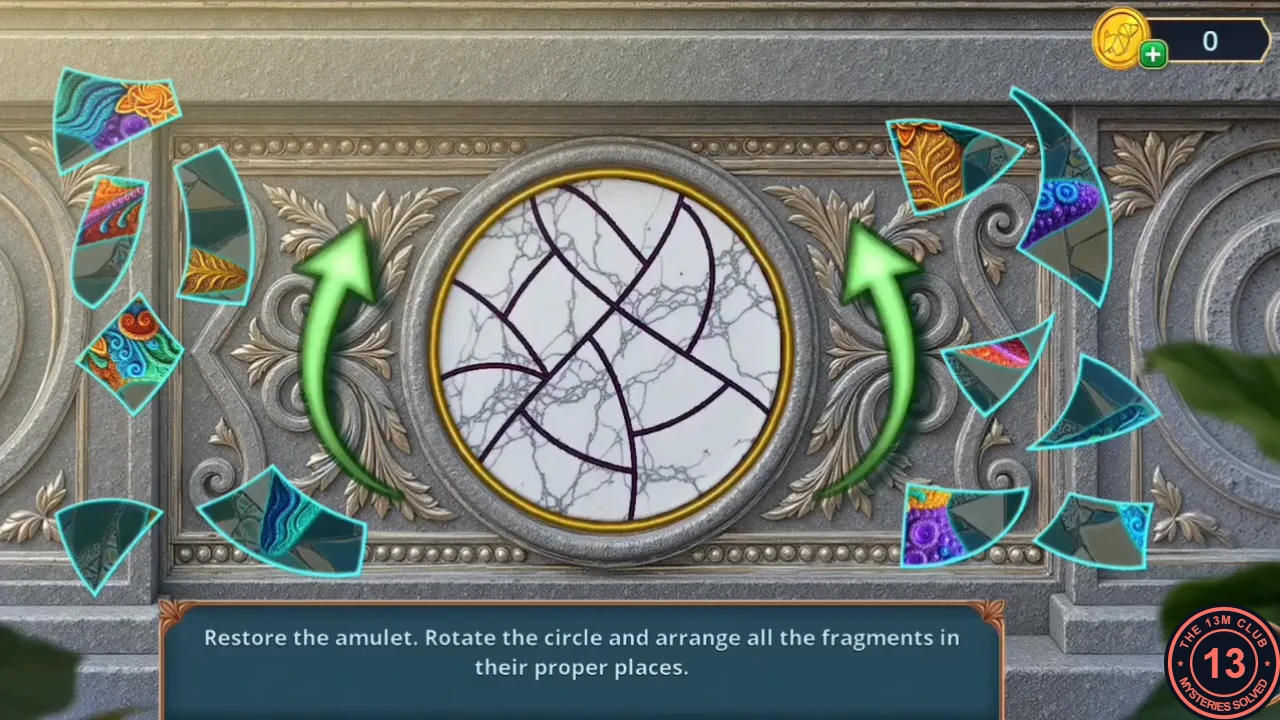
The chest at the top holds a star amulet that restores Poseidon's altar.
- At the chest at the top of the lighthouse, take the Dried Fish from the hole and the Mousetrap. Set the Lizard Figurine in the empty slot; the chest opens. Take the Mosaic Fragment and the Star-Shaped Amulet.
- Put the amulet on Poseidon's altar in the yard. Restore it: rotate the circle and drop each fragment into its matching position until the star is complete.