My Ship's Deck
The story opens on Raphael's ship, anchored off the port of Santa Marilla. Your first task is to make a ladder so you can go ashore. Shells are hidden throughout the game; their locations are listed in the Collectibles part.
- Take the Spear from the crates on the deck.
- Open the wax burner close-up and take the Hand Rake from the pan, then the Calendar Part. Pick up the first Supports from the deck (1/2). The rope winch on the central mast is stuck: fit the Spear into its drum as a lever, which frees the ladle hanging there. Take the ladle and dip it into the pot of hot wax on the burner to get Melted Wax. Then pour the Melted Wax over the separate chain winch on the left of the deck so it turns, and take the Oar lying on that winch.
- Open the compartment at the base of the helm and take the second Oar together with the rope and the boards stored there.
- Combine the two Oars with the rope and boards to make the Improvised Ladder. Hang it over the starboard rail and climb down to Santa Marilla's Pier.
Santa Marilla's Pier: Market Stall
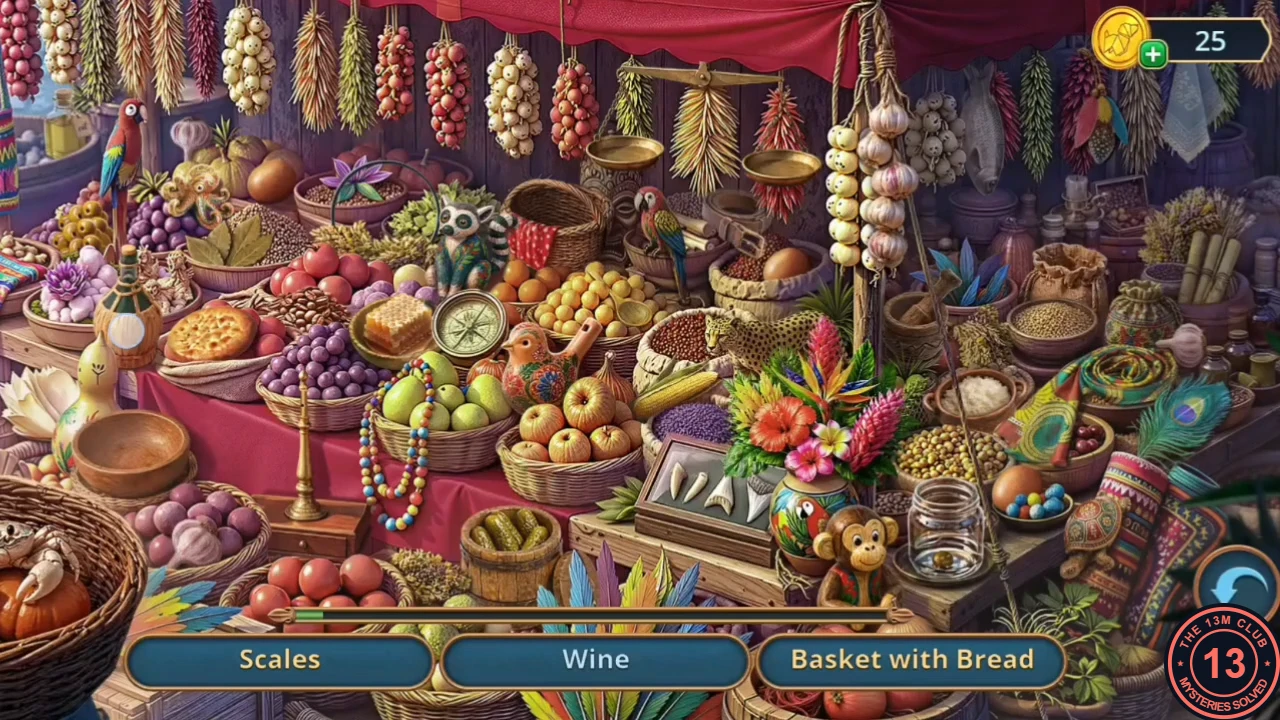
Inara wants to start asking questions in the town, but the way into the streets is blocked by a fallen beam at the stone pillar.
- Decision: when Inara says "We start where people drink. Rumors start there too.", answer "Aye. The tavern is a good place to start." for +2 decision points. "You're imagining things." gives 0. Decision points only affect the end-of-chapter outcome card (see Endings).
- At the stone pillar beside the bucket, take the first Sundial Part (1/2). The heavy beam behind it blocks the road into town.
- The ground under the pillar looks freshly dug. Dig there with the Hand Rake (the green three-pronged tool) and take the Leather Coin Purse.
- Open the market stall close-up and give the Leather Coin Purse to the merchant's outstretched hand to pay. The purse stays in your inventory. The stall now sparkles: tap it and find every item on the list. The reward is the Shark Tooth.
The Keys Puzzle
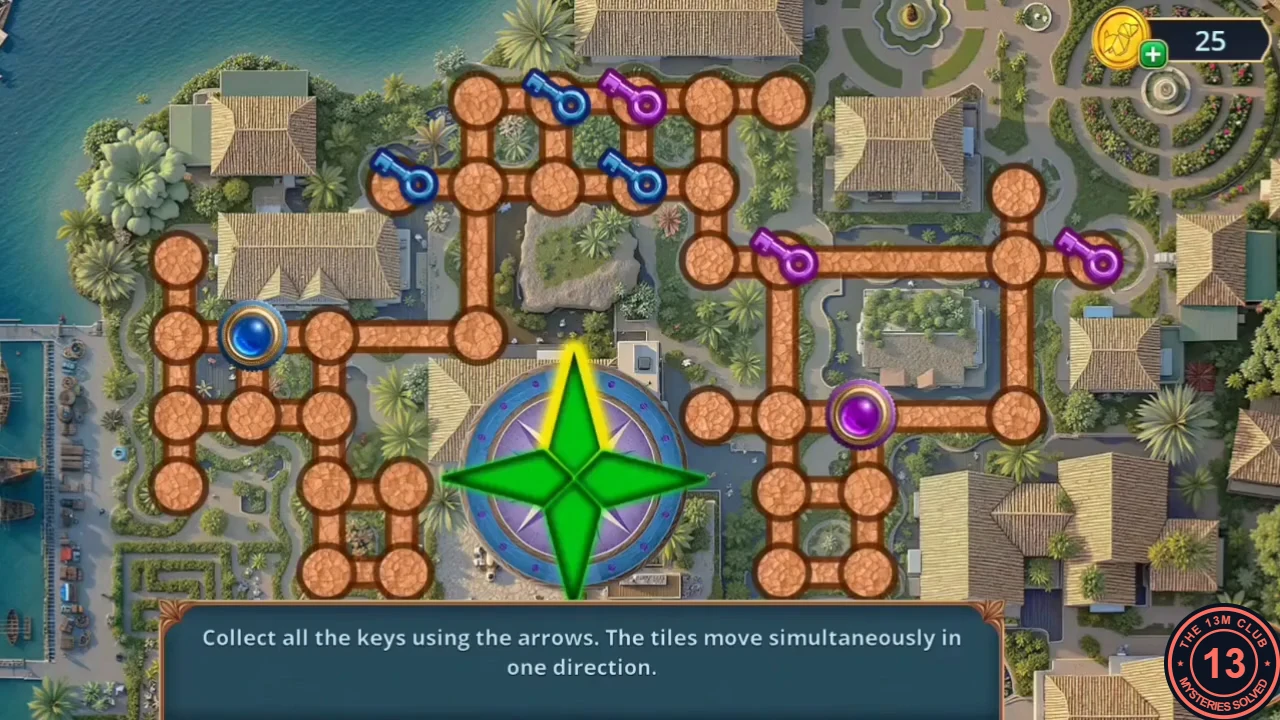
Prop up the fallen beam at the stone pillar to open the keys puzzle on the town map.
- Cut the ropes on the red-and-white crate in the moored boat with the Shark Tooth. Take the Jar of Honey and the second Supports (2/2).
- Wedge both Supports under the heavy beam at the stone pillar to open the keys puzzle on the town map. The arrow pad moves the blue and the purple ball together, each in the same direction, and each ball collects the keys of its own colour. Plan each press for both balls at once; use walls and dead ends to hold one ball still while the other keeps moving. Once every key is collected, the road to the streets is open.
Santa Marilla's Streets: Fountain Flowers
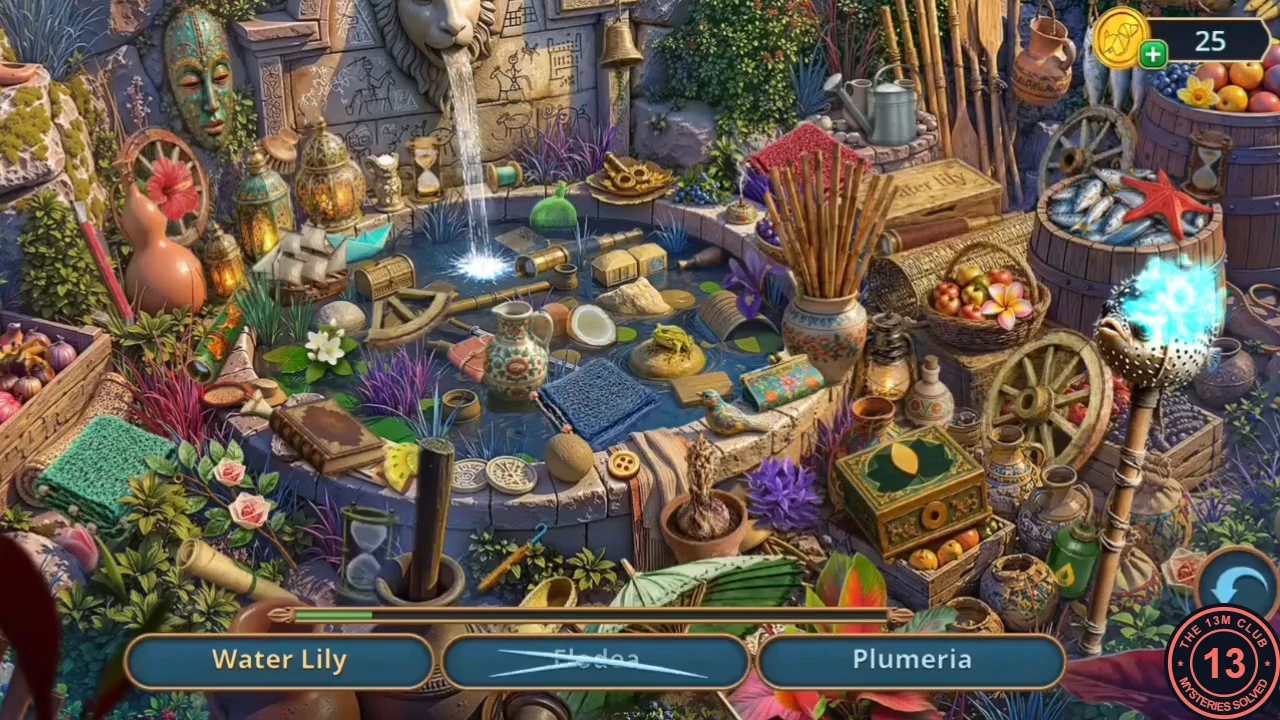
The pub door is locked by a set of bells, and one bell is missing. You will need to repair the sundial and the cart to find it.
- In Santa Marilla's Streets, open the door with one bell and take the Octagonal Hook from beside it.
- Look into the well: take the Orange floating in the water. Hang the Octagonal Hook on the well rope to raise the bucket and take the Sign from it.
- Put the Sign back on the lion signpost, then tap the sparkling fountain flowers and find the listed items. The reward is the Carpenter's Drill Bit.
The Sundial
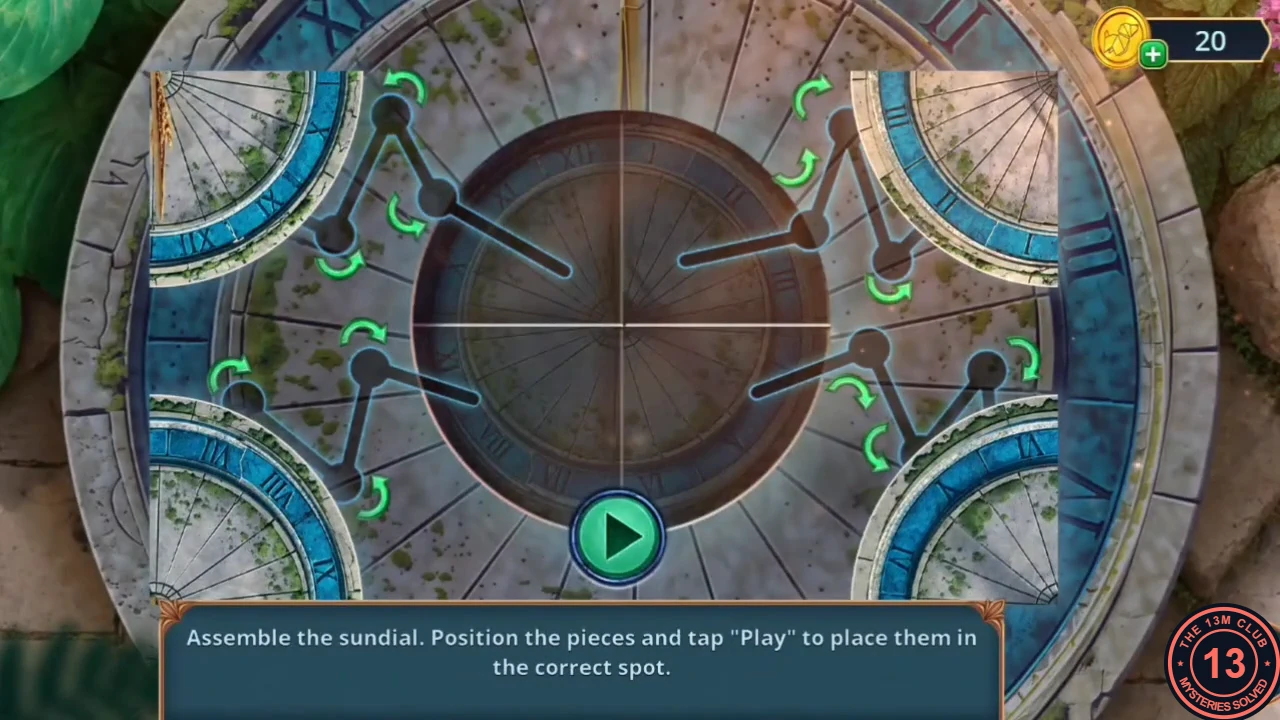
Fetch the second Sundial Part from your ship and repair the sundial in the streets.
- Return to your ship. At the chain winch, drill into the red barrel with the Carpenter's Drill Bit and take the Rings. Put the Rings in the two slots on the hatch by the helm. Take the map, the second Sundial Part (2/2) and the Willow Vine from the hatch.
- Back in the streets, place both Sundial Parts on the sundial to start the puzzle. Each corner piece can be turned with its green arrows. Turn the pieces until the numeral rings and the dial lines join into one complete face, then tap Play to set them in place.
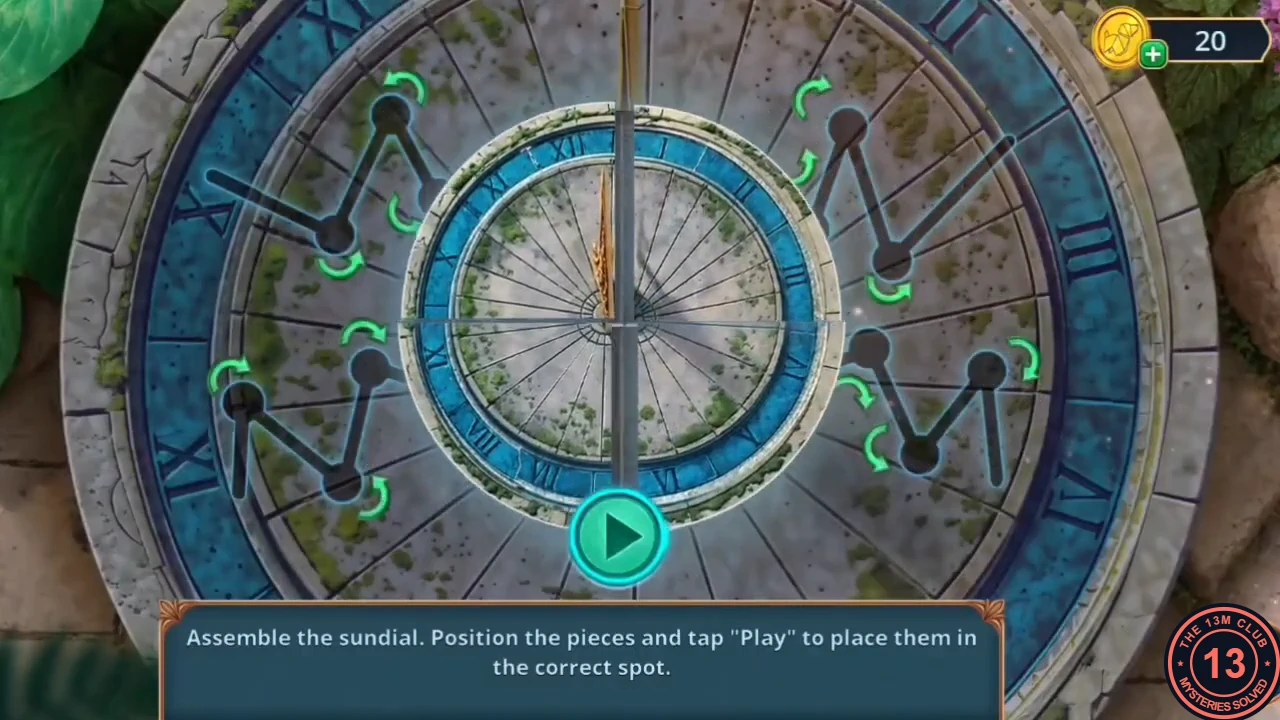
Solved sundial: the numeral rings and lines form one face; tap Play.
The Bell Door
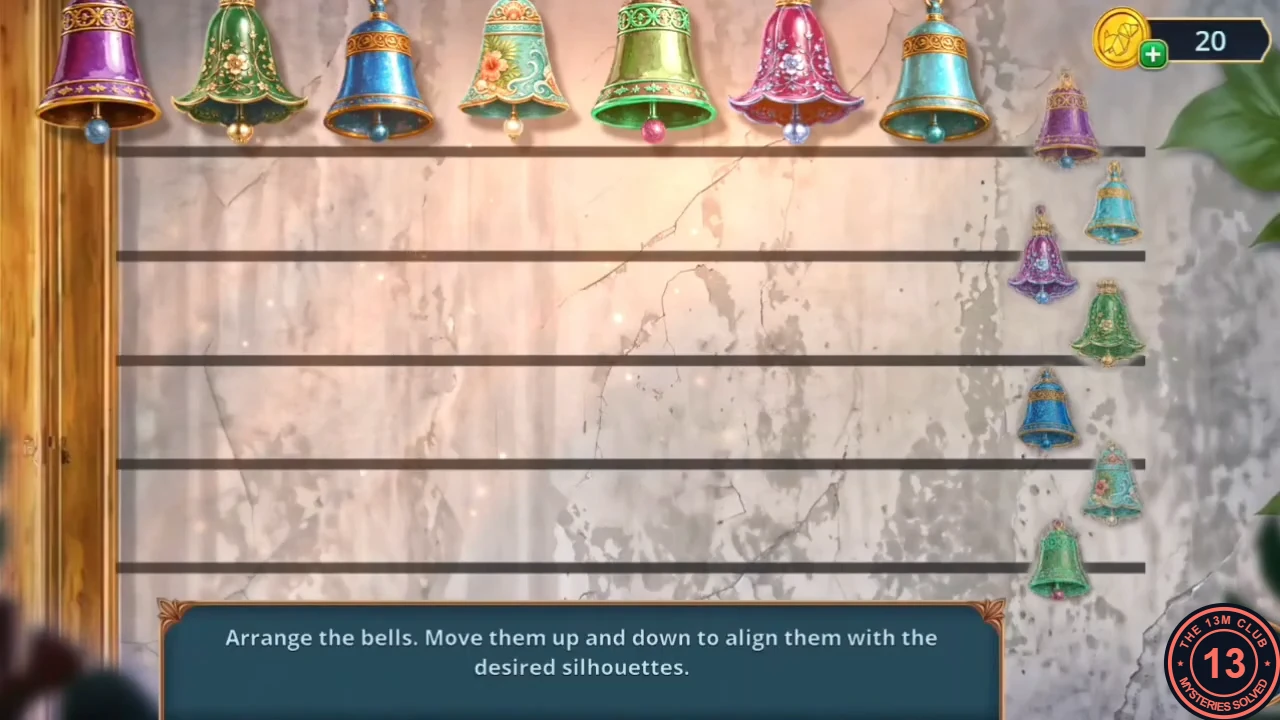
Repair the cart to get the missing bell, then line up the bells on the pub door.
- Something shiny is tangled deep in the sundial basin, but you cannot pull it out by hand yet. Take the Chisel and the Second Calendar Part from the basin. Join both Calendar Parts and bind them with the Willow Vine to make the Stone Wheel Calendar. Fit it on the cart by the well as its missing wheel, then take the Shackles and the Bell from the cart.
- Hang the Bell on the empty hook of the bell door. Puzzle: move each bell up or down until it hangs level with its silhouette on the right edge. The door opens into the pub.
"By the Pier" Pub: Market Stall Silhouettes
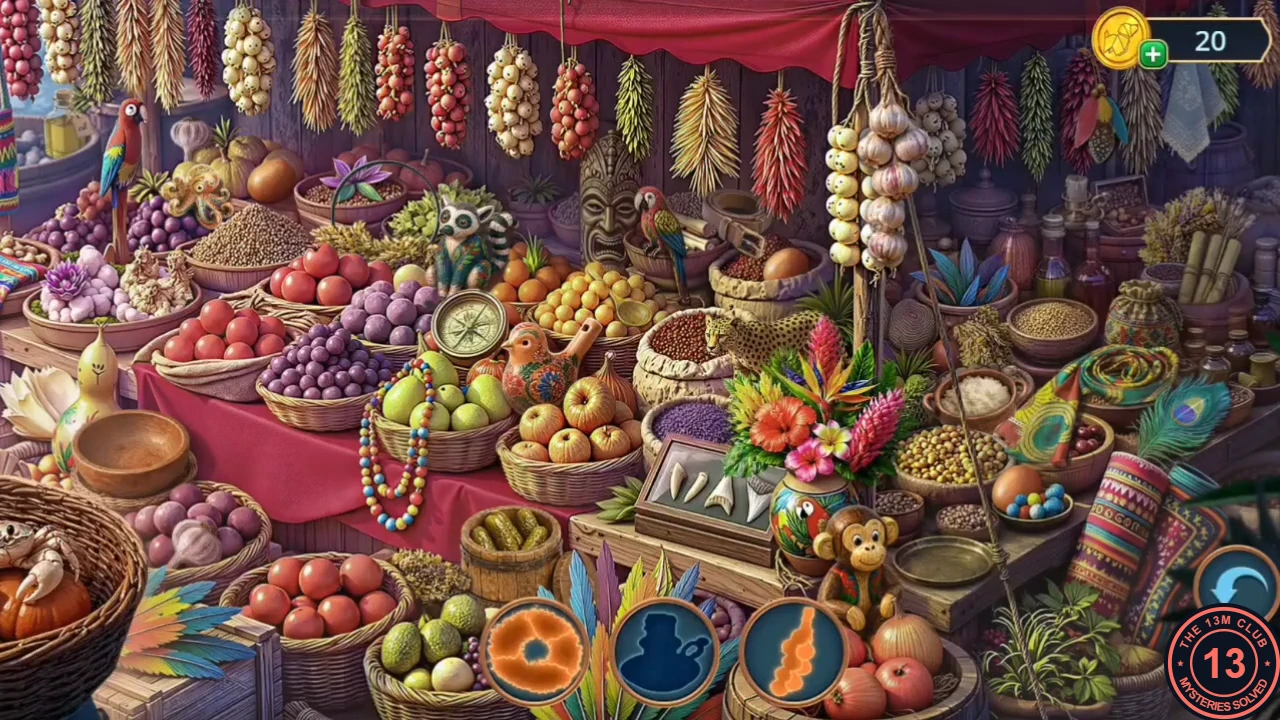
Inside the pub, the fisherman Mateo will only talk once you have beaten him at dominoes and brought him a drink. Start by collecting the ingredients for his drink.
- In the "By the Pier" pub, open the bar close-up and take the Barrel of Tar and the Sailor Figurine.
- In the fireplace close-up, break the fish bones with the Shackles and take the Magnet. A shell is also hidden here.
- Use the Magnet on the clasp of the bag beside the PRIZE box. Take the Dominoes and the Spur.
- Return to the pier market stall, which now plays in silhouette mode, and find the outlined items. The reward is the Bottle of Spices.
Dominoes with Mateo
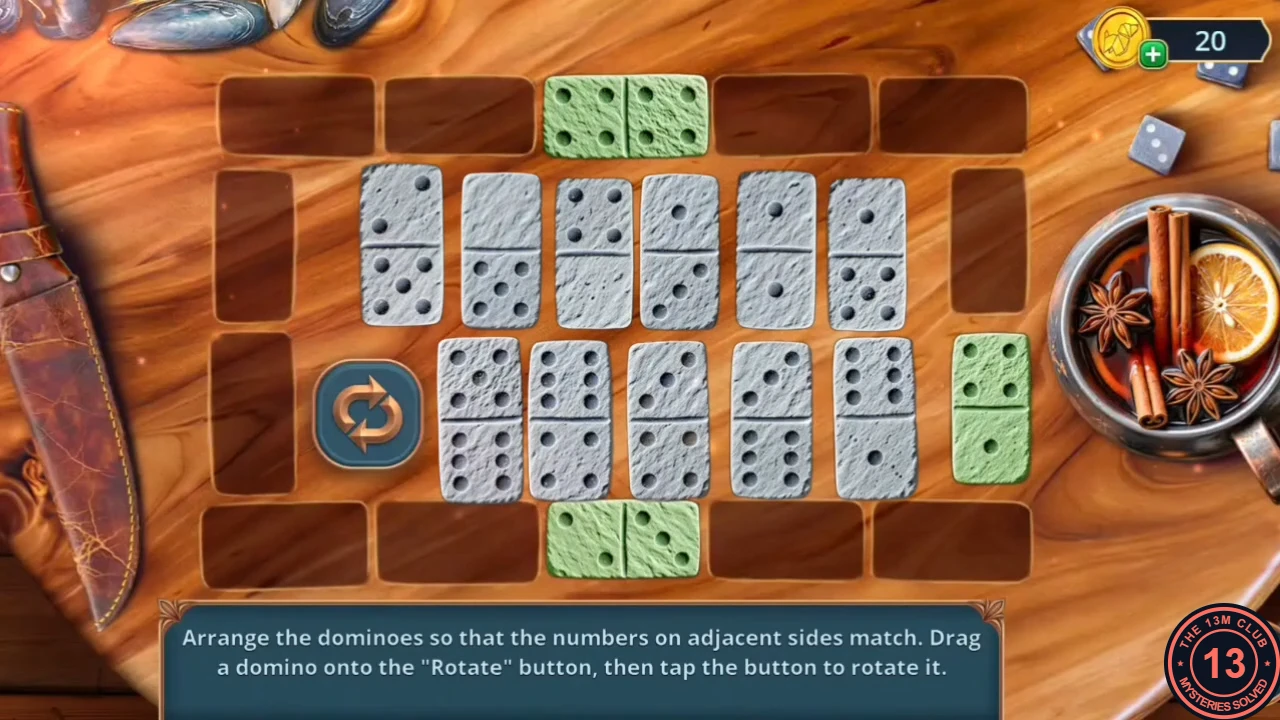
Mix Barman Pedro's rum drink and beat Mateo at dominoes.
- Read Barman Pedro's recipe on the barrel by the bar. Fill the four slots beside the mug with the Leather Coin Purse (payment), the Jar of Honey, the Orange and the Bottle of Spices. Take the Rum Drink.
- Sit down at Mateo's table and place both the Dominoes and the Rum Drink in the two item slots on the table to start the game. Complete the frame so that touching halves always show the same number. To turn a domino, drag it onto the Rotate button and tap the button. The green dominoes are fixed, so start from their numbers and work outwards.
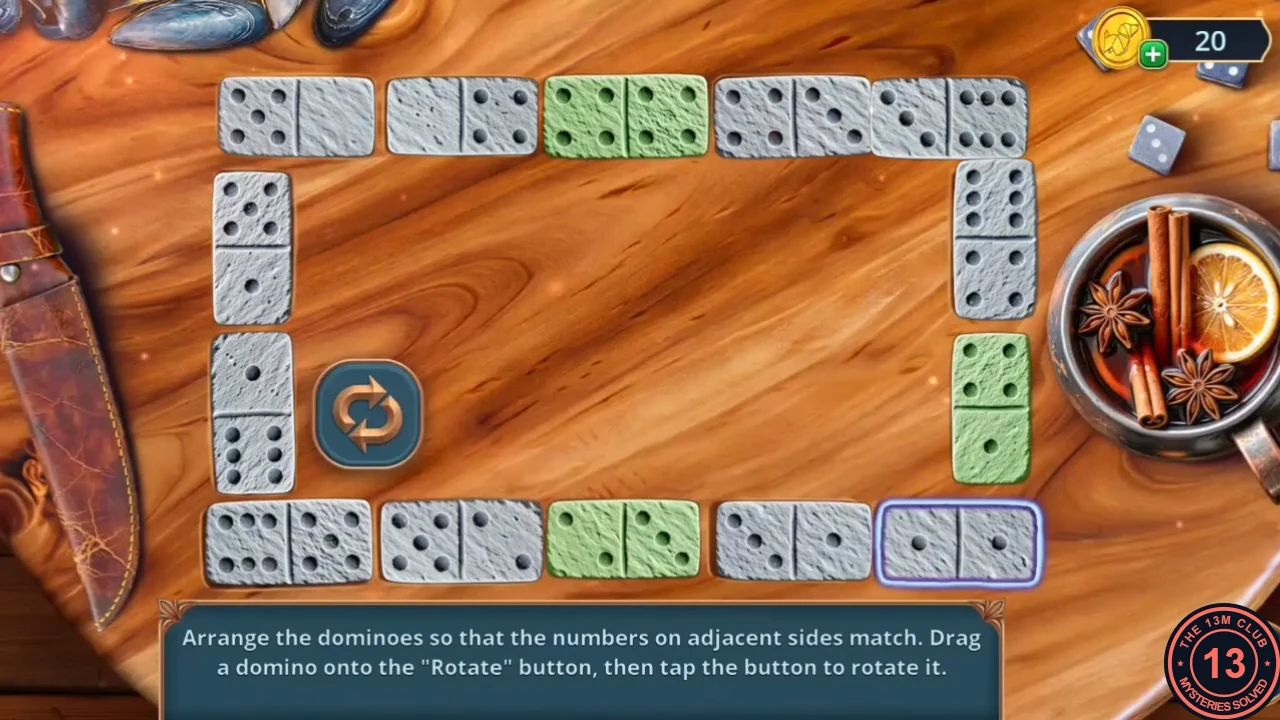
The completed domino frame from this playthrough. - Decision: when Mateo says some think the whale is just an animal and others a curse, answer "It doesn't just attack. It reacts to something specific." for +2. "Looks like a common threat to me." gives 0.
- Mateo gives you the Mussel.
Rescue at the Pier: The Swim Puzzle
Back on the pier a man is in trouble in the water. This is Captain Esteban Ruiz, who joins the investigation.
- On the pier, look at the man in the water. A new task asks you to help the captain.
- Give the Mussel to the crab on the striped chest. Once the crab moves, take the Captain Figurine and the bag of Salt.
- In the pub, place the Captain and Sailor Figurines on the ship chest on the shelf. Its drawer opens: take the Wooden Ring (1/3) and the Peacock Feather.
- In the pub fireplace, sweep the broken glass off the rope net with the Peacock Feather and take the Net. Back on the pier, use it to pull the captain out of the water.
- Captain Esteban asks for help. Decision: answer "We leave no one behind, mate. We'll find out what's going on." for +2. "Coincidence?" gives 0. Esteban gives you the Three-Pronged Fork.
- In the streets, pull the tangle out of the sundial basin with the Three-Pronged Fork. Take the Matches, the Flax and the Bow.
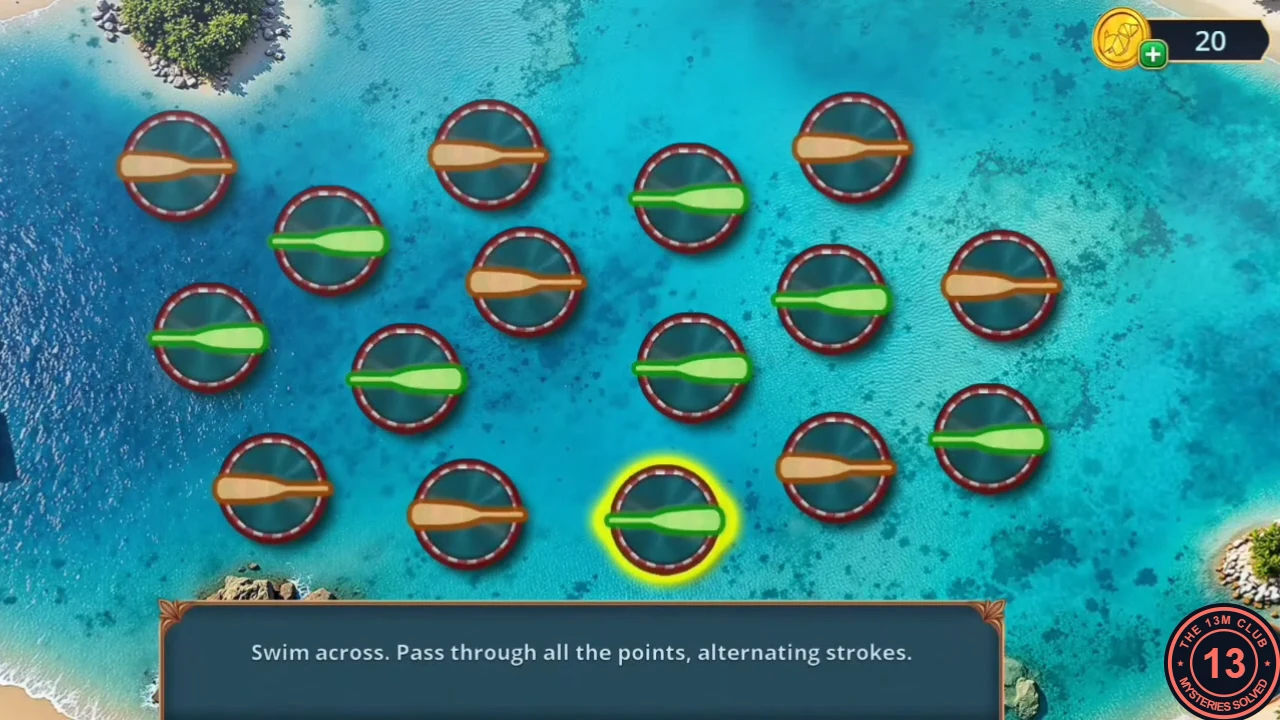
- Repair the pier rowboat: stuff the Flax into the holes in its bottom, press it in with the Chisel and seal it with the Barrel of Tar. Swim puzzle: link all 16 paddles in a single chain whose paddle colours alternate green and brown. Path used: start on the green paddle at the bottom centre, go left along the bottom row to the brown paddle, then up and left in a zig-zag to the brown paddle at the top-left corner, back right through the middle of the board, down to the brown paddle at the lower right, up the right-hand side, and finish along the top row from right to left. A finished chain lights every paddle and the rowboat takes you to the Elder's House.
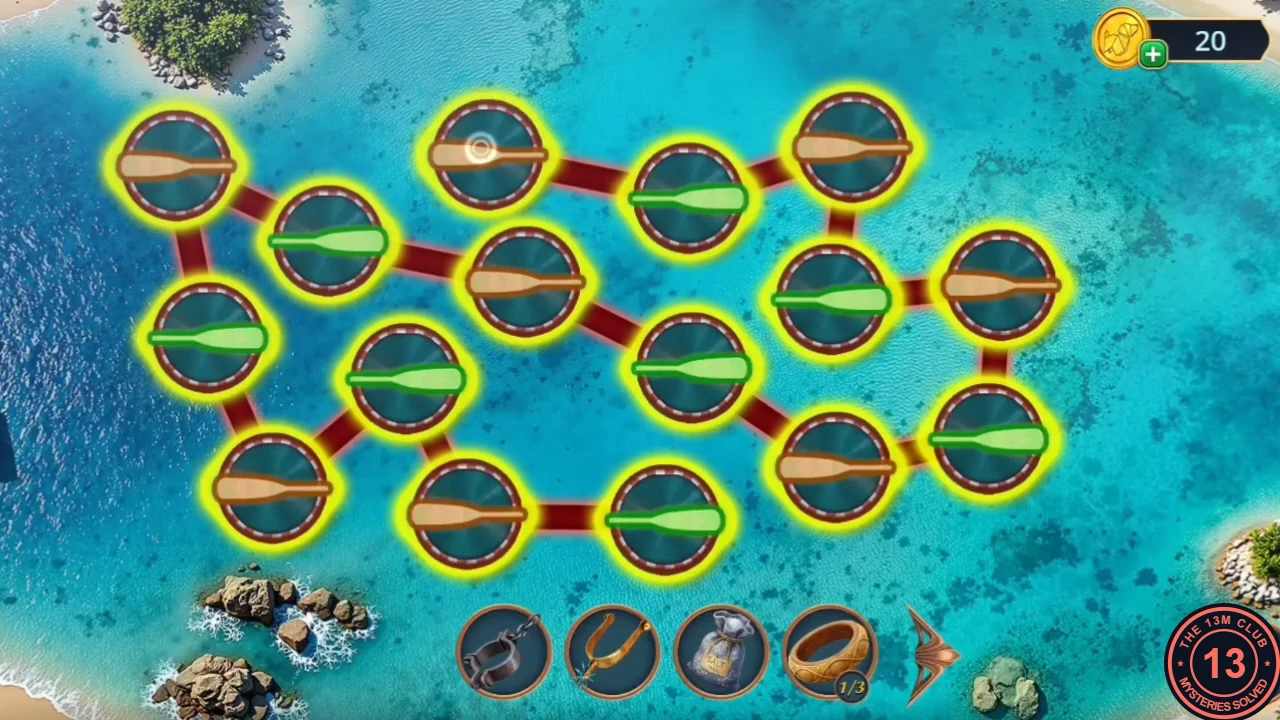
The finished chain linking all 16 paddles.
Elder's House: Garden Hidden Objects
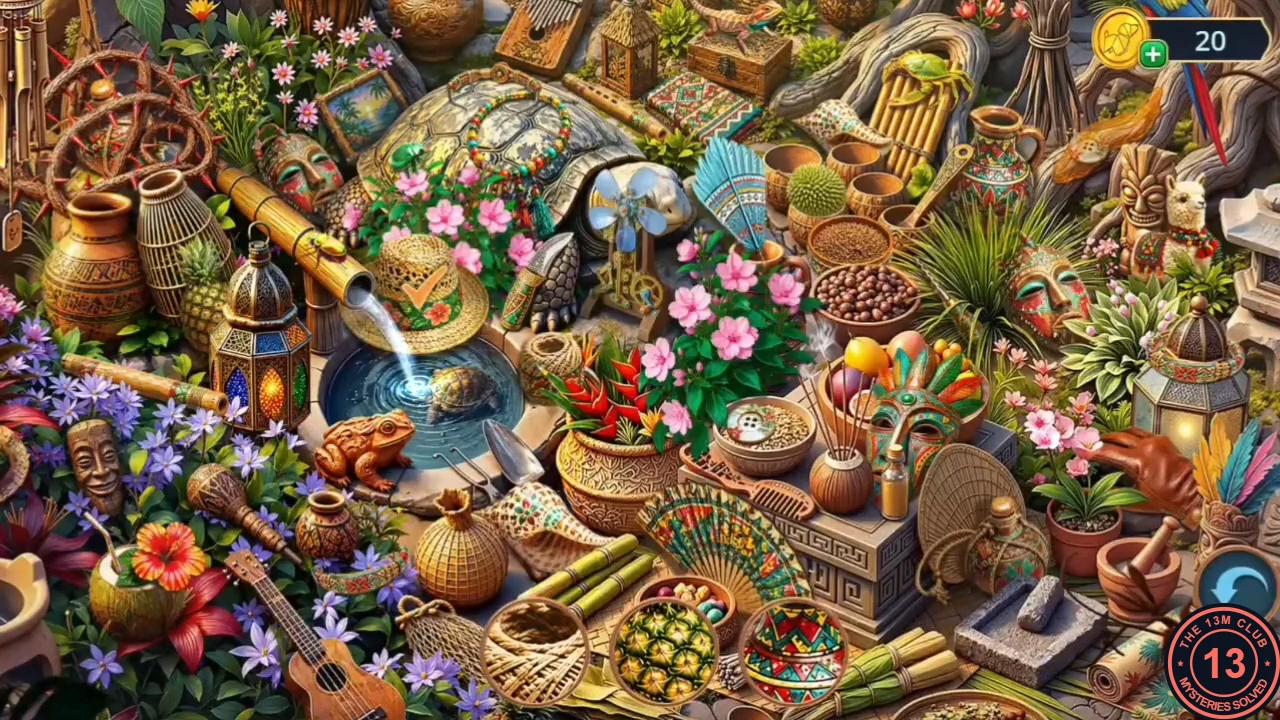
The rowboat brings you to the Elder's House beside an old chapel. The elder will not talk until you bring him bread.
- Decision: when Esteban points out the old chapel, answer "A sensible idea. Let's take a look at the chapel." for +1. "No time for abandoned ruins." gives 0.
- The elder at the carved door asks you to bring him bread. Cut the rope of the blue sack hanging by his door with the Spur and take the Flower Figurine (a flower-shaped pinwheel).
- The pink jasmine by the turtle statue releases dangerous pollen. Place the Flower Figurine in the empty spot on the turtle; its spinning clears the pink haze and opens a hidden-object scene.
- Find every listed item in the garden hidden-object scene. The reward is the Bananas.
- Give the Bananas to the monkey on the well. When it leaves, take the Arrow and the Wooden Ring (2/3) from the bamboo spout.
Abandoned Chapel: The Figure Keypad
The abandoned chapel holds a stained-glass whale window and several mechanisms that open one after another.
- Enter the chapel and take the Brush from the confessional. It is too dark inside to see anything else for now.
- Go up to the altar and take the palm leaf and the Oil Lamp (a censer on chains). Hang the censer on the empty hook beside the Virgin statue; the wall compartment opens. Take the Cardboard Figurines, the Wick and the Ink.
- At the stained-glass whale window, lay the palm leaf on the sill, set down the Ink and paint the leaf with the Brush. Raphael learns that the monks of this parish knew about the whale and even tried to exorcise it. Take the inked leaf (the game calls it the Fresco Part); it is the stencil you will need in the elder's house.
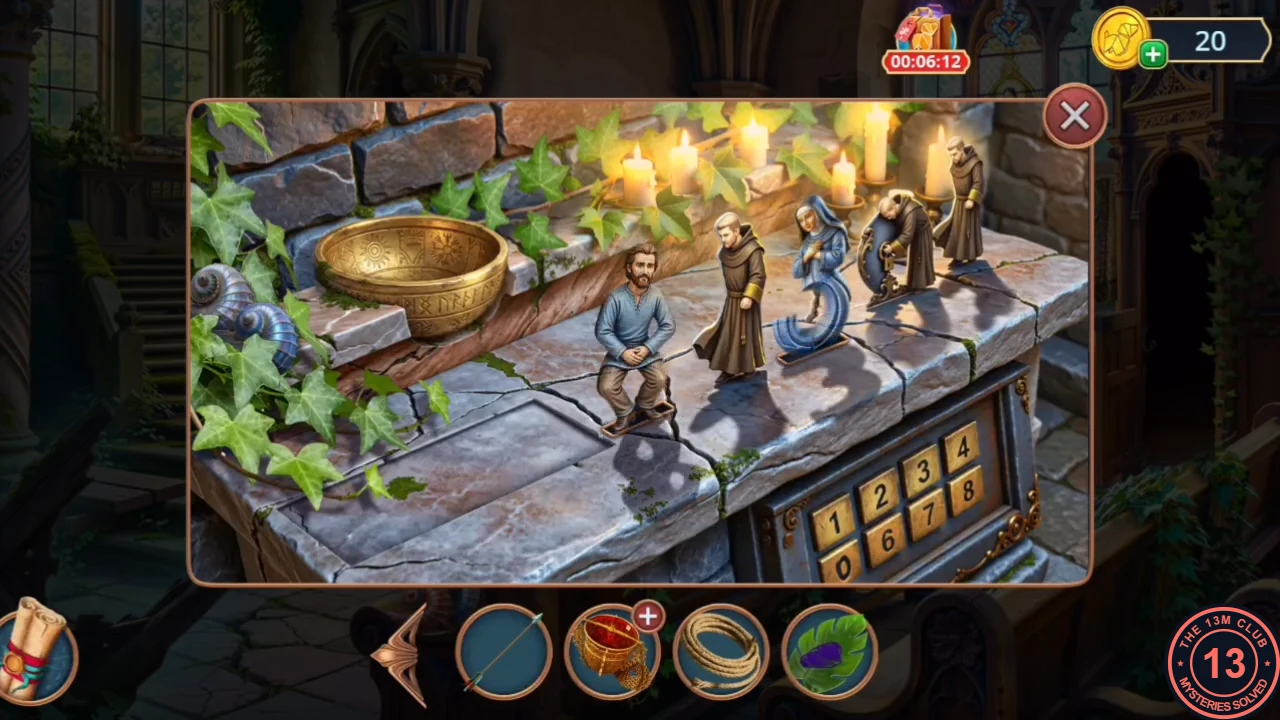
- At the altar, stand the Cardboard Figurines (a seated man and the Virgin in a curling blue robe) in the two empty slots, so the row reads: seated man, standing monk, Virgin, monk bent around a ring. The figures' shapes give the four digits 8, 1, 3 and 0. The drawer stays locked until you type 8130 on the keypad below the altar. Take the Kerosene from the drawer.CODE8130
- Open the Oil Lamp in your inventory and fill its three slots with the Kerosene, the Wick and the Matches. Take the Burning Oil Lamp.
- Hang the Burning Oil Lamp in the confessional. In its light, take the Glass Carving Chisel.