The anonymous letter
Vivian Mills, a crime reporter for the Daily Event, brings you a threatening letter.
- Listen to Vivian Mills at the police office.
- Open the Envelope in your inventory to get the Letter (a ransom-style note made of cut-out letters) and a Symbol card.
- The office filing drawer is already open: take the Chain from it, then place the Symbol card on the drawer.
Filing folders
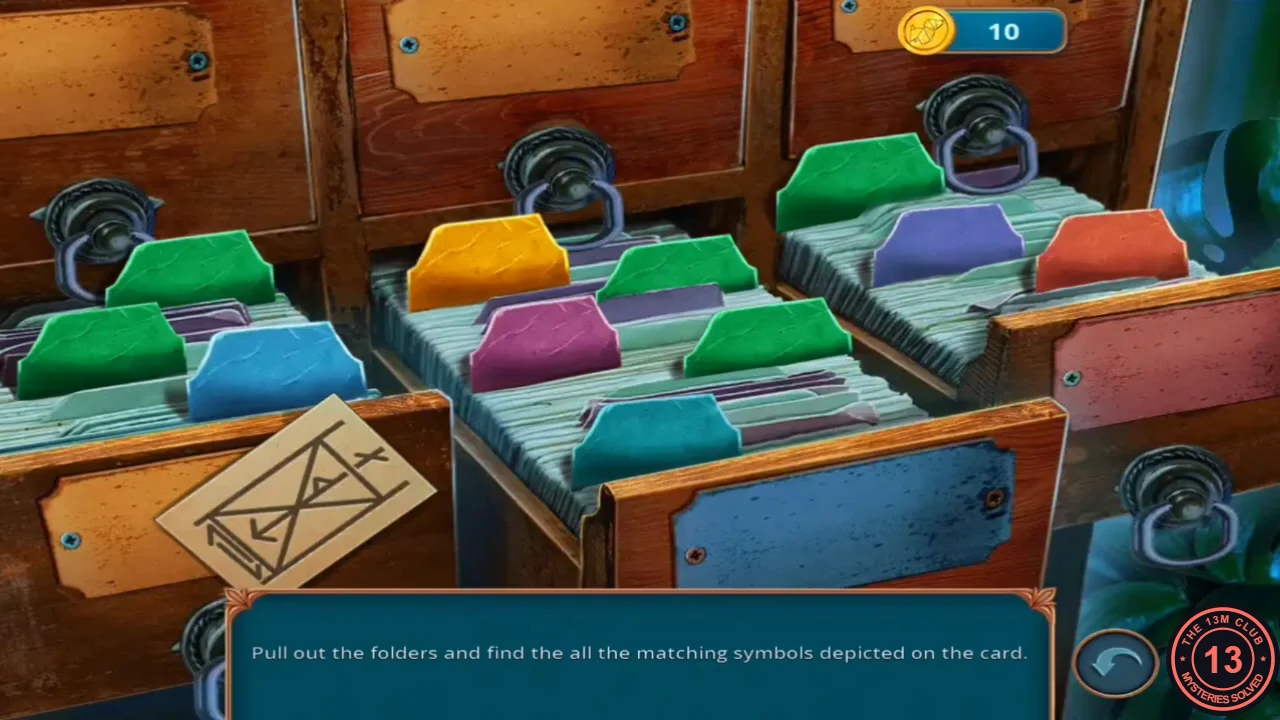
Pull out the folders and find all the symbols shown on the card.
- Pull out folder tabs one at a time. When a folder shows one of the card's symbols, that section of the card turns green. Find all three symbol groups to get the Folder (the Tempus Hourglass dossier).
Track the letter on the city map
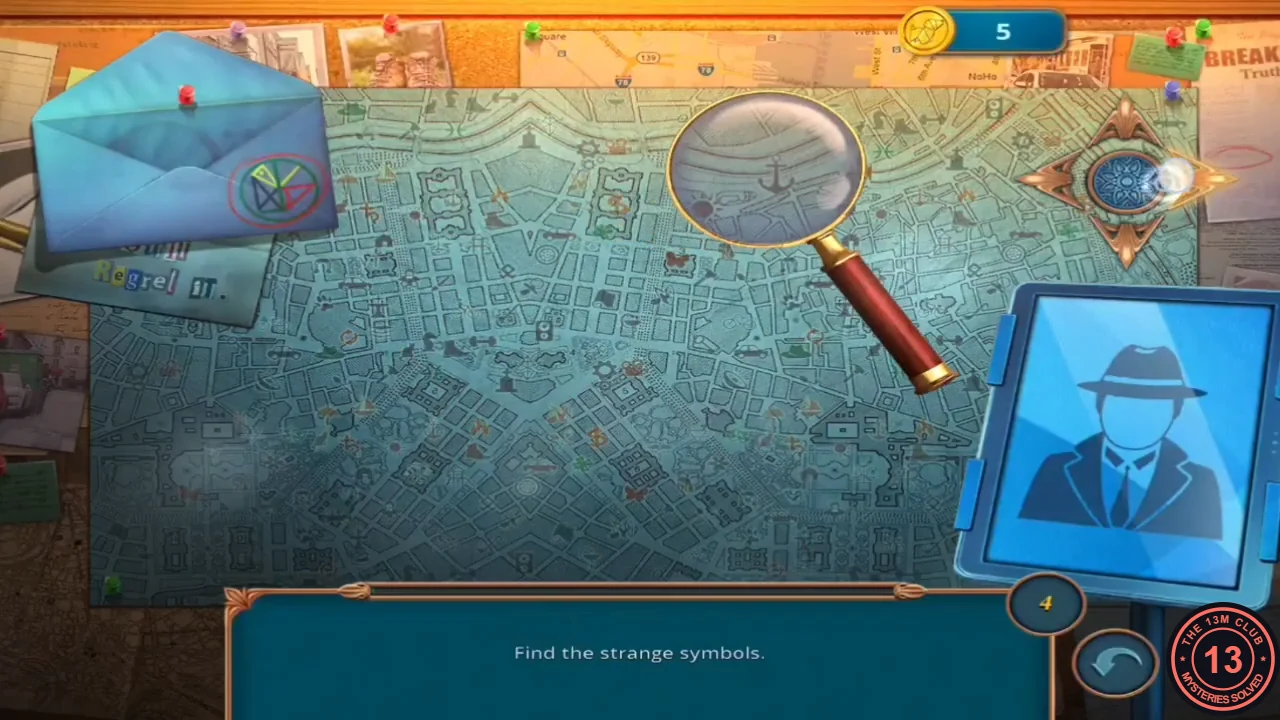
Search the laptop for the hourglass emblem, then use the magnifier on the city map.
- Take the Camera lying on the desk laptop keyboard (it is still missing parts). Put the Folder on the laptop, search for "Tempus Hourglass" and print the result to get the Map. Place the Map and then the Letter on the evidence board.
- Stage 1: move the magnifier over the map and find the four strange symbols that match the stamp on the envelope. Red routes appear, and the tablet notes that the letter's route ran through the area of the enterprises.
- Stage 2: examine the letter and tap the underlined word "Time", then find the clocks on the map.
- Stage 3: tap the stain on the envelope, then find the bars. The routes meet at the bar with the hourglass sign in the upper right of the map.
Hourglass Bar street
Vivian comes with you to the bar.
- Vivian gives you the Calendar on the way.
- On the street, zoom into the poster kiosk. Take Lockpicks 1/2 and the Corkscrew, then put the Calendar on the calendar page (8 OCT) to get the Poster for the jazz evening with Harry Fishman.
- Vivian is scared. The coin-priced answer is "No one is watching us, Vivian. This is the safest place for you to be right now." and the free answer is "Pull yourself together and stop making things up!". The recording took the free answer. No reward linked to this choice was found.
- Knock on the bar door. Earl, the bartender, says they are closed; show him the Poster and he lets you in.
- Earl tells you about a customer who smashed a glass and keeps mumbling about a letter. The task is to talk to the bar visitor.
- Zoom into the jukebox, read Earl's note about the upcoming concert night and take the Lens.
- Take the Wire Cutters near the jukebox. At the bar counter rail you need a sharp, sturdy tool: use the Wire Cutters to get the Cue.
- Knock the red padlock (the Lock) off the lower back shelf with the Cue.
- Outside, attach the Chain to the swing seat and fasten it with the Lock to lift the seat. Take the Tweezers and the Tool Kit. Sale Coupon 13/70 is in the foliage near the swing.
- Zoom into the steering column in the dump truck's cab. The wires cannot be fixed by hand: use the Tool Kit.
Truck wire clips
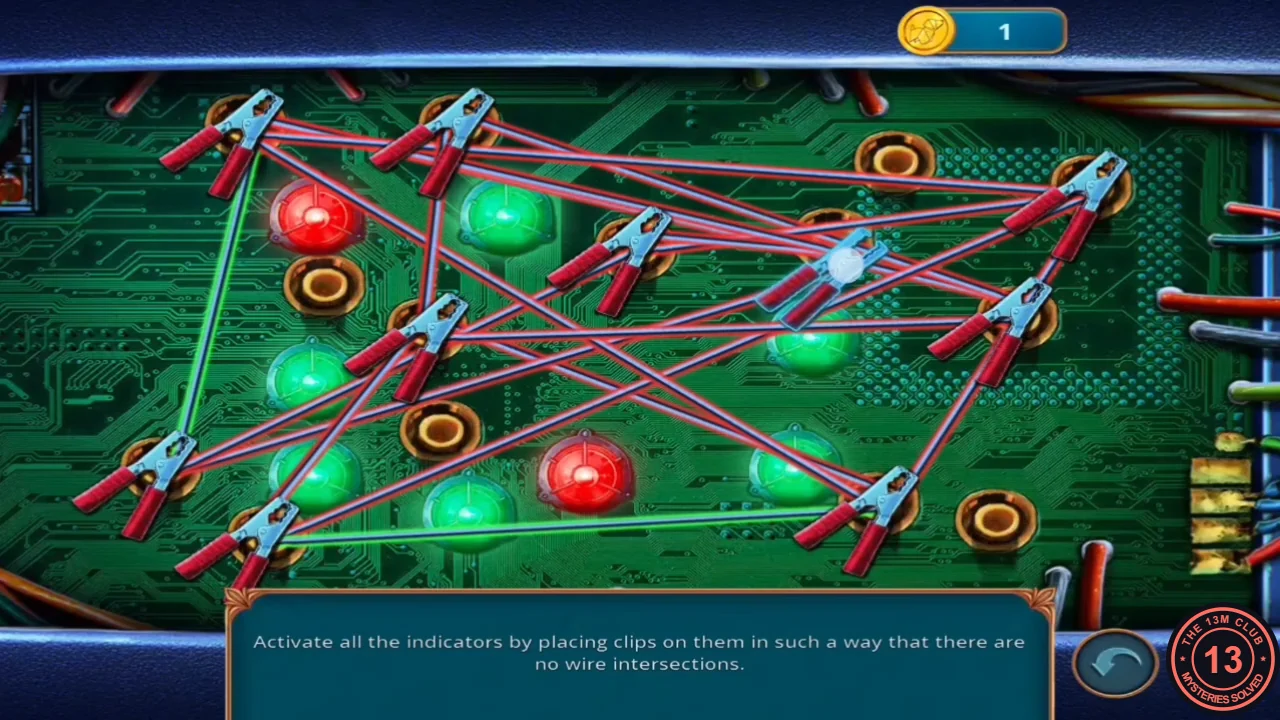
Place clips on all the indicators so that no wires cross.
- Drag the clips around until every green indicator is covered and none of the wires cross. The truck then rolls away and opens the alley.
The alley and Mr. Barlow
The alley behind the truck has the same symbol as the letter.
- Look at the graffiti wall in the alley. It shows the same symbol you saw earlier.
- Zoom into the barrel. Take the Door Handwheel, pull the cork plug at the base with the Corkscrew to drain the barrel, and take the Instant Film from the grate.
- In your inventory, attach the Lens and the Instant Film to the Camera. Photograph the symbol on the graffiti wall to get the Photo.
- In the bar, show the Photo to the old man at the table. In his memories of the mill explosion five years ago, tap the highlighted glints as the flashback plays.
- Mr. Barlow has also had an anonymous letter with the same sign. The coin-priced answer is "Don't speak to her that way. I hope she accepts your apology." and the free answer is "You were saying, Mr. Barlow?". The recording took the free answer. He hates noise and gives you the Volume Button.
- Put the Volume Button on the jukebox, press it and take the Handle.
- Fit the Handle to the air-conditioning unit on the left alley wall to stop the fan. Take the Penknife, then pull out the Coin with the Tweezers.
Kiosk coin slider
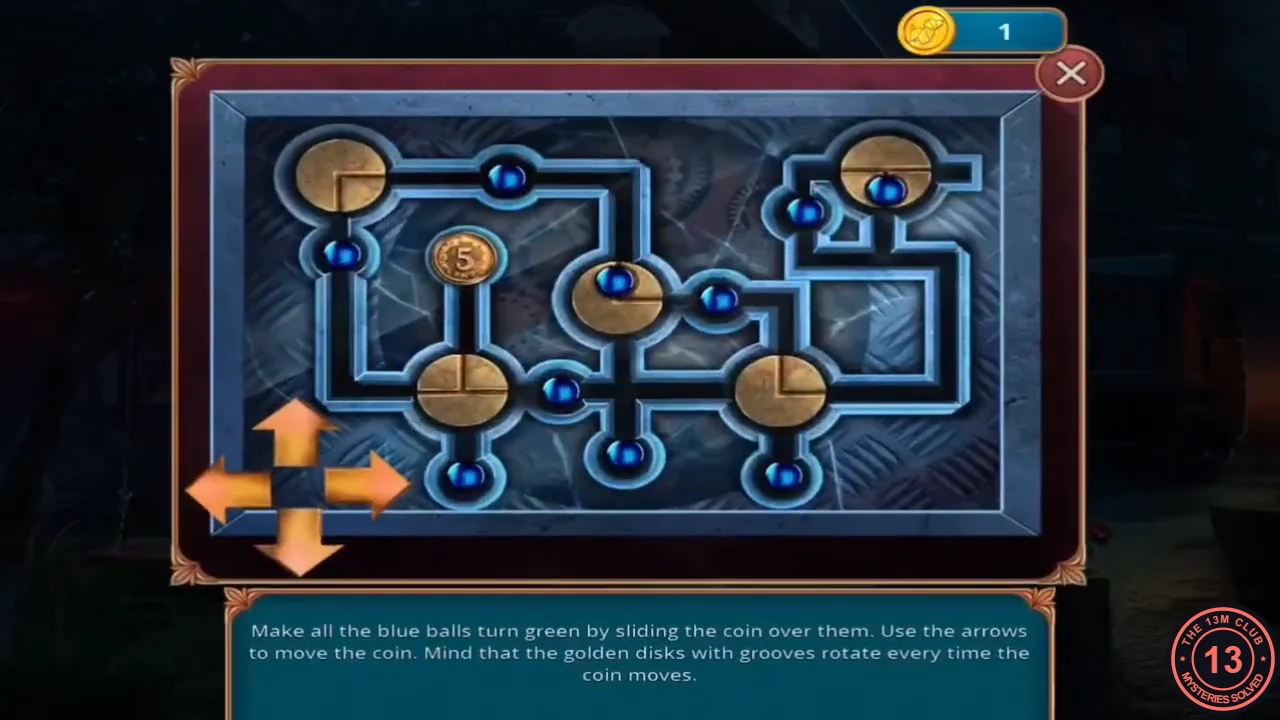
Use the Coin on the lower panel of the street kiosk. Move the coin over all the blue balls to turn them green. Every time the coin moves, the golden grooved discs rotate.
- From the starting layout in the recording, press the arrows in this order (U up, D down, L left, R right): D R R D U R R U L U L D R R D L D U U L L D L R L R L R L L D U L U U R. That is 36 moves. If a move is blocked, the coin does not move; carry on with the next move in the list.CODED R R D U R R U L U L D R R D L D U U L L D L R L R L R L L D U L U U R
- The kiosk opens. Read Vivian's Daily Event article and take the Key Fob.
Lockpick roll
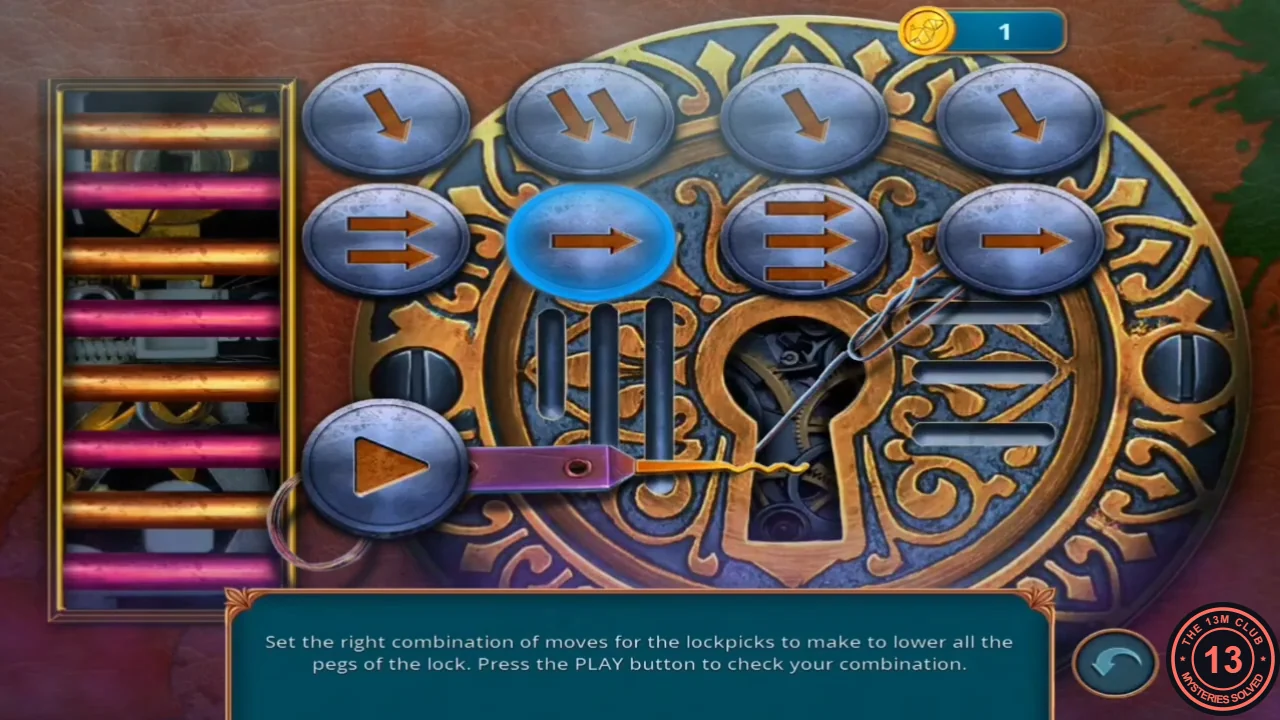
Fish the lockpicks out of the alley grate, then set the moves to lower every peg.
- Use the Key Fob on the alley grate by the barrel to pull out Lockpicks 2/2; the Lockpicks are now complete. Use them on the strapped leather bag lying in the alley (lower centre) to start the lock puzzle.
- The top row of buttons sets the down moves and the bottom row the right moves; tap a button to change its number of arrows. Set the top row to 2, 1, 3, 2 and the bottom row to 3, 2, 1, 3, then press PLAY.CODETOP 2-1-3-2 / BOTTOM 3-2-1-3
- The bag opens. Take the Discharged Taser and Earl's ID.
Trapped in the smoky cellar
Earl does not like being found out.
- Show Earl's ID to the bartender. He knocks you out and you wake up tied up in the cellar; tap to break free. Your inventory has been emptied: your things are in a bag in the cellar.
- The cellar is full of smoke. Take the Stool and place it under the high window by the stairs. In the window-sill close-up, clear the broken glass to open the window and let the smoke out.
- Untie Mr. Barlow's ropes and keep the Rope. He explains that this cellar is all that is left of the steel mill he used to run.
- Barlow offers to open his old office. The coin-priced answer, "I'll give your office a shot. Maybe we'll find out what Earl is up to." (lock-and-room icon), opens the optional Factory Office (see the sections below). The free answer, "I don't see the point of going there after such a powerful explosion.", skips it. The price differs between game versions (90 coins in one, 30 in another).
Factory Office: frame pattern and broken mask
Only available if you paid for Barlow's office answer. The office is up the stairs in the cellar. The new task is Learn more about the accident. Finish the office before you use the Bomb Instruction on the bomb, because that locks earlier locations.
- Climb the stairs on the left of the cellar into the office. The painting on the wall is badly damaged.
- Zoom into the desk and take Frame Pattern 1/2 and the Glue. The drawer latch cannot be moved yet.
- One mask is missing from the wall panel. Zoom into the rug, fix the broken mask with the Glue and take the Mask. Place it on the wall panel.
Factory Office masks
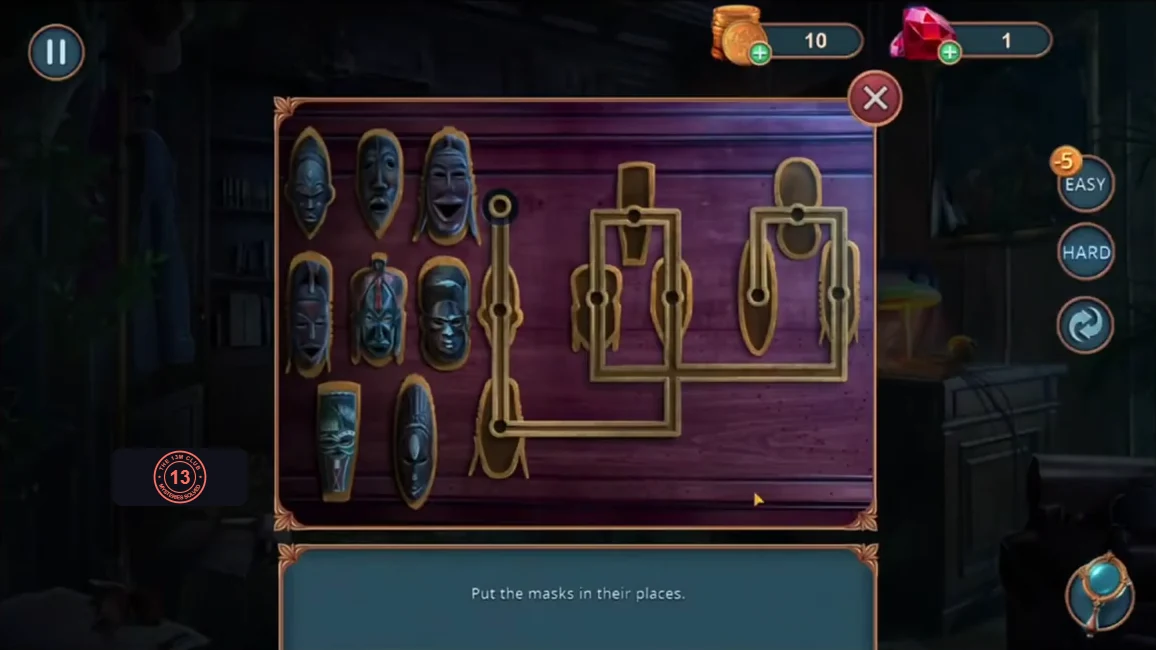
Put the masks in their places.
- Move each of the eight masks into the slot whose silhouette matches its shape. The finished panel is shown in the image. You receive the Skull Amulet.
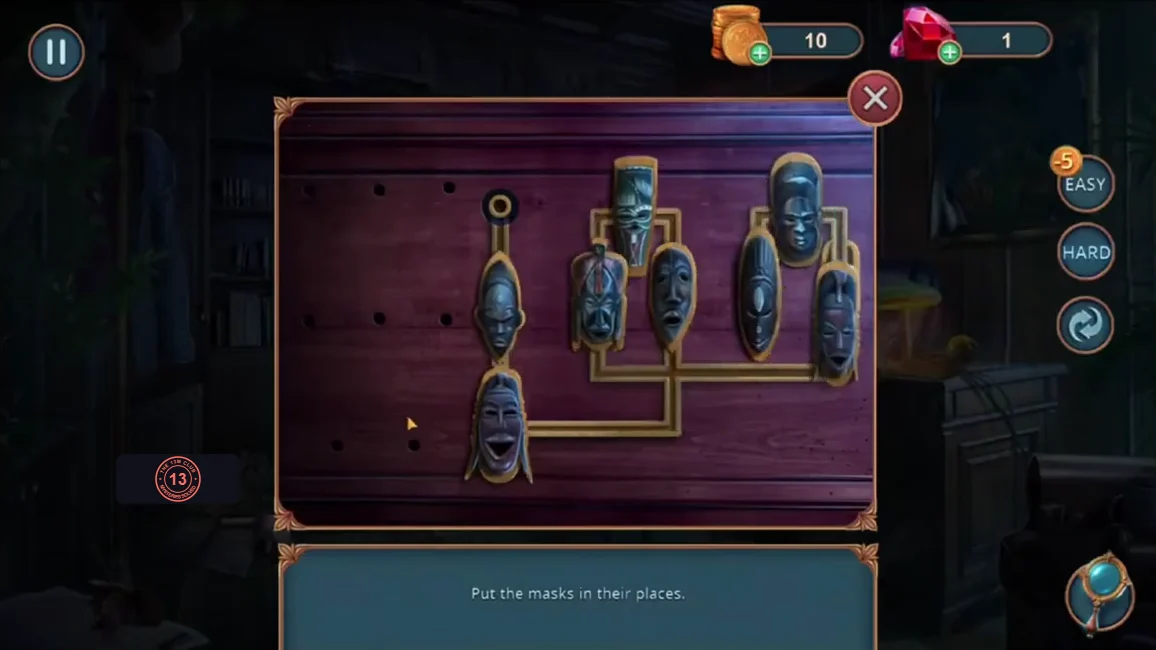
Solved mask panel (Hard mode, as played in the recording). - In the cellar, put the Skull Amulet into the emblem on the locked box by the vise and take the Flashlight.
The cellar door
Open the cellar door to escape.
- Take the Bag from the furnace on the right.
- Zoom into the vise on the workbench, read Earl's note and take the Hint paper. The box with the emblem next to it stays locked on the main route.
- Open the Bag in your inventory to get back the Discharged Taser, the Door Handwheel and the Penknife.
- Put the Door Handwheel and the Hint on the lock of the cellar door.
Spinner rings
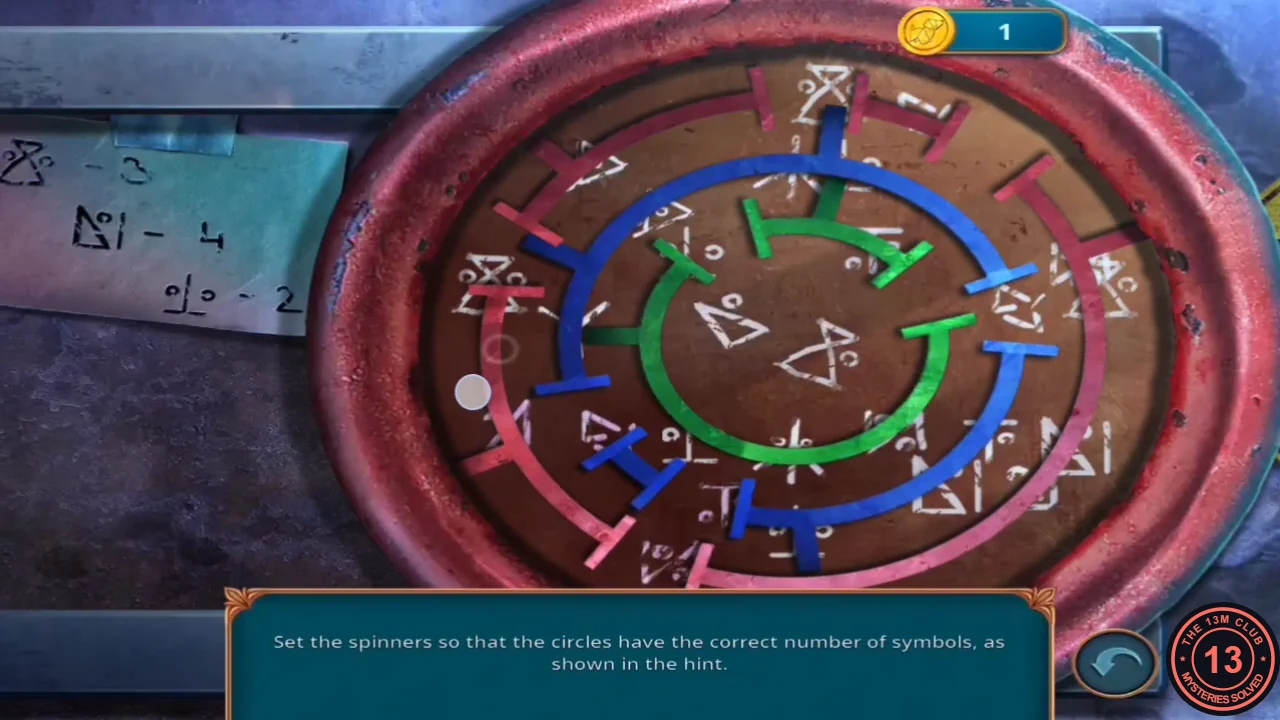
Set the spinners so that each circle has the number of symbols given in the hint: three of the hourglass-type symbol, four of the triangle-with-bar symbol and two of the dotted symbol.
- Rotate the red, blue and green rings until the symbol counts match the hint. The symbols glow purple when they are right; compare with the solved image.
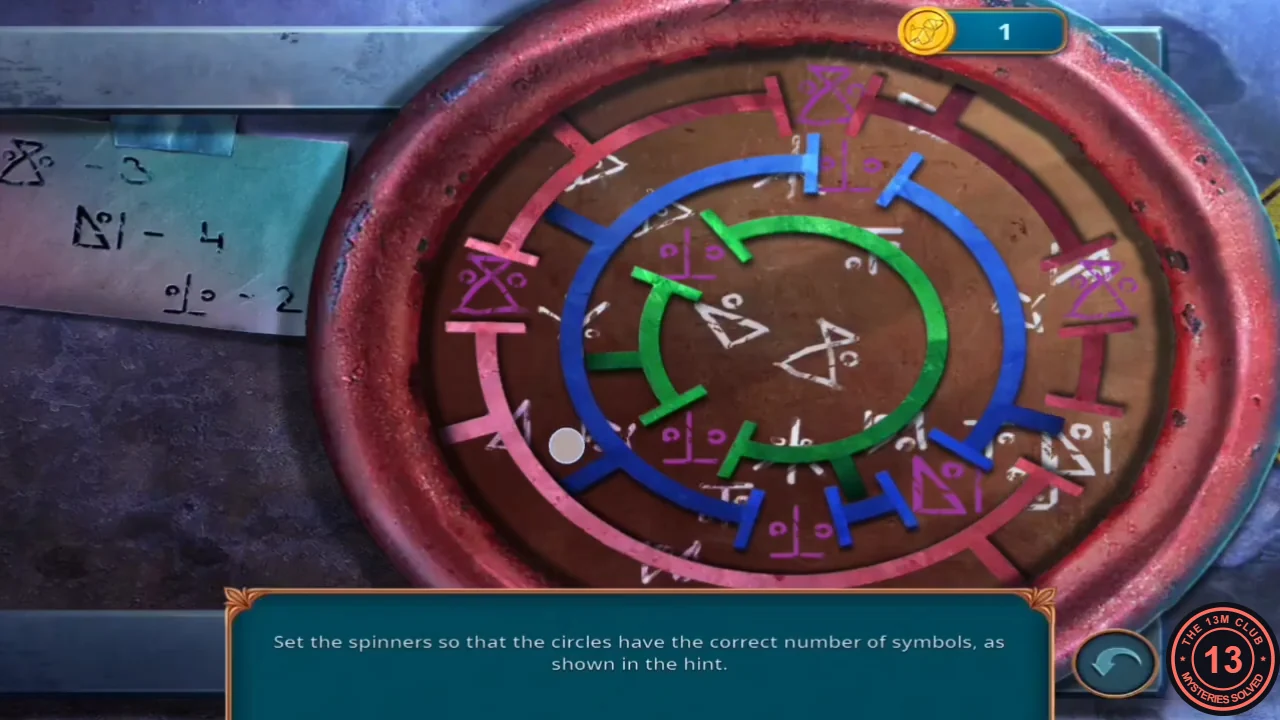
Solved spinner rings.