Museum lobby
Chapter 2 starts in the lobby of the museum. Your task is to question the witnesses.
- Zoom into the front desk. Take Arrowheads 1/2 from under the newspaper, which mentions an ancient helmet sent to the director, Malcolm Greens. Take the Spare Parts as well.
- Open the detective briefcase in your inventory and take Picklock 1/2, the Fan and the Screwdriver.
- Zoom into the red case in the lobby. Fit the Spare Parts into the broken tape recorder, tighten them with the Screwdriver and take the repaired Tape Recorder.
Question the witnesses
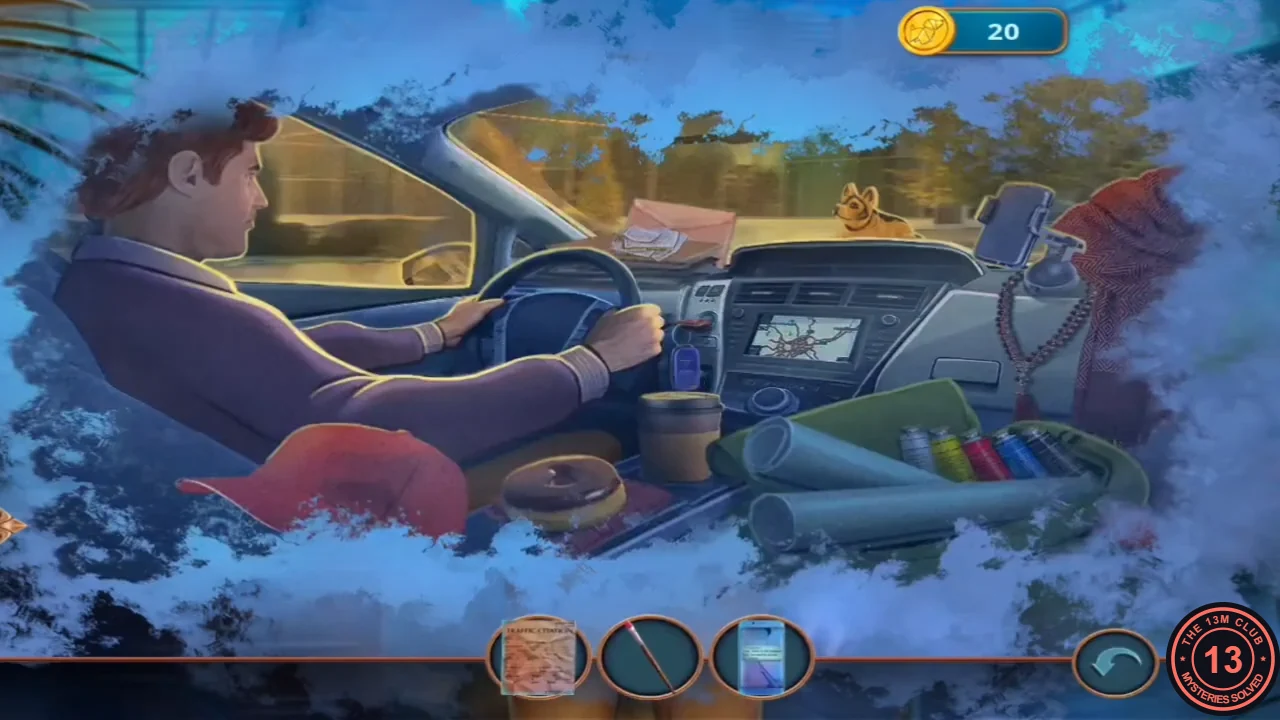
Each interrogation works the same way. Tap the three objects on the witness that match the highlighted words in their statement. Then, in the memory scene, drag each item from the tray onto its matching outline. The game then tells you whether the witness told the truth or lied.
- Use the Tape Recorder on Derek and complete his interrogation and memory scene. Verdict: TRUTH.
- Question Grace Slone, the art conservator (badge, ticket and notebook), then finish her gallery memory scene. Verdict: TRUTH.
- Question the security guard and finish the memory scene at his desk. Verdict: LIE.
- The alarm goes off and the museum locks down. Take the Security Desk Key and use it on the security desk console. The new task is Disable the security.
Security console bulbs
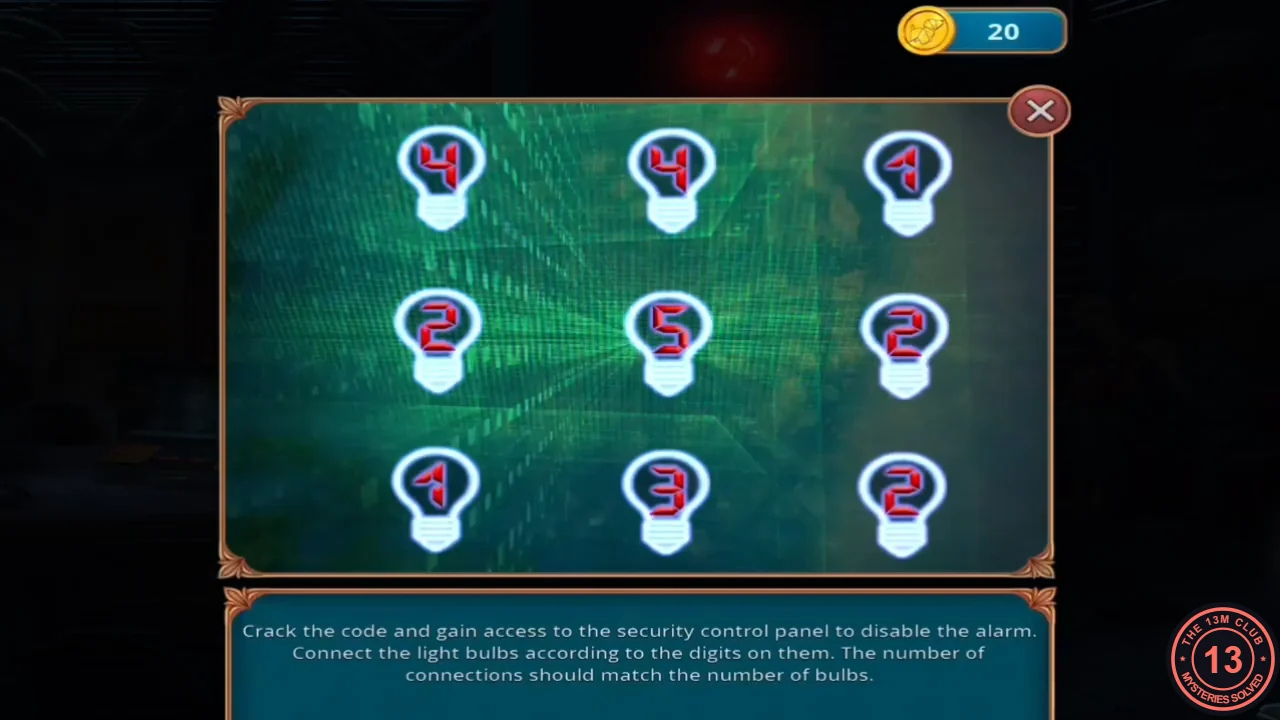
Connect the nine bulbs so that each bulb has exactly as many links as the number on it. Starting numbers: top row 4, 4, 1; middle row 2, 5, 2; bottom row 1, 3, 2.
- Draw these 12 links. Top row: left to centre, and centre to right. Top left to middle left, middle centre and middle right. Top centre to middle centre and bottom right. Middle row: left to centre, and centre to right. Middle centre to bottom centre. Bottom row: left to centre, and centre to right.
The director's office and the courtyard
Scott arrives and the new task is Determine the cause of death.
- A staff member blames the blackout on old equipment. Two answers appear. The coin-priced answer is "Let's make sure it doesn't have anything to do with the crime." and the free answer is "A minor blackout is not a big deal!". The recording took the free answer and the story continued. No reward linked to this choice was found.
- In the director's office, take the Five-Dollar Bill from the side table and the Pen from the floor. Zoom into the coffee grinder table: something fragile is buried in the spilled sugar. Use the Fan to blow the sugar away and take the Scraper.
- Go to the courtyard. Open the rear doors of the forensics van and take Liquid Collecting Kit 1/2 and the Police Tape.
- Use the Scraper on the poster kiosk to remove the poster and take the Hook.
- Use the Hook on the broken pane of the red phone booth to open the door. Take the Powder Brush and the broken walking stick, then repair the stick with the Police Tape to make a Cane.
- In the lobby, use the Cane on the cloakroom counter to hook the satchel. Inside are a botany book about aconite (wolf's bane), Arrowheads 2/2 and Malcolm's note to Derek.
- Place both Arrowheads on the display-case pedestal with the green cushion. A drawer opens: take the Souvenir Magnet. Sale Coupon 10/70 is also here.
- At the office coffee station, use the Souvenir Magnet on the upper cabinet latch and take the Soldering Iron. Cut the tape around the vial on the shelf with the Pen. This completes the Liquid Collecting Kit (2/2).
- Use the Liquid Collecting Kit on the spilled coffee by the victim's desk to get Coffee in Test Tube.
Microscope molecule maze
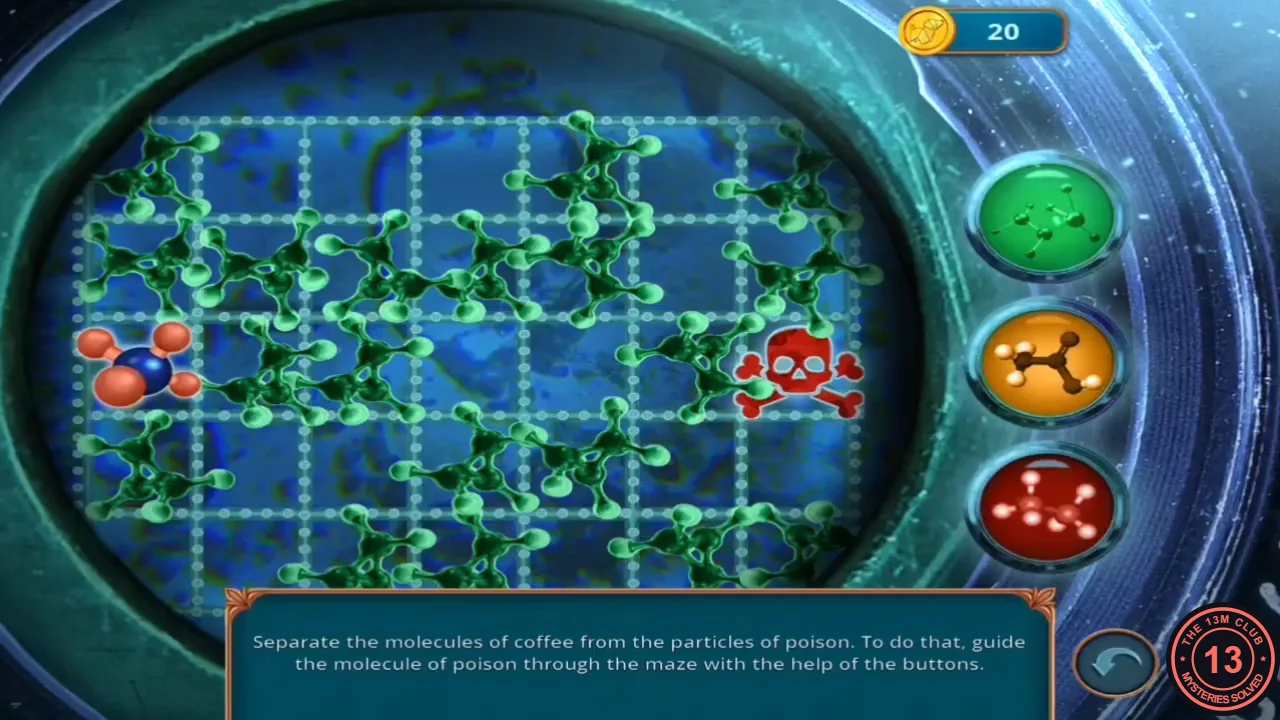
Put the Coffee in Test Tube under the microscope in the forensics van. Guide the poison molecule (the skull) to the coffee molecule on the left. The skull only moves along molecules of the layer you have selected (green, orange or red), so switch layers to continue.
- Switch layers in this order: green (move the skull down-left), red (move it left twice), green (left), orange (left, then up), red (left), and finally move it down-left onto the coffee molecule.
Picklock, desk bell and coffee
The poison is an extremely rare kind that only affects people with heart disease. The new task is Crack open Malcolm's safe.
- When the staff member complains, the coin-priced answer is "Interfere and ask Scott to collect more evidence first" and the free answer is "Remain silent". The recording took the free answer. You receive Wire Cutters.
- In the phone booth, cut the cord with the Wire Cutters and take the Smoking Pipe. Back in the museum lobby, put the Smoking Pipe into the pipe-shaped recess in the red case and take Picklock 2/2. The picklock is now complete.
- Use the Picklock on the lower drawer of the lobby front desk. Take the Entrance Alert Chime (desk bell) and the Broken Pencil.
- At the street coffee kiosk, put the Entrance Alert Chime on the counter to call the vendor. Give the Five-Dollar Bill to get Grain Coffee.
- Use the office coffee grinder on the Grain Coffee to get Ground Coffee.
Malcolm's safe keypad
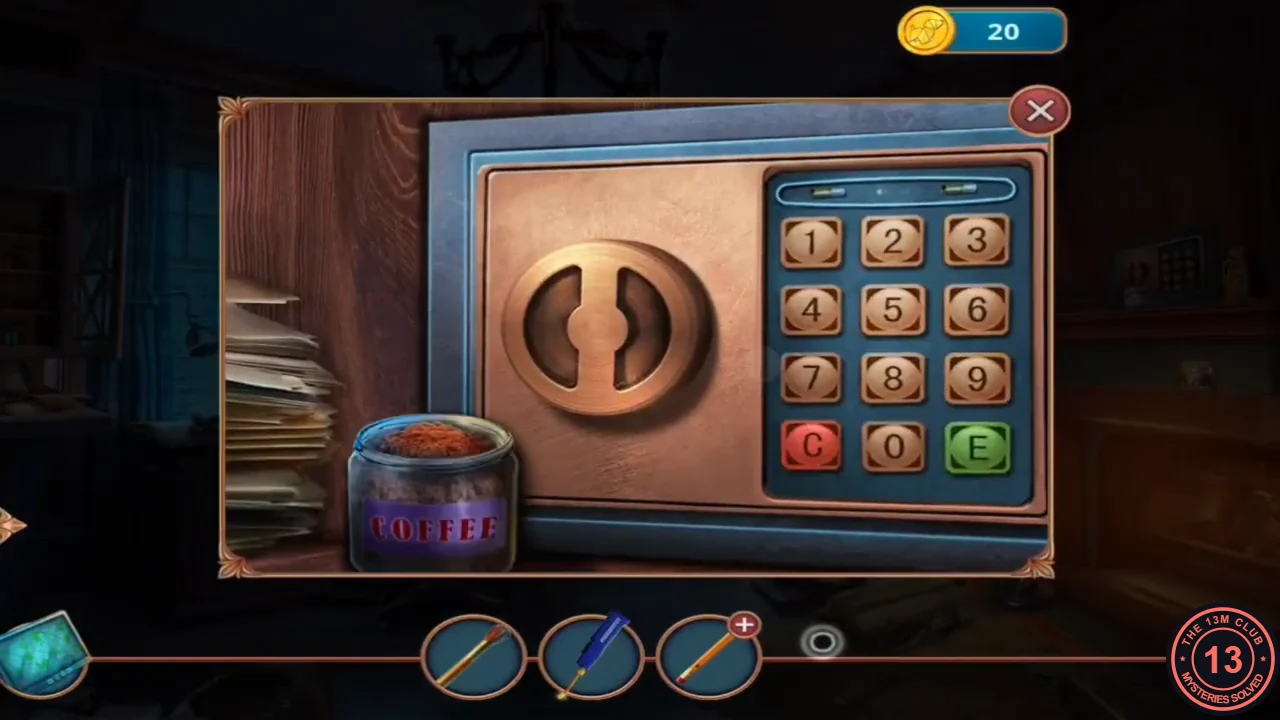
The wall safe in the office has a numeric keypad. Find out which keys were pressed.
- Dust the wall safe keypad with the Ground Coffee and the Powder Brush. Prints show on 2, 6, 8 and 1; the most worn key was pressed first. Enter 2681 and press E. Take the Corkscrew. Open the red binder inside (it covers the auction of a 15th-century helmet) and take the Flat Bottle Opener tucked into it.CODE2681
Save the burning papers
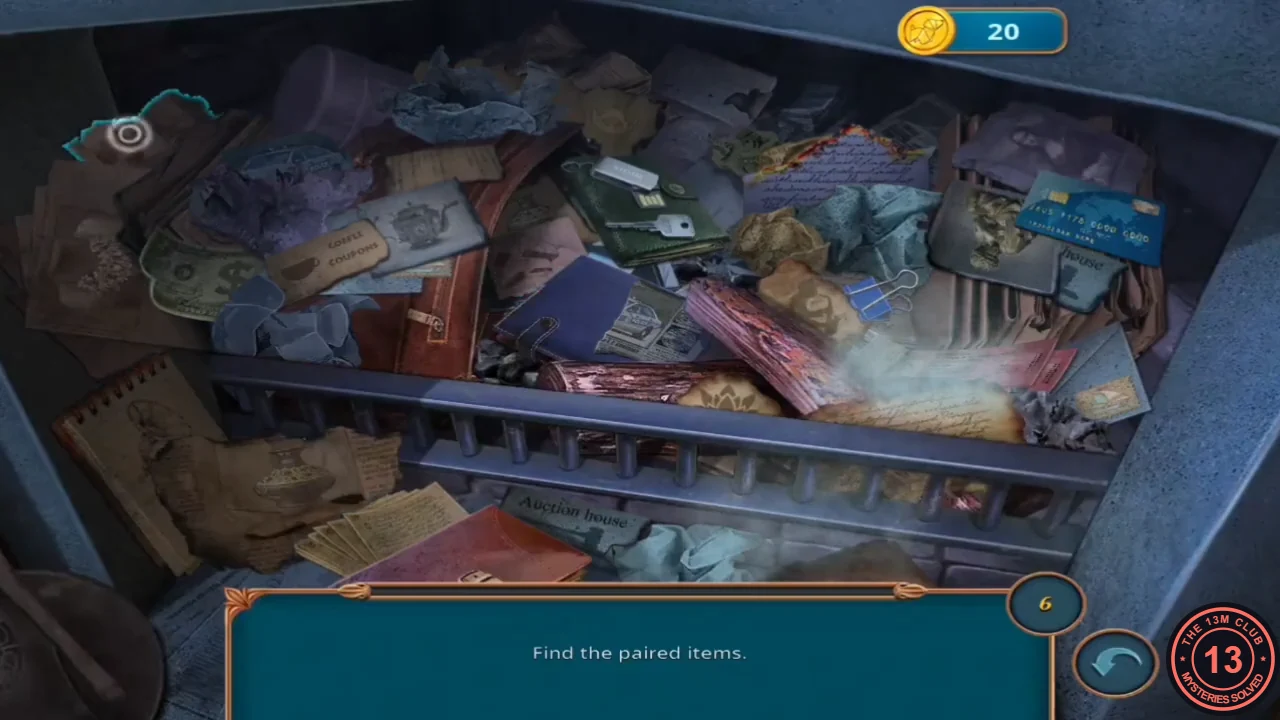
A staff member holds you at gunpoint, takes the documents and throws them into the fire.
- At the coffee station, open the bottle with the Flat Bottle Opener and take the Sparkling Water. Pour it on the burning papers in the fireplace.
- Find the matching pairs of objects in the fireplace scene. You receive the Charred Document.
Police lab: the reagent formula
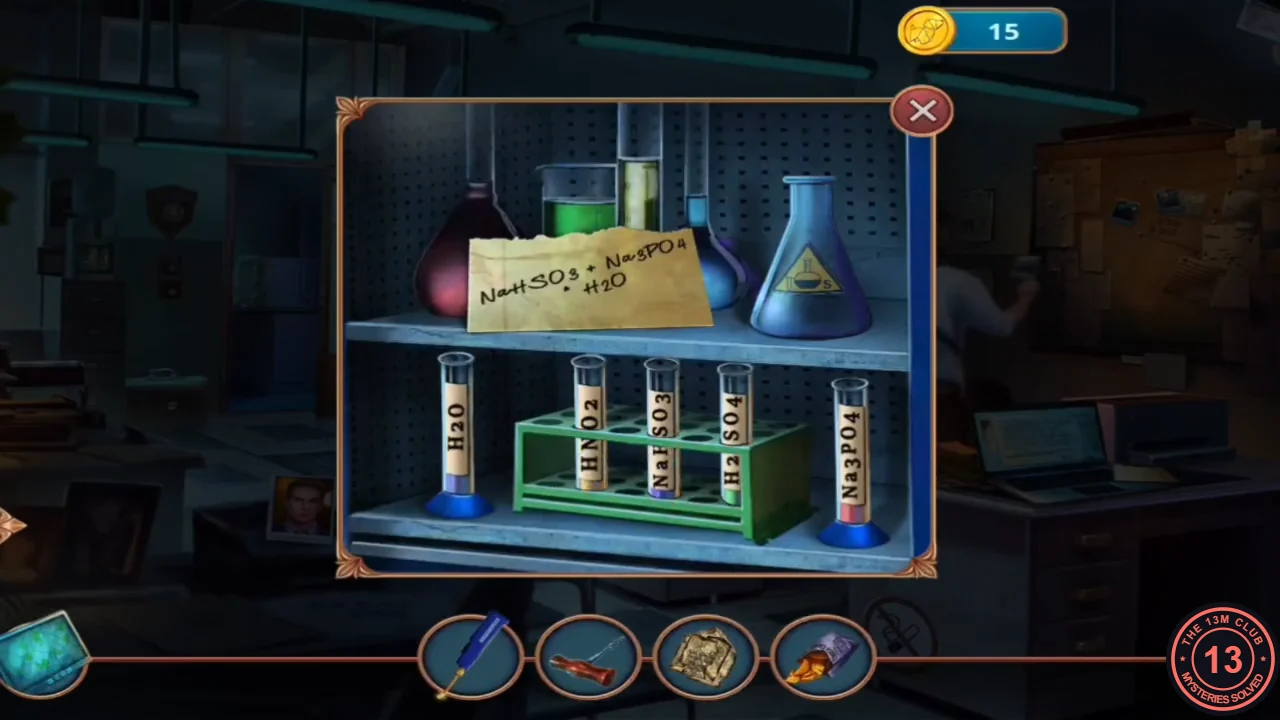
Scott takes you to the police lab to recover the burnt document.
- Take the Pencil Sharpener from the cork board and use it on the Broken Pencil in your inventory to get a sharp Pencil.
- Zoom into the laptop on the desk (Sarah has sent the reagent formula). Take the Cheese Snack bag from the clipboard, then rub the Pencil over the indentations to reveal NaHSO3 + Na3PO4 + H2O. You receive the Reagent Formula.
- Put the Reagent Formula on the reagent shelf. Move the tubes for NaHSO3, Na3PO4 and H2O into the green rack and leave HNO2 and H2SO4 where they are. Take the Reagents.
Chemical flasks
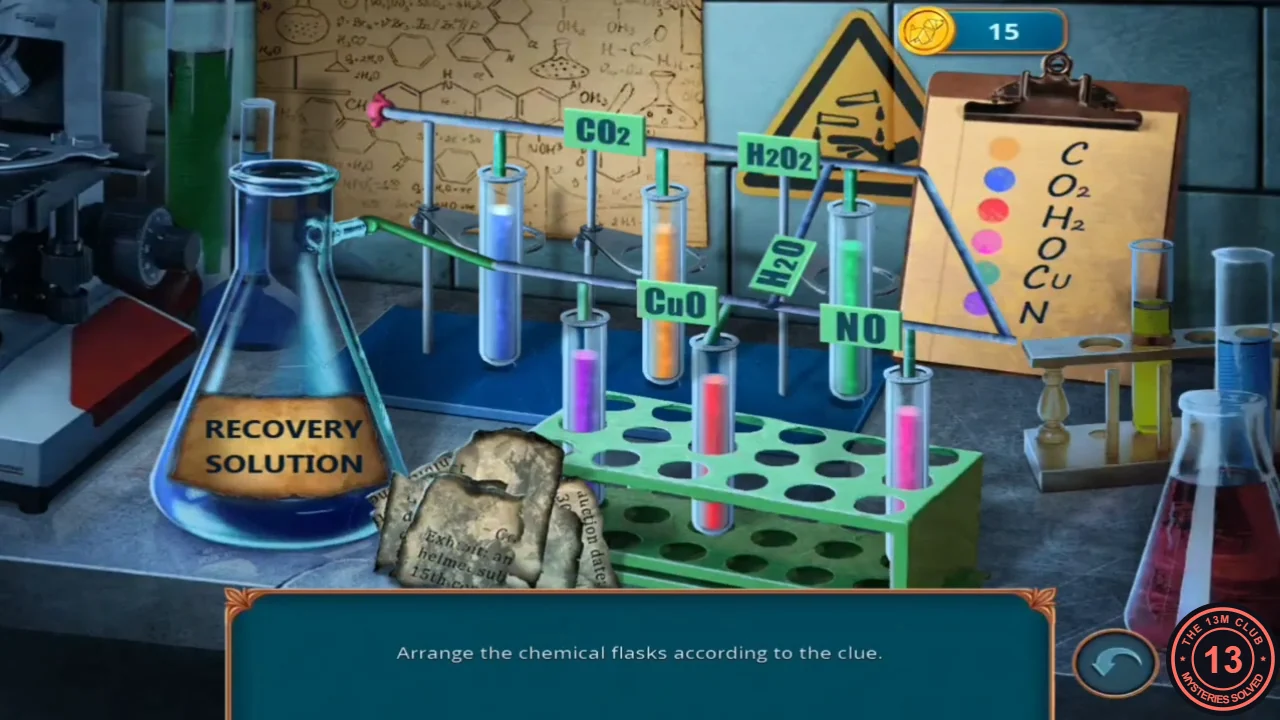
Use the Reagents on the chemistry bench, then add the Charred Document to the recovery solution.
- Place the Reagents and the Charred Document on the chemistry bench.
- The clipboard gives each element a colour: C orange, O2 blue, H2 red, O pink, Cu green, N purple. Swap the tubes so that each holder (CO2, H2O2, CuO, H2O, NO) has the colours of its own elements.
Torn document and the evidence board
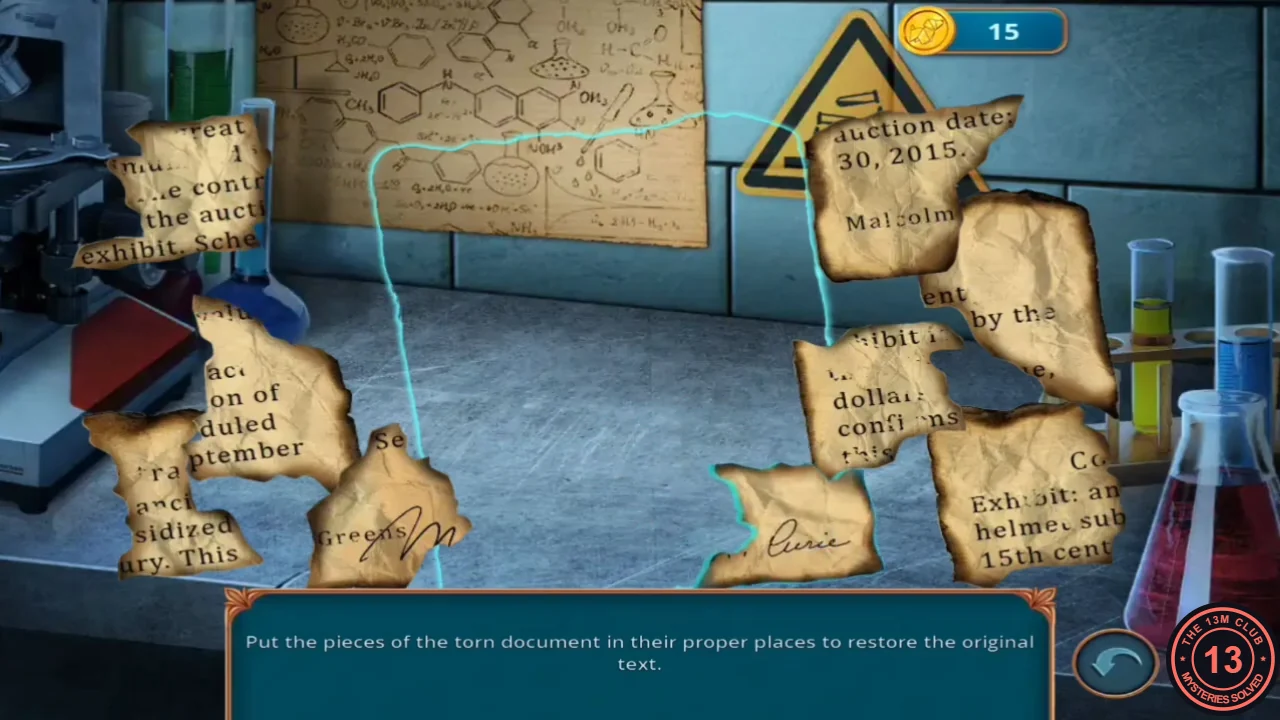
Put the pieces of the torn document back together.
- Assemble the jigsaw. It shows the contract for the 15th-century helmet exhibit, with an auction date of September 30, 2015, signed by Malcolm Greens. You receive the Restored Document.
- Pin the Restored Document on the lab evidence board, then tap the pinned items until the notes counter reaches 3/3. Derek McKaley's letter to Mr. Greens, objecting to the sale of relics, is one of them. Scott concludes that McKaley had a run-in with Greens.
Outside the auction house
The new task is Get on Derek's trail. The doorman says the event is invitation-only, so you need another way in.
- Use the door knocker. The doorman turns you away from the private event.
- Zoom into the stone birdbath between the gnomes. Take the Broken Pruning Shears and the Nail File, then join the halves of the broken key with the Soldering Iron to make the Iron Key.
- Open the side iron gate with the Iron Key and enter the garden. Grace is here and offers to help.
- A mouse sits on the latch of the hatch by the lantern. Put the Cheese Snack bag on the step and the mouse climbs inside it.
Hatch lock
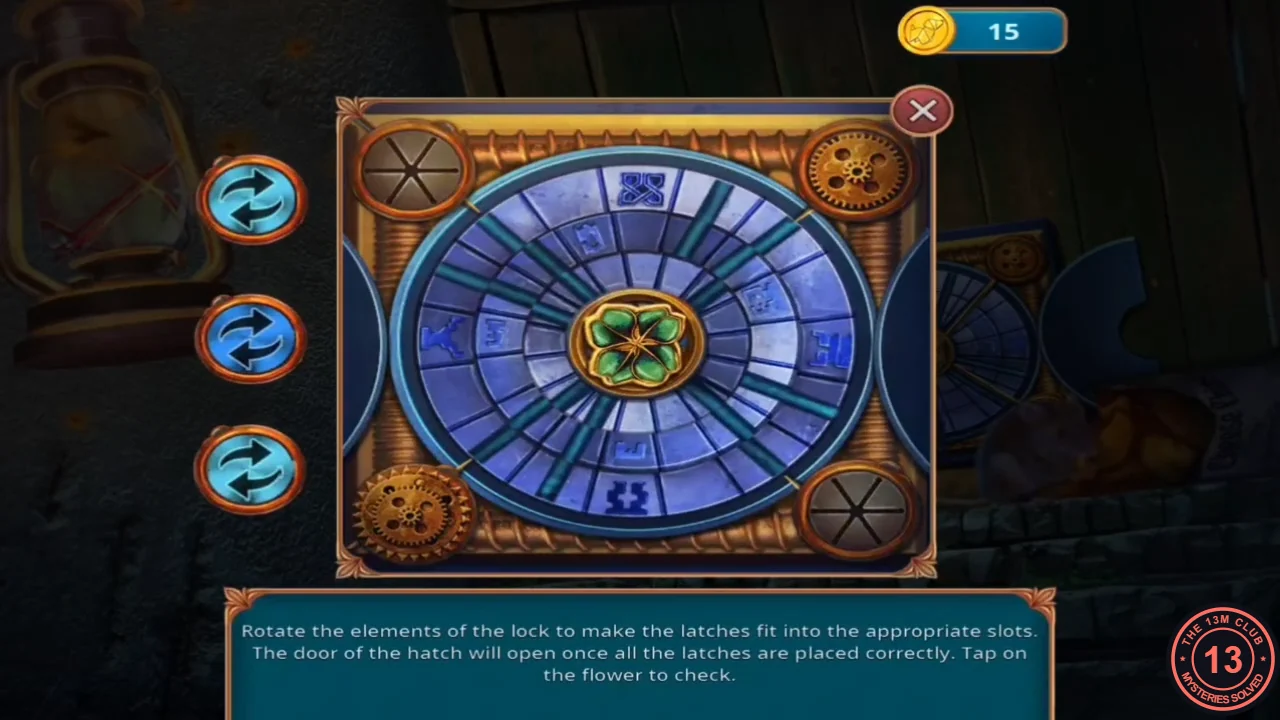
Rotate the three rings of the lock so that the latches fit into their slots, then tap the flower to check.
- Turn the rings until their gaps line up into four straight channels running diagonally from the centre to the four corner latches. Then tap the flower in the centre.