Otto's wall safe
The safe is beside the Eiffel Tower picture in Otto's office.
- Put the Statue of Liberty Drawing in the round recess beside the safe. The safe opens: take the blueprints for Harry Turner and Laura Johnson, and the unloaded Revolver.
Break Room: the broken amulet
Optional content unlocked by choosing "That's a great idea, Laura!" after the camera footage. Finish it before taking Laura's blueprint fragment from Otto's window; the game warns that leaving afterwards blocks a return for bonus items.
- Use the Magnetic Key on the elevator panel in the lobby to reach the Break Room. New task: Scour the break room.
- Zoom into the cardboard box and take the Broken Amulet and the Knife. The box is stapled shut; it is opened later.
- Open the fridge and cut a piece of butter with the Knife to get the Butter Knife.
- Zoom into the green zip pouch by the teapot ("Better grease it!"). Grease the zip with the Butter Knife. Collect the note, then take the Glue and the Silver Chain.
- In Otto's office, attach the Silver Chain to the lamp beside the opened safe and pull it to get the Amulet Half.
- In your inventory, use the Glue and the Amulet Half on the Broken Amulet to make the Fire Amulet.
Break Room amulet maze
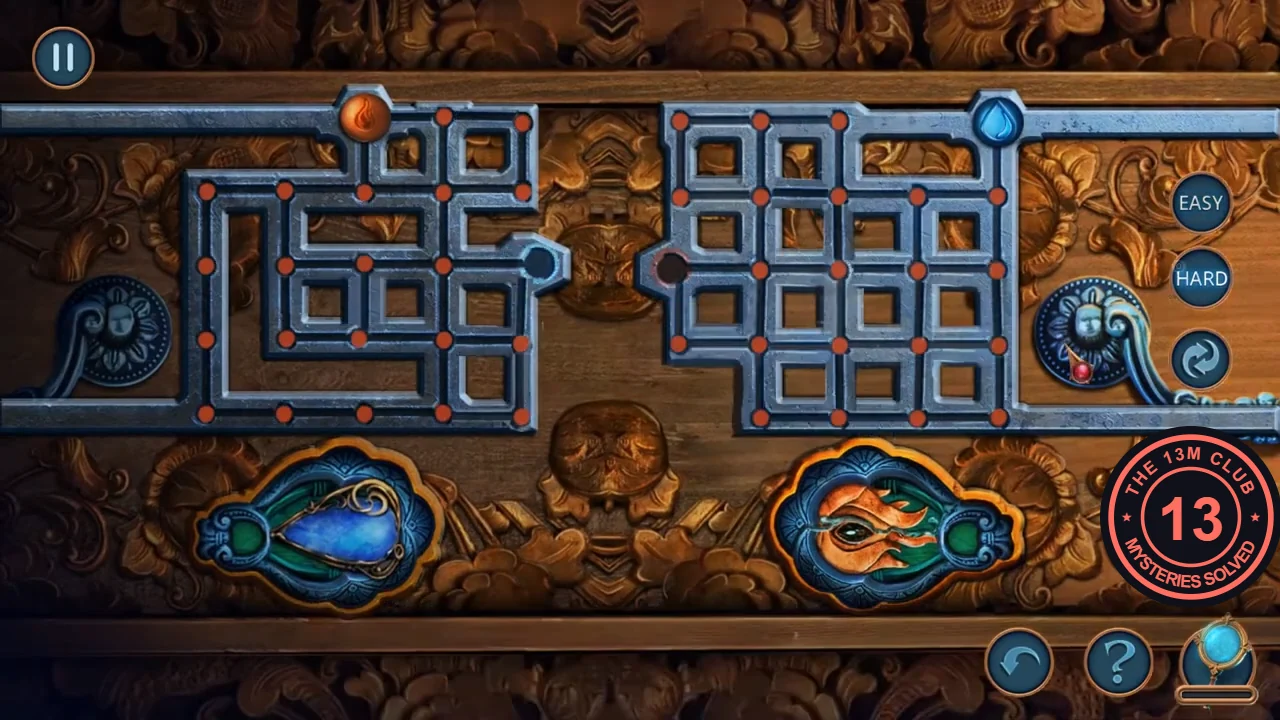
Place the Fire Amulet on the chest of drawers in the Break Room. Rule: move each amulet through every red checkpoint; a crossed checkpoint turns green. There are two grids of 5 x 5 points. Below, columns are numbered 1-5 from left to right and rows 1-5 from top to bottom.
- Left grid (Fire Amulet, starting at column 3 on the top row): go right to column 5, down one row, left along row 2 to column 1, down column 1 to row 5, right along row 5 to column 5, up to row 4, left along row 4 to column 2, up to row 3, then right along row 3 into the socket.
- Right grid (water-drop amulet, starting at column 5 on the top row): go down to row 2, left to column 3, up to row 1, left to column 1, down to row 2, right to column 2, down to row 3, right along row 3 to column 5, down to row 5, left to column 4, up to row 4, left to column 3, down to row 5, left to column 2, up to row 4, left to column 1, then up into the socket on the left of row 3.
Break Room: diadem, keychain and staple remover
The opened drawer leads to a short chain of item uses across the studio.
- Collect Laura's note from the drawer, then take the Diadem.
- Use the Diadem on the teapot on the hot plate ("Something C-shaped would work here") to get the Nail File.
- In the lobby, open the satchel on the coat rack with the Nail File and take the Anchor Keychain.
- At the truck grate in the street (already spread with the Jack), hook the deep item with the Anchor Keychain to get the Staple Remover.
Break Room box
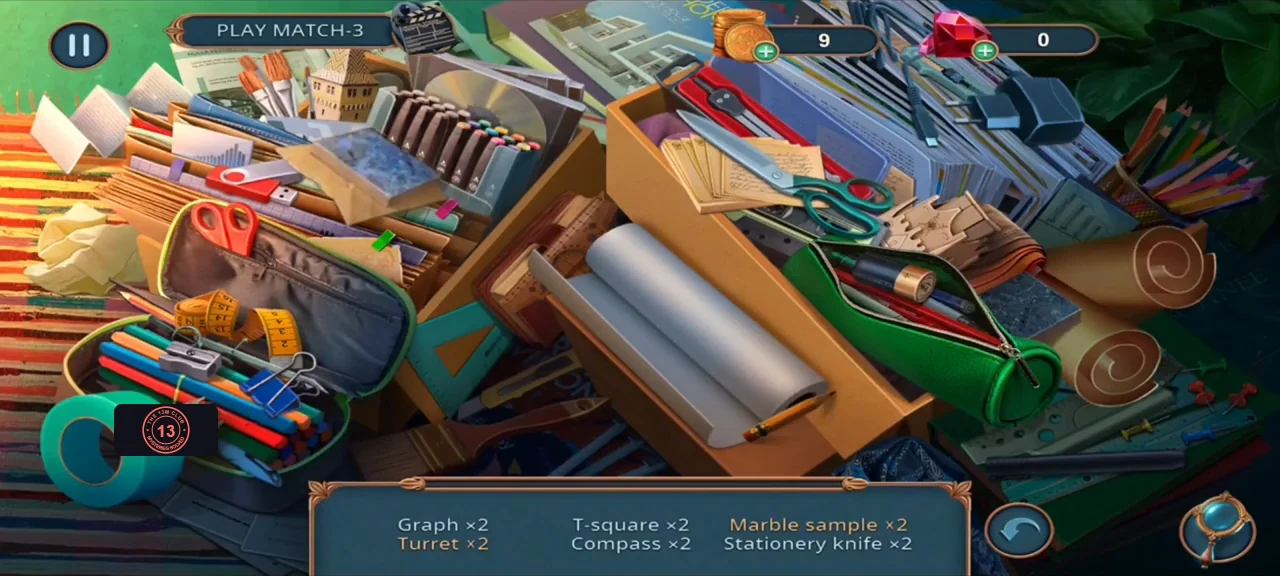
Open the stapled cardboard box in the Break Room.
- Use the Staple Remover on the box. Find the listed items in pairs (for example Graph, Turret, T-square, Compass, Marble sample and Stationery knife). A match-3 alternative is offered in some versions. Afterwards read Laura's note and take the Photo of Otto, Daniel and Laura, which should be shown to the new witness. The task "Scour the break room" completes and the achievement "Old friends" (complete the additional content tasks) unlocks.
Leave the studio and question the witness
Laura's torn blueprint fragment leads to the police station.
- In Otto's office, zoom into the window and take the torn blueprint fragment with Laura Johnson's name. A warning appears: after this you cannot return for bonus items. If you took the Break Room offer, choose No and finish the Break Room first; otherwise choose Yes.
- Sandra calls: the post-mortem report is ready. At the police station Scott says he has found another witness. The coin-priced answer ("The investigation is going well, don't worry.") counts towards Scott's Lockpicks reward; "I doubt your detective skills, frankly." is free. New task: Identify the murderer.
- Zoom into the laptop on the station desk. Take the Phone and the notebook; it combines with your Pen (1/2) into a notebook with pen (2/2).
- Enter the interrogation room and ask Mark Coleman all three questions. Use the notebook to take his statement and receive the Witness Testimony.
- If you completed the Break Room, show Mark Coleman the Photo of Otto, Daniel and Laura. He recognises Daniel as one of his psychotherapy patients.
- Fill the Cup at the water cooler to get a Glass of Water.
- Pour the water over the frozen medical cabinet and take the Key and the Bolt.
- Unlock the drawer under the flowers with the Key and take the Nut and the Paper.
- Put the Paper in the printer next to the laptop and print the Damage Report.
- Place the Damage Report and the Witness Testimony on the cork board. The evidence board puzzle starts.
Evidence board
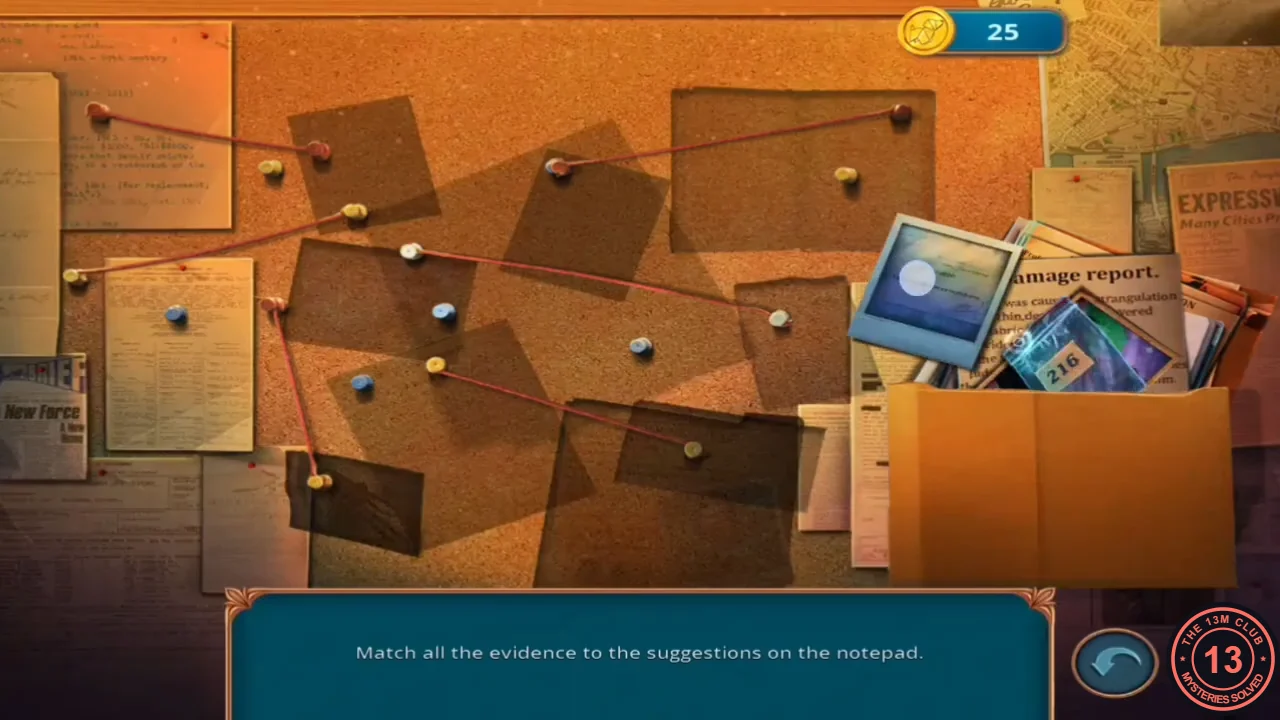
First pin the evidence, then link the deductions.
- Drag the nine pieces of evidence from the folder onto the matching outlines on the board.
- Drag each deduction note from the notepad onto its evidence. The seven links are: "Since the victim was wearing running shoes, the print must belong to the killer" goes on the blue-green photo at the lower right, beside the dossier; "A person who works with Otto was dressed in the same clothes as the man found at the crime scene" goes on the photo of the man in the green jacket at the left; the note about Otto's problems and Laura's dismissal goes on the blue-green Polaroid at the top centre, over the blueprint; "Daniel has an alibi" goes on Mark Coleman's testimony notebook at the top right; the note that Daniel and Otto were colleagues who quarrelled often goes on the Polaroid at the top left; "Daniel wanted to get rid of the evidence, so he went to the bureau" goes on the Damage Report at the lower left; and "Daniel the killer!" goes in the centre of the board.
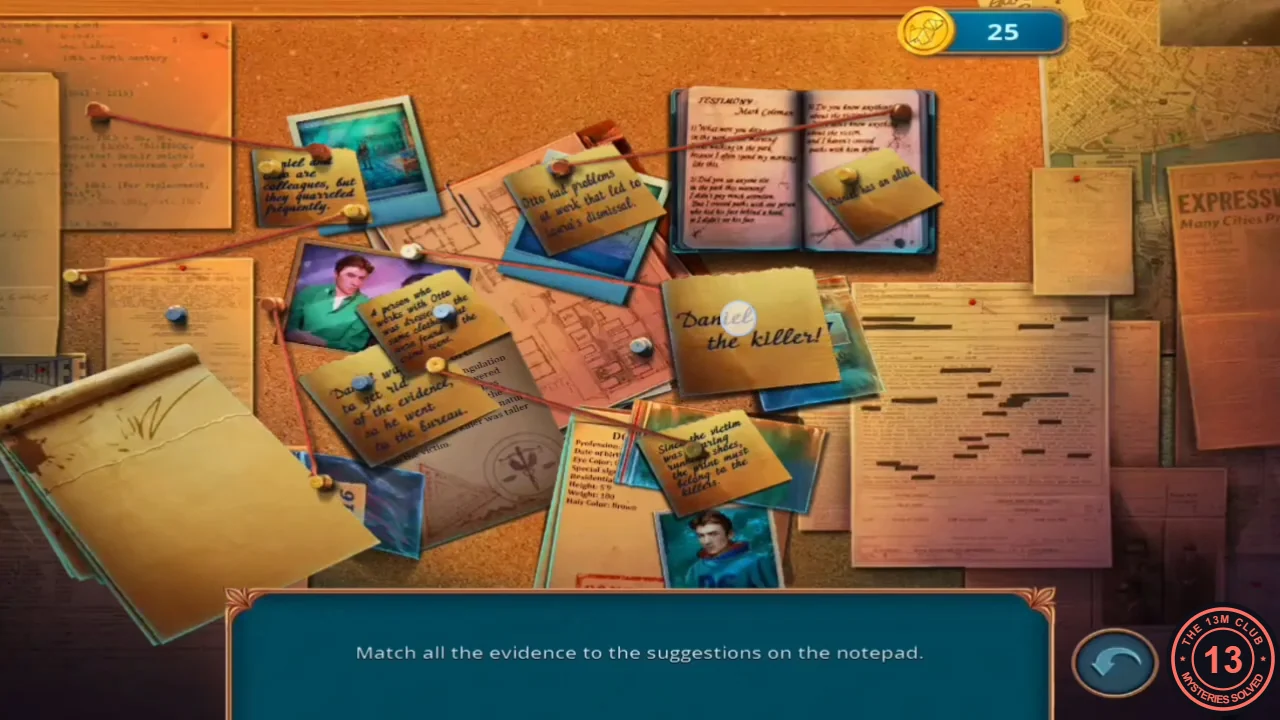
The completed evidence board.
Pin Oak Drive: getting into Daniel's apartment
Scott offers help one more time before you go to Daniel's home.
- Talk to Scott. The coin-priced answer ("I'd very much appreciate your help.") is the third Scott answer that counts towards his reward; "I don't need your help, Scott." is free. Take Daniel Smith's Address, open the Phone and enter PIN OAK DRIVE, 18 to drive there.CODEPIN OAK DRIVE, 18
- If you chose the coin-priced answers with Scott (the recording that received this reward chose all three in this chapter), Scott says "Take this, you'll need it later" on arrival and gives you the Lockpicks.
- Zoom into the green moped. Take Star Part 1/2 and the Lock Part from the seat. The ignition box needs a key you do not have.
- Open the moped storage box, clear the broken glass with the Scarf and take the Bullet. Load the Bullet into the Revolver in your inventory.
- Shoot the chain on the electrical box with the Revolver. Take the Crowbar; leave the sparking wires for now.
- Use the Crowbar on the barred ground-floor window. Scott helps pry the bars apart and you enter Daniel's apartment.
- Zoom into the bathroom sink. The green sweater matches the fabric from the crime scene. Take the Sturdy Chair and the Monogram. The wooden cabinet on the pillar can only be picked open.
- Place the Sturdy Chair under the high shelf and take the Valve.
- Attach the Valve, the Bolt and the Nut to the sink, then turn the tap. The steam reveals "HATE HATE HATE 4294" on the mirror.CODE4294
Daniel's suitcase
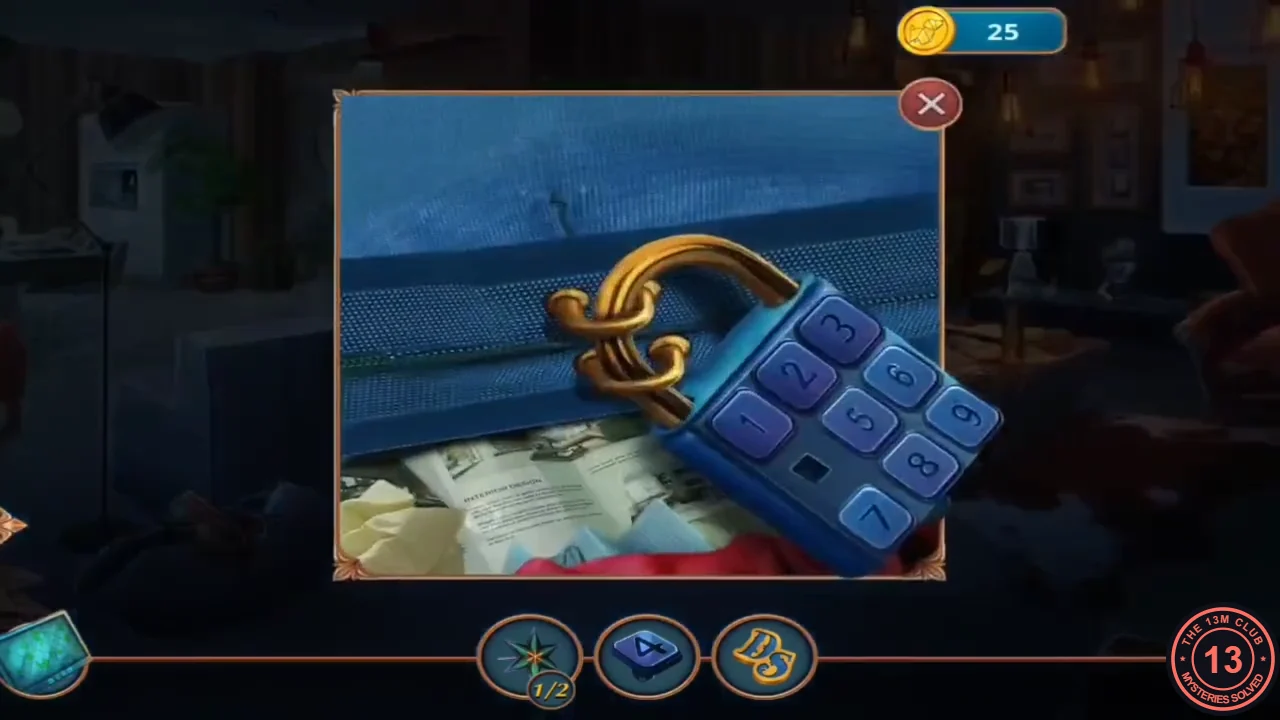
The blue suitcase has a four-digit lock.
- The lock of the blue suitcase is missing a part. Insert the Lock Part from the moped, then enter 4294. Find the silhouettes in the bottom tray to finish the hidden-object scene (a letter from Daniel's therapist is among the papers) and receive the Mail Horn.CODE4294
Daniel's locked cabinet (Lockpicks reward)
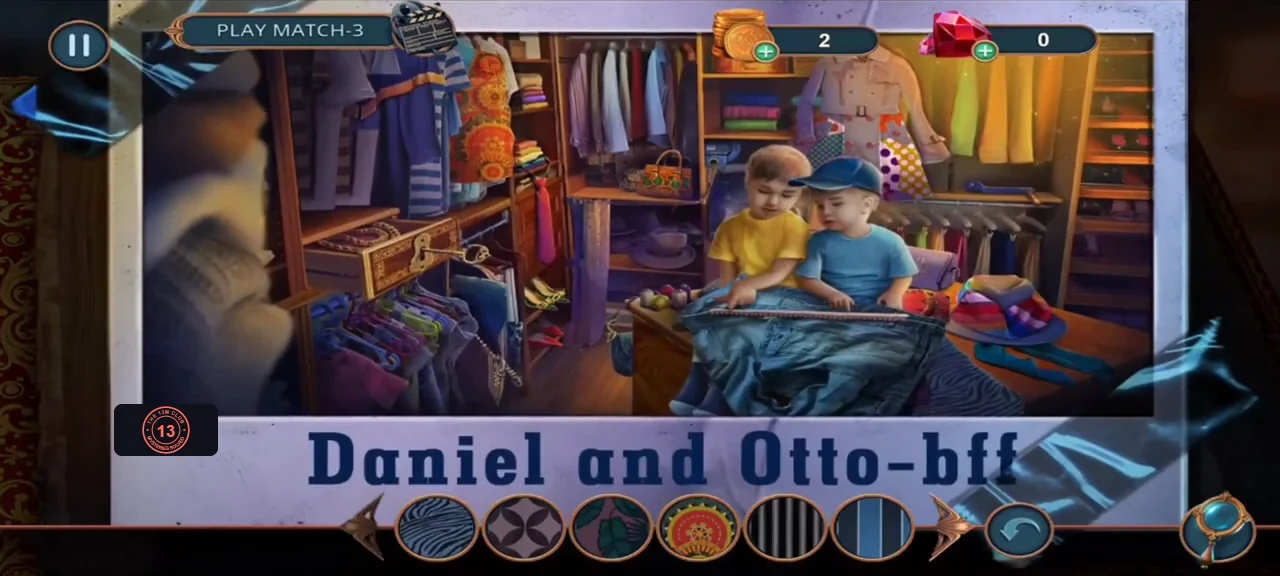
Only available if Scott gave you the Lockpicks.
- Pick the wooden cabinet on the pillar with the Lockpicks. A scrapbook scene opens with three pages ("Daniel and Otto - bff", "The first project", "Closer to your dream"); find the tray silhouettes on each page (a match-3 alternative is offered in some versions). Then collect Daniel's note.
Mailbox, wires and the star lock
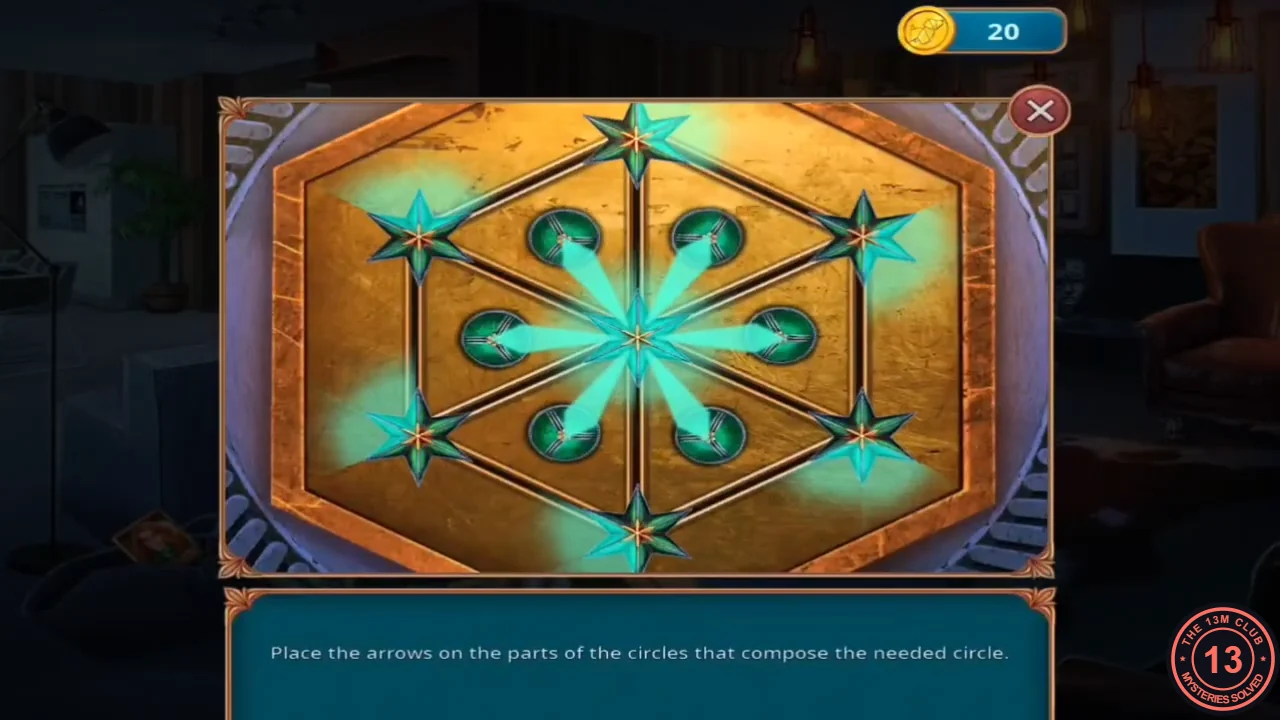
Collect the second star part and open Daniel's red bag.
- Use the Mail Horn on the street mailbox. Read the letter, take the Baseball Mitt and collect the Sale Coupon.
- Reach into the sparking electrical box with the Baseball Mitt and take the Tower Figurine. A Sale Coupon is here too.
- In the apartment, put the Tower Figurine under the armchair to lift it, then take Star Part 2/2 and a Sale Coupon from underneath. Put the completed Star on the lock of the red bag on the coffee table.
- Rotate the arrows so that every one of the six green discs is hit by three beams: one from the centre star and one from each of the two outer stars beside it. The result is a symmetrical six-petal pattern. Compare with the solved image.
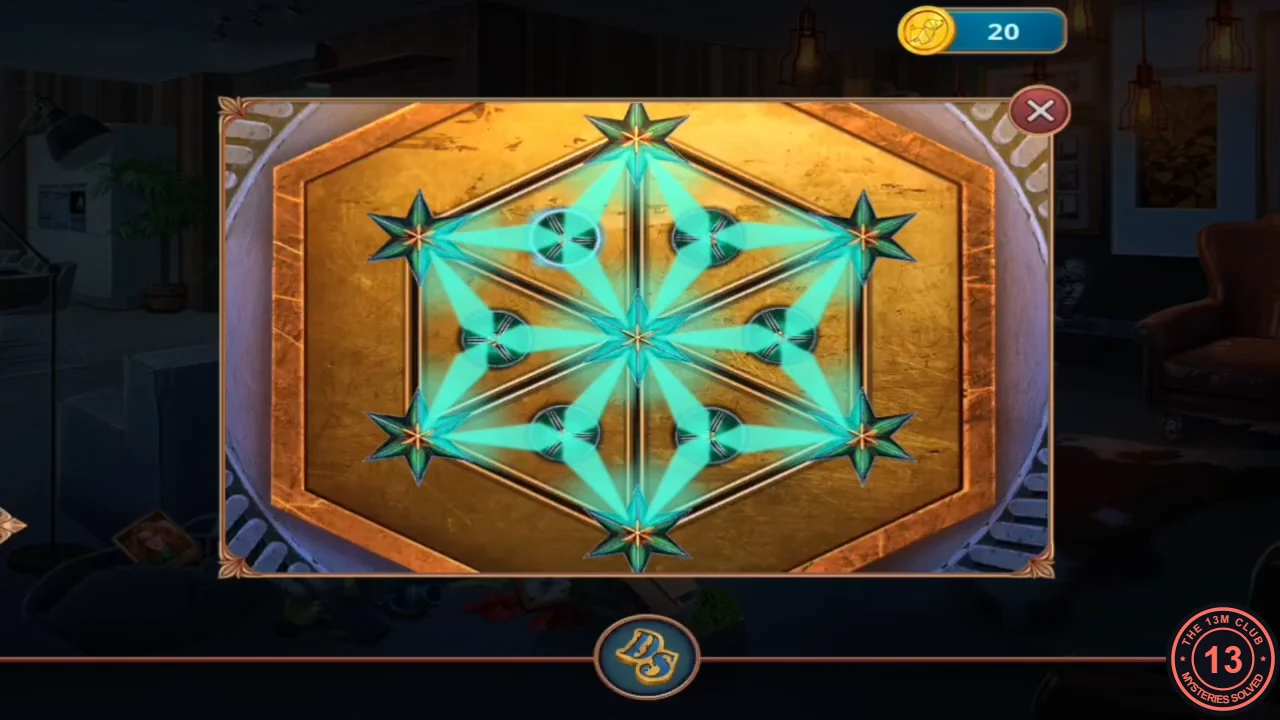
Solved: each green disc is hit by three beams.
Daniel's diary and the chase
The diary explains Daniel's grudge.
- Take Daniel's Diary from the bag and put the Monogram on its clasp to read it: Otto stole Daniel's design. Take the Bike Key from the open diary page.
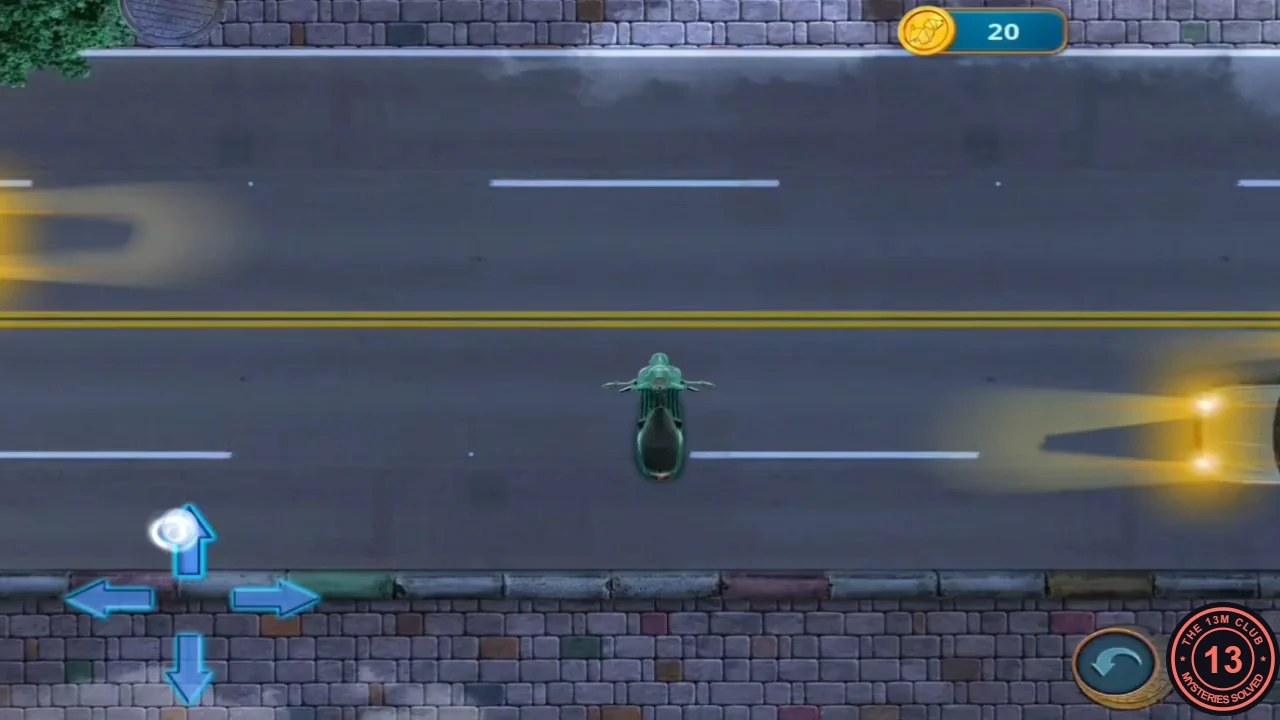
- The task changes to Apprehend Daniel and Scott is wounded. Put the Bike Key in the green moped's ignition to start the chase: steer with the on-screen arrows, avoid traffic and follow the red motorbike.
- Daniel confesses that Otto stole his project. A therapy session follows. The therapist asks how you are feeling, whether you blame Daniel, which house to check first for a criminal hiding from the police, and which of two men is planning to assault you. The recording answers that Daniel had his motives but is still a criminal, picks the house with the car facing the street, and picks the second man because his smile looks suspicious (he hides a knife behind his back). Chapter 1 ends.