Oak Street
A guard blocks the festival gate. Plan your route and earn a pass.
- At the map stand, take the stone token and the matchbox from the counter. Cut the glass of the poster case with the red-jewelled ring from the icebox and take the park route map, copper coin 1/3 and the note.
- Place the park map on the map stand board and mark the route circle with the charcoal from Alice's desk drawer to get the marked route map.
- The guard wants a pass card. Place the marked map on the signpost to reach the market square.
The Market Square
Light up the stall to search it.
- Sweep the leaf pile by the stall with the paintbrush from the wardrobe and take copper coin 2/3 and the light bulb.
- Screw the bulb into the stall lamp to open the pairs search.
Pairs at the Market Stall
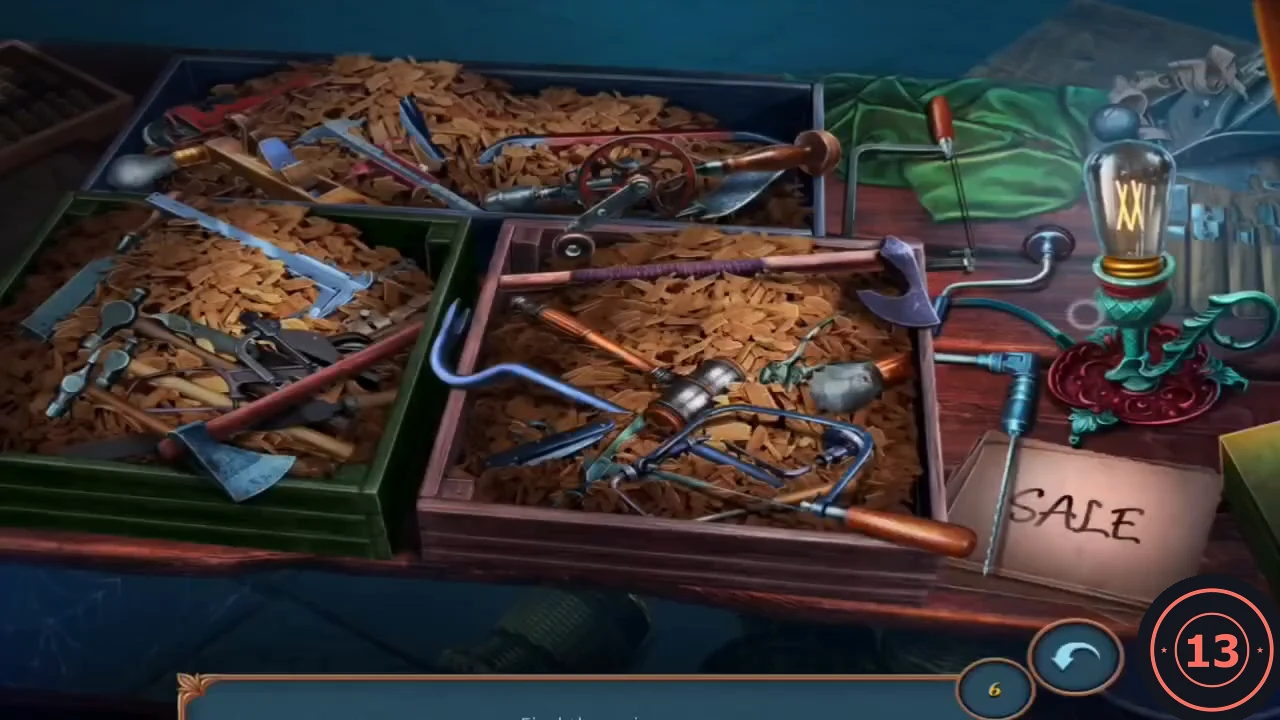
Find six pairs of matching tools among the three trays of wood shavings and the counter. Tap one tool, then its twin; the counter at the bottom right goes from 6 down to 0.
- Match these pairs: the two grey stone-headed mallets (top-left corner of the back tray and right side of the front tray); the two calipers (back tray left of centre and the long one across the top of the green tray); the two axes (purple-wrapped hatchet along the top edge of the front tray and the axe at the bottom of the green tray); the two crowbars (blue crowbar in the front tray and the long bar across the back tray behind the hand drill); the two coping saws (orange-handled saw in the front tray and the upright saw standing by the green cloth); and the two drills (red-wheeled hand drill in the back tray and the brace drill standing right of the front tray by the lamp).
- Take the pump that appears on the counter where the green cloth was.
The Festival Pass
Collect the last coin and buy a pass.
- At the cart, take the strainer and inflate the flat tyre with the pump. Take copper coin 3/3 and the fuse.
- Put the three coins in the ticket tray of the Oak Street map stand and take the pass card. Show it to the guard to enter the festival. Art Enthusiast unlocks.
The Instrument Case
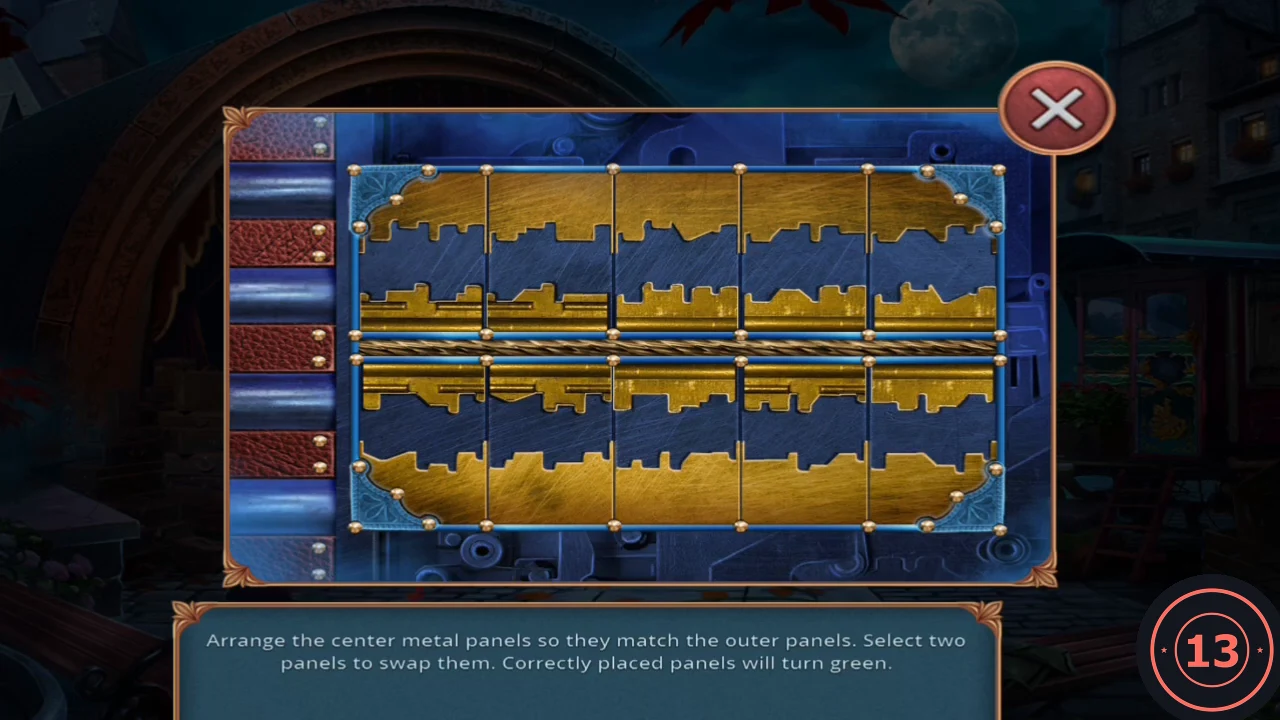
Pick the lock of the red instrument case with the thin stick from Alice's desk. Arrange the centre metal panels to match the outer panels; select two panels to swap them. Correct panels turn green.
- Open the red instrument case close-up and take the metal rod clipped to its side. The lock needs something thin and hooked, so pick it with the thin stick from Alice's desk.
- Swap centre panels until each one continues the pattern on the outer panel beside it. Green panels are correct, so leave them in place and keep swapping the rest.
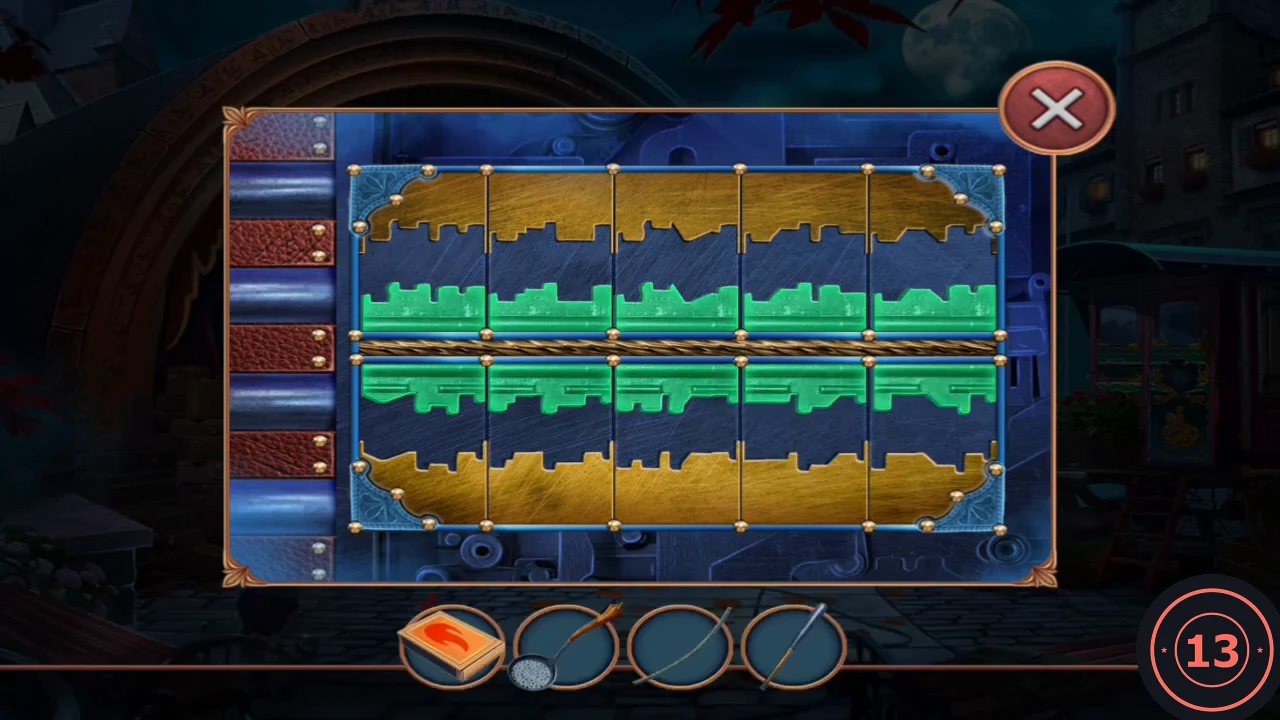
Solved: every centre panel glows green. - Inside the case, take the firework rocket and the folded brown sheet of sandpaper tucked under the double-bass strings.
The Firework
Blast open the stage chest.
- At the stage chest, take the bag of green powder and the note. The ladder is nailed down.
- Open the rocket in inventory, fill it with the powder and add the fuse.
- Place the firework on the chest lock and light it with the matchbox. Take the green horse figurine.
The Map-Stand Levers
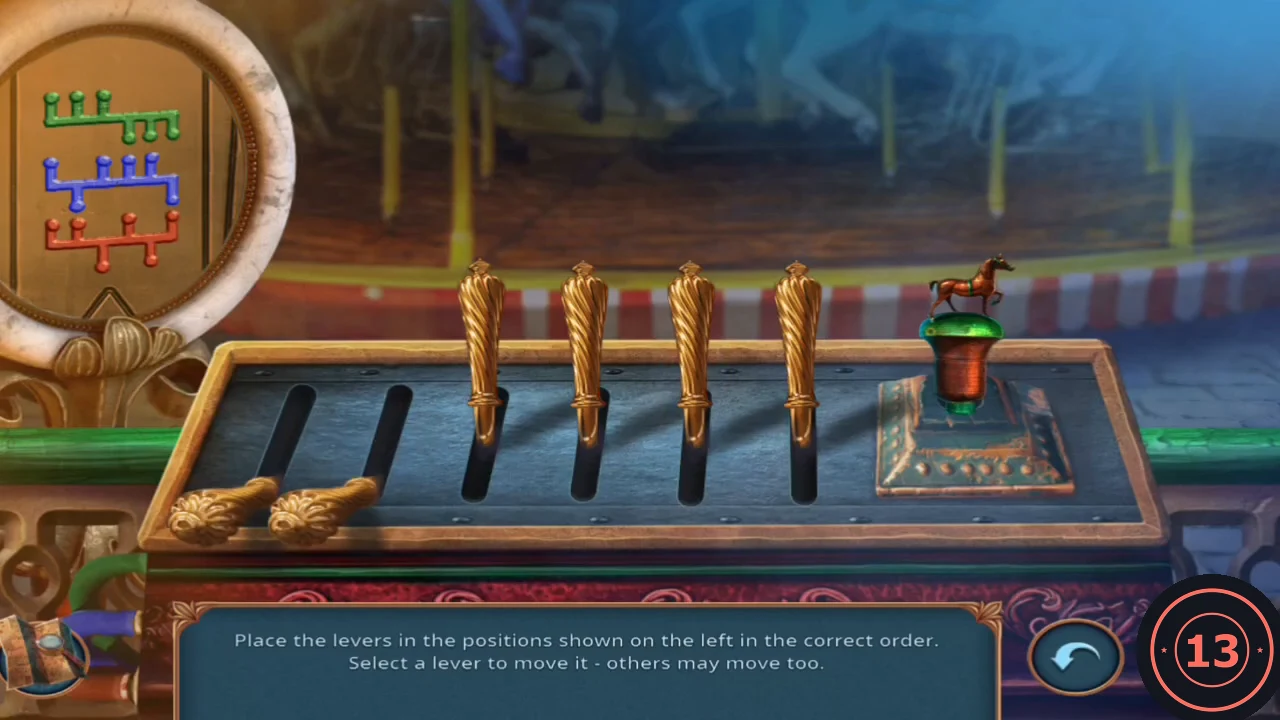
Place the horse figurine on the Oak Street map stand to open a lever puzzle. Set the six levers to match each coloured pattern on the left: green, then blue, then red. Number the levers 1 to 6 from left to right. All six start in the up position and snap back to up after each pattern is accepted. Tapping a lever also flips linked levers, and the links change from round to round, so tap exactly the levers listed, in order.
- Place the horse figurine on the base of the map stand panel.
- Green pattern (up, up, up, down, down, down): tap levers 1, 3, 5 and 6. After each tap the levers read: down, down, up, up, up, up; then up, down, down, down, up, up; then up, up, down, up, down, up; then the green pattern.
- Blue pattern (up, down, up, up, up, down): tap levers 1, 3 and 6. After each tap the levers read: down, down, up, up, up, up; then up, down, down, down, up, up; then the blue pattern.
- Red pattern (up, up, down, up, down, up): tap levers 1, 2, 3, 4 and 5. After each tap the levers read: down, up, up, down, up, up; then down, down, down, down, up, up; then up, down, up, up, up, up; then up, down, down, down, up, up; then the red pattern. Take the green tool, open the green clasp on the poster case with it and take the seam ripper.
The Theatre Mask
Open the market stall canvas.
- Cut the stitches of the green stall canvas with the seam ripper and take the Mirth theatre mask. Something lies in the boiling pot, but it is too hot to touch.
- Fish the Chance of Fate emblem out of the pot with the strainer.
The Chance of Fate Wheel
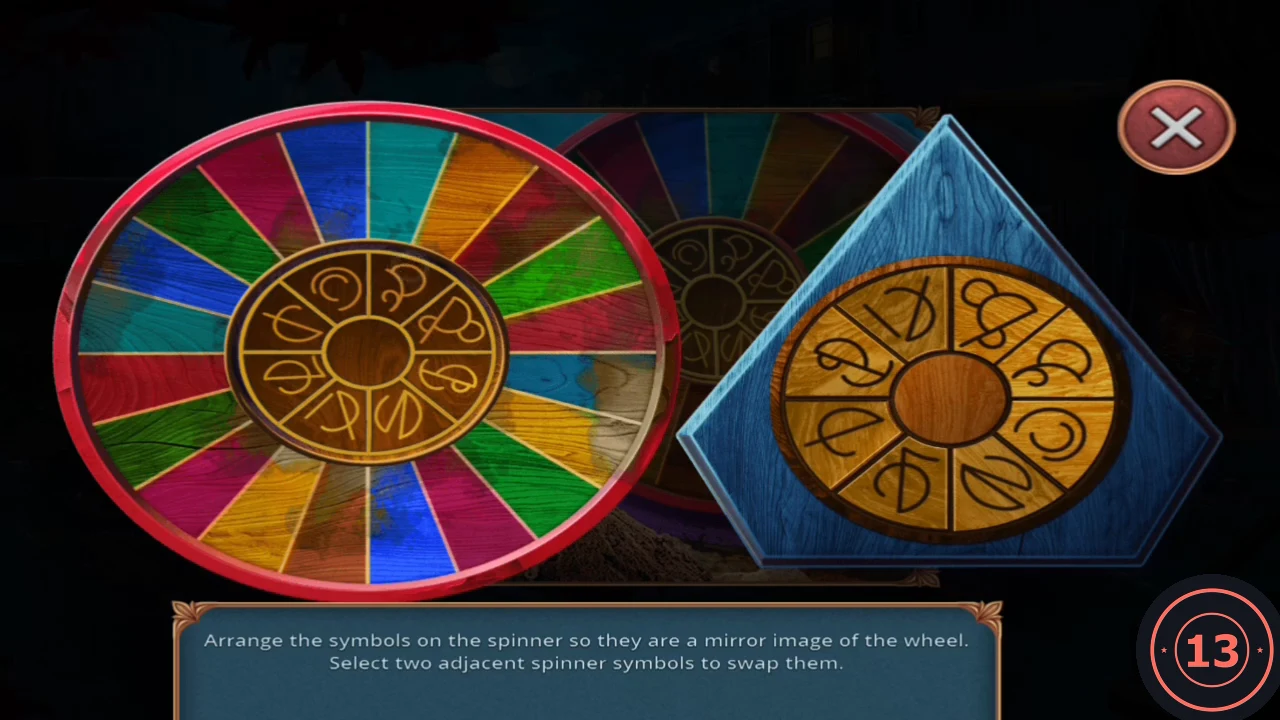
Place the Chance of Fate emblem on the wheel at the back of the market. Arrange the symbols on the spinner as a mirror image of the wheel. Select two neighbouring spinner symbols to swap them.
- Place the Chance of Fate emblem in the centre of the wheel at the back of the market to open the spinner.
- Read the wheel symbols in order and place them on the spinner in reverse direction, swapping neighbours until the whole ring mirrors the wheel.
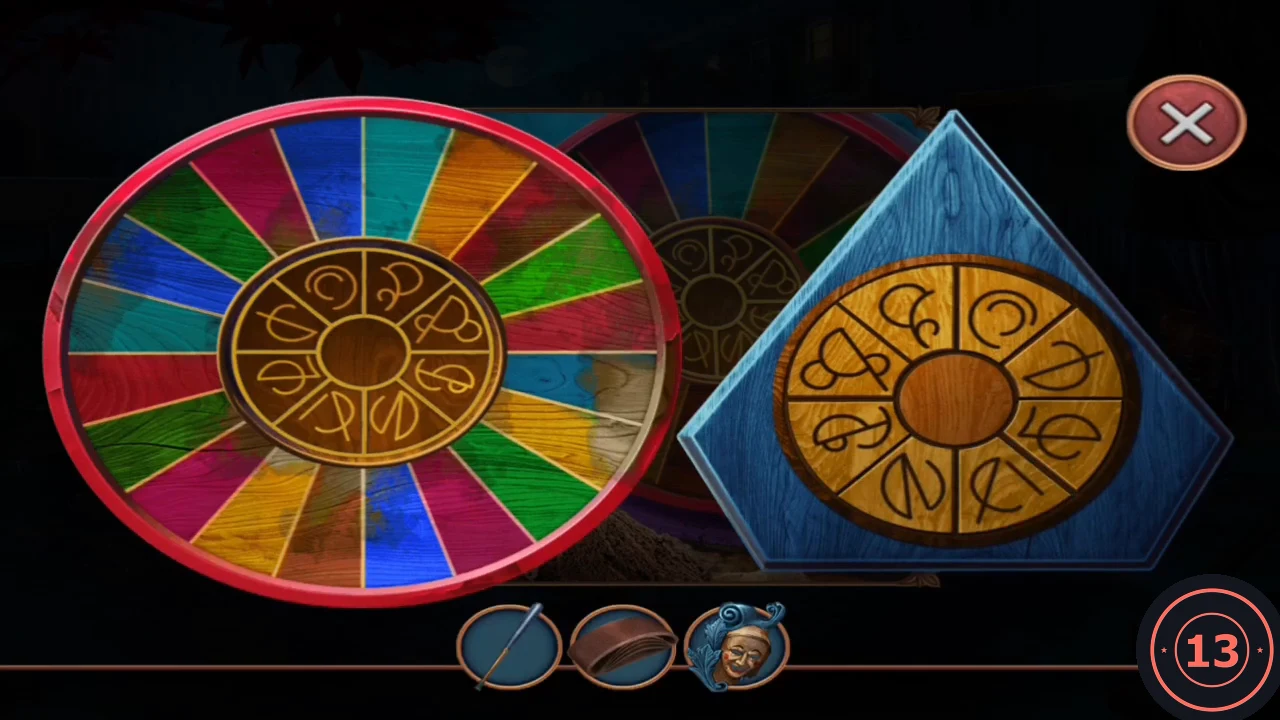
Completed spinner: its symbols mirror the wheel's ring. - Take the crowbar from beneath the wheel.
Underground
Go after Cameron and Alice beneath the stage.
- Pull the nails from the stage chest ladder with the crowbar. Place the ladder in the stage manhole and climb down.
- In the right tunnel, hit the overhead pipe with the metal rod from the instrument case to blast Alice with steam. At the bomb table, take the net and the work glove.
- At the workbench, read the note, take the purple strap, then rub the green-covered mask on the bench with the sandpaper from the instrument case until the mask shows through, and take the second mask. Pull the prickly branches with the glove, take the saw and saw the wooden blocks to get the planks.
The Dressing Room
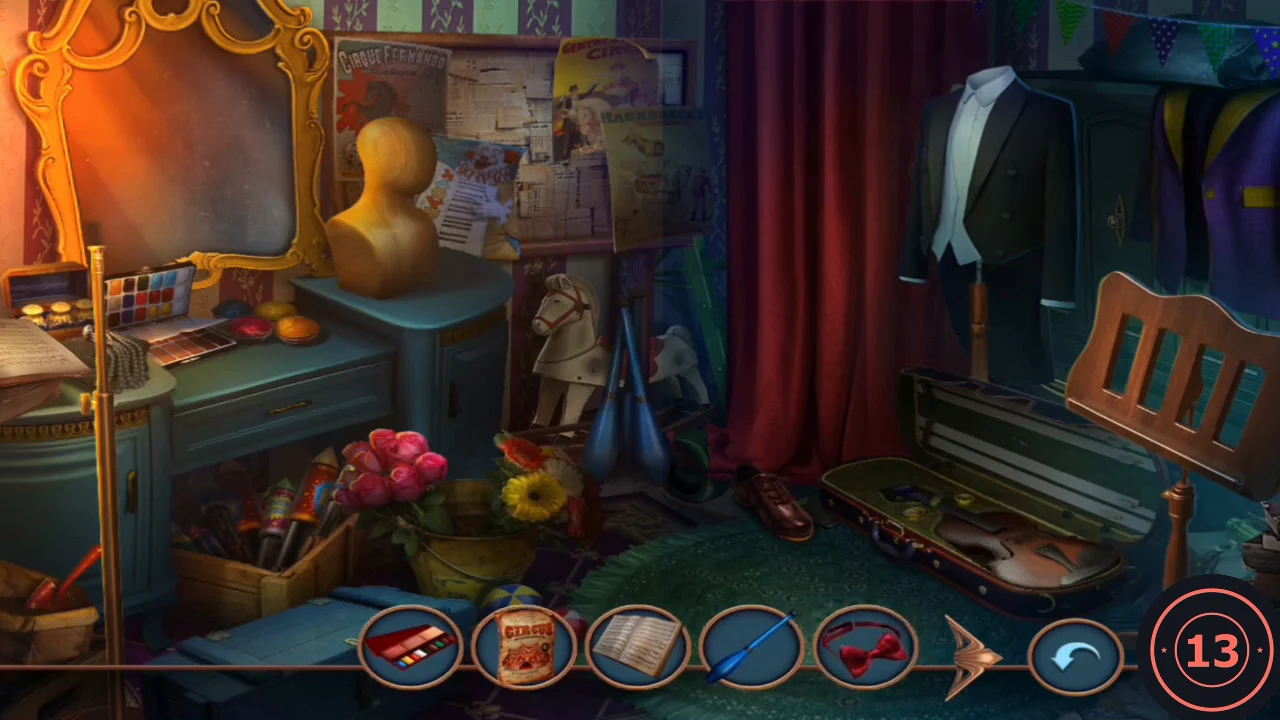
Put both masks on the stage wagon door to open an interactive search. The bar at the bottom holds objects that belong somewhere in the dressing room; drag each one to its place. New objects join the bar as others are placed. A wrong spot says "That wasn't right" and the object returns to the bar.
- Place both masks in the slots of the stage wagon door.
- Put the violin in the empty open violin case at the bottom right, the circus poster on the wall beside the bust, and the sheet music on the music stand at the right. Put the red make-up palette on the dressing table in front of the mirror and the orange flower in the bouquet in the pot. The microphone does not go on the bust.
- Put the white curly wig on the bust and the red bow tie on the collar of the tailcoat. Fit the microphone on top of the brass stand at the left edge. Put the red rocket in the box of fireworks at the bottom left, the second brown shoe beside the shoe under the curtain, and the gold tassel tie-back on the red curtain. Last, stand the blue juggling club beside the two blue clubs next to the rocking horse.
- Take the green scarf that appears on the floor in the middle of the room. Die-Hard Fan unlocks.
Cooling the Coals
Build a net launcher to catch Cameron.
- Wrap the leaking pipe above the coal pot with the scarf and purple strap. Take the blue glass fuel bottle with the droplet label from beside the pipe; the coals are still too hot.
- At the workbench, pour the fuel from the bottle into the gold funnel on top of the blue machine; an old rifle slides out of the chute. Take it.
- Lay the planks over the bear traps by the market cart and take the empty jar. Fill it with sand from the pile by the Chance of Fate wheel.
- Smother the coals with the sand and take the green yarn. Open the net in inventory, repair it with the yarn and combine it with the rifle to make a net launcher.
- Use the net launcher on Cameron in the right tunnel.