The Stable Courtyard
Collect the last emblems around the stable.
- At the stall door, pull the thorny vines away with the maroon glove. Take the second emblem (2/3) and the anchor on a chain. The rope on the door needs a cutting tool later.
- Open the fountain. Take the copper coin from the rim of the upper basin and the stone token beside it. Drop the anchor into the lower basin and fish out the third emblem (3/3) and the first crescent medallion piece (1/2). The spigot needs a vessel.
The Snake Emblem Case
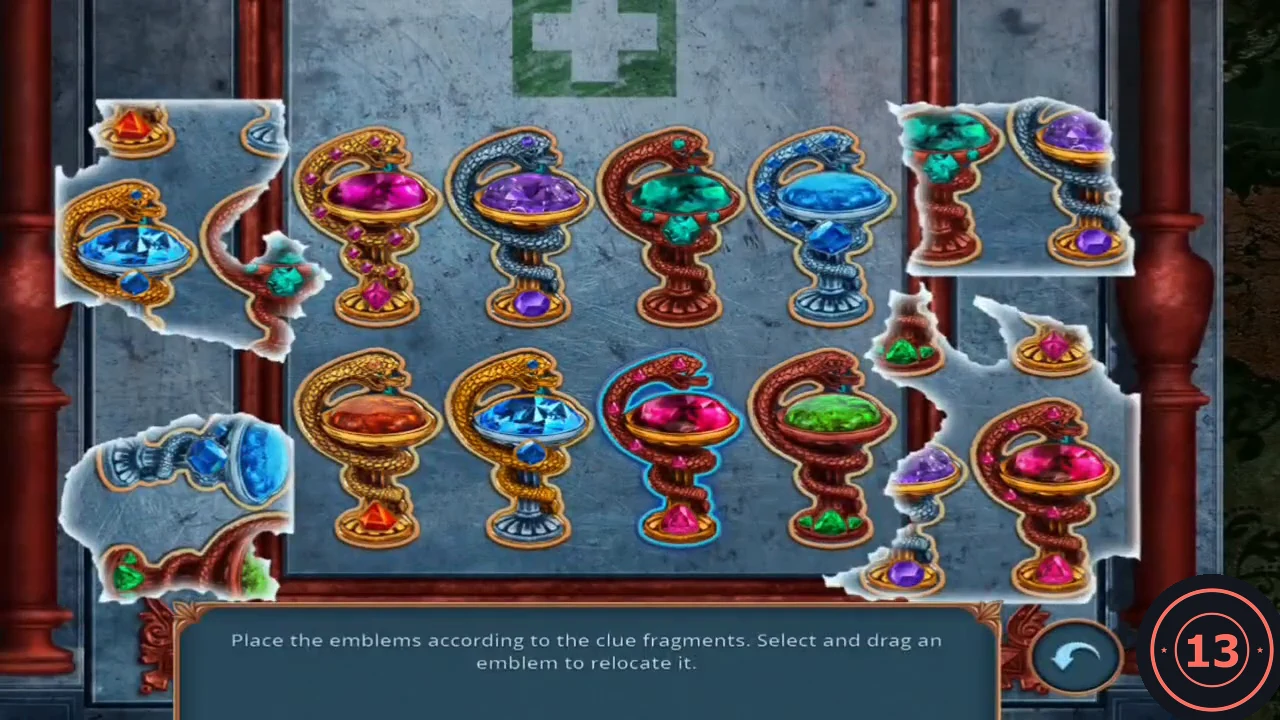
Open the case on the armchair in Cameron's office and place the emblems. Drag emblems to swap them until every position matches its clue fragment.
- Place the three emblems in the armchair case.
- Arrange the emblems as follows. Top row, left to right: gold snake with orange bowl, silver snake with blue bowl, red snake with green bowl, gold snake with pink bowl. Bottom row: gold snake with blue bowl, red snake with teal bowl, silver snake with purple bowl, red snake with pink bowl.
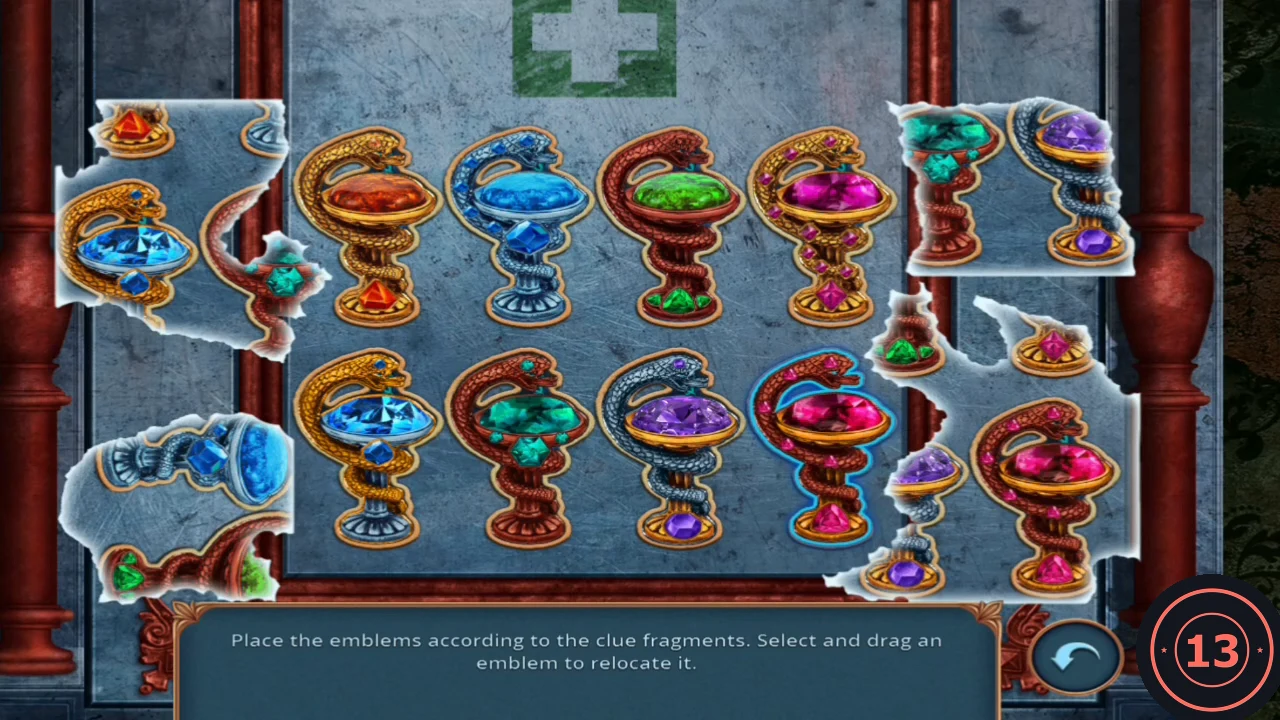
Solved arrangement, matching step 2. - Take the blue key. Read the newspaper clipping on the wall (2/10). Unlock Liam's cell with the blue key. Liam gives you the drafting emblem, and The Last Hero unlocks.
Liam's Leads
Liam suspects Meredith Thompson is the next victim. Gather what you need to reach her.
- Place the drafting emblem on the front of the desk drawer to open it. Take the tack guide (a sheet showing how to assemble a horse harness) and the flint and steel. At the blue wall cabinet, strike the flint to burn away the dry cobwebs clogging the latch, open the cabinet and take the teal stopper.
- In the warehouse, open the cage close-up and plug the steaming pipe with the stopper, then take the tied stack of books. The cage chest is padlocked: wedge the trowel under the padlock to break it off, open the chest and take the second crescent medallion piece (2/2).
The Workers' Cupboard
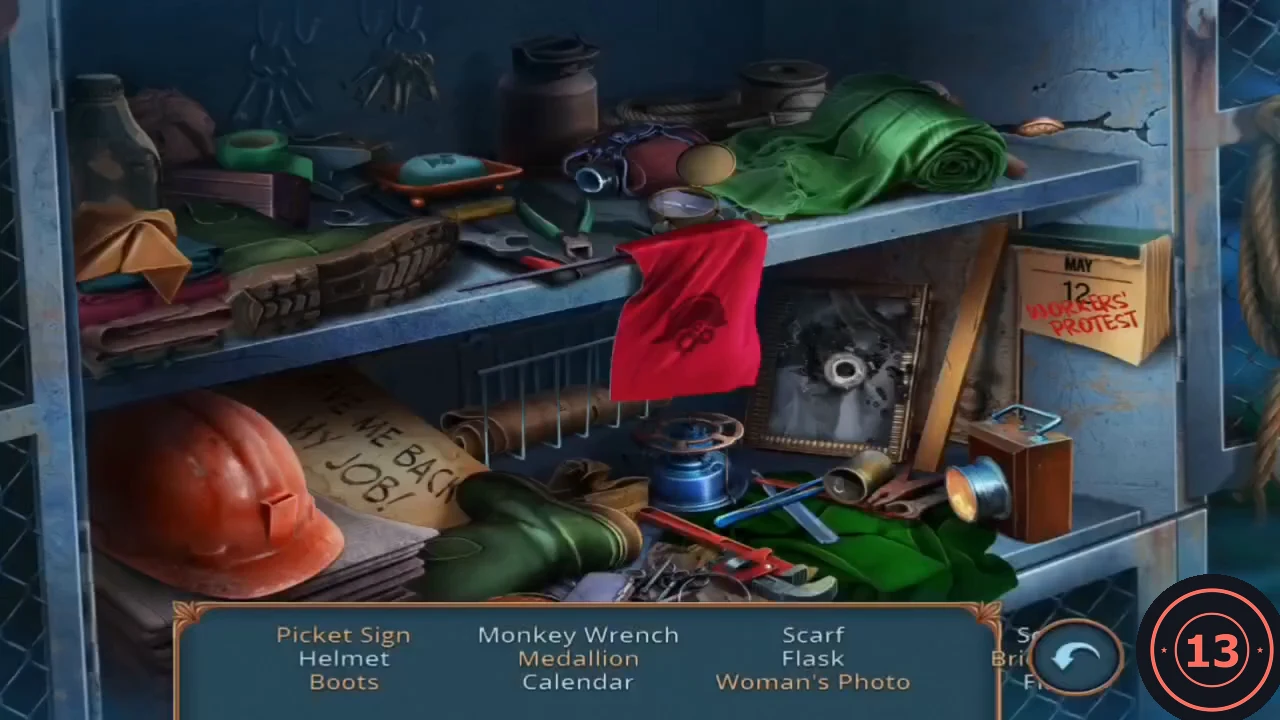
Place the medallion in the mesh cupboard to open an interactive search.
- Place the medallion in the recess of the mesh cupboard.
- Find the 12 listed items (the Soap, Briefcase and Flag column is partly hidden at the right edge of the list). Simple finds: the calendar (May 12, Workers' Protest) at the top right, which also uncovers a wooden stick leaning against the right side of the shelves; the flask on the top shelf between the dark can and the green roll; the red helmet at the bottom left; the monkey wrench among the tools on the green cloth at the bottom right; the green rolled scarf on the top shelf; the red flag hanging in the centre; and the soap in the orange dish beside the small wooden box on the top shelf at the left.
- Interactive items. Woman's Photo: drag the orange rag from the top-left corner onto the dirty framed photo in the middle of the lower shelf, then take the cleaned photo. Boots: one boot sits by the cardboard sign; drag the second boot from the top shelf at the left onto it. Medallion: taking the scarf exposes a medallion wedged in a wall crack at the top right; take the long blue tongs from the green cloth at the bottom right and pull it out. Picket Sign: drag the wooden stick onto the 'Give me back my job!' cardboard, place the stick under the sign and wrap the green tape round it. Briefcase: open the rolled newspaper in the wire rack on the lower shelf and click the briefcase in its Vacancies advert. Finally tip over the small wooden box on the top shelf at the left and take the necklace.
Harnessing the Horse
Meredith lives across town. Harness the horse to get there.
- Open the flowerbed chest on the right of the stable courtyard. Fit the necklace pendant into its round lock to open the lid. Take the green-handled corkscrew. Put the copper coin in the lucky cat's slot; a panel in the floor of the chest opens: take the goblet. The vegetation on the chest needs cutting later. Fill the goblet at the fountain spigot.
- In Cameron's office, open the food table and pour the goblet of water over the hot pan of beans. Take the can opener from the cooled pan. Open the wall cabinet, cut open the teal box with the can opener and take the pliers and the bridle.
- Back at the stable, cut the rope on the stall door with the pliers. Open the door and take the horse collar, the blue patterned teacup and the sickle. Cut away the vegetation on the flowerbed chest with the sickle and take the magnet and the harness straps.
- Placing the straps directly on the horse does not work. Open the tack guide (How to attach a horse harness) in inventory, place the bridle, collar and harness straps on the sheet to assemble the harness, then put it on the horse.
Riding Through the City
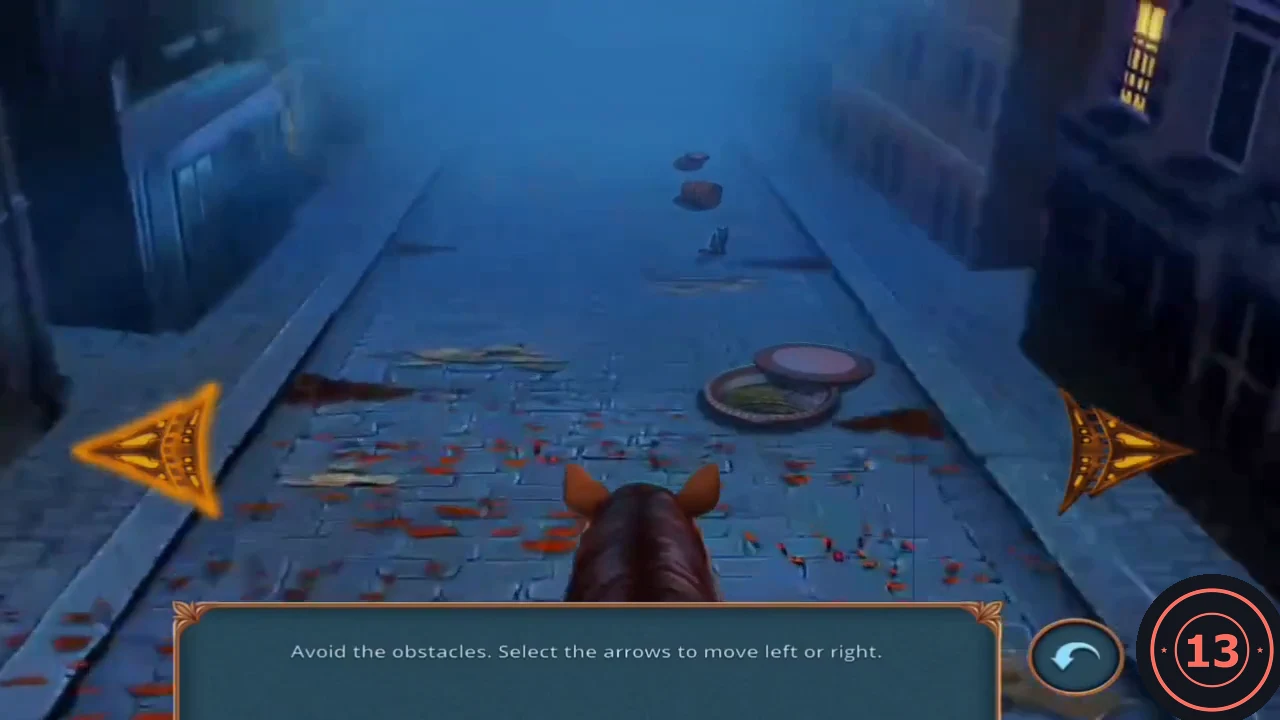
Two quick driving mini-games take you to Meredith's house.
- Street ride: press the left and right arrows to dodge barrels, open manholes and cats.
- Top-down ride: press the compass arrows to move the horse across the street while avoiding vehicles. You arrive at Meredith Thompson's house.
Meredith's Room
Meredith is terrified. Make her a cup of tea.
- Open the bed close-up at the left. Take the wooden scoop leaning against the bed leg. The leg is broken: put the tied books from the warehouse under the corner of the bed, then take the gold padlock lying by the books. The music box beside them is missing its dancer.
- At the dresser, take the stone token (19/45) on the marble at the bottom right and the green scarf hanging at the top right. Join the two loose chains on the glass cabinet with the gold padlock; the doors open. Take the long thin red chopstick from the middle shelf. The marble panel needs prying later.
- At the kitchen door, the key is in the lock on the other side. Push the chopstick into the keyhole so the key drops to the floor beyond the door. Slide the red-and-blue horseshoe magnet under the door to drag the key through, take the key and unlock the kitchen.
The Kitchen
Prepare the tea.
- Open the close-up of the wooden cabinet by the icebox. Pick up the brass bugle horn on the floor in front of it. The cabinet has no handle: fit the corkscrew as a handle, open it and take the dried red leaves. The icebox beside it holds something frozen.
- At the fireplace, take the thin hooked metal retractor lying in the round pan. Place the blue patterned teacup on the brick ledge to the right of the pan and put the red leaves in the pan.
Tea Leaf Pairs
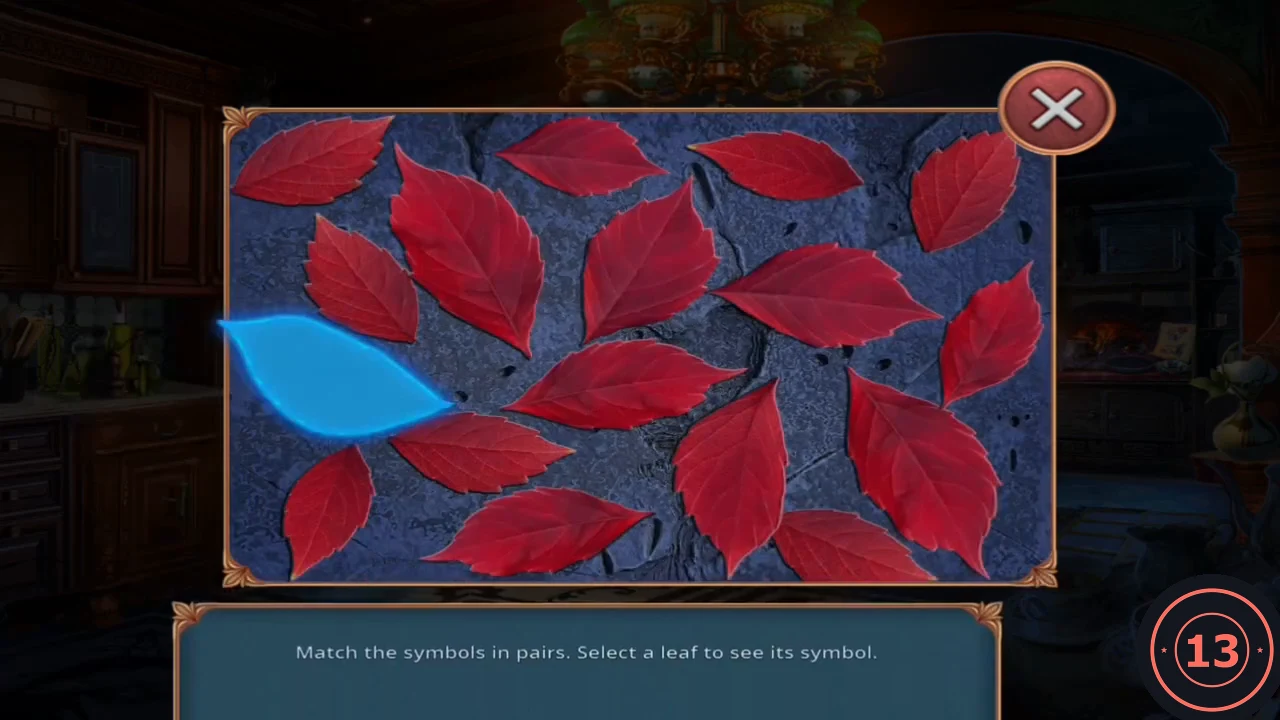
A memory game: match the symbols under the leaves in pairs. The layout can differ between games.
- Select a leaf to reveal its symbol, then select another. Matching pairs stay open. Remember where each symbol appeared and clear every pair.
- Take the cup of tea.
Calming Meredith
Give Meredith the tea and follow her clue about Alice.
- Give the tea to Meredith. She explains that Alice climbed the fire escape and rents the neighbouring apartment, and gives you the ballerina. This earns Aspiring Doctor.
- Put the ballerina in the music box under the bed and take the red ball of yarn. At the dresser, pry up the carved marble panel with the retractor and take the red-handled awl and the green tube of glue from the compartment.
- Hang the red yarn on the hook of the kitchen pulley rack to open the pantry riddles.
Pantry Riddles
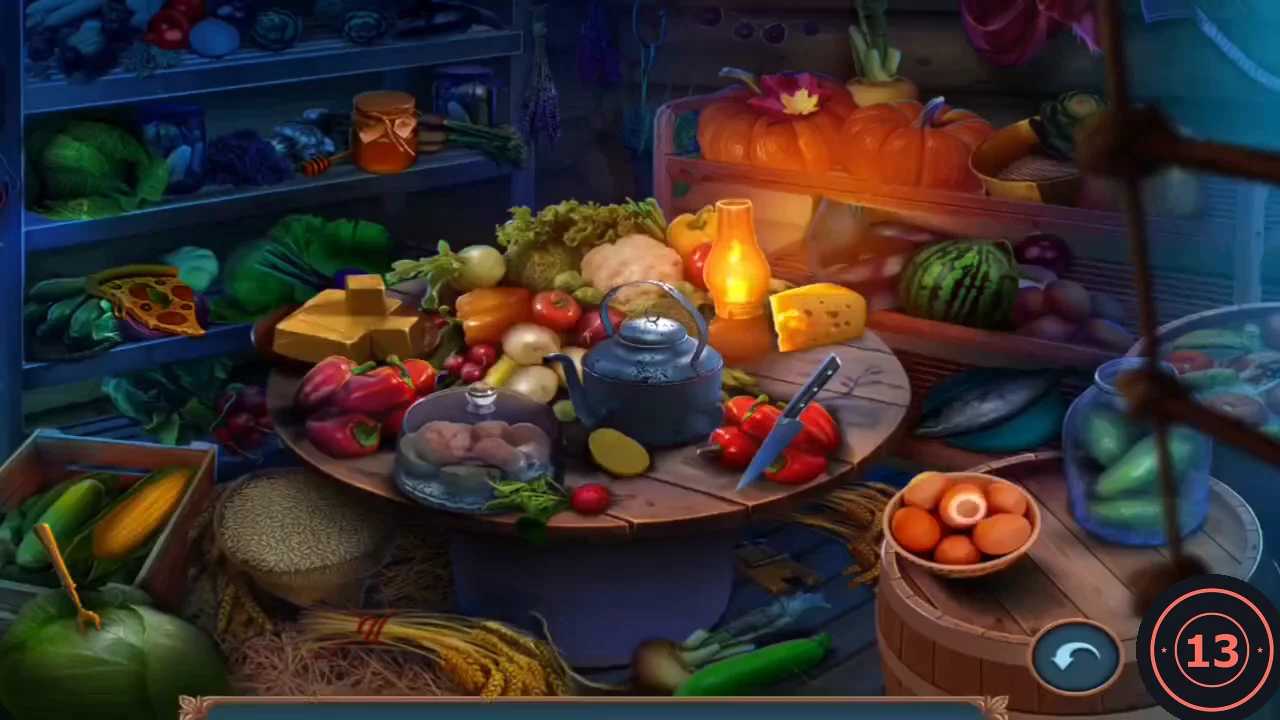
Each line is a riddle; click the food it describes.
- Answers in the recorded game: teapot, pizza, eggs, cheese, corn, butter, fish, cookie, rice, honey and watermelon. Collect the rain boots.
The Conservatory
Wade through the flooded kitchen into the conservatory.
- Wear the rain boots on the flooded kitchen floor and go through to the conservatory.
- At the hanging planter, take the rubber bulb from the shelf below the bowl. Dig in the bowl of soil with the scoop and take the glass rod.
- At the birdcage on the chair, take the rolled grey towel lying across the top of the cage. Put the glass rod through the bars, tie the green scarf around them and twist to bend the bars apart. Take the perfume atomizer and the metal ruler from the cage.
- Open the bugle horn in inventory, add glue and the rubber bulb to make a bulb horn.
The Piano Path
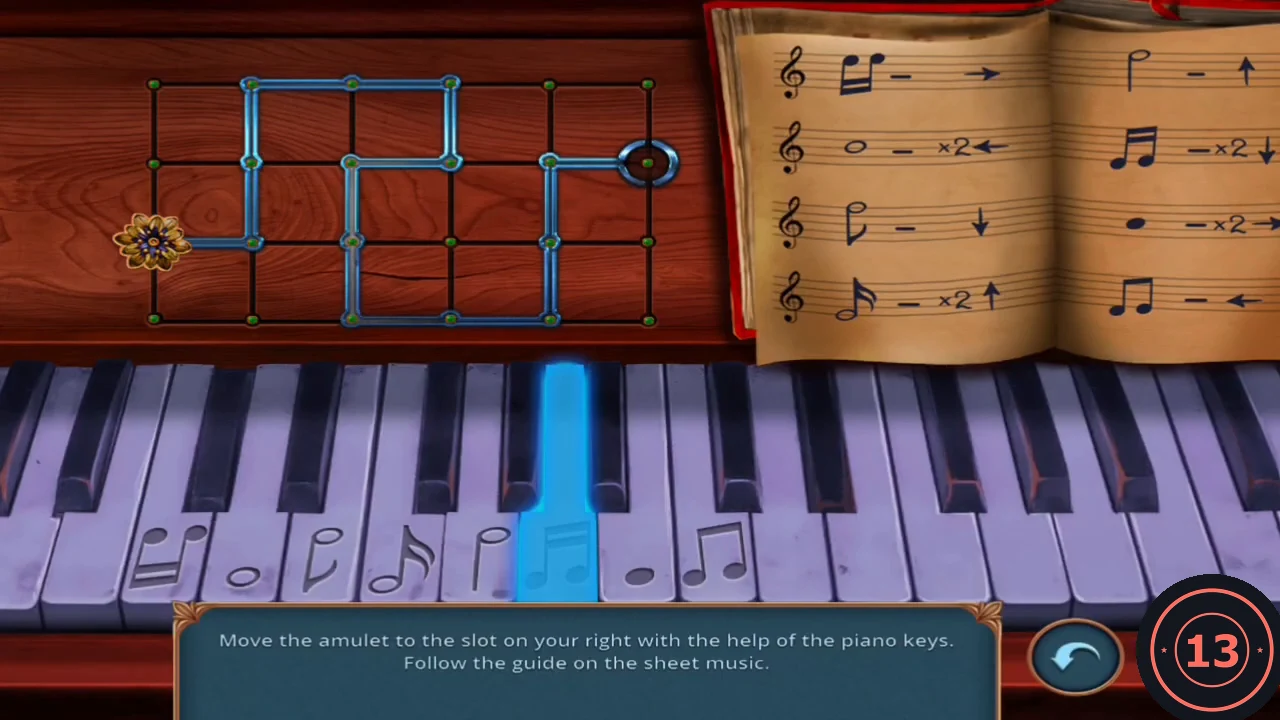
Scare the raven off the piano, then move the amulet to the slot on the right using the piano keys. The sheet music shows which note each key plays.
- Sound the bulb horn at the raven on the piano and read Meredith's note.
- The keys move the amulet: beamed sixteenths stems down = right 1; whole note = left 2; half note stem down = down 1; single sixteenth = up 2; half note stem up = up 1; beamed sixteenths stems up = down 2; filled dot = right 2; beamed eighths = left 1. From the left start, move right 1, up 2, right 2, down 1, left 1, down 2, right 2, up 2, right 1.
- Take the gold flower emblem.