A Bridge to Alice's Window
Cross from the conservatory to the neighbouring apartment.
- Open Meredith's dresser and use the perfume atomizer on the bees in the flower pot. Once they leave, take the small hammer from the pot.
- Place the gold flower emblem in the board recess of the hanging planter and take the wooden board.
- Read the diary on the window sill, lay the board across to the opposite window and nail it down with the hammer. Collect the note, climb into Alice's apartment and watch the cutscene.
Alice's Belongings
Search the apartment for proof of Alice's plans.
- At the green wardrobe, take the solvent bottle from the floor and the stone token. Slide the metal ruler into the gap at the top left of the panel to push it aside, then take the hatchet from behind it.
- At the window box, take the shoe and read the note about the landlady. Break the box bottom with the hatchet and take the floor jack, which is missing its wheels, and the belt buckle.
- Open the solvent in inventory and pry the cork out with the belt buckle. Use the opened solvent on the blue paint covering the lock of the red suitcase ('A good cleaning wouldn't hurt!'), then use the rolled grey towel: the solvent soaks the towel and it wipes the paint away. Open the suitcase.
The Suitcase
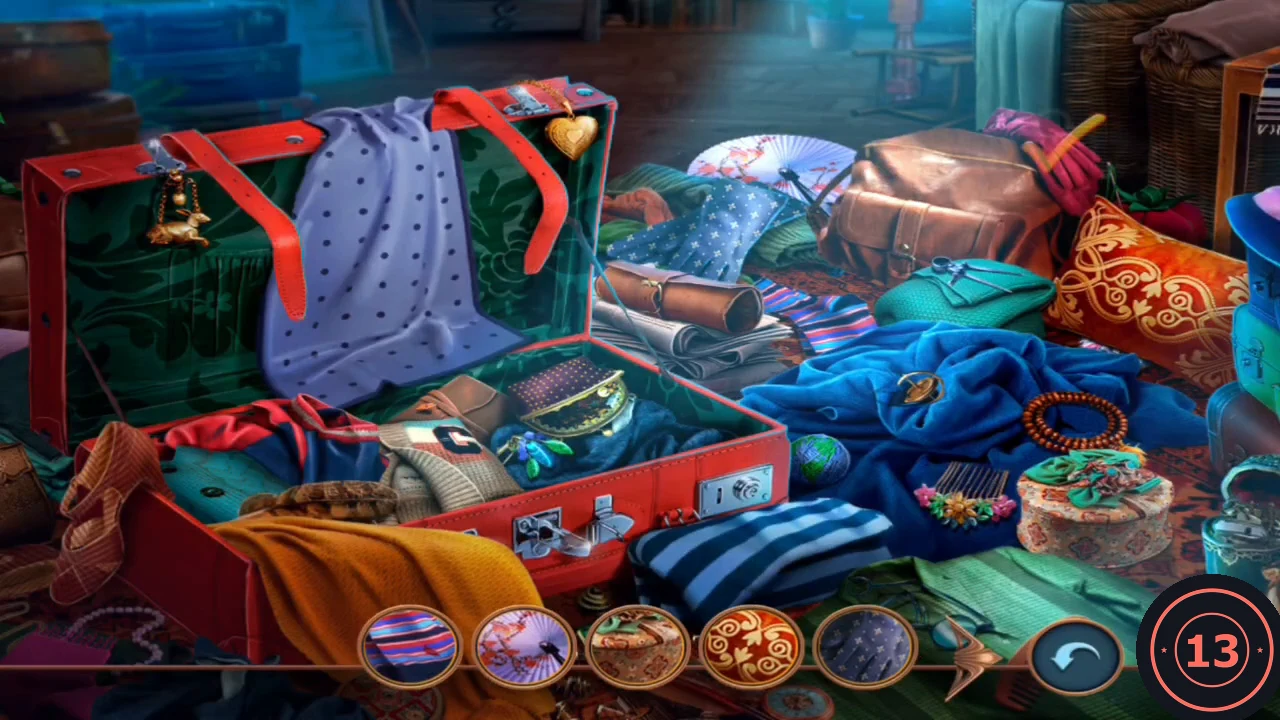
Search the suitcase for the listed objects.
- The list shows fabric swatches: find the item made of each fabric. Recorded matches: pink gloves on the brown bag at the top right; the cherry-blossom parasol at the top centre; the blue-striped jumper at the bottom centre; the orange-and-gold patterned cushion on the right; the red-and-navy jumper at the lower left inside the suitcase; the maroon polka-dot purse with a gold clasp inside the suitcase; the lilac polka-dot cloth draped in the lid; the multicoloured striped cloth to the right of the rolled newspapers; the navy star-print cloth at the top centre; the green damask lining of the lid on the left; the floral round box at the bottom right; and the tan plaid strip hanging over the left edge of the suitcase. Take the ladle. Traveler’s Fate unlocks (unpack the suitcase).
Ice and Coals
Free the item frozen in Meredith's icebox.
- Scoop hot coals from the kitchen fireplace with the ladle and use them on the frozen icebox to melt the ice. Take the ring with the large red jewel. Something is still stuck in the ice at the top right ('I need a proper tool to pry it open'): pry it free with the awl and take the lever handle.
- At Alice's desk, read the letter to the mayor and her diary note.
The Desk Gears

Insert the lever handle in the brass desk mechanism. Rotate each gear by pressing it until the picture across the gears is complete.
- Put the lever handle in the brass mechanism on Alice's desk.
- Press each gear until its part of the image lines up with its neighbours; the finished picture shows a bundle of dynamite.
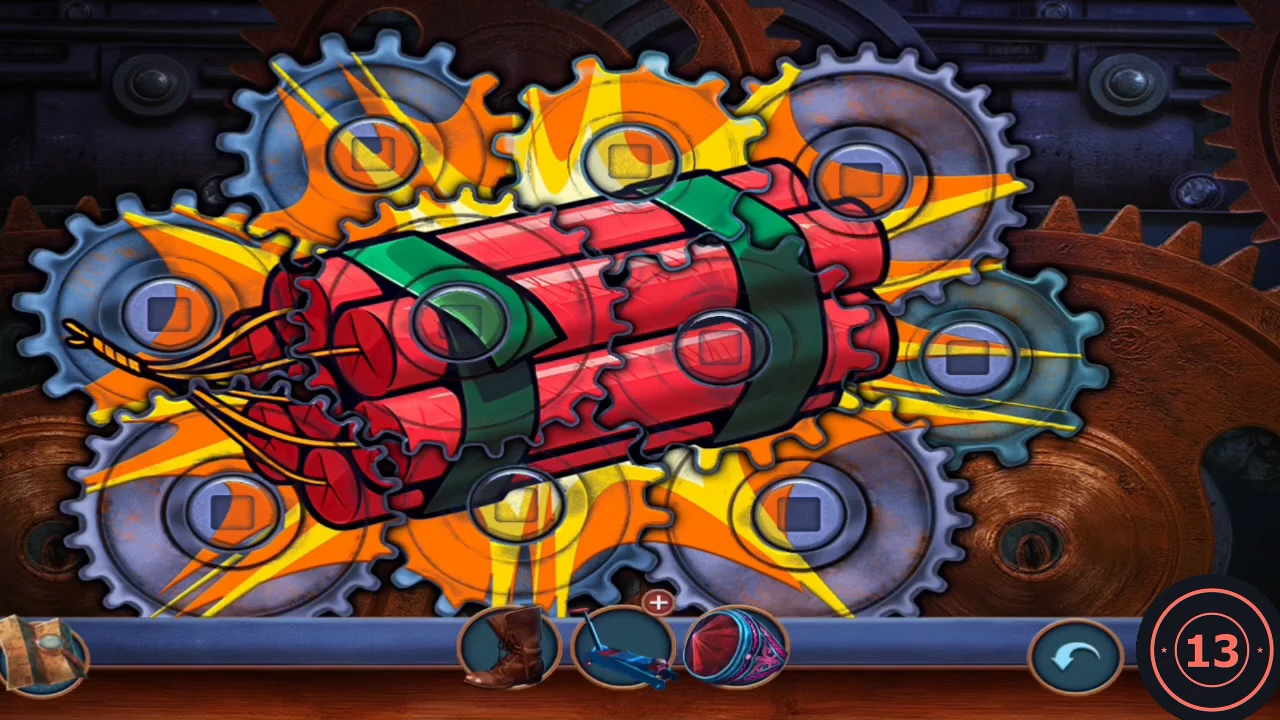
Completed picture: a bundle of dynamite. - Take the lump of charcoal and the wheels from the open drawer. Beetles swarm over the items on the floor by Alice's desk; you will need insect spray to clear them later.
The Fallen Wardrobe
Lift the wardrobe and reach the hanging shelf.
- Fit the wheels to the floor jack in inventory, then use the jack under the collapsed wardrobe to lift it. Take the golden fang and the red-handled paintbrush from under the wardrobe.
- In the conservatory, use the boot and the golden fang together on the broken floor tile by the chair and take the tennis ball. Throw the ball at the hanging wall shelf.
Sorting the Corks
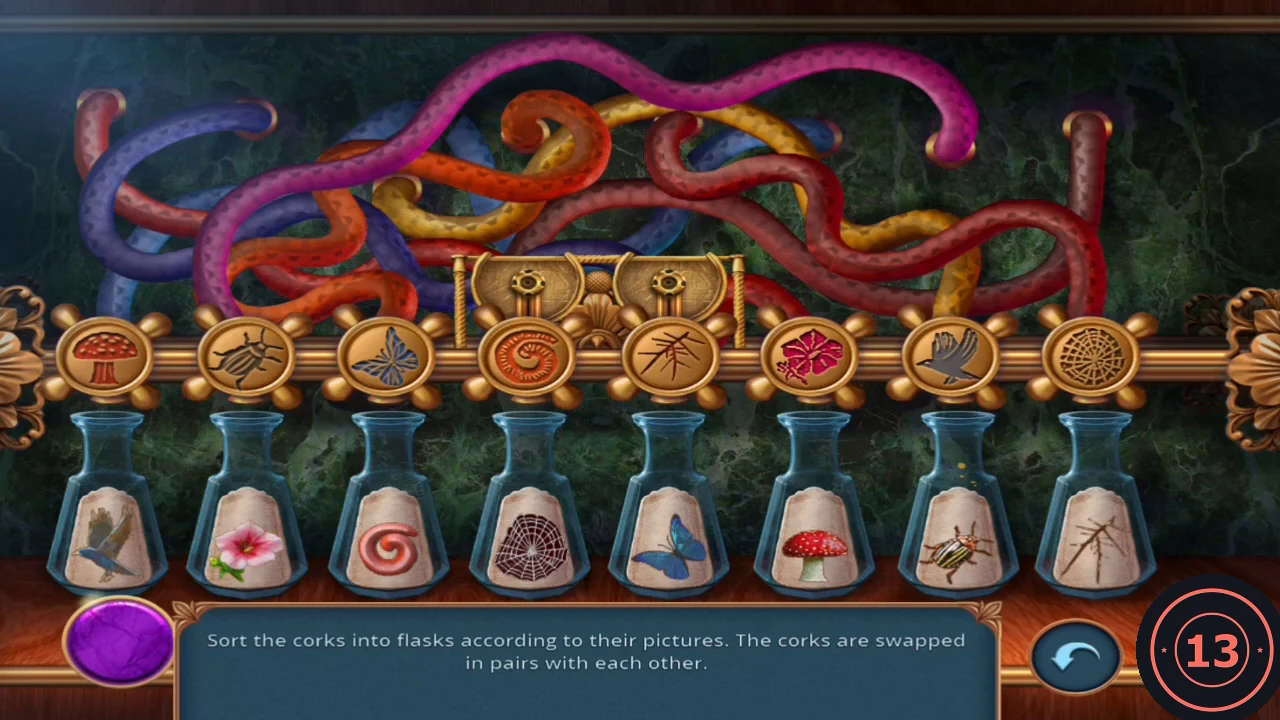
Put each cork above the flask with the same picture. The probe always grips two neighbouring corks: touch the left or right side of the screen to slide it, and press the round purple button at the bottom left to lift the pair below it or swap the pair it carries with the pair below. A cork in its correct place gets a green ring. Slots are numbered 1 to 8 from the left.
- From left to right the flasks show a bird, a flower, a spiral, a web, a butterfly, a mushroom, a beetle and a mosquito. The corks start as mushroom, beetle, butterfly, spiral, mosquito, flower, bird, web, with the probe over slots 4 and 5.
- Press the purple button to lift the spiral and mosquito from slots 4-5. Slide the probe right over slots 7-8 and press the button: the mosquito lands in slot 8 and the probe picks up the bird and web.
- Slide left over slots 1-2 and press the button: the bird lands in slot 1 and the probe takes the mushroom and beetle. Slide right over slots 6-7 and press the button: mushroom and beetle land there and the probe takes the flower and spiral.
- Slide left over slots 2-3 and press the button: the flower and spiral land there and the probe takes the web and butterfly. Slide right over the empty slots 4-5 and press the button to drop them. Every cork gets a green ring.
- Take the insect spray.
Alice's Map
Find where Cameron and Alice will strike next.
- Spray the beetles by Alice's desk and take the thin stick and the brass door handle.
- Fit the handle on Alice's inner door. Read the map wall: the attack is planned for the festival on Oak Street during the mayor's speech.