Festival Square: smoke tiles
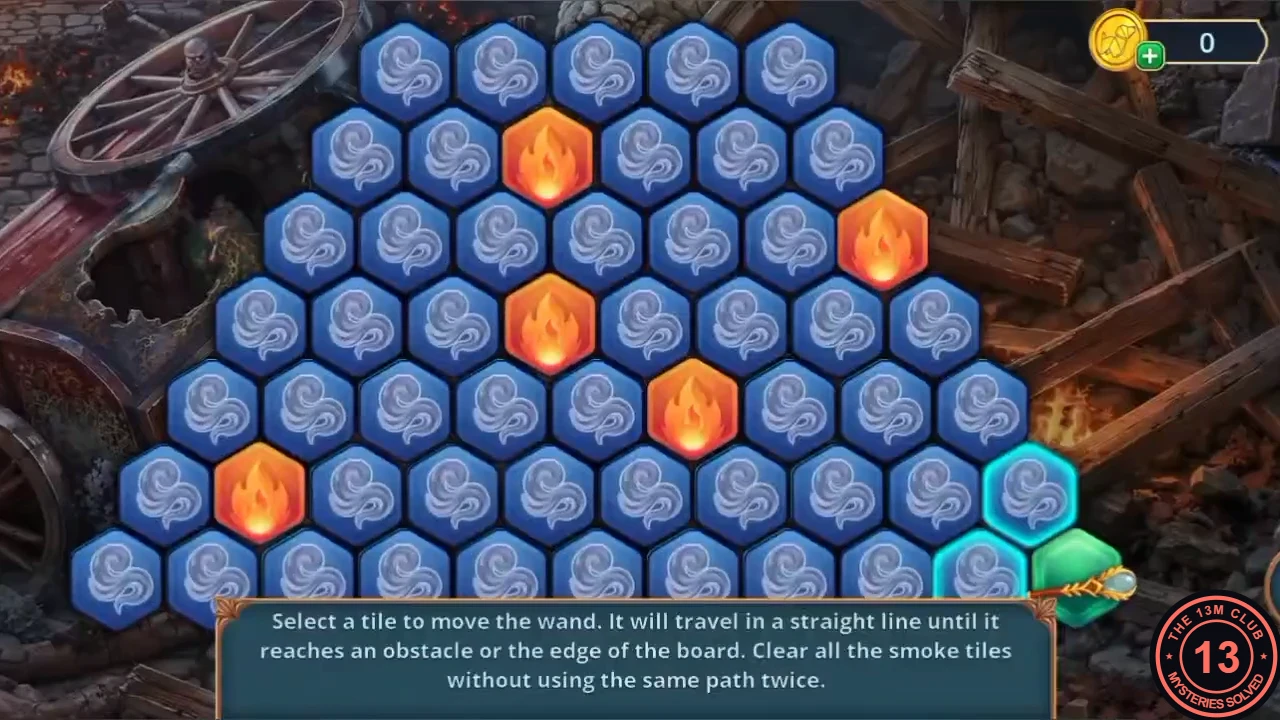
Grimhollow is on fire and a man is trapped under rubble.
- Zoom into the trapped man ("Ordinary tools won't move this rubble...").
- Zoom into the pumpkin pile by the pump. Take the Trowel from the soil bucket and the Bag of Powder. The pump has no crank (later).
- Use the wand on the rubble to start the puzzle.
- Puzzle: "Select a tile to move the wand. It will travel in a straight line until it reaches an obstacle or the edge of the board. Clear all the smoke tiles without using the same path twice." The wand starts at the bottom right; fire tiles block it and cleared tiles turn green. Before each move, check where the wand will stop, and leave yourself a way out of dead-end corners.
- Rufus thanks Mabel. Decision (Ezra): "No time to talk" (free), "Truth comes first" (30 coins, +2 on the button) or "He's my kin" (60 coins, +6). The task "Rescue Rufus from the rubble" completes.
Secret Passage: symbol tunnels
Open the manhole and find the way through the sewers to the Grimwood Archives.
- Zoom into the manhole. Take the Iron Sponge lying on the sand, then put the Small Pouch on the sand and scoop it full with the Trowel. Take the Bag of Sand.
- Zoom into the burning debris and smother the flames with the Bag of Sand. Take the Crowbar.
- Pry the manhole lid open with the Crowbar and climb down into the sewers (Secret Passage).
- Zoom into the frozen niche on the left. Take the Broken Racket out of the bucket, then take the Bucket. The dripping niche needs "some kind of waterproof solution". Optional spider (56/140 in our playthrough): the spider counter went up just after this close-up in the sewer cave, but the exact spot is not clearly visible.
- Zoom into the dirt by the centre pillar and dig with the Trowel. Take the Umbrella.
- Open the Umbrella over the dripping niche and take the Underground Map.
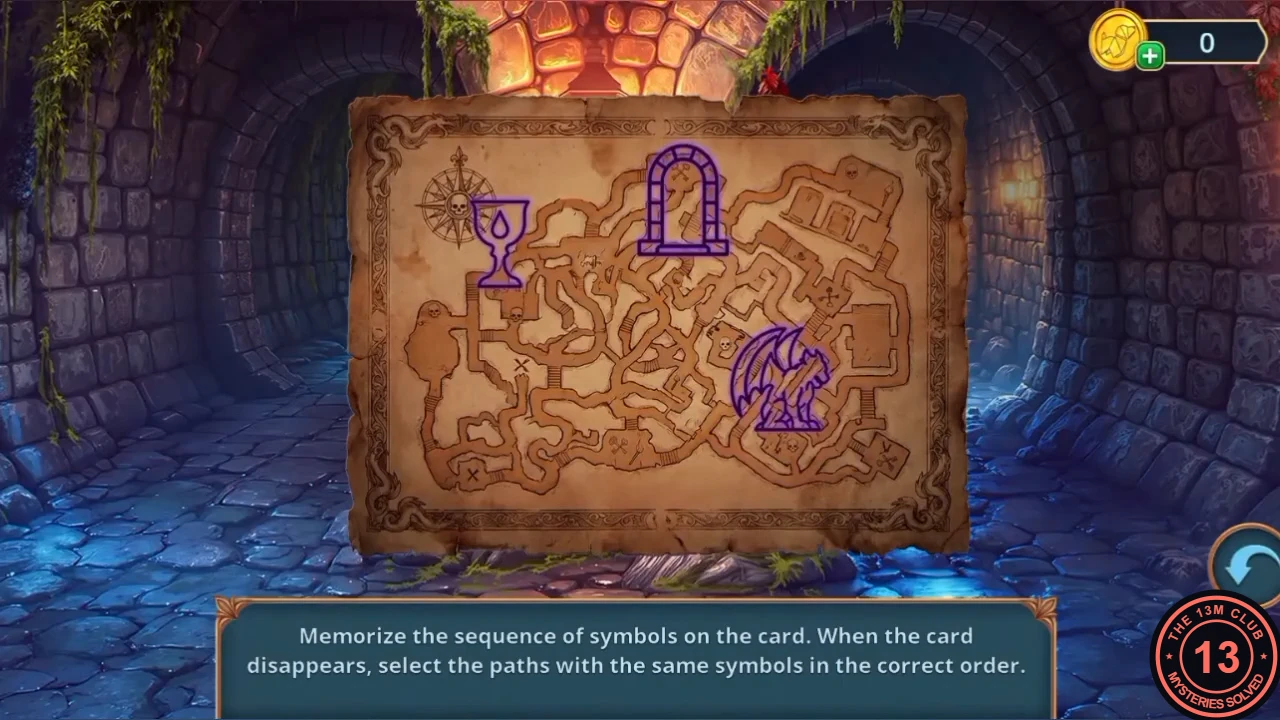
- Place the Underground Map on the pillar to start the puzzle.
- Puzzle: "Memorize the sequence of symbols on the card. When the card disappears, select the paths with the same symbols in the correct order." There are three rounds with longer sequences each time (recorded symbols included goblet, arch and dragon in the first round). Say the symbols to yourself or note them down, then pick the matching tunnel flames in the same order; correct picks turn green.
- In the Archives, Ezra comments on the hidden passages. Decision: "Monsters know how to keep secrets" (60 coins, +2) or "We didn't come here for a tour!" (free). New task: get into the archive.
Grimwood Archives: list search
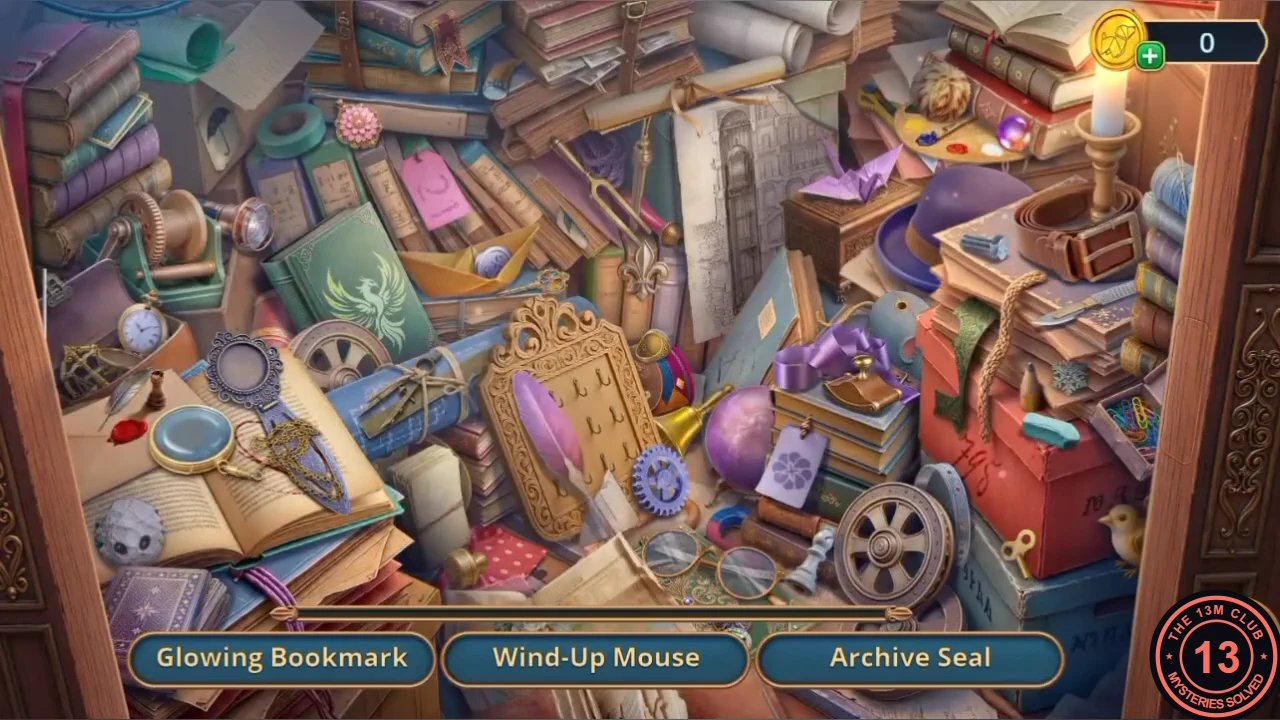
Search the Archives near the stuck elevator.
- Zoom into the elevator (its door keeps sliding shut and its panel is missing a button) and take the Flying Shoes.
- Tap the purple sparkle to the left of the elevator to open a hidden-object scene.
- Find the listed items (for example Glowing Bookmark, Wind-Up Mouse, Archive Seal, Elevator Shaft Map and Paperclip Spider). Three names are shown at a time.
Anubris's Office: sand pyramid search
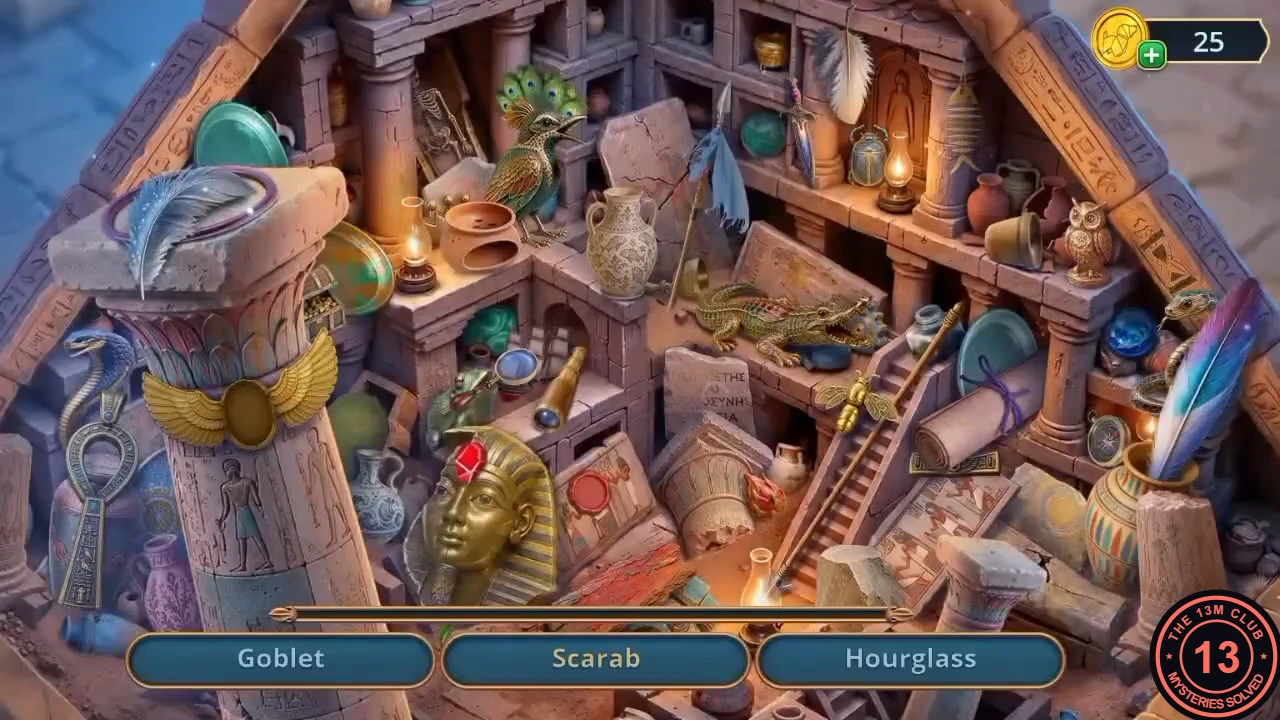
Blow open the archive tree chest and enter Anubris's office.
- Zoom into the spiral stair. The railing is missing its top (later). Snip the tapestry with the Cigar Guillotine and take the Thin Wick.
- Open the Bucket in the inventory and attach the Chain to it.
- Zoom into the chest under the great tree. Lay the Thin Wick as a fuse to the padlock, place the Bag of Powder at the lock and light the fuse with the Lighter. The padlock is blown off; take the Ceramic Skull.
- Zoom into the plinths at the spiral stair and put the Ceramic Skull on the empty right plinth, matching the left one. A passage opens to Anubris's Office.
- Zoom into the sand pyramid. Take the brass Mechanical Heart from its top and the Ancient Papyrus. The pyramid is missing its apex, and Mabel notes the sand hides fragments that need a fine mesh (later). Optional spiders (60/140 in our playthrough): two spiders sit at the foot of the sarcophagus, left of the sand-covered pyramid steps.
- Zoom into the sarcophagus and pry the golden pyramid apex off the corner of its lid with Dad's Bone Knife. Take the Pyramid.
- Put the Pyramid on top of the sand pyramid to open a hidden-object scene.
- Find the listed items (for example Goblet, Scarab, Hourglass, Compass, Gear, Dagger, Ink Tablet, Magnifying Glass, Ruby, Feather of Maat, Sealed Scroll and Ankh). Three names are shown at a time.
Castle Courtyard: flying-shoe route
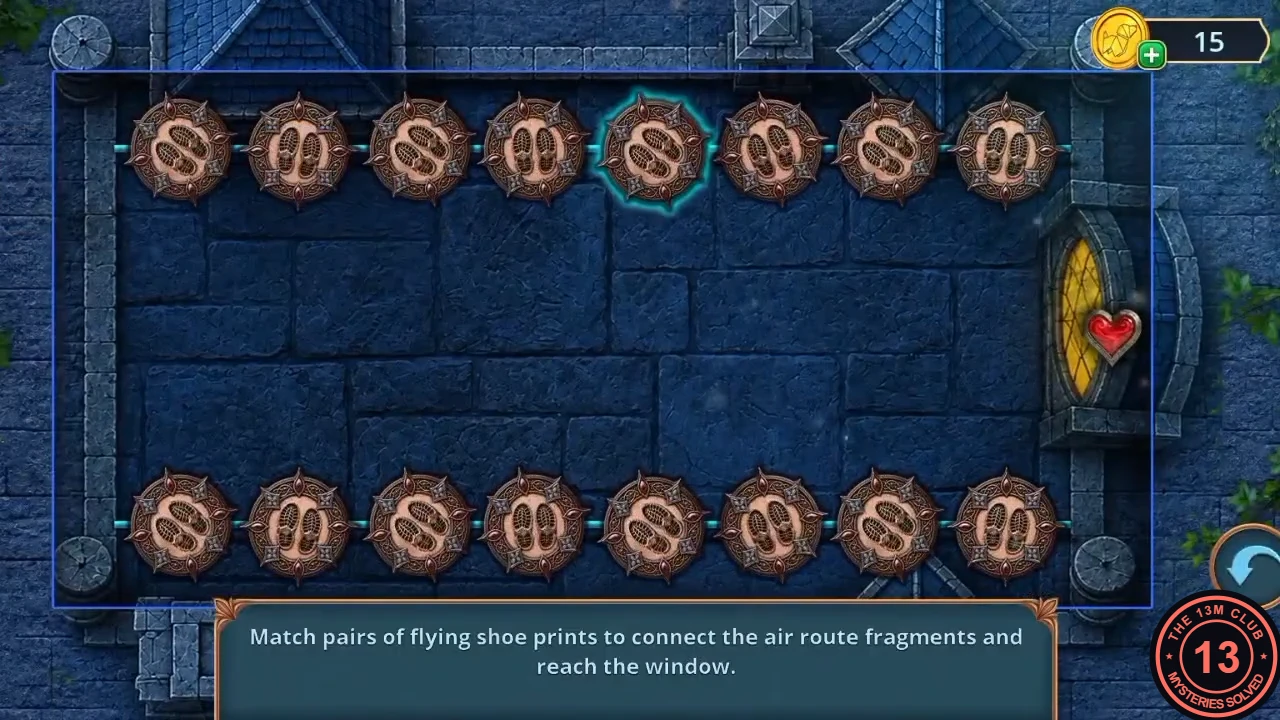
Climb out of the sewers into the castle garden and make the flying shoes work.
- Zoom into the oil lamp on Anubris's desk, fill it with the Lamp Oil and light it with the Lighter. Take the S-Shaped Carbine. The press beside it is missing its roller (later).
- Open the Bucket in the inventory and add the S-Shaped Carbine to make the Bucket with Hook.
- In the sewers, zoom into the high round grating and lower the Bucket with Hook on its chain. Zoom into the waterfall ledge on the right and tap the loose stones so they drop into the hanging bucket. The weighted bucket is hauled up and the chain stays hanging; climb up through the grating into the Castle Courtyard.
- The lawnmower has no handle. Zoom into the mailbox/birdhouse on the lantern post and take the Magic Feather (1/3) and the Lawnmower Handle. Optional spider (65/140 in our playthrough): in the lawnmower close-up, it is among the blue flowers to the left of the mower.
- Fit the Lawnmower Handle to the mower. The grass is cut; take the Pruning Shears. Optional spider (68/140 in our playthrough): the spider counter went up shortly afterwards in the courtyard by the gargoyle door, but the exact spot is not clearly visible.
- Zoom into the poison-ivy wall and cut the ivy with the Pruning Shears. Take the Magic Feather (2/3) and Mom's Hairpin from the niche. The window above is too high to reach.
- Zoom into the garden door. Slide the Ancient Papyrus under it and push the key out with Mom's Hairpin so that it drops onto the paper. Take the last Magic Feather (3/3).
- Open the Flying Shoes in the inventory and add the Magic Feathers.
- Use the Flying Shoes on the ivy-wall window to start the puzzle.
- Puzzle: "Match pairs of flying shoe prints to connect the air route fragments and reach the window." Pick one shoe print in the top row and its matching print in the bottom row to link a route fragment. Repeat until the route is continuous.
My Room: crystal-ball search
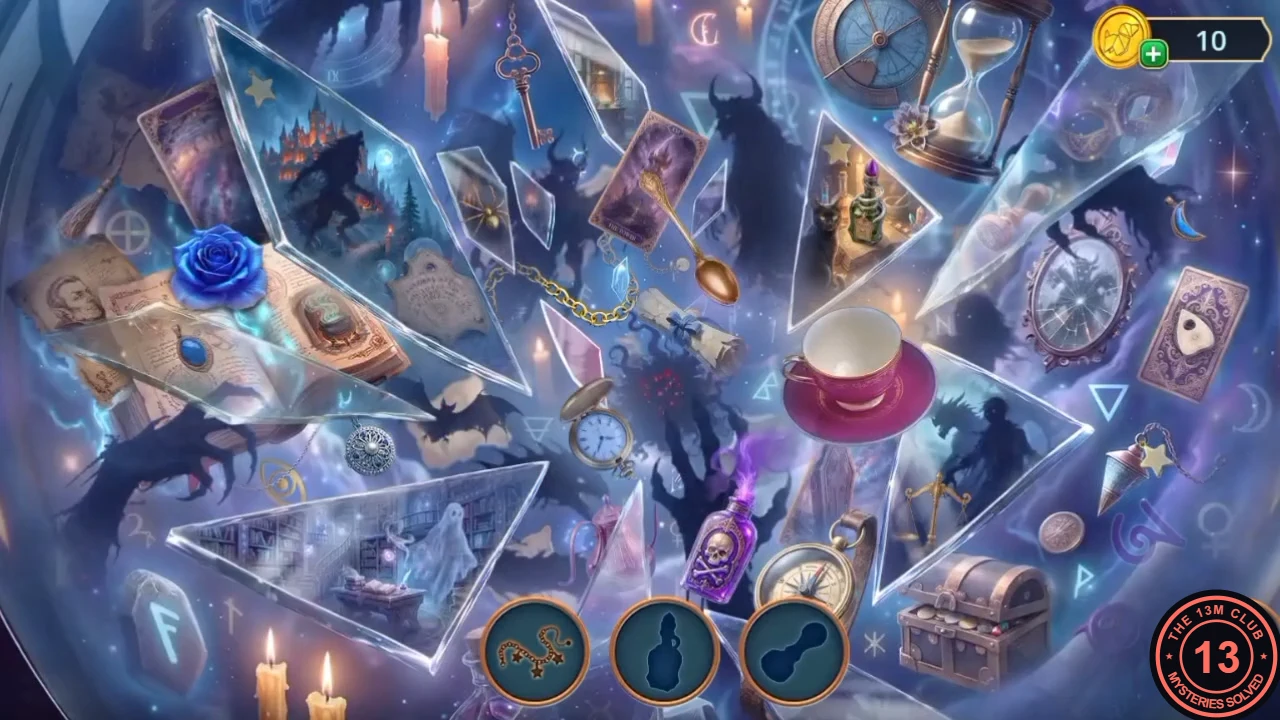
Search Mabel's own room for something to unlock the worn suitcase.
- In Mabel's room, Ezra comments on her books and studies (no decision). Zoom into the fireplace cauldron to read the Strong Wyvern Glue recipe.
- Zoom under the bed. Take the Mortar and Pestle and the Translucent Nail Polish. The suitcase code lock is worn smooth: "A little powder and polish might make the numbers reappear." Optional spider (71/140 in our playthrough): the spider counter went up in the bedroom here, but the exact spot is not clearly visible.
- Zoom into the cauldron again and loosen it with the Lamp Oil ("...oil, even lamp oil, can loosen what time has seized"). Take the Fortune-Teller's Ball.
- Put the Fortune-Teller's Ball on the stand on the table to open a hidden-object scene.
- Find the items shown as silhouettes at the bottom. Some need completing inside the scene (for example a chain that needs a charm hung on it).
Archive tree: crystal portal
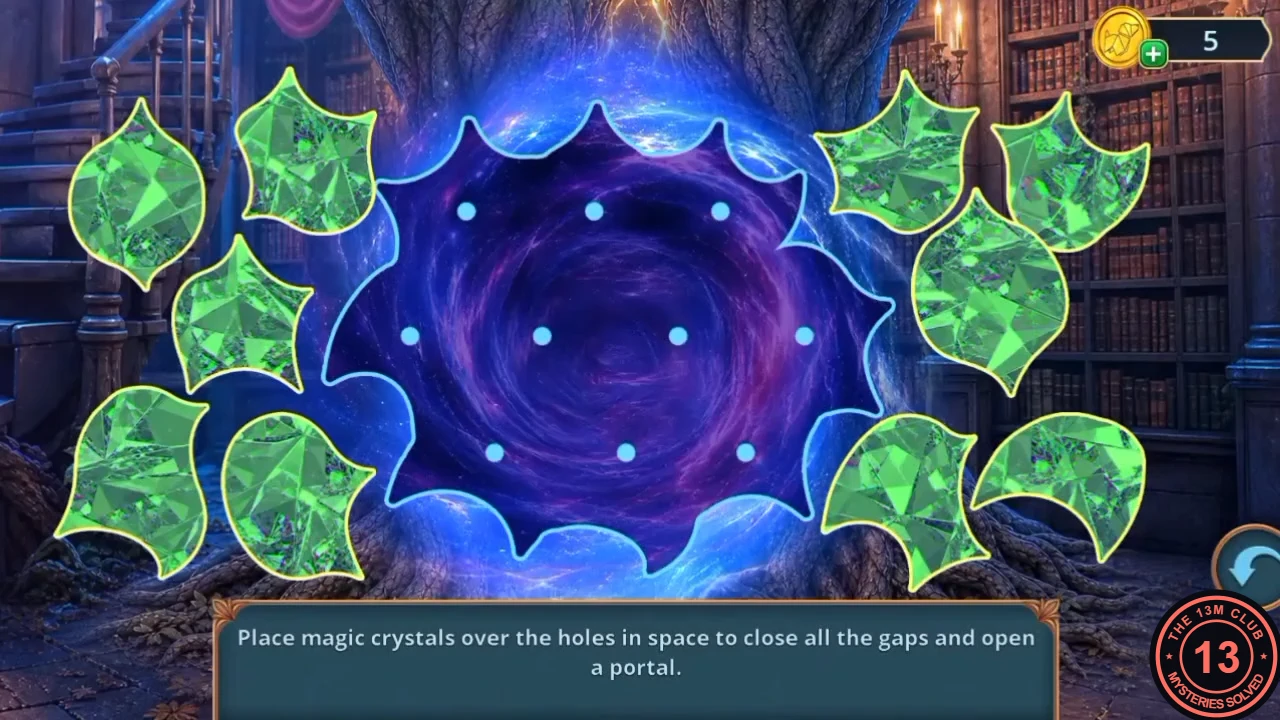
Open the suitcase for a new spell and seal the holes in space inside the archive tree.
- Zoom into the suitcase under the bed and use the Powder and then the Translucent Nail Polish on the worn code lock. The numbers reappear and the case opens. Its star-sky lid is missing pieces (later); a green orb flies into the wand, giving it a new spell.
- In the Archives, use the wand on the crack in the great tree to start the puzzle.
- Puzzle: "Place magic crystals over the holes in space to close all the gaps and open a portal." Drag the green crystal pieces onto the dotted holes. There are ten curved pieces for ten dots, and they interlock like scales: the recording filled the outer ring first and finished with the two middle pieces. Match each piece to a gap of the same outline; the completed image shows the closed portal.
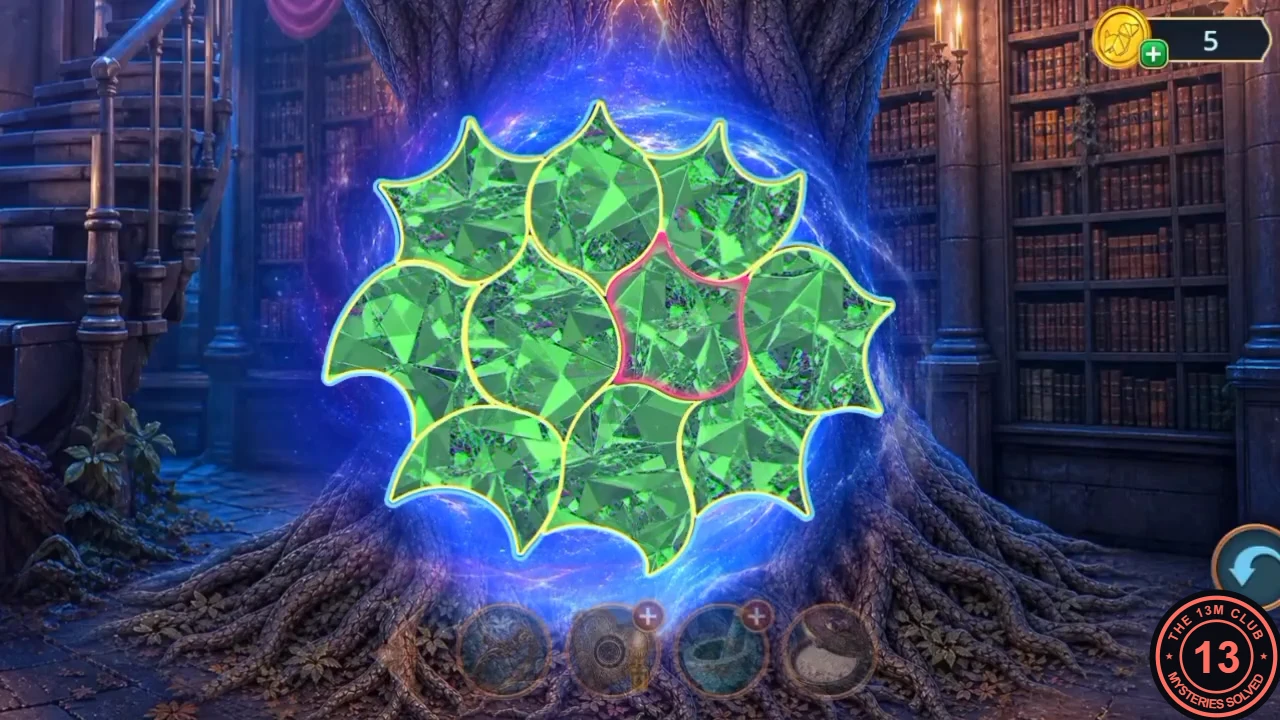
The closed portal. - Step through the portal into the Monsters' Gallery ("there are portraits of former leaders of our clan!").
Monsters' Gallery: aquarium search
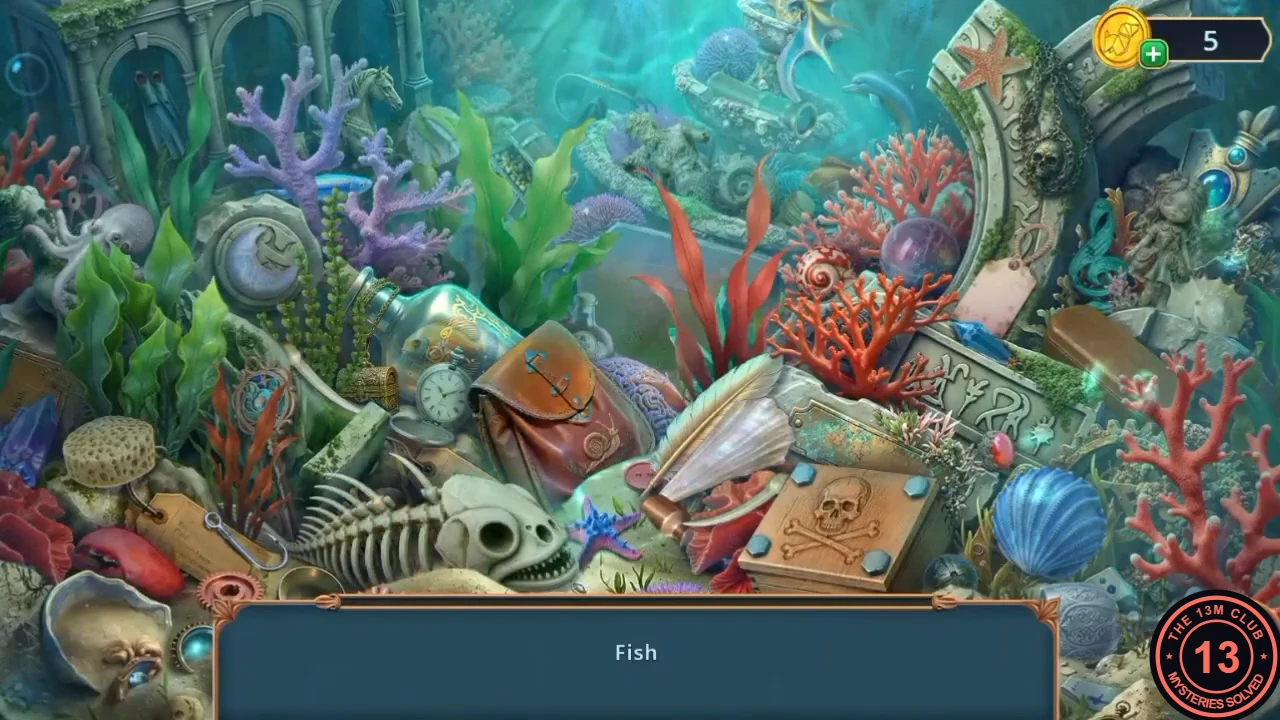
Clean the wyvern statue, clear the fish tank and get into the Family Court.
- Zoom into the wyvern statue. Take the Monster Emblems (1/4) and the Wyvern Scales. Scrub the moss off its face with the Iron Sponge and take the Fish Tank Filter. The broken wing needs glue (later).
- Install the Fish Tank Filter in the fish tank. The water clears and opens a hidden-object scene.
- The list gives categories (Fish, Shellfish, Treasures). Find every object that fits. A skeleton in the scene is missing ribs and a chest must be opened before all items can be found.
- Zoom into the red music box by the portrait wall and insert the Music Box Disc. It plays; take the Glasses. Optional spiders (78/140 in our playthrough): two spiders sit on the floor at the base of the stone pillar between the aquarium cabinet and the music-box chest, where the Music Box Disc lay.
- A faint red line crosses the room around the golden egg on the glass-dome pedestal (later). In the Castle Courtyard, zoom into the birdhouse on the lantern post and put the Glasses on its door ("a pair of eyes"). The door opens; take the Silver Pan Flute. The restless bats there need a tag (later).
- Use the Silver Pan Flute on the garden door. It opens into the Family Court hall.
- Anubris warns that dawn is near and asks what Mabel found. Decision: "Hide your suspicions" (60 coins, +2) or "Reveal your suspicions" (free). The family court will only hear the case with enough evidence.
Secret Passage: totem rays
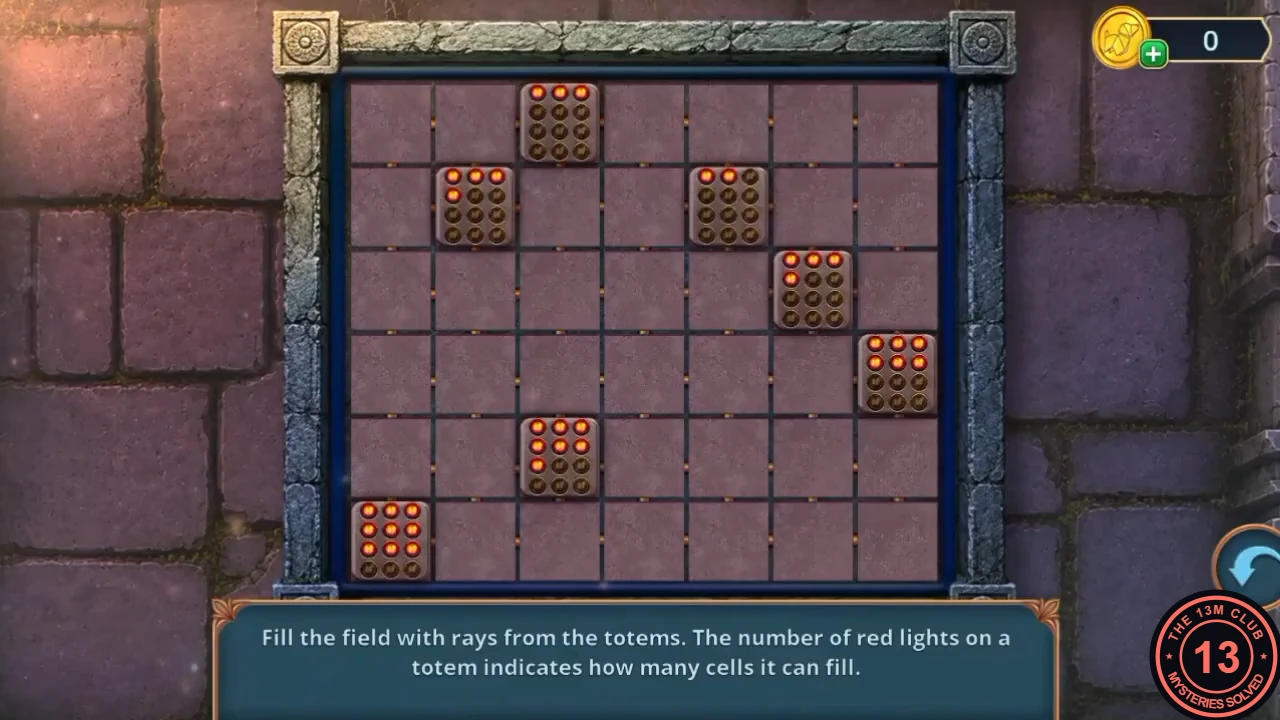
Search the Family Court and complete the totem row in the sewers.
- Zoom into the Family Court clock (its lock needs "an extraordinary key") and take the Thin Coin from the clock face.
- Zoom into the altar and take the Stapler. Its narrow gap is for later.
- Zoom into the knight armour and unscrew the visor's stuck screw with the Thin Coin. The visor opens: take the Vampire Totem Piece, and a green emblem joins the Monster Emblems (2/4).
- In the sewers, zoom into the umbrella niche and put the Vampire Totem Piece in the empty fourth statuette spot to start the puzzle.
- Puzzle: "Fill the field with rays from the totems. The number of red lights on a totem indicates how many cells it can fill." Tap a totem and drag a ray out of it in a straight line; the blue cells show where it can reach. A totem may split its lights over several rays in different directions (in the solution the bottom-left totem sends one ray up and one to the right), but all its lights must be used. Start with totems whose rays can only go one way (near edges or corners), then share out the remaining cells until no empty cell is left. The completed image shows the recorded solution.
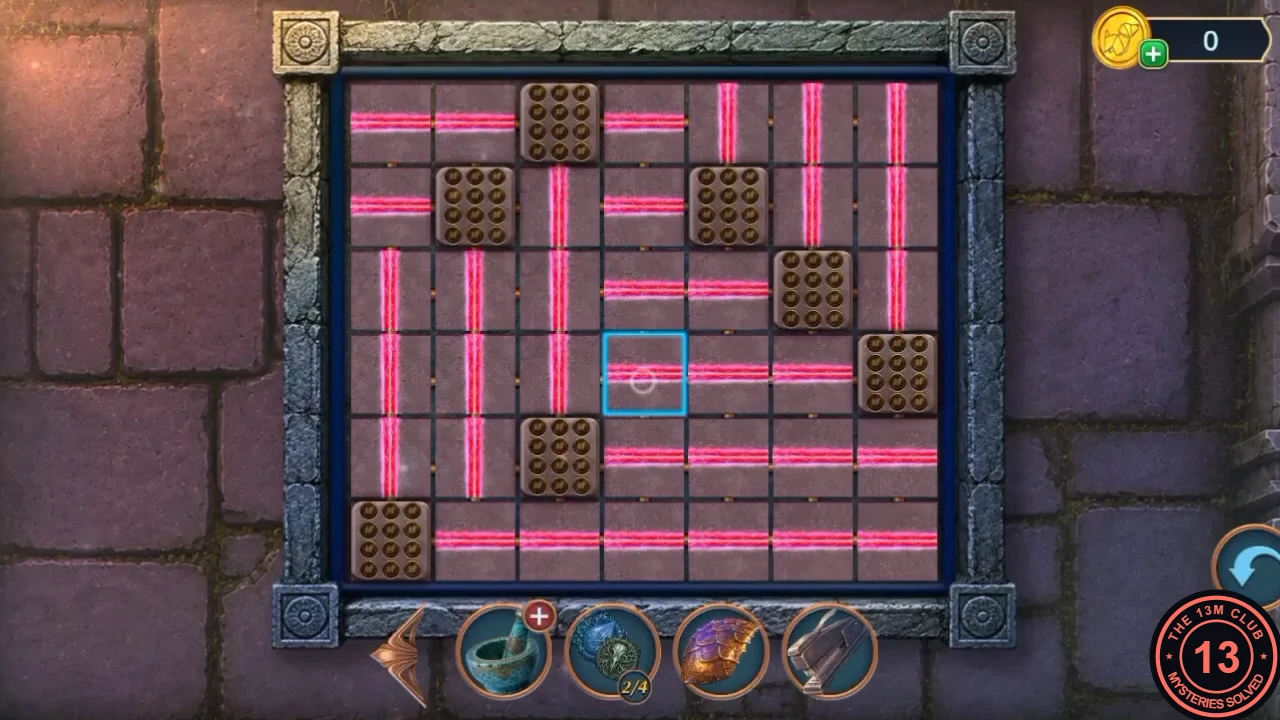
The recorded solution. - Zoom into the niche again and take the Water Flower Root.
Monsters' Gallery: emblem swap
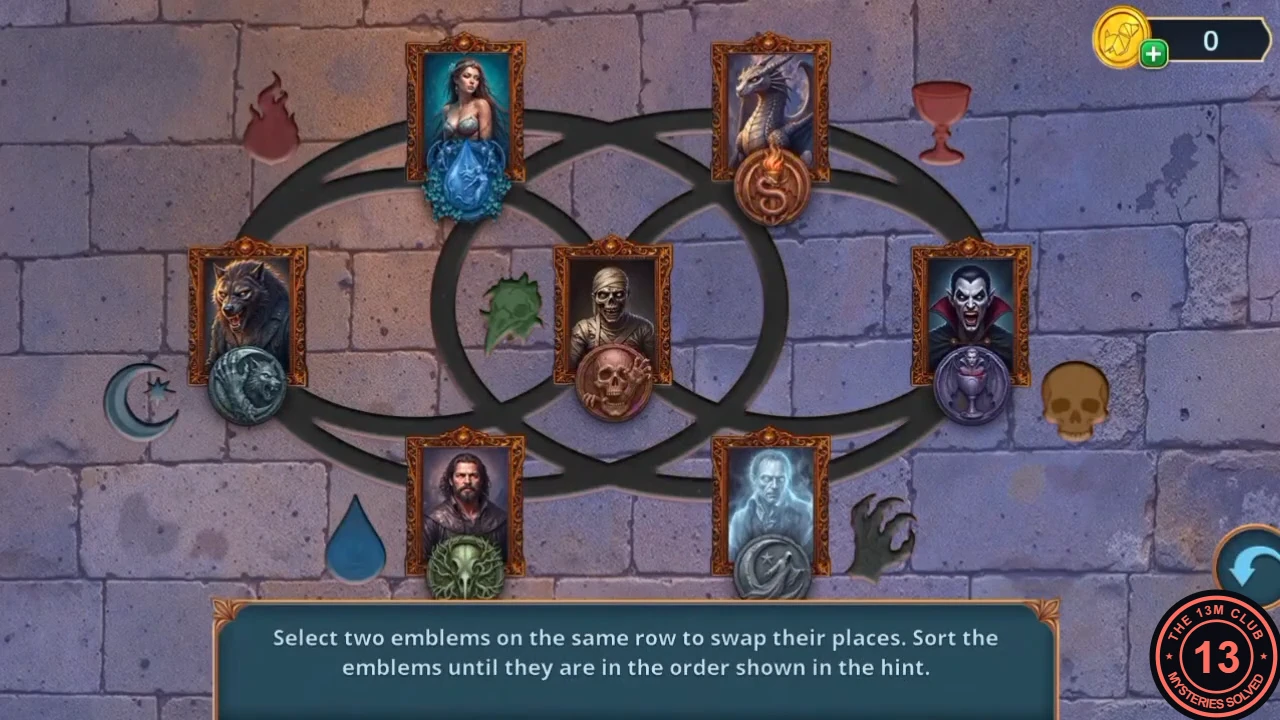
Collect the remaining monster emblems and place them under the portraits.
- Take the Gargoyle's Head from the sewer floor on the right. Zoom into the grating and put the head on the vent. Take the Sulfur from Eternal Flame Crater; another emblem joins the set (3/4).
- Open the Broken Racket in the inventory and staple it with the Stapler. It still needs something more (later).
- In your room, put the Water Flower Root, the Sulfur from Eternal Flame Crater and the Wyvern Scales in the cauldron. One recipe slot stays empty (later).
- In the Family Court, zoom into the altar gap and take the teal emblem (Monster Emblems 4/4).
- In the Monsters' Gallery, put the Monster Emblems in the four round slots beneath the portraits to start the puzzle.
- Puzzle: "Select two emblems on the same row to swap their places. Sort the emblems until they are in the order shown in the hint." The tokens sit on three interlocking ovals; the hint symbols beside each slot (flame, goblet, crescent, green beast skull in the middle, skull, water drop and claw) show which emblem belongs there. Target layout: dragon (flame emblem) top left, vampire (goblet) top right, ghost (crescent) left, bearded man (green emblem) centre, mummy (skull) right, mermaid (drop) bottom left and werewolf (claw) bottom right. Sort one emblem at a time; see the completed image.
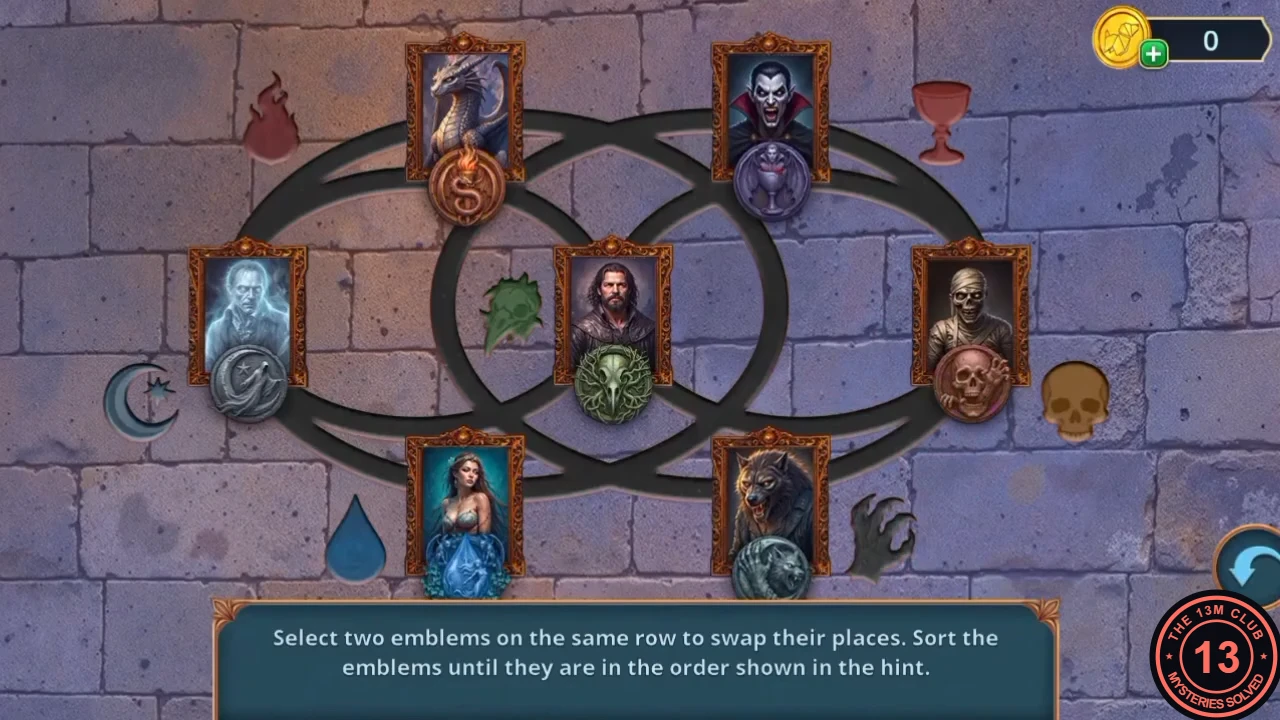
The sorted portraits; each emblem matches the symbol beside it. - Take the Thin Key.
Grimwood Archives: bookpile search
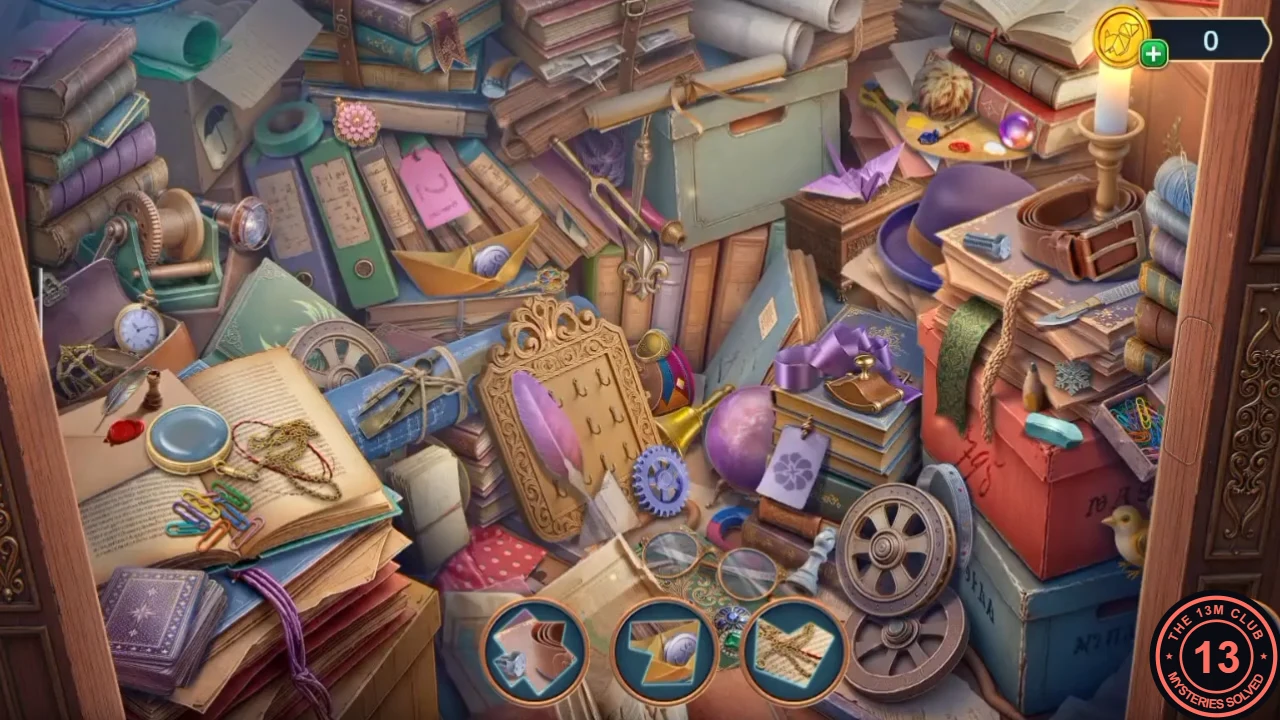
Get a button from the pedestal cabinet and search the archive book pile.
- Zoom into the glass-dome pedestal and open its small side door with the Thin Key. Take the Mirror.
- Open the Mirror compact in the inventory and take the Mirror Button from inside.
- In the Archives, tap the purple sparkle beside the chained cabinet to open a hidden-object scene.
- Each of the three slots at the bottom shows a small cut-out piece of the scene (for example the paper boat holding a silver coin near the top). Find the matching spot in the pile and tap it; a new piece replaces each one you find.
Archive doll: book differences
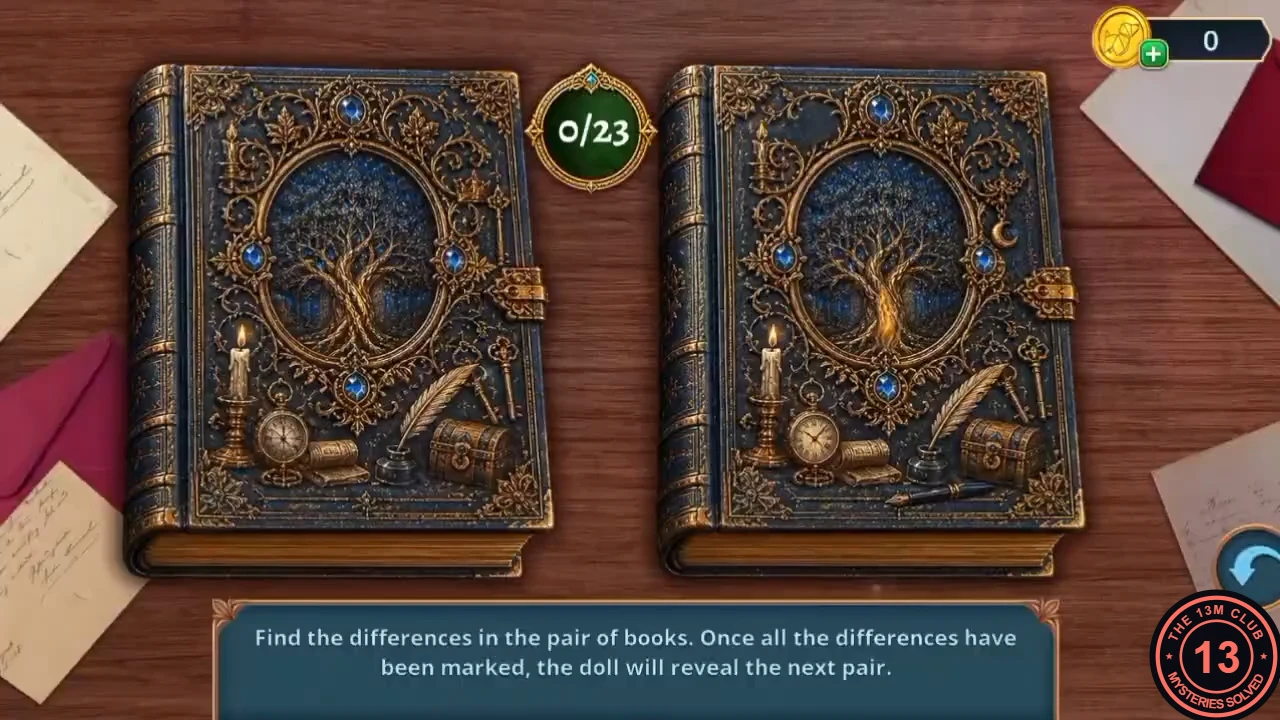
Give the archive doll a working heart.
- In Anubris's Office, open the cabinet door with the Heart Key and take the Gear from the shelf. The sandstone block beside it has a groove for "something graceful and horned" (later).
- Open the Mechanical Heart in the inventory and add the Gear and the Lamp Oil to make the Doll's Iron Heart.
- In the Archives, put the Doll's Iron Heart into the doll's hollow chest to start the puzzle.
- Puzzle: "Find the differences in the pair of books. Once all the differences have been marked, the doll will reveal the next pair." There are 23 differences over three pairs of book covers: 5 on the first pair, 7 on the second and 11 on the third. Tap a difference on either cover; the counter between the books goes up and a tick appears on both. The step images mark every recorded difference; the circles show the one found last on each of the first two pairs (on the first pair it is the fountain pen at the bottom of the right cover).
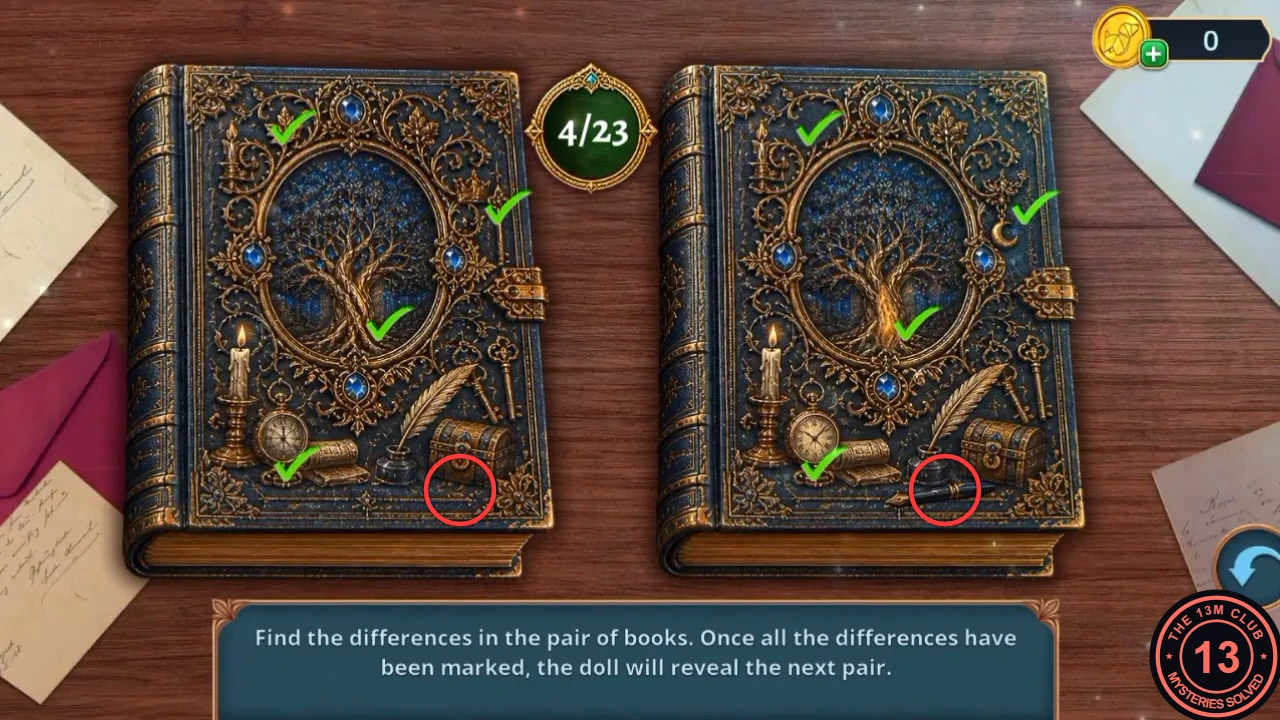
First pair: five differences; the circle marks the last one (the fountain pen). 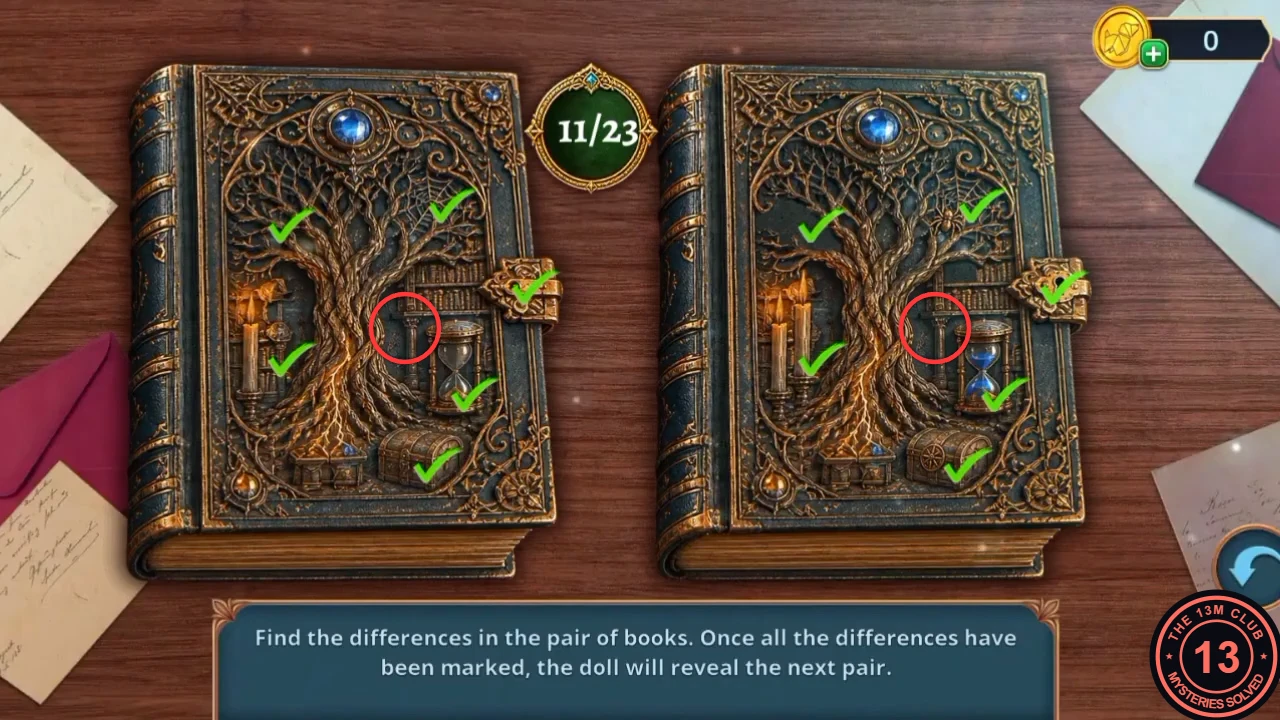
Second pair: seven differences; the circle marks the last one found. 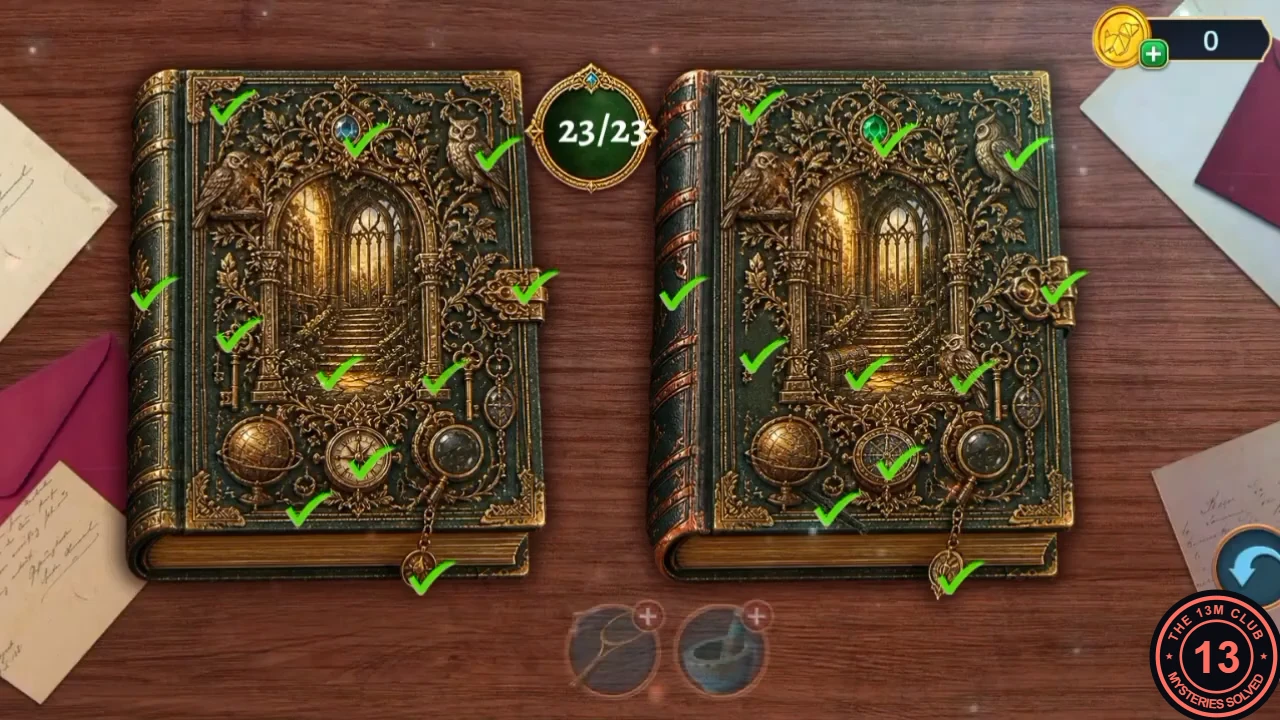
Third pair: all eleven differences ticked (23/23). - The doll hands over a book about the Grimwood history and a golden horned figurine. At the foot of the spiral stair, take the Golden Scarabs (1/2).