Grimwood Greenhouse: mushroom shelf search
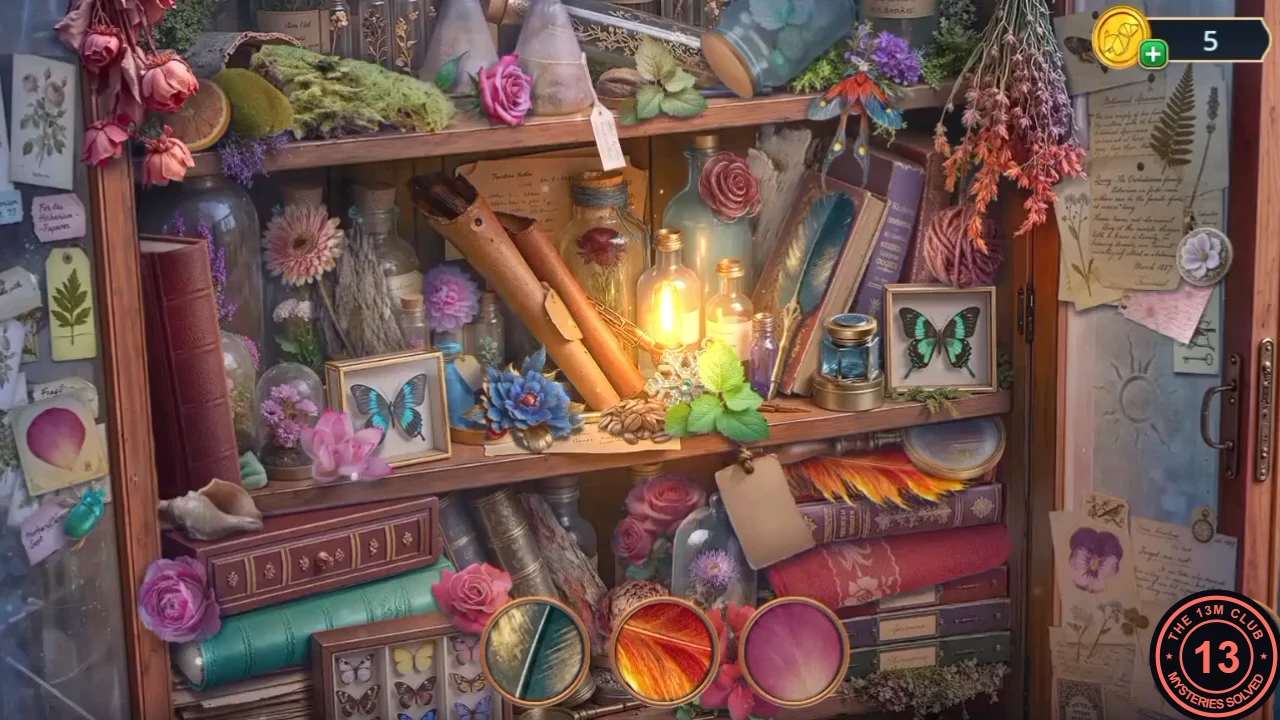
Ezra suggests visiting the swamp witch Nimra. Explore the greenhouse and open the mushroom shelf.
- In the greenhouse, Ezra asks about Nimra. Decision: "Recall what you know about Nimra" (60 coins, +2 decision points) or "I can't suspect my relatives" (free). Ezra suggests paying Nimra a visit.
- Zoom into the mushroom shelf on the left and take the Researcher's Bag.
- Zoom into the rubble by the chest on the right and take the Arrow Indicator.
- Open the Researcher's Bag in the inventory. It holds a sonar box with two empty slots; put the Arrow Indicator in one ("What do I need to build a sonar?").
- Zoom into the vine-covered door. Take the Board, then cut the vines with the Shears. Read the notes about magic stones on the door (Amethyst, Rock crystal, Jade, Aquamarine) and note the fish-shaped pin. Take the Liquid Nitrogen.
- Zoom into the chest and pour the Liquid Nitrogen on its lock. The lock shatters; take the Scraper. The rope here needs a grappling attachment (later).
- Zoom into the mushroom shelf, take the Sunglasses and scrape off the tree fungus with the Scraper to open a hidden-object scene.
- Find the items shown in the three slots at the bottom.
Nimra's Swamp: the safe path
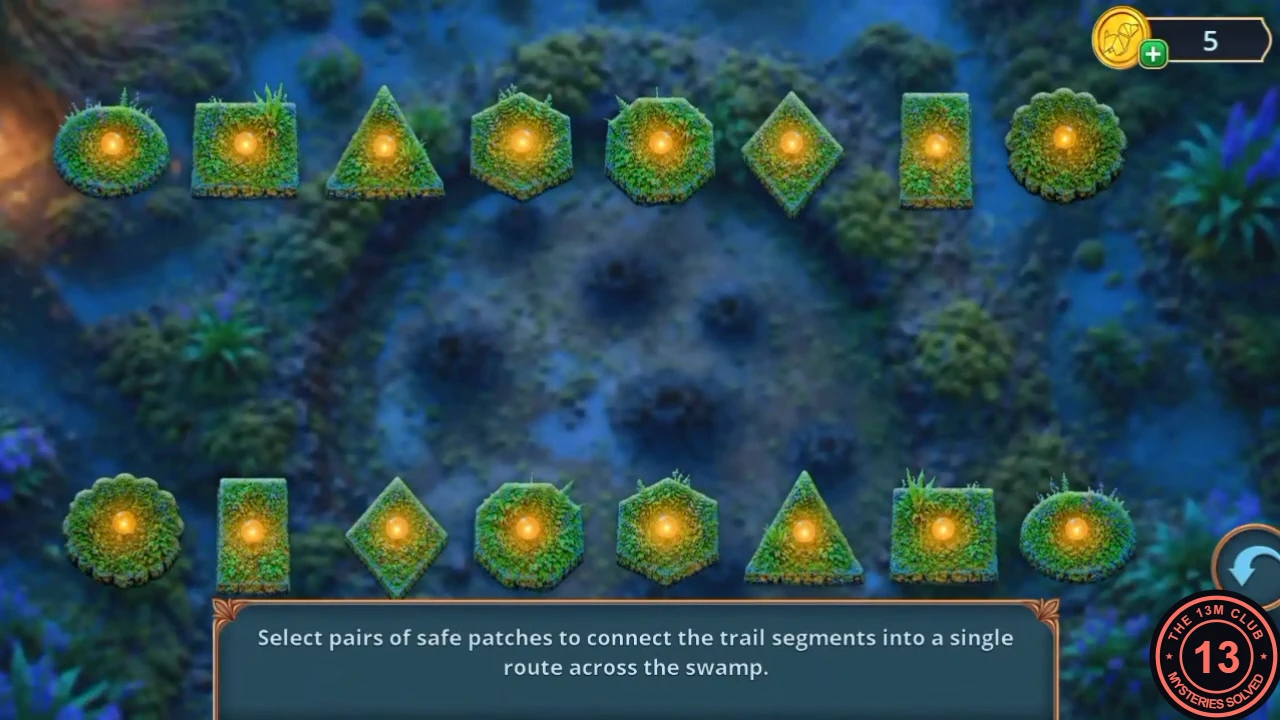
Open the greenhouse door to the swamp and find a way across the mud.
- Put the Stone Fish on the fish-shaped pin of the vine door. The doors open onto the Water Pavilion ("the path to Nimra leads through the swamp").
- Zoom into the well. Take the empty flask and fill it at the spout to get the Rainwater. The winch has no handle (later). Optional spider (24/140 in our playthrough): the spider counter went up in this well close-up, but the exact spot is not clearly visible.
- Zoom into the swamp and fish the hat out of the mud with the Net to get the Witch's Hat. Take the Stone Finger and the Crest.
- Zoom into the rose-window hatch in the pavilion floor and use the Witch's Hat on it. Take the Air Mattress and the Swamp Boots. The hatch also needs "magic once again... and a catalyst" (later).
- Zoom into the swamp and use the Swamp Boots to start the puzzle.
- Puzzle: "Select pairs of safe patches to connect the trail segments into a single route across the swamp." Pair each top patch with a bottom patch so the trail pieces join into one route; the shapes of a pair do not need to match. Recorded example (patches numbered 1–8 from left to right, T = top row, B = bottom row): T2–B4, T1–B1, T3–B2, T4–B7, T5–B3, T6–B5, T7–B8, T8–B6. Your layout may differ, so follow the trail segments rather than the numbers.
Water Altar: bubble path
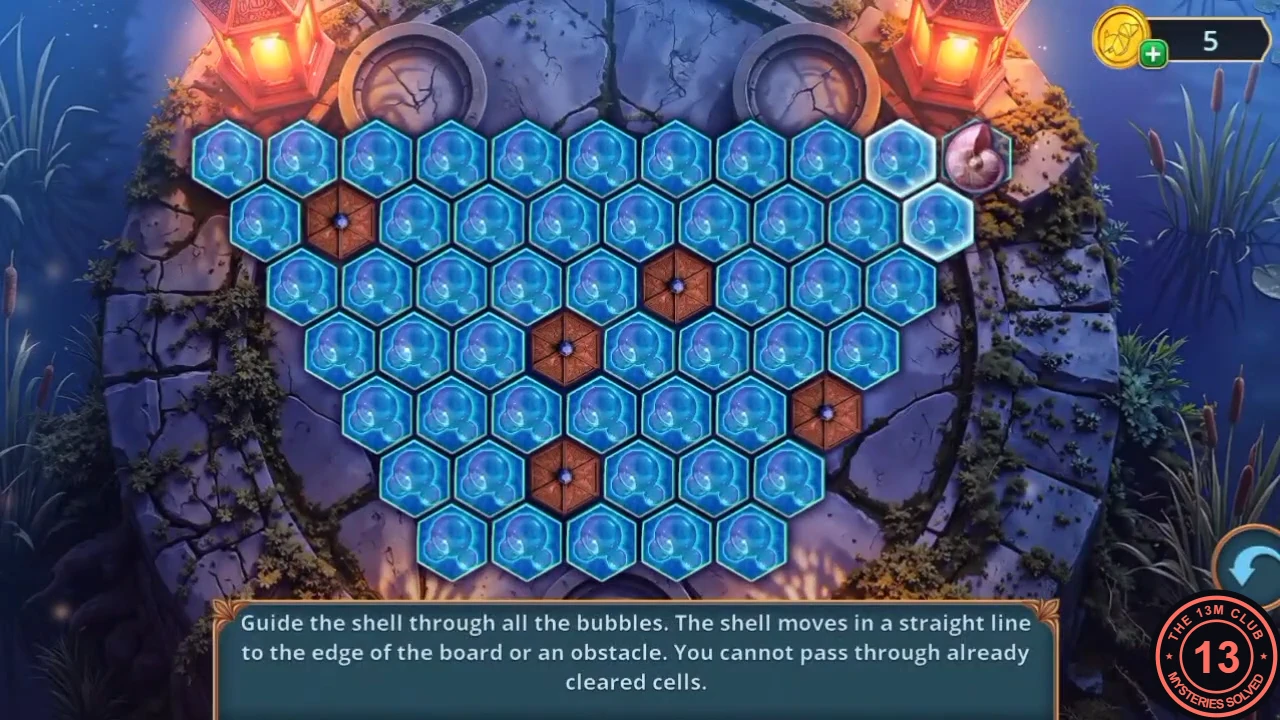
Make a magic air bubble at the Water Altar so Mabel can breathe underwater.
- On the Water Altar island, zoom into the stump and take the Glowing Lanterns (1/2). Lay the Board across the gap at the shore as a plank, then zoom into the tent and take the Bubble Moss. The ink in the tent cannot be carried yet (later). Optional spider (26/140 in our playthrough): in the stump close-up, it is at the bottom left among the flowers.
- Zoom into the altar and take the Wire Coil. Put the Bubble Moss and the Rainwater in two of its three ingredient slots.
- Open the Researcher's Bag and add the Wire Coil to the second sonar slot to complete the Sonar.
- Use the Sonar on the pond reeds ("I need a way to search underwater"). Take the Pearl Shell.
- Put the Pearl Shell in the third altar slot to start the puzzle.
- Puzzle: "Guide the shell through all the bubbles. The shell moves in a straight line to the edge of the board or an obstacle. You cannot pass through already cleared cells." This is a long path puzzle. Plan backwards from bubbles that can only be reached from one direction, and avoid clearing a cell you will need to cross later.
- The air bubble forms around Mabel and Ezra hesitates. Decision: "Ignore him" (free), "Tease him mercilessly" (30 coins, +2) or "Show that it is safe" (60 coins, +6).
- In the underwater garden Nimra insists she did not kill Oberon, and a new task begins.
Underwater garden: submarine search
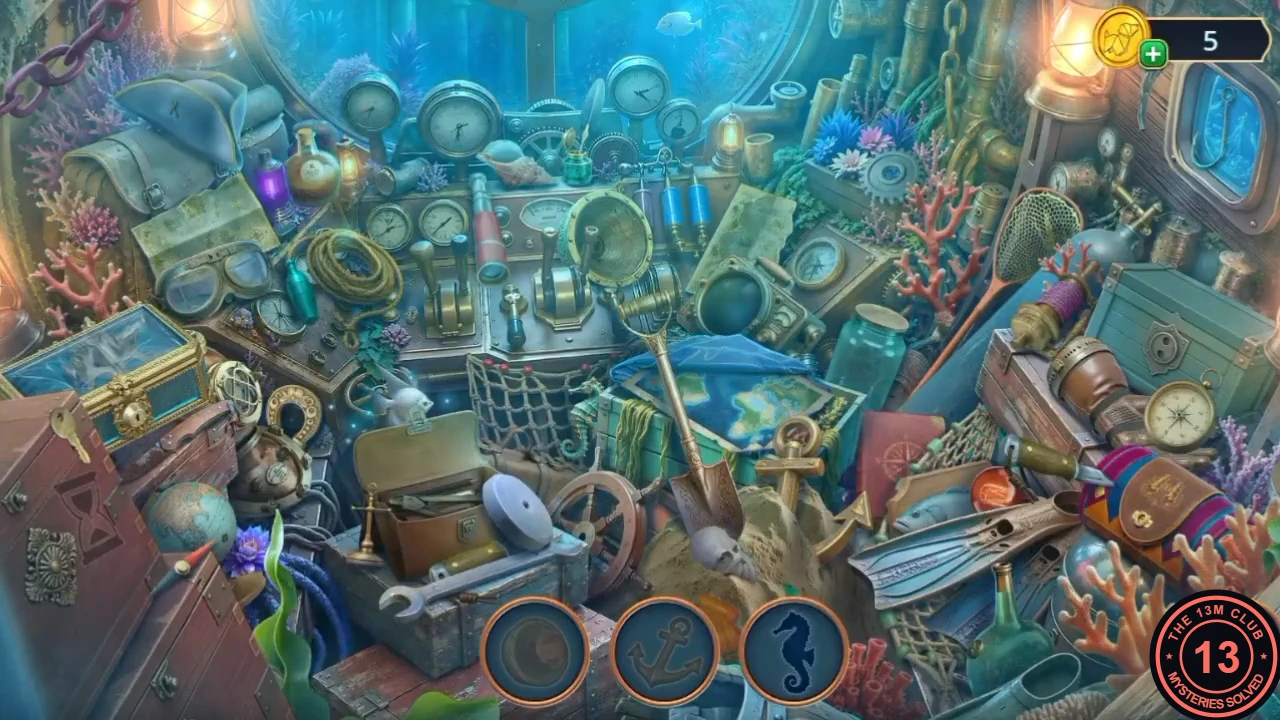
Explore the underwater garden and open the sunken submarine.
- Zoom into the submarine hatch (it has no handle) and take the Dull Machete.
- Zoom into the barred gate and take the Door Valve. Its padlock needs a specific key (later). Optional spider (34/140 in our playthrough): the spider counter went up in this barred-gate close-up, but the exact spot is not clearly visible.
- Fit the Door Valve to the submarine hatch. It opens into a hidden-object scene.
- Find the items shown as silhouettes at the bottom. One item moves and has to be caught with something found in the scene ("How can I catch it?").
Hermit-crab pillar: symbol links
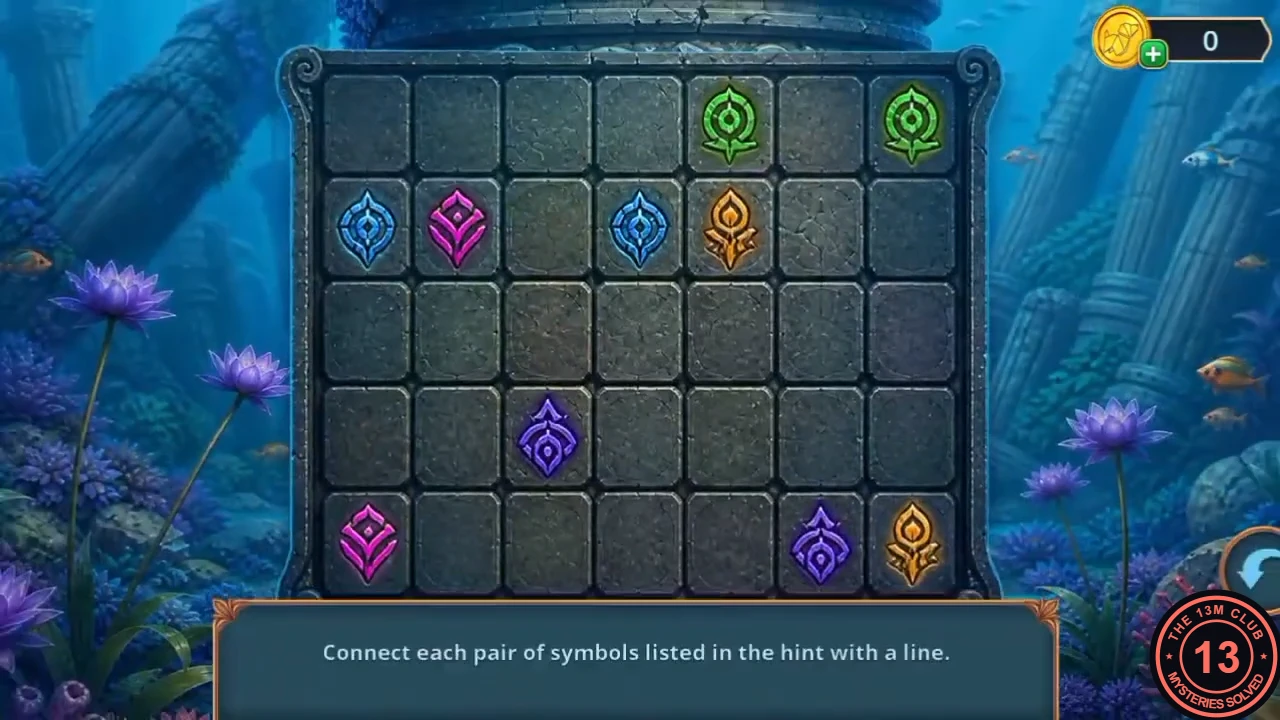
Carve a stone pattern for the hermit crab's pillar.
- Zoom into Nimra's garden bed and place the Blacksmith Figurine on the carved stone. It splits the stone; take the Stone Pattern.
- Zoom into the carved pillar with the hermit crab and put the Stone Pattern in its carving to start the puzzle.
- Puzzle: "Connect each pair of symbols listed in the hint with a line." Some cells may stay empty. Recorded solution on the 7-column, 5-row grid (r = row from the top, c = column from the left): green r1c5–r1c6–r1c7; blue r2c1–r1c1–r1c2–r1c3–r1c4–r2c4; pink r2c2–r3c2–r4c2–r5c2–r5c1; violet r4c3–r4c4–r4c5–r4c6–r5c6; orange r2c5–r2c6–r2c7–r3c7–r4c7–r5c7.
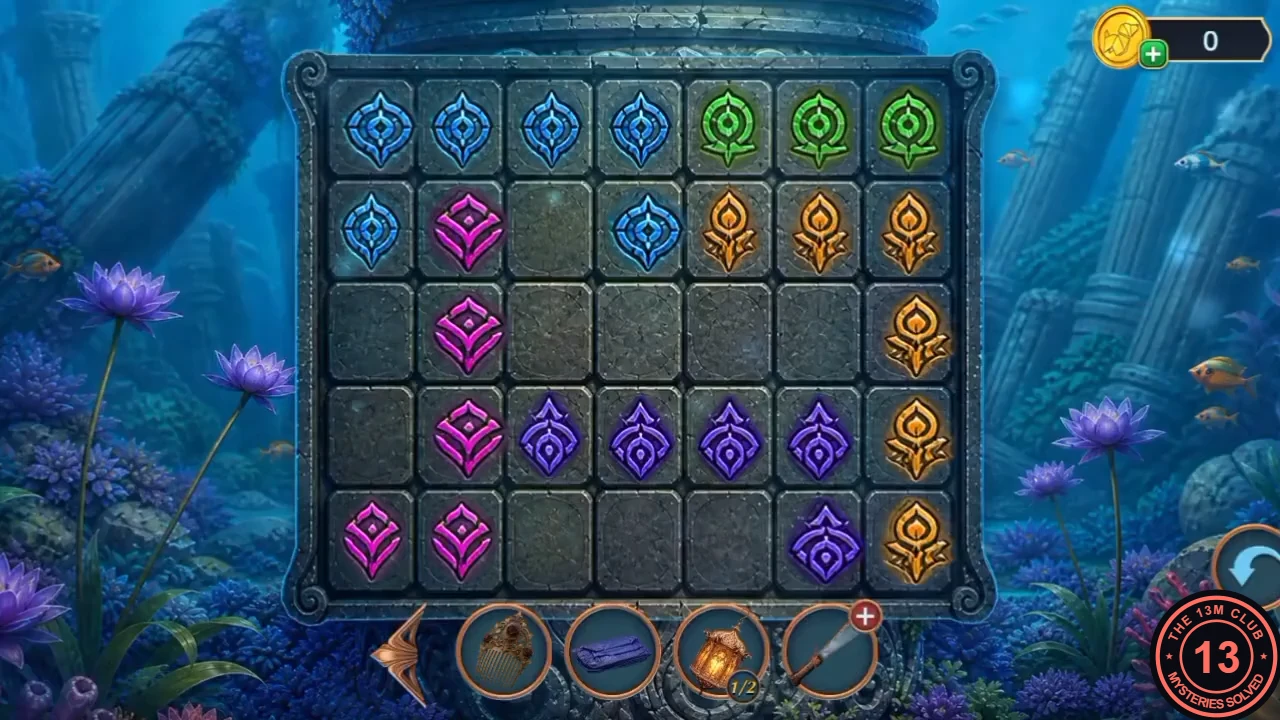
The solution described in the step. - The pillar opens; take the Oiler.
Greenhouse rope: grip-symbol memory
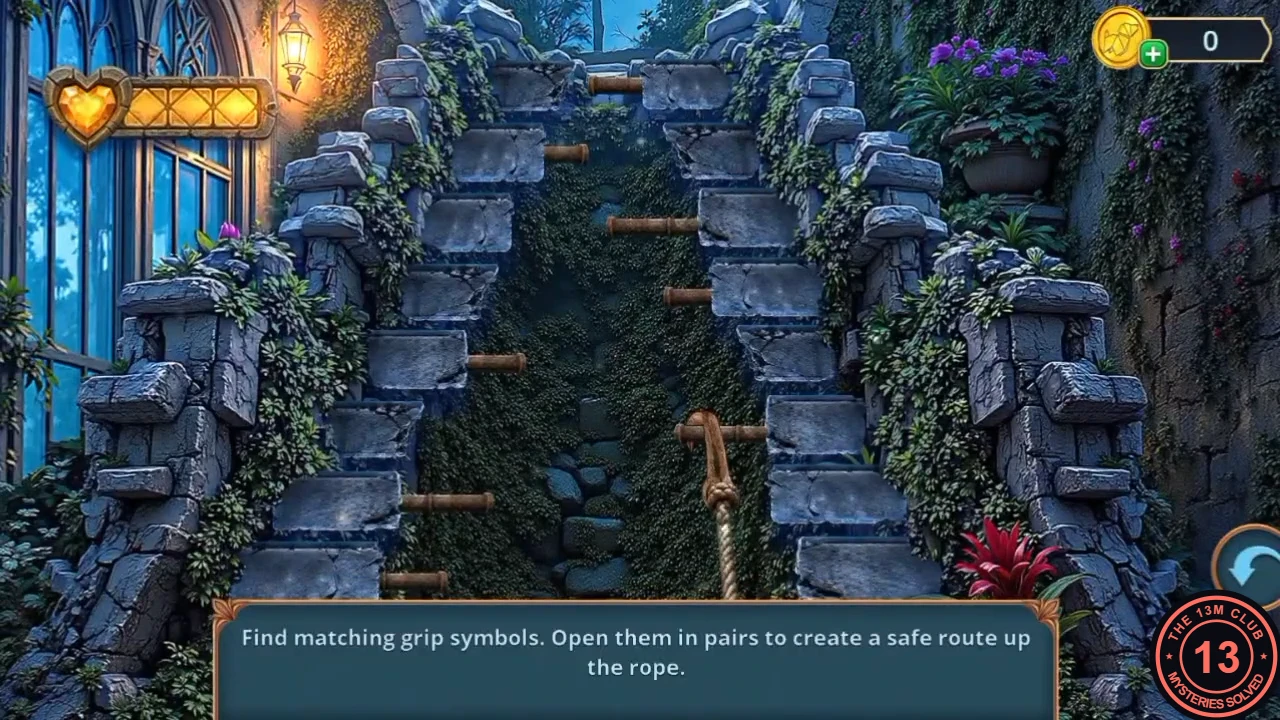
Turn the greenhouse rope into a grappling line and climb to the rooftops.
- Back in the greenhouse, oil the rusty door of the distiller with the Oiler and take the Hook. The frozen frog and the missing machine part are for later.
- Zoom into the rope by the chest and attach the Hook. Mabel throws the grappling hook up the wall and the puzzle starts.
- Puzzle: "Find matching grip symbols. Open them in pairs to create a safe route up the rope." Turn over two grips at a time and remember every symbol you see; you have three hearts, so wrong pairs are limited. In the recording each symbol appeared once on the left steps and once on the right steps. Left steps from top to bottom: bow-tie, star, square, triangle, triple diamond, diamond, hourglass, circle. Right steps from top to bottom: square, hourglass, triple diamond, circle, diamond, bow-tie, triangle, star (see the image below). The layout may differ in your game, so check a pair or two before relying on it.
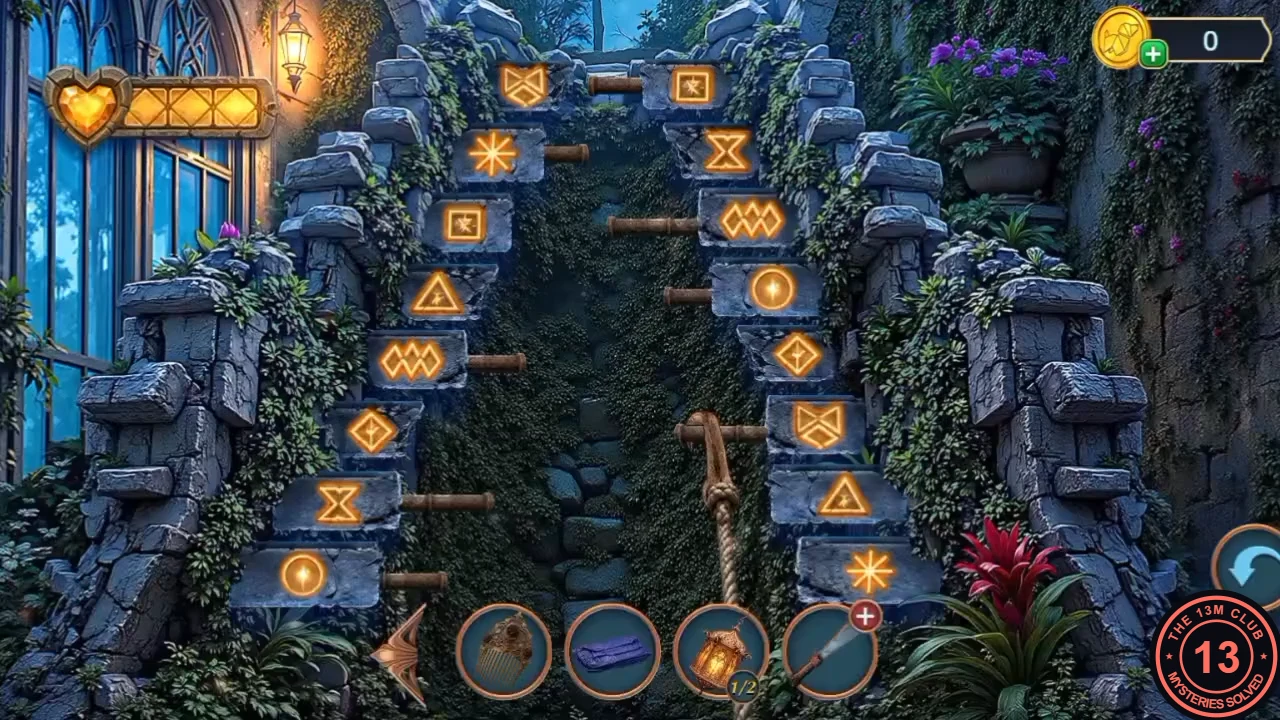
The grip layout from the recording, fully revealed.
Rooftop bridge: green cells
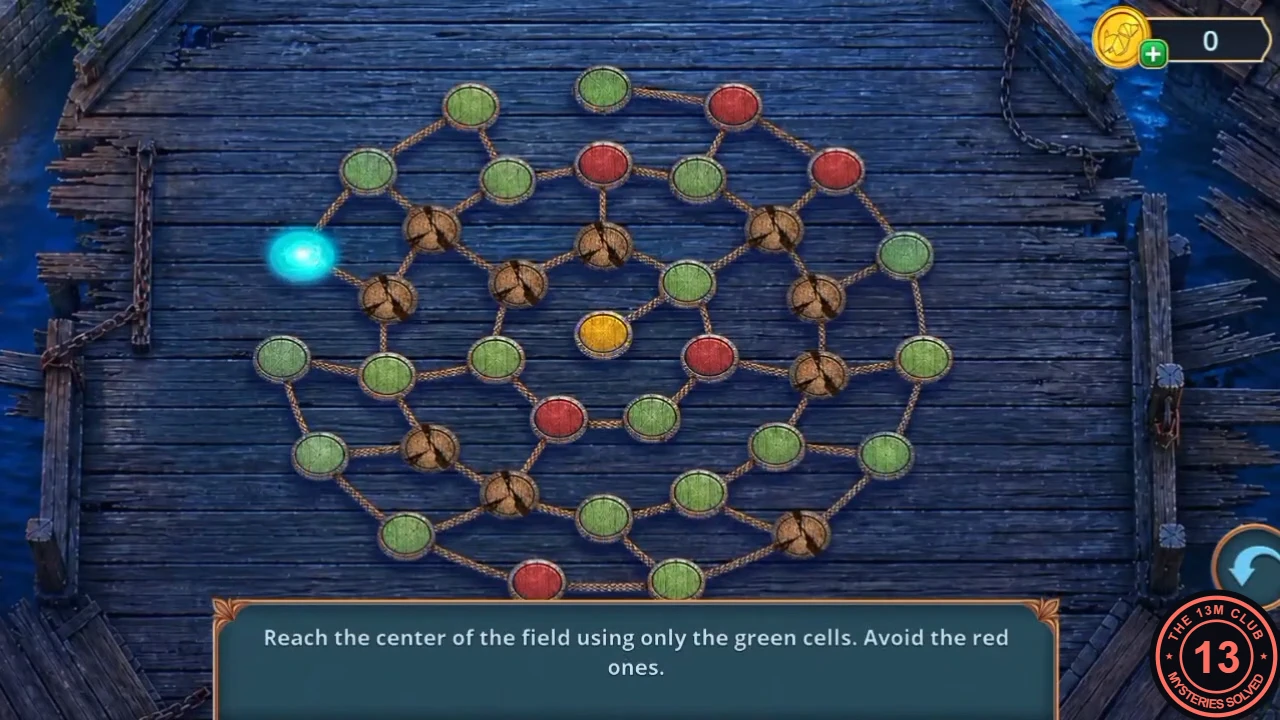
Prepare a soft landing and repair the broken rooftop bridge.
- Zoom into the gutter and scrape the dirt out with the Crest. Lay the Air Mattress over the thorns ("And I'll also need something else").
- Zoom into the broken bridge and take the Scotch Tape and the Silica Gel. Use the wand on the hole to start the puzzle.
- Puzzle: "Reach the center of the field using only the green cells. Avoid the red ones." The colours change after every move, so before each step check which neighbouring cells are green right now and choose one that brings you closer to the centre.
- Cross the bridge to the Gargoyle Tower.
Gargoyle Tower: labyrinth relief formulas
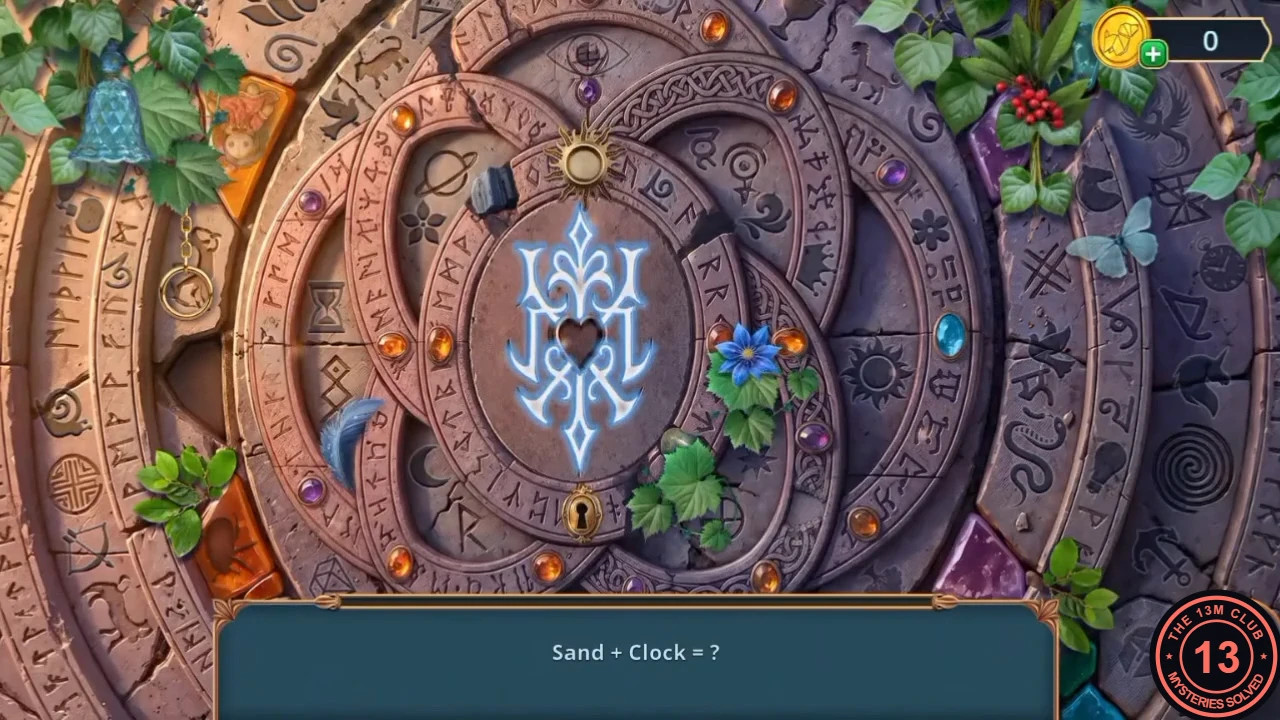
Investigate the twin gargoyles and the carved labyrinth relief.
- Zoom into the twin gargoyles and tap the blue cat statuette clinging to the right gargoyle to take the Broken Figurine.
- Zoom into the left gargoyle's hand and put the Stone Finger in place. The hand is restored and opens palm-up; Mabel thinks a particular stone could wake the gargoyles. Optional spiders in this hall (38/140 and 40/140 in our playthrough): the first is in the lion relief close-up, probably beside the small lantern to the right of the stone, at the foot of the vase. The counter went up again shortly afterwards in this hall, but that spot is not clearly visible.
- Zoom into the labyrinth relief on the right wall. Take the Fertilizer and the Herbarium Press, then use the wand on the relief emblem to open a hidden-object scene.
- Each line is a riddle "X + Y = ?" answered by a carved object in the scene. Combine the two ideas into one object and tap it; found carvings disappear. Recorded riddles and answers in order: Sand + Clock = the hourglass carving; Fire + Bird = the phoenix carving at the top right; Ring + Rope = the gold ring hanging on a chain; Rose Scent + Sprayer = the small perfume-sprayer carving just below the blue glass bell at the top left; Hat + King = the crown carving; Horse + Horn = the unicorn carving; Hunter + Arrow = the bow-and-arrow carving; Insect + Wings = the blue butterfly; Hood + Snake = the snake carving; Half + Celestial = the crescent moon carving; Tree + Fire = the black lump of coal; Girl + Threads = the little girl figure in the orange amber tile at the top left.
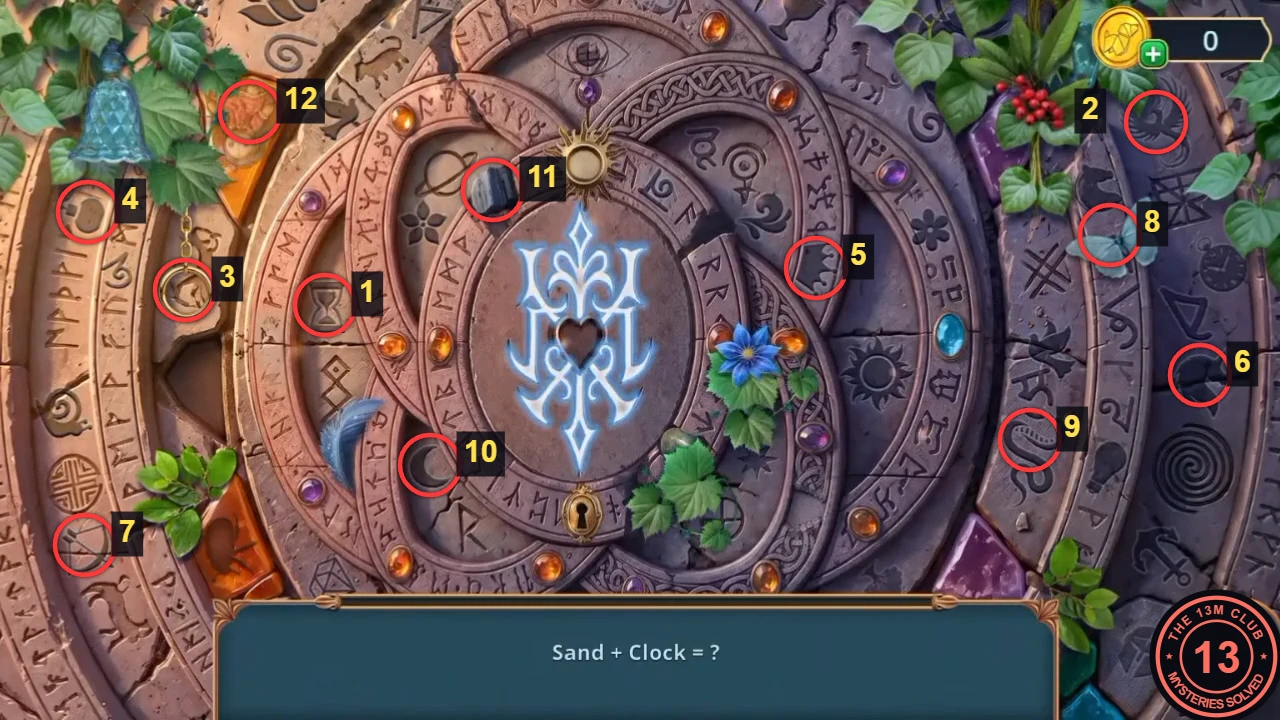
Answers in riddle order: 1 hourglass, 2 phoenix, 3 ring on a chain, 4 perfume sprayer, 5 crown, 6 unicorn, 7 bow and arrow, 8 butterfly, 9 snake, 10 crescent moon, 11 coal, 12 girl in the amber tile. - Zoom into the narrow gap in the torch niche and lower the Belt without Buckle into it to fish out the Arrow with Suction Cup.
Gargoyle Tower: gargoyle differences
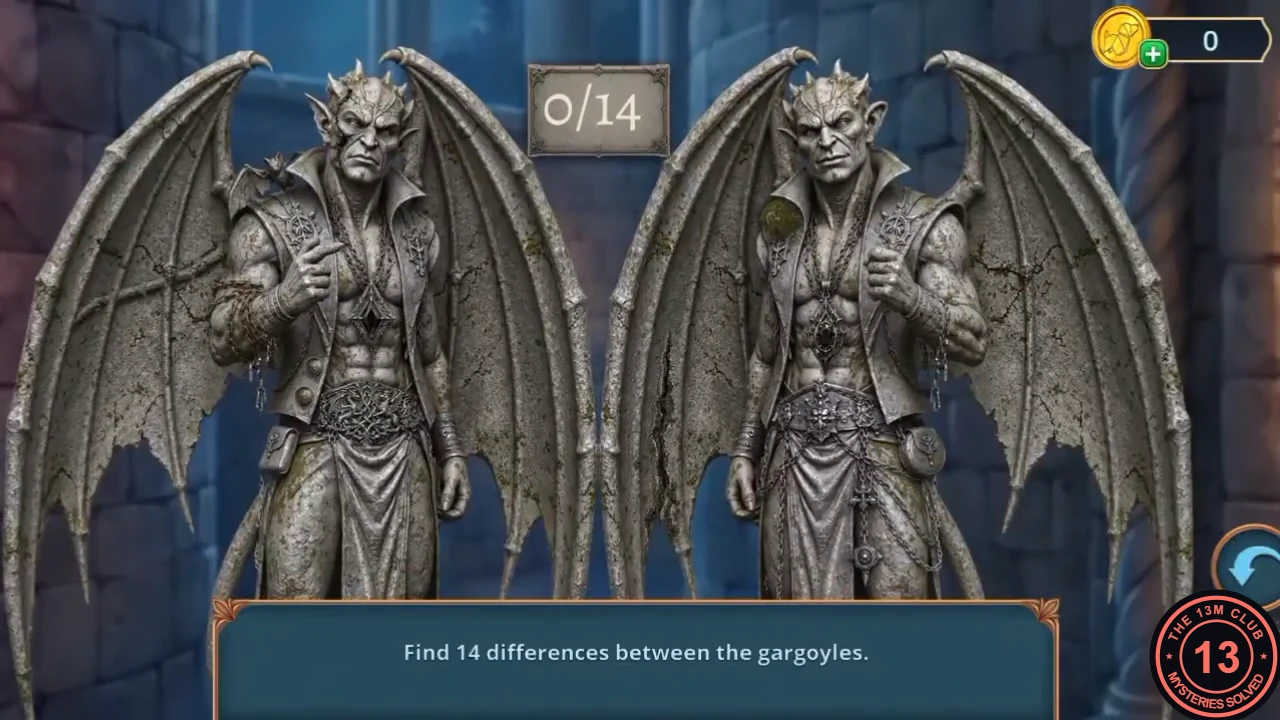
Drop down to the Old Canal, recover a sword fragment and wake the twin gargoyles.
- On the Roof over Old Canal, zoom into the roof tiles and pull one up with the Arrow with Suction Cup. A hidden box with a moon-phase lock appears (one phase is missing; later). Take the Pump.
- Zoom into the gutter and inflate the Air Mattress with the Pump. Mabel jumps down onto it and reaches the Grimhollow Old Canal.
- Zoom into the barrel and take the Gold Ring (Rings 1/2) and the Tuning Fork.
- Zoom into the mermaid statue and shatter the crystals with the Tuning Fork. Take the Knight's Helmet. Her empty hands and the golden canal grate are for later.
- Zoom into the knight skeleton and put the Knight's Helmet on its skull. The skeleton releases the Sword Fragment. The brazier beside it needs a spark and tinder (later).
- In the Gargoyle Tower, zoom into the lion relief and wedge the Sword Fragment under the boulder as a lever. The boulder rolls away and a green stone flies into the wand.
- Use the wand on the twin gargoyles to start the puzzle.
- Puzzle: "Find 14 differences between the gargoyles." The two statues are mirror images of each other, so compare the left one's right side with the right one's left side, section by section; each difference found is ticked on both statues. The image below shows all 14 ticks from the recording.
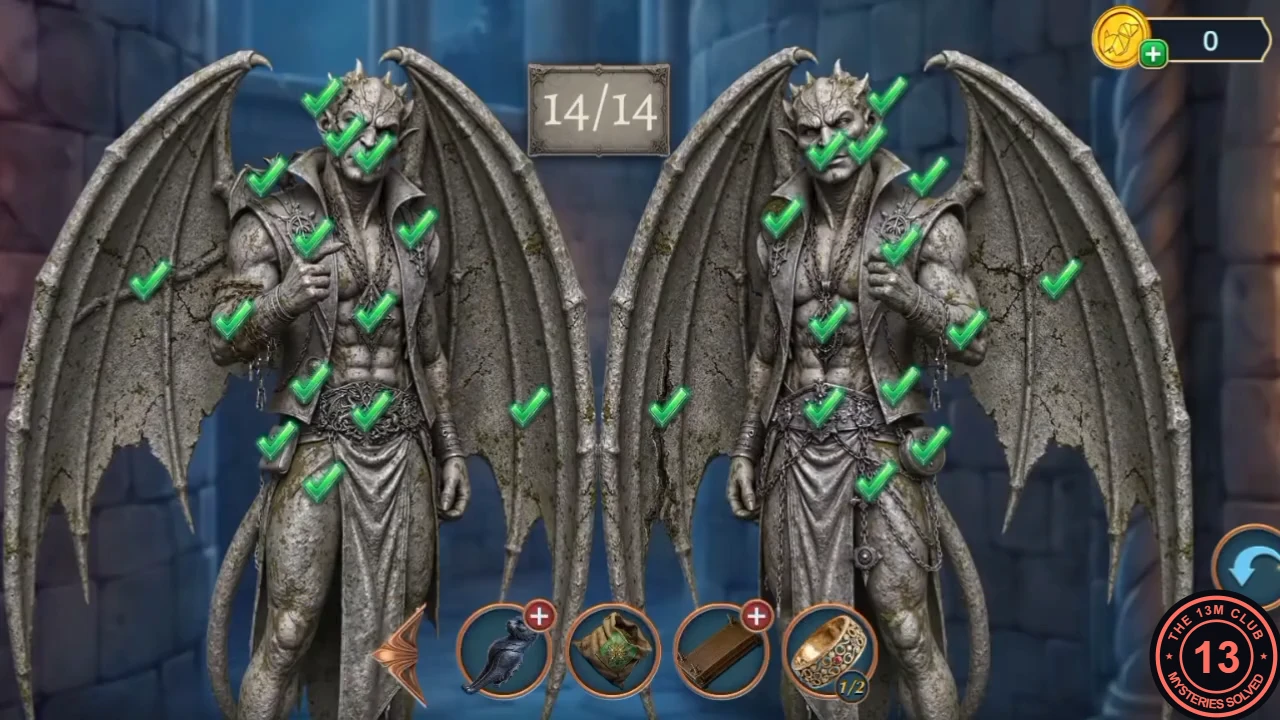
All 14 differences, ticked on both statues. - The gargoyles Granite and Basalt awaken and start arguing. Decision: "Calm down the brothers." (60 coins, +2) or "Wait for the end of the argument." (free). New task: "Search the Tower".
Tower of Treasures: bookshelf search
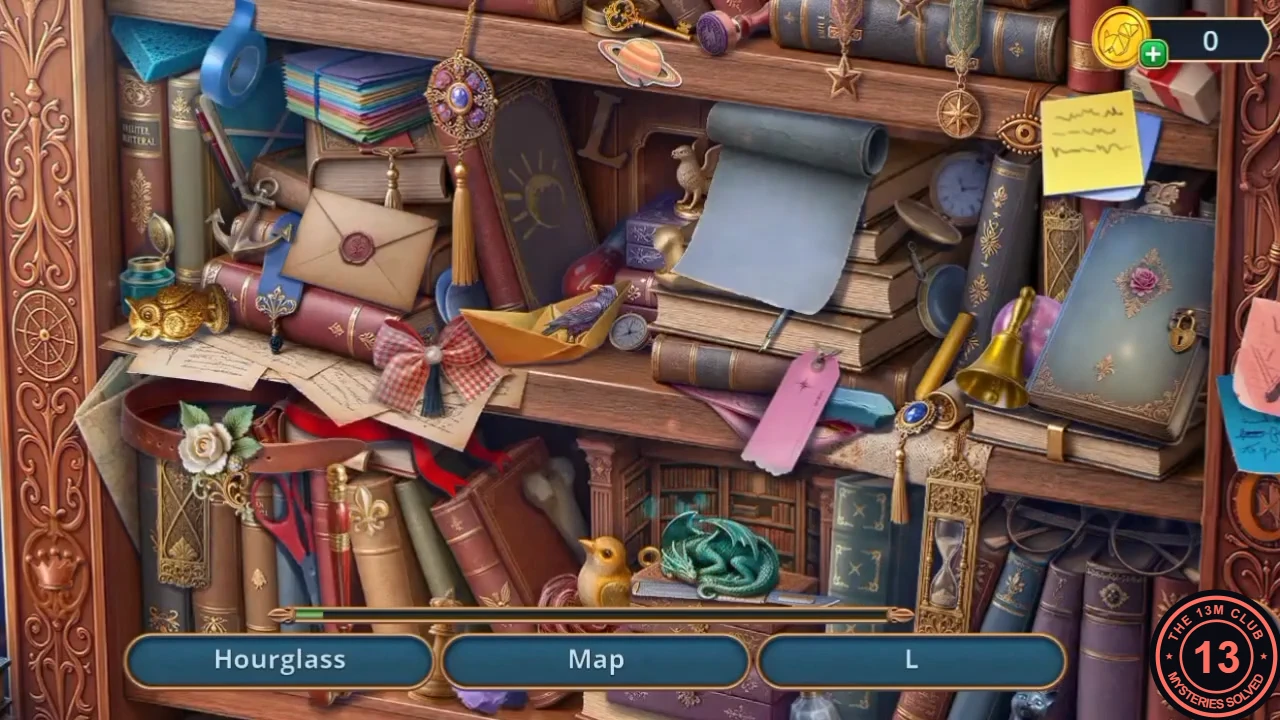
Search the observatory at the top of the tower.
- Zoom into the orrery ("It's too bright here") and use the Sunglasses on the glare. Read the note about the mask (the Heart) choosing who can preserve the family. Take the Water Resin Sample and the Counterfeit Book. New task: bring both resins to Nimra.
- Zoom into the chest with three padlocks; flies swarm around it. Take the Book Nook.
- Zoom into the bookshelf and take the Planets (Jupiter). Close the view and tap the sparkling bookshelf to open a hidden-object scene. Optional spider (43/140 in our playthrough): in this room, it sits on the small table on the right, next to the gold candelabra.
- Find the listed items (for example Globe, Map, Hourglass, Eye, Glasses, Letter, Light Bulb, Notebook, Ink and Quill, Scroll). Three names are shown at a time.
Greenhouse distiller: tube network
Repair the observatory clock and the greenhouse distiller.
- Zoom into the observatory clock and put the Gear in the mechanism ("Wind-up thing? Where is the key then?"). Take the Coil Handle.
- At the Water Pavilion, fit the Coil Handle to the well winch. The bucket rises; take the Distillation Tube.
- In the greenhouse, install the Distillation Tube in the distiller to start the puzzle.
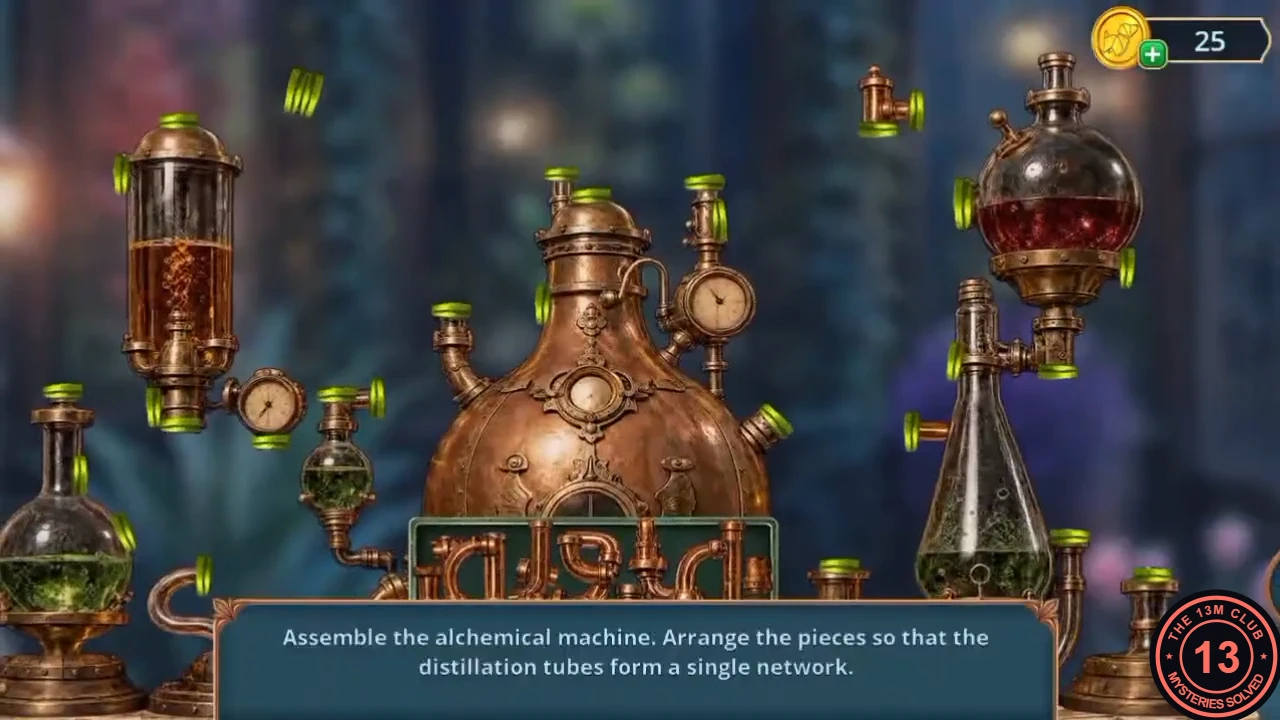
- Puzzle: "Assemble the alchemical machine. Arrange the pieces so that the distillation tubes form a single network." Drag the tube pieces from the tray into the gaps so that every tube end connects. This is a long puzzle: fill gaps with only one possible piece first, then use the remaining pieces to close the network. The completed machine from the recording is shown below.
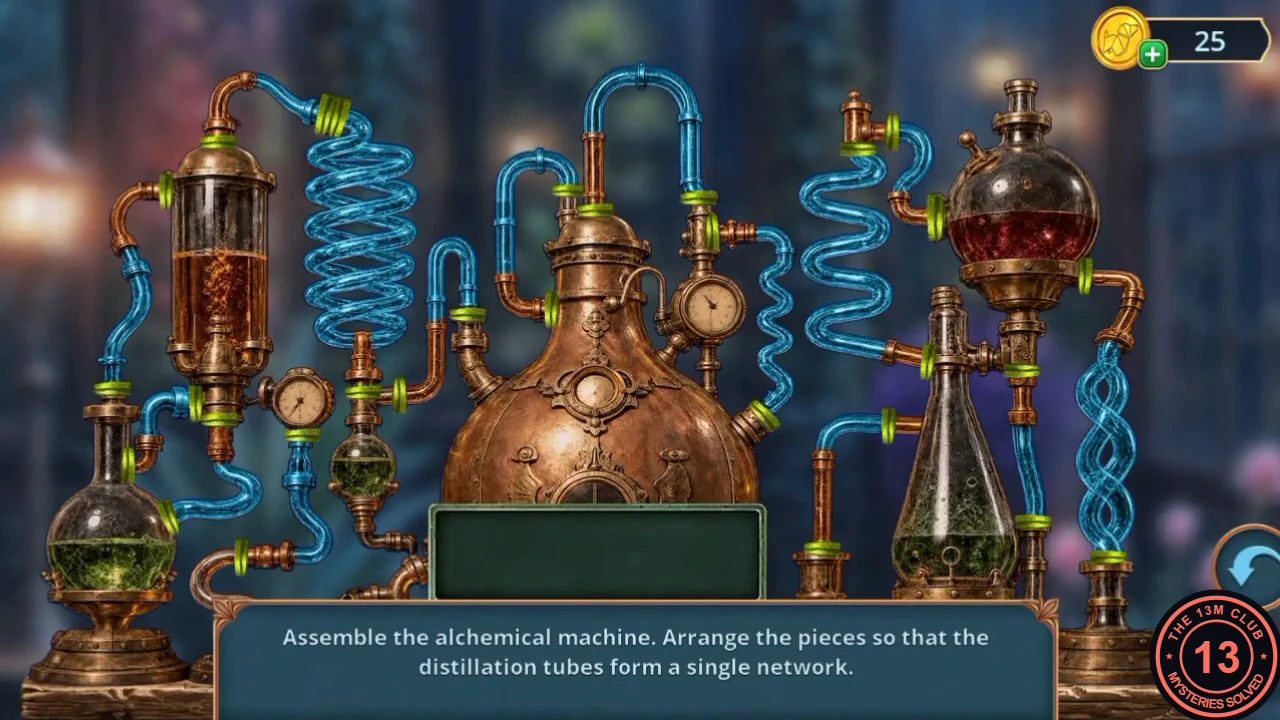
The completed tube network. - The furnace door of the distiller opens; take the Boomerang from inside.
Underwater garden: submarine search (second visit)
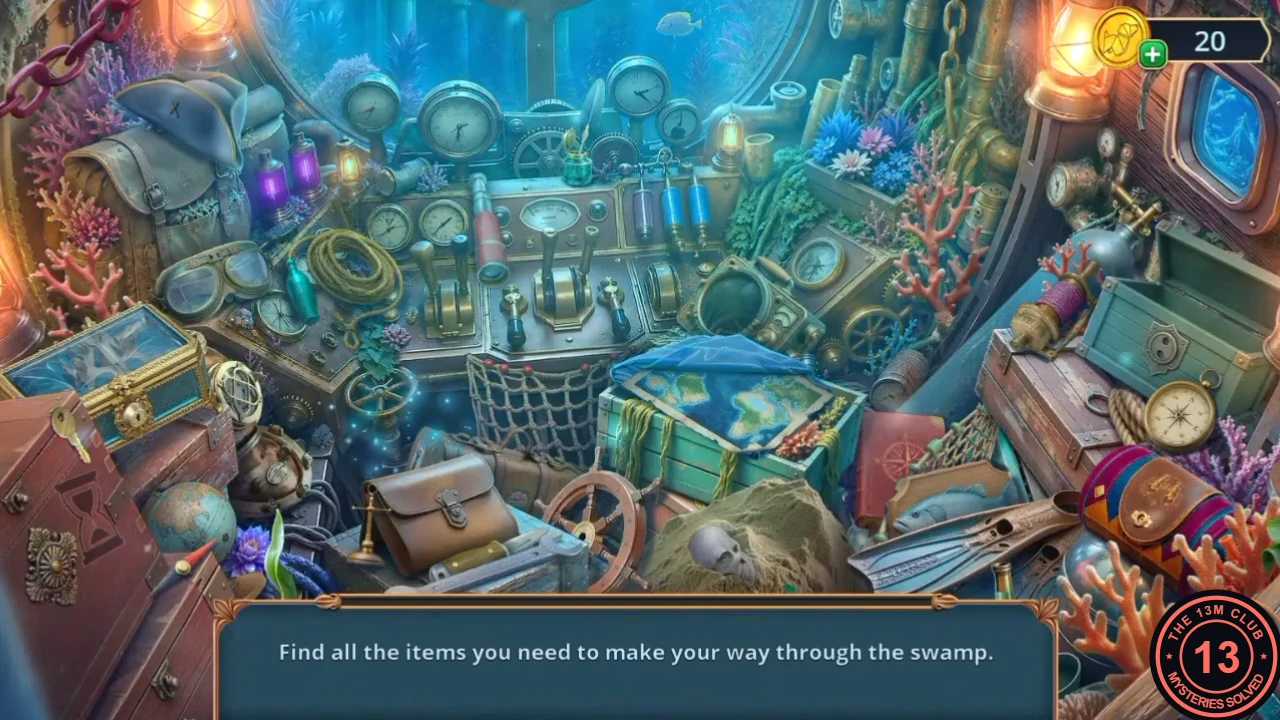
Clear the water from the submarine porthole and search inside.
- At the Water Pavilion, throw the Boomerang at the bubble stuck under the roof. Take the Air Bubble.
- In the underwater garden, use the Air Bubble on the submarine porthole to suck the water out and open a hidden-object scene.
- "Find all the items you need to make your way through the swamp." Some items are locked away inside the scene ("Every chest needs its key"), so open them with the keys you find there.