Grimhollow Main Square: the car trunk
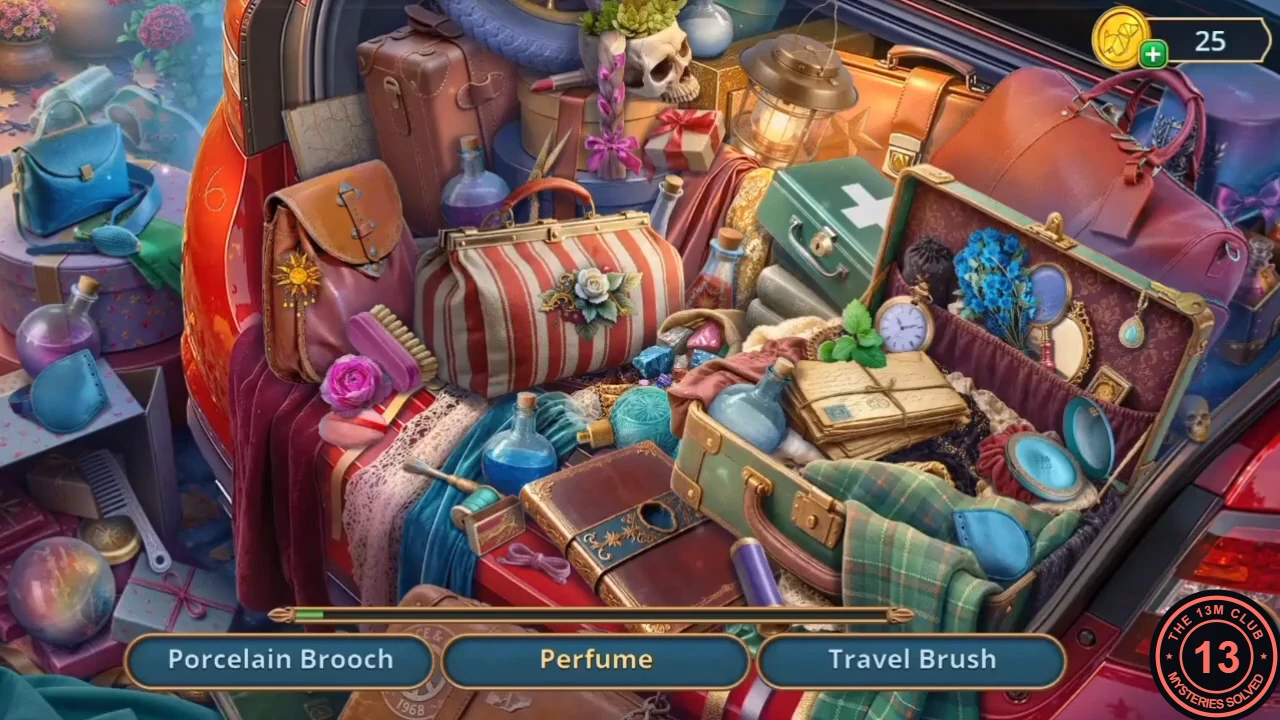
Mabel arrives in Grimhollow for the Grimwood family reunion. Collect the first items in the square and open the suitcase in the car trunk.
- Zoom into the left market stall with the telescope. Take the Ball of Yarn and the Bubble Gum. Something sits on top of the stall, but Mabel needs help to reach it (later).
- Zoom into the car trunk. Read the letter to receive the Meeting Invitation (Oberon asks you to come to the ritual room) and take Dad's Bone Knife.
- Use Dad's Bone Knife on the clasp of the purple suitcase in the trunk to open a hidden-object scene.
- Find the listed items; three names are shown at a time and the list refills as you find them. Items include Family Pendant, Porcelain Brooch, Perfume, Travel Brush, Lipstick, Explosion Potion, Powder with Puff, Travel Mask, Grimoire, Hair Ribbon and Bag of Fake Blood. The Perfume will not spray without its bulb, so complete it inside the scene before it counts.
- The scene rewards the Magic Wand. Read the wand instructions: the wand lives in the permanent slot at the bottom left and still needs a gem.
The rampaging pumpkin: sprout pairs
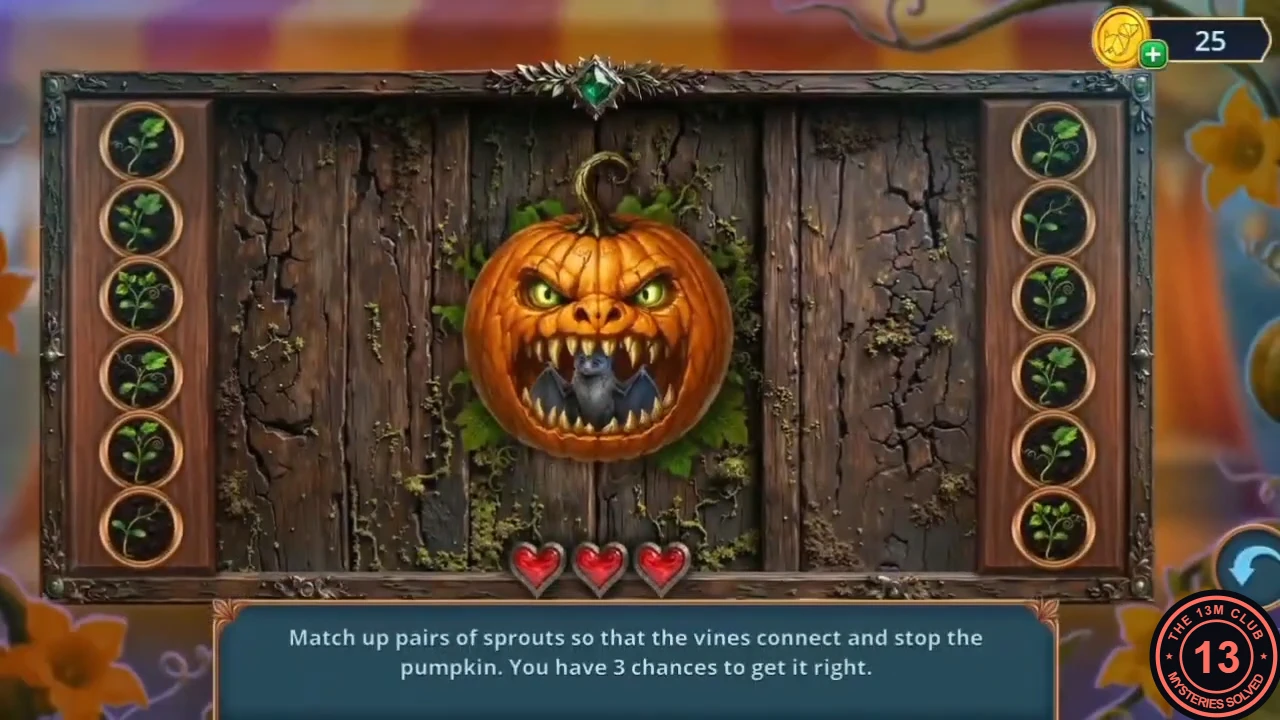
Power up the wand and calm the giant pumpkin in the square.
- Talk with Dad. Decision: "Thanks, Dad!" (free, +2 decision points) or "Daaah... Now's not the time for lectures. The pumpkin bites." (0 points). Dad then gives you some Money.
- Zoom into the hexagonal tray on the merchant stall. Place the Money on the tray, then take the green gem. It fits into the wand automatically.
- Use the wand on the pumpkin to start the puzzle.
- Puzzle: "Match up pairs of sprouts so that the vines connect and stop the pumpkin. You have 3 chances." Six sprouts sit on each side; connect each left sprout to the identical sprout on the right. A wrong pair costs a chance. Recorded example, numbering sprouts 1–6 from top to bottom: L1–R5, L2–R4, L3–R6, L6–R2, L4–R1, L5–R3. Your layout may differ, so always match identical shapes.
- Take the Little Bat from the calmed pumpkin. Ezra and Vespera arrive and tell Mabel to hurry to the castle.
Castle bridge: gear mechanism
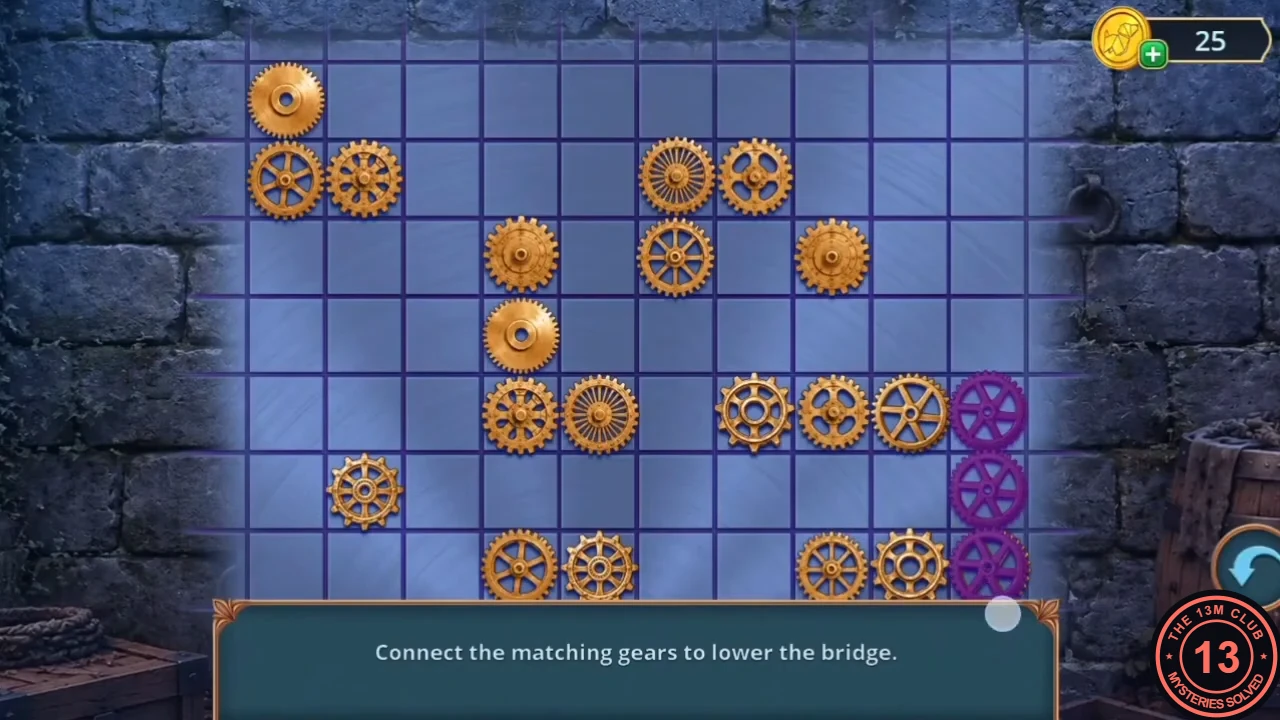
The castle drawbridge is raised. Repair its gear mechanism to lower it.
- Back at the telescope stall, use the Little Bat on the top of the stall. It becomes your bat buddy (the sack icon at the bottom left) and knocks down the Bird Scissors; take them.
- Go to the castle bridge ("The bridge is up?!") and zoom into the gear mechanism. Take the collectible card "Family Reunion Registration, 1956" and the Garden Trowel. Cut the pink yarn tangled in the gears with the Bird Scissors and take the Unfinished Beret.
- Open the Unfinished Beret in the inventory and add the Ball of Yarn to make the Knitted Beret.
- Zoom into the gargoyle spout by the bridge. Push the Knitted Beret into the thorny mouth, then take the Phoenix Feather Glove and the Gear that drop out. The grate below needs a longer reach (later).
- Place the Gear in the bridge mechanism to start the puzzle.
- Puzzle: "Connect the matching gears to lower the bridge." Link each pair of identical gears with a path through the grid; paths cannot cross or share cells. Start with pairs near the edges, which have the fewest route options, and use reset if you box yourself in.
- Cross the bridge into the Grand Hall reception. The butler asks you to sign the guest book.
Oberon's study: the hidden chamber
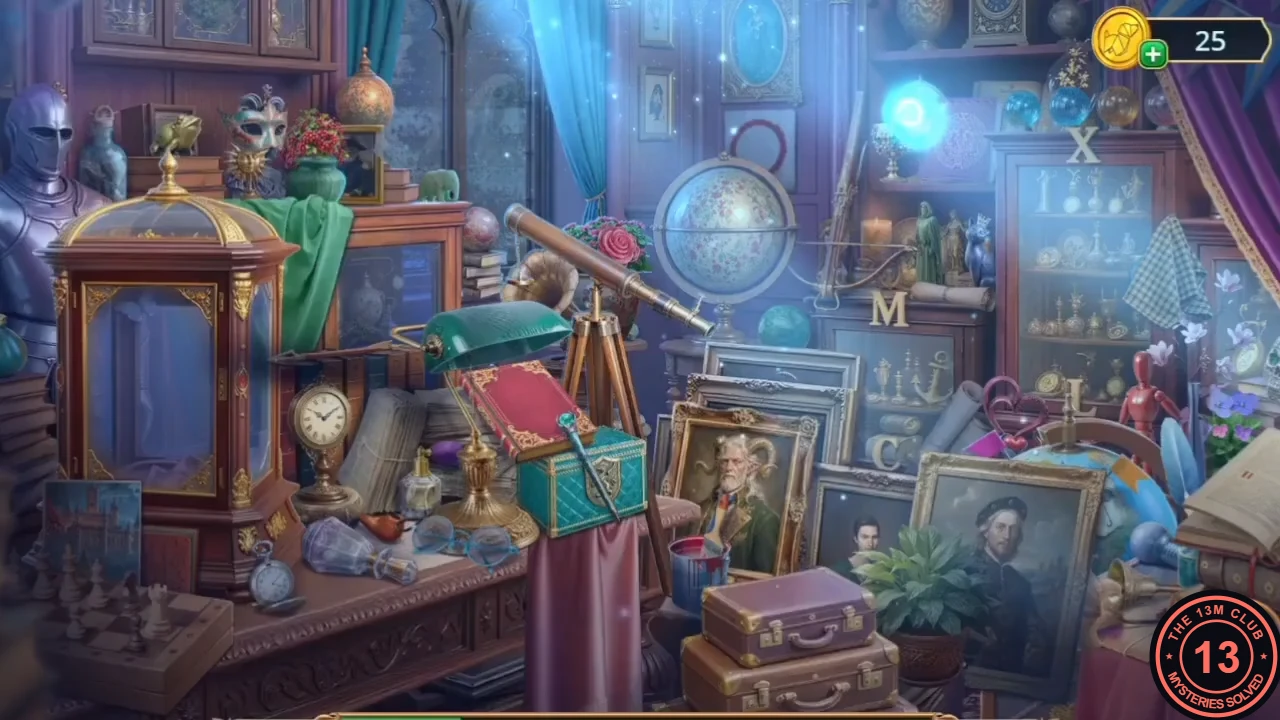
Register at the reception, meet Grandpa Oberon and open the treasure chamber in his study.
- Zoom into the reception desk and take the Coffin Pocket Mirror. Use the Meeting Invitation on the guest book to receive the Spider Knocker.
- Use the Spider Knocker on the spider-web door to enter Oberon's study. Oberon asks you to open his treasure chamber.
- Zoom into the desk. Take the Stuffed Anglerfish and the Tube with Letter. The dragon drawer needs a key (later).
- Zoom into the fireplace and use the Phoenix Feather Glove in the fire to take the Hot Seal.
- Use the Hot Seal on the wax seal of the golden doors to open a hidden-object scene.
- Find the silhouetted items shown at the bottom while Oberon tells the story of the Heart of Union. Some items need an extra step inside the scene ("No bulb, no light"; "Some paint would be nice").
- Oberon hands you the Hall Skeleton Key.
Grand Masquerade Hall: candle paths
Prepare the masquerade hall for the ritual.
- Use the Hall Skeleton Key on the skull door in the reception to enter the Grand Masquerade Hall.
- Zoom into the pedestal. Take the red Ruby (part 1 of a three-gem set), the Pyramid Lenses and the Brass Clamp until "the pedestal is clear", then place the Heart of Union on it (counter 0/3).
- Zoom into the clock: it cannot run without its hands (later).
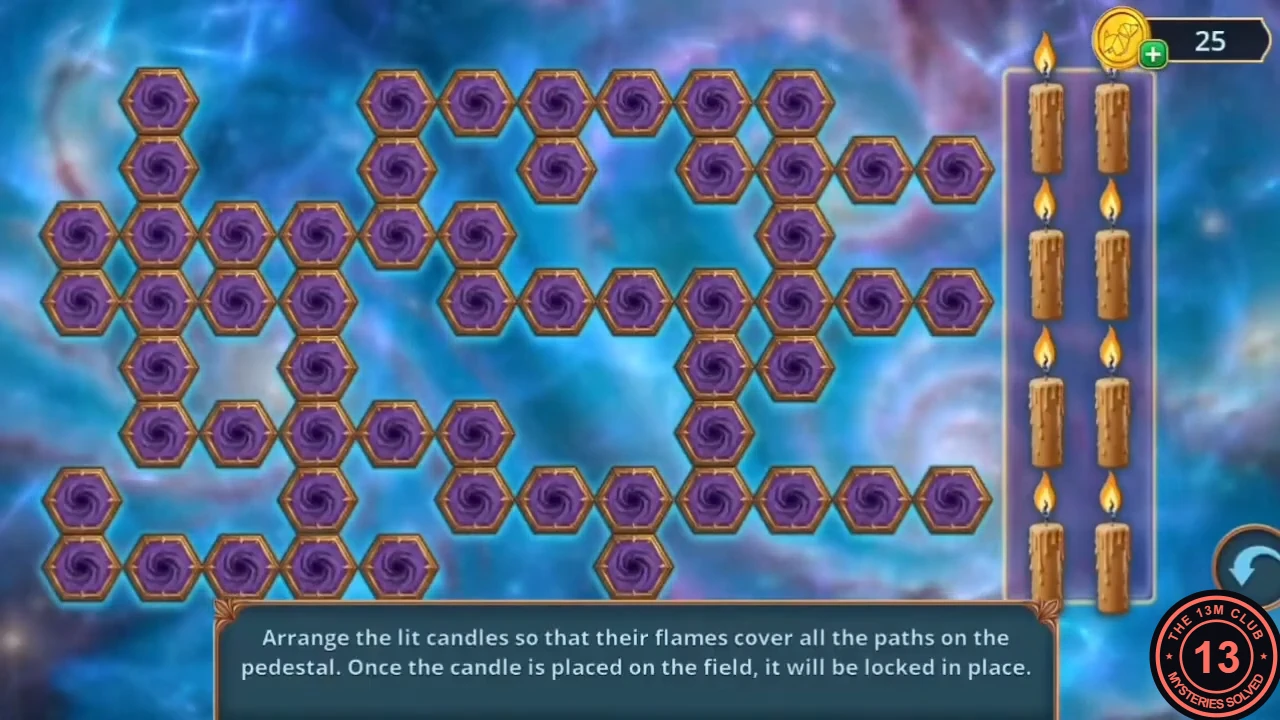
- Zoom into the prism. Use the Brass Clamp to scrape out the glowing embers beside it; the candles light and the puzzle opens.
- Puzzle: "Arrange the lit candles so that their flames cover all the paths on the pedestal. Once placed, a candle is locked." Each candle sends flames in fixed directions. Place each candle on the node where its flames run along uncovered path lines; plan all eight before committing because placed candles cannot be moved.
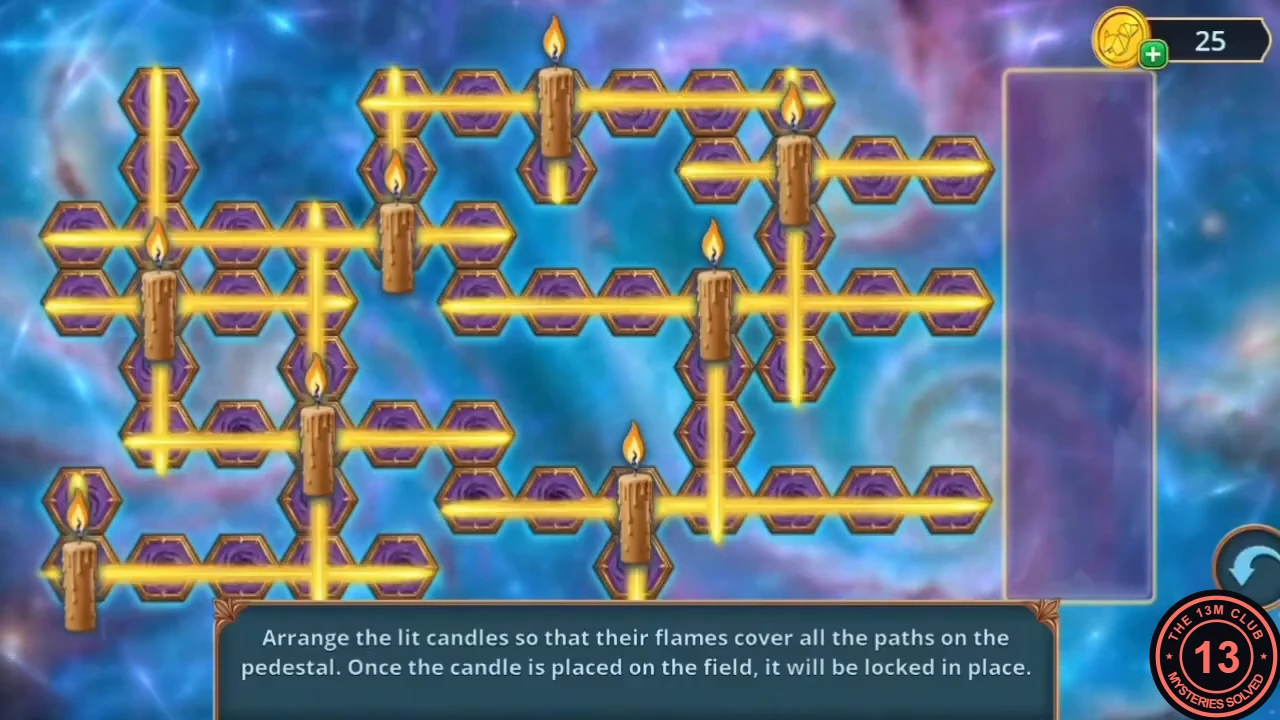
Completed arrangement from the recorded playthrough: all eight candles placed and every path lit.
Service corridors: the storage room
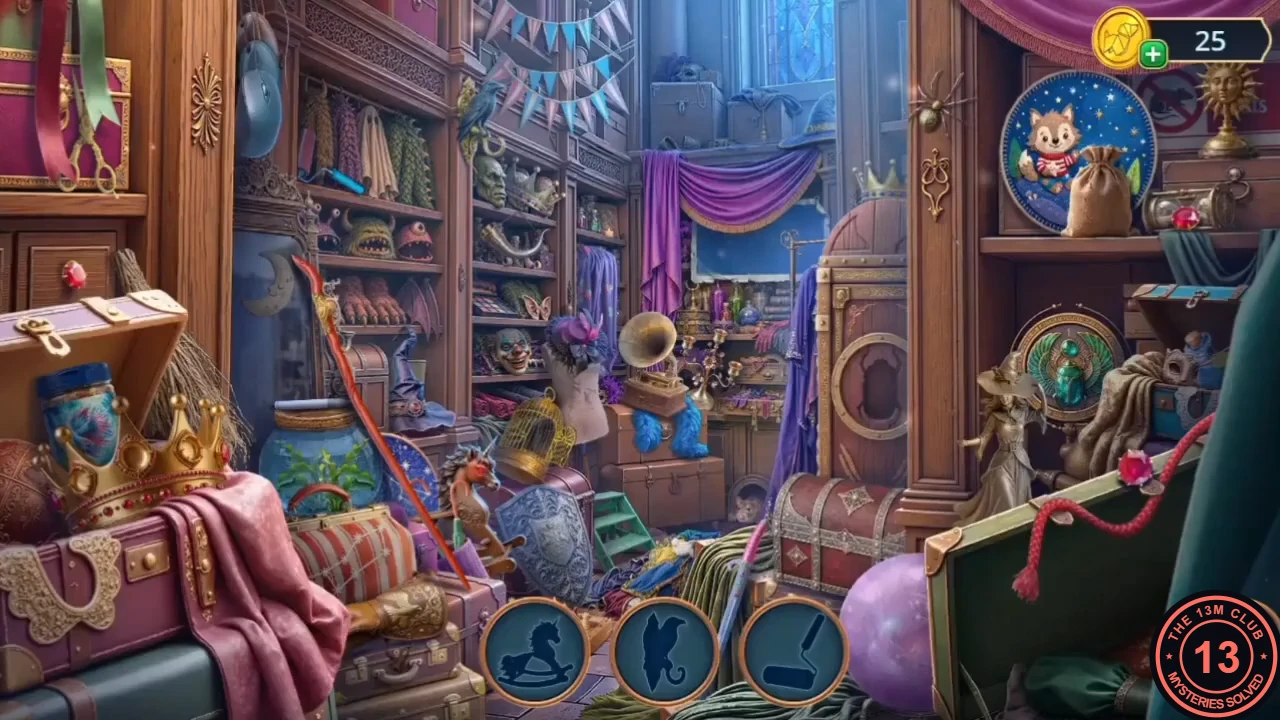
Finish the ritual preparations, then follow the killer into the service corridors.
- In Oberon's study, zoom into the desk lotus and take the Bone Clock Hands lying to its right. Optional spider (2/140 in our playthrough): zoom into the golden family-tree stand in the study. The spider is at the bottom-right corner of its base.
- Place the Bone Clock Hands on the Grand Masquerade Hall clock.
- Cutscene: Oberon is found murdered and the castle is locked down. Decision: "How is that even possible? The castle is supposed to be protected!" (60 coins, +2 decision points) or "I'm scared. I don't know what's going on!" (free).
- The pedestal now shows an empty slot for a golden treasure (later). Follow the sparkling trail to the curtain on the right and use the Brass Clamp to tie the curtain back, revealing the emergency exit to the service corridors.
- In the corridor, take the Heart Battery from the window planter. Open the Stuffed Anglerfish in the inventory and insert the Heart Battery to get the Lit Anglerfish Lantern.
- Zoom into the sink and take the Closed Shell. ("There's water in this, I'm sure. I just have to fix it to get to it.")
- Hang the Lit Anglerfish Lantern on the hook beside the Storage Room door to open a hidden-object scene.
- Find the three silhouettes shown at the bottom; new ones replace each found item. One item needs feeding first ("Fishy, fishy, where's your food?").
Corridor door: Medusa's rings
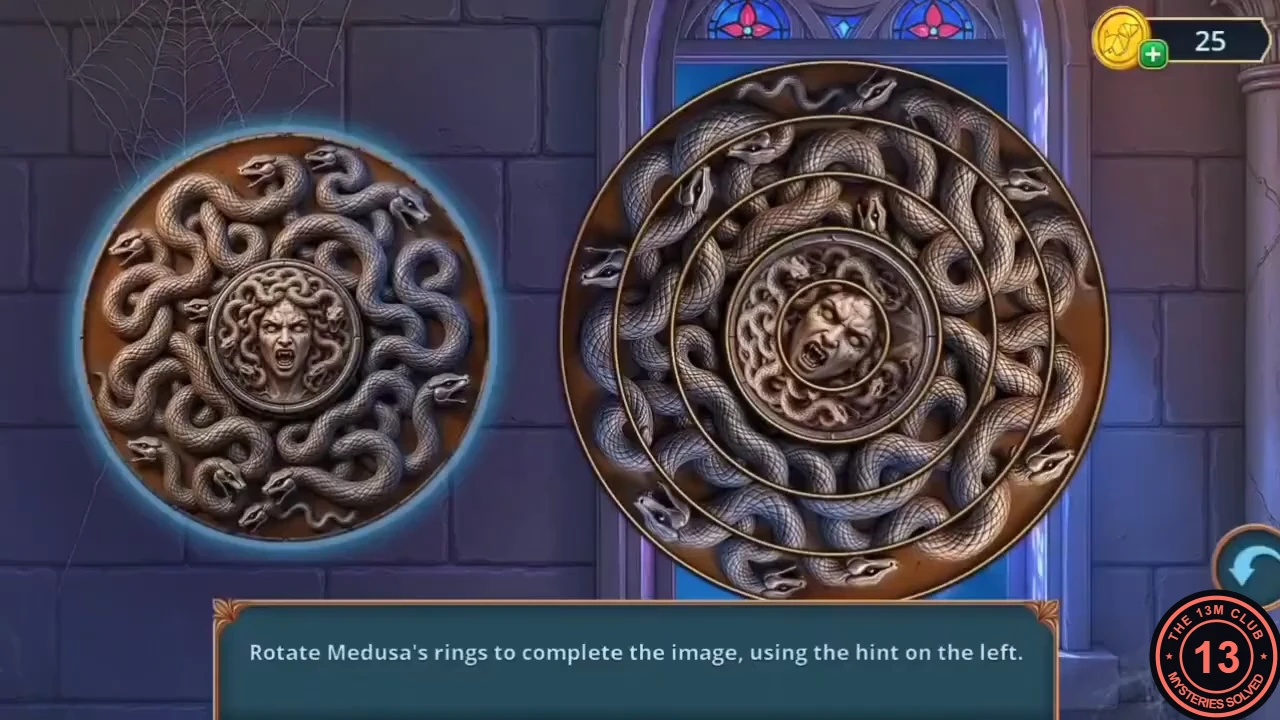
The only way out of the corridor is the door with the Medusa carving.
- Use the Fluffy Duster on the cobwebs over the Medusa carving and take the Diamond Ring from her mouth.
- Use the Diamond Ring on the cracked mirror above the sink to cut out a Mirror Shard.
- Open the Coffin Pocket Mirror in the inventory. Add the Bubble Gum and the Mirror Shard to make the Coffin Mirror.
- Use the Coffin Mirror on Medusa to start the puzzle.
- Puzzle: "Rotate Medusa's rings to complete the image, using the hint on the left." Select a ring, then rotate it until its part of the picture lines up with the hint image. Work from the centre outwards.
- Take the Gorgon Medusa Plate. The door opens to the Gallery and Castle Wall.
Main Square cannon: confetti grid
The glowing trail leads along the castle wall to the tower door. Gather what you need to fire the confetti cannon in the square.
- On the castle wall, zoom into the scorpion. Use the Gorgon Medusa Plate on it to turn it to stone, then take the Pouch. Optional spider (4/140 in our playthrough): the spider counter went up in this scorpion close-up, but the exact spot is not clearly visible.
- Zoom into the knight by the tower door ("Where is your weapon?"). Take the Screw and the first Glass Eye from the red stand beside him (Glass Eyes 1/2).
- Zoom into the parapet. Lay the Pouch on the walkway and fill it with rubble using the Garden Trowel; the full sack hangs on the pulley rope as a counterweight and raises the red bundle. Take the Confetti Machine Button from it. A loose brick here needs prying later.
- Go to the Main Square and put the Confetti Machine Button on the cannon to start the puzzle.
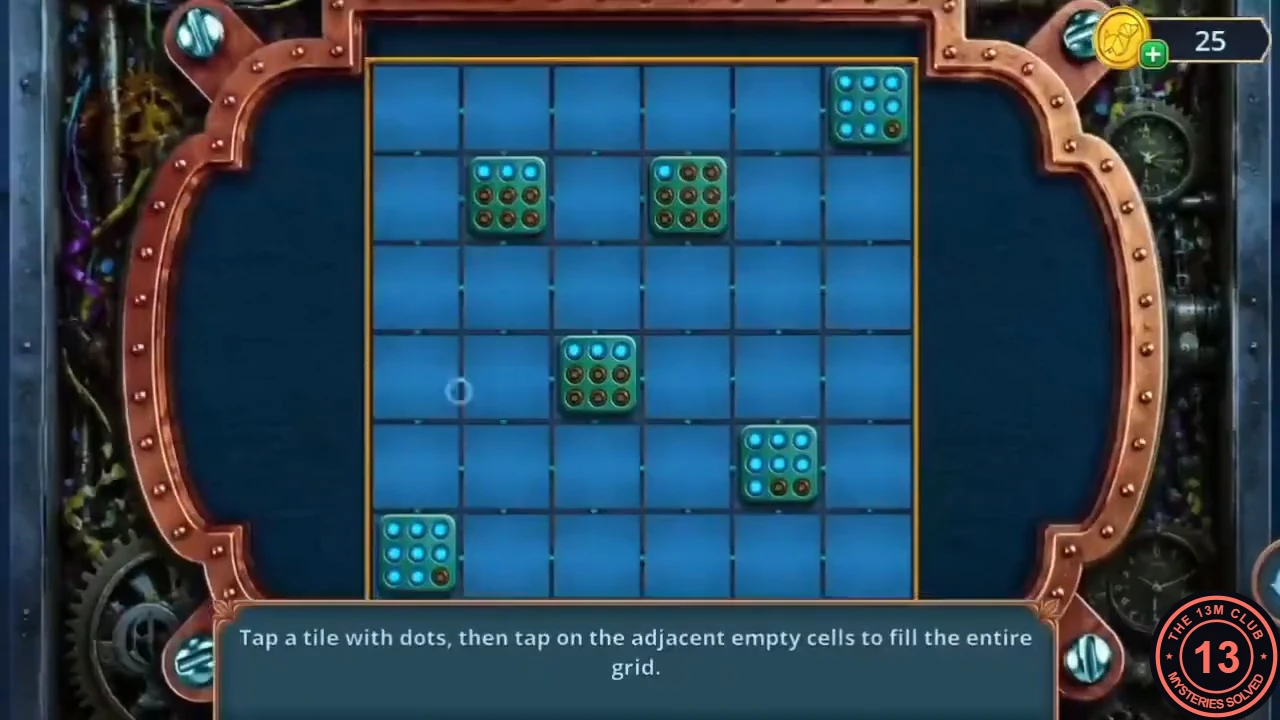
- Puzzle: "Tap a tile with dots, then tap on the adjacent empty cells to fill the entire grid." The number of glowing blue dots on a tile is how many empty cells it fills (the dark dots do not count); in the recorded layout the six tiles hold 8, 3, 1, 3, 7 and 8 blue dots for the 30 empty cells. Fill corners and tight gaps first, then the open areas, so every cell is covered.
- Take the Jack in Box from the cannon.
Oberon's secret room: riddles
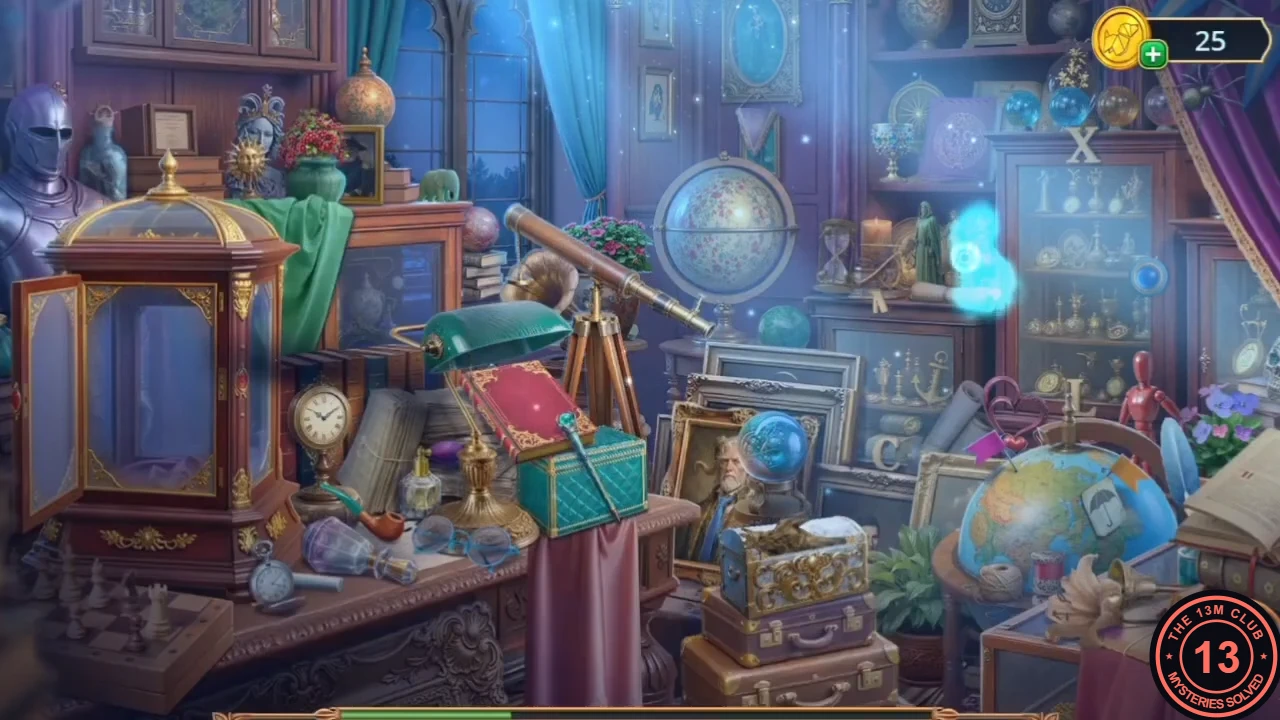
Complete the second Glass Eye and open Oberon's letter.
- Zoom into the merchant's tray and put the Jack in Box in the wolf head's mouth. Take the Wind-Up Spider that springs out.
- Use the Wind-Up Spider on the cannon's display case and take the second Glass Eye (Glass Eyes 2/2). Optional spider (6/140 in our playthrough): the spider counter went up in this display-case close-up, but the exact spot is not clearly visible.
- Open the Tube with Letter in the inventory and insert the Glass Eyes. Take Oberon's Letter.
- Zoom into the corridor sink and fit the Screw at the base of the loose red tap.
- In Oberon's study, use Oberon's Letter on the secret room behind the golden doors to start a riddle scene.
- Riddles appear one at a time; tap the object each describes. Recorded answers in order: frog, rose, butterfly, cat, spider, bottle ("a neck but no head"), heart ("not a clock, but it ticks; not a blacksmith, but it forges"), anchor, chalk, necktie, candle, incense burner. A final silhouette round asks for the triton figure.
Corridor stained-glass window
Use the family tree to get paint and restore the broken window in the corridor.
- Zoom into the lotus on Oberon's desk and place the Silver Triton in its base. Take Nimra's Branch Token.
- Zoom into the family tree stand in the study and place the token in the slot beside Nimra's portrait. Take the Magic Red Paint from the drawer.
- In the corridor, use the Magic Red Paint on the broken glass pieces on the window sill to start the puzzle.
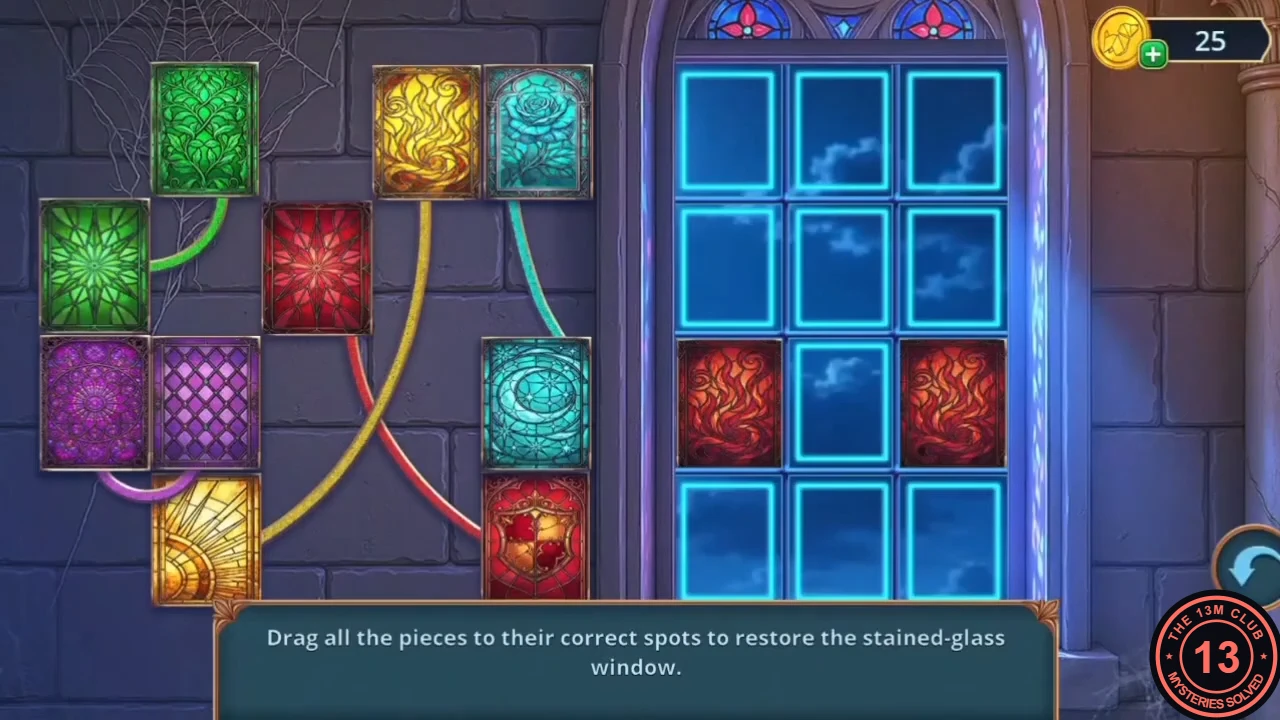
- Puzzle: "Drag all the pieces to their correct spots to restore the stained-glass window." Each piece is tied by a coloured string to its target cell; drag it along its string to that spot.
- Light now focuses on the sill and reveals a hidden slot. Take the Moon Pointer.
Castle courtyard wagon: paired items
Read the code on the sink mirror and open the wagon in the castle courtyard.
- Zoom into the corridor sink and put the Moon Pointer on the repaired tap. Steam reveals a number on the mirror; read it (131 in the recording).
- Enter that number on the suitcase lock beside the sink (131 in the recording). Take the Empty Jar and the Portable Irrigator. The irrigator needs a foamy cleaning liquid (later).CODE131
- Go to the Grimwood Castle courtyard. Zoom into the gargoyle signpost and use the Empty Jar on the termite-infested wood to get the Jar of Bark-Boring Termites.
- Zoom into the wagon wheel and release the termites on the wooden chock. The wagon opens a hidden-object scene.
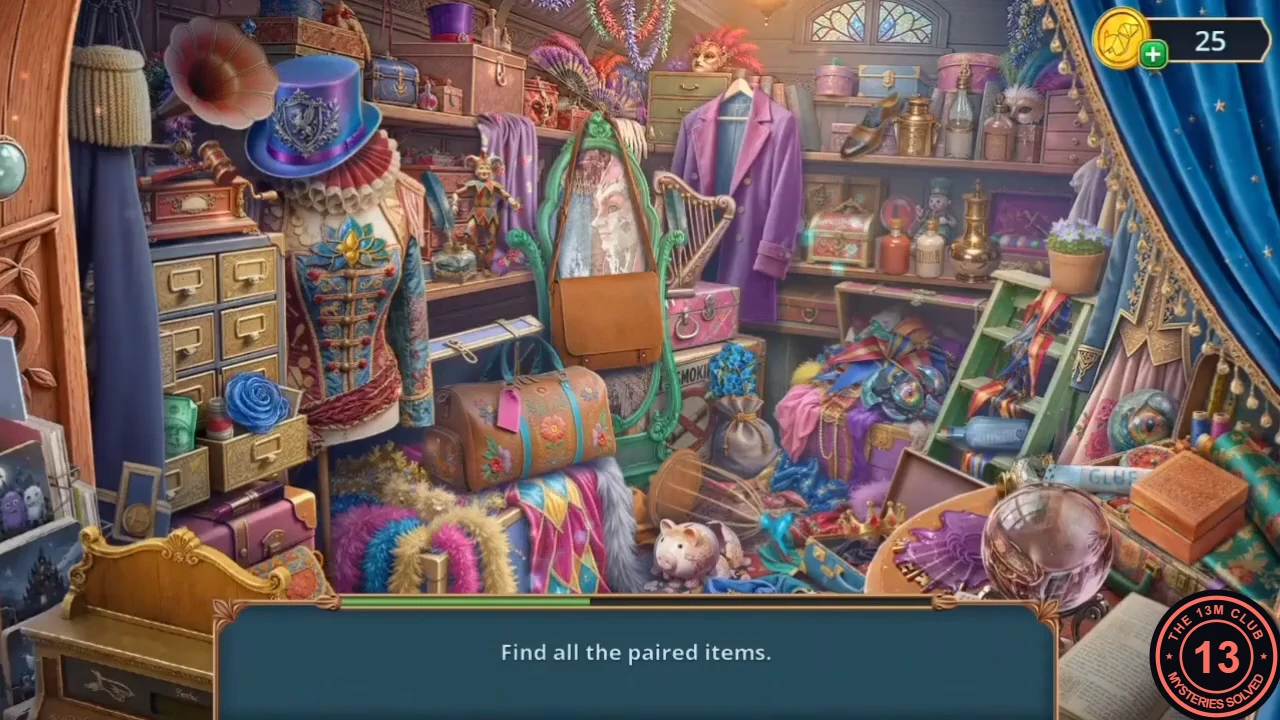
- "Find all the paired items." Tap both items of each pair.
Star pedestal: gold ribbons
Open the shell and fill the empty star pedestal in the masquerade hall.
- Zoom into the courtyard signpost gargoyle and place the Diadem with Horns on its head. Take the Tusk.
- Open the Closed Shell in the inventory and pry it with the Tusk to get the Pearl and the Open Shell.
- In the Grand Masquerade Hall, zoom into the prism. Scrape the pile of red wax with the Open Shell to find the Gold Star, then place the Pearl on the tip of the pyramid.
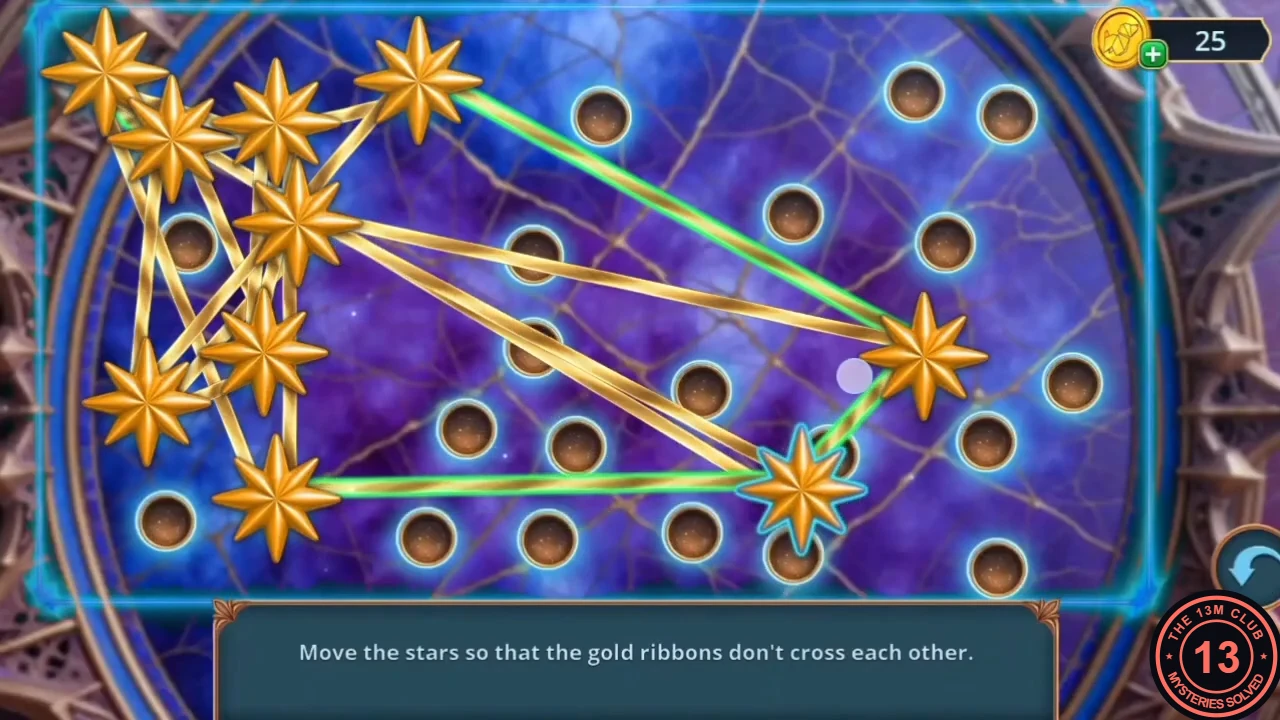
- Place the Gold Star in the star pedestal (it is missing a star) to start the puzzle.
- Puzzle: "Move the stars so that the gold ribbons don't cross each other." This untangling puzzle is long. Move stars with many ribbons towards the middle and push stars with one or two ribbons outwards beside their neighbours, removing one crossing at a time until no ribbons intersect.
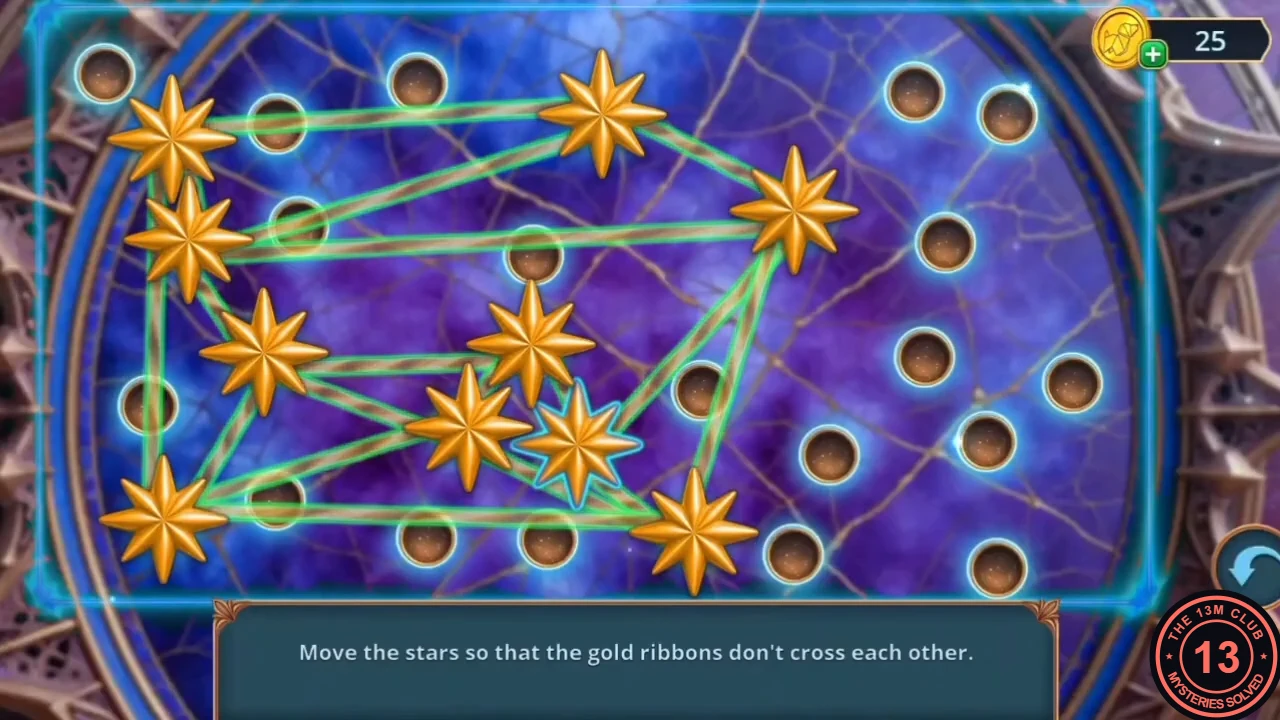
Example of a finished layout from the recorded playthrough: no ribbon crosses another. Any crossing-free layout works. - Take the Oil Lamp from the open pedestal.
Gallery mask wall
Free the stuck clock drawer and raise the flag on the castle wall.
- Zoom into the Grand Masquerade Hall clock and oil the stuck mechanism drawer with the Oil Lamp. Take the Flagpole Handle.
- On the castle wall, put the Flagpole Handle on the flagpole winch. The flag rises; take the Sad Mask.
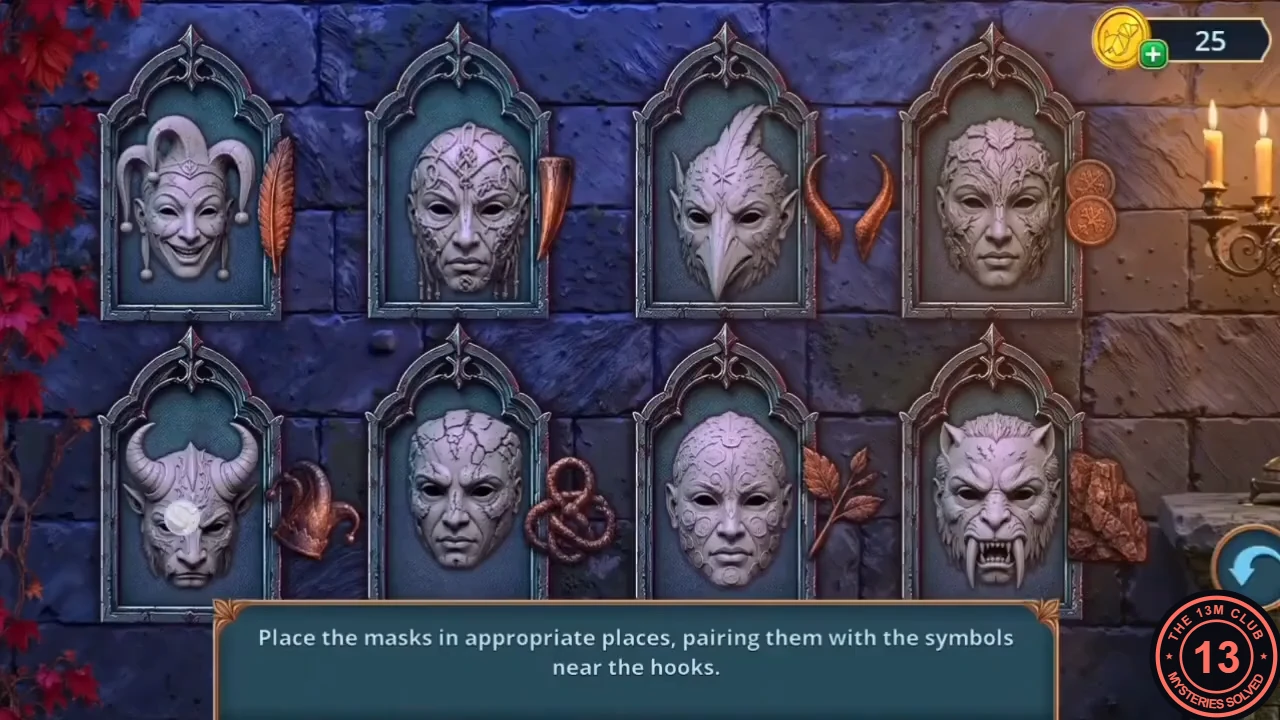
- Zoom into the mask wall and place the Sad Mask to start the puzzle.
- Puzzle: "Place the masks in appropriate places, pairing them with the symbols near the hooks." Match each mask to the symbol beside its hook: feather – beaked bird mask; curved fang – fanged beast; pair of horns – horned demon; coins – ornate swirled mask; jester hat – jester; rope knot – mask with the knotted pattern; leaf – leafy mask; rock – cracked stone mask.
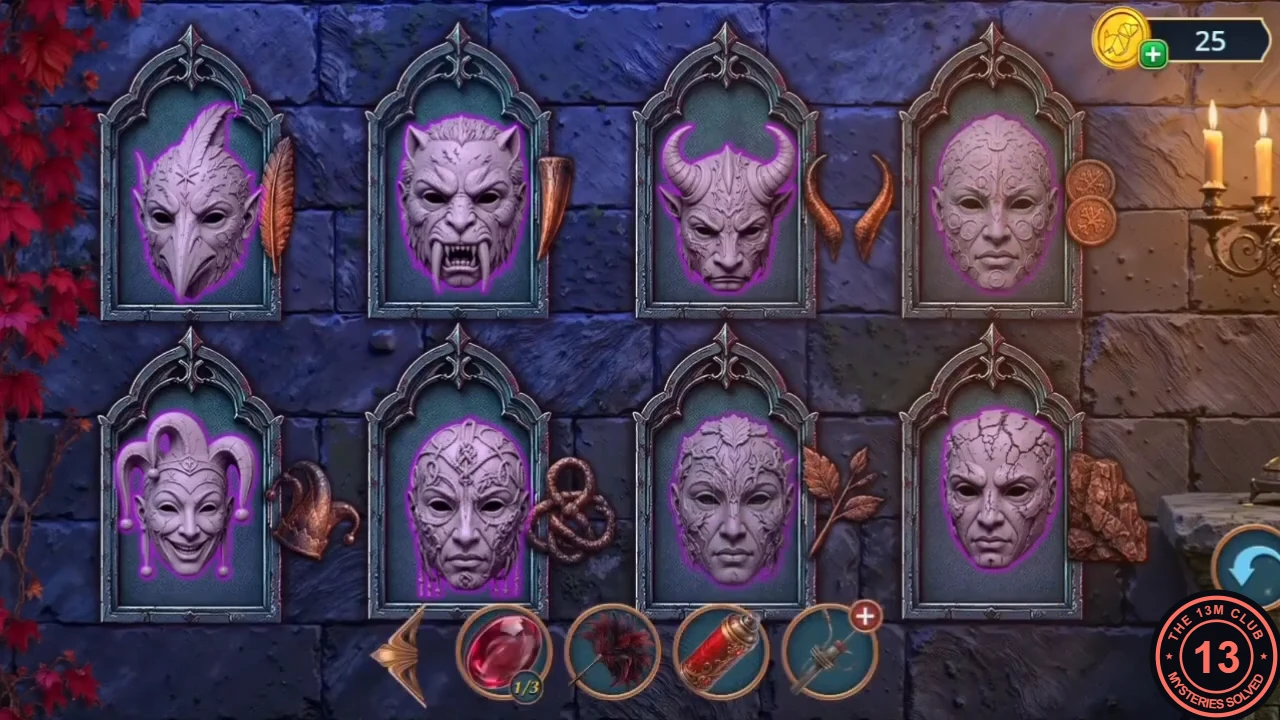
Solved: bird beside the feather, fanged beast beside the curved fang, horned demon beside the horns, swirled mask beside the coins; jester, knotted mask, leafy mask and cracked stone mask on the bottom row. - Take the Iron Pen.