Family Court Room and balcony: paired items
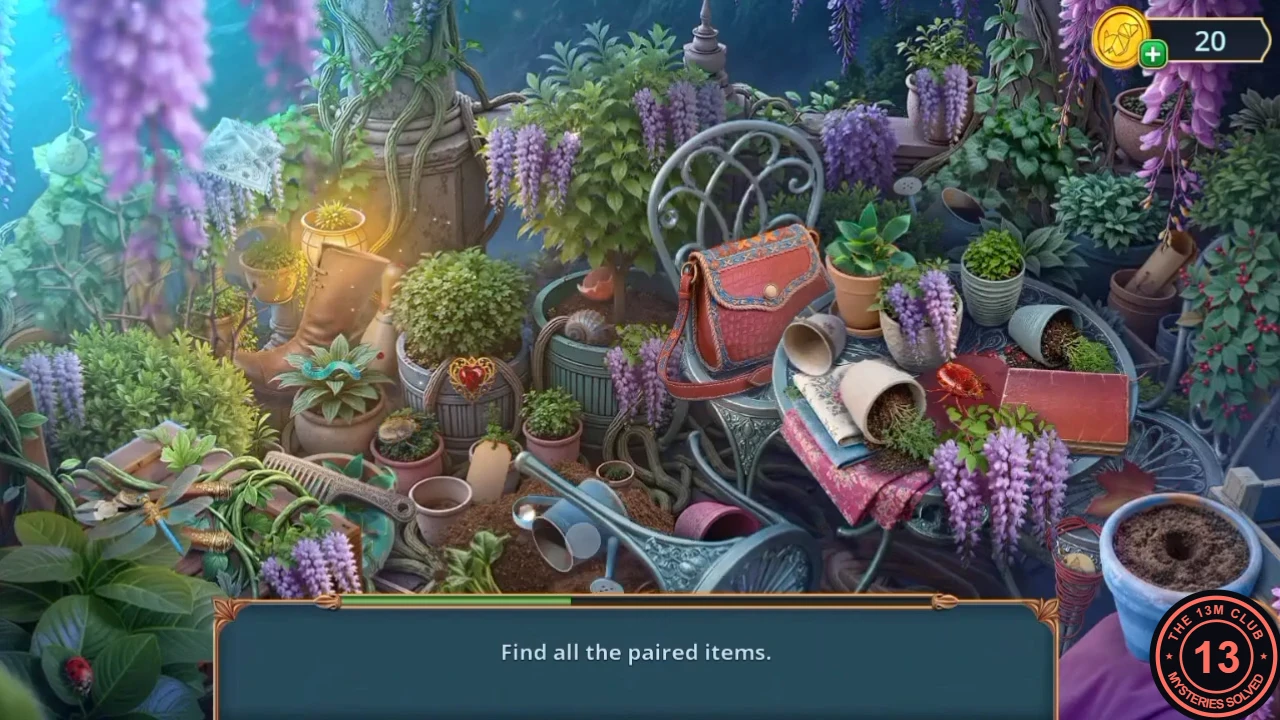
Anubris and the captured Ezra wait in the Family Court Room. Open the Codex, unlock the balcony and search the wisteria arch.
- In the Family Court Room, talk to Anubris and Ezra. You can ask all three questions; this is not a decision. The task "Save yourself from the fall" completes.
- Zoom into the Codex on its pedestal ("What do I need to put in this book?") and take the Oil.
- Zoom into the family portrait and take the Crossbow Clue. Optional spider (10/140 in our playthrough): in the portrait close-up, it sits on the table below the portrait, in front of the crossbow and left of the chest.
- Zoom into the purple bag with the gargoyle clasp and put the Septum Ring through the gargoyle's nose. The bag opens: read Oberon's note to Anubris and take the Amulet of Anubris.
- Place the Amulet of Anubris in the socket on the Codex cover. The Codex opens; take the Key.
- Use the Key in the keyhole on the wall above the purple bag. The stained-glass window turns into a passage to the Balcony.
- On the Balcony, zoom into the empty firefly jar on the balustrade and put the Jar Lid on the ledge beside it. The fireflies still need bait (later).
- Zoom into the easel and read the scroll about magic stones (Turquoise, Cinnabar, Living Amber, Philosopher's Stone). Take the Vintage Drill and the Killer's Trail Clue. Optional spider (13/140 in our playthrough): in the easel close-up, it is probably at the base of the gold skull candlestick on the left.
- Zoom into the candelabra robot and take the Divination Ball.
- Use the Chainmail Glove on the thorny vines of the wisteria arch to pull them aside and open a hidden-object scene.
- "Find all the paired items." Each object has a matching partner somewhere in the scene. Some are hidden until you act inside the scene: dig out the stuck watering can, wash the stained object and free the tag caught on the twisted wire.
The Codex: truth stones
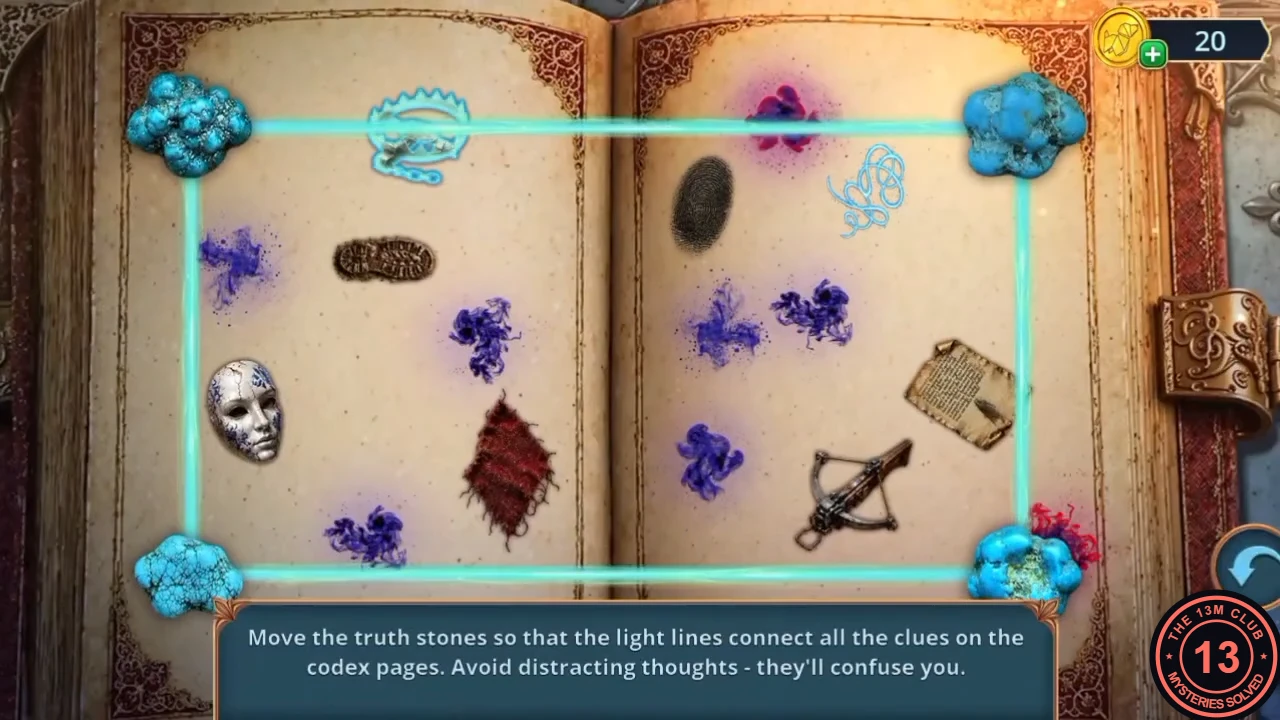
Lay the gathered clues on the Codex and let magic reveal the truth.
- In the Family Court Room, zoom into the bottom of the tapestry and use the Thin Chopsticks to pull out a handwritten note. Mabel notes that the tapestry needs straightening (later).
- Zoom into the open Codex. Lay the handwritten note on the left page, the Killer's Trail Clue on the right page and the Crossbow Clue across the book.
- The Divination Ball does not work here ("And again, magic and a magic stone. But which one?"). Use the wand on the Codex to start the puzzle.
- Puzzle: "Move the truth stones so that the light lines connect all the clues on the codex pages. Avoid distracting thoughts - they'll confuse you." Drag the four stones until the light lines between them pass through all eight clue pictures (chain, shoe print, mask, torn red cloth, fingerprint, blue thread, parchment and crossbow) and none of the lines crosses a purple distracting-thought patch. A working layout is a tilted four-sided loop: one stone on the chain at the top left, one on the mask at the left, one at the bottom just below the crossbow and one on the right page to the right of the blue thread (see the solved image).
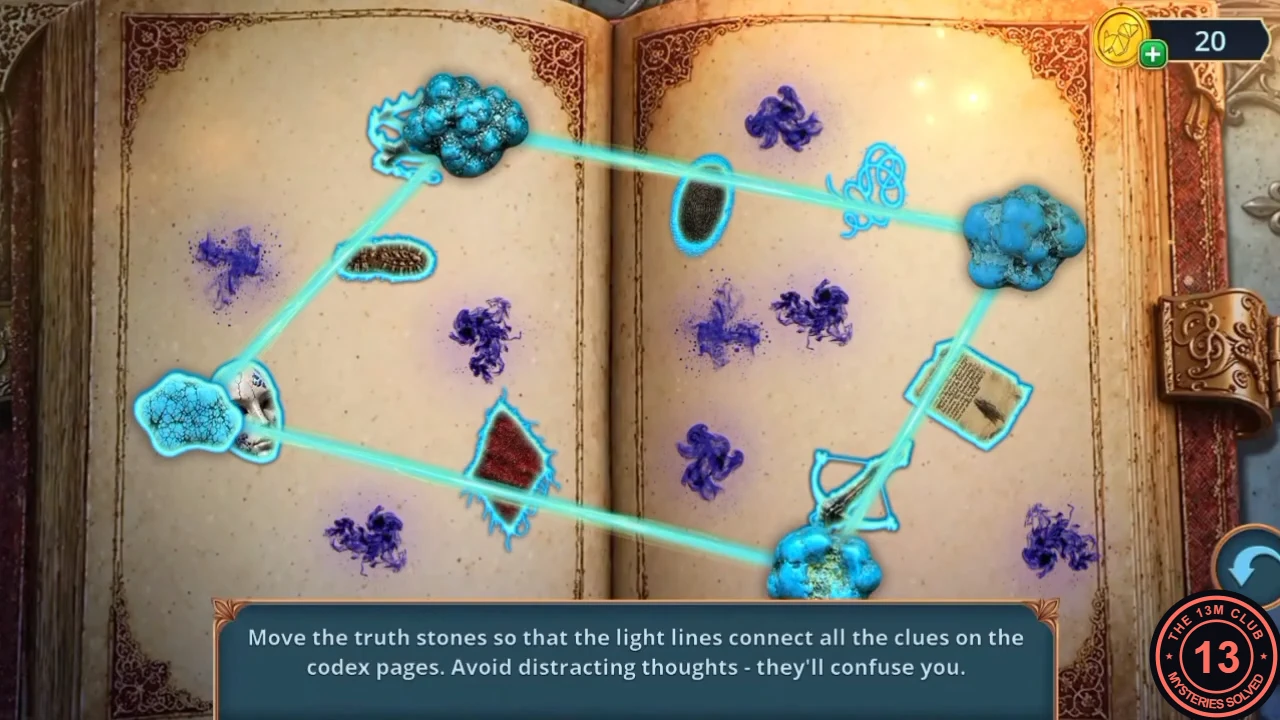
A working layout from the recorded playthrough: every clue glows and no line touches a purple patch. - Ezra speaks. Decision: "Stand up for the family" (60 coins, +2 decision points) or "Swallow the insult" (free). He mentions paint traces and Uncle Lucius and hands over Ezra's Bag.
- Open Ezra's Bag in the inventory, read Ezra's notes and take the semicircular metal gate handle. The task "Examine all the clues" completes.
Family Living Room: chess lines
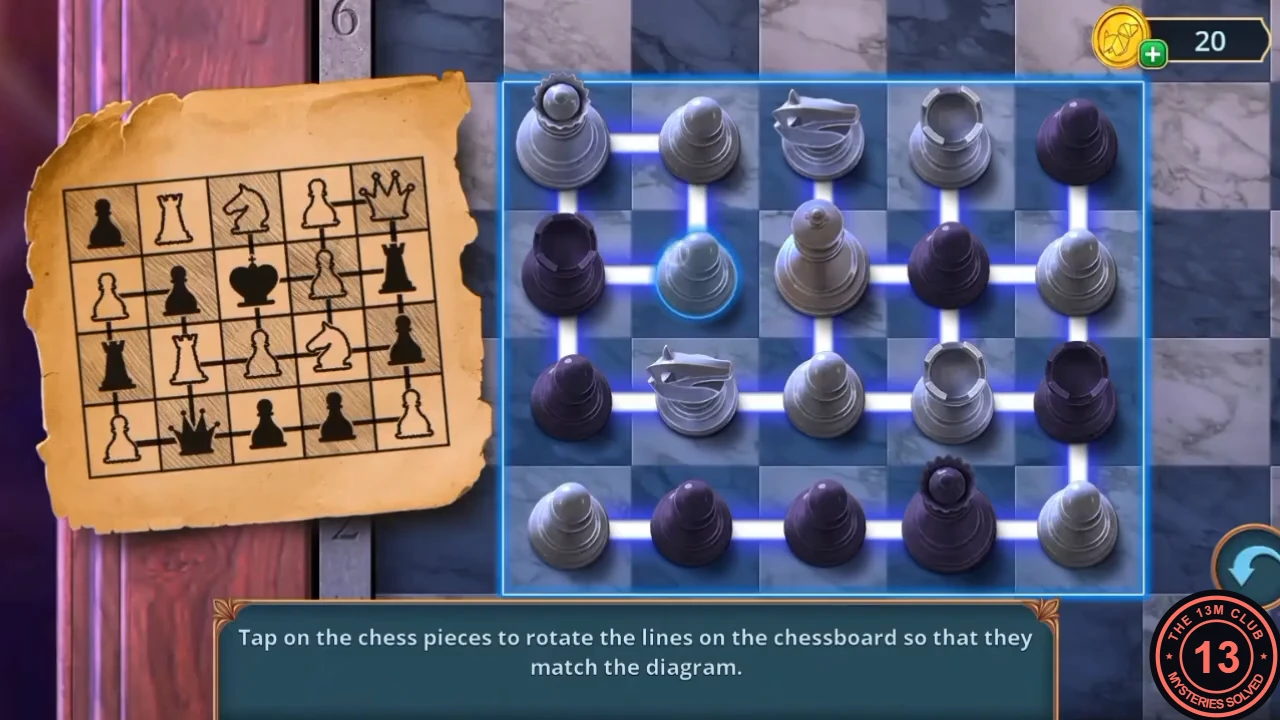
Open the barred gate to Lucius's Portrait Gallery and win a King for the chess table.
- Zoom into the barred gate in the Family Court Room, fit the semicircular handle into the lock and turn it. The gate opens into the Portrait Gallery, Lucius's red room.
- Zoom into the mantelpiece and take the Bow. A broken dragon toy and a frozen box are also here.
- Zoom into the chest under the empty frame and dust its lock with the Powder with Puff. The chest opens; take the Hot Glue Gun.
- On the mantelpiece, repair the broken dragon with the Hot Glue Gun and take the Wind-Up Dragon. Use it to melt the frozen box and take the Clover.
- Zoom into the leprechaun statue and put the Clover on his hat ("That pouch feels too light - it's missing its treasure."). Take the King Figurine.
- Go to the Family Living Room and zoom into the chess table. Take the Jar with Magic Dew, then place the King Figurine on the board to start the puzzle.
- Puzzle: "Tap on the chess pieces to rotate the lines on the chessboard so that they match the diagram." Each tap turns the line segment under that piece. Use the parchment diagram as the target, matching one piece at a time; this takes a while, so check each line against the diagram before moving on. The solved image below shows the finished board next to the diagram.
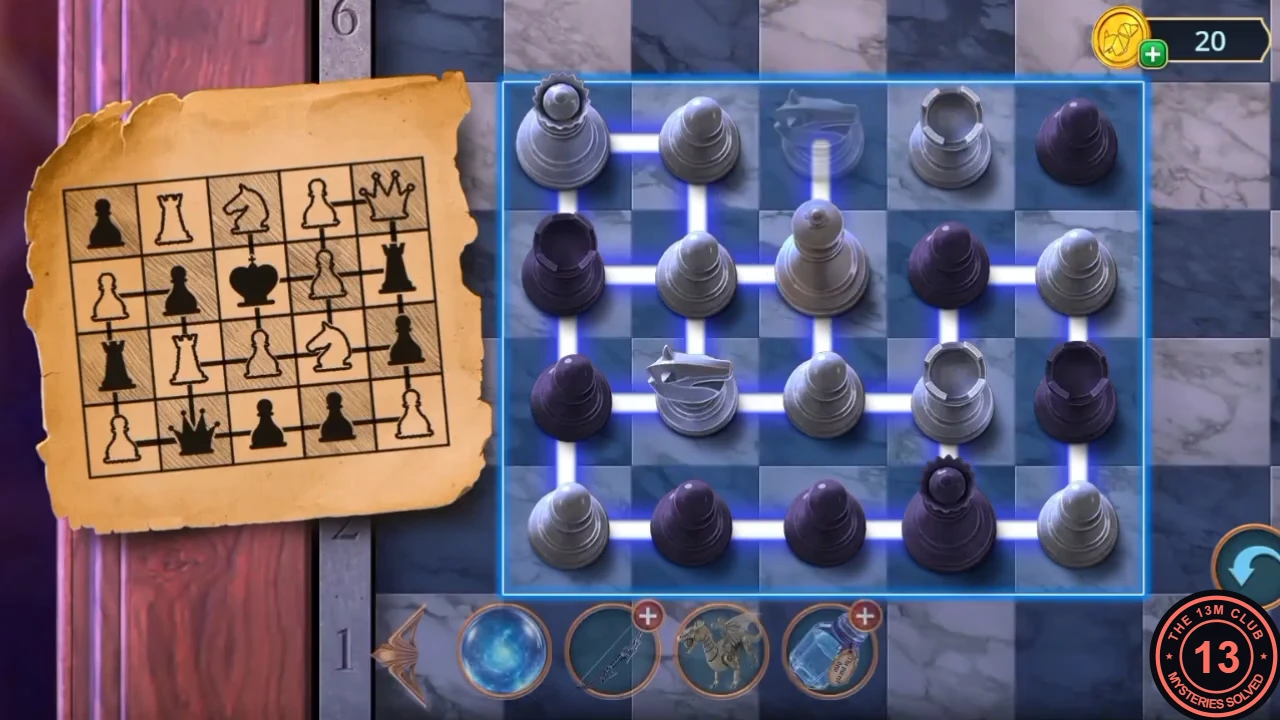
The finished board from the recorded playthrough, shown next to the diagram. - The table drawer opens; take the Luminescent Mushroom.
Portrait Gallery: colour Lucius's portrait
Light the spider chandelier and restore the portrait in the empty frame.
- On the Balcony, zoom into the firefly jar and put the Luminescent Mushroom on the ledge next to the lid. The fireflies fly into the jar; take the Jar of Fireflies.
- In the Portrait Gallery, zoom into the spider chandelier and give it the Jar of Fireflies. The chandelier lights up. One leg is broken ("A joint or hinge could set it right"); you fix it later.
- Zoom into the open chest under the empty frame and tap the golden brush inside it to start the puzzle.
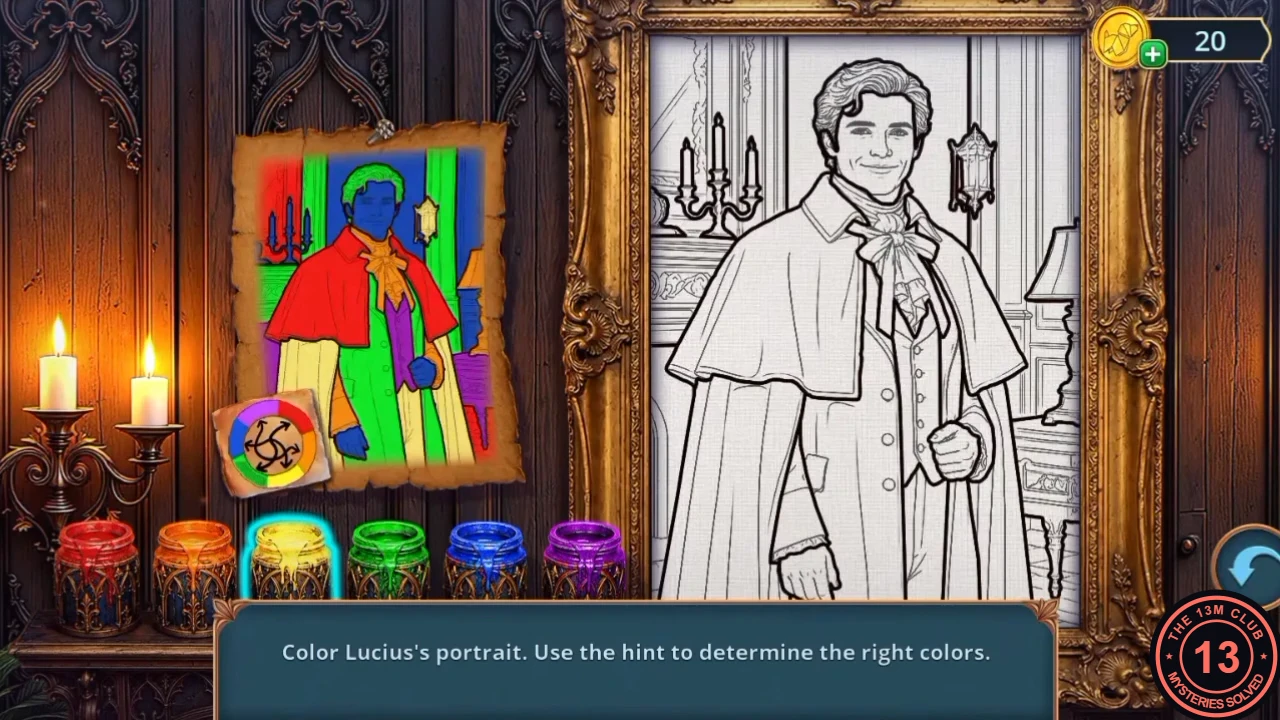
- Puzzle: "Color Lucius's portrait. Use the hint to determine the right colors." The small colour wheel on the hint shows that every colour in the hint picture is swapped for its opposite: red becomes green, green becomes red, blue becomes yellow, yellow becomes blue, purple becomes orange and orange becomes purple. Paint each area of the portrait with the opposite of its hint colour.
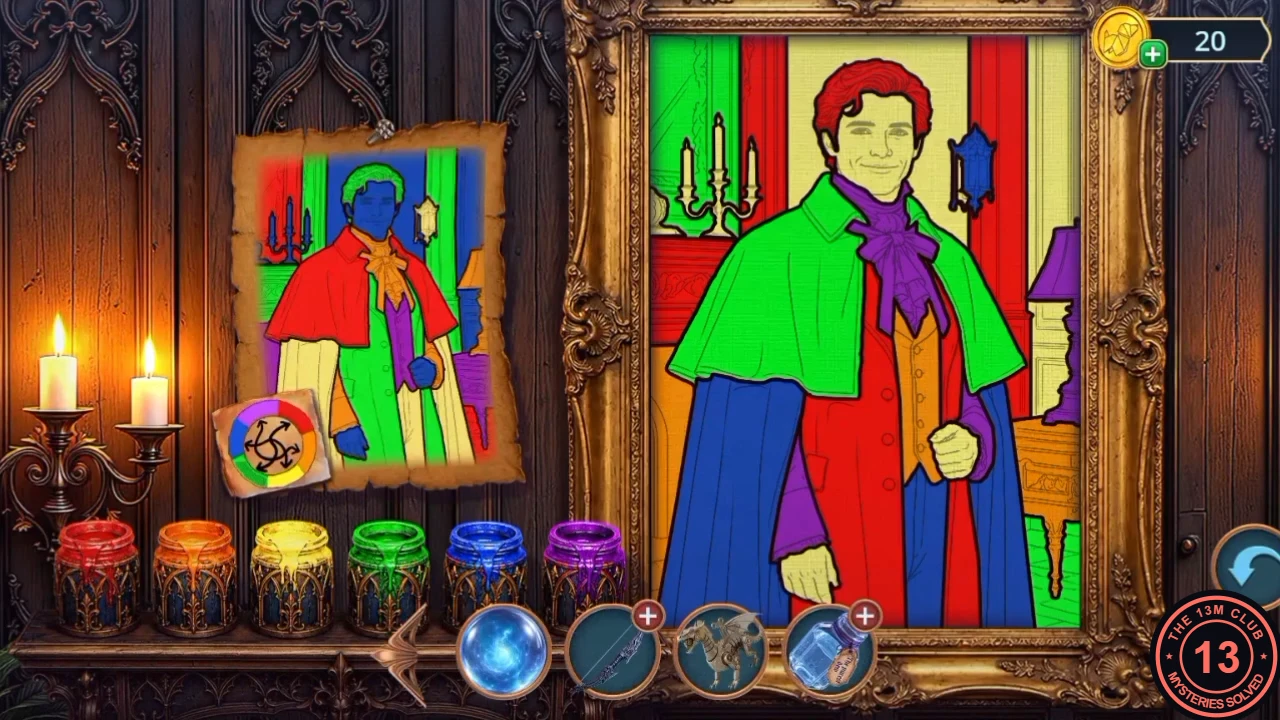
The finished portrait: every hint colour replaced by its opposite. - The finished portrait becomes a portal. Step through it into the Victorian Art Studio painting.
Victorian Art Studio: camera fragments
Ezra follows Mabel into the painting. Repair the camera to find the image that leads to the next painting.
- Decision: "Explain calmly" (60 coins, +2 decision points) or "Drive Ezra away" (free). Mabel then notes that the camera might show the image needed for the next scene.
- Zoom into the camera table. Tap the living hand on the vase to take the Living Hand and take the Marker. Oil the hinge of the camera lid with the Oil; the lid opens, so take the Golem Figurine.
- Zoom into the gramophone and take the Glass Square. The empty music stand needs notes (later).
- Zoom into the table with the hay and use the Wind-Up Dragon to burn the hay. Take the Camera Shutter; the Wind-Up Dragon returns to the inventory.
- Zoom into the camera and fit the Glass Square and the Camera Shutter to start the puzzle.
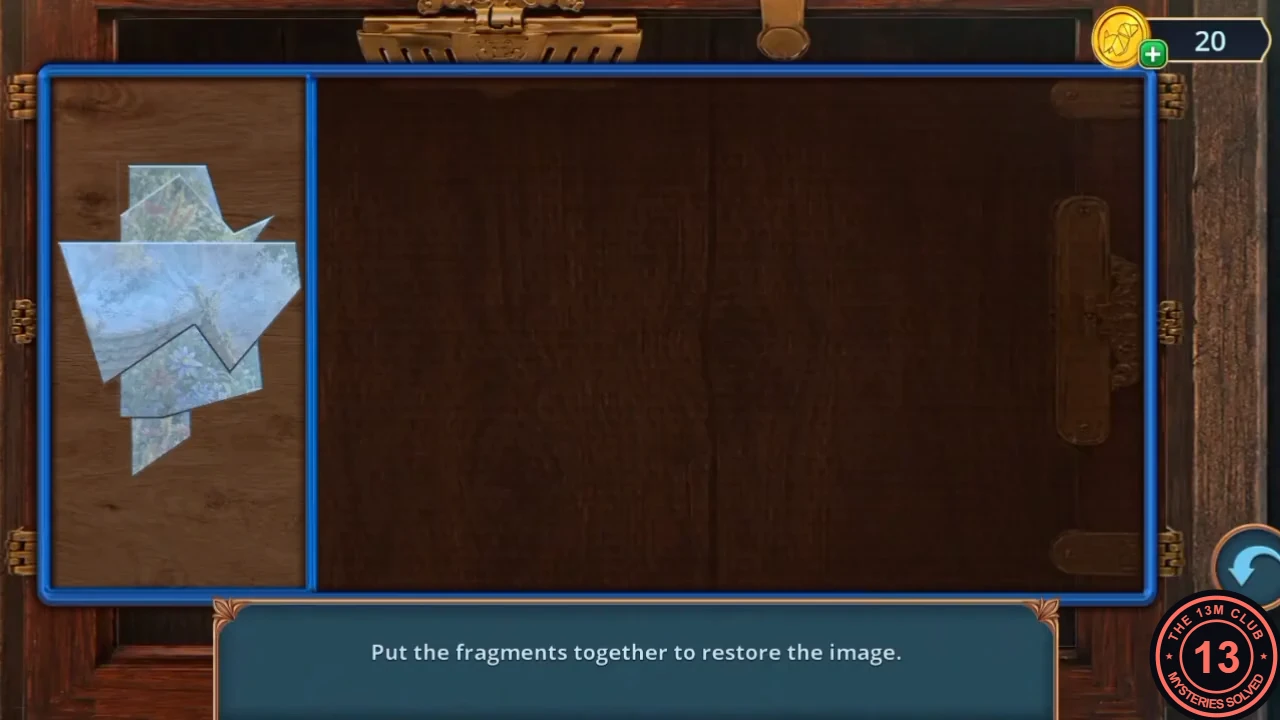
- Puzzle: "Put the fragments together to restore the image." Drag the shards from the tray into the frame; they snap when placed correctly. Start with pieces that carry edges and strong outlines, then fill the middle by matching colours.
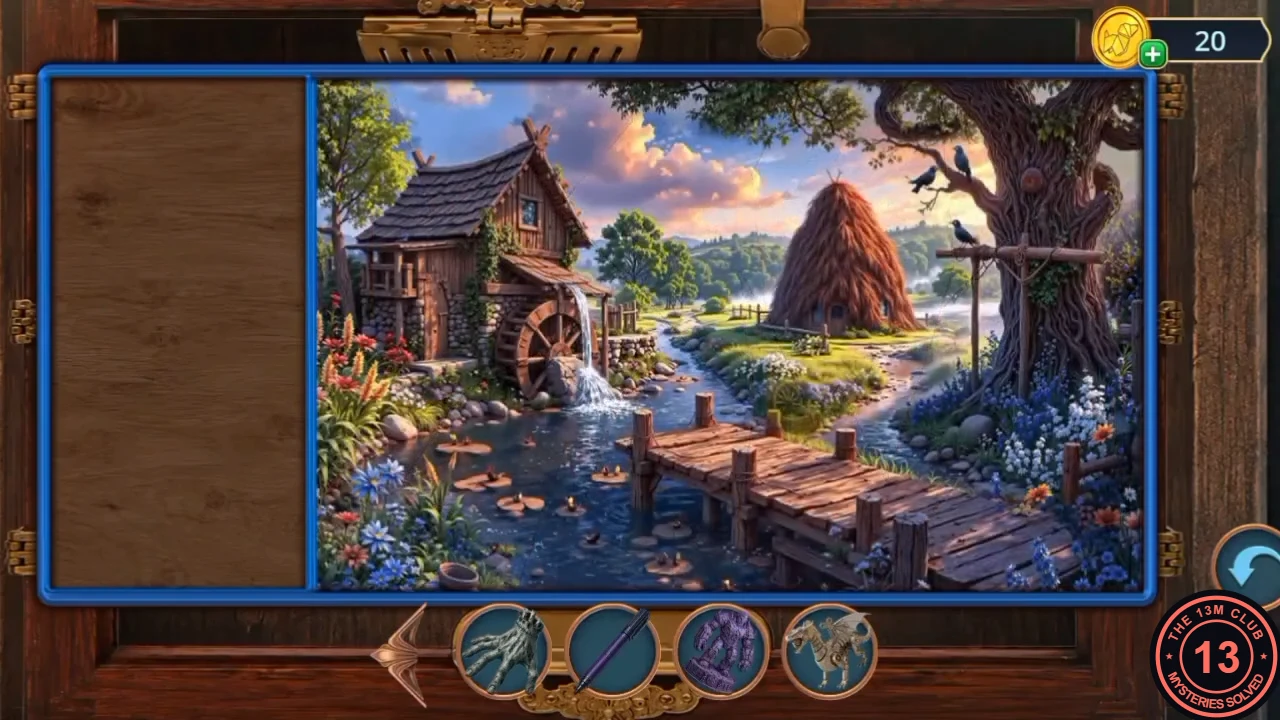
The restored picture of the water mill, which becomes the portal to the Landscape Painting.
Landscape Painting: mill-yard search
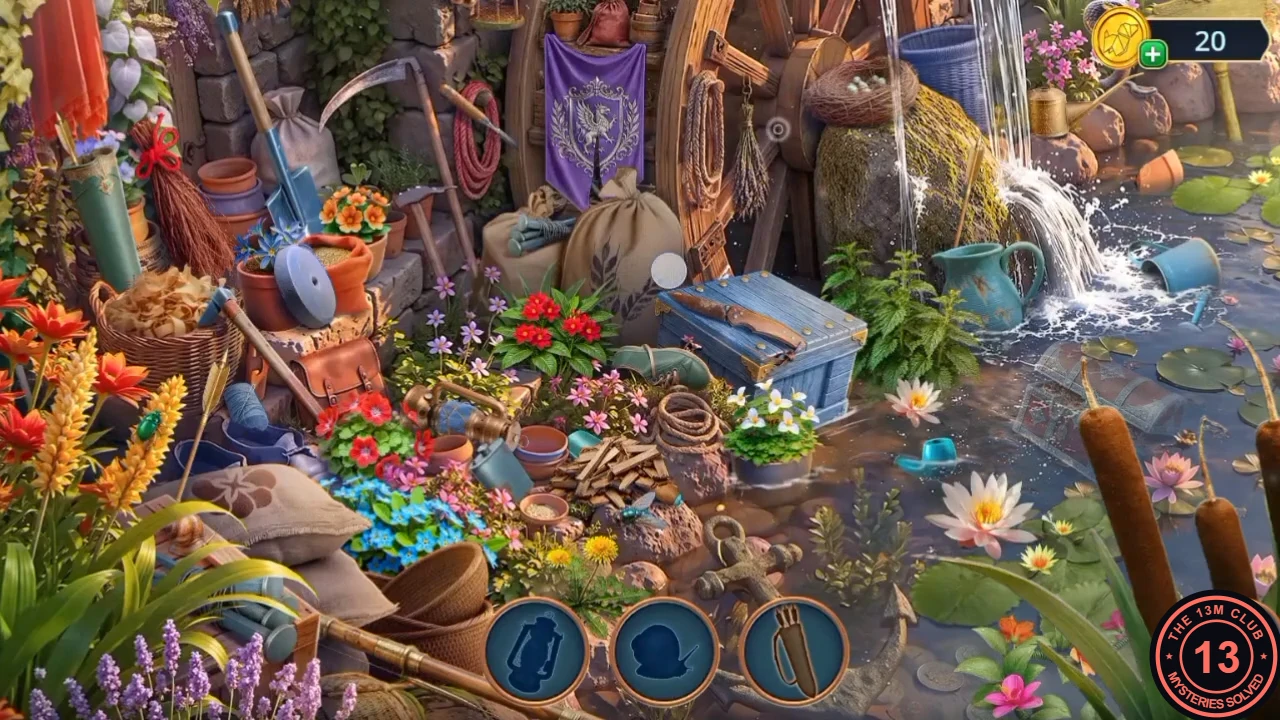
Get the mill wheel turning in the Landscape Painting.
- Zoom into the mill wheel and use the Living Hand on the barrel. It brings out a Handle (part of a later tool) and a Shell Scraper, then returns to your inventory. The wheel itself still lacks a handle.
- Zoom into the dock by the pond and take the Wax Honeycomb from the basket. Scrape the moss off the dock with the Shell Scraper and take the Mill Handle. A snake blocks the lily pads ("They say music can tame even the wildest beast").
- Fit the Mill Handle to the mill wheel. The wheel turns and opens a hidden-object scene.
- Find the items shown as silhouettes at the bottom. Some are hidden under debris: sweep the floor where it is covered in splinters and dust to reveal them.
Landscape Painting: pond reflection
Make a flute to charm the snake on the pond.
- Zoom into the tree and cut off a branch with the Saw. Take the Hollow Twig.
- Open the Hollow Twig in the inventory and use the Vintage Drill on it to bore finger holes. It becomes a wooden flute.
- Zoom into the pond and play the flute to the snake to start the puzzle.
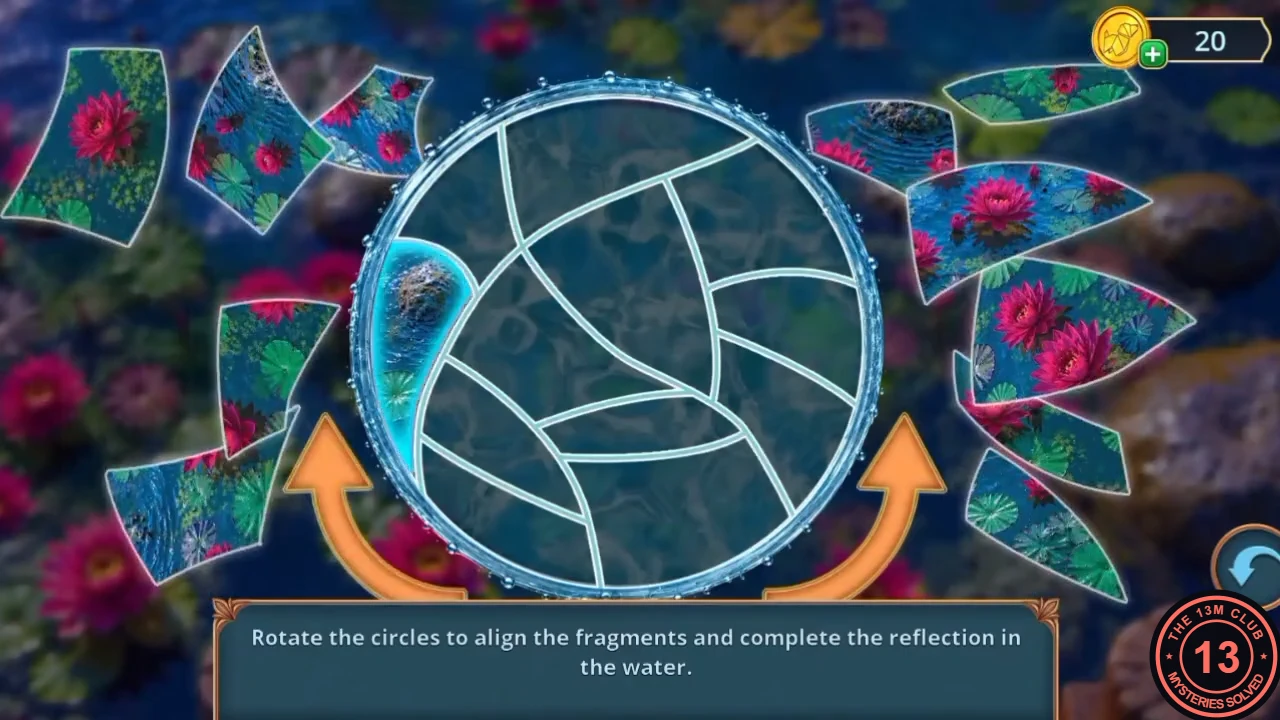
- Puzzle: "Rotate the circles to align the fragments and complete the reflection in the water." Loose water-lily fragments lie around the circle. Drag each one into the cell with the same outline; the orange arrows rotate the circle's pattern of cells, so turn it whenever a cell has to face the same way as the fragment you are holding. Placed fragments stay in the circle; fill it until the lily pond reflection is complete.
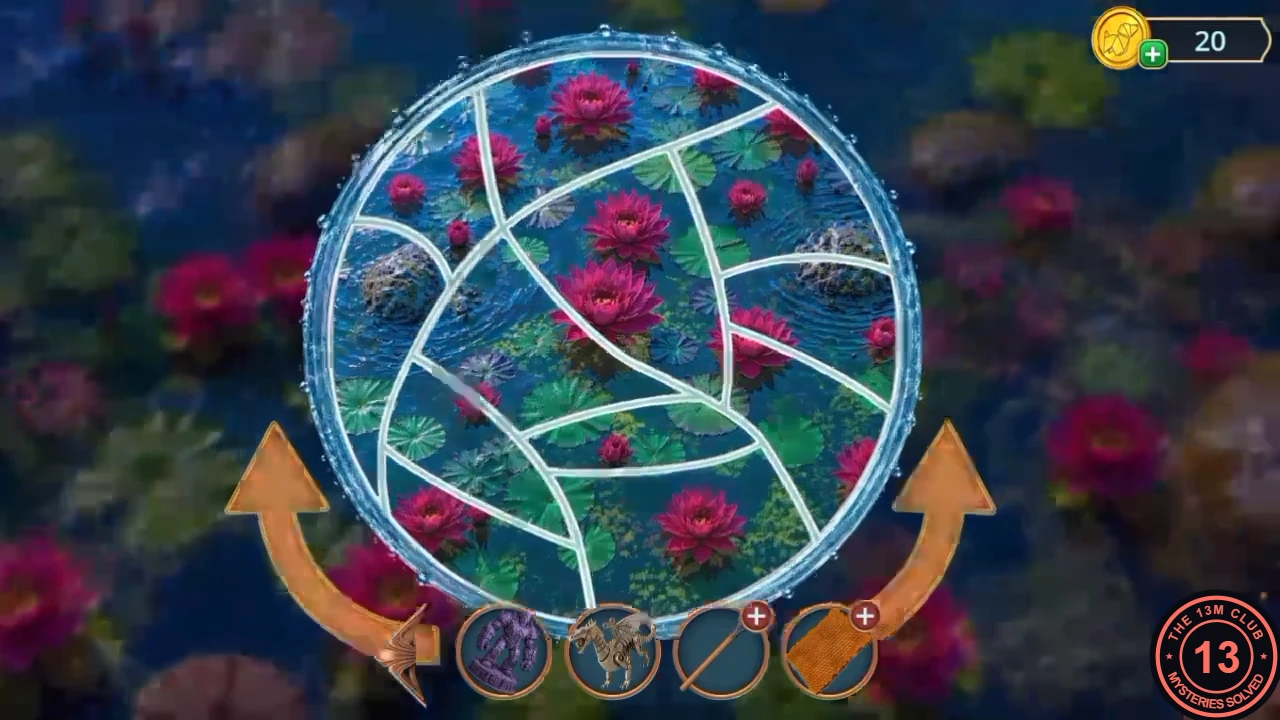
The completed reflection. - A glowing passage appears on the bank. Use it to travel to the Castle Painting.
Castle Painting: fresco fragments
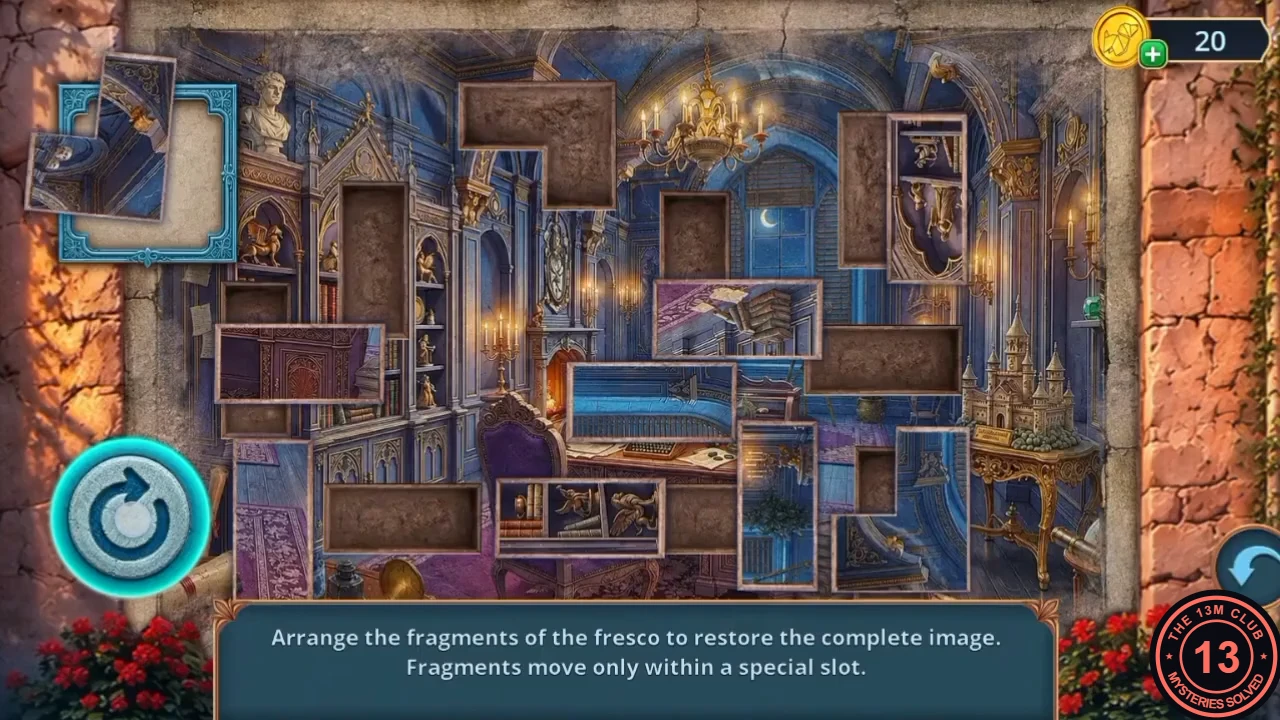
Get the missing fresco piece from the zombie by the lantern post.
- Zoom into the flower pot beside the wall pipe. Tap the Shabby Bowler Hat at the foot of the pot to collect it, then take the Pitchfork head hidden underneath.
- Reach into the wall pipe with the Living Hand. It fetches a Walnut Kernel.
- Zoom into the zombie by the lantern post and give it the Walnut Kernel. It hands over a Fresco Piece.
- Zoom into the fresco wall and place the Fresco Piece to start the puzzle.
- Puzzle: "Arrange the fragments of the fresco to restore the complete image. Fragments move only within a special slot." This is a long sliding puzzle. Fragments can only move along their slot, and a button rotates them. Complete one area of the image at a time (sky and edges first), keeping finished fragments in place while you shuffle the rest through the free spaces. The restored fresco (image below) shows Oberon's study with the desk, typewriter, window and bookcases.
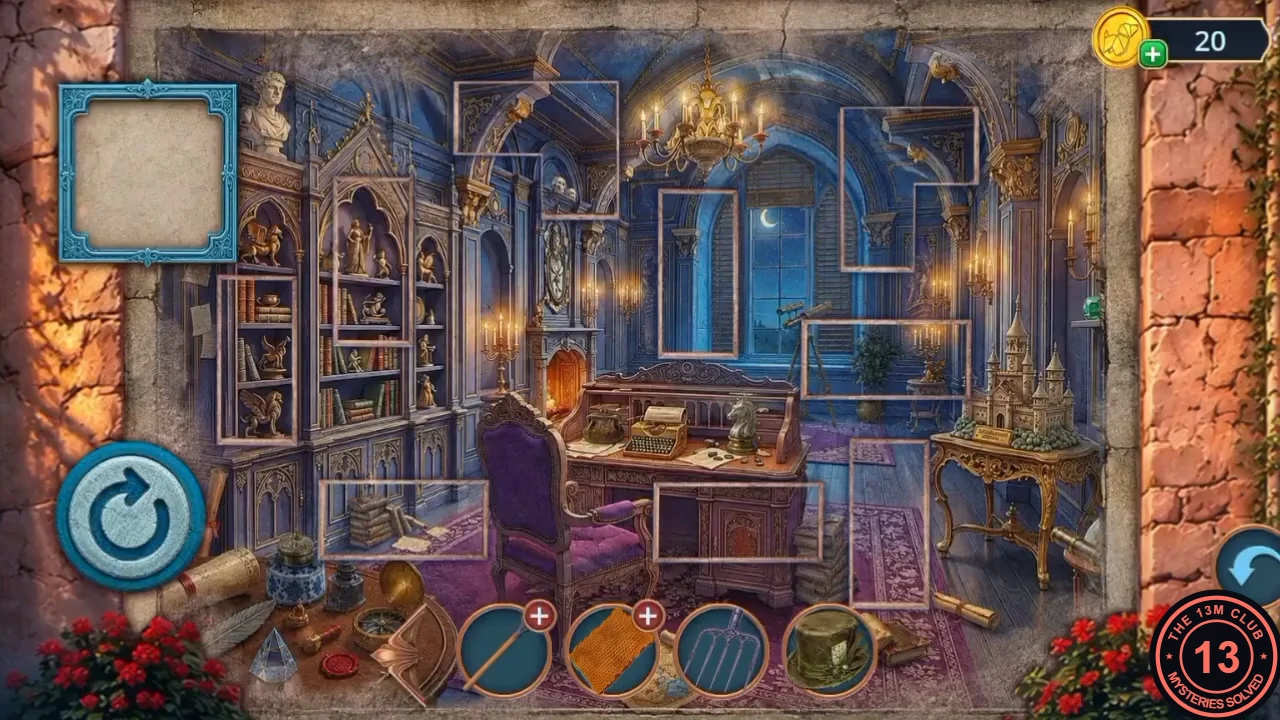
The restored fresco: use it as the target picture.
Balcony: bow shooting
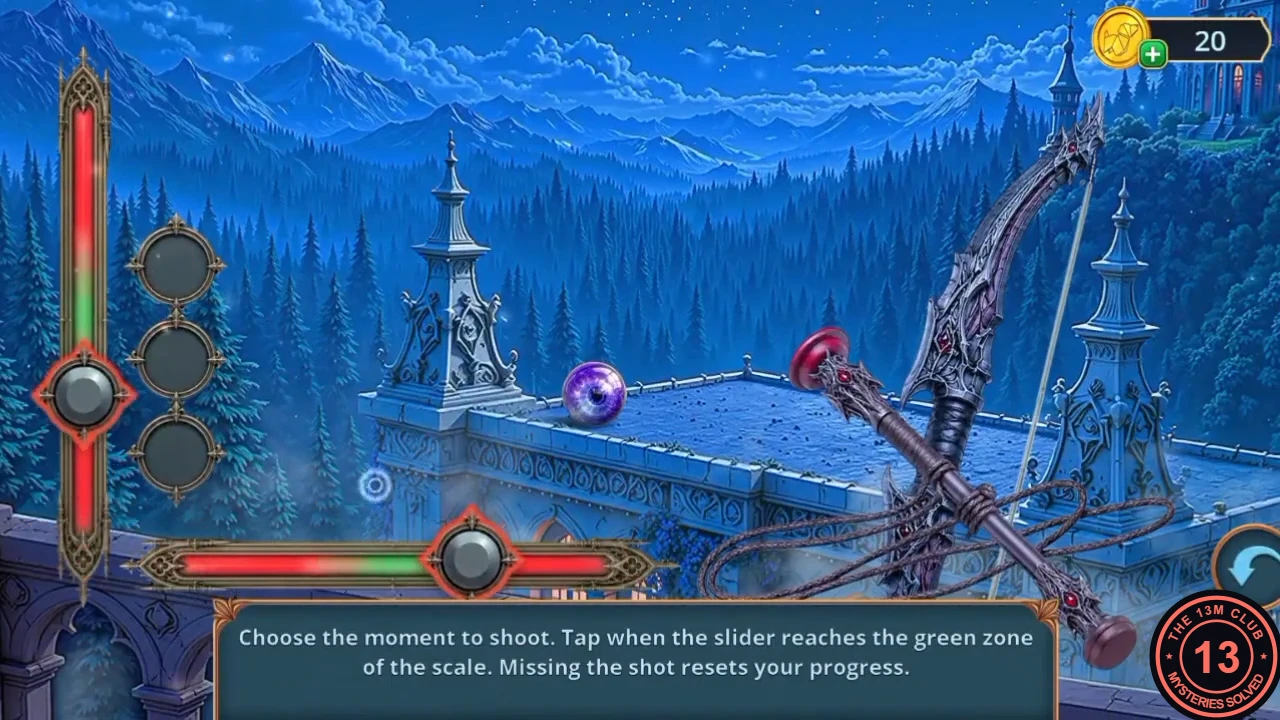
Lucius is trapped in a painting of Oberon's study. Find an arrow and shoot down the robot's missing eye.
- Lucius greets Mabel. Decision: "Demand an explanation" (60 coins, +2 decision points) or "Get mad at Lucius" (free). A new task begins.
- Zoom into the library ladder and take the Paper and the Circus Strongman Figurine lying beside its wheel.
- Use the Divination Ball on the ladder's wheel. The ladder rolls aside to the upper shelf. Read Oberon's verdict on Lucius (he is imprisoned in the paintings until he atones), then take the Typewriter Keys (1/3) and the Suction Cup Arrow.
- Open the Bow in the inventory and add the Suction Cup Arrow to load it.
- Return to the real Balcony and set the Bow on the balustrade to start the minigame.
- Minigame: "Choose the moment to shoot. Tap when the slider reaches the green zone of the scale. Missing the shot resets your progress." Tap once for the vertical slider and once for the horizontal slider, each time inside the green zone; three successful shots are needed.
- The arrow knocks a Glass Eye loose; take it. Put the Glass Eye in the empty socket of the candelabra robot. The robot steps aside; take the Magic Brush from the floor.
- Zoom into the easel with the volcano painting and use the Magic Brush on it. The canvas burns away; take the Volcano.
Victorian Art Studio: globe search
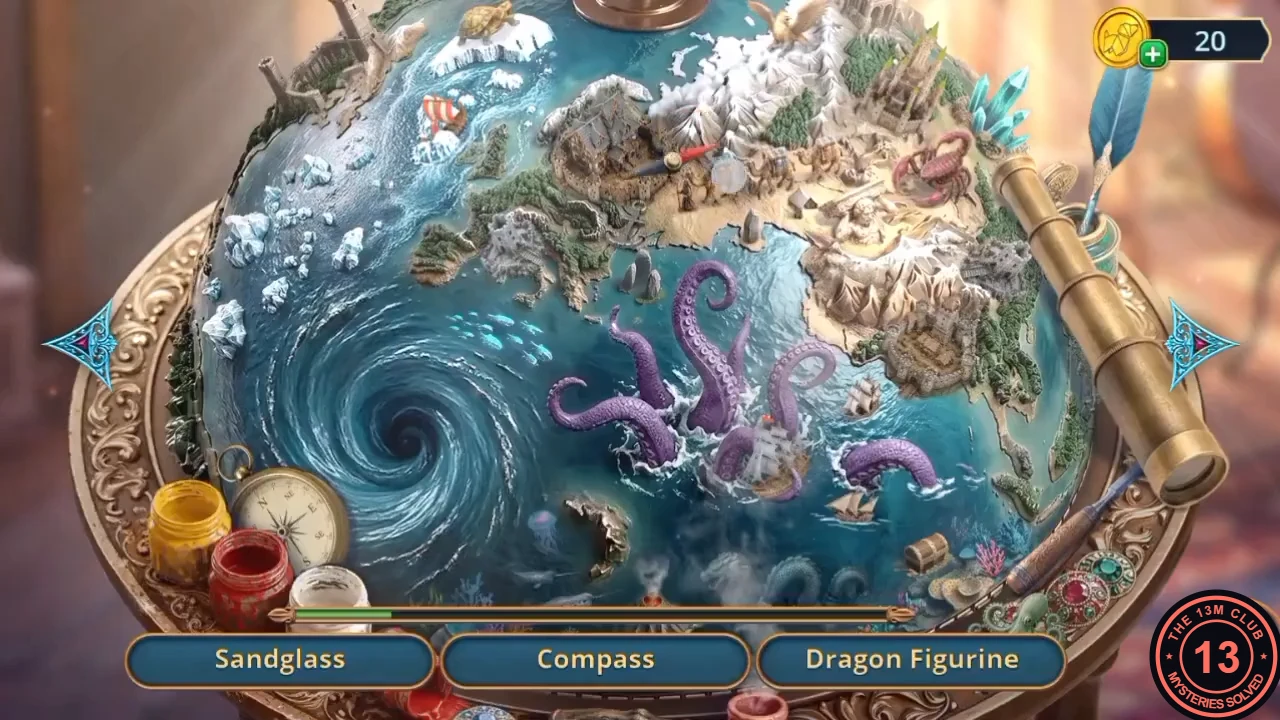
Restore the volcano on the studio globe to open a rotating hidden-object scene.
- In the Victorian Art Studio, zoom into the globe and put the Volcano in the empty crater.
- Find the listed items (for example Brush, Compass, Dragon Figurine, Sandglass and Little Ship). Three names are shown at a time; use the arrows at the sides to rotate the globe and search its other faces.
- Put the Vinyl Record on the gramophone. The music opens the fairy figurine's pouch; take the Flower Fertilizer.
Portrait Gallery: the leprechaun's coin chain
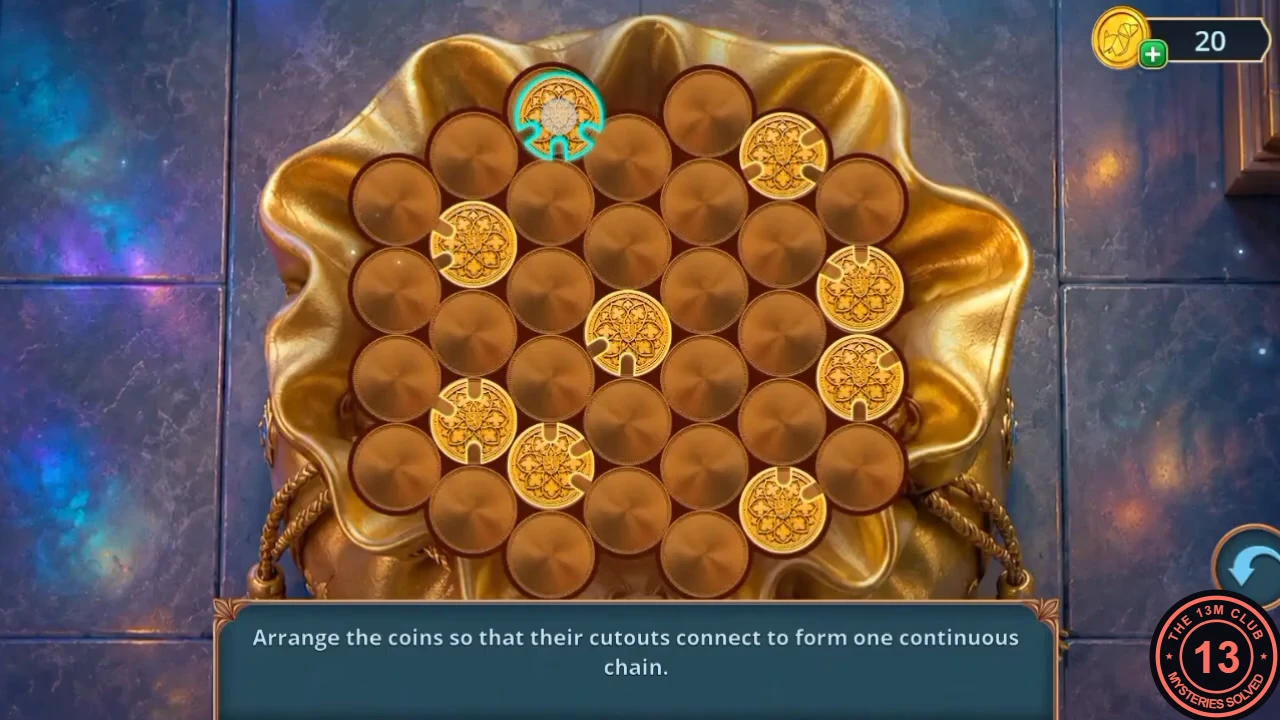
Feed the carnivorous plant and fill the leprechaun's money bag.
- Return to the Portrait Gallery through the glowing frame. On the mantelpiece, give the Flower Fertilizer to the carnivorous plant. It moves and the teal box opens; take the Stuck-Cleaner.
- Zoom into the leprechaun statue and use the Stuck-Cleaner on his money bag to start the puzzle.
- Puzzle: "Arrange the coins so that their cutouts connect to form one continuous chain." Rearrange the gold coins until every cutout lines up with the cutout of its neighbour, building the chain coin by coin from one end. The solved image below shows the nine coins linked into one chain in the recorded playthrough.
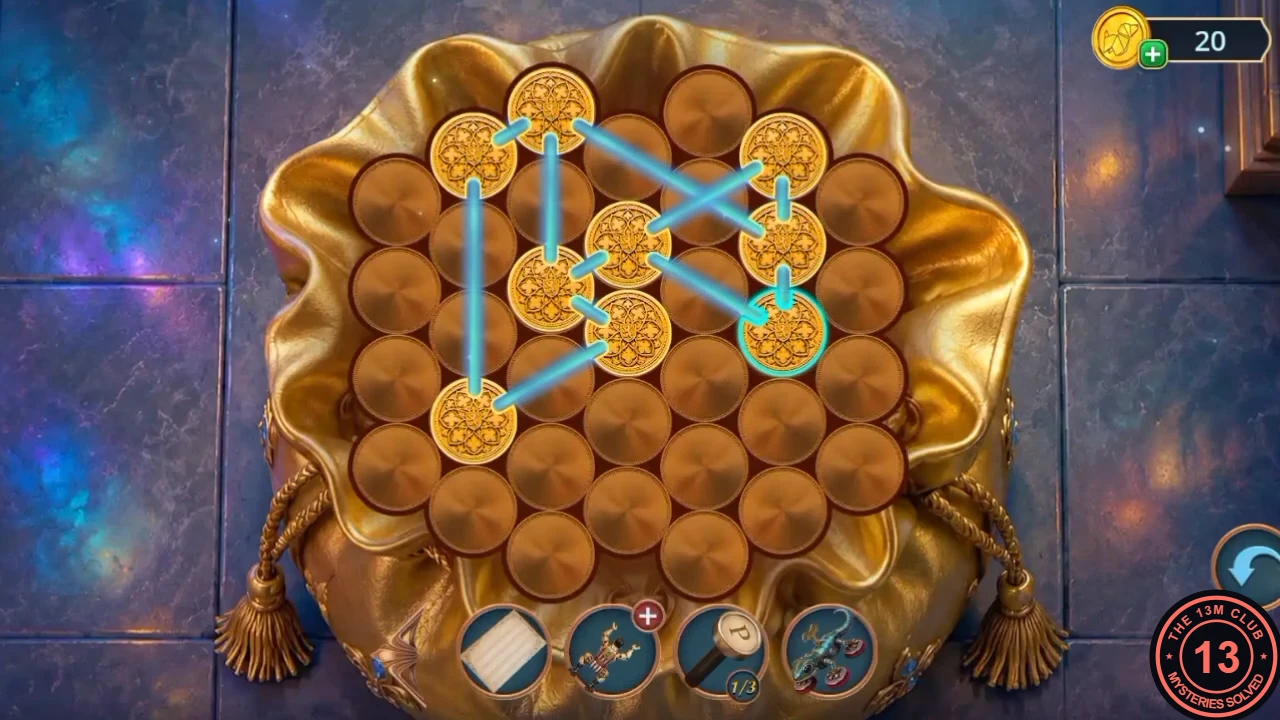
The finished chain from the recorded playthrough. - The leprechaun offers his hat. Take the Hinge and Typewriter Keys (2/3).
- Zoom into the spider chandelier and fit the Hinge to its broken leg. Take the Key.
Painting in Oberon's Study: the telescope
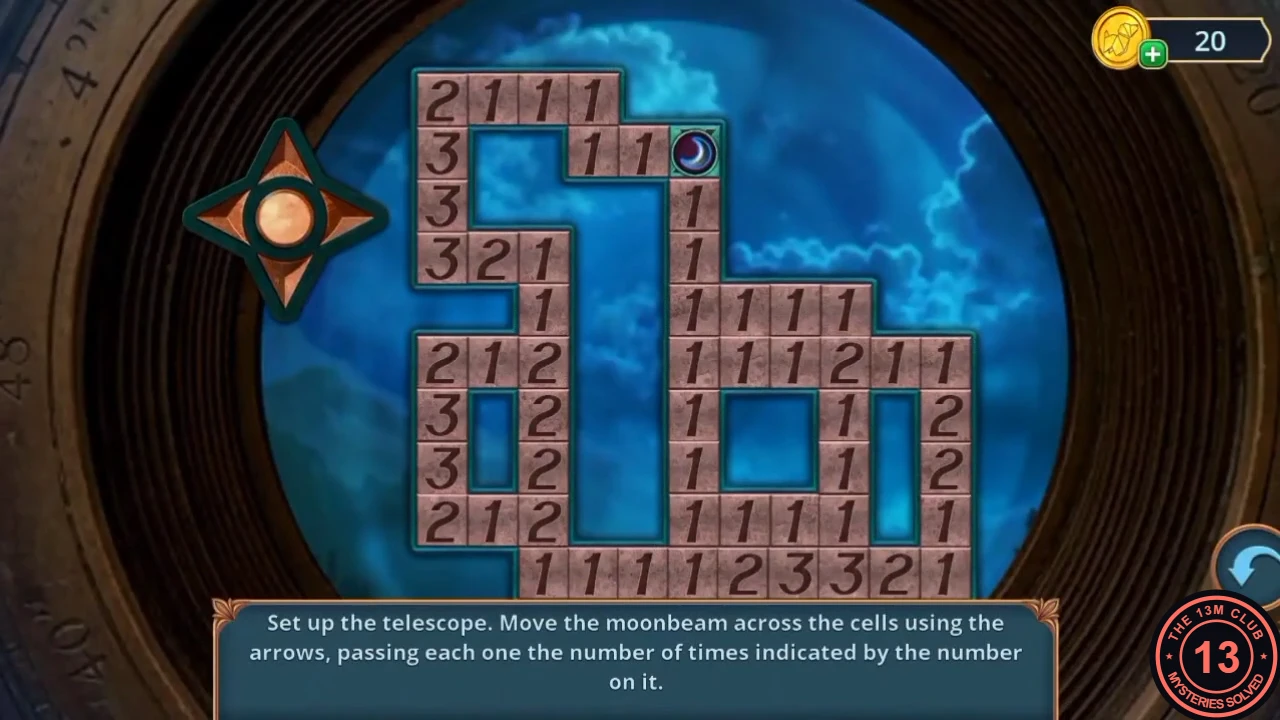
Open the shutters in the painted study, set up the telescope and finish Oberon's typewriter.
- In the Painting in Oberon's Study, unlock the desk bureau with the Key. Take the Shutters Handle and the Net.
- Fit the Shutters Handle to the window shutters. They open and reveal the telescope puzzle.
- Puzzle: "Set up the telescope. Move the moonbeam across the cells using the arrows, passing each one the number of times indicated by the number on it." The moonbeam starts on the X, every move lowers the number of the cell it enters and used cells go blank. A complete route (checked against every number on the board) is, with U/D/L/R for the up/down/left/right arrows and a digit for repeated presses: D3, R3, D, R2, D2, U, D3, L2, R, L2, R, U4, L3, D3, R2, D, L, R, L5, U4, L2, D, U, D2, U, D2, U, D, R2, U5, L2, R, L, U, D, U2, D, U2, D, U, R3, D, R2. The last presses run along the top of the left block and finish back on the X. If a press goes wrong, use the reset button and start again.
- Zoom into the castle model on the side table and tap the small arched door at the base of the tall tower. Take Typewriter Keys (3/3).
- Use the Typewriter Keys on the typewriter. It types "I trusted you..." and Mabel suspects it is writing about a traitor. Take the Wyvern's Spiral Horn. Optional spider (15/140 in our playthrough): in the typewriter close-up, it sits on the desk at the right, above the open book.