The Count's Potion Lab
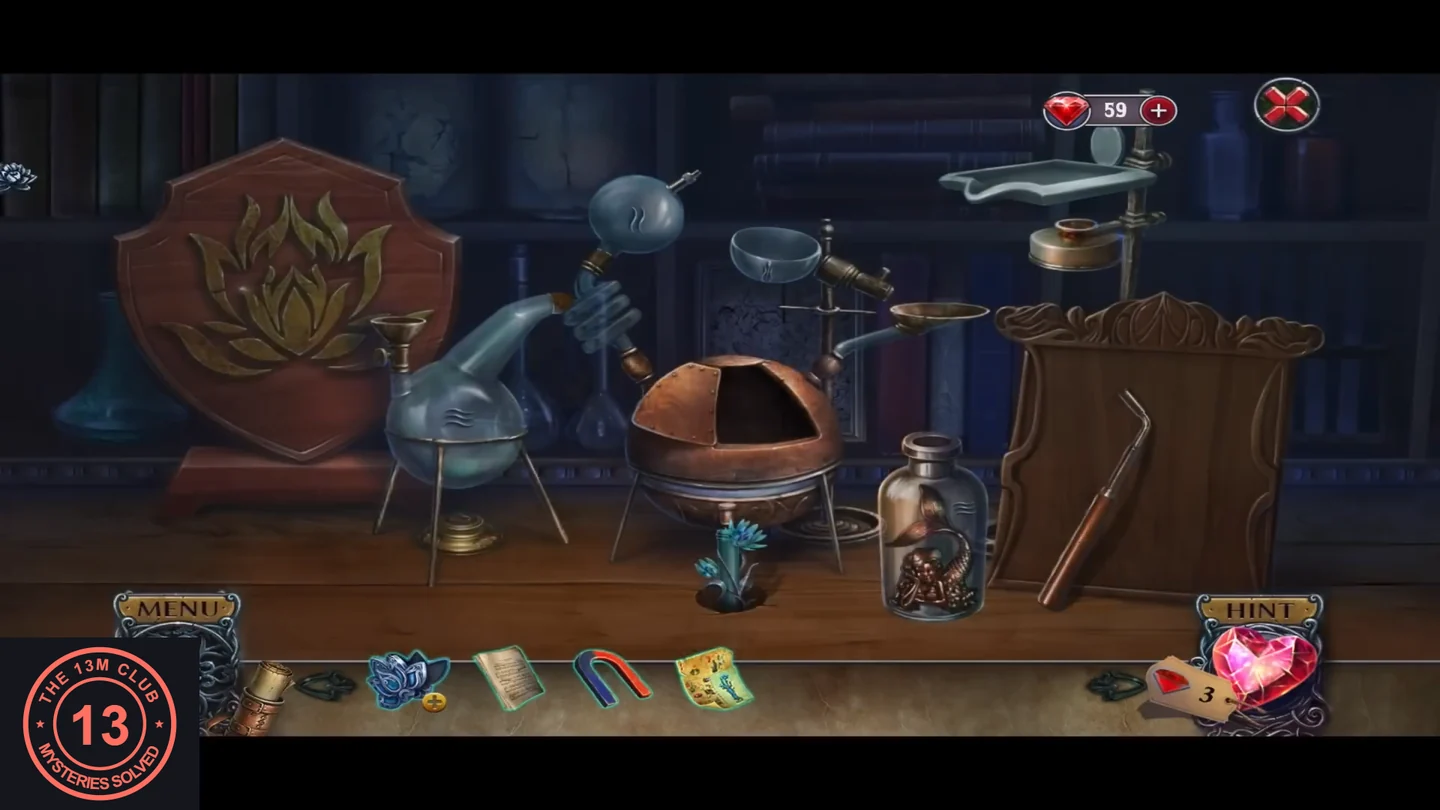
Set up the recipe in the hidden lab. The lab needs symbols of earth, fire and air, which you will collect over the next areas.
- Zoom into the lab through the opened shelf. Tap the jar at the foot of the stand to take an empty bottle. 'I can't do anything without a recipe.' Put the alchemical recipe on the empty stand at the right; the burners light. Take the teal tuning tool from the stand. Tap the empty slots for hints: 'I need to put a symbol of earth here.', 'Here's where I should place a symbol of fire.' and 'Something symbolizing air should go here.'
The Harpsichord Melody
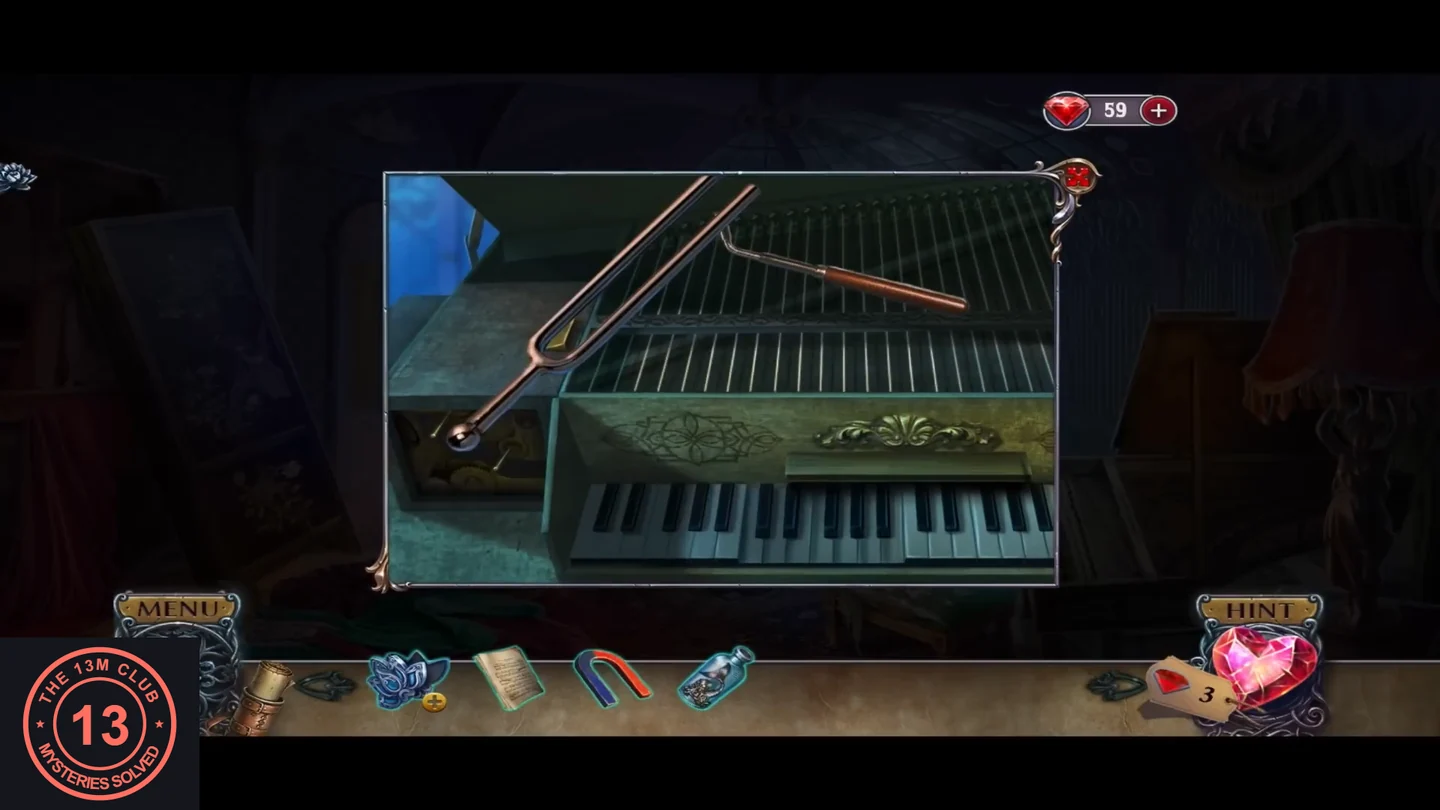
Tune the harpsichord, then play the coloured notes from the sheet music.
- Return to the music room and zoom into the harpsichord. Use the tuning tool on the strings: 'The piano is in tune. But what song should I play?'
- Put the sheet music on the stand. The notes are coloured red 1, cyan 5, yellow 3 and purple 7, matching the numbered keys 1–7 below. Play keys 1, 5, 3, 7. A compartment at the left end of the harpsichord opens: take the second silver picture part.
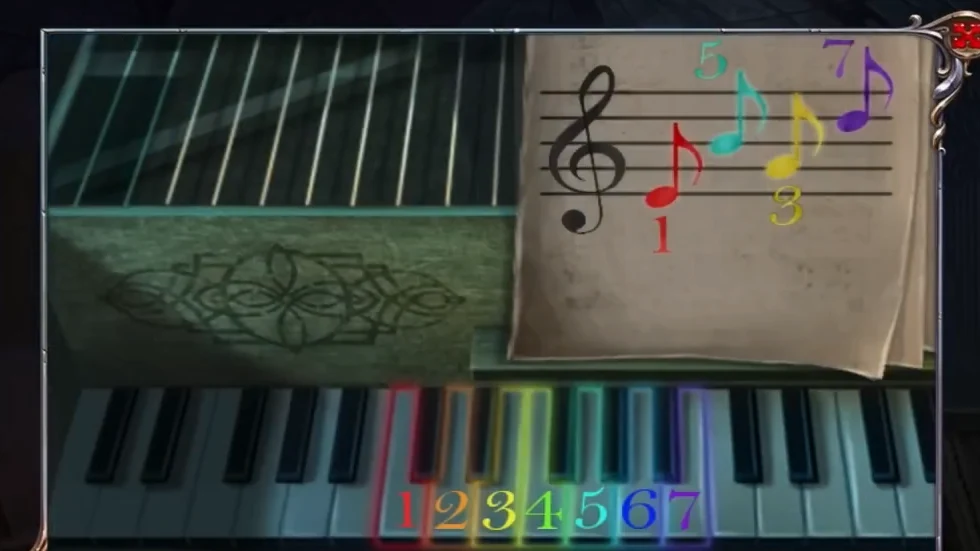
Match the note colours to the numbered keys: 1, 5, 3, 7. - Zoom into the window and put the picture part on the picture's upper-right triangle. The picture of a woman on the shore watching a sailing ship is complete, and the window opens to the castle pond garden.
The Castle Pond Garden
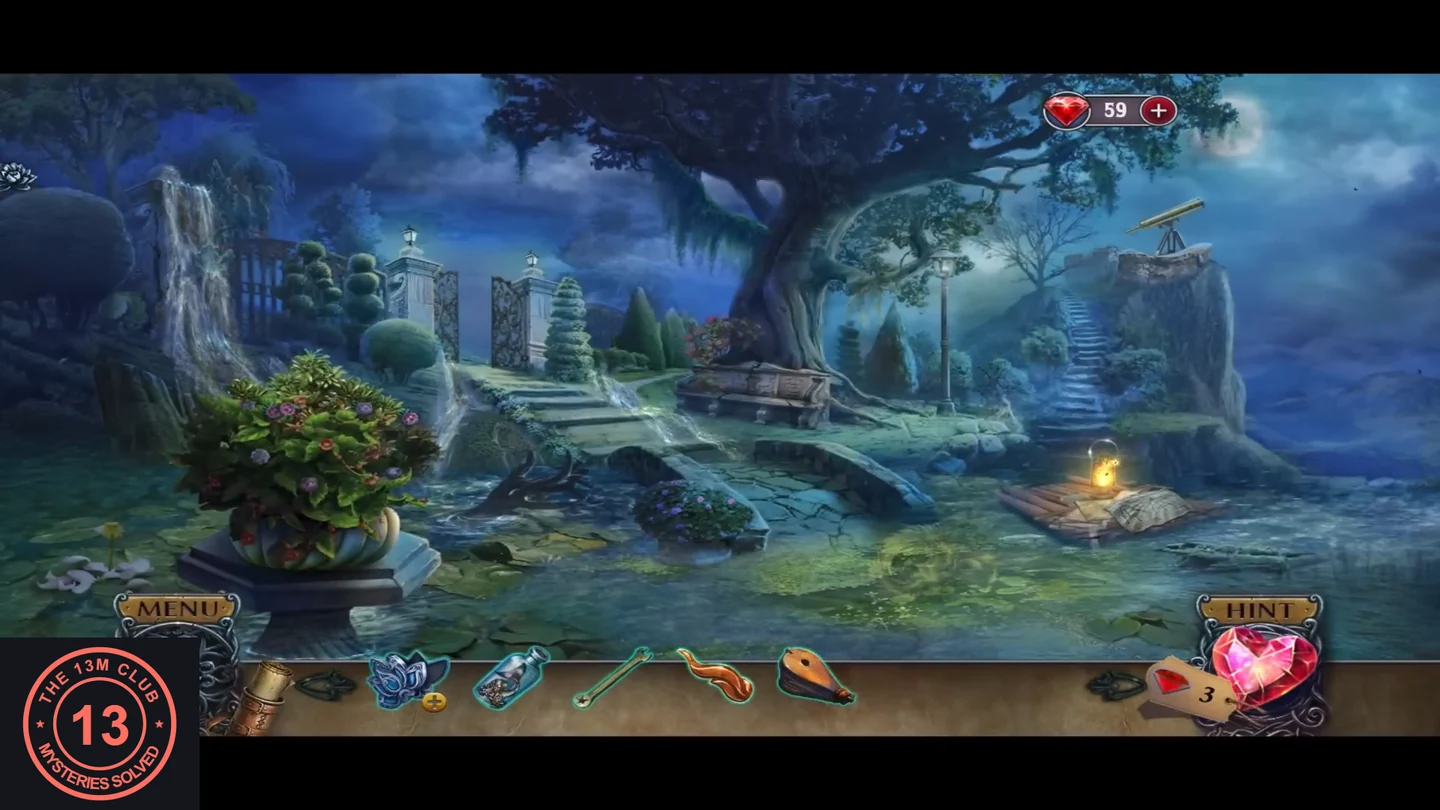
Lis's grave stands under the big tree beside the pond. Find her letter, the earth emblem and the tools for the dock.
- Zoom into the prickly bush in the flower pot at the left front. Tap the dead leaves on the step and take the wrench. Tap the orange object at the top of the bush; it falls deeper in ('Excellent. Now it's stuck in the middle of this prickly bush.'). Use the magnet on it to pull it out, then take the fire emblem.
- Zoom into the crate at the right with the lantern and device drawings. Take the bellows. The drawing is too cluttered to use yet: 'There's too much going on here. How can I tell what's important?'
- Zoom into the stone niche at the foot of the big tree (Lis statue and roses). Tap the envelope to read Lis's letter: 'My dear Paul, I want to give you something. The first part of my gift is in the toy ship you made for me, and the second is near the castle pond...' Take the gold half (1/2). 'There seems to be a place for an emblem.'
- Zoom into the pond. Tap the bottle at the lower right; the paper inside falls apart ('It was in the water too long and fell apart. Too bad.'). Take the disintegrated note. The toy boat is out of reach: 'I can't reach the toy boat. How can I pull it closer?'
- Zoom into the brass telescope on the cliff at the top right. 'A star-shaped screw? Now I've seen everything.' Use the wrench on the screw to open the cover and take the green earth emblem. Tap the lens and take the glass cover.
- Return to the niche and put the earth emblem in the emblem slot at its lower left. Take the colorful crystals. Lis's vision follows: 'When the curse of the count finally hit the countess, her lover, Paul, sacrificed himself to share her burden...' Afterwards you are at the pond dock.
The Pond Dock and the Phoenix Statue
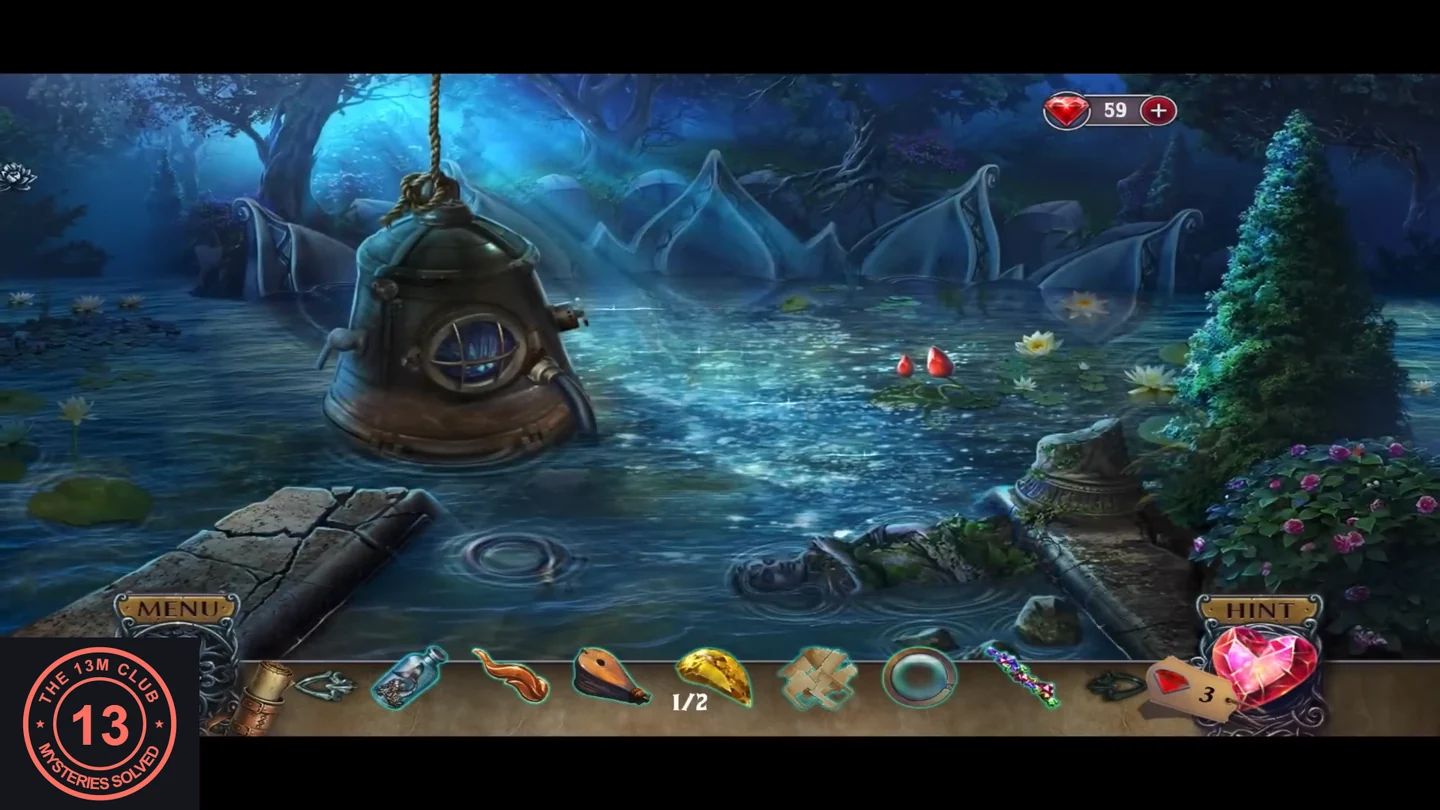
Raymond's diving bell hangs over the pond. Clear the hose, fill the bottle and turn the raven into a phoenix for the lab.
- Zoom into the female statue on the rocks at the right: 'This statue is beautiful, but the gems are missing from her tiara.'
- Zoom into the coiled hose at the front of the dock ('The hose is clogged with leaves.'). Use the bellows to blow the leaves out, then take the hose. 'The water is amazingly clear.' Dip the empty bottle in the water to fill it.
- Zoom into the porthole of the diving bell on the left. Take the teal grappling hook from inside the grate. The porthole opens: 'This is a complicated mechanism. I can't fix it without blueprints.'
- Optional collectible: the dock tab shows 'Phoenixes to find here: 2'. Tap the small golden phoenix at the foot of the fir tree just right of the broken stone column on the right; the tab drops to 1. This guide doesn't show where the dock's second phoenix is.
- Zoom into the two red lotus buds in the middle of the pond: 'Only a symbol of the true love between Paul and Lis will make them bloom.'
- Go back through the garden to the music room and zoom into the picture wall. Put the fire emblem on the raven statue's breast at the lower left. The raven bursts into flame and turns into a red-gold phoenix statue; take it.
Hidden Objects: Matching Pairs
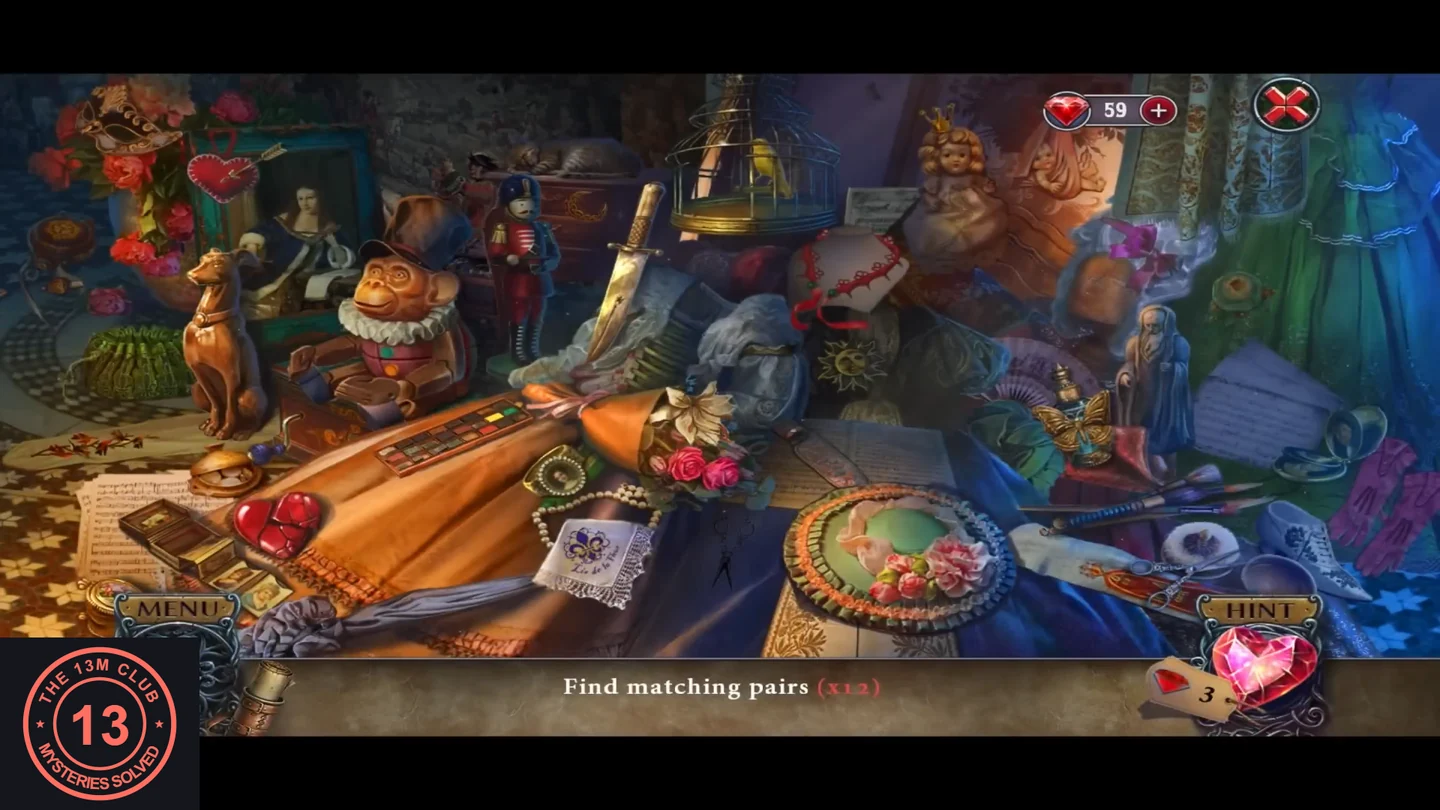
The pile of keepsakes in the music room sparkles again. This time, find twelve pairs of objects that belong together.
- Tap the sparkling pile on the floor at the left of the music room. 'Find matching pairs (x12)': tap both objects of a pair. Paint palette (orange cloth, centre left) and paintbrushes (right, under the butterfly). Heart pincushion with an arrow (top left) and broken red glass heart (lower left). Dagger (centre) and red leather sheath (lying on the music book). Red bead necklace (on the white bust) and pink bow (right, by the dress). Black scissors silhouette (front centre) and silver scissors (lower right). Bearded old man figurine in a blue robe (right) and cherub figurine (top right, behind the crowned doll). Sun emblem (centre) and crescent moon (on top of the dresser). Nutcracker soldier and crowned doll (top right). Dog statue (left) and sleeping cat (on top of the dresser). Yellow canary (in the cage, top centre) and small blue bird (right of the bust). Fleur-de-lis (on the 'Lis de la Fleur' handkerchief) and cream lily (top of the bouquet). The monkey's top hat and the round flowered hat. Then find the single item: the gold perfume bottle with a butterfly, on the right by the old man and the dress.
Water, Fire, Air and Earth in the Lab
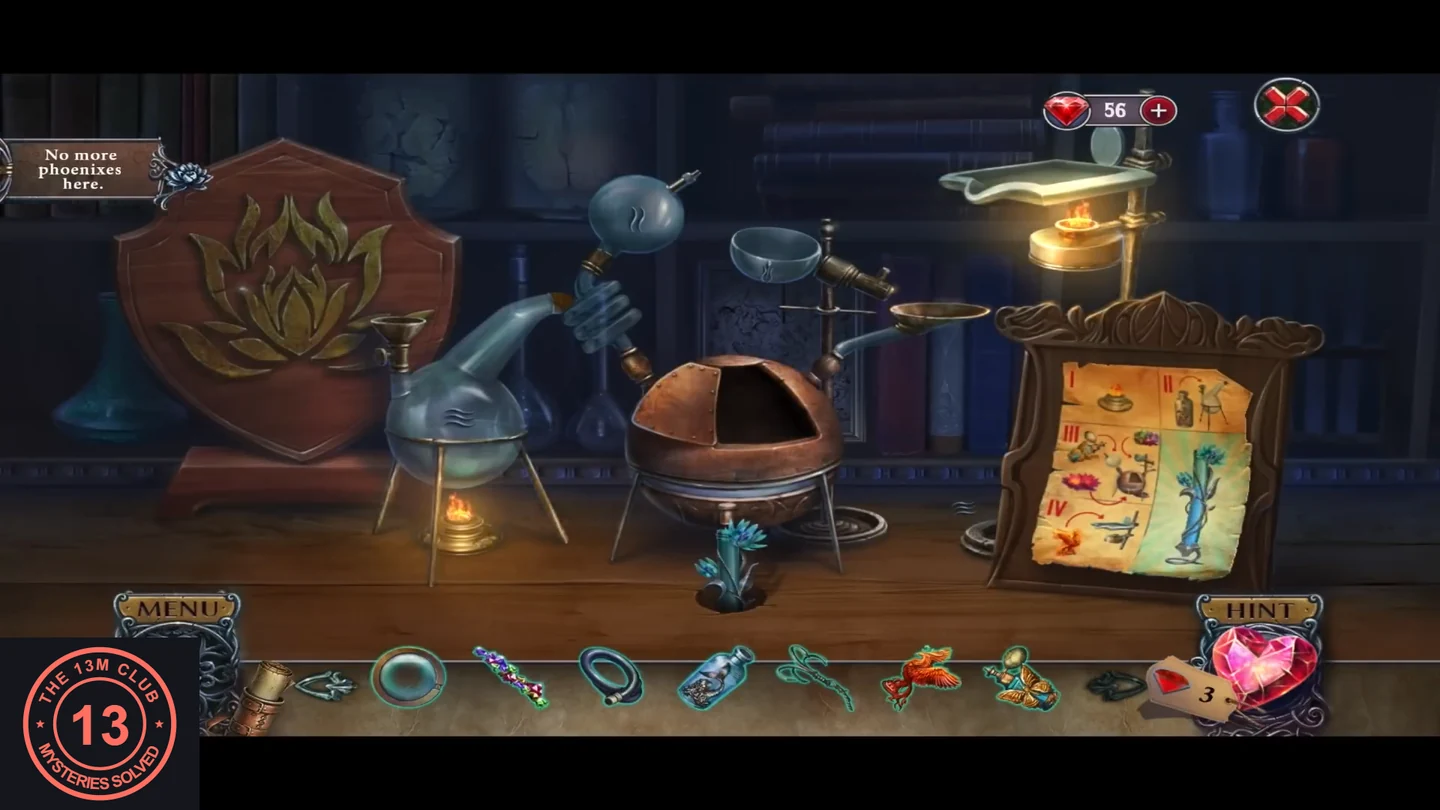
Collect the library's last phoenix, then give the lab its elements. Only the final ingredient is missing.
- Optional collectible: in the library, the tab shows 'Phoenixes to find here: 1'. Tap the dark bird lying on the counter among the violin parts, left of the fireplace and above and left of the lit lamp. The tab changes to 'No more phoenixes here'.
- Zoom into the potion lab. Pour the bottle of pond water into the glass flask on the burner at the left; it turns cyan. Put the phoenix statue on the burner plate at the top right (fire). Put the perfume on the clear glass bulb at the top of the retort (air); a butterfly appears inside it. Put the colorful crystals in the small round dish to the right of the bulb (earth). One place remains: 'The final element, an embodiment of love, should be placed here.'
- Open the lotus medallion in your inventory. It opens like a locket with a star-shaped face: 'There were two portraits in here, but now the medallion is empty.' The portraits are found at the pond.
The Toy Ship
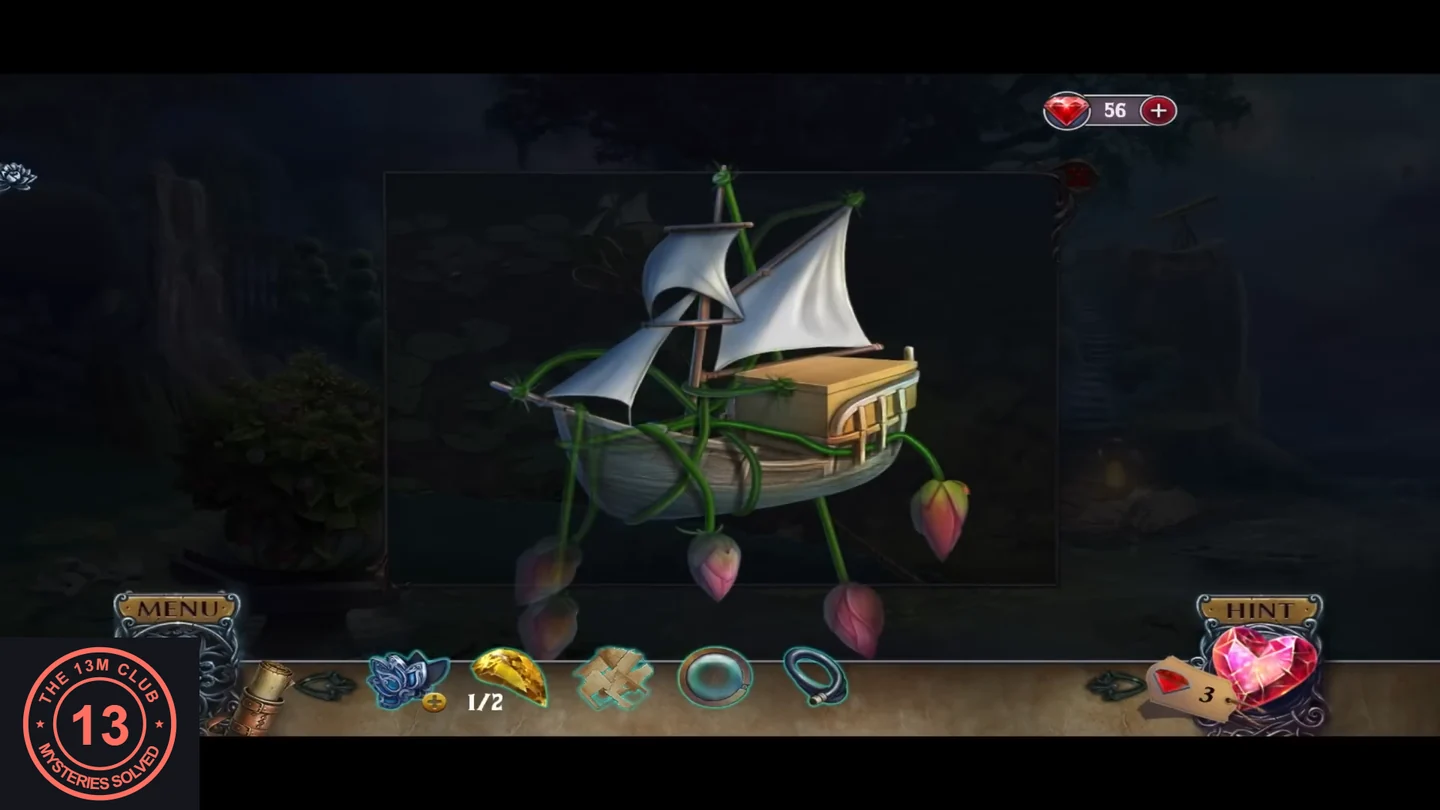
Pull Paul's toy ship to the shore to find Lis's gift.
- Go to the pond garden and zoom into the pond. Throw the grappling hook to pull the toy ship closer. Tap the box on its deck to open it. Take the oval portrait of a blonde woman (the countess's portrait) and the second gold half, which completes the yellow gem (2/2).
Overlay Puzzle: The Diving Bell Drawing
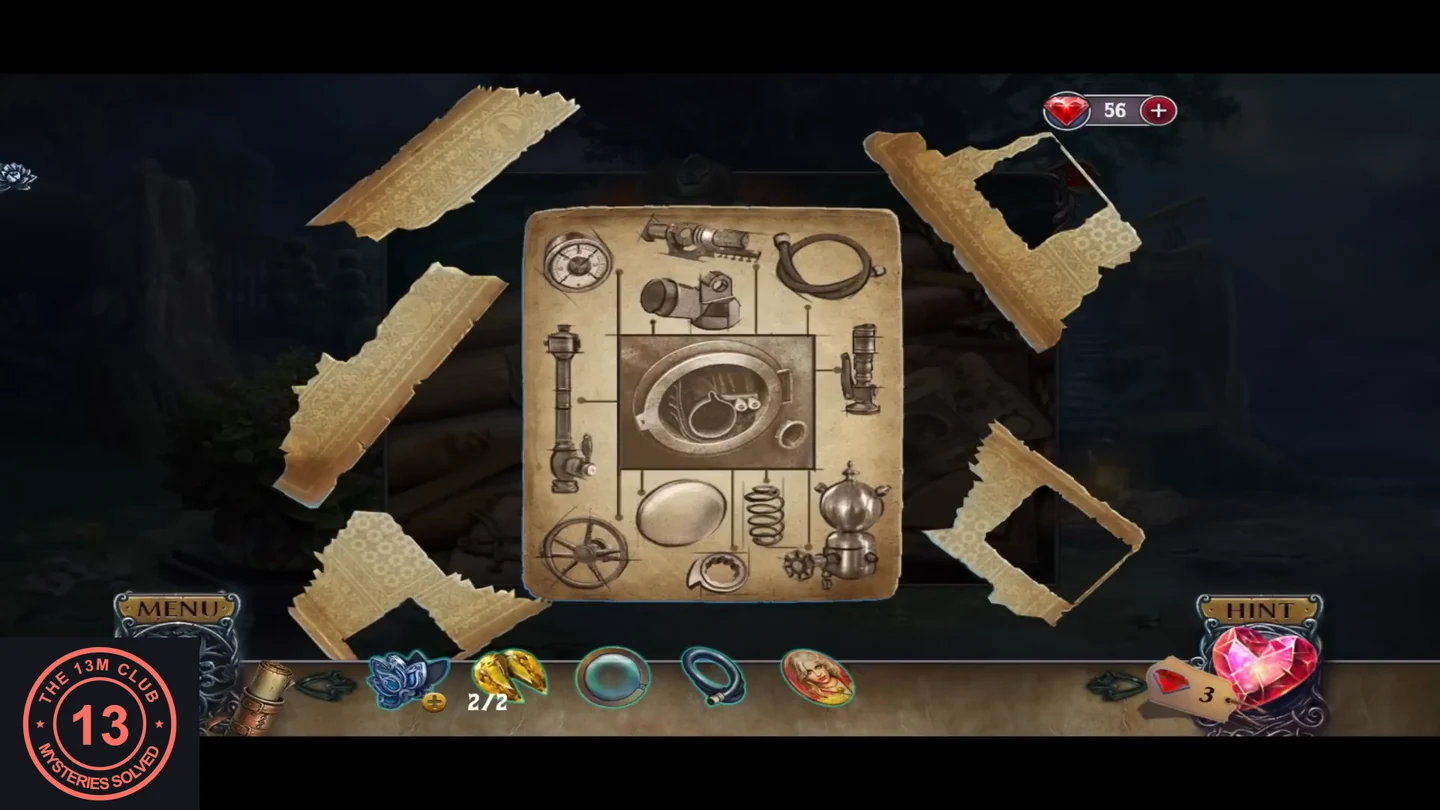
The device drawing on the crate is too cluttered to read. The torn scraps of the disintegrated note work as a mask.
- Zoom into the crate at the right and open the device drawing ('There's too much going on here. How can I tell what's important?'). Put the disintegrated note on it: torn paper scraps with cut-out windows appear around the sheet. Drag the scraps onto the drawing so their torn edges fit together like a jigsaw and cover every decoy part. When it is solved, only four parts show through: the round pressure gauge (top left), the coiled hose (top right), the porthole (centre) and the egg-shaped part below the porthole. The pipes, spring, wheel, kettle and bolts are all covered. Take the blueprint.
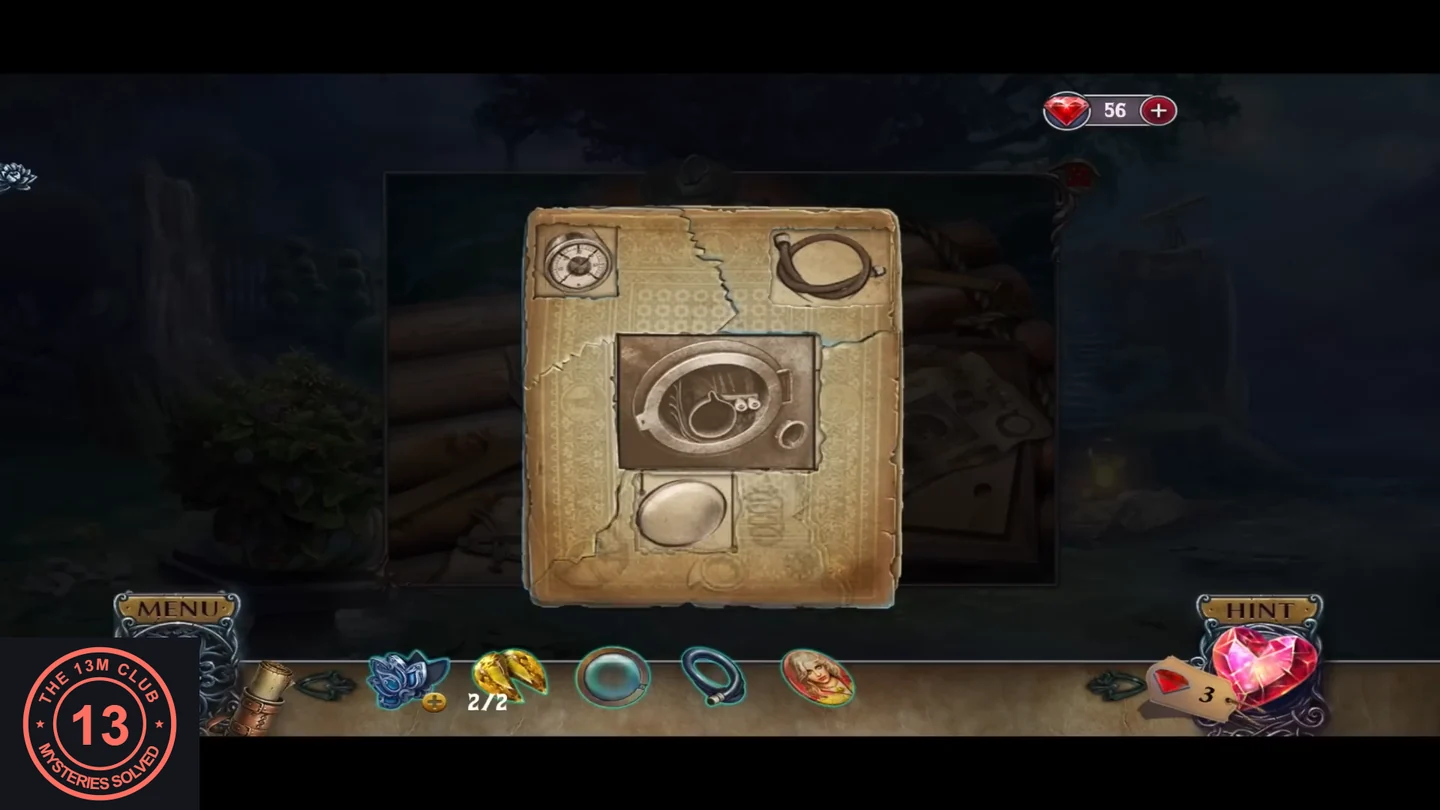
Solved: only the gauge, hose, porthole and egg-shaped part show through.
The Diving Bell, the Medallion and the Scarlet Lotuses
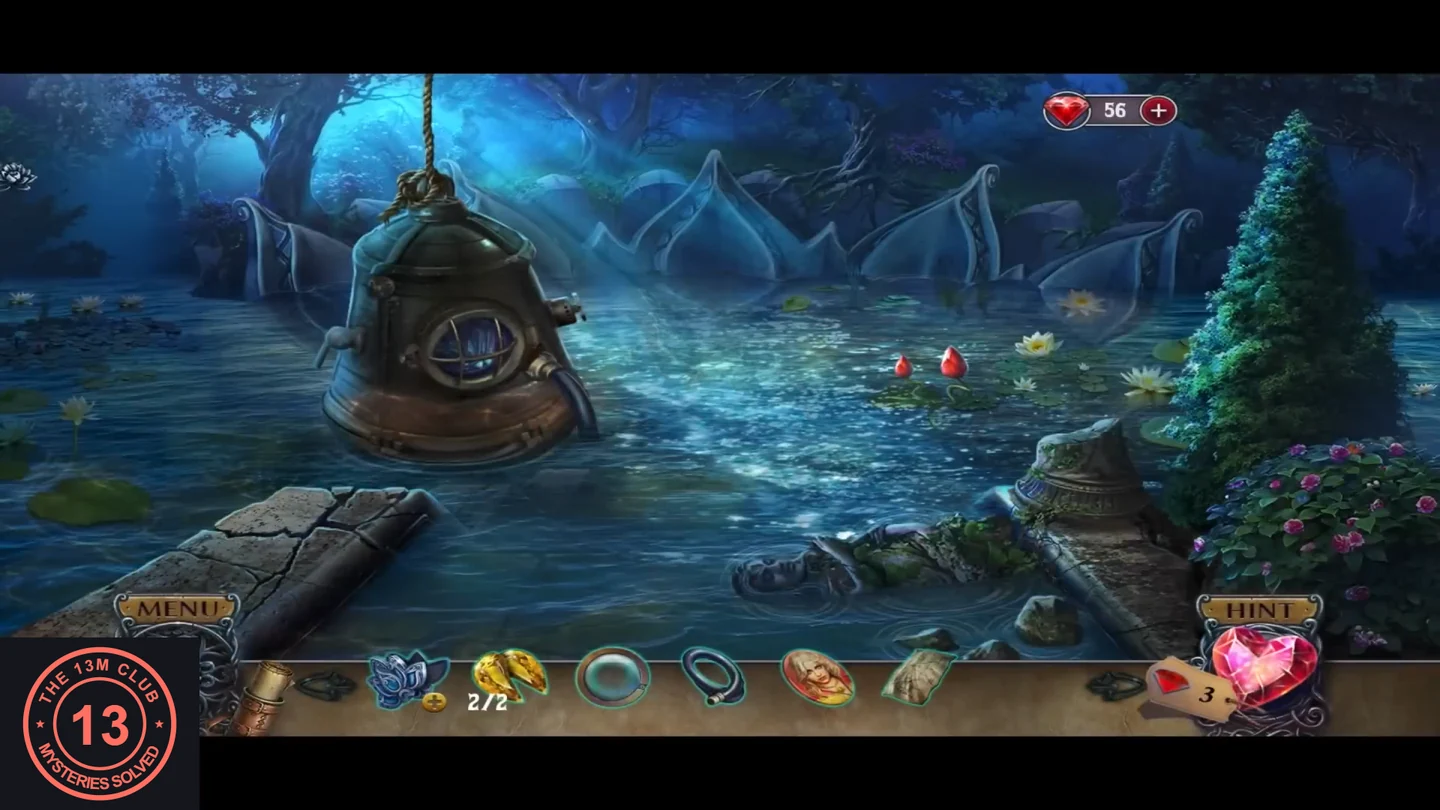
Fit the diving bell's parts, restore the medallion and let the red lotuses bloom for the final ingredient.
- Go to the pond dock and zoom into the diving bell's porthole. Use the blueprint there. Put the glass cover in the empty round fitting at the lower right of the porthole, then attach the hose to that fitting. The bell window glows blue.
- Zoom into the statue on the right and put the completed yellow gem on her tiara. Her hand opens: take Paul's portrait.
- Open the lotus medallion in your inventory and put the countess's portrait and then Paul's portrait into its star-shaped face. The medallion becomes a glowing blue lotus.
- Zoom into the two red lotus buds in the middle of the pond and place the medallion. 'The medallion is back where it belongs. No more visions.' The buds bloom: take the scarlet lotuses.
- Return to the potion lab and put the scarlet lotuses into the open copper still in the middle. The still closes and glows. 'Finally, the potion of youth. Oh no! The beakers are breaking!' Take the potion of youth and the signet ring that drop out. New objective: Dive to the bottom of the pond and save Paul.
The Manometer and the Dive
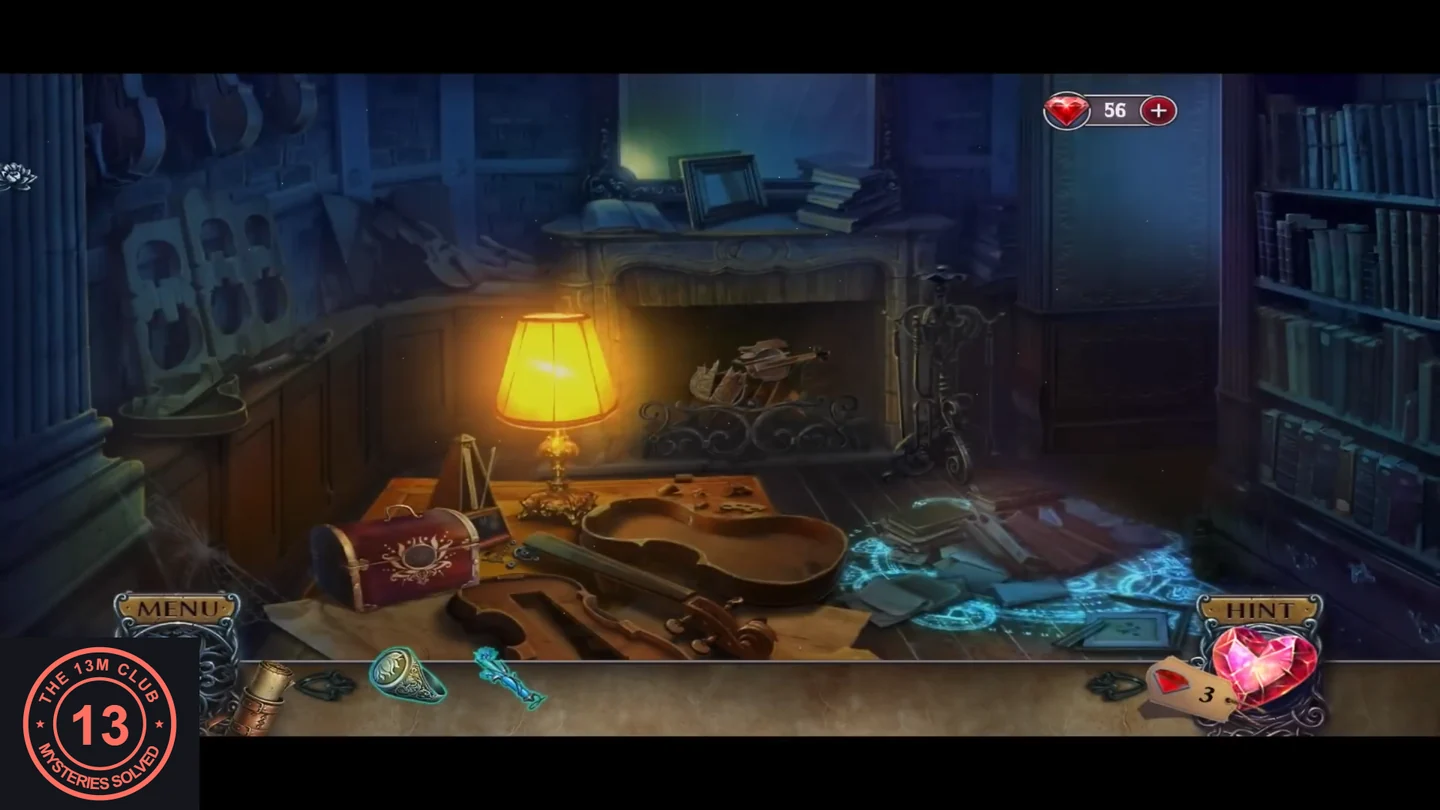
The lotus seal on the red box finally has its key. With the last part, the diving bell takes you to Paul.
- Go to the library and zoom into the red box. Press the signet ring onto the lotus seal on its lid. The box opens: take the manometer (round gauge).
- Go back to the pond dock and zoom into the diving bell's porthole. Put the manometer in the socket inside. The porthole closes and the bell dives. At the bottom of the pond Paul sits on a lotus-root island: 'You again!! We've suffered here for many years...' / 'I beg you, help me free Lis! Take my knife from the bag and cut the black lotuses. They're hurting her!'
- Zoom into the strapped leather bag to the left of Paul's island and tap it to open it. Take the jeweled knife. Zoom into the black lotuses on the centre island and use the jeweled knife on them. The lotus puzzle starts.
Lotus Jump Puzzle: Free Lis
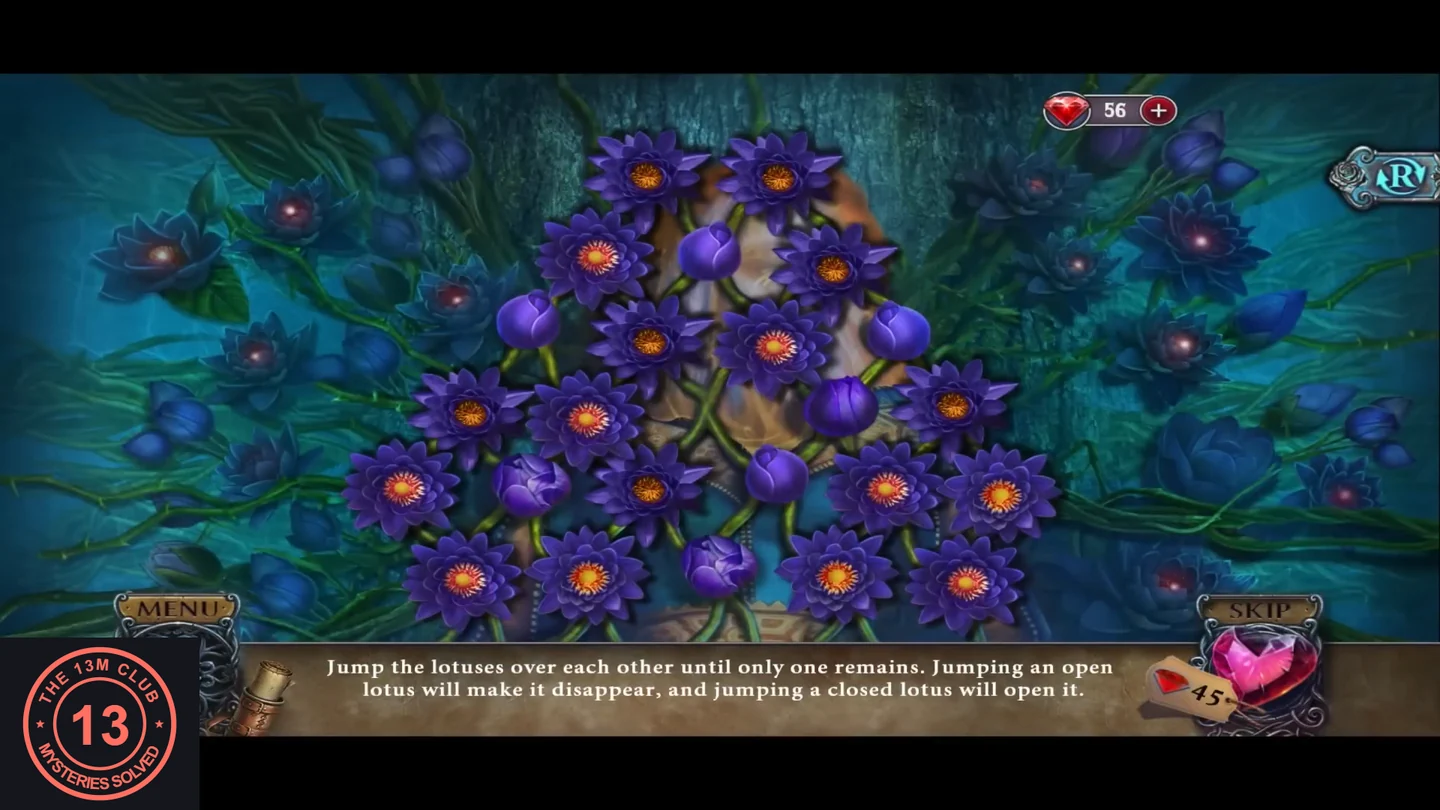
'Jump the lotuses over each other until only one remains. Jumping an open lotus will make it disappear, and jumping a closed lotus will open it.' R at the top right resets the board. Skip costs 45 rubies.
- The board has six rows of lotuses. Counting from the top, the rows hold 2, 3, 4, 5, 6 and 5 cells, and positions are counted from the left of each row. Below, R4P3 means row 4, position 3. At the start the centre cell R4P3 is empty and the closed buds are R2P2, R3P1, R3P4, R4P4, R5P2, R5P4 and R6P3. A lotus jumps along its row or along either diagonal over a neighbour into an empty cell. Jumping a bud opens it, and jumping an open lotus removes it. One working solution, written as from > over > to: 1 R6P4>R5P4>R4P3; 2 R6P2>R6P3>R6P4; 3 R4P1>R5P2>R6P2; 4 R2P1>R3P1>R4P1; 5 R2P3>R2P2>R2P1; 6 R4P5>R3P4>R2P3; 7 R4P3>R4P4>R4P5 (all lotuses are now open); 8 R6P2>R5P3>R4P3; 9 R3P3>R4P3>R5P3; 10 R4P5>R4P4>R4P3; 11 R5P3>R4P3>R3P3; 12 R2P1>R3P2>R4P3; 13 R3P4>R3P3>R3P2; 14 R3P1>R4P2>R5P3; 15 R6P3>R5P4>R4P4; 16 R5P1>R4P1>R3P1; 17 R6P1>R5P2>R4P2; 18 R1P2>R2P3>R3P4; 19 R1P1>R2P2>R3P3; 20 R5P6>R5P5>R5P4; 21 R6P5>R6P4>R6P3; 22 R4P3>R5P3>R6P2; 23 R6P2>R6P3>R6P4; 24 R6P4>R5P4>R4P3; 25 R4P3>R3P3>R2P3; 26 R2P3>R3P4>R4P5; 27 R4P5>R4P4>R4P3; 28 R4P3>R3P2>R2P1; 29 R2P1>R3P1>R4P1; 30 R4P1>R4P2>R4P3. One lotus is left in the centre and Lis is free.
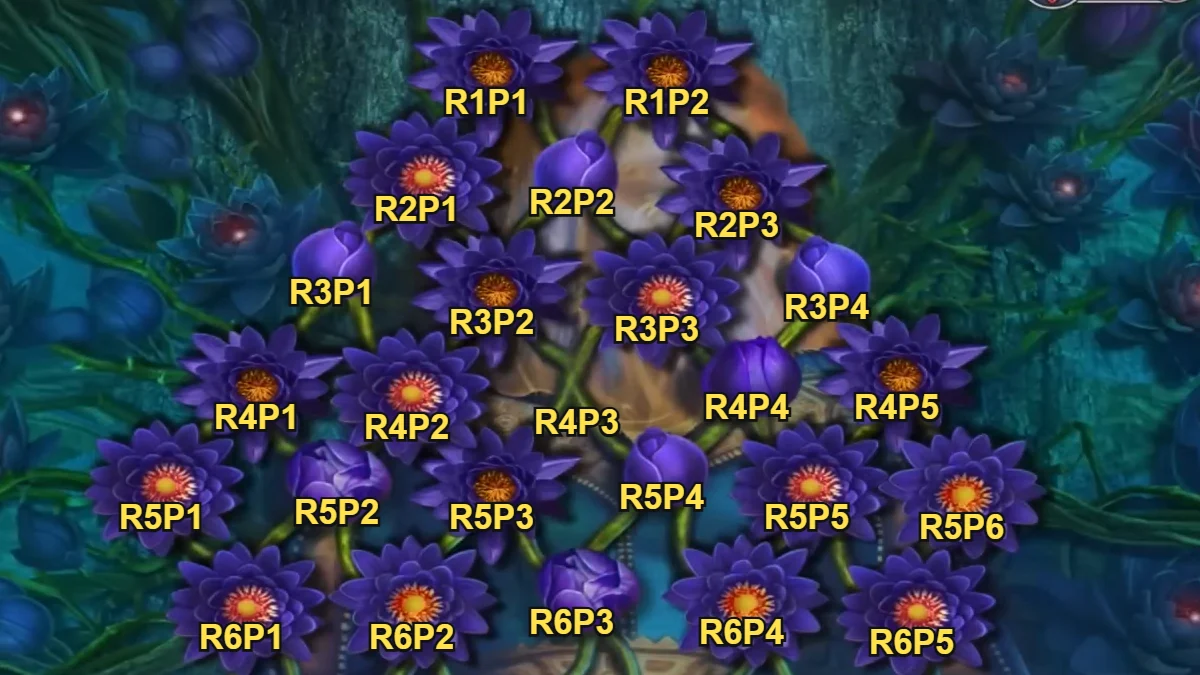
Cell names used in the solution: row from the top, position from the left.
Bonus Ending: The Last Potion
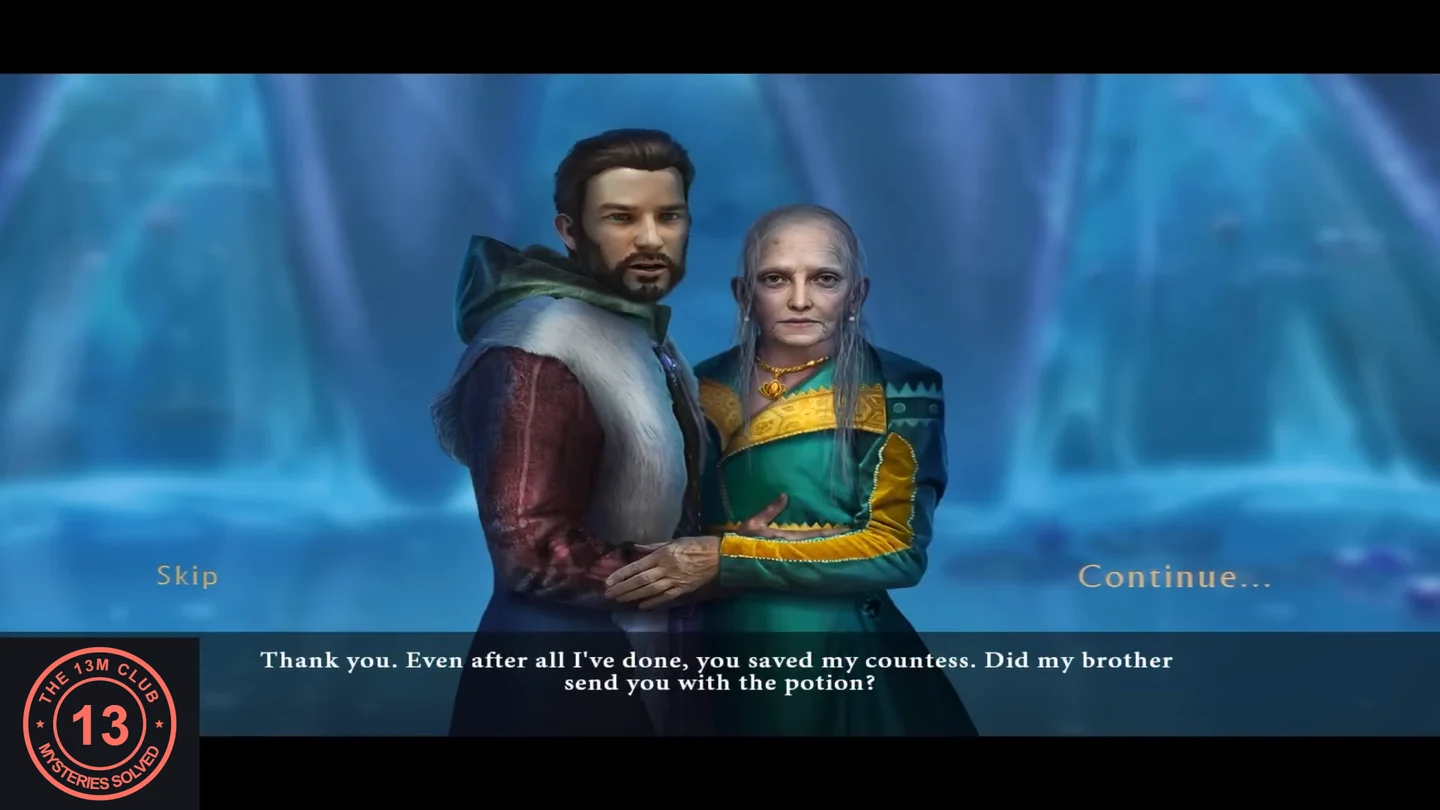
Paul and Lis are free, and there is only one potion of youth left.
- Paul thanks you and learns of Raymond's fate: 'Please, give it to Lis, to my love.' When asked 'Should I give it to Lis?', drag the potion of youth onto the couple. Lis tells Paul to take it instead ('He's right, my darling. Take it.'), and Paul becomes a baby in her arms.
- Tap the baby to take him from Lis ('Farewell, my Paul. Please make sure his new life will be better...'). The bell rises with the baby, and the story closes over a family portrait: 'That's the end of the story of La Fleur castle. It's time for a new one, with a happy beginning and, I hope, a happier ending.' The game then shows 'Well done! You've completed the Bonus Chapter!'