Lake Bottom: Escape the Chains
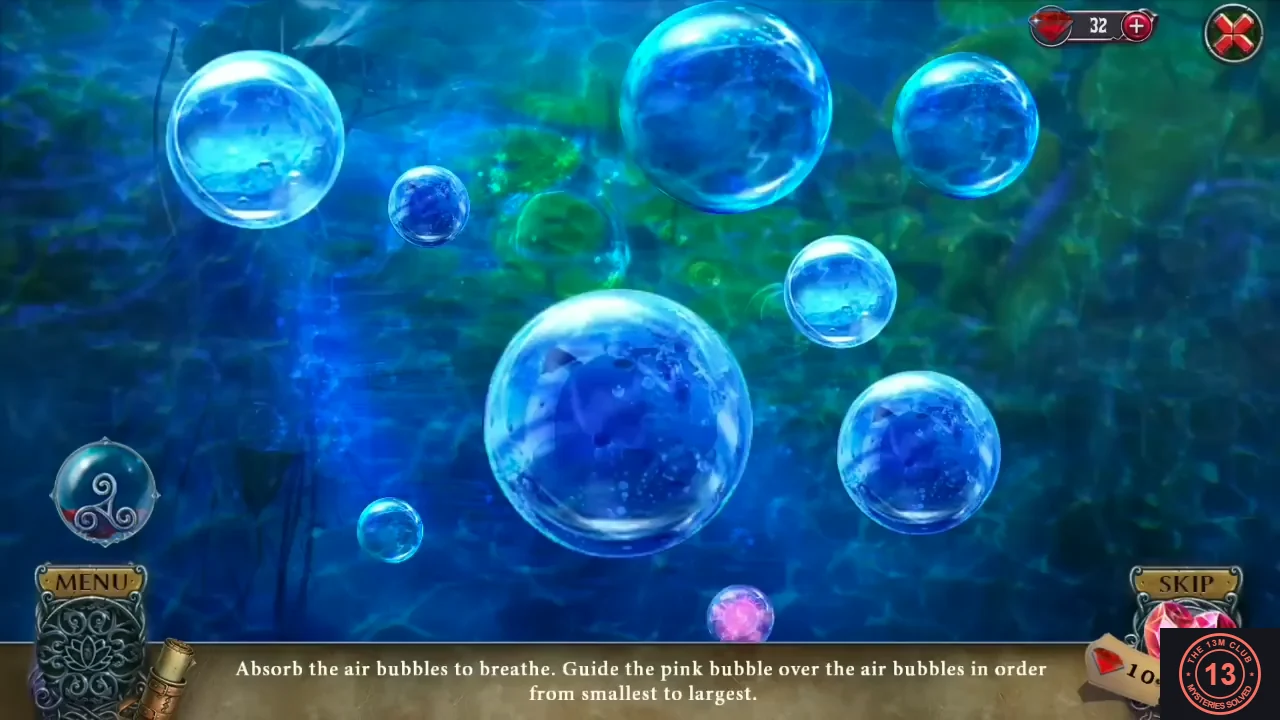
You wake up chained to weights at the bottom of a lake. You can decline the tutorial offered at the start.
- Take the stone lying on the seabed at the lower left, beside the shell. Then zoom into the skeleton's hand beside the pocket watch and take the green lotus bud it holds (lotus bud 1/2).
- Zoom into the clay urn on the left and use the stone on it. The urn smashes; take the skull tile and the sharp clay shard from the pieces.
- Zoom into the reeds on the right and cut the stems with the sharp shard. Take the red fleur-de-lis jewel that drops.
- Air bubble mini-game: steer the pink bubble over the air bubbles in order from the smallest to the largest. Touching them out of order does not count.
- Zoom into the pocket watch on the skeleton's wrist. Place the ruby fleur-de-lis in the matching recess, then take the clock hand from the opened watch.
- Zoom into the padlock on your chains and use the clock hand on it. You swim up to the surface.
Lake Shore: Briefcase Tiles, Lotus Pairs and the Crossbow
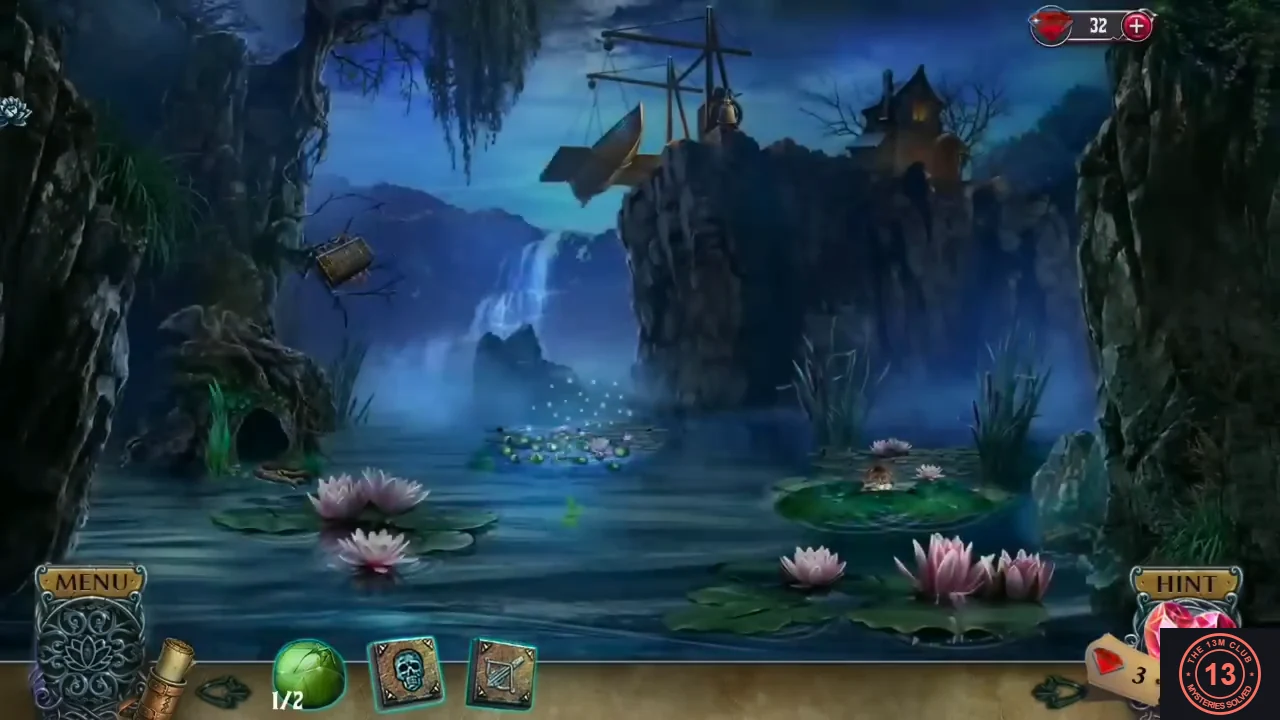
Find a way to reach the cottage on the cliff.
- Zoom into the hollow tree burrow on the left (glowing eyes inside) and take the crossbow tile from the log.
- Zoom into the lily pad on the right. Wipe the moss and leaves off the portrait until Christina's face is clear; a stone statue holding a mirror rises. Take the lock cylinder piece with the heart symbol from the lily pad (lock cylinder 1/2).
- Zoom into the briefcase caught in the tree branches on the left. Take the second lotus bud hanging over it (lotus buds 2/2), then place the skull tile and the crossbow tile in the two empty slots.
- Briefcase tile puzzle: swap tiles two at a time until each column holds a related pair. Solved layout, left to right: pistol over lead balls, powder flask over the blue gem, skull over crossed bones, arrow over crossbow.
- Read Count de la Fleur's letter to Henrietta, then take the water lily pendant and the incomplete crossbow from the briefcase.
- Zoom into the statue and place the water lily pendant on it. Take the mirror it releases.
- Return to the tree burrow and use the mirror to shine light inside. When the otter runs off, take the bowstring it was guarding.
- Zoom into the closed lotus buds in the middle of the pond (the golden arrow there sinks when touched). Place both lotus buds in the empty spots to start the matching game.
- Lotus pairs memory game: open two buds at a time to reveal their symbols; matching pairs sink. Remember each symbol you uncover. Symbol positions may differ in your game, so use memory rather than fixed positions.
- Take the turtle token and the crossbow bolt (the golden arrow) from the opened lotus.
- Open the incomplete crossbow in the inventory and add the bowstring and the bolt to load it.
- Optional collectible: the lake shore hides 2 phoenixes. Tap the rocks at the right edge of the scene, just right of the pink water lilies (lower right), and the mossy rock above the cave mouth at the left. A bird flies out of each spot.
- Use the crossbow on the sack hanging from the crane on the cliff. Move the cross hairs over the bag and tap to shoot. The counterweight drops and lowers the boat; you travel to the cottage.
Henrietta's Yard: Knife, Boat Hidden Objects and the Shed Lock
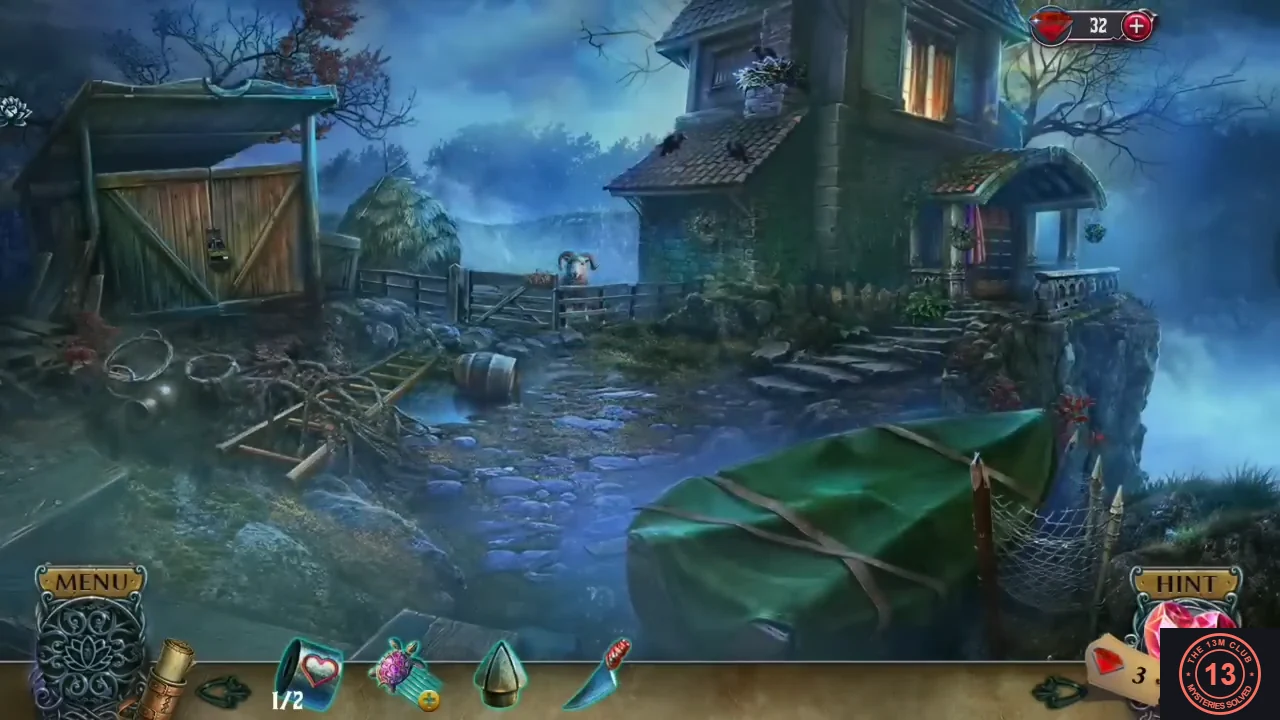
After the cutscene with Henrietta and Mimi at the cottage door, explore the yard. The shed (left), Oscar the ram's pen (back), the boat (front) and the porch door (right) are all used here.
- Zoom into the shed door on the left. Take the brass cone sitting on top of the padlock (the toy castle tower). Note the lotus, heart and skull carved on the door, and the knife stuck in the wood that you cannot pull out by hand yet.
- Zoom into the porch door on the right. Read Christina's circled portrait, then take the shepherdess figure from the pocket of the purple coat hanging there.
- Zoom into Oscar's pen at the back. Place the shepherdess figure in the empty silhouette beside the shepherd, then take the leather strap that is released.
- Back at the shed door, loop the leather strap around the handle of the stuck knife and pull it free. Take the knife.
- Use the knife to cut the leather belts strapping the boat to start a hidden-object scene. Find the listed objects (healthy child, cursed lotus, binoculars, portrait, order, shoe, powder horn, fishing net, compass, anchor, mask, belt). Items written in a different color need an extra action: drag the three ribbons (Maternal sacrifice, Any means necessary, Mother's love) onto Mimi's sketch for the healthy child; on the puppet stage drag the child's bed from the upper left to the centre, move the mother figure towards the bed, drag the scroll from the upper left down to the centre front, move the doctor towards the bed, then drag the blue heart-shaped bottle from the lower right onto the doctor; the white cursed lotus appears on the scroll, so take the lotus and then the scroll (order); and put the two heads and the heart into the oval frame for the portrait.
- Tap 'Open the compartment' and take Henrietta's bag from the boat.
- Open Henrietta's bag in the inventory. Slide the letters of the word lock to spell HENRIETTA. Read the dossier and the note, watch the lotus scene (the petal tracker appears at the bottom left), then take the second lock cylinder piece and the ghost figurine from the bag.CODEHENRIETTA
- Zoom into the shed padlock and insert the lock cylinder. Turn the three wheels to match the carvings on the door, left to right: lotus, heart, skull. Enter the open shed and take the axe. Note the rooster carving with a missing part inside the shed.CODELotus – Heart – Skull
- Optional collectible: the yard hides 2 phoenixes. Tap the top right of the scene by the upper right corner of the house, and the fence and steps just right of the barrel in the middle.
Henrietta's Yard: Ladder, Bird's Nest and Picking the Door Lock
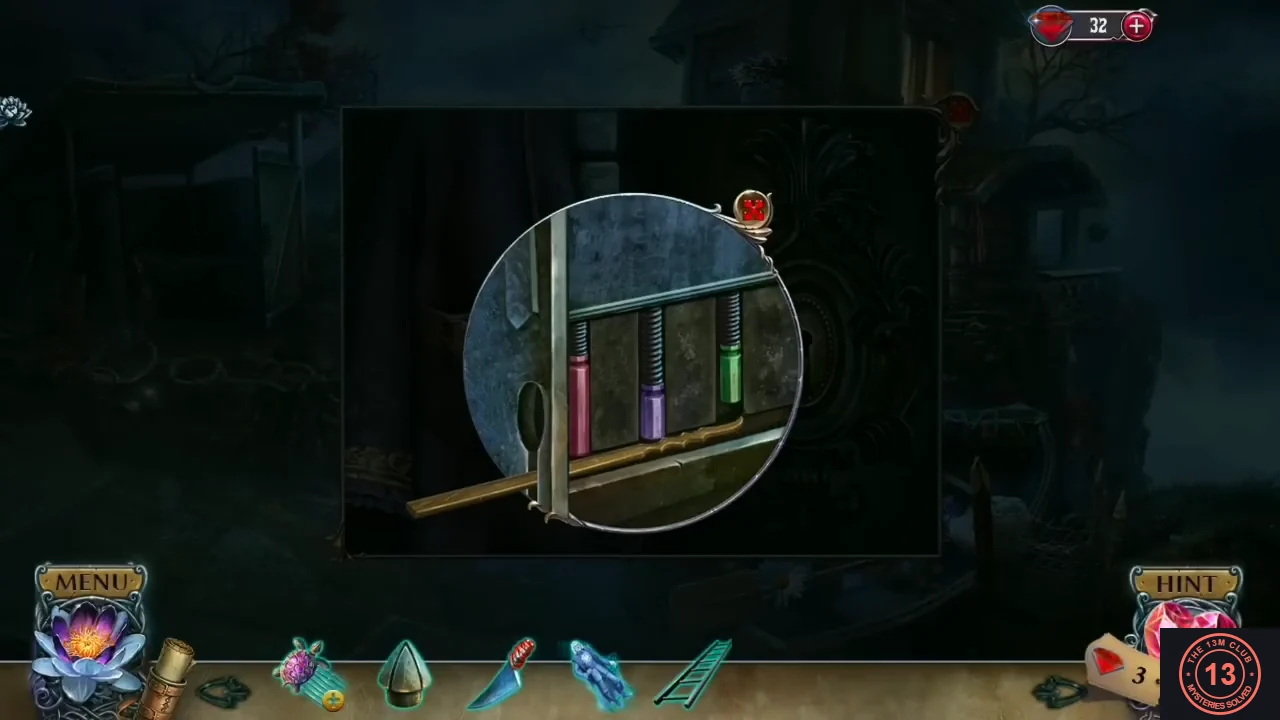
Free the ladder, use it to reach the nest on the cottage wall, then pick the lock of the porch door.
- Use the axe on the brambles covering the ladder near the woodpile on the left (the axe stays there), then take the ladder.
- Place the ladder against the cottage wall under the window flower box. Zoom into the bird's nest and take the lockpick. The ladder returns to your inventory.
- Use the lockpick on the porch door keyhole. Lockpick puzzle: push the three pins up with the pick so that each one stays set at the top. A pin pushed out of order drops back down. This order works: the purple pin (middle), then the green pin (right), then the pink pin (left).CODEPurple – Green – Pink
Henrietta's Cottage: Toy Castle, Dragon Lanterns and Raymond's Medallion
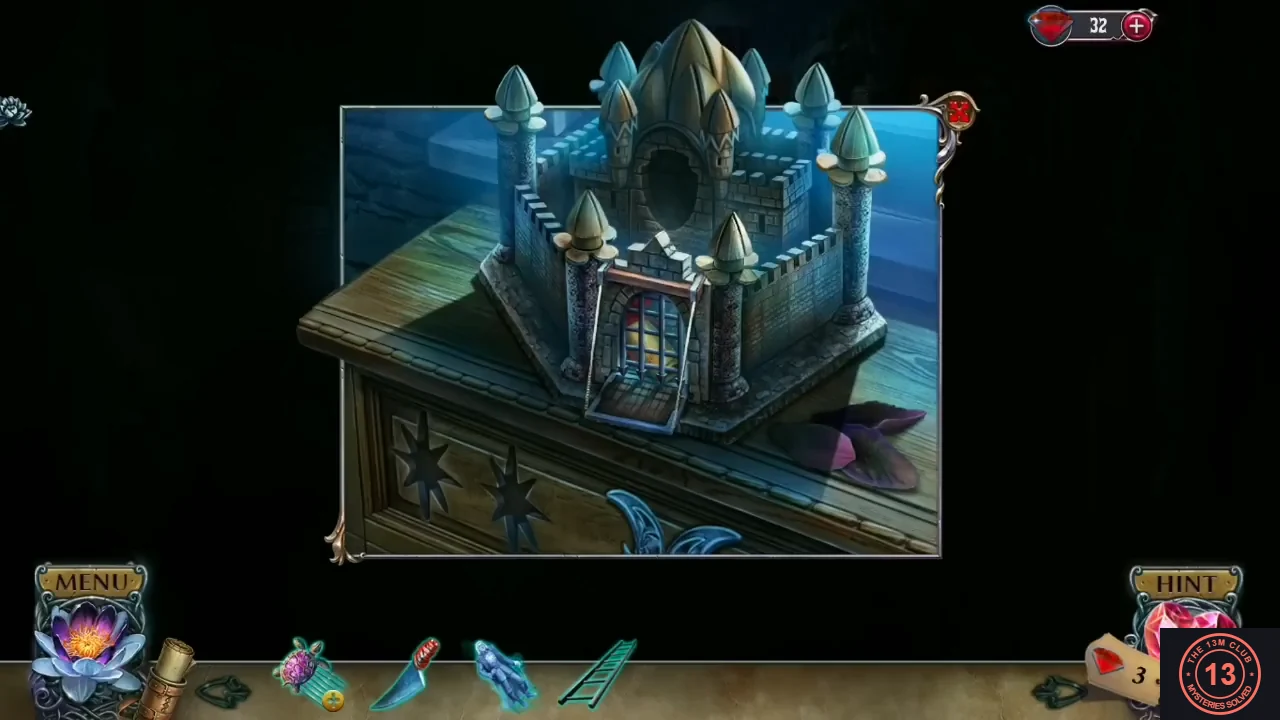
Inside the cottage, rebuild Mimi's toy castle to get the items Henrietta wants to give you.
- Zoom into the toy castle on the dresser and place the castle tower on it. You still need the coat of arms.
- Zoom into the carved dragon beam with the lanterns and pry the green star out with the knife.
- Place the ladder at the attic opening ('I can't get into the attic without a ladder'). Zoom into the attic, read the note on the teddy bear ('Mom does terrible things because of me') and take the second star.
- Put both stars in the drawer of the toy castle. The drawer opens: take the matches. Note the panel with an H-shaped recess inside ('There's something hidden under this panel').
- Open the lanterns under the dragon beam and light them with the matches. Take the coat of arms the dragon reveals.
- Place the coat of arms on the toy castle. Read the contract between Count de la Fleur and Henrietta, then take the key.
- Talk to Henrietta. She explains the lotus curse and tells you to talk to Raymond in the village, who has a score to settle with the count and will help you. She asks you to take Mimi with you and gives you Raymond's medallion.
- Open Raymond's medallion in the inventory. Swap the letters around the portrait until they spell RAYMOND clockwise, starting with R at the lower left. Take Raymond's ring (a brass R) and the apple inlay that drop out.CODERAYMOND
- Optional collectible: the cottage interior hides 2 phoenixes. Tap beside the right-hand lantern at the upper right, and above the hammock at the upper centre.
Henrietta's Porch: Mailbox, Apple Basket and the H Panel
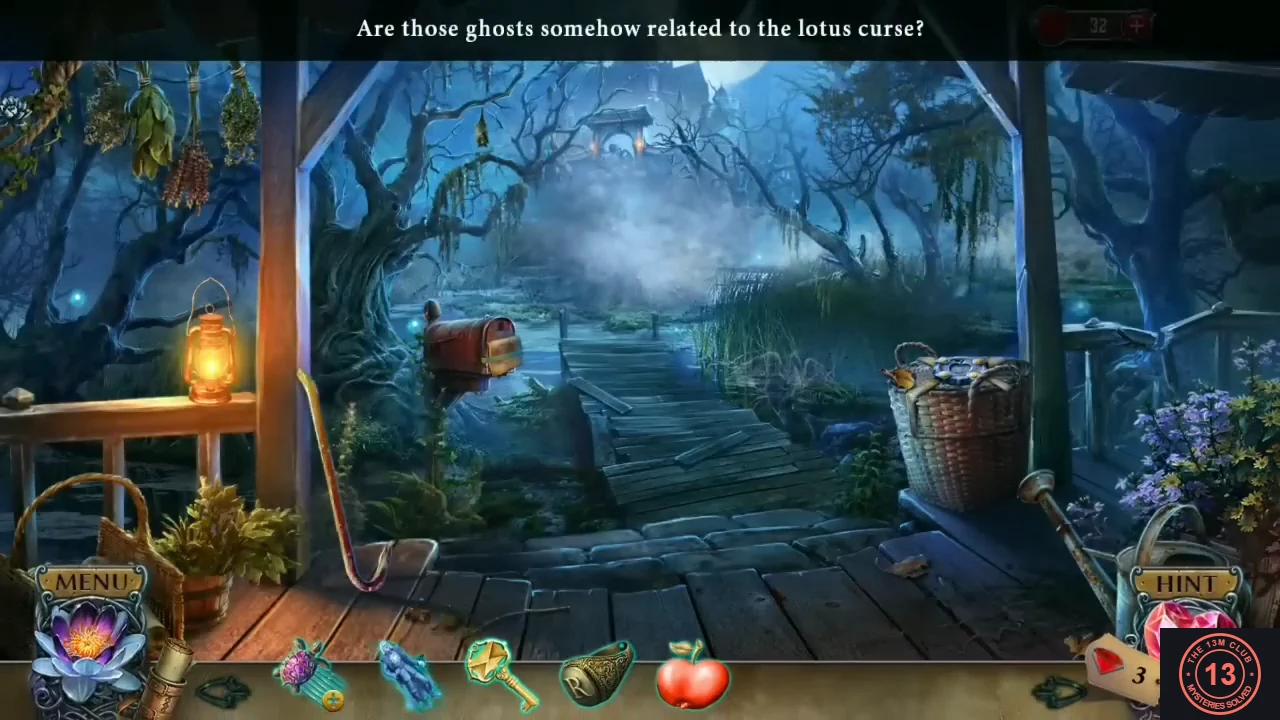
Go out to the porch at the front of the cottage.
- Take the crowbar (a hooked iron stick) leaning against the porch railing on the left. It stays in your inventory after each use until the attic.
- Zoom into the mailbox. Remove the BEWARE flyer and take the green ribbon hidden under it, then unlock the mailbox with the key.
- Read Raymond's letter to Henrietta (Count de la Fleur is preparing something; soldiers are everywhere). Take the letter H from the letter.
- Zoom into the basket on the right. Look at the note 'Oscar – the best guardian!', put the apple inlay in the slot on the lid and take the apples from the open basket.
- Go back inside and put the letter H on the panel in the toy castle drawer. Read the drawing ('The count's medicine works! Mimi will live!') and take the first bottle emblem.
- Return to the yard and give the apples to Oscar in his pen. Henrietta's chest, a wooden box with three bottle-shaped slots, appears in the yard.
- Optional collectible: the porch hides 2 phoenixes. Tap the foot of the leaning chair and broom left of centre, and the boardwalk just left of the basket.
Henrietta's Cottage: Metal Frog, Rooster Eye, Mimi and the Portrait Chest
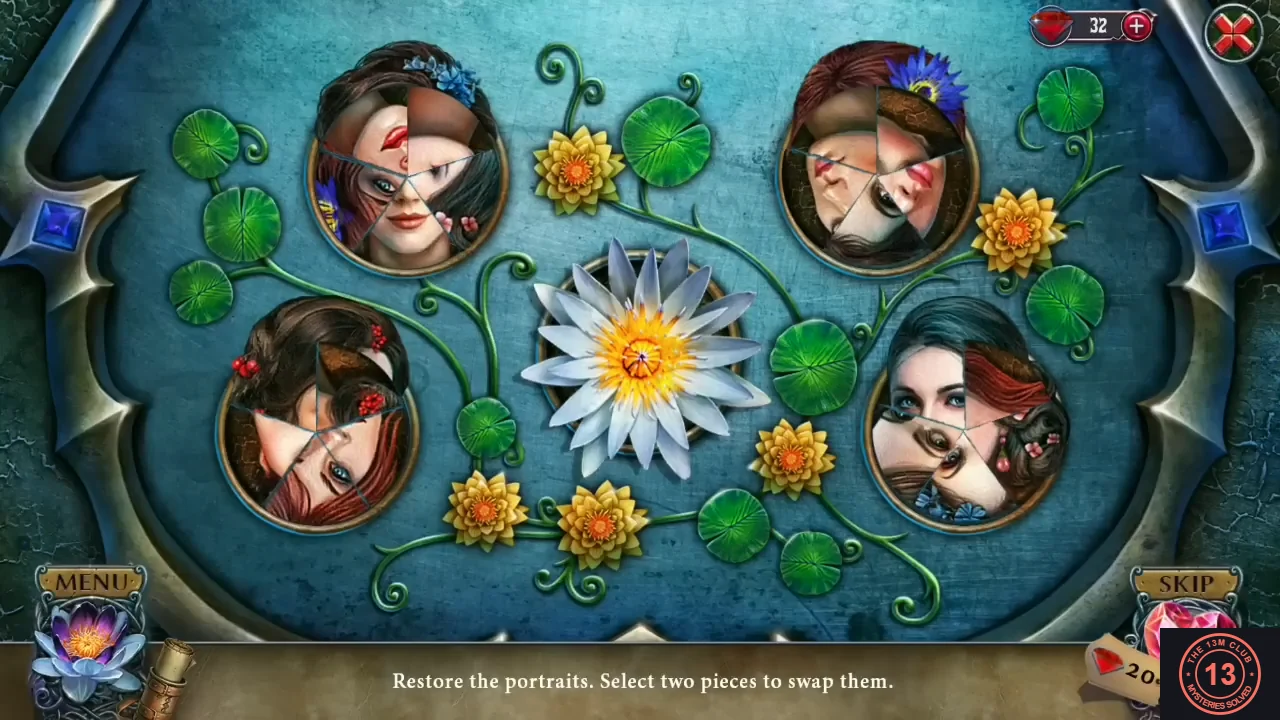
Henrietta's chest needs three bottle emblems. You already have one; the rooster carving on the shed and Mimi supply the others. The crowbar is the tool for the barrel and the attic chest of drawers.
- In the yard, take Henrietta's chest (the wooden box with three bottle-shaped slots) that appeared after Oscar ate the apples.
- Go inside the cottage. Use the crowbar on the heavy barrel at the bottom left to shift it, open the floor hatch underneath and take the metal frog from the box of clothes.
- Zoom into the ornate metal grate on the left wall. It has slots shaped like a snake, a turtle, a frog and a crocodile. Take the blue eye from its top left corner.
- Return to the yard and zoom into the rooster carving on the shed door. Put the eye in the rooster's empty eye socket and take the bottle emblem it releases.
- Back inside, put the metal frog in the frog-shaped slot at the lower left of the grate.
- Climb to the attic and use the crowbar on the chest of drawers to move it. Mimi is hiding behind it. Talk to her: she asks for her medicine, says Oscar is guarding it, and gives you the last bottle emblem.
- Open Henrietta's chest from the inventory and put the three bottle emblems into the slots. The portrait puzzle starts. Select two wedge pieces to swap them until each of the five round portraits shows one woman. The hair and accessories tell you where a piece belongs: blonde hair with purple flowers (centre), red hair with a blue flower (top right), black hair with pink blossoms (bottom right), dark hair with blue flowers (top left) and dark hair with red berries (bottom left). Each finished portrait turns into a white or dark lotus.
- Look inside the chest: the portraits of the girls are crossed out. Read Henrietta's note, then take the purple gem, the metal snake and Mimi's medicine (the blue heart-shaped bottle).
- Open the turtle comb (the turtle token from the lake) in the inventory and put the purple gem in the empty centre of its shell. Remove all of the comb's teeth by tapping them in the right order. Tapping a tooth also raises or drops another one. Counting the six teeth from left to right, tap 6, 1, 4, 5. Take the metal turtle.CODE6, 1, 4, 5
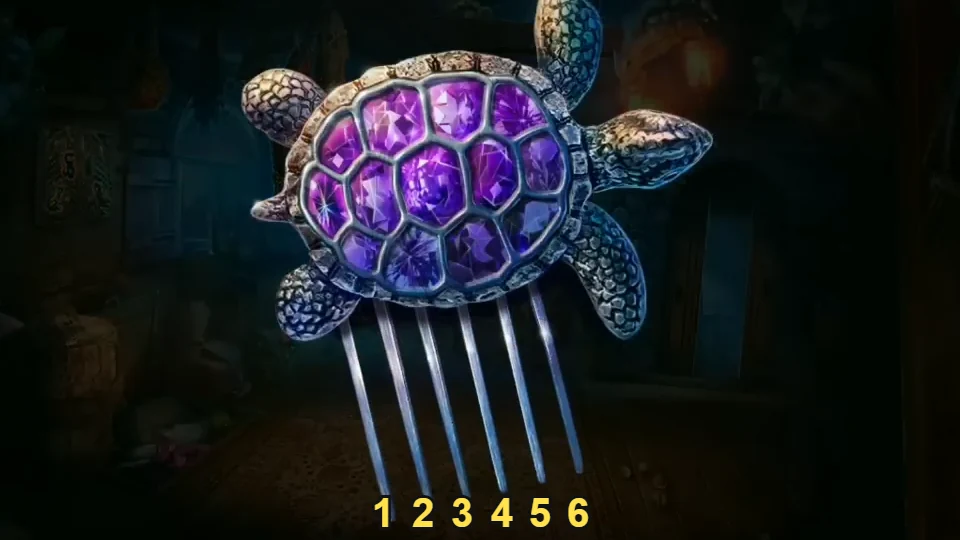
Turtle comb tooth numbers for step 9, counted left to right before your first tap.
Henrietta's Cottage: Mimi's Medicine, the Silhouette Book and the Animal Grate
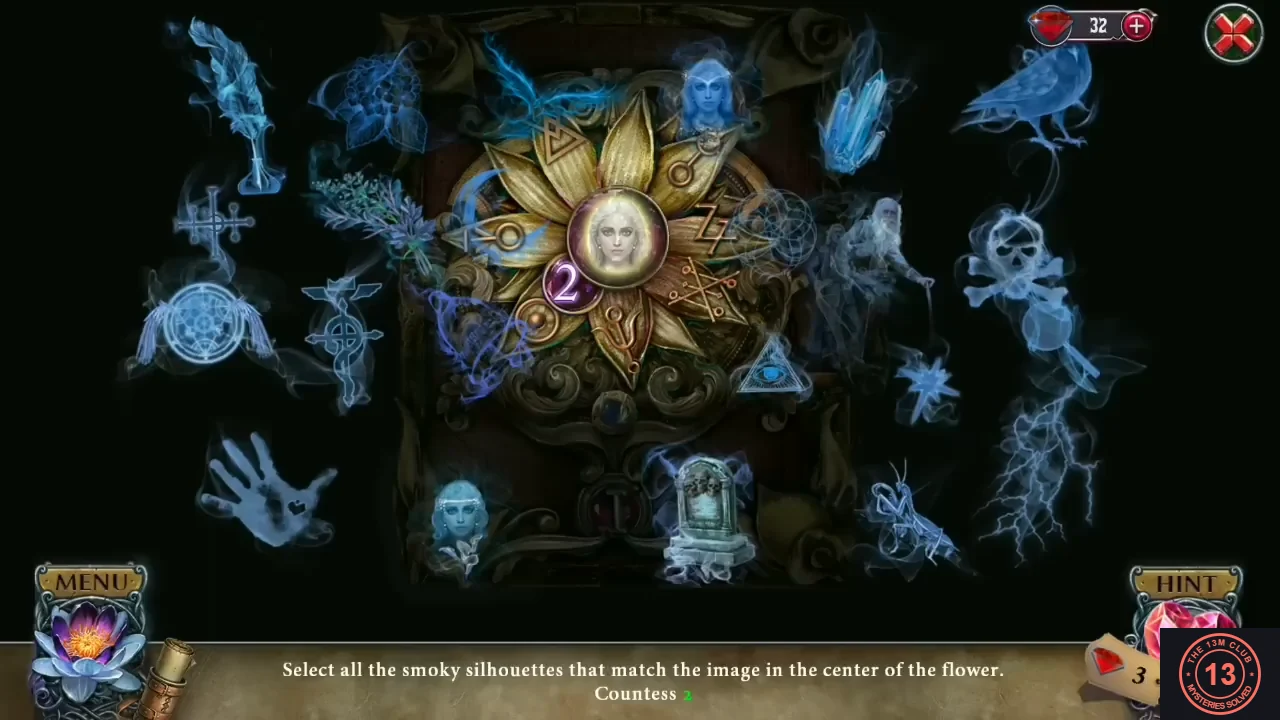
With the metal turtle and metal snake in hand, cure Mimi and open the book she gives you to get the last animal for the grate.
- Give Mimi's medicine to Mimi in the cottage. She thanks you, offers to come to the village and help find the map, and hands you her book with a jewelled flower on the cover.
- Open the book from the inventory. Put the ghost figurine into the clasp on its right side ('A figurine of some kind would fit in this lock').
- Select all the smoky silhouettes that match the picture in the centre of the flower. Find three of each, in four rounds: broken heart, the Countess's portrait, alchemical flask and lotus. The number in the flower shows how many are left in the current round.
- Watch the story pages ('When old Count de la Fleur married beautiful Lis, he realized that she would not love an old man.'), then take the metal crocodile from the right-hand page.
- Zoom into the grate on the left wall again. Put the metal crocodile in the lower right slot, the metal turtle in the turtle slot at the top right and the metal snake in the S-shaped slot at the top left (the frog is already in place). The grate opens: take the shield and then the map of the marshes lying under it.
The Marsh Path: Map and the Crocodile Tile Battle
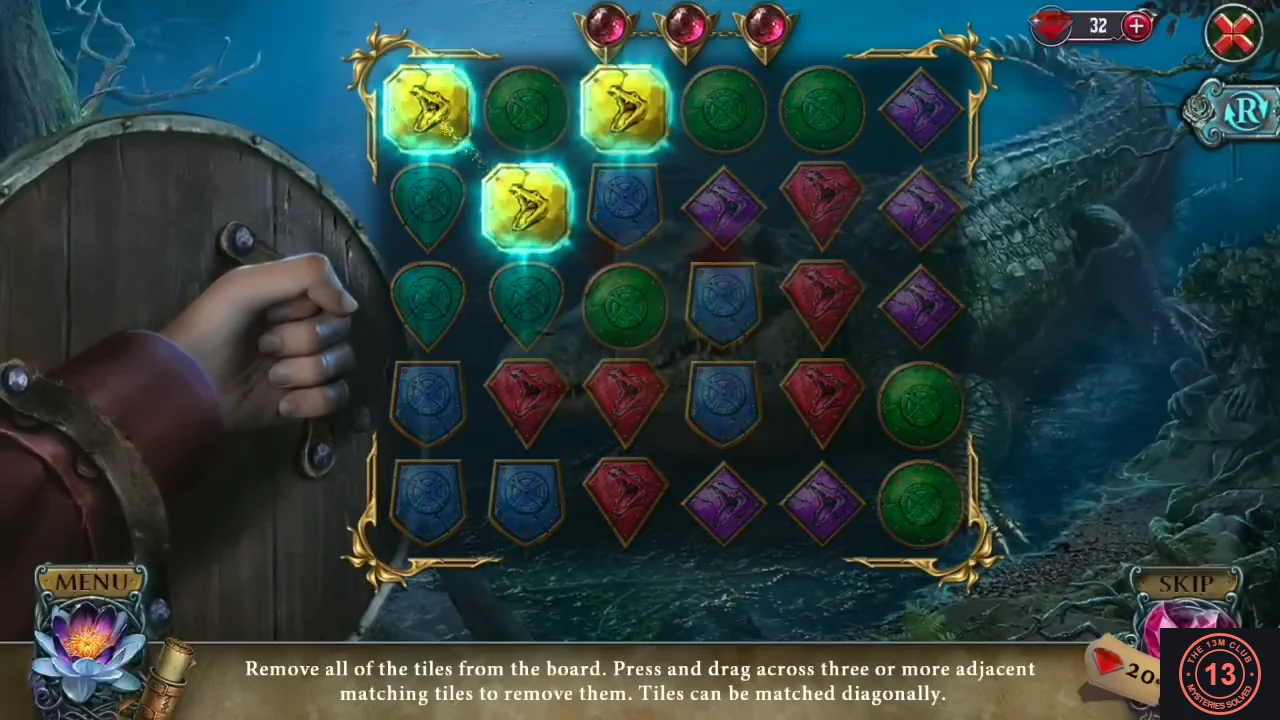
Mimi is waiting on the walkway in front of the porch. The crocodile fight is a three-round tile-clearing puzzle.
- Go out to the porch. Mimi is standing on the wooden walkway that leads away from the cottage. Drop the map of the marshes onto Mimi herself. Tapping the walkway without the map gets 'We'll get lost without a map!'. When the map is accepted she says 'Come on!' and leads the way.
- A giant crocodile blocks the path ('Oh no! It's a crocodile!'). Use the shield on it.
- Remove all the tiles from the board. Press and drag across three or more adjacent matching tiles to clear them; diagonal links count. Clearing a board wins one round, and the three gems above the board track your progress. Plan the last moves so that no group of fewer than three tiles is left. If you get stuck, press Reset (top right) to restore the current board. After the third board the crocodile bites the shield and swims away ('Ha! Crawl away while you still can!').
- Take the crocodile tooth stuck in the shield.