The Potion Recipe and the Castle Foyer
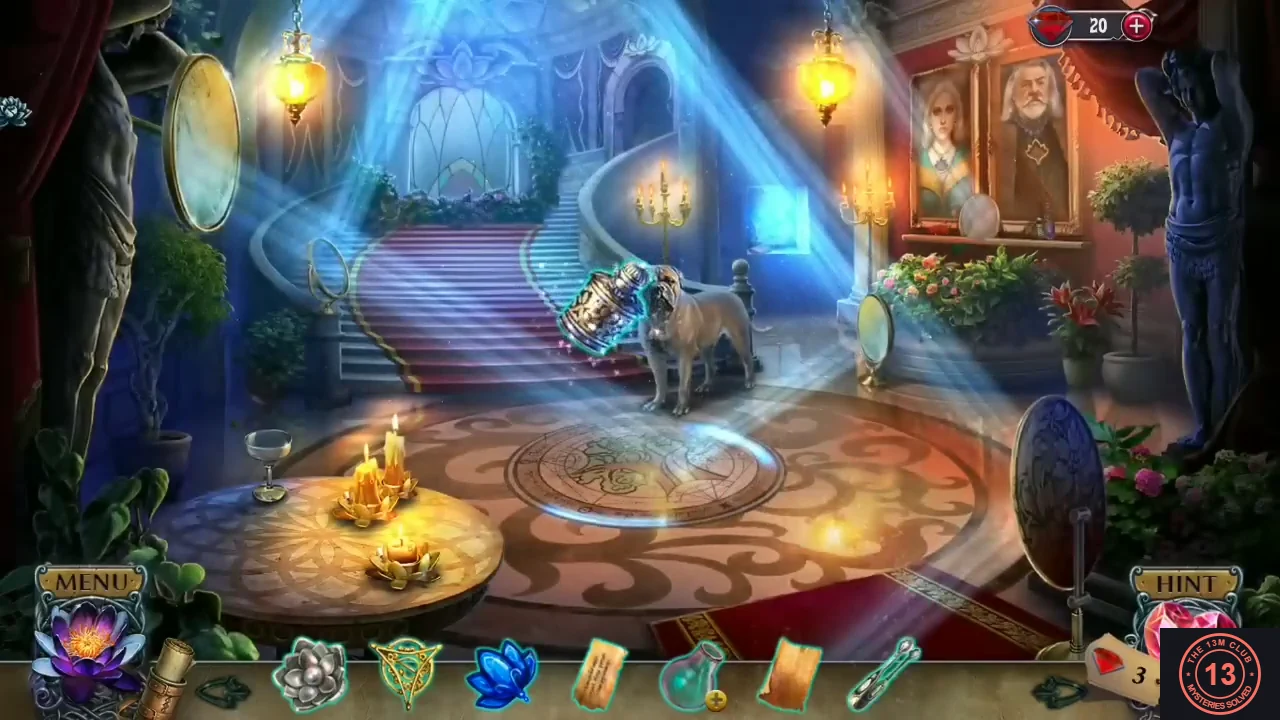
With the false count caught, collect the torn potion recipe and a vial, open the castle with Raymond's key and find the countess, guarded by a dog.
- Zoom into the altar at the back of the greenhouse. Take the torn half of the potion recipe (the paper strip at the upper right) and the empty glass vial on the left. The trowel lying there is too dirty to pick up for now ('I don't even want to know what this trowel is covered in.'), and the mortar is empty.
- Go back through the garden to the courtyard. Use the castle key on the lock of the wooden door painted with a lotus (the building on the left) and go into the foyer. The countess calls from the stairs: 'Hey, over here!' / 'I'm Countess de la Fleur. Please, help me get out of this nightmare.' A guard dog blocks the stairs. The round mirror on a stand to the right of the dog cannot be adjusted yet ('I need a key of some sort to adjust this mirror.').
- Zoom into the round table with candles at the lower left of the foyer. Take the blank parchment, the alcohol flask and the tweezers.
- Open the empty vial from the inventory (it has a + badge). Put the blank parchment into the popup: 'I can see an impression of some writing. How can I make the markings clearer?' Then drop the potion recipe half into the space just below the parchment. The recipe is complete: Emerald dust, Black rose petals, Sleepy violets. Tapping the vial now says 'I need all the ingredients.'
- Optional collectible: the castle foyer hides 2 phoenixes. Tap the very top edge of the scene above the right hanging lantern (left of the two portraits).
- The second foyer phoenix is in the dark leafy garland at the left end of the landing at the top of the staircase, below the arched window. Tap it.
The Dungeon Hidden-Object Scene
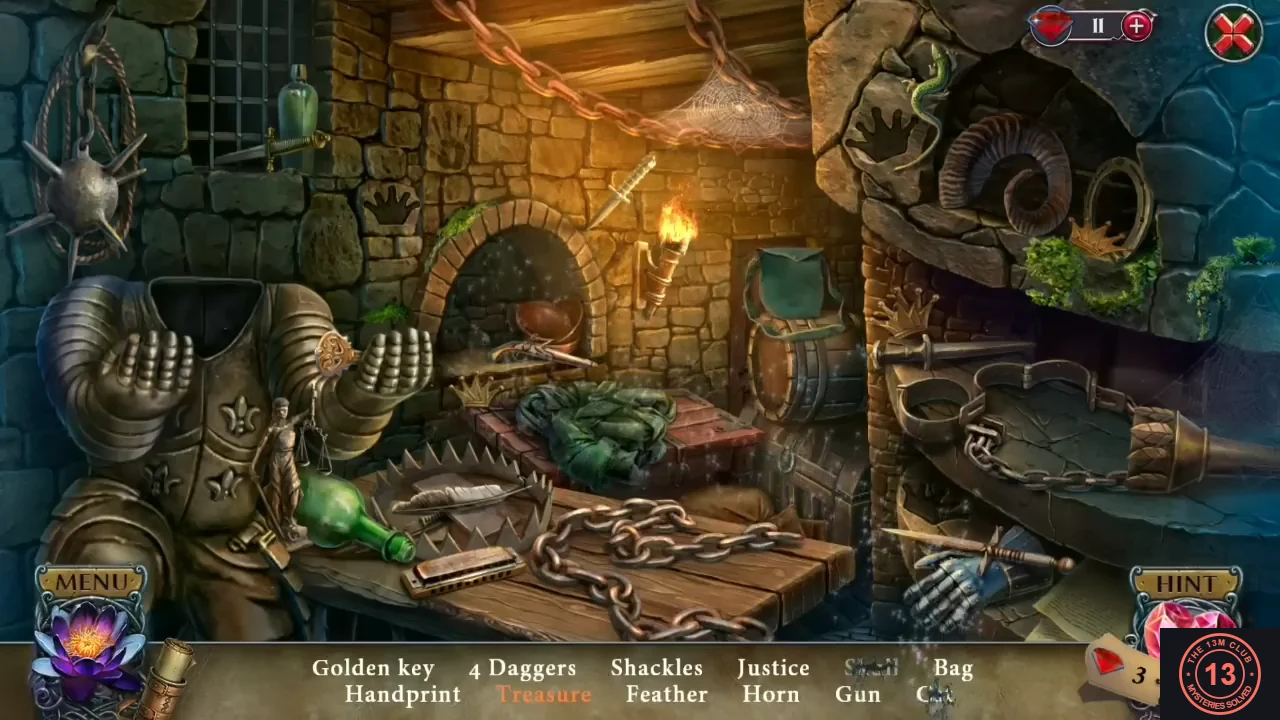
A second hidden-object scene behind the glowing doorway in the courtyard gives the golden key.
- Back in the courtyard, tap the sparkles in the glowing open doorway at the right to start a hidden-object scene in the dungeon. List: Golden key, 4 daggers, Shackles, Justice, Skull, Bag, Handprint, Treasure, Feather, Horn, Gun and Cat. Cat: the sleeping tabby on the table in the middle. Daggers: one is stuck in the bench at the right and one in the wall above the torch. Horn: the ram's horn in the niche at the top right. Treasure (the item in a different colour): pick up the small loose gold crown near the green cloth on the table and drop it onto the crown carved in the wall on the left, above the empty suit of armour. The mossy stone beside the carving slides away and reveals a pile of gold coins; tap it. Golden key: when everything else is found, tap the ornate gold handle in the armour's raised gauntlet; the golden key rises out of it.
Paul's Sleeping Gas
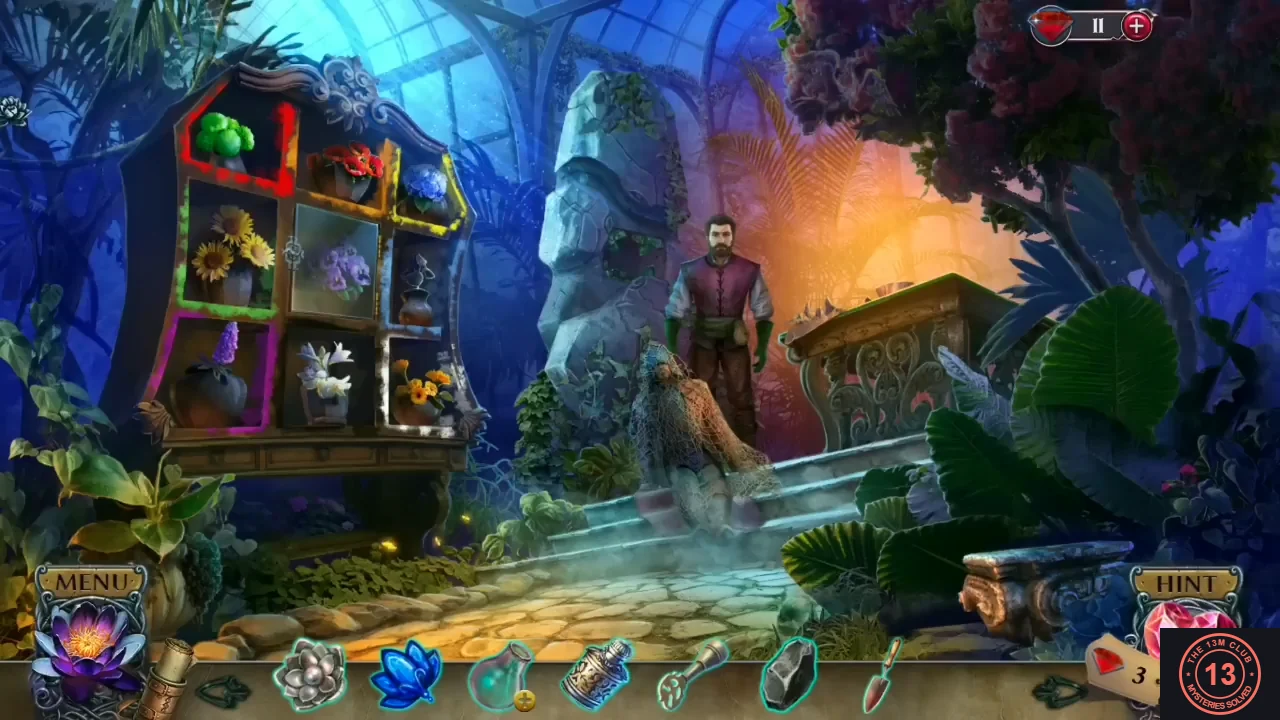
Gather emerald dust, black rose petals and sleepy violets, uncover the hidden fourth ingredient and brew a sleeping gas for the guard dog.
- In the courtyard, the fire grate at the lower left is too hot to touch ('It's too hot. I'd burn my hand.'). Use the tweezers on it to pick out a piece of coal.
- Go to the greenhouse. Zoom into the base of the big stone statue in the middle and take the old rag hanging over the stone ('I bet the count hid something in here.'). Put the golden emblem into the triangular recess underneath. The stone opens: a metal cylinder is stuck inside green crystals ('These crystals are hard but brittle.').
- Zoom into the mortar bench on the right. Use the old rag to wipe the dirty trowel, then take the trowel.
- Go out to the garden and zoom into the signpost bed. Dig up the blue hydrangea with the trowel; it goes into the flowerpot you left there.
- In the greenhouse, put the blue flower into the empty compartment at the top right of the flower cabinet. The violets in the middle are behind glass ('The violets are locked in that compartment.'). Drag one pot onto another to swap them, until every flower stands in the compartment whose frame has its colour: top row red flowers (red frame), orange marigolds (orange frame), sunflowers (yellow frame); middle row green flowers (green frame) on the left, blue flower (light blue frame) on the right; bottom row purple lupin (pink frame) on the left, the dark plant in the middle, white lilies (white frame) on the right. The glass opens; take the sleepy violets and the gardening glove.
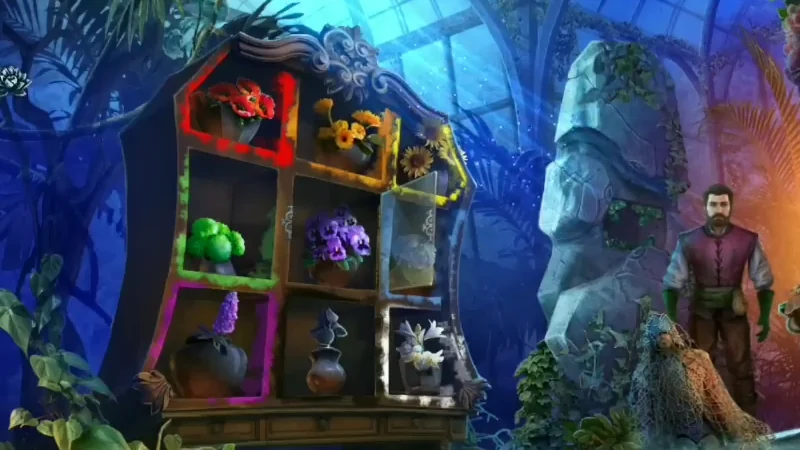
The sorted flower cabinet just as the violet glass opens: each pot sits in the frame of its own colour. - Open the empty vial from the inventory and put the sleepy violets into the popup.
- Go to the countess statue in the garden ('These thorns are massive! But what beautiful black roses.'). Use the gardening glove on the rose bush at her feet. Take the black rose petals and the round mirror underneath.
- Open the vial popup again and add the black rose petals.
- In the greenhouse, use the trowel on the green crystals in the statue base. Take the emerald and the metal cylinder.
- Put the emerald into the mortar on the bench and grind it to get emerald dust (the emerald itself is refused by the vial: 'I should try something else.'). Add the emerald dust to the vial popup.
- The recipe has a hidden line. In the vial popup, rub the coal over the top of the parchment: the heading 'Paul's Sleeping Gas' and a fourth ingredient, '- Alcohol', appear. Put the alcohol into the vial. The ingredients mix, turn green and the vial is corked. Take the sleeping gas.
- Go to the castle foyer and throw the sleeping gas at the guard dog on the stairs. A green cloud puts it to sleep.
The Stained-Glass Window, the Portrait Diptych and the Countess
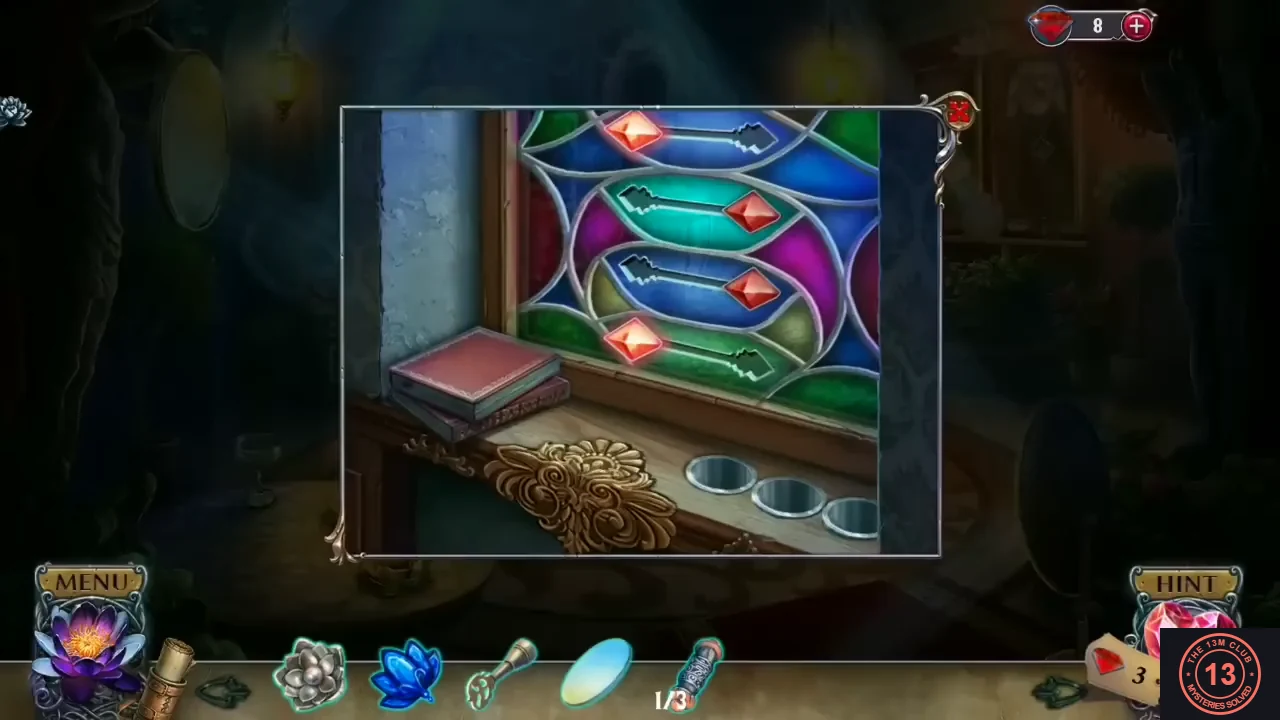
With the dog asleep, open the foyer window, take the second metal cylinder and the memory crystal from the portraits, restore the mirror and meet the countess, who gives you the key to the count's office.
- Zoom into the stained-glass window on the left of the foyer. It holds four key-shaped sliders, each with a red gem at one end; a gem glows when it is at the LEFT end. Goal: all four gems on the left. At the start (top to bottom) the gems are left, right, right, left. Tapping a key flips one of four fixed groups: the bottom gem alone, the bottom two gems together, the top two gems together, or the top gem alone. Make each of those four flips exactly once (the order does not matter): only the middle two gems end up changed, so all four gems are on the left and the window opens.
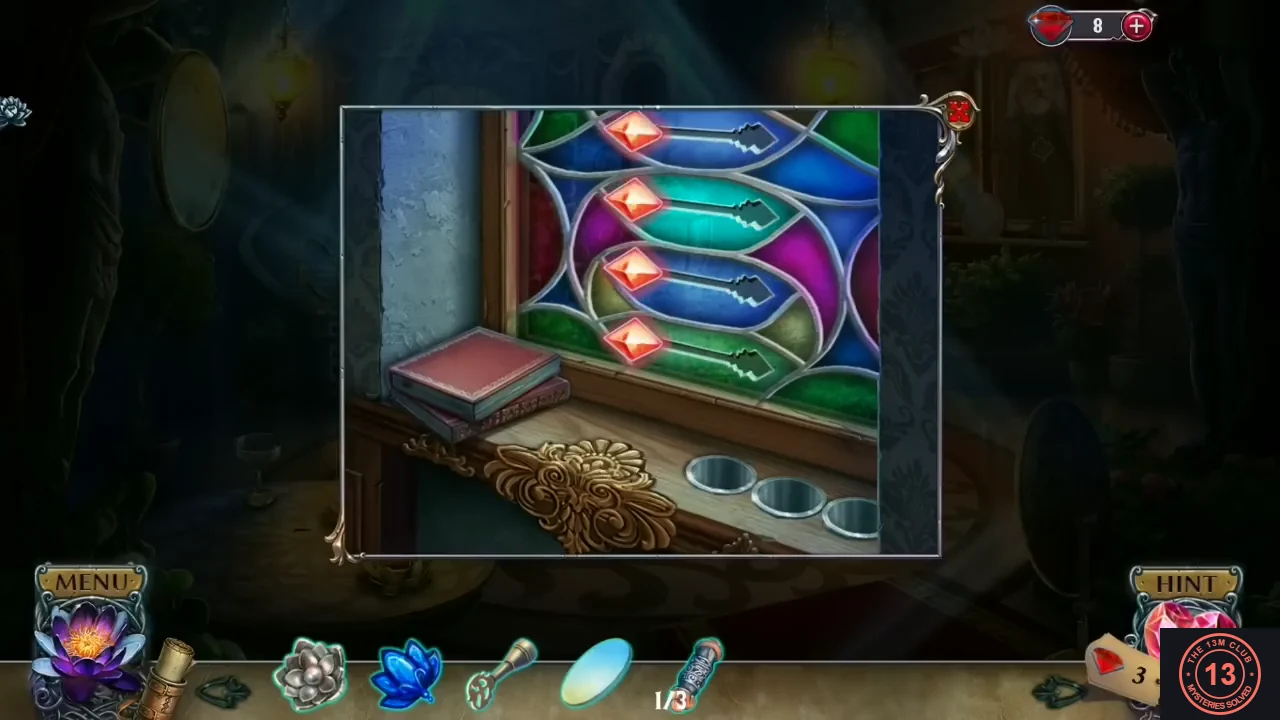
All four gems at the left: the window opens. - Take the lantern hanging outside the opened window: the oil lamp. The sill has three round holes ('These are holes for three cylindrical objects.'); nothing goes there yet.
- Zoom into the portrait diptych on the right wall of the foyer (the countess on the left, the count on the right, a dusty round plate between them). Take the metal cylinder lying on the frame ledge at the lower left; the cylinder counter becomes 2/3. The plate is 'thick with dust' and 'The count's medallion is missing.' Put the lotus medallion on the count's portrait: his panel opens. Read the note ('I can't believe I have to spy on my own wife. This crystal I've created will remember anything that happens near it.') and take the pink memory crystal.
- Zoom into the empty mirror frame on the newel post at the left foot of the staircase ('It's an empty mirror frame.') and put the mirror into it. The reflected beam now strikes the round medallion on the floor: 'The floor is absorbing the light and glowing. Is this another one of the count's secrets?'
- Go up the stairs into the parlour, where the countess sits on the sofa. She explains: 'I'm aging one year each day, and only Paul can help me with the count's curse.' and 'Take this key to the count's office on the second floor. I think he may have hidden the lotus antidote there.' Take the office key. New objective: Get the antidote.
- In the parlour, zoom into the planter alcove behind the sofa on the left and take the pink feathered fan from among the leaves. Behind it is a lock in the shape of a tree: 'It's locked. I need something in the shape of a tree.' The chandelier is out of reach ('I can't reach it. It's too high.'). On the balcony, the office door has two panels with groove tracks and a knob only on the left panel: 'Where's the door knob?' The office key cannot be used yet.
- Optional collectible: in the parlour, tap the potted flowers on the pedestal at the foot of the spiral staircase (centre of the scene); a phoenix flies out. The tab at the top left shows 'Phoenixes to find here: 2' before and '1' after. The second one is in the next step.
- The second parlour phoenix is in the golden chandelier at the top centre. Tap it.
The Feathered Fan, the Metal Tree and the Office Door
Clean the diptych plate, aim the second mirror to raise the crystal tree, replay the memory crystal for the door knob and open the count's office.
- Back at the portrait diptych in the foyer, use the feathered fan on the dusty round plate between the portraits. The dust is brushed away to reveal a bluish glass plate.
- Zoom into the round mirror on a stand at the lower right of the foyer and turn it with the golden key. The light beams converge on the floor medallion; the floor opens and a crystal planter with a metal tree rises: 'What's that? It doesn't look like a normal tree.'
- Zoom into the tree on the pedestal: 'The other metal flower fell off.' Put the metal flower into the empty flower socket at the lower left of the tree plate. The tree comes loose; take the metal tree.
- Still at the pedestal: 'I think this hole is for a crystal.' Put the memory crystal into the pentagonal socket. A flashback of the count and countess plays: 'Amazing! The crystal recorded what happened in this hall.' Take the bronze door knob that appears. ('Could there be another crystal?' — the second pentagonal socket stays empty for now.)
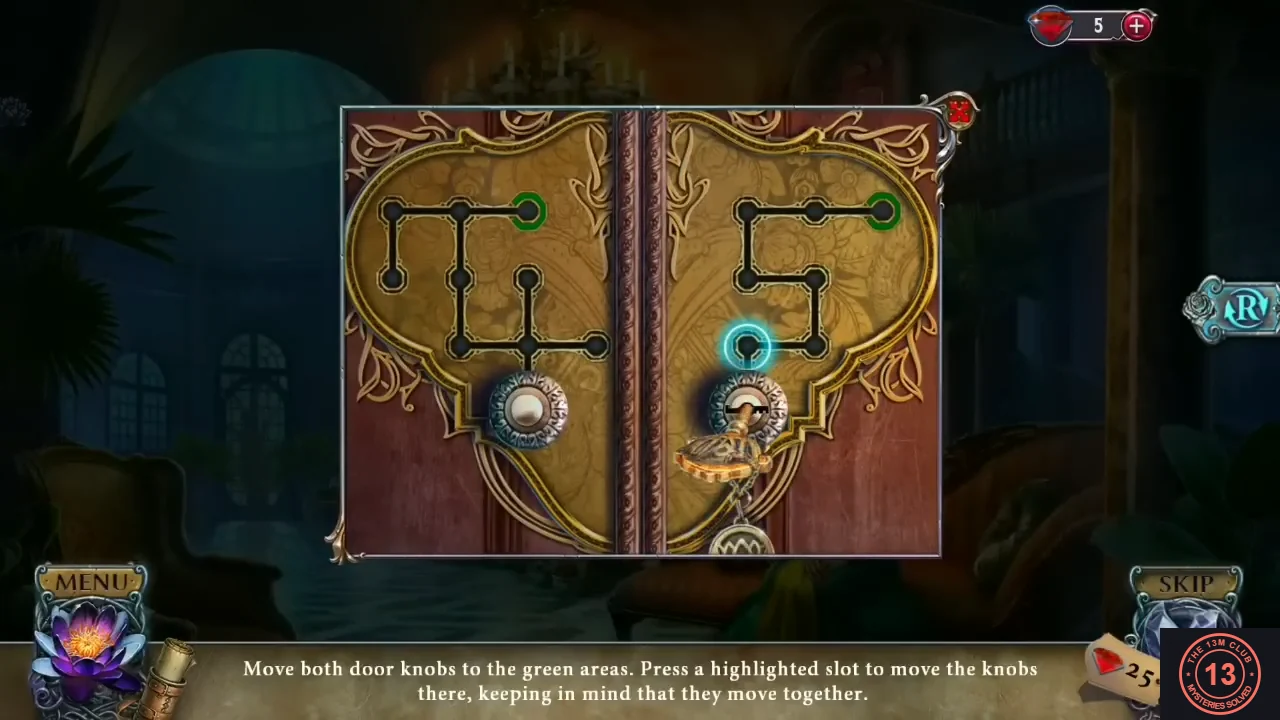
- Go to the office door on the parlour balcony. Put the door knob on the right panel ('It's locked.') and insert the office key. 'Move both door knobs to the green areas. Press a highlighted slot to move the knobs there, keeping in mind that they move together.' Both knobs move in the same direction; a knob whose groove does not continue that way stays where it is. Starting with both knobs at the bottom of their tracks, press: up, right, up, left, left, up, up, right, right. Both knobs reach the green areas at the top right of their panels and the door opens.
The Count's Office, the Jewellery Scene and the Eagle Shield
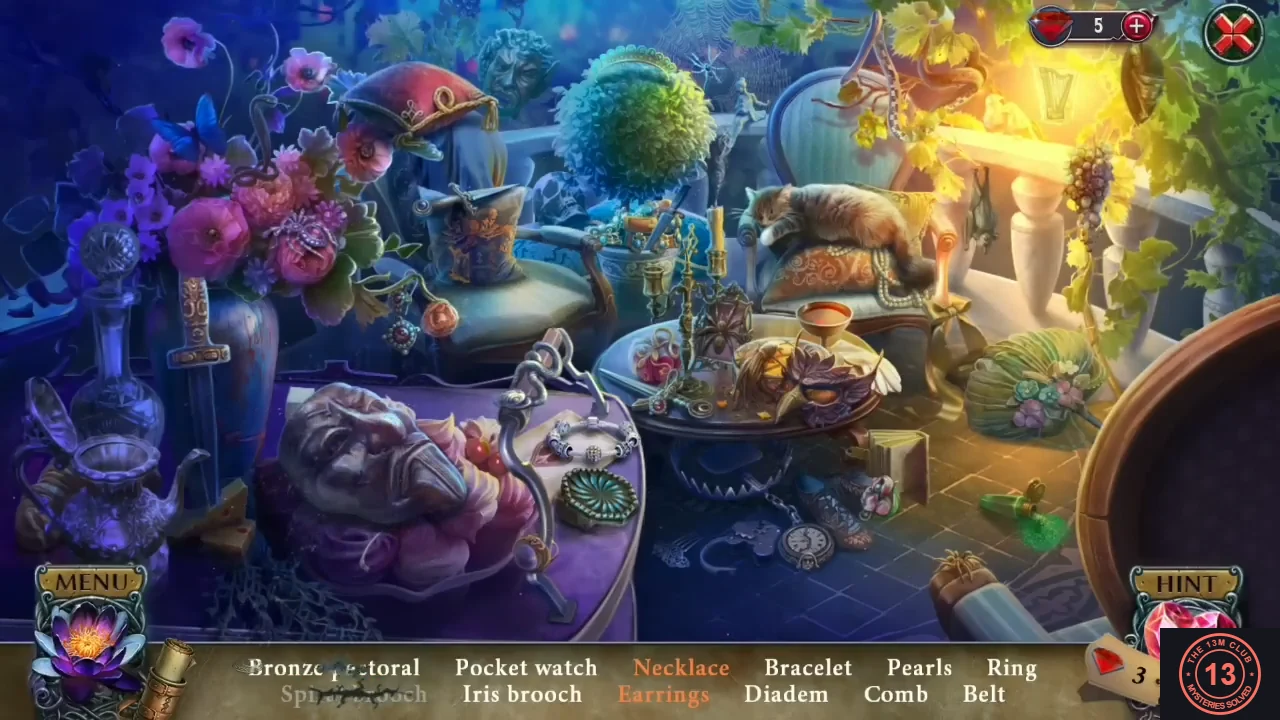
Search the office, unlock the parlour planter with the metal tree for a hidden-object scene, open the eagle shield and light the dark archway.
- In the office, open the drawer in the base of the aquarium on the right and take the silver snake ('What a weird gear. It will be hard to find another one like this.'). Tap the wall frame left of the window ('It's locked in place.') and take the small green ladder that drops out. Zoom into the symbol-tree board on the wall (star, heart, planet, drop, sun and leaf silhouettes with =, + and × nodes: 'There are lots of empty slots here.') and take the blue leaf piece at its lower left. The burner on the lab bench has no wick ('There's no wick.').
- Optional collectible: in the burner close-up, tap the small orange phoenix sitting on the bench at the lower right. The office tab drops from 2 to 1. The second one is in the next step.
- The second office phoenix is on the high shelf of glass bottles at the top right of the office main view. Tap it.
- Return to the parlour and put the metal tree into the tree-shaped lock in the planter alcove behind the sofa. The alcove opens into a hidden-object scene.
- Hidden-object scene (the view pans left and right). Items in orange need an extra action. Spiral brooch: the pink coiled brooch on the grey stone mask on the purple table (left). Bronze pectoral: tap the red cushion on the left armchair to lift it; the gold crescent pectoral lies on the seat. Belt: in the blue pot behind the candlestick on the round table. Pearls: on the cat's cushion (right). Pocket watch: on the floor in front of the round table. Iris brooch: on the slipper on the floor right of the round table. Earrings: one hangs from the flower stem left of the left armchair ('Where's the other earring?'); the other lies on the round table at the foot of the candlestick, beside the sword hilt. Bracelet: the silver charm bracelet on the purple table. Comb: on the floor under the round table by the chain. Necklace: tap the round topiary bush behind the left armchair; it opens to show the blue necklace. Diadem: the teal tiara on top of the topiary. Ring: the small gold ring with an orange-red stone at the lower end of the curved silver stand on the purple table (left), just in front of the stone mask and the pink pastries. Completing the list gives the count's watch ('It's broken, but I can repair it.').
- In the parlour, place the small ladder against the wall left of the sofa, below the eagle shield hanging high by the spiral stairs. Zoom into the shield and put the silver snake into the snake-shaped recess. The shield swings open. Read the note ('This is happening. I have to hide things from my own wife in my own home. I can't trust her anymore.') and take the blue crescent piece lying on it, then the orange triangular gems and the valve lever from the compartment. A squirrel jumps out and stays in the niche ('Whoa! Take it easy, little fellow!' / 'It's lost and agitated.').
- In the office, zoom into the burner on the lab bench ('The wick needs to be replaced.' / 'I could use this to refill a lamp with oil.'). Put the oil lamp on the hexagonal plate. The valve cannot be turned by hand, so attach the valve lever to it and turn it. The lamp fills and lights; take the lit lamp.
- Tap the dark archway at the back of the office ('It's really dark over there.') and use the lit lamp there. It hangs on the wall left of the arch and reveals a golden hanging mobile.
- Zoom into the mobile ('What if I hang something on that hook?'). Take the silver fancy gear at the lower left and the five small orange stars: one behind the large golden ring on the right, one at the top right among the right-hand ornaments, two at the top left among the gold ornaments, and one just above the golden ring.
The Display Cabinet, the Window Sill and the Count's Watch
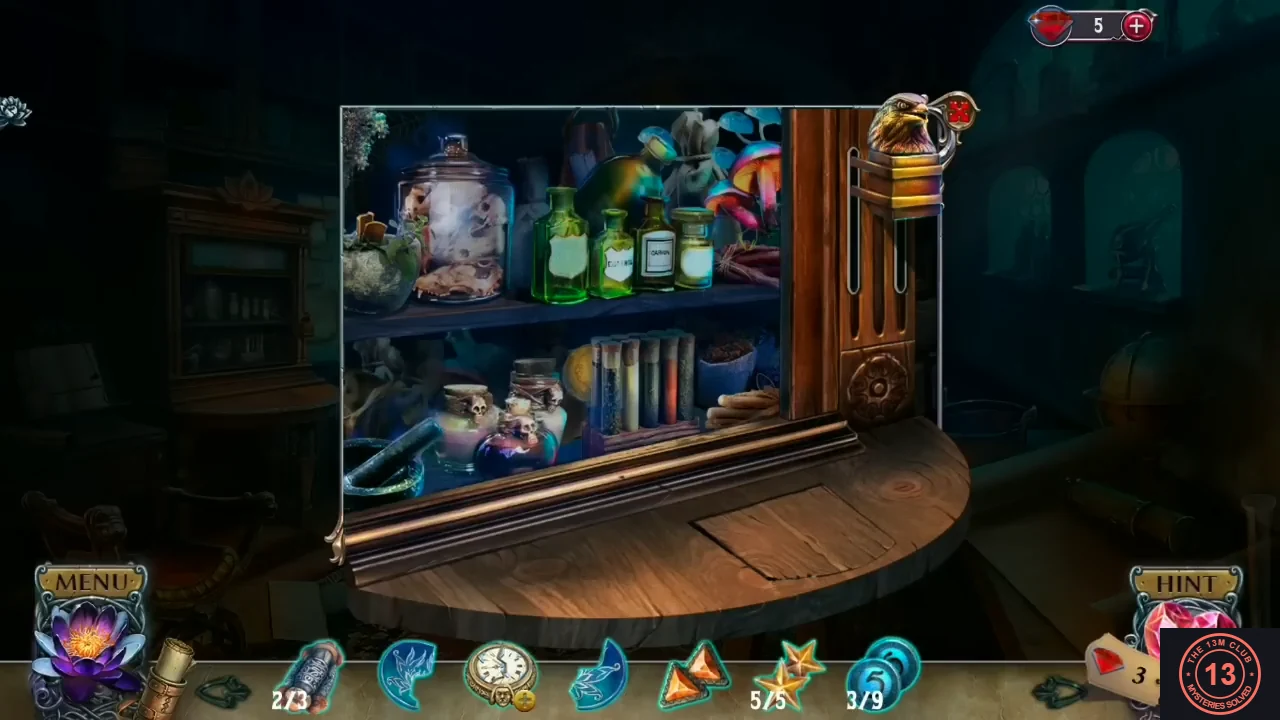
Power the desk display cabinet with the fancy gear, collect nine number tokens and the last ancient scroll, open the window-sill compartment, repair the count's watch and use it as a lens to find seven golden tokens.
- Zoom into the display cabinet on the left of the count's desk. Slide open the hatch at its base and put the fancy gear into the gear slot. The cabinet lights up and shows a set of shelves.
- The cabinet has three shelf scenes; the brass eagle handle on its right side moves each time the scene changes, so use it to turn to the next set of shelves. Collect the nine blue number tokens. Books: 3 on the books at the right, 4 at the lower left, 7 by the green bottles at the top. Alchemy: 8 on the left, 1 at the bottom by the bowl. Potions: 6 at the lower left by the green bottle, 5 at the upper centre by the cork jar, 2 by the clear bottle at the lower right, 9 at the upper left by the teal bottle. In the potions scene also tap the copper jar with a pink lid under the pink heart balloon, right of centre: it disappears and leaves the third ancient scroll.
- Return to the foyer window you opened with the stained-glass sliders. Put the three ancient scrolls into the three cylindrical holes in the sill. A compartment below opens; take the glass plate. It has etched lines and three numbered buttons on its right ('There's something drawn on it. I think I need more of these.'), so keep it for later.
- Open the count's watch from the inventory ('It's broken, but I can repair it.'). Place both blue glass pieces on its cracked face (the leaf-shaped piece from the office symbol board and the crescent piece from the eagle-shield note). The face becomes a blue lotus lens and the watch opens ('I bet it holds a secret of some sort, just like everything else in this place.').
- In the office, drag the count's watch over the room ('Move the count's watch over the room to find hidden objects.'). Collect the seven hidden golden tokens: the skull at the upper left of the archway, the planet on the ceiling above the armillary sphere, the star at the top left above the bookshelves, the leaf on the back wall left of the archway, the sun at the upper right above the windows, the drop by the window niches above the globe, and the heart on top of the desk display cabinet.
The Tree Equation Board and the Countess's Betrayal
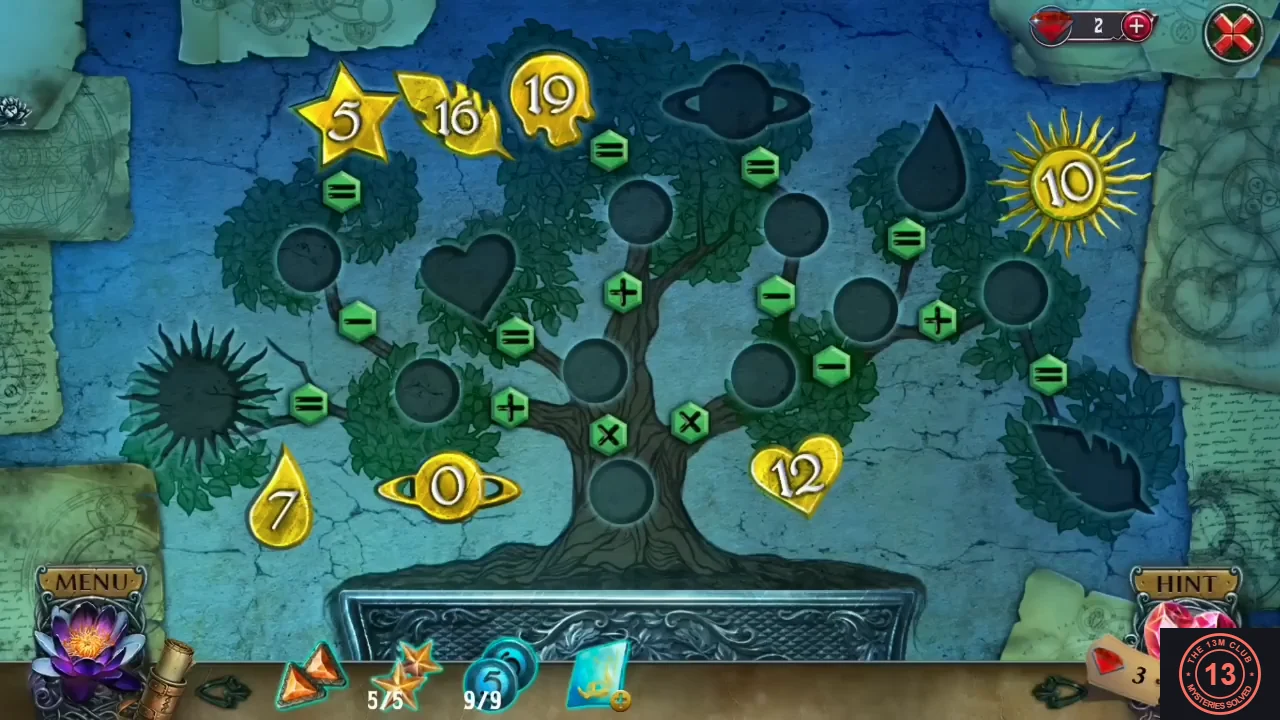
Solve the office tree equation board for the lotus antidote, survive the countess's betrayal and use her medallion to recover the second memory crystal.
- Zoom into the tree board on the office wall. Put each golden token on its matching gold silhouette (star 5, skull 19, planet 0, drop 7, sun 10, heart 12, leaf 16). Then place the blue tokens so that every equation is correct ('Place the tokens on the tree so that the equations are correct.'): trunk bottom 4; trunk left 3 (4 × 3 = 12, heart); the slot above it 7 (12 + 7 = 19, skull); far left 6 (4 + 6 = 10, sun); upper left 5 (10 − 5 = 5, star); trunk right 2 (4 × 2 = 8); under the planet 8 (8 − 8 = 0, planet); right 1 (8 − 1 = 7, drop); far right 9 (7 + 9 = 16, leaf). The pot opens; take the pink antidote.CODETrunk bottom 4 · trunk left 3 · above it 7 · far left 6 · upper left 5 · trunk right 2 · under planet 8 · right 1 · far right 9
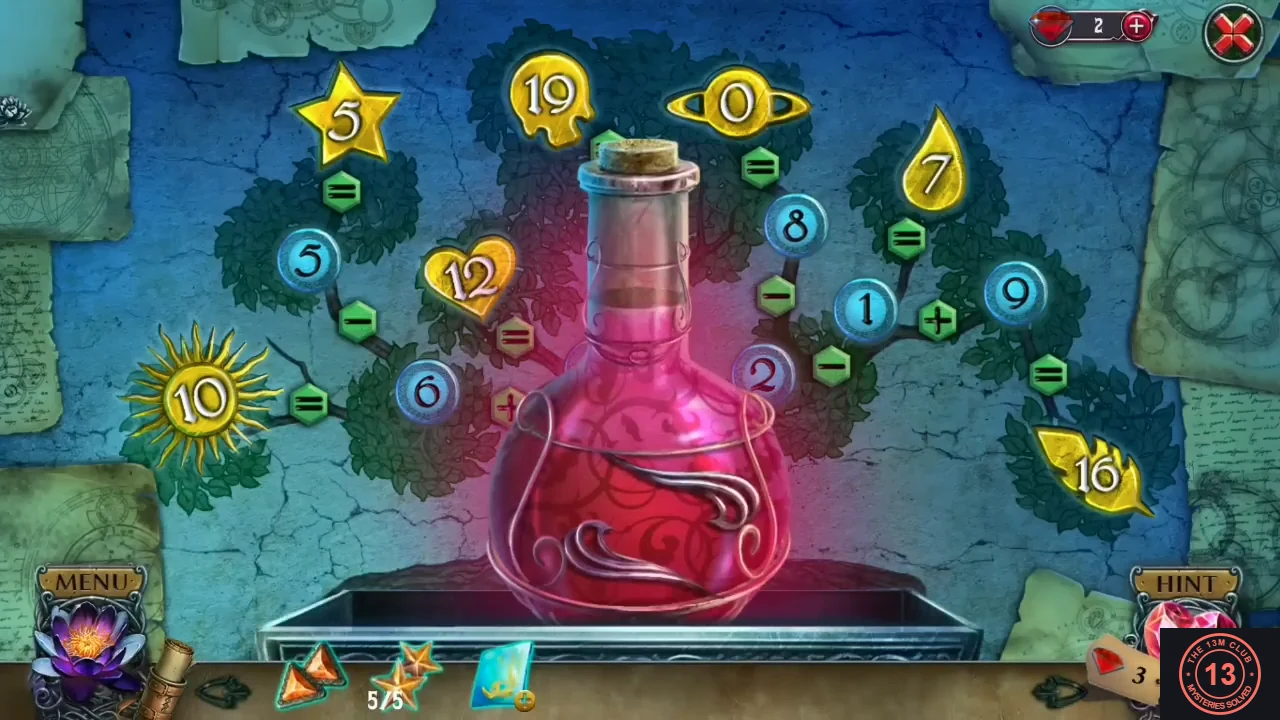
The finished tree board; the pot opens and releases the pink antidote. - Bring the antidote to the countess in the parlour. She reveals that the antidote will end her own curse, not Christina's ('I'll get her youth, and she'll die.'), blows green powder at you and leaves with it.
- Zoom into the sofa and take the red-and-gold countess's medallion she left behind.
- In the foyer, zoom into the portrait diptych and place the countess's medallion on the countess's portrait (left). Her panel opens; take the second memory crystal.
- Go to the crystal tree pedestal in the foyer and put the second memory crystal into the empty pentagonal socket. It replays the countess with the count: 'It's all your fault! You should have warned me about this old fool's curse!'
The Squirrel, the Golden Globe and the Mobile
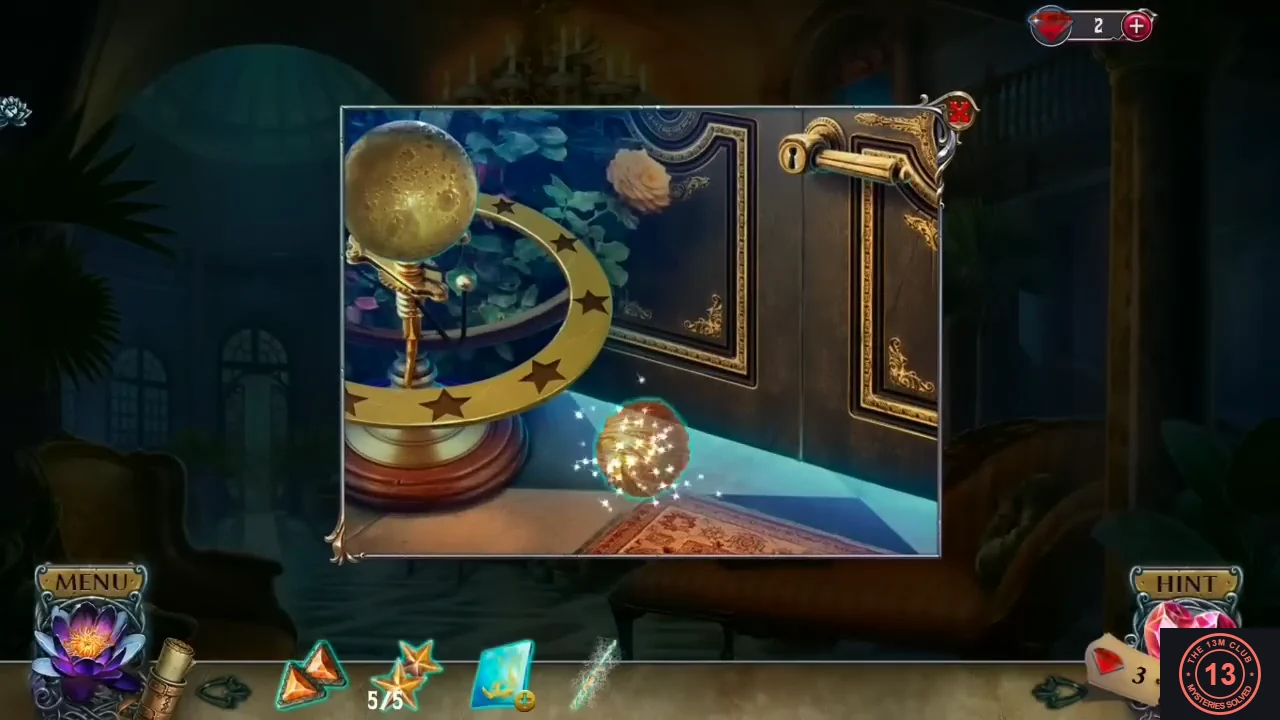
Collect the nuts from the crystal pedestal, feed the squirrel for a lockpick, restore the stars on the golden globe and hang the golden moon on the office mobile.
- After the second flashback, the crystal pedestal in the foyer leaves a handful of hazelnuts. Take the nuts.
- In the parlour, zoom into the open eagle-shield niche where the squirrel sits and give it the nuts. The squirrel takes a nut and leaves. A lockpick is stuck in a spider web inside the niche; take the lockpick in webs.
- Still in the parlour, zoom into the golden globe on its stand right of the spiral staircase, left of the double doors under the balcony. Pick up the orange ball of yarn from the floor in this close-up. Then place the five stars from the office mobile into the star-shaped recesses on the crescent track ('The stars are gone.'). The moon glows; take the golden moon.
- Return to the office and zoom into the golden mobile in the archway. Hang the golden moon on the empty hook. A pale-blue glass card falls from the top of the mobile; take it (glass card 1/2).
- In the office, zoom into the tilted glass panel in a frame on a stand in front of the back archway, left of the bench ('It's locked in place.'). Put the orange triangular gems into the two triangular recesses at its top corners. The frame opens; take the second glass card (2/2).
The Glass Plates and the Count's Antidote
Combine the glass cards with the glass plate, align the three plates to reveal the antidote recipe, gather the ingredients in the display cabinet, brew the cure and open the countess's bedroom.
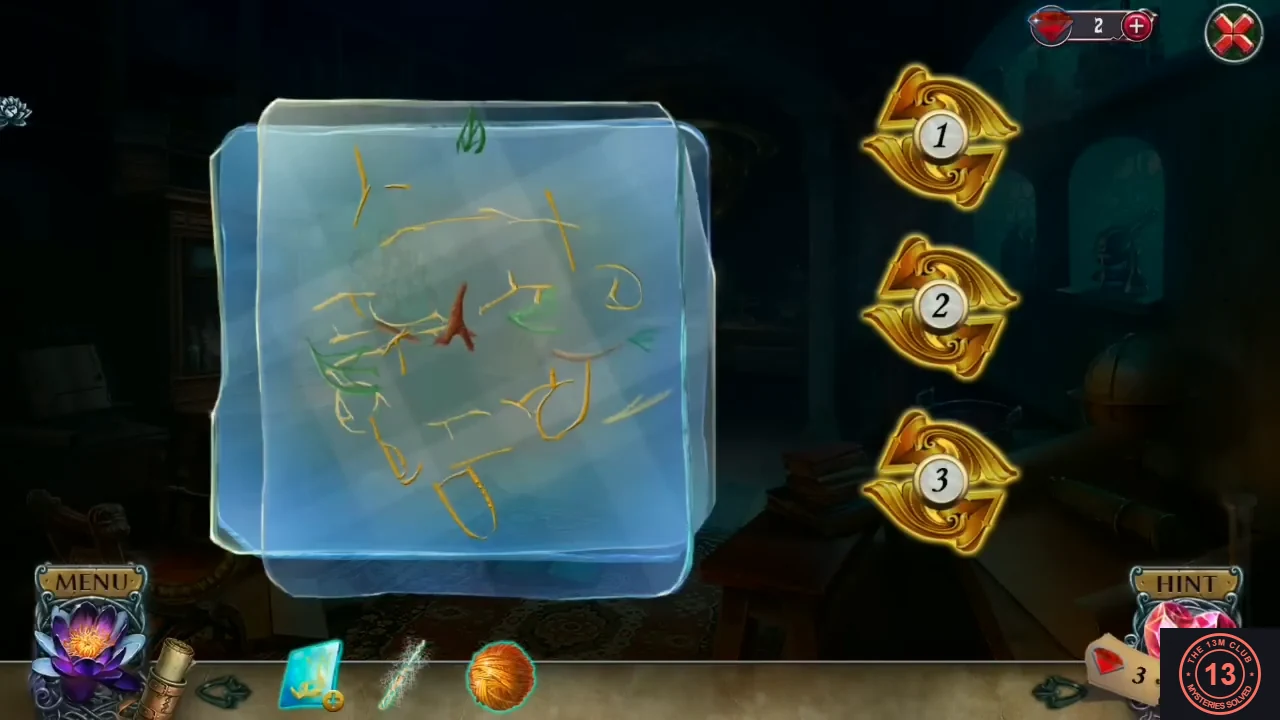
- With both glass cards, the cards combine with the glass plate into three stacked plates with gold buttons 1, 2 and 3 on the right. Each button rotates one plate. Press the buttons until all three plates stand upright and square and the lines form one drawing: two gold-outlined hands cupped together with their fingers at the bottom, a red root in the middle just above the palms and a green-leaved stem rising to the top. The plates separate and reveal the count's note ('It's a pity I have to make this recipe to save myself if my own wife decides to poison me.') and the recipe: 3 × Gold, 2 × Hearts, 2 × Blue gems, 3 × Red berries. Take the antidote recipe.CODERecipe: 3 × Gold · 2 × Hearts · 2 × Blue gems · 3 × Red berries
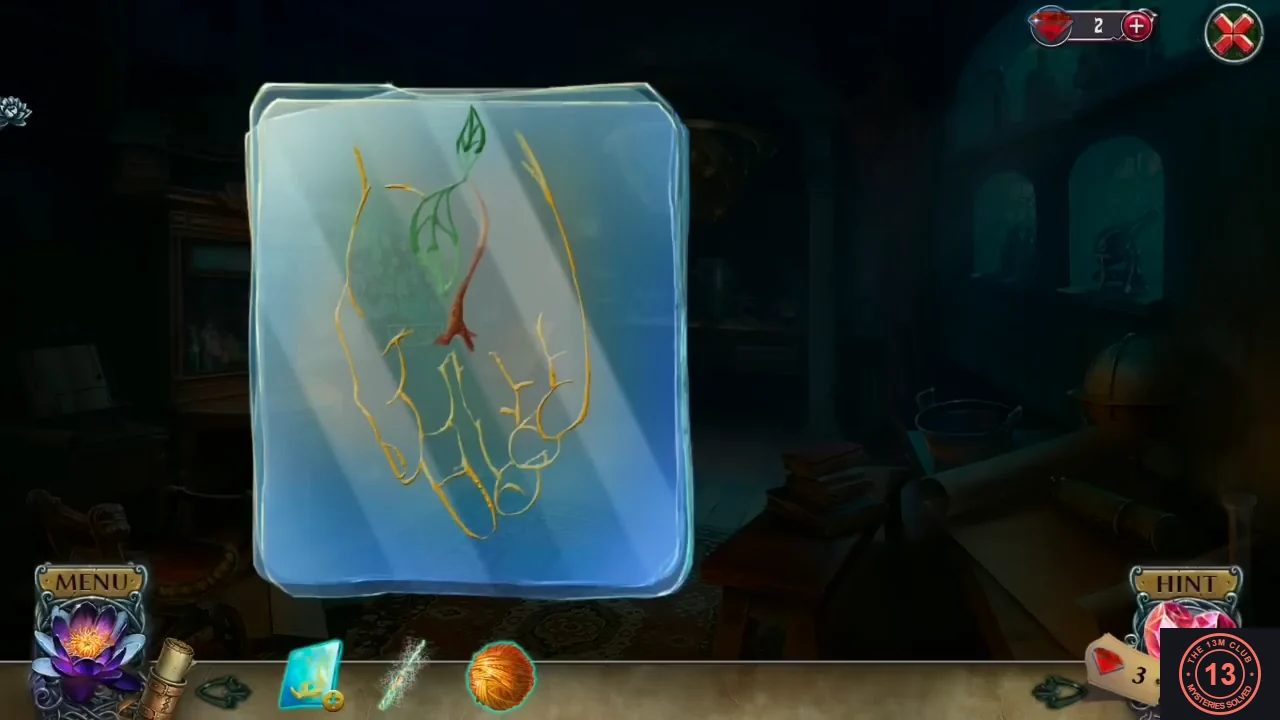
The aligned plates form one drawing. - Zoom into the display cabinet in the office and place the antidote recipe at its front. Collect the ten ingredients (they drop onto the card). Potions shelves: the pink heart balloon at the top; three green sprigs with red berries (top by the skull, middle left of the cork jar, lower right by the clear bottle); the gold half-coin at the top left, right of the green bottle; the blue crystal at the lower left behind the red mushrooms. Use the eagle handle to turn to the books shelves: the gold coin on the lower shelf left of the test-tube rack. Turn to the alchemy shelves: the blue crystal on the left, the gold coin at the far left by the purple flowers, and the red heart inside the large round flask at the top. Take the ingredients.
- Tap the burner in the office ('The wick needs to be replaced.'). Put the orange yarn ball under the bowl as a new wick; it lights. Add the ingredients to the blue bowl. The green antidote is ready and you drink it ('I feel better. Now I have to find the countess!').
- Hold the lockpick in webs to the burner flame. The webs burn away and leave a clean lockpick ('It's a small but useful tool.'). A short cutscene shows Christina's lotus losing petals ('Oh no! I might be too late!'); afterwards a deadly dagger figurine and a black lotus are added to your inventory.
- Go back to the parlour and zoom into the golden globe again. Insert the lockpick into the keyhole of the door beside the globe. The door opens into the countess's bedroom.
The Countess's Bedroom
Spot the countess from the balcony, start collecting cloth, open the little box on the table, revive the catnip and lure the cat away, and set the first octagonal emblem into the tiled table.
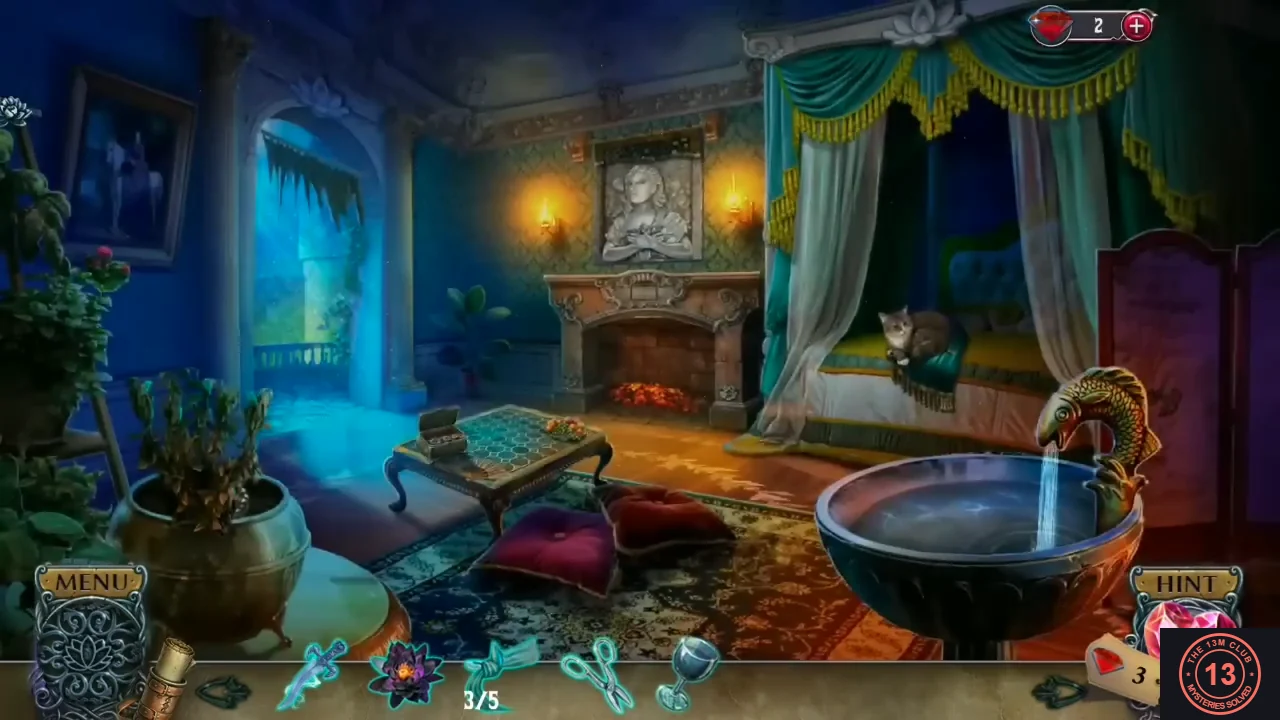
- Zoom into the balcony through the open window on the left. In the cutscene the countess stands far below holding a red vial ('You're still alive! It doesn't matter. You won't stop me.' / 'I'll remove the curse the count put on me and get Christina's youth!'). A cloth counter (1/5) appears in your inventory. In the balcony close-up, take the golden spool emblem from the left of the rail and the green cloth draped over the rail (cloth 2/5).
- Zoom into the low table with hexagonal tiles in the middle of the room. Place the spool emblem into the recess on the lid of the small box; the box opens. Take the scissors from the box and the wine glass from the table. Note the octagonal empty slots in the tile pattern.
- Zoom into the tapestry above the fireplace ('I need more cloth, but this is secured tightly.') and cut it down with the scissors: cloth 3/5. A stone relief of a woman with crossed arms is revealed; something under her hands wiggles but is stuck for now.
- Fill the wine glass with water at the fountain basin on the right.
- Zoom into the fireplace and take the bronze bird from the carving on the mantel. The smouldering fire cannot be put out with the water yet ('The fire is smoldering.').
- Water the wilted plant in the brass pot at the lower left of the bedroom ('This catnip is almost dead.'). It grows; take the catnip, then the silver octagonal emblem left lying in the pot.
- Zoom into the cat on the bed and give it the catnip. The cat leaves; take the teal throw from the cushion (cloth 4/5).
- Back at the hexagonal-tile table, place the octagonal emblem into one of the two empty octagonal slots. One slot is still empty.
- Optional collectible: the bedroom hides 2 phoenixes. Tap the ceiling cornice at the top, above the wall corner left of the gold panel and sconce, and the rug between the red cushion and the basin (lower centre).
Parlour Hidden-Object Scene: Daggers, Spiders and Snakes
Go back up to the parlour, where the hidden-object scene in the planter alcove behind the sofa sparkles again. This scene pans left and right, so drag the view to reach both ends.
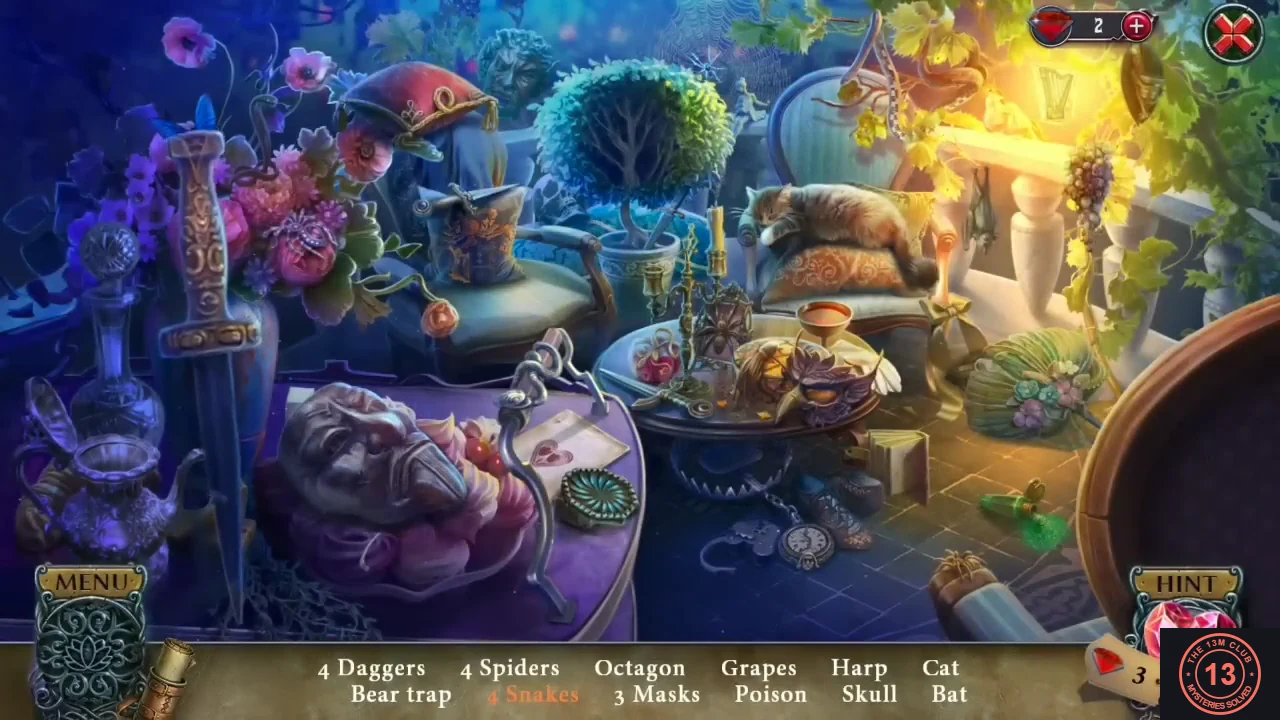
- In the parlour, tap the sparkling planter alcove behind the sofa to open the scene. The list: 4 Daggers, 4 Spiders, Octagon, Grapes, Harp, Cat, Bear trap, 4 Snakes, 3 Masks, Poison, Skull, Bat. Find: the big dagger standing in front of the blue vase on the left; the grey stone mask on the purple table; the octagon (teal octagonal box on the purple table, right of the stone mask); the grey stone statue face behind the red hat (mask); the bear trap under the round table; the poison (green bottle on the floor at the lower right); the grapes on the balustrade pillar at the upper right.
- Snakes are highlighted on the list as an interactive item. Tap the folded green fan on the floor right of the round table: it is really a coiled green snake (snake 1). The other snakes: a silver snake coiled on the curved metal stand over the purple table; an orange snake on the back/cushion of the right armchair; a dark snake rearing up in the left bouquet, just right of the blue butterfly.
- Find the rest: spider on the pink roses of the left bouquet; dagger lying on the embroidered cushion under the red hat; small spider at the front-left edge of the round table; purple Venetian mask on the round table; the cat asleep on the right armchair cushion (it jumps away); a pale blue spider on the cobweb just above the top right of the round topiary tree, left of the small statuette on the balustrade; dagger on the purple table's right edge by the curved stand; the bat hanging upside down from the balustrade right of the chair; the blue skull on the round table between the gold bowl and the gloves; the silver dagger stuck in the pot of the topiary tree; the harp picture on the small plaque hanging behind the vines at the top right above the balustrade; and the small brown spider on the floor below the round table, left of the pocket watch and slippers. The scene rewards a second octagonal emblem.
The Lotus Book and the Climb Down
Complete the tiled table with the second emblem, open the count's lotus book with the dagger figurine, finish collecting cloth and climb down from the balcony after the countess.
- Return to the bedroom and zoom into the hexagonal-tile table. Place the second octagonal emblem into the last empty octagonal slot. A panel in the table slides open; take the ornate book with the lotus cover.
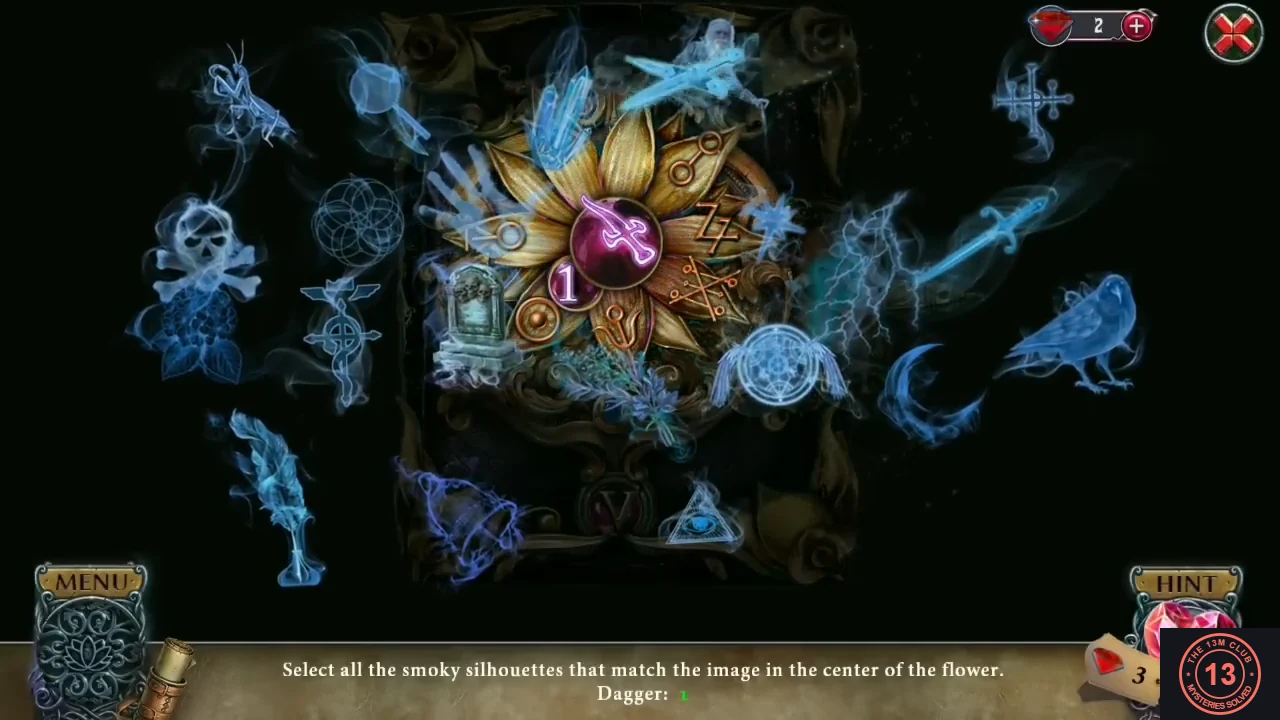
- Open the lotus book from the inventory. Place the deadly dagger figurine into the dagger-shaped recess on the right edge of the cover. The cover becomes a silhouette game: 'Select all the smoky silhouettes that match the image in the center of the flower.' Tap the three dagger silhouettes, then the three portraits of Paul, then the three portraits of the countess (the drifting silhouettes are not in fixed positions). The book opens: a story page ('The count decided to use the lotus on Paul to gain his youth...'; 'That's how this story started. My love of Lis caused all this, and it's my duty to keep her alive. It's my burden, too.'). Take the star pins from the hollow in the right page.
- Tap the green cloth hanging at the top right of the bed canopy to take it: cloth 5/5, which completes a length of cloth. (The star pins are not usable on the stone relief yet: 'My mind's a little cloudy.')
- Zoom into the balcony on the left and tie the cloth to the railing. Climb down into the castle garden. At the gate, the countess taunts you ('It's too late for Christina. Leave my castle and say goodbye to her while you can!').