The snake dungeon side room
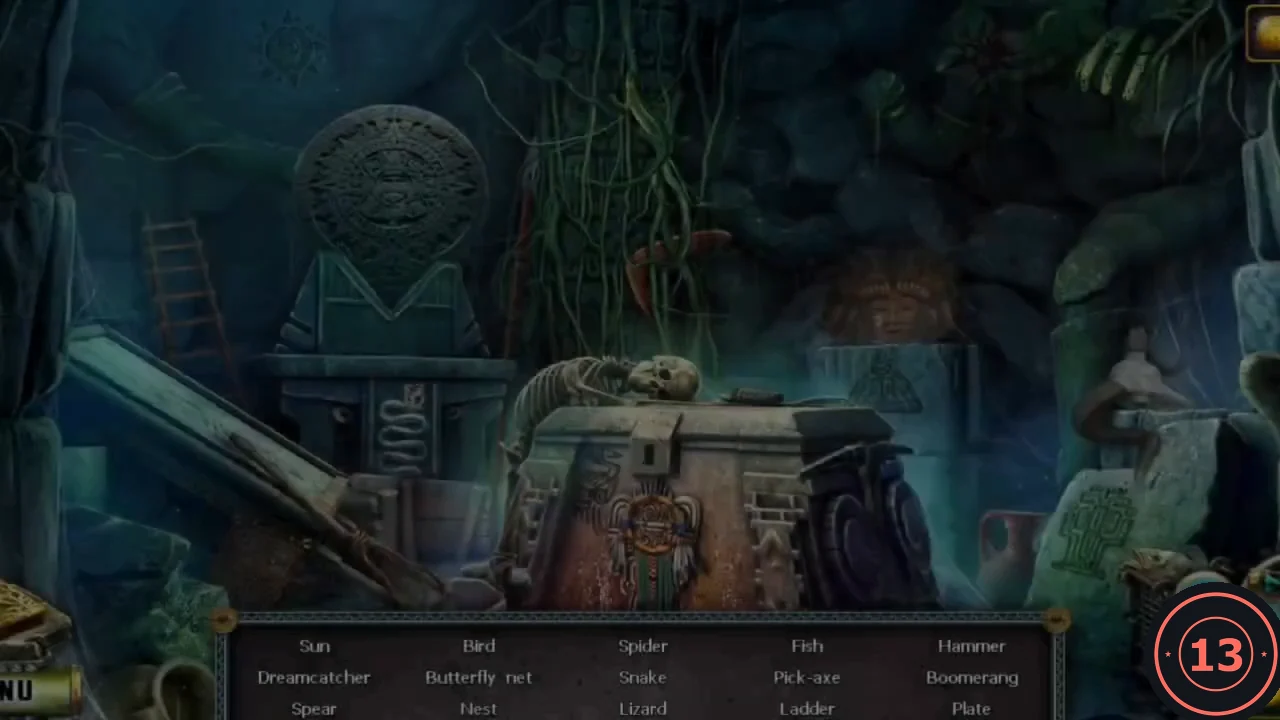
The Symbol key door leads to a side room with a word-list hidden-object scene around a large carved stone chest. The scene is slightly taller than the screen; it scrolls up and down as you search near the top or bottom edge.
- Find these 14 items: Sun – the sun carved into the rock wall above and left of the round calendar stone. Ladder – leaning against the wall left of the calendar stone. Boomerang – the orange boomerang caught in the hanging vines above the carved mask. Butterfly net – lying at the lower left beside the fallen stone slab; taking it uncovers the Nest with blue eggs underneath. Dreamcatcher – hanging on the front of the chest. Snake – the serpent carved on the stone pedestal below the calendar stone, left of the chest. Pick-axe – leaning against the right end of the chest. Fish – poking out of the woven basket at the lower right. Spider – the dark red spider on the rocks at the top right. Lizard – the green lizard on the vines at the top centre. Spear – the thin red spear standing upright between the calendar stone and the vines. Bird – the black bird drawn on the front of the chest, above and left of the carved figure. Hammer – the stone-headed hammer tied with rope, leaning against the front left corner of the chest.
- Tap the skeleton lying on the chest lid to clear it away. Then tap the latch at the front of the lid to open the chest, zoom inside and take the silver Plate lying on the gold coins. When the last item is found the scene closes and you receive the Spear key.
Switch off the force field and reach the altar
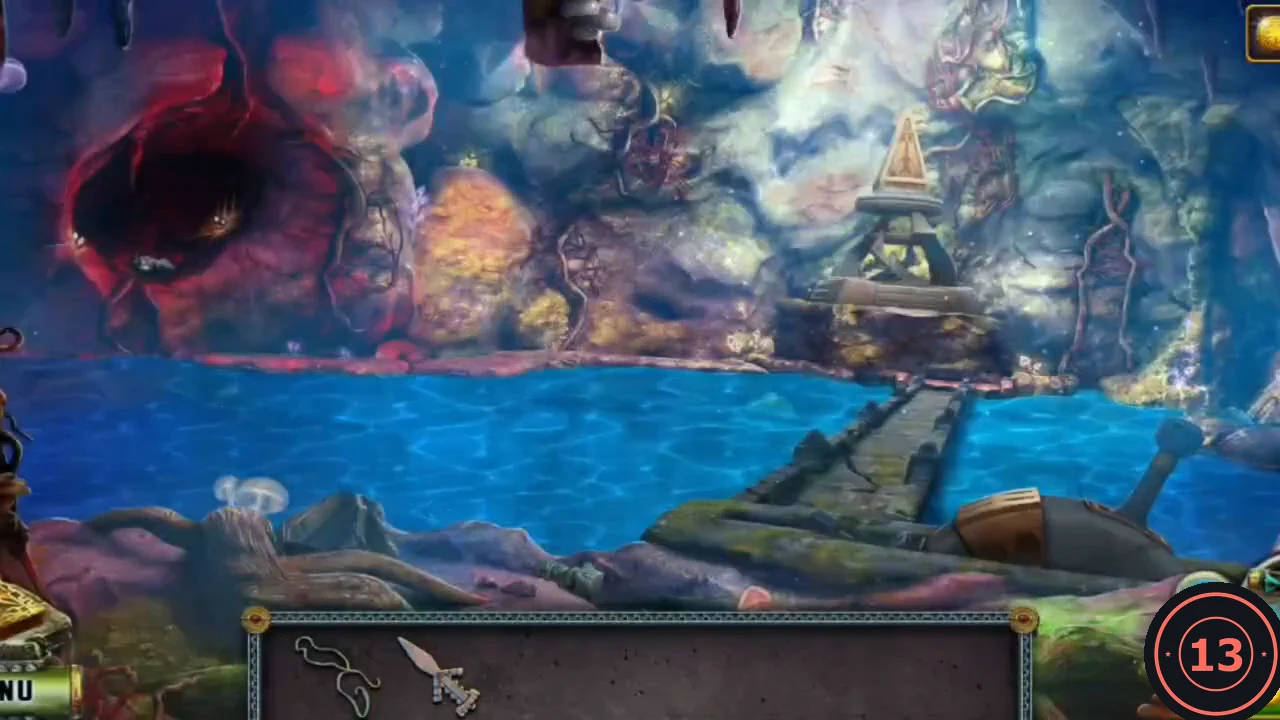
The Spear key opens the small pyramid across the reservoir. With the force field off you can climb down to the boy.
- Go back to the underground reservoir, cross the bridge and put the Spear key into the spear-shaped recess of the pyramid door. Take the Force-field deactivator from inside.
- Return to the Pyramid top and climb to the summit. Put the Force-field deactivator into the square hole of the force-field mechanism at the front right. The field switches off and the task Release the boy begins.
- Zoom into the opening above the boy's pit, tie the Rope there and climb down into the altar chamber. The kidnapper is there.
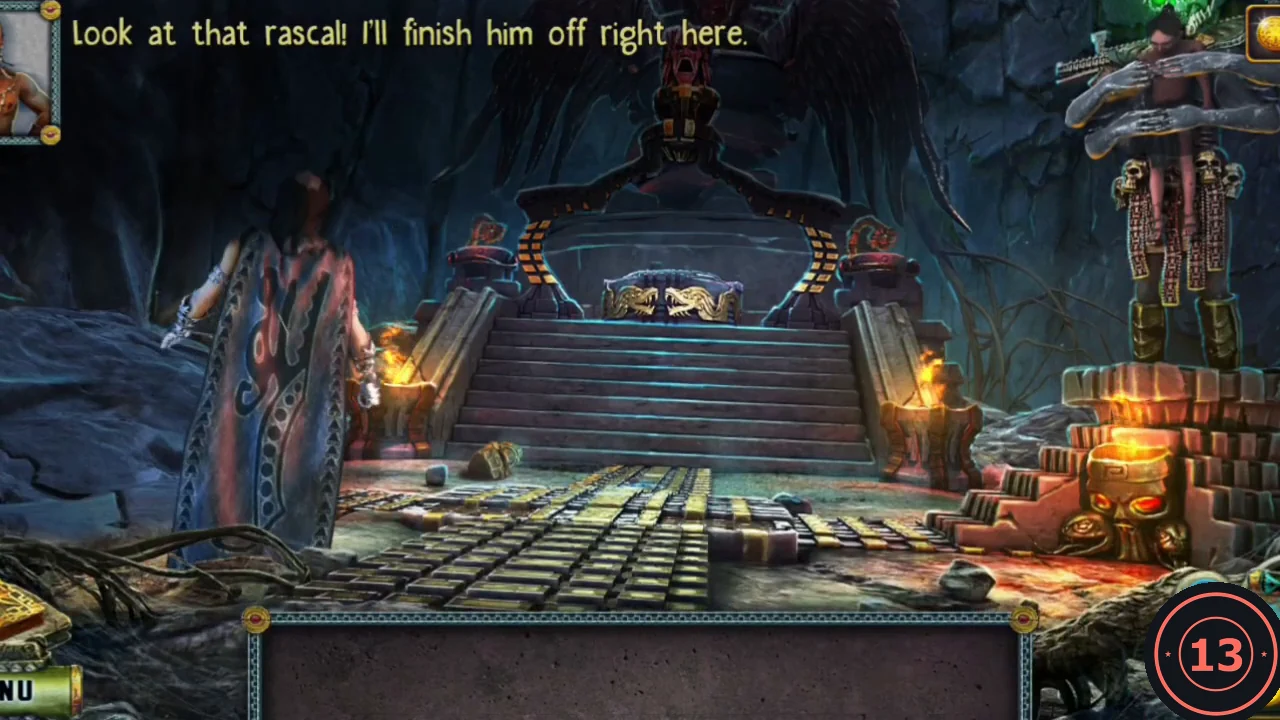
The altar chamber below the summit. - Zoom into the round floor disc with the gold serpent, left of the stairs, and take the Cube. The comment here notes that this mechanism is wired directly to the dragon statue holding the boy.
- Zoom into the statue at the top whose hands hold the boy and take the Shaped button.
- Zoom into the bag of the kidnapper lying on the floor at the left. Put the Shaped button into the clasp, open the bag and take the Hint (a parchment with four symbols).
Set the symbol tiles on the pyramid face
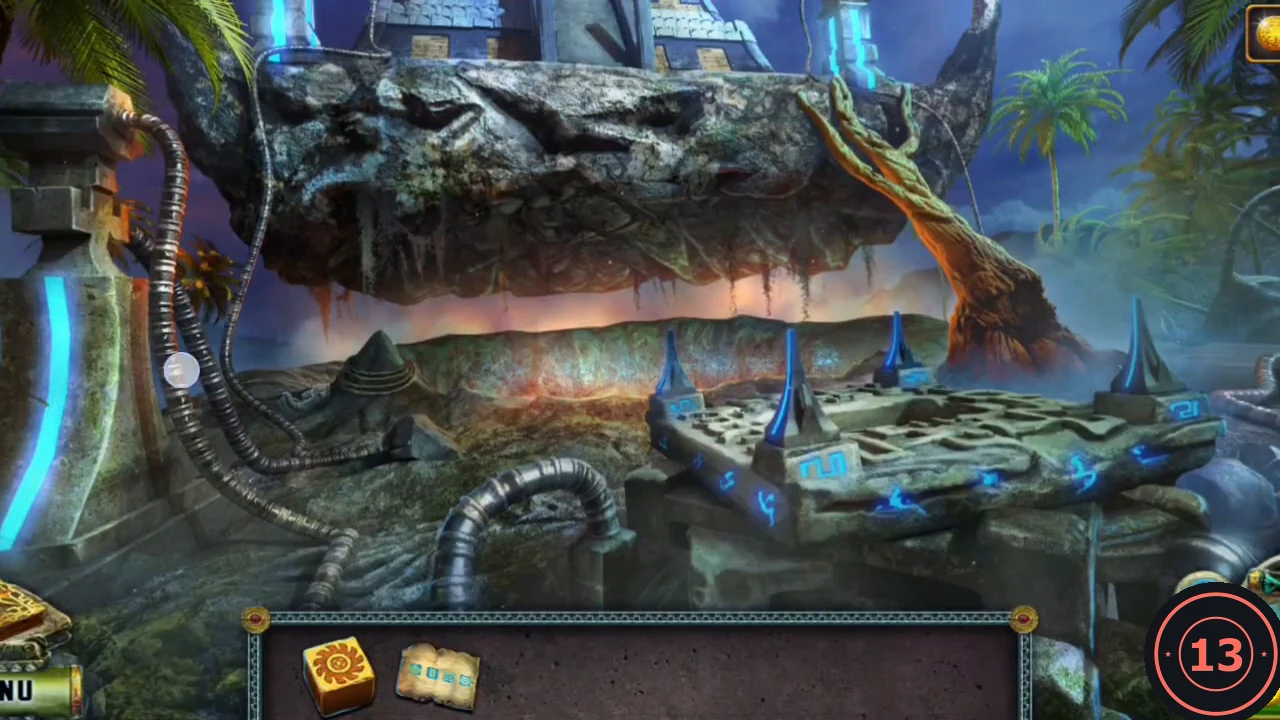
Rule: clicking a tile changes its symbol. Solved: the four tiles match the Hint from left to right. The target comes from the Hint, so read it from your own parchment; RESET is available.
- Climb back up to the summit and zoom into the stepped pyramid face at the top centre. Place the Cube in the empty slot beside the three tiles to get four symbol tiles, then place the Hint to show the target.
- Click each tile until the row reads, from left to right: winged figure, column (ladder-like glyph), spiral, sun. The recorded starting row was column, spiral, sun, column; if yours starts differently, keep clicking each tile until it shows the Hint's symbol. The tiles glow and a passage opens.
The pyramid shrine
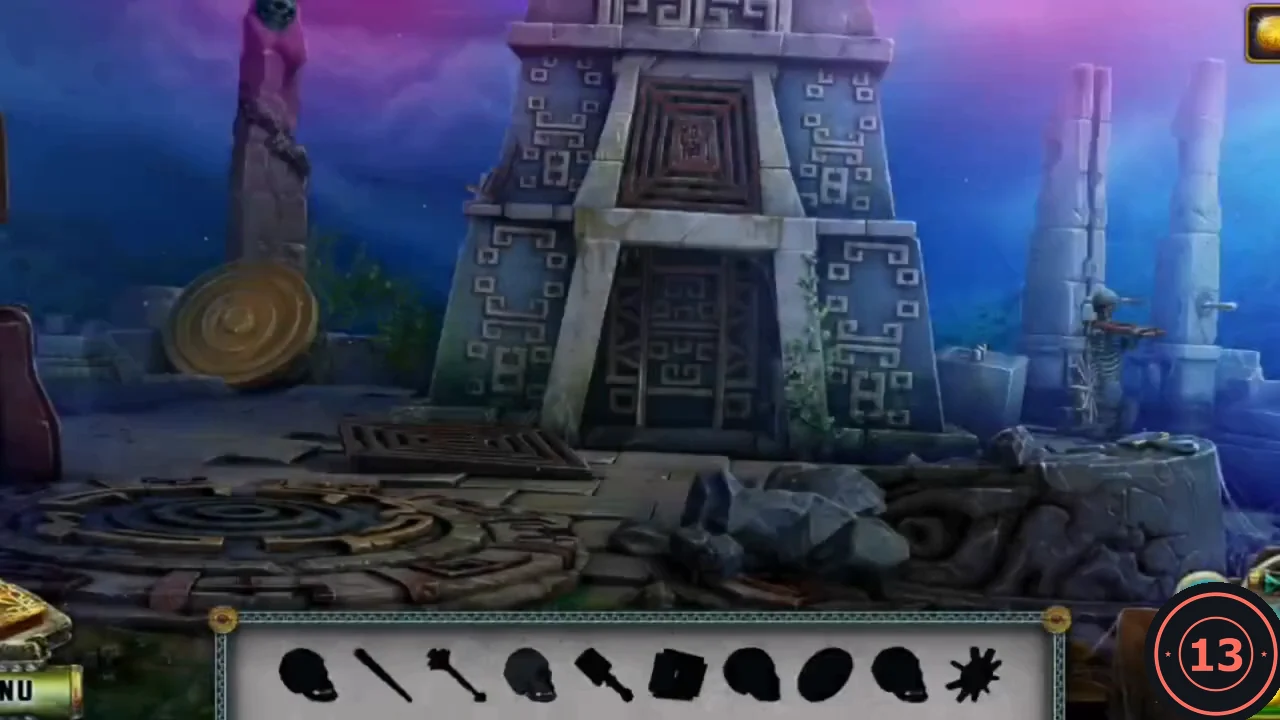
An interactive hidden-object scene: the bar at the bottom shows silhouettes of the items to collect and use. The shrine has a red stepped door in the centre, a gold disc on the left wall, a round floor lock at the front left, a tall red pillar on the left and a chained skeleton at the right.
- Zoom into the rock pile and take a Skull. Zoom into the round floor lock and take the blue spiked Mace at its top right. Take the gold disc (Altar part) from the left wall.
- Zoom into the skeleton chained to the stone pillar on the right. Take the spiked star (Flywheel) from its chest, then hit it with the Mace. It drops a Long stick and a second Skull.
- Zoom into the top of the red pillar and knock the skull down with the Long stick to get the third Skull.
- Place the Altar part on the round floor lock. A round altar rises with four outer spots, each marked with a small skull picture; the spot at the bottom right shows a blue glass skull. Put the three Skulls on the other three spots, matching the pictures, and leave the blue spot empty for now. A carved-face stone altar appears at the front left.
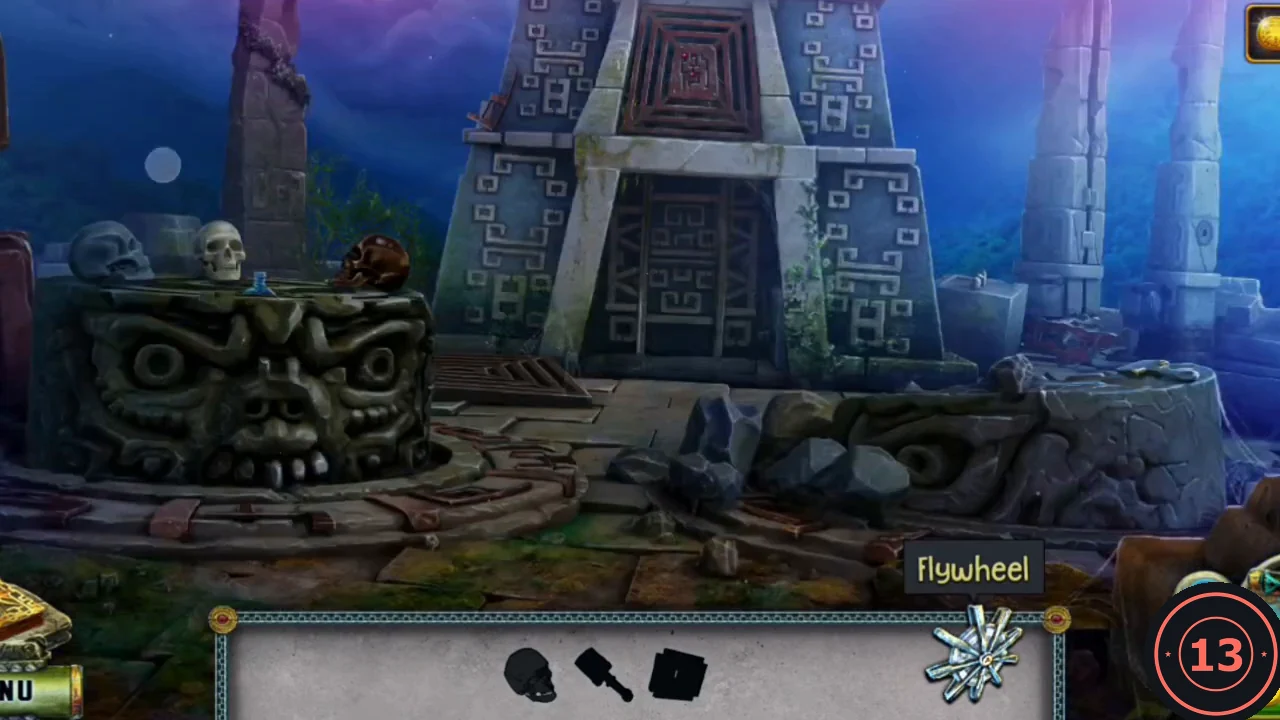
The carved-face altar has appeared at the front left. - Take the Shovel lying beside the base of the carved-face altar. Zoom into the door and scrape the moss off its left edge with the Shovel to reveal a square maze plate with small blocks.
- Zoom into the floor grate in front of the door (the elevator shaft) and attach the Flywheel. The lift comes up with a Glass skull. Put the Glass skull on the empty blue spot of the round altar; the centre of the altar opens. Take the Switch from it.
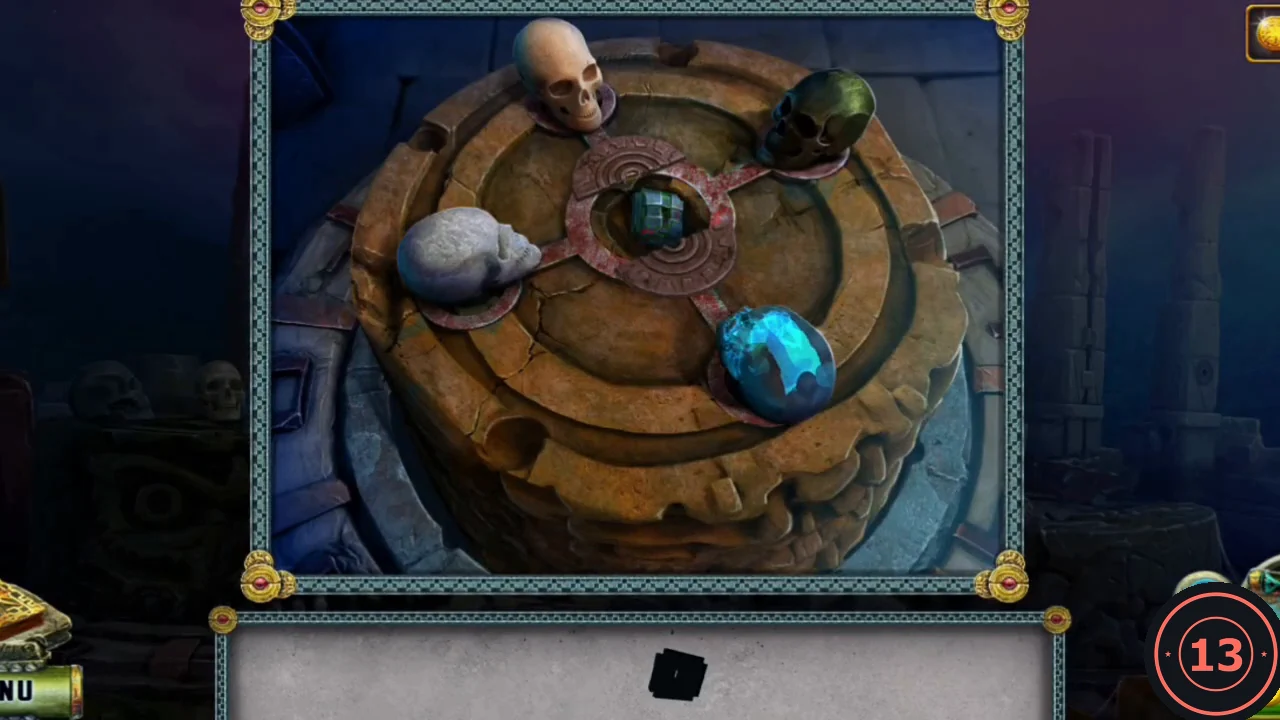
All four skulls in place: the centre opens and holds the Switch.
Slide the blocks on the shrine door
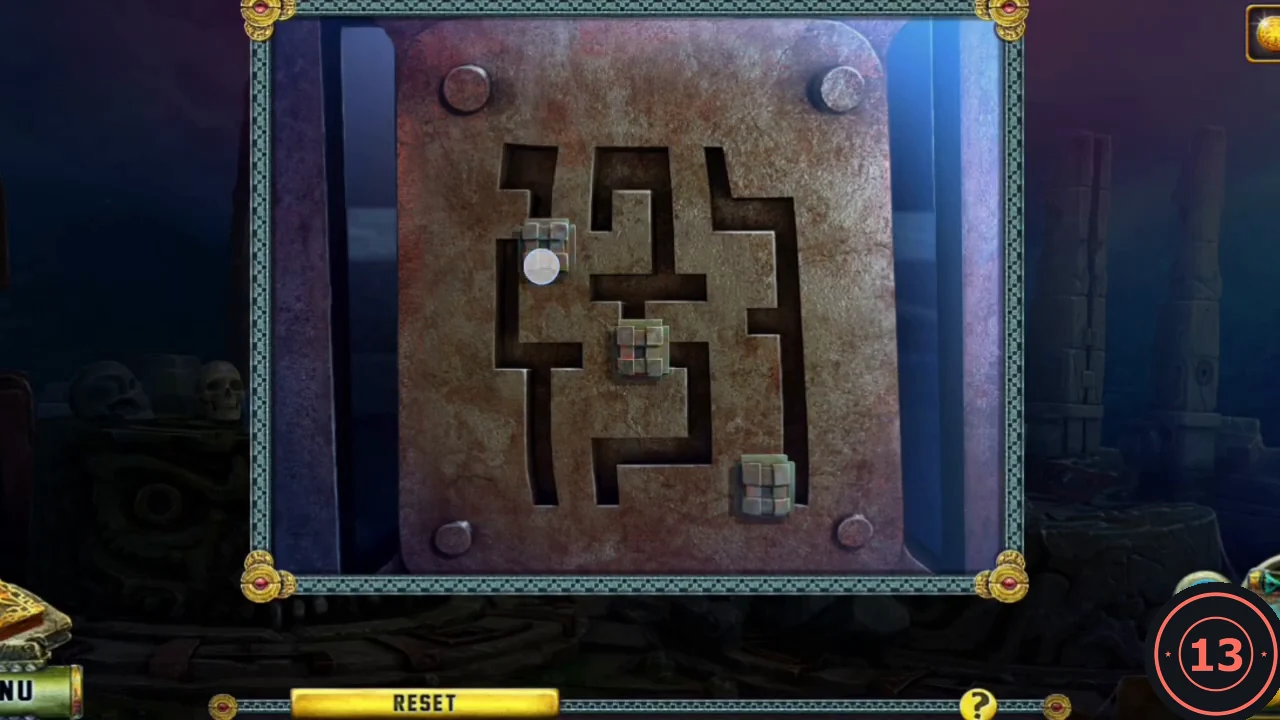
Rule: drag each block along the grooves of the maze plate. Clue: the carved stone slab to the left of the door shows the same maze with three dots marking where the blocks must end. RESET is available.
- Zoom into the door and place the Switch on the maze plate. Three blocks sit in the grooves: one at the top left above the left groove, one in the centre and one at the bottom of the right groove.
- Drag the top-left block down the left groove and right into the short branch left of the centre. Drag the centre block up the central groove into the top loop and on to its upper left. Drag the bottom-right block up the right groove into its side branch halfway up. The three blocks now sit on the three dots of the carved slab and the door opens.
- Take the Dragon figurine from the inner chamber.
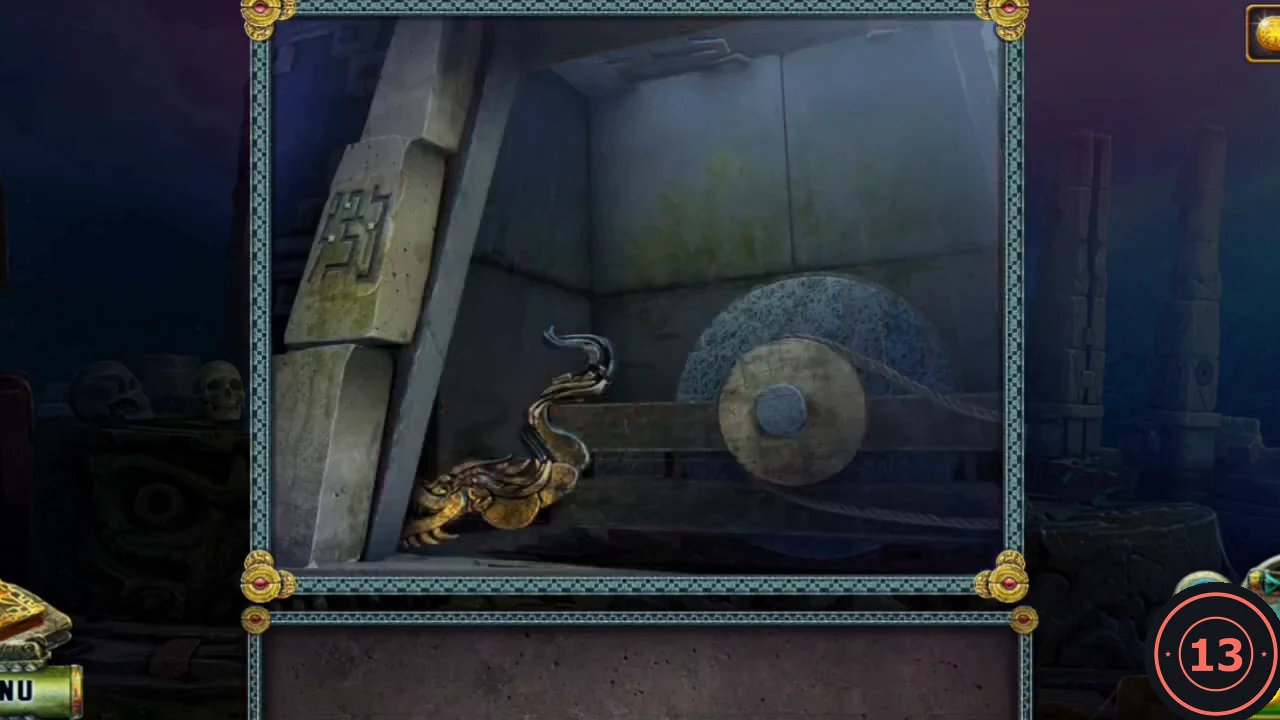
The Dragon figurine in the inner chamber.
Restore the Ancient Dragon and free the boy
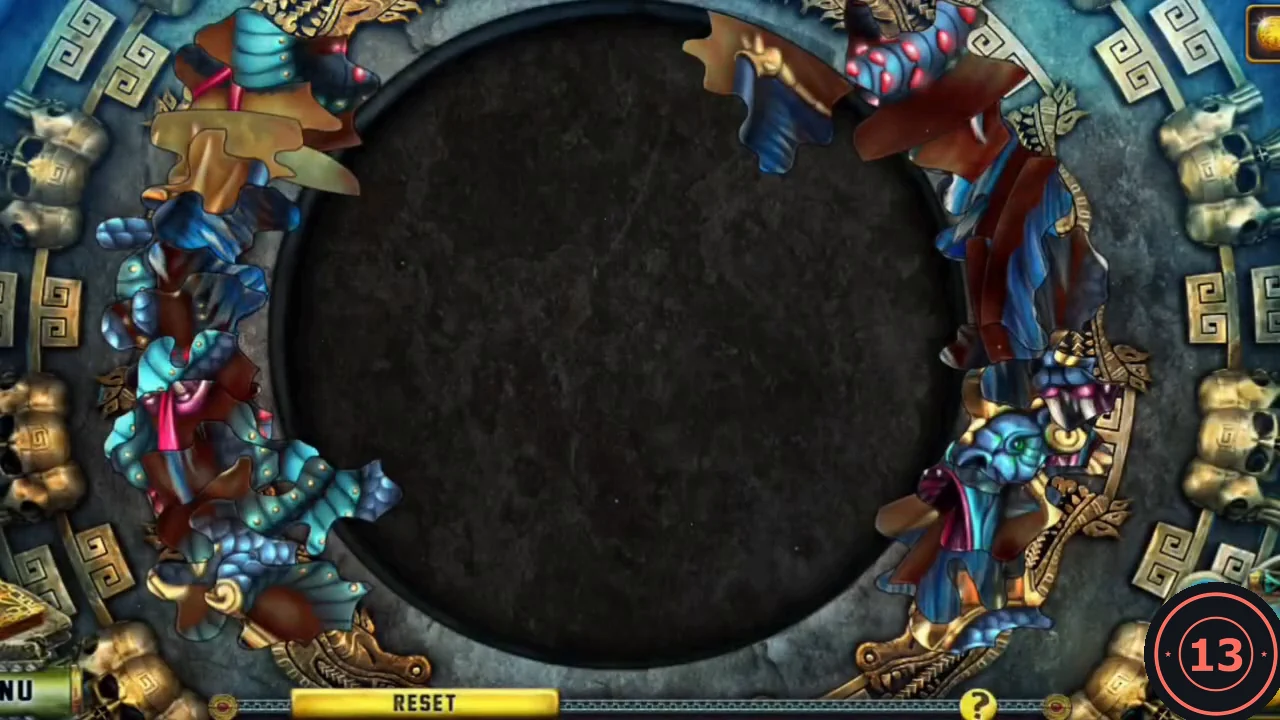
Rule: drag the pieces from the stacks at the left and right edges into the dark circle to restore the picture. Pieces were placed upright; no rotation was seen in the recording. This is a long puzzle, so the guide describes the target picture rather than every piece. RESET is available.
- Leave the shrine, climb down to the altar chamber and place the Dragon figurine on the round floor disc beside the gold serpent. A round jigsaw opens.
- Complete the picture: a feathered blue serpent-dragon with a gold spiked crest and an open fanged mouth with a pink tongue at the left of centre, blue wings at the top and right, and a teal coiled body with red spots at the lower right. Place the pieces with distinctive features first (the eye, crest and open mouth), then the wing and coil edges, and fill the plain areas last. When the last piece is in place, the serpent breathes fire.
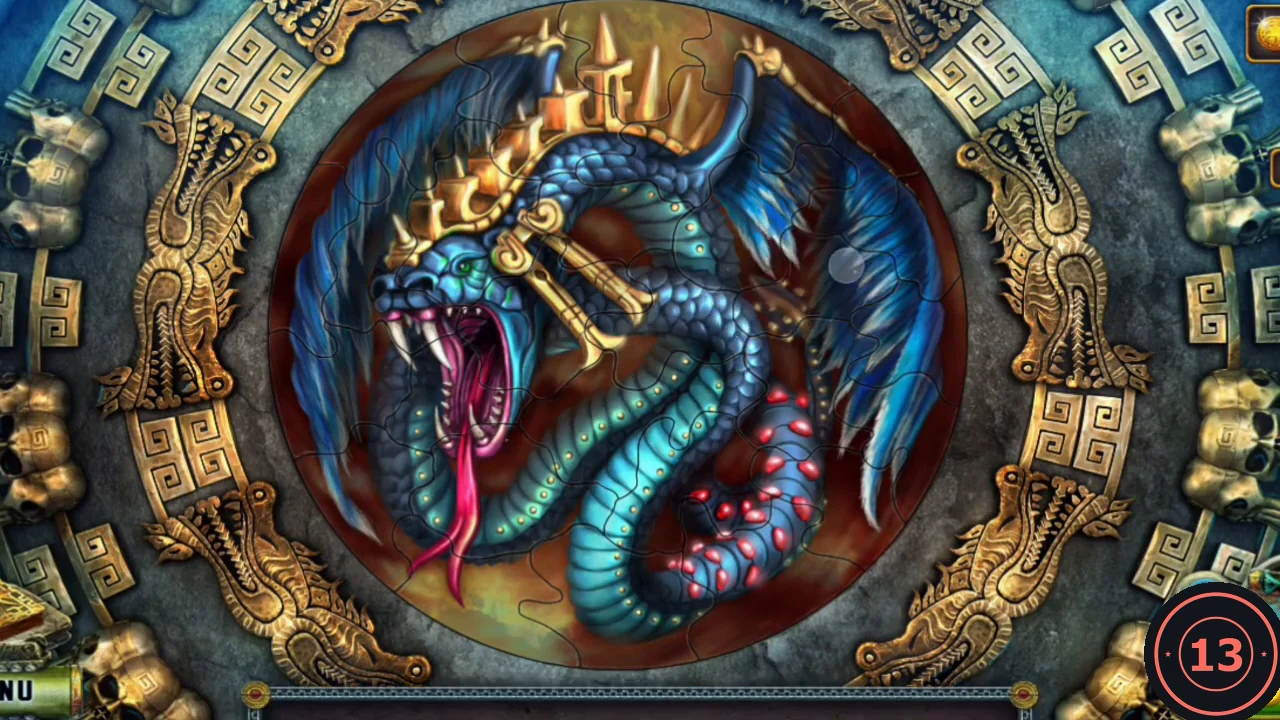
The completed picture. - Watch the ending: the boy is freed, and you are told you can take him to his mother. Back at the main menu, a message confirms that the bonus chapter is complete, and an achievement notification appears.