Village pier and the Elder's hut
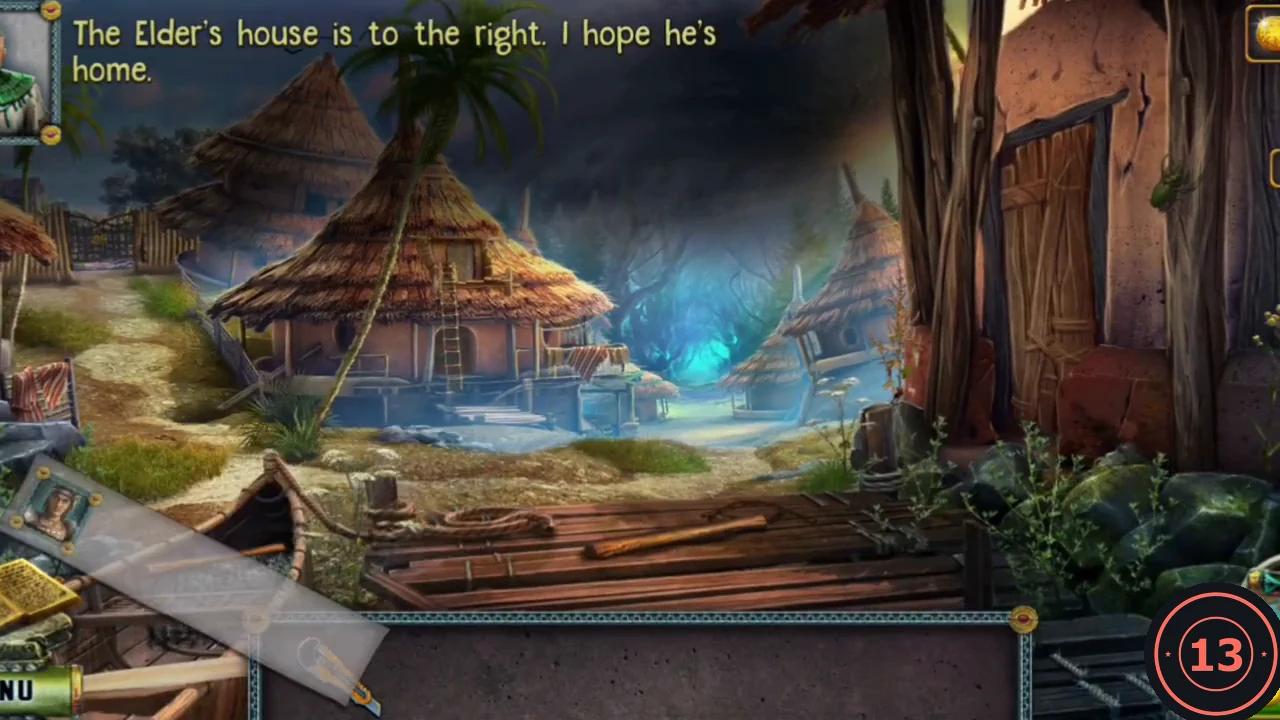
Diana is pulled from the water by Iocktor and wakes in his village (new task: Talk to the Elder). Gather the rails, rope and map pieces around the pier and the Elder's hut.
- On the pier, take the Rail lying on the planks at the front (Rail 1/3).
- Zoom into the boat at front left. Pull the net aside to take the Rope, then take the Fish bone.
- Use the Fish bone to open the locked wooden door on the right and enter the Elder's hut. The Elder is in a trance; after the conversation the new task is Find the sorceress's hut.
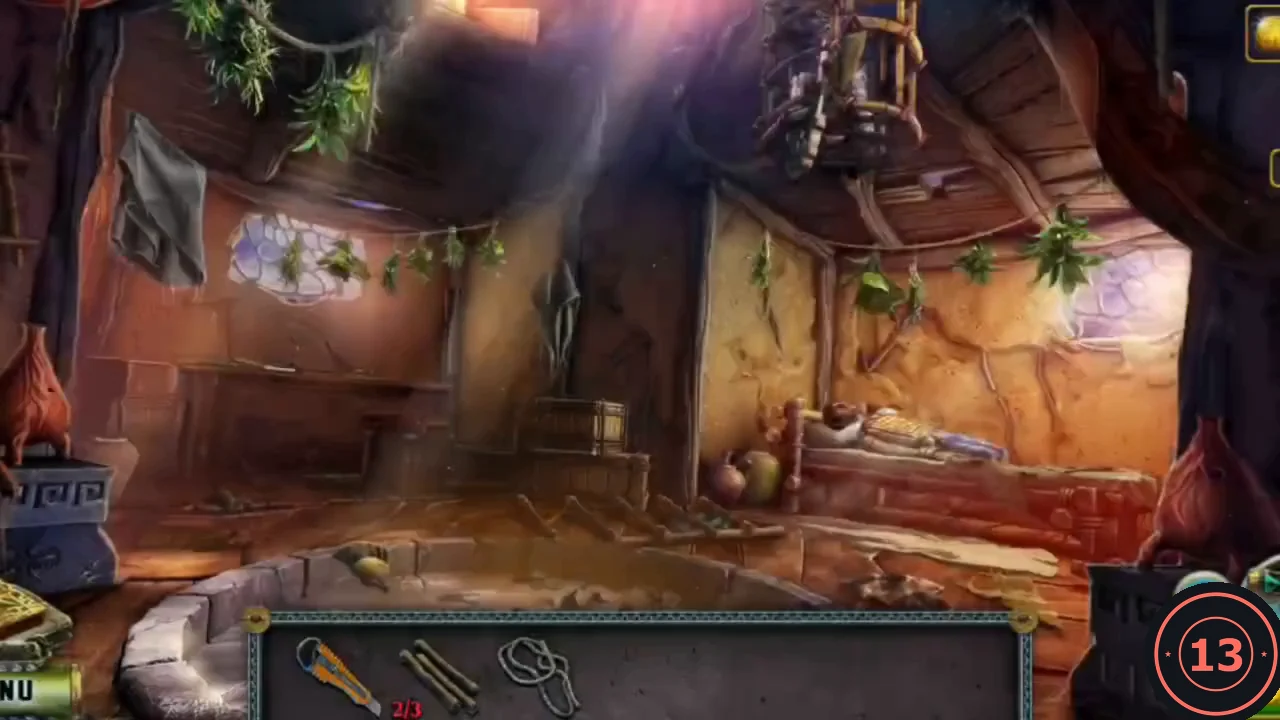
Inside the Elder's hut: the table is on the left, the bed at the back and the pool in the middle. - Zoom into the table on the left. Take two more Rails (2/3 and 3/3), the first Piece of a map and the Empty bottle.
- Take the Broken ladder from the floor at the front right, by the foot of the bed.
- Zoom into the Elder. Take the Bird-shaped key and the second Piece of a map. A special potion will be needed to wake him.
- Take the third Piece of a map from the floor near the edge of the pool in the middle of the hut.
- Zoom into the hanging cage at the upper right and open it with the Bird-shaped key. Take the fourth Piece of a map. The bird can only be carried with a special glove, so leave it for now.
- In inventory, combine the four Pieces of a map into the Forest map.
Find the way through the dark forest
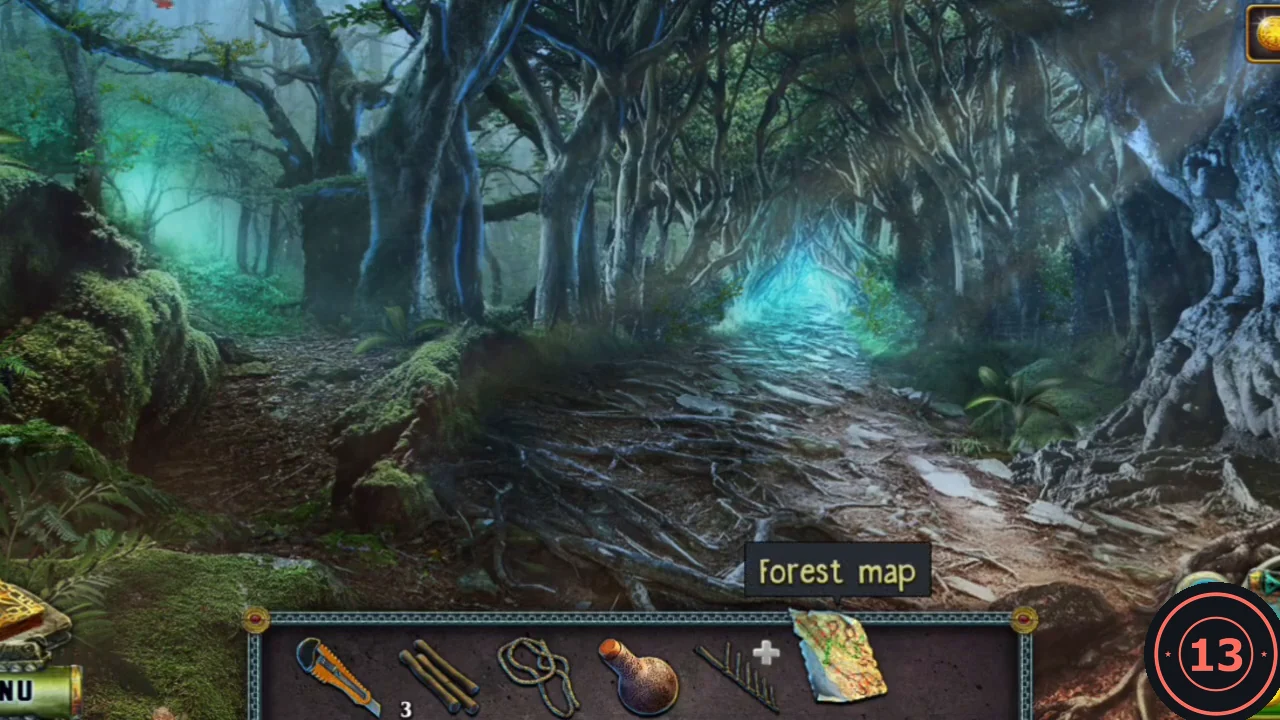
From the pier, go up into the dark forest. Each forest view offers two or more paths; a wrong turn sends you back to the start, and RESET restarts the walk.
- Use the Forest map in the forest. It shows a green route numbered 1 to 7 through the crossroads.
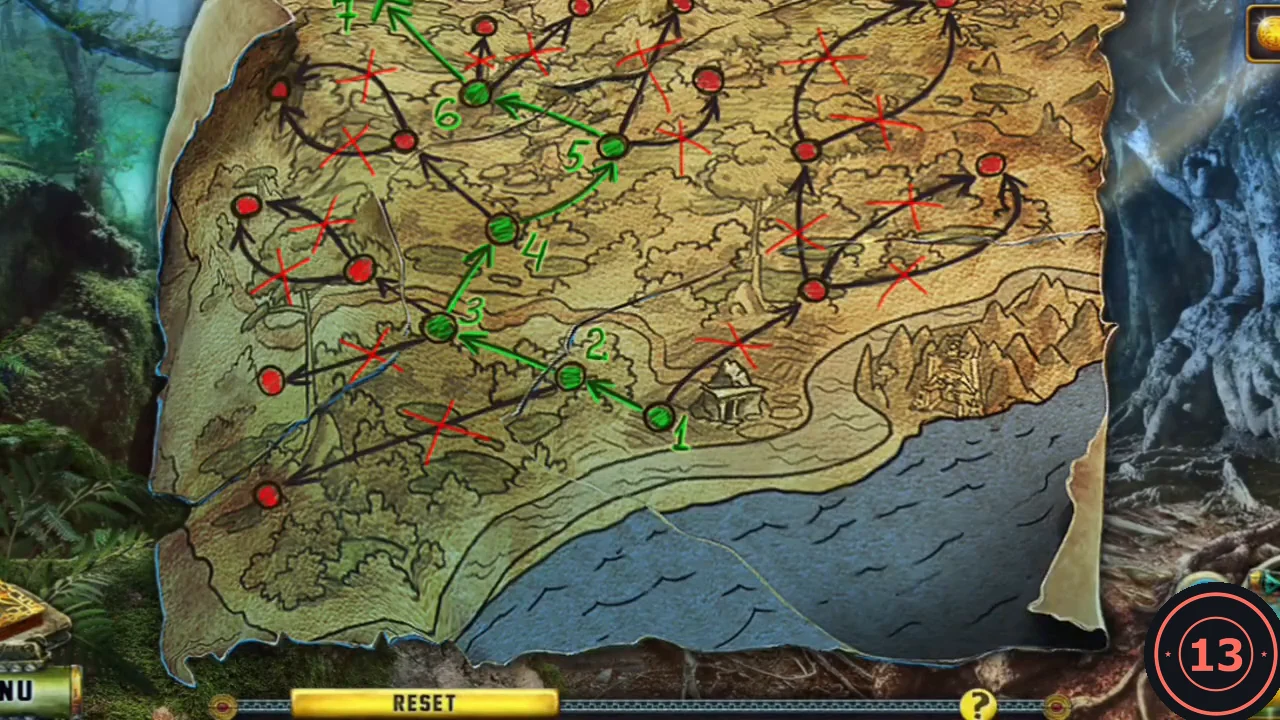
The Forest map from the recording. The green numbered line is the route to follow; check your own map in case it differs. - Follow the route drawn on the map. In the recording, the six crossroads were taken as: 1) left; 2) right, along the upper path beside the stairs; 3) right; 4) right, through the portal; 5) left; 6) left. If your map shows a different route, follow your map.
Swamp: build a ladder
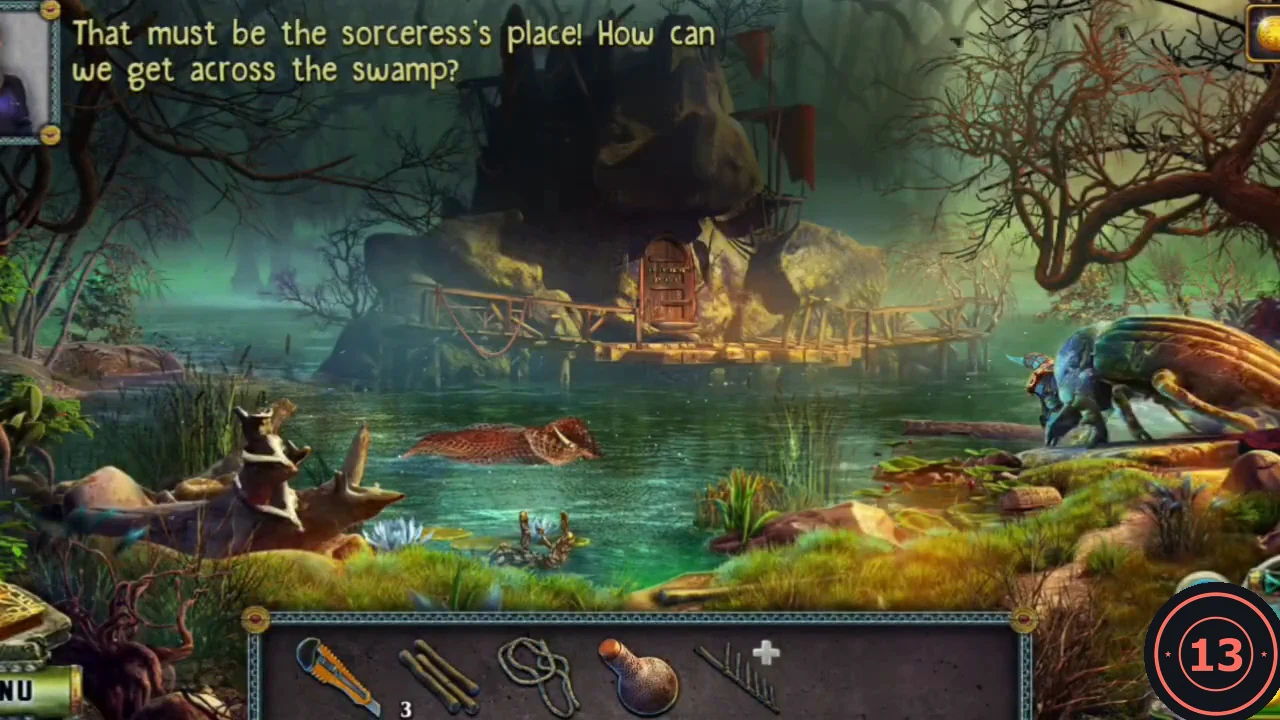
The swamp blocks the way to the sorceress for now. First build a ladder for the loft in the Elder's hut.
- Take the Stair (a ladder rung) from the bank at the bottom centre, to the right of the water lilies.
- Open the Broken ladder in inventory. Add the Stair and all three Rails, then the Rope. Cut the Rope into pieces with the Knife and click the pieces to tie the rungs on. Take the finished Ladder.
- Back in the Elder's hut, place the Ladder under the loft at the back centre and climb up.
Loft chest: trace every line
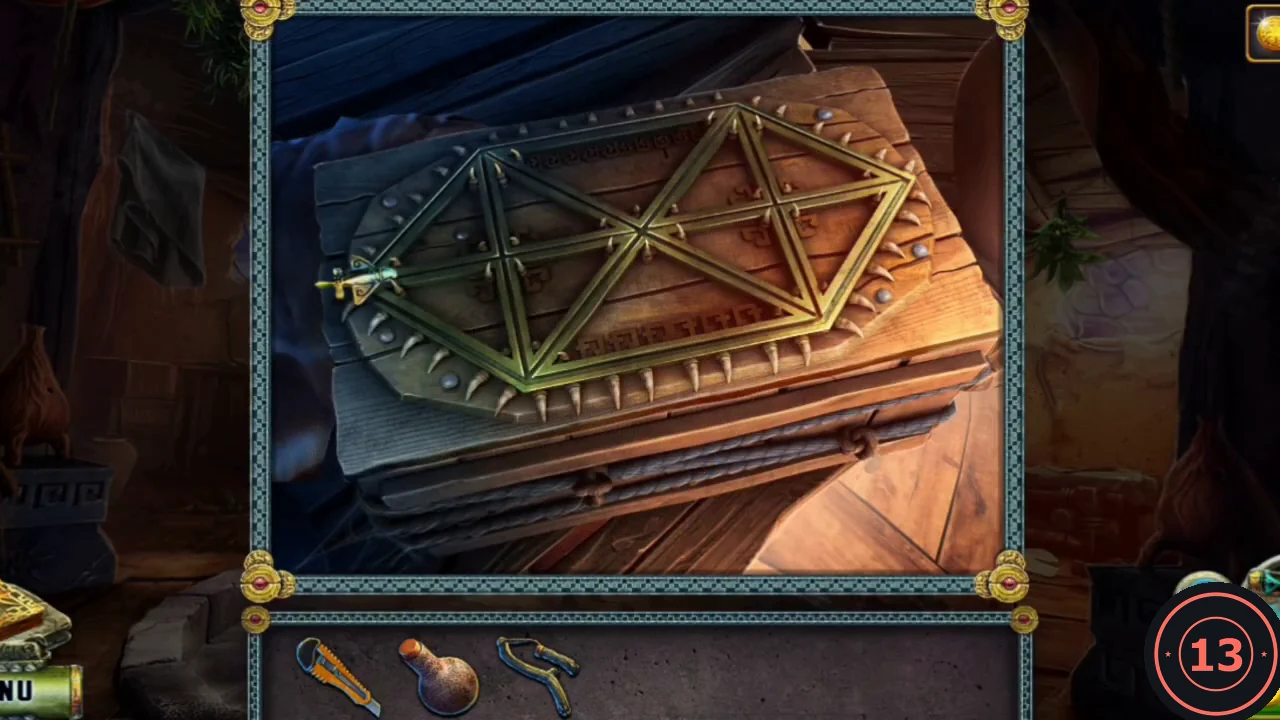
The chest lid holds a figure made of lines: a stretched hexagon with a vertical bar on each side, a horizontal middle line and two diagonals that cross in the centre. A pointer starts at the arrow on the left point. Goal: travel along every line, using each line exactly once.
- Zoom into the chest in the loft, remove the cloth and take the Slingshot.
- Name the junctions: left point (start), top-left and top-right corners, bottom-left and bottom-right corners, right point, the centre where the diagonals cross, and the left and right junctions where each vertical bar meets the middle line. Draw this route: left point, top-left corner, left junction, left point, bottom-left corner, left junction, centre, top-left corner, top-right corner, centre, bottom-left corner, bottom-right corner, centre, right junction, top-right corner, right point, bottom-right corner, right junction, right point. RESET clears a mistake. The recording began the same way but took a different valid order after the first five lines.
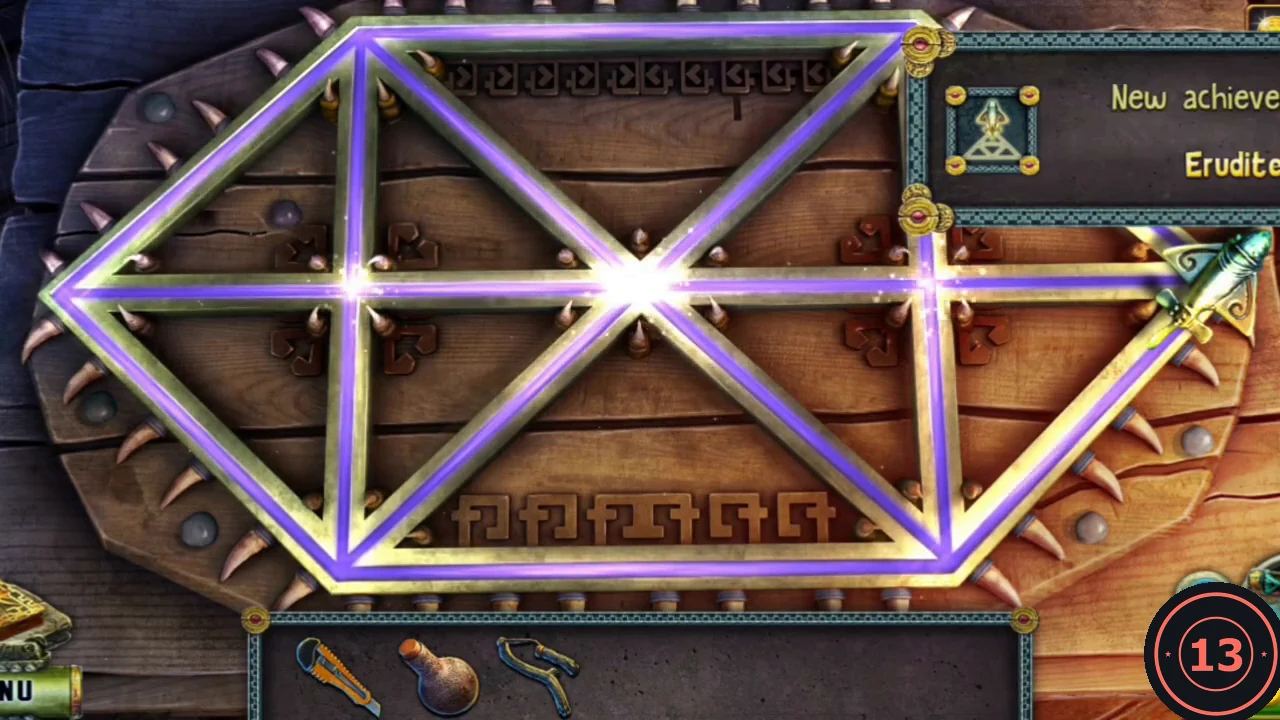
Solved: every line has been traced once. - Take the Horn and the Note from the chest. The Note shows a row of symbols: nail, horse, sun, bird, padlock, maple leaf and shield.
The swamp creature and the door bells
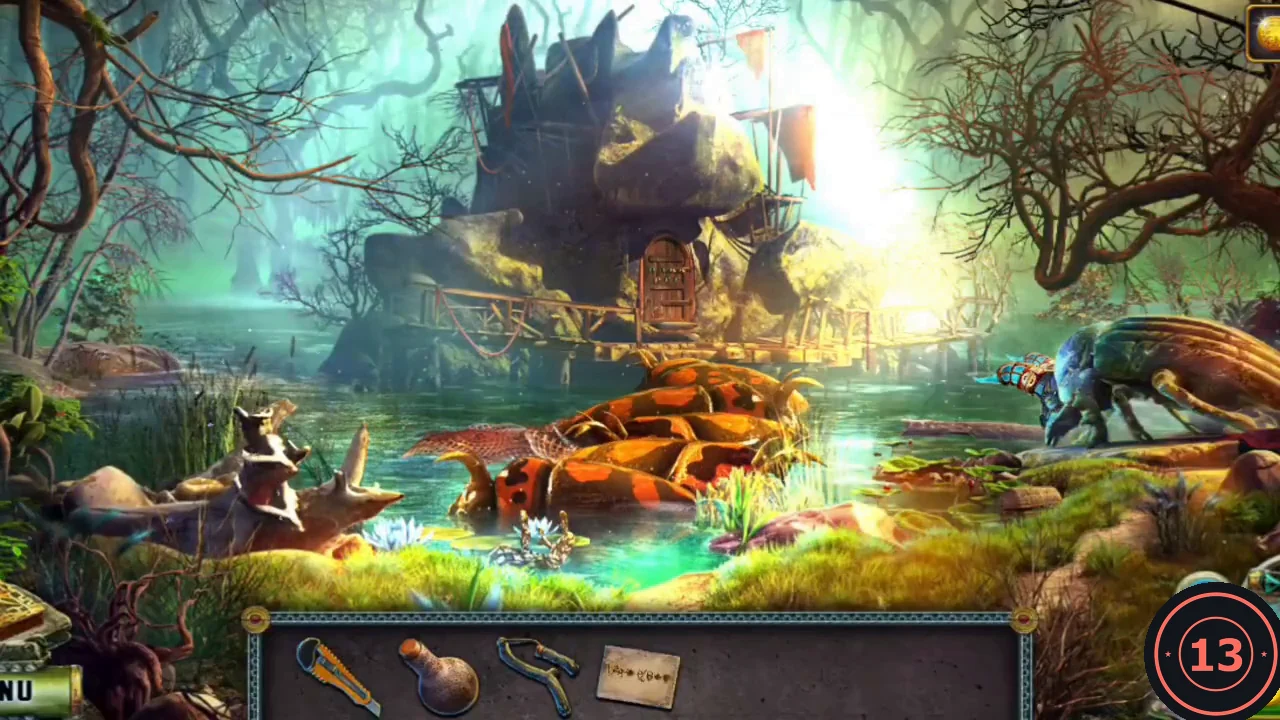
The horn wakes the swamp creature, and the sorceress's door opens only when its bells are rung in the order given by the Note.
- In the swamp, zoom into the beetle statue on the right and put the Horn on its head. A huge orange creature surfaces and forms a bridge.
- Zoom into the net on the creature, cut it with the Knife and take the Hammer.
- Zoom into the hut door and place the Note on it, then use the Hammer to ring the bells.
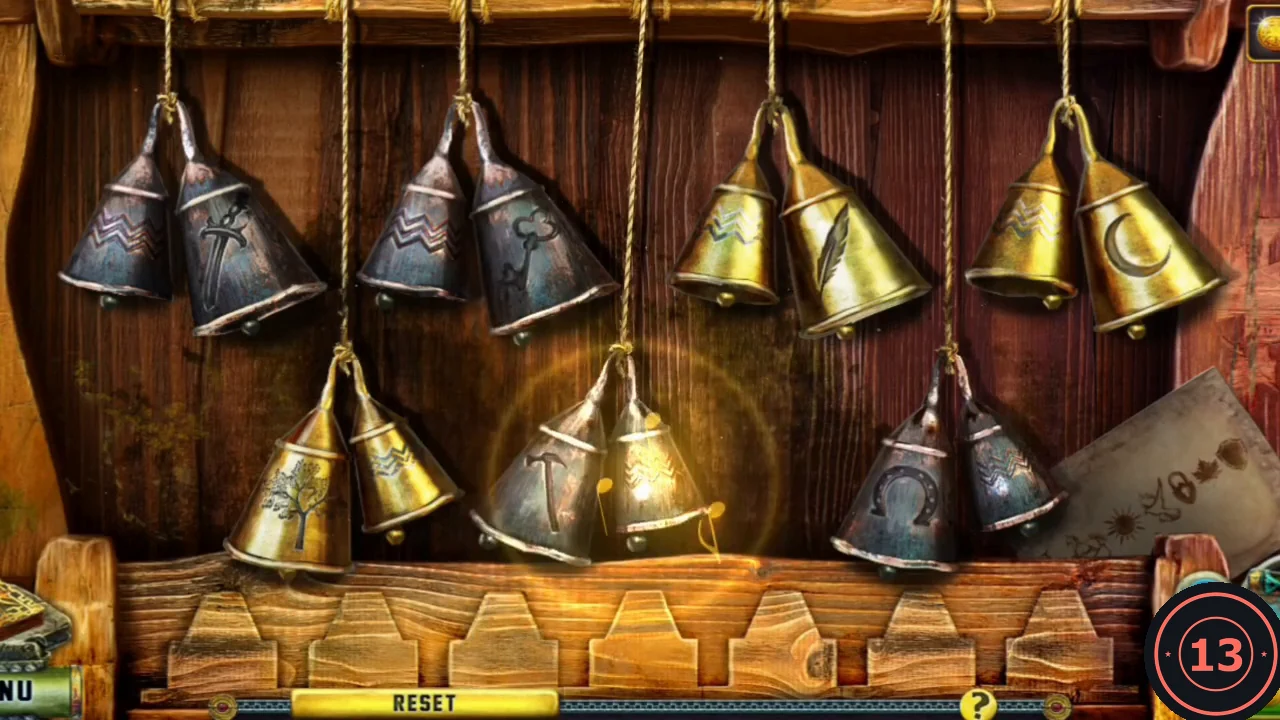
The door bells with the Note pinned at the lower right. Ring the bells in the Note's order. - Each bell shows a symbol linked to a symbol on the Note. Ring them in Note order: hammer (for the nail), horseshoe (horse), crescent moon (sun), feather (bird), key (padlock), tree (maple leaf) and dagger (shield). The door opens and the sorceress greets Diana and Iocktor.
The sorceress's tasks
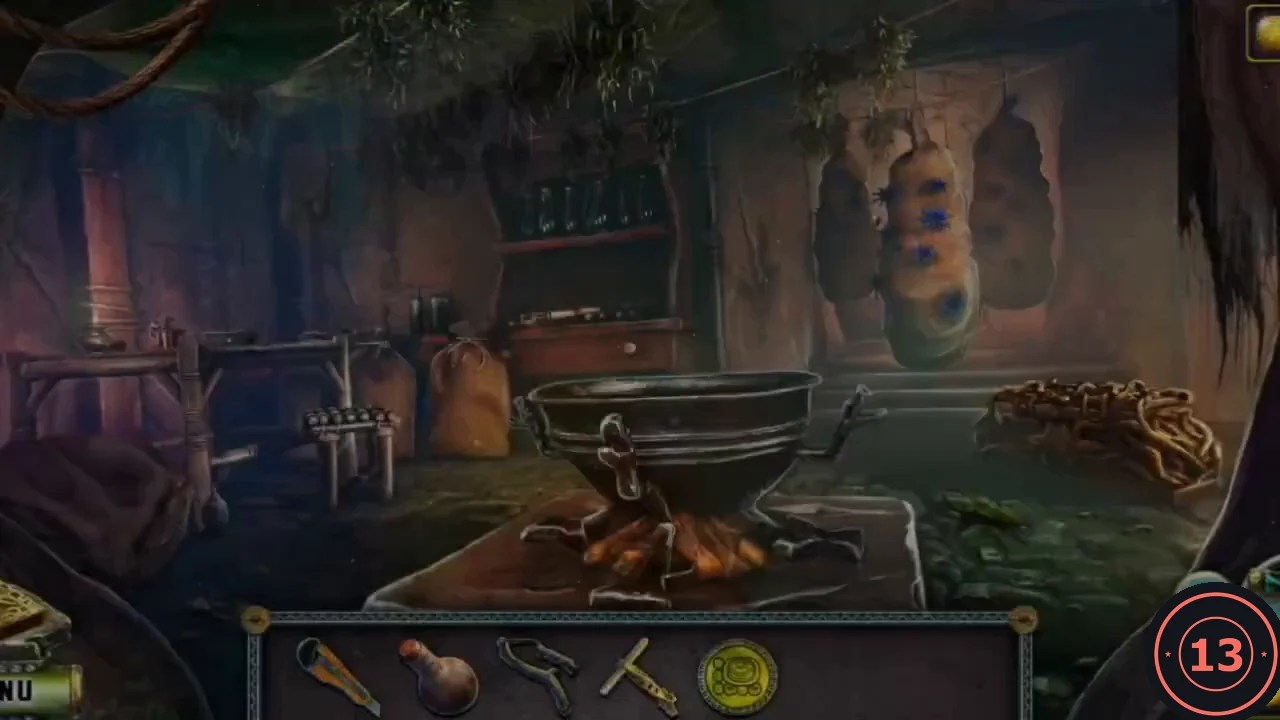
The sorceress can brew the potion that wakes the Elder, but she needs help.
- After the conversation you receive the Protective glove (task complete: Find the sorceress's hut).
- Return to the Elder's hut and take the Bird from the open cage with the Protective glove.
- Give the Bird to the sorceress. She goes hunting for bat claws and leaves you to prepare the potion. New task: Prepare the potion.
- Zoom into the table left of the cauldron and read the recipe. Take the Key to the gates and the Yellow part.
- Cut the blue blossoms from the hanging sack behind and right of the cauldron with the Knife to get the Magic flowers.
Colour-chip chest
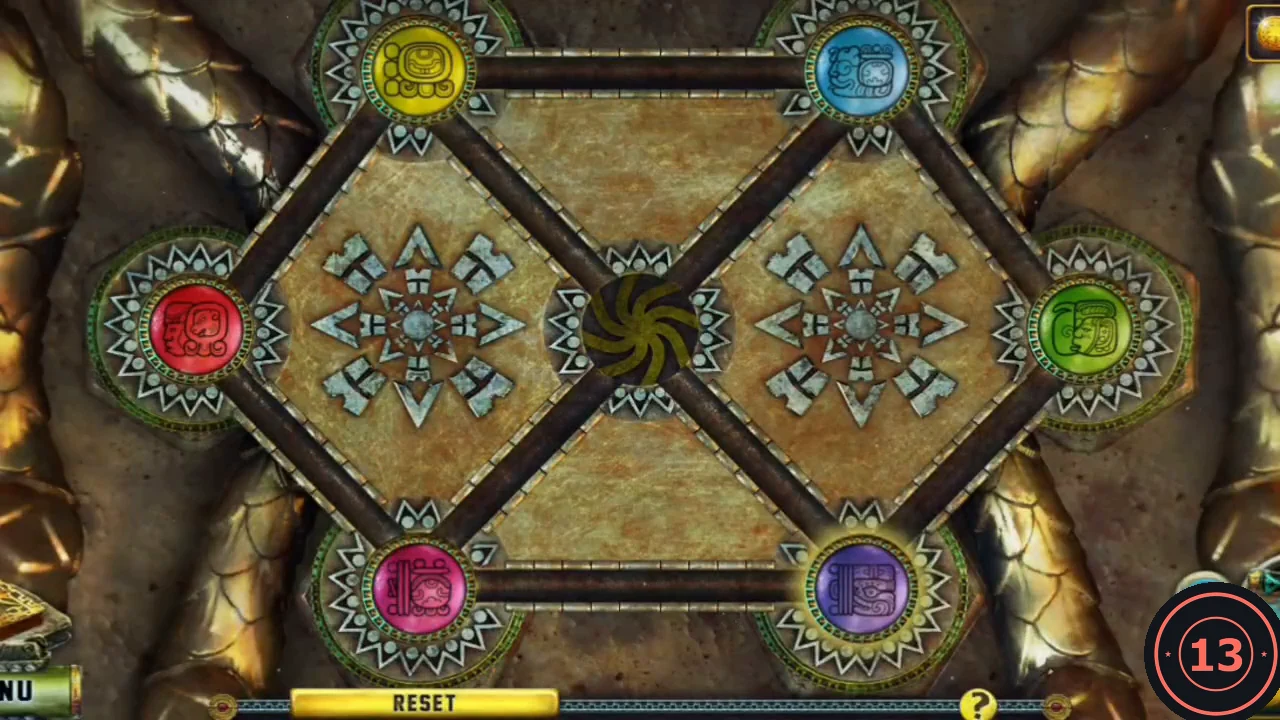
The small chest on the right of the hut has seven sockets: top left, top right, left, centre, right, bottom left and bottom right. Goal: return each colour chip to its own socket. An empty socket faintly shows the colour that belongs there.
- Zoom into the chest and place the Yellow part to start the puzzle.
- Click a chip that is connected by a line to the empty socket to move it there. Target layout: top left blue, top right red, left pink, right yellow, bottom left green, bottom right purple, centre empty. From the recorded start (top left yellow, top right blue, left red, centre empty, right green, bottom left pink, bottom right purple), click: bottom right, right, top right, top left, left, bottom left, bottom right, right, top right, top left, centre, bottom right, right, top right, top left, centre, top right, right, bottom right, centre. If your starting layout differs, use the faint colour inside the empty socket to decide which chip to bring in next, and cycle chips around the outer ring through the centre.
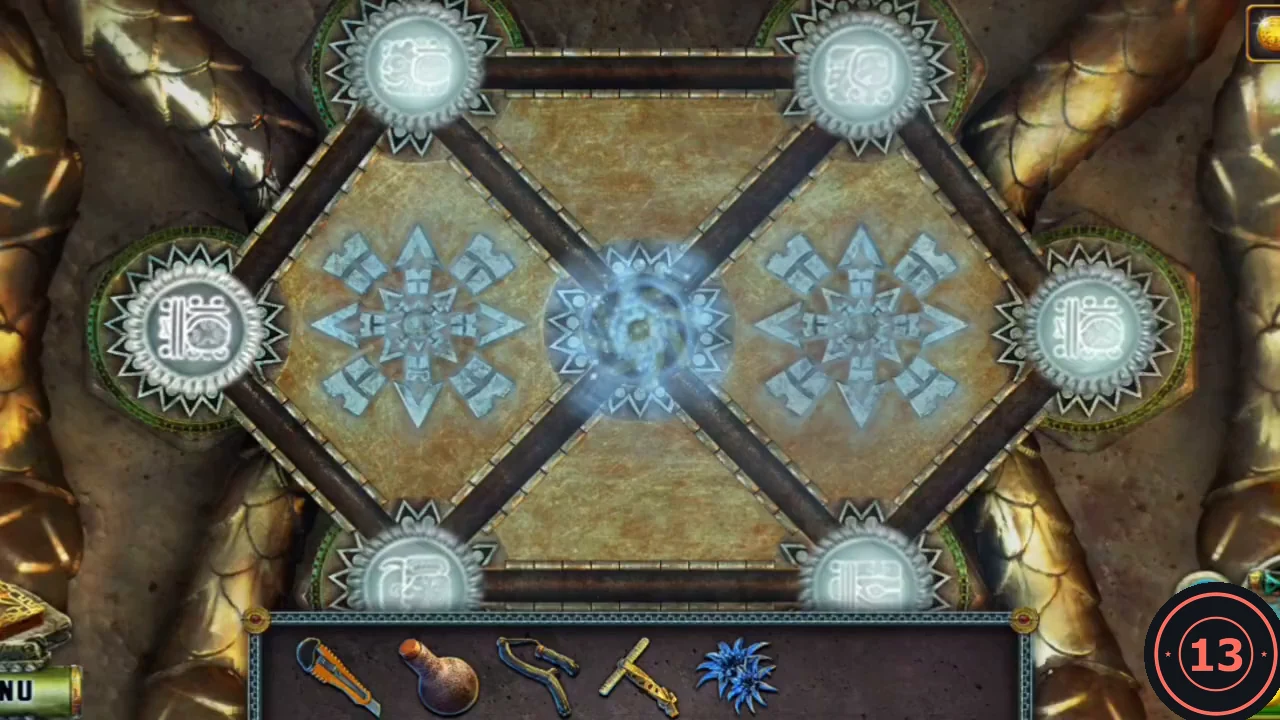
Solved: every chip is in its own socket and the chest glows. - Take the Ladle from the chest, then dip it into the cauldron to get the Filled ladle (boiling water).
Gates, berries, bug and scale
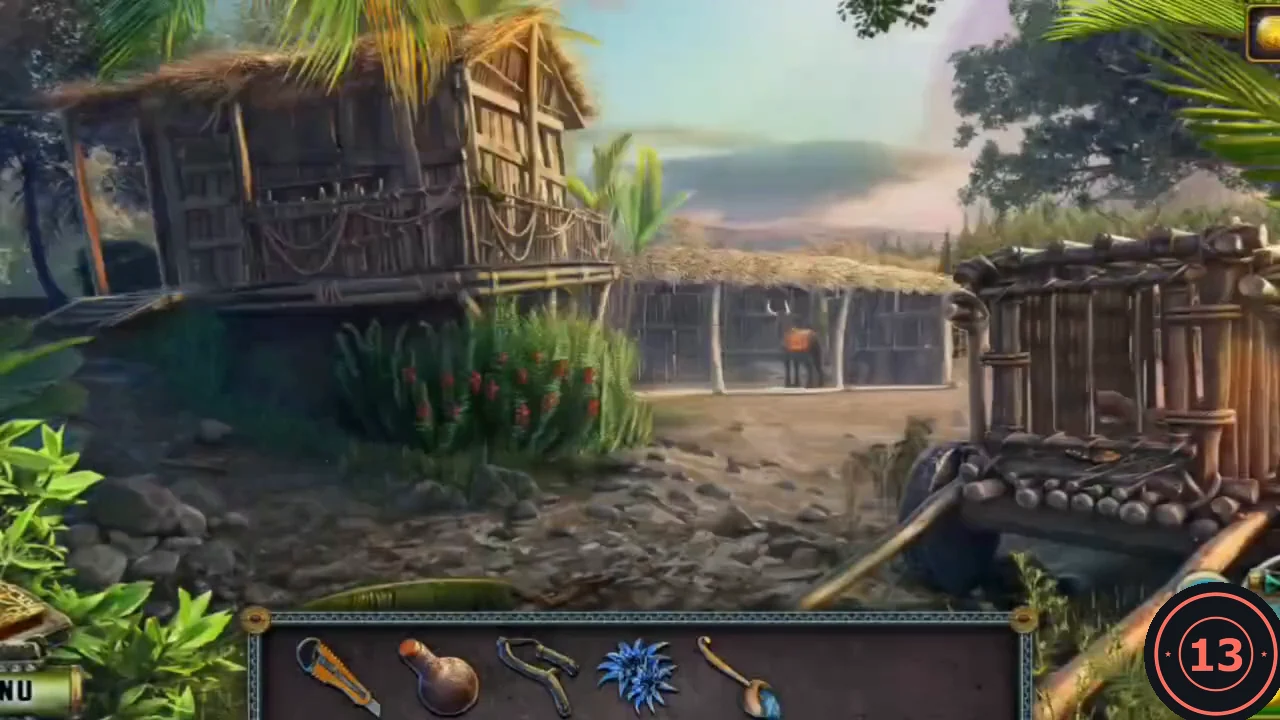
Open the village gates and gather the remaining potion ingredients: berry juice and a lizard scale.
- On the pier, insert the Key to the gates into the round wooden lock on the right and go through to the village yard on the left.
- Take the Stave from the ground at the front centre of the yard.
- Zoom into the strange horse on the left, open its pouch and take the Key. You will need a saddle to ride it.
- Open the padlock of the shed on the right with the Key. Inside is a juicer; take the Empty basket.
- Place the Empty basket at the berry bush in the centre of the yard and click the berry clusters to fill it. Take the Basket with berries.
- In the shed, place the basket in the juicer and turn the crank. Take the Berry juice.
- In the swamp, lever up the fallen log at front left (with yellow fungus) using the Stave and take the Bug.
- In the village yard, give the Bug to the lizard in the cage on the right and take the Scale it sheds.
Brew the potion
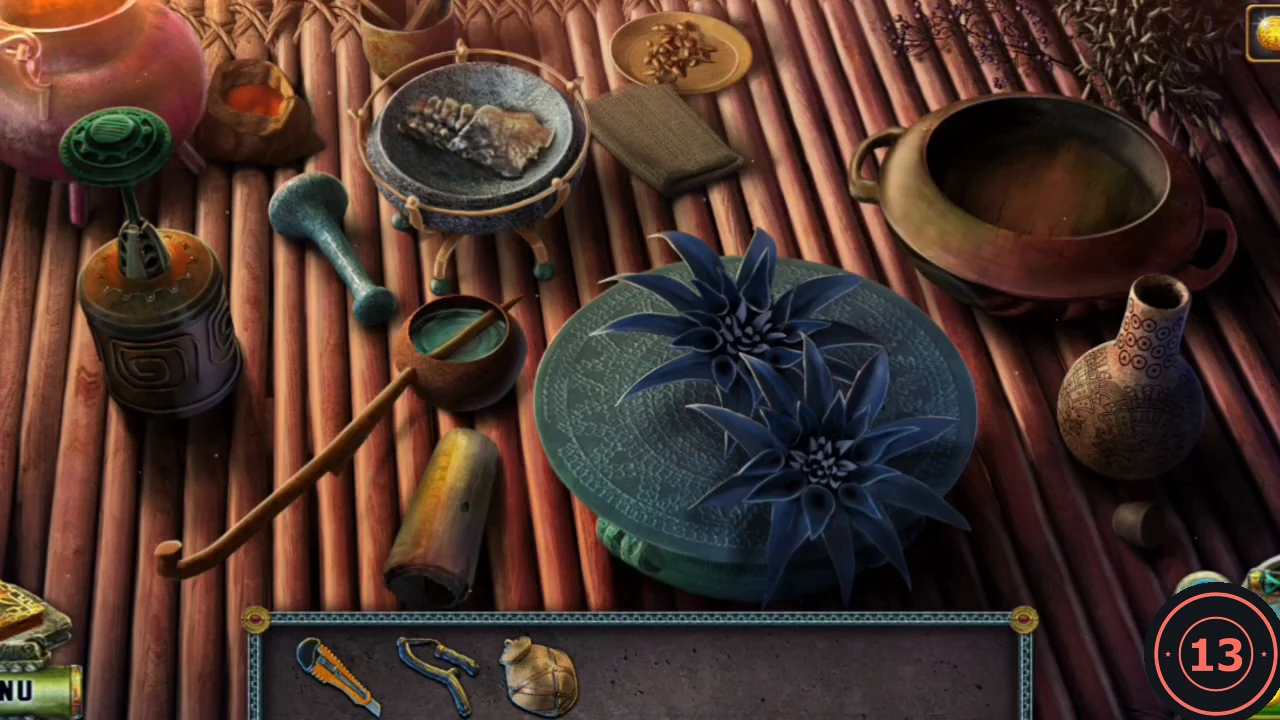
Follow the recipe at the sorceress's table. Place all the ingredients first, then work through the recipe in order.
- Zoom into the table. Place the Magic flowers on the round stone plate, the Empty bottle at the front right, the Filled ladle on the left, the Berry juice on the table and the Scale in the stone mortar at the top left.
- Chop the flowers with the Knife, then click the chopped flowers to put them into the clay pot at the top right.
- Grind the Scale with the pestle on the left. Pour the sulphur from the small jar into the mortar, light it with the match from the cup at the top left, then click the burning mortar to pour it into the clay pot.
- Pour the hot water from the ladle into the clay pot.
- Open the green lid of the seed grinder on the left, pour in the grape seeds from the plate, close the lid and grind them into the pot.
- Pour the Berry juice into the pot; the mixture turns pink.
- Put the wooden strainer on the neck of the bottle, pour the pot through it, then take the Potion basis.
- The sorceress returns and gives you the Bat claw. In inventory, add the Bat claw to the Potion basis to make the Evocation potion (task complete: Prepare the potion).
The Elder wakes and the storeroom
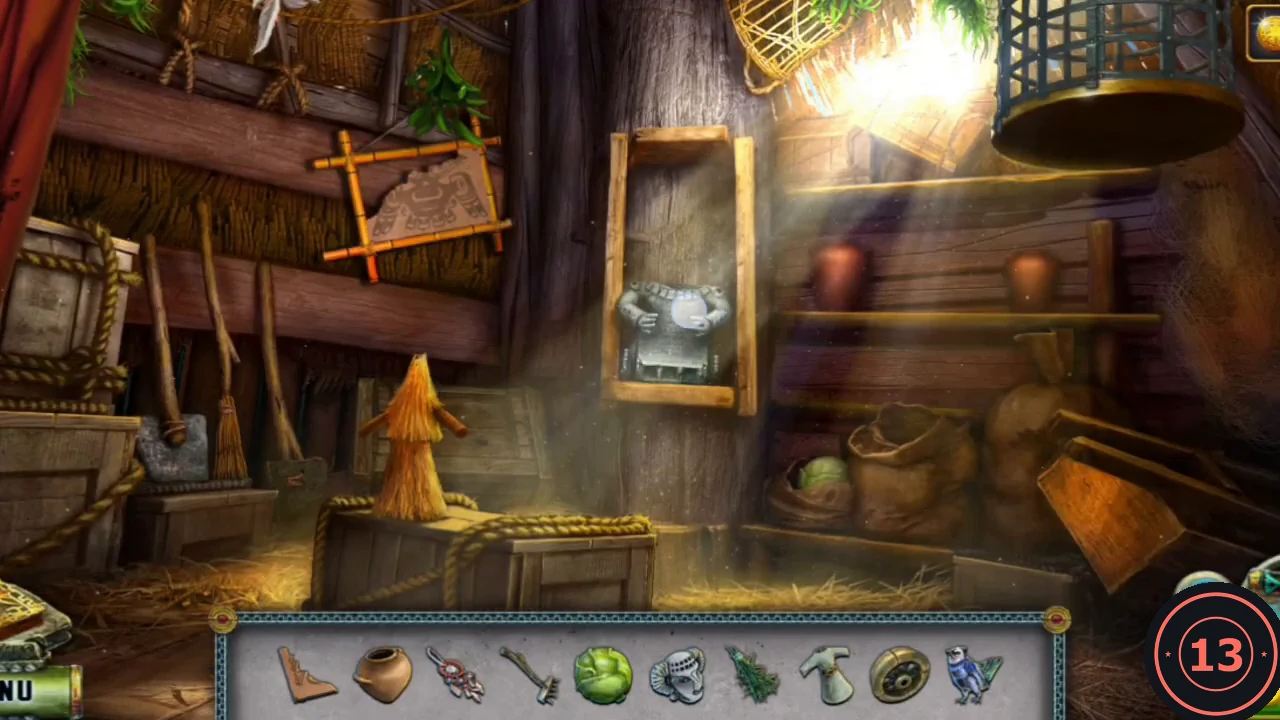
Wake the Elder with the potion, then search the storeroom on the pier for the saddle.
- Give the Evocation potion to the Elder in his hut. He wakes and tells the story of Kitron. You receive the Fish figurine. New task: Find Rocktown.
- On the pier, put the Fish figurine into the fish-shaped lock of the hut on the left to enter the storeroom.
- Pull the red curtain aside. This is a placement scene: the bar already holds ten items, and you drag each one to the spot in the room where it belongs (the room scrolls sideways). Picture part: the missing corner of the framed picture on the left wall. Pot: the gap in the row of pots on the right-hand shelf. Head: on the headless stone statue in the central niche. Cabbage: into the open sack at lower right. Bunch of herbs: hang it from the beam at the top, near the cage. Bird: into the hanging cage at upper right. Doll dress: onto the straw doll standing on the crate. Rake: with the tools leaning against the left wall. Dreamcatcher: on the rope at top left, beside the dreamcatcher already hanging there. Wheel: onto the overturned cart at lower right.
- When all ten are in place, take the reward: the Saddle.
- Put the Saddle on the horse in the village yard. Diana and Iocktor ride off and reach a rockfall.