Tombs entrance: the bridge
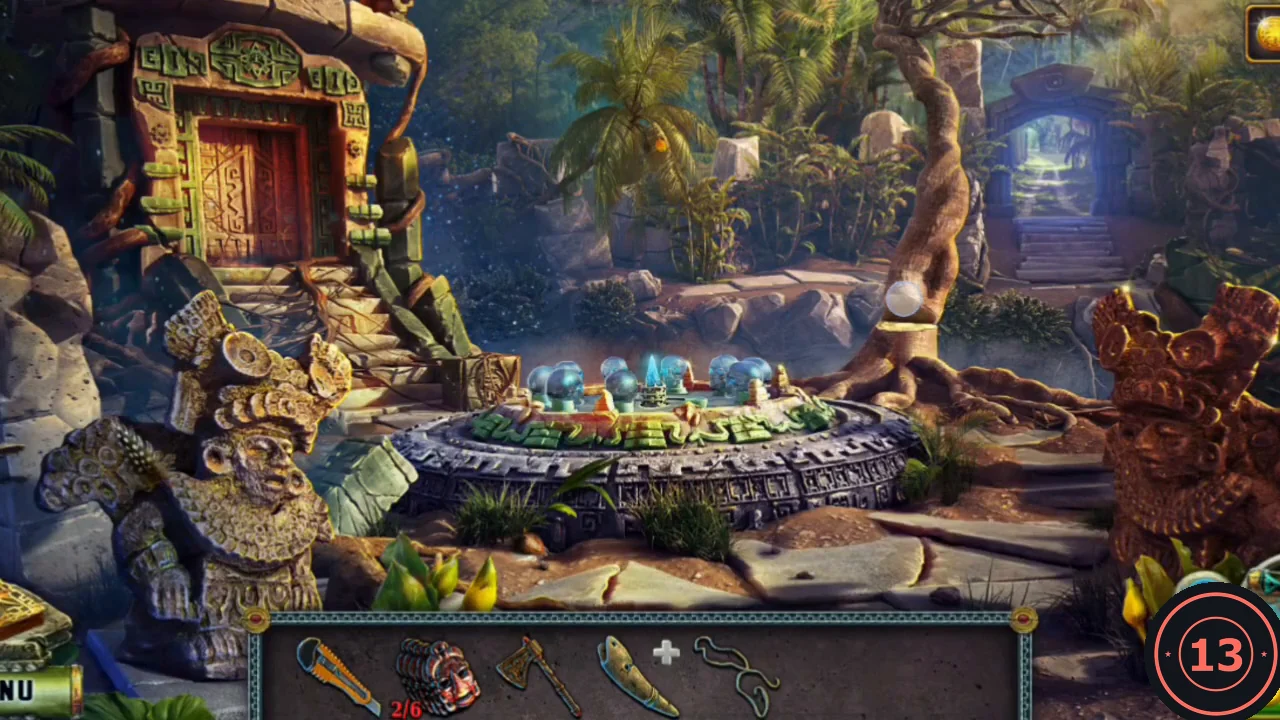
The ghost of the High Wizard asks for help (new task: Help the wizard's ghost). First you must cross the gap to the ritual temple.
- Zoom into the circle of skulls around the altar and take the Mace handle.
- Take the Mask piece from the ground to the right of the altar, near the carved red totem (Mask 2/6).
- Take the Sturdy cord lying nearby on the right.
- Zoom into the half-chopped tree at the edge of the gap and finish the job with the Axe. It falls across as a bridge.
- Zoom into the palm and take the Fruit.
- Cross the tree bridge to the ritual temple.
Ritual temple front: the mace and the broken lens
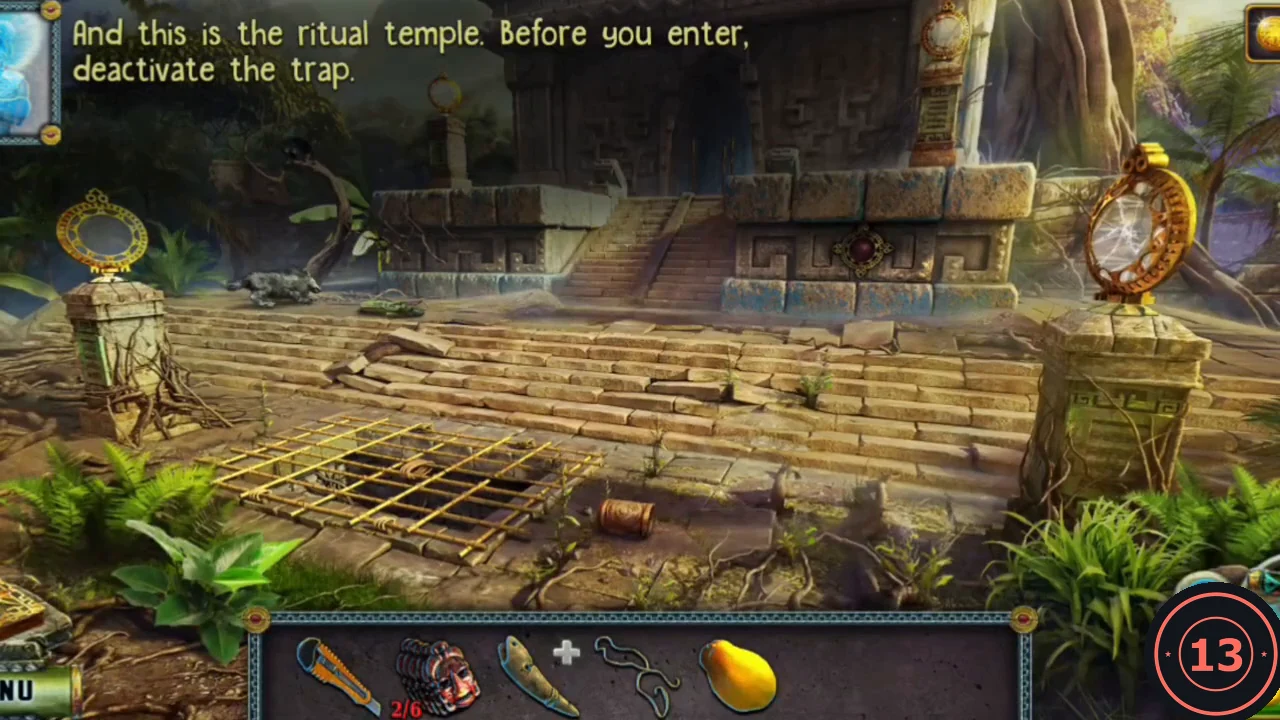
At the front of the ritual temple, open the pit, build the Mace and collect a torch and a damaged lens.
- Zoom into the grate over the pit and cut its ties with the Knife. Open the grate.
- In the pit, take the Mace head and the Mask piece (Mask 3/6).
- In inventory, put the Mace handle and Mace head together, then bind them with the Sturdy cord to make the Mace.
- Zoom into the spear-trap doorway and take the Unlit torch from the floor.
- Zoom into the golden mirror pillar on the right and take the Broken lens.
The High Wizard's vault
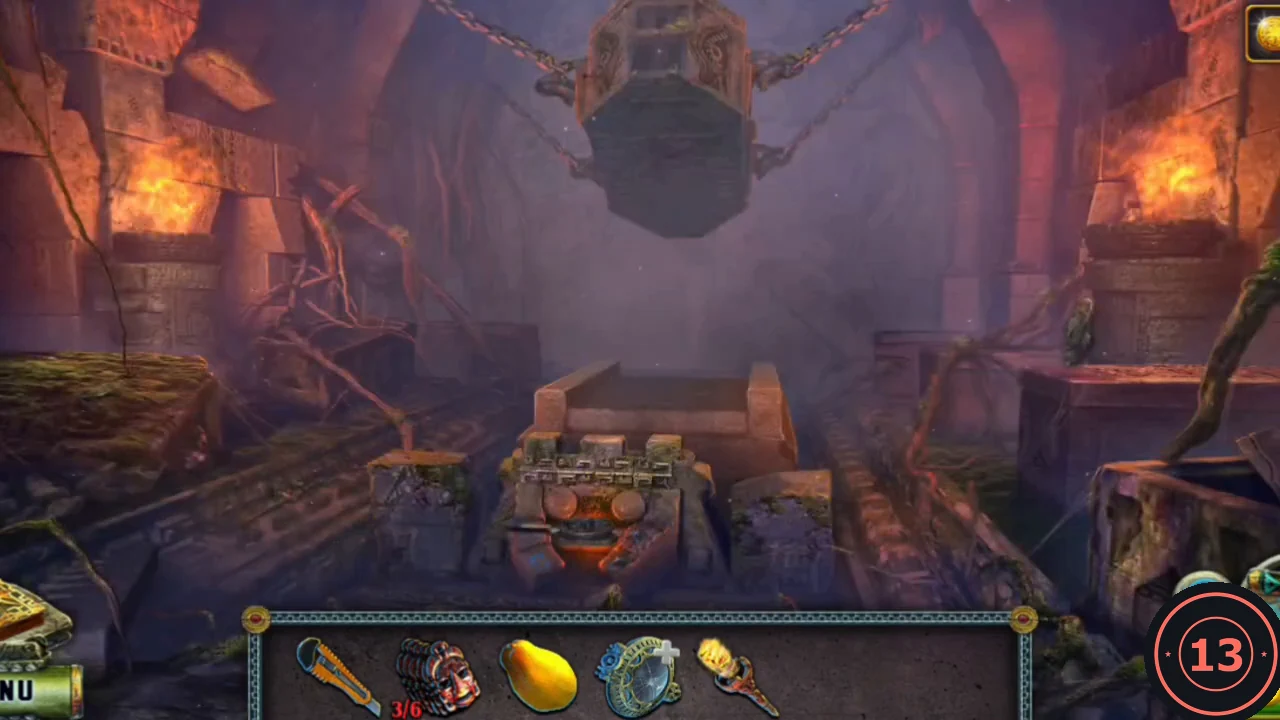
The ghost's body lies in a vault behind the carved stone door at the upper left of the tombs entrance.
- Return to Kitron's hall and light the Unlit torch in one of the fire bowls to get the Torch.
- Go back to the tombs entrance and smash the carved stone door at the upper left with the Mace.
- Inside, use the Torch on the fire bowl to light the vault. The ghost says his sarcophagus hangs above and must be lowered and opened.
- Zoom into the left side of the vault and clear away the branches. Take the Mask piece (Mask 4/6) and read the skeleton's note: on the ritual tables, pour blood water over the heart and sprinkle the skull with fire powder.
- In the same close-up, look at the four symbols carved faintly into the wall at the upper right. From left to right: a face, a figure with a ring-shaped head, a leaf-shaped (flame-like) oval and a comb-like ladder. This is the order for the spear trap.
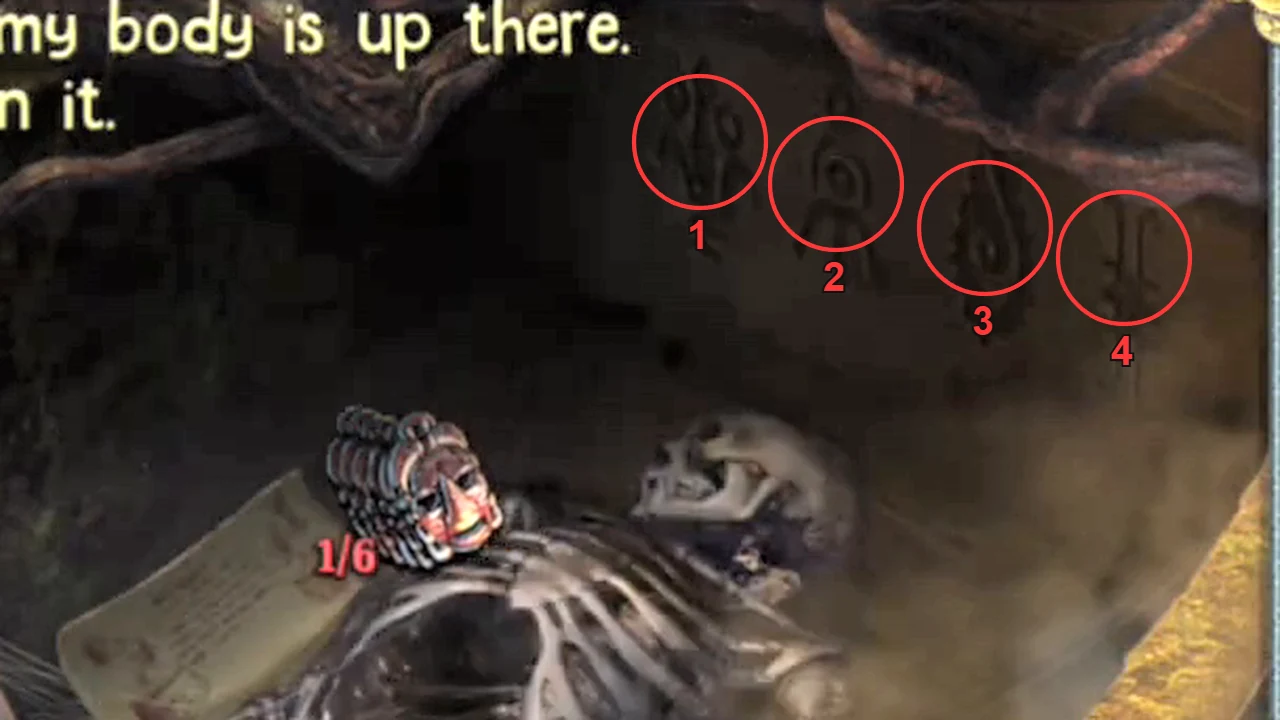
Brightened detail of the skeleton close-up. The four faint wall symbols, left to right: face, ring-headed figure, leaf-shaped oval, comb-like ladder. - Zoom into the lowering mechanism and take the Decorated plank (1/2). The mechanism itself cannot be used yet.
Hyena and marmoset
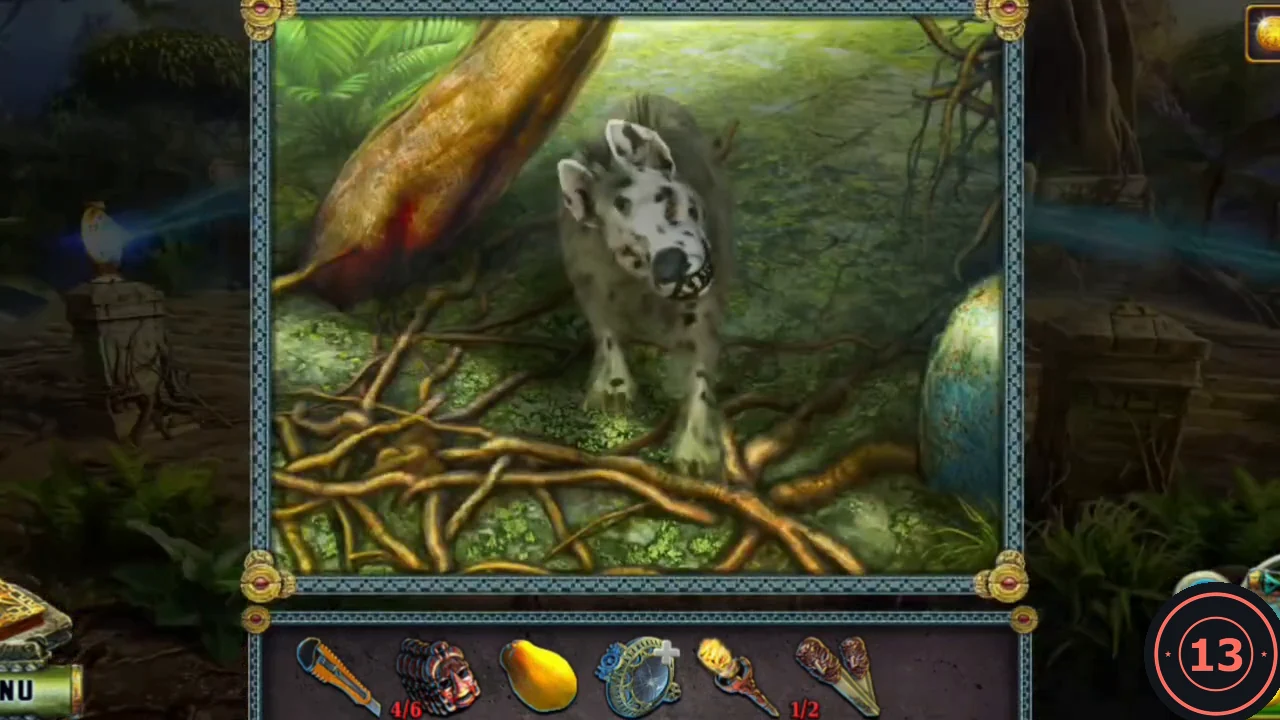
Use the Torch and the Fruit on the two animals at the ritual temple front.
- Back at the ritual temple front, use the Torch to scare off the hyena among the roots on the left.
- Lure the marmoset down from the tree with the Fruit and take the Marmoset.
Spear trap pillars
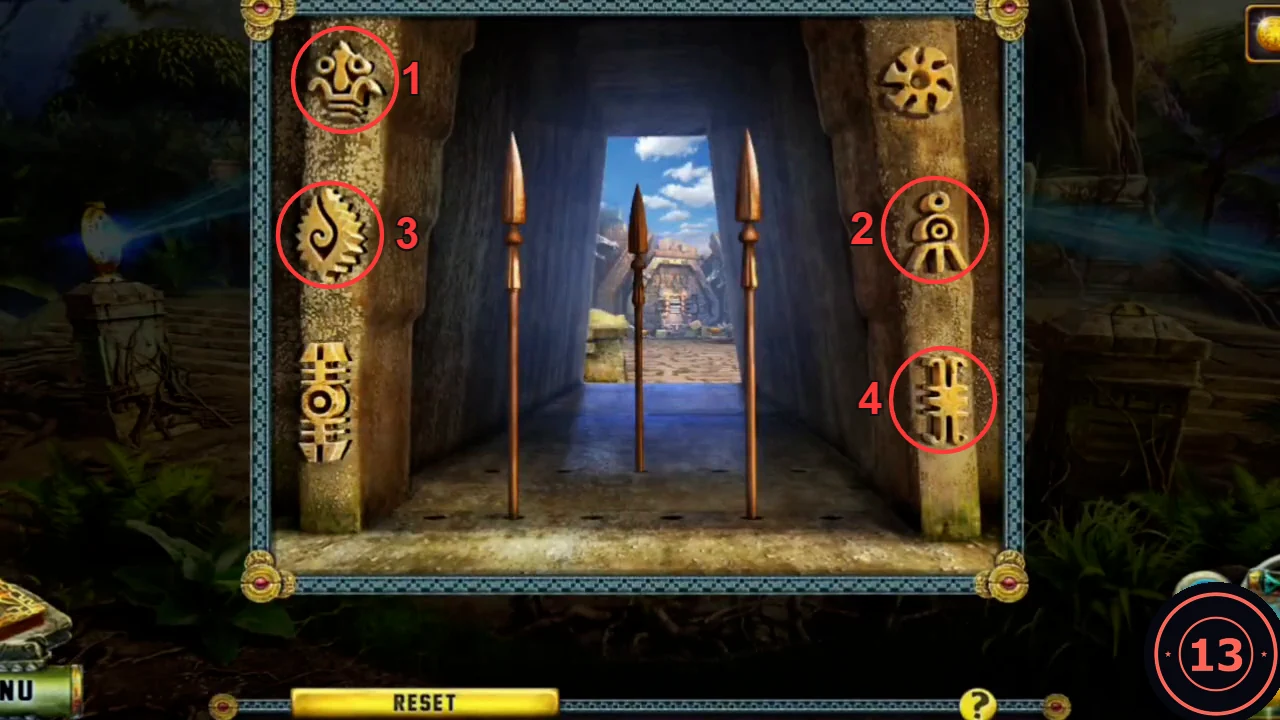
Each pillar beside the spear-trap doorway carries three carved symbols. Press four of them in the order of the symbols carved on the vault wall (ch21). RESET clears a wrong attempt.
- Zoom into the doorway and press the symbols in this order: 1) the face at the top of the left pillar; 2) the ring-headed figure in the middle of the right pillar; 3) the leaf-shaped oval in the middle of the left pillar; 4) the comb-like ladder at the bottom of the right pillar. The circle-and-comb symbol (bottom left) and the sun (top right) are not used.
- Enter the inner ritual temple.
Ritual tables, stone box and the second plank
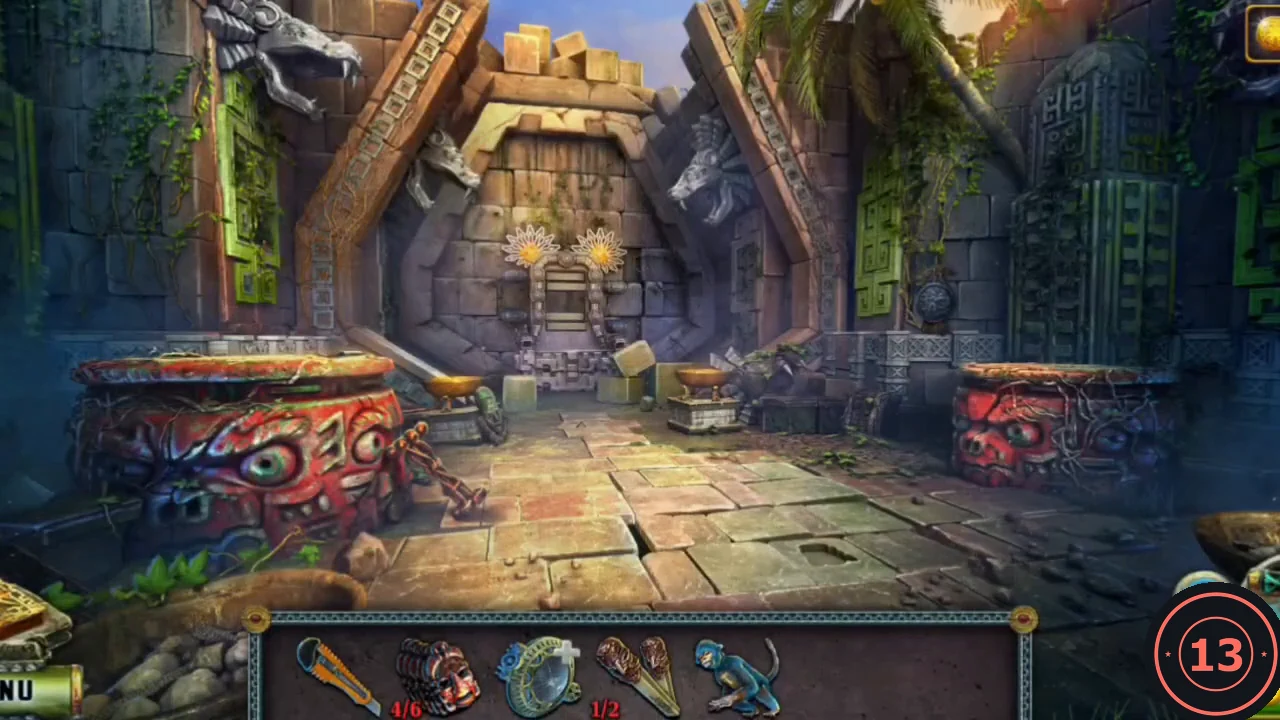
Inside the ritual temple stand the two ritual tables: the heart table on the left and the skull table on the right. Collect what lies here; the ritual itself comes later.
- Take the Lever from the floor beside the left red table.
- Zoom into the left (heart) table. Take the Mask piece (Mask 5/6), read the inscription about placing the heart here, and take the Stone knife.
- In inventory, use the Stone knife on the Broken lens to remove the cracked glass. You keep an empty lens frame; a new lens is needed.
- Zoom into the right (skull) table and take the Stone box. It will not open by hand; pry it open with the Stone knife and take the Brass knuckle key.
- Something is stuck in the fruit high up on the right. Release the Marmoset: it climbs the wall and brings down the second Decorated plank (2/2).
Carved plank wall
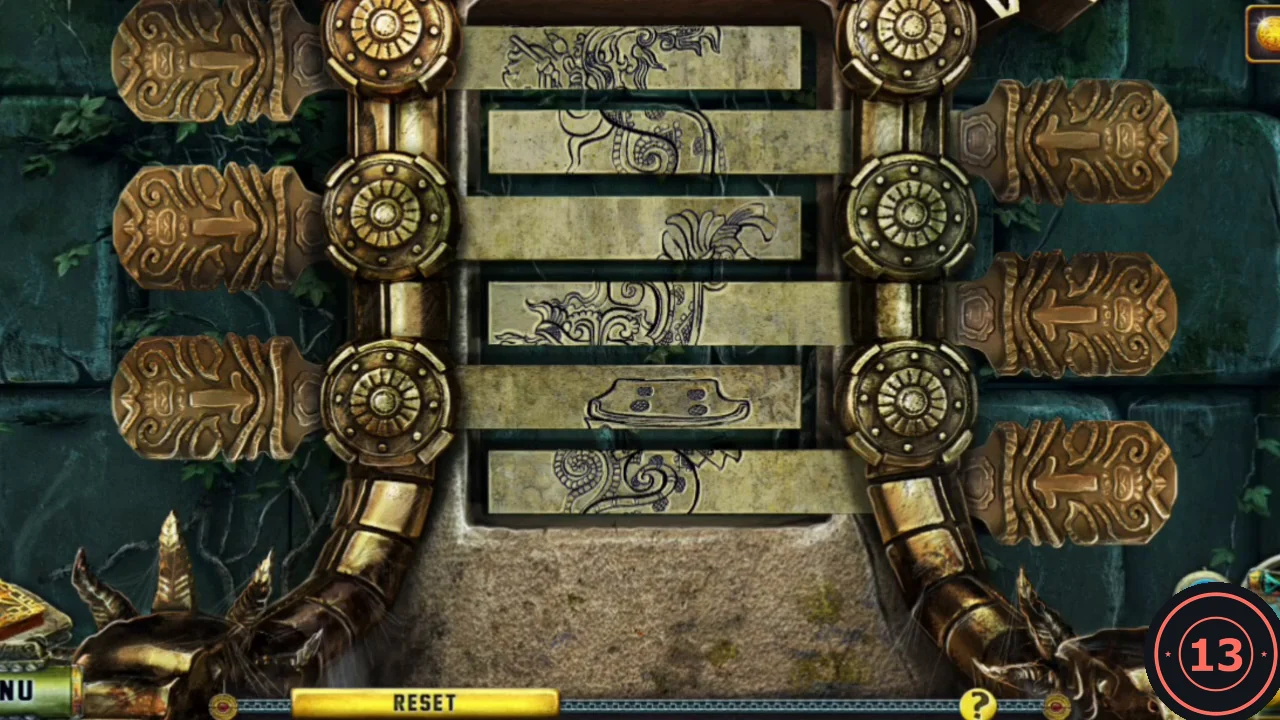
The carved panel on the back wall, between the two golden suns, is missing two of its six planks.
- Zoom into the back-wall panel and insert both Decorated planks into the empty rows.
- Click one plank and then another to swap them. Rearrange the six strips until the carved serpent and feathered figure form one continuous picture from top to bottom. The starting order may differ from the recording, so match the picture rather than copying moves: place the strip that clearly forms the top edge first, then find the strip whose carving continues it, and so on down. The recording needed four swaps.
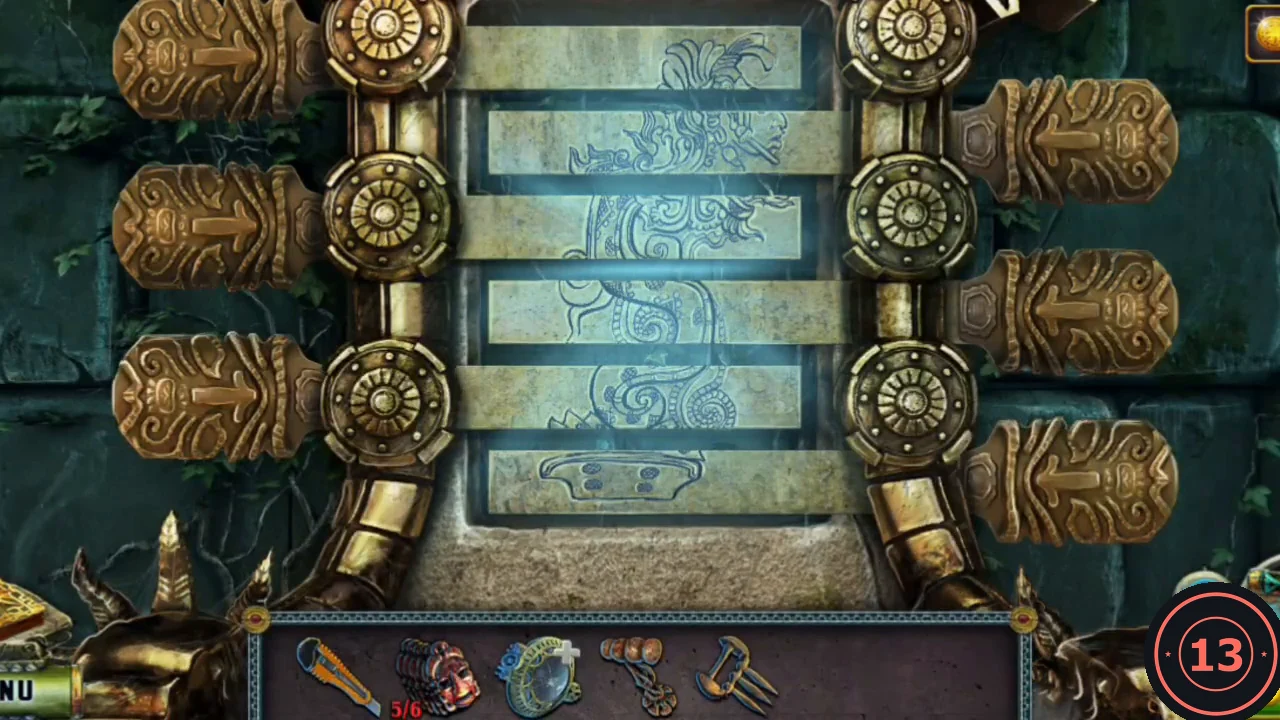
Solved: the strips form one continuous carving and the panel glows. - Take the Blood water flask from the opened niche. It is needed for the ritual.
Lower the sarcophagus
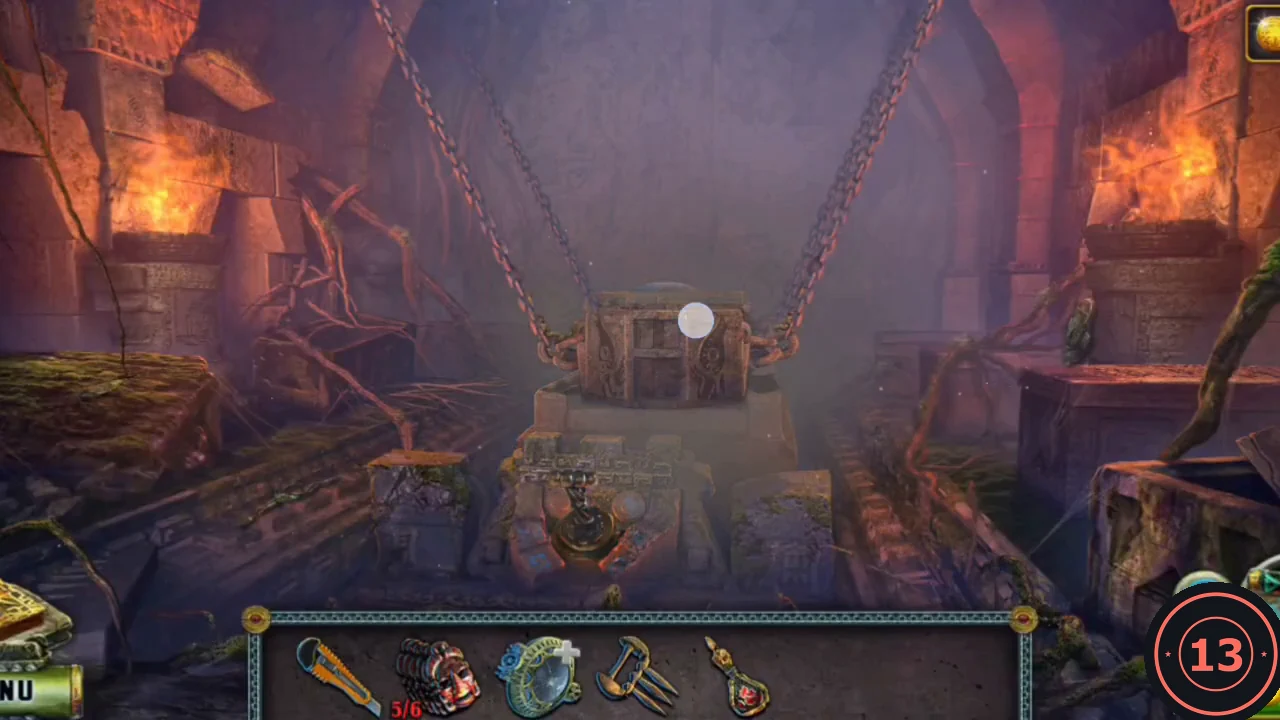
Return to the High Wizard's vault with the Lever and the Brass knuckle key.
- Return to the High Wizard's vault. Insert the Lever into the lowering mechanism and pull it. The sarcophagus comes down.
- Zoom into the sarcophagus and take the round Lens from its lid.
- Put the Brass knuckle key into the round gear-shaped lock on the lid to start the lid puzzle.
Sarcophagus lid blocks
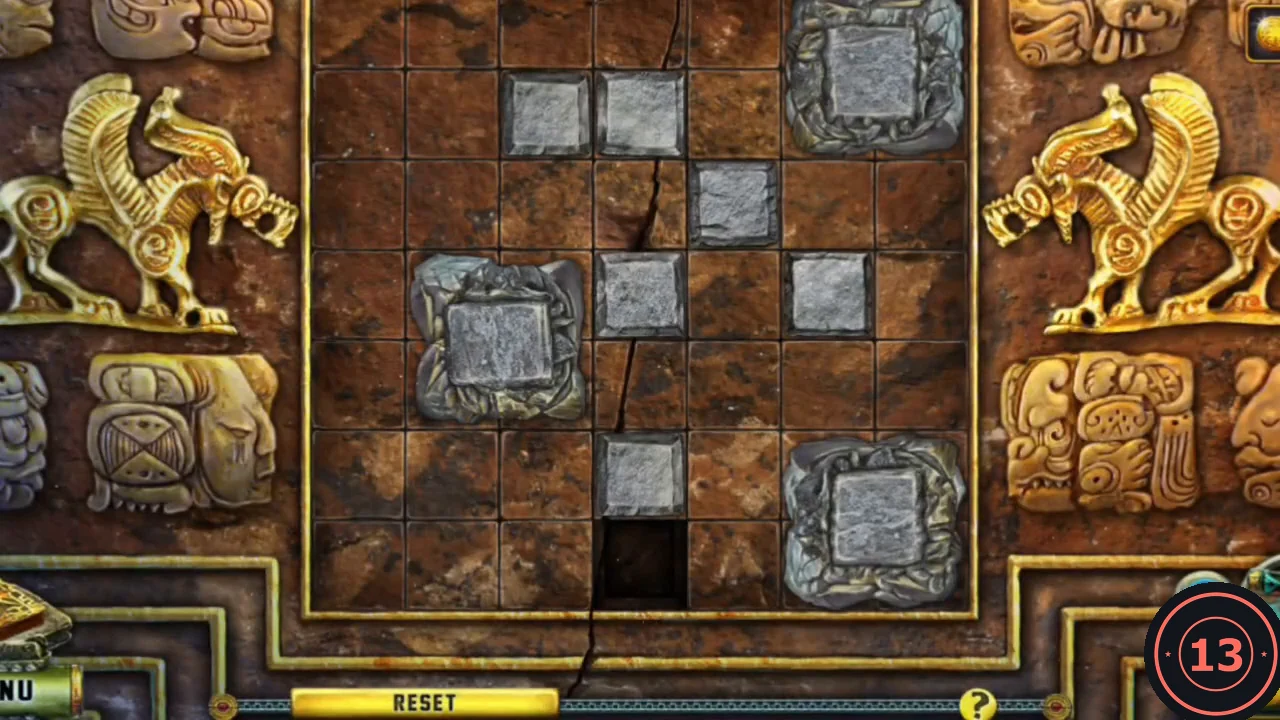
The lid holds six small grey blocks, three large fixed stones and a dark hole in the middle of the bottom row. Goal: drop every grey block into the hole.
- Click an empty cell: every grey block next to it is pushed one cell away from that cell. A block pushed onto the hole falls in. A block pushed against the outer edge gets stuck there, so press RESET if that happens. Work one block at a time: line a block up in the hole's column (or row), then click the empty cell on its far side to push it toward the hole. The recording dropped the blocks down the hole's column one after another.
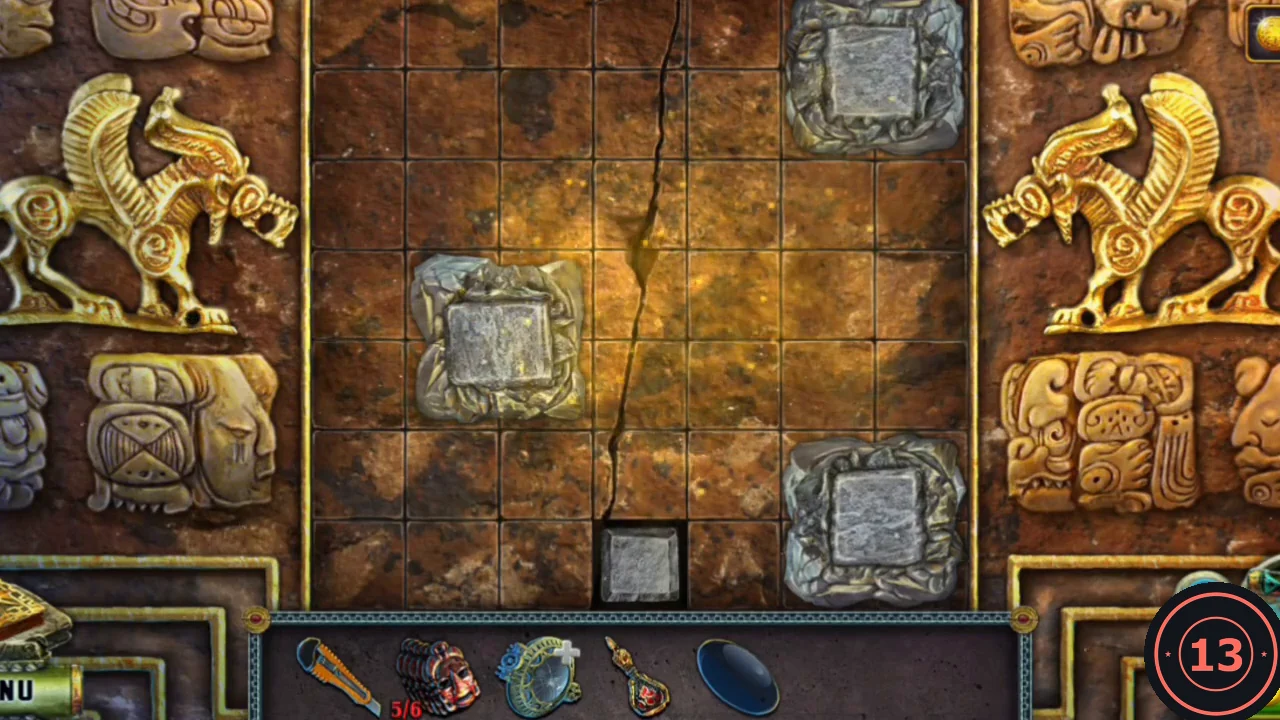
Solved: every small block has dropped into the hole. - Take the last Mask piece (Mask 6/6) and the Skull from the open sarcophagus.
- In inventory, put the Lens into the empty lens frame to repair it.
Six masks, fire powder and the jade mask
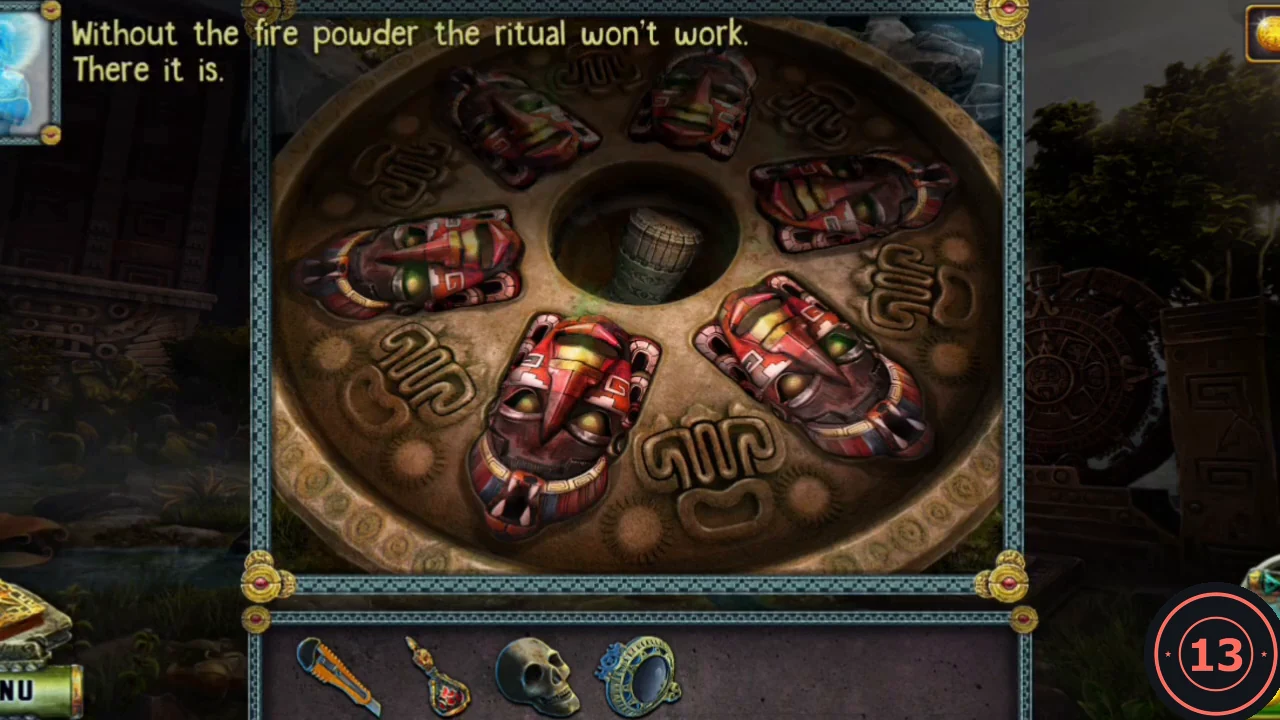
With all six Mask pieces, the repaired Lens and the jade face mask, you open the way to the altar chamber.
- Go to the temple courtyard and place the six Mask pieces in the recesses of the circular altar. The centre opens; take the Fire powder.
- At the ritual temple front, place the repaired Lens on the empty pedestal at the front right. The beam reflects onto the centre of the temple stair wall, which starts to glow.
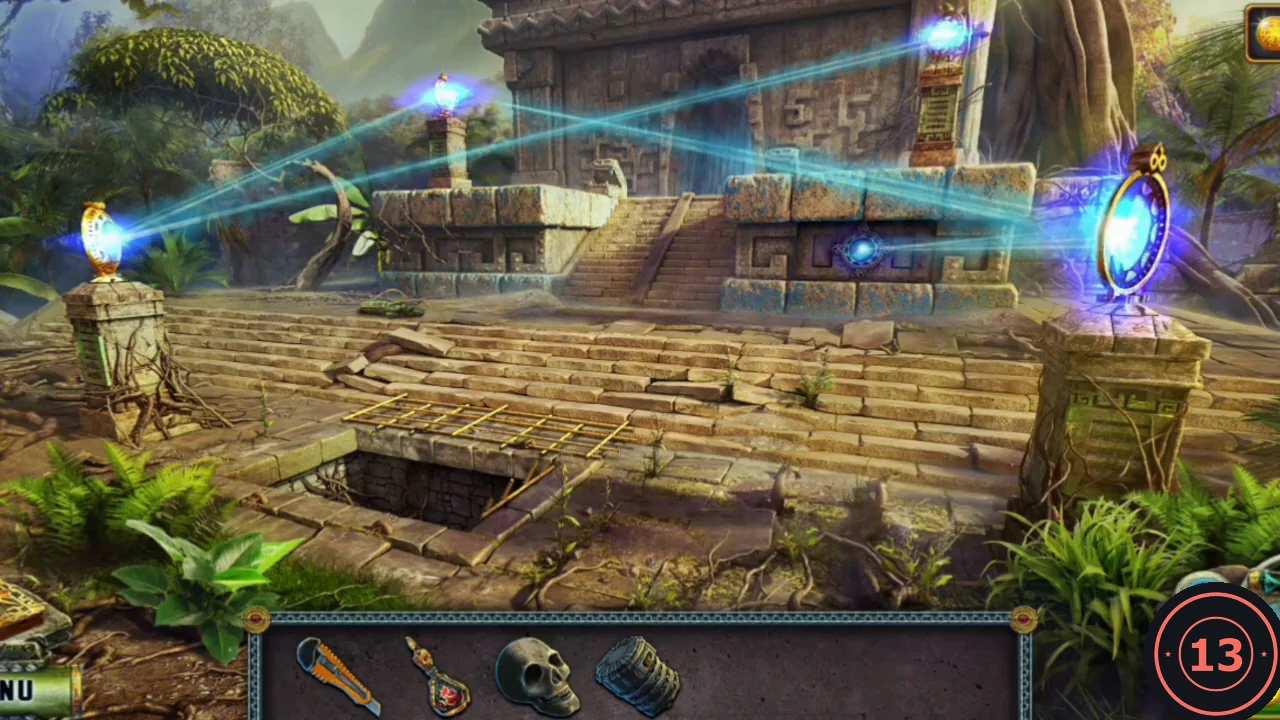
The repaired Lens on the right pedestal sends the beam onto the centre of the temple wall. - Zoom into the glowing spot and take the jade face Mask.
- In the inner ritual temple, place the Mask in the face-shaped recess in the floor at the front centre. The floor opens to the altar chamber holding the High Wizard's heart.
Heart altar interactive scene
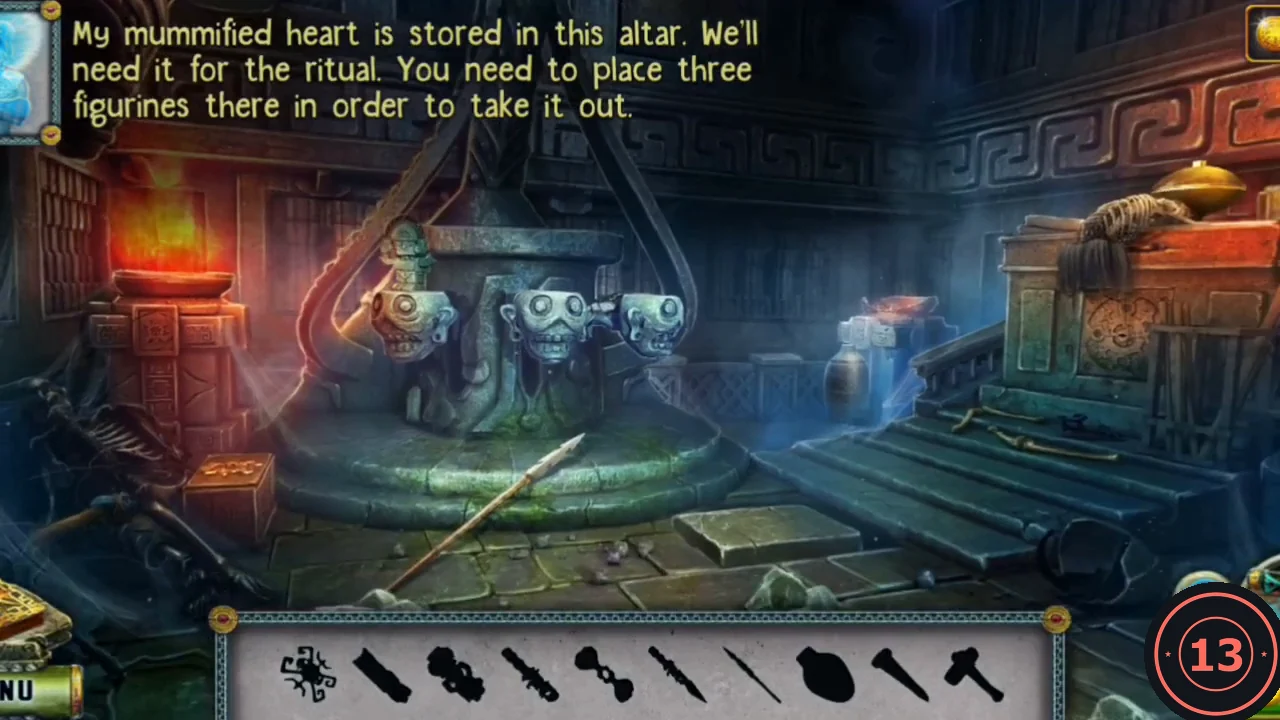
Interactive scene. The bar shows silhouettes of three figurines plus a Knife, Handle, Spear, Vase, Chisel and Hammer. Place the three figurines on the pots at the altar base to raise the heart.
- Take the Hammer and the Chisel from the small wooden chest close-up at front left, and the Spear from the floor in front of the altar.
- Take the double-ended Handle from among the pots at the base of the altar, and the Vase beside the brazier on the left.
- Zoom into the drum and box on the right. Fit the Handle on the drum lid and rotate it to open the box, then take the Knife handle. Attach it to the blade lying on the floor to complete the Knife.
- Put the Vase on the floor plate to the right of the altar to keep it pressed down.
- The buttons on the ceiling panel at the top centre are out of reach. Press them with the Spear to open a memory game.
- Memory game: turn over two of the eight plates around the fixed centre at a time; matching pairs stay open. Remember each symbol as it is revealed and pair it once its twin appears. The layout is probably random. In the recorded example the pairs were: swirls top left and top right, trapezoids top centre and bottom left, carved squares middle left and bottom right, frogs middle right and bottom centre.
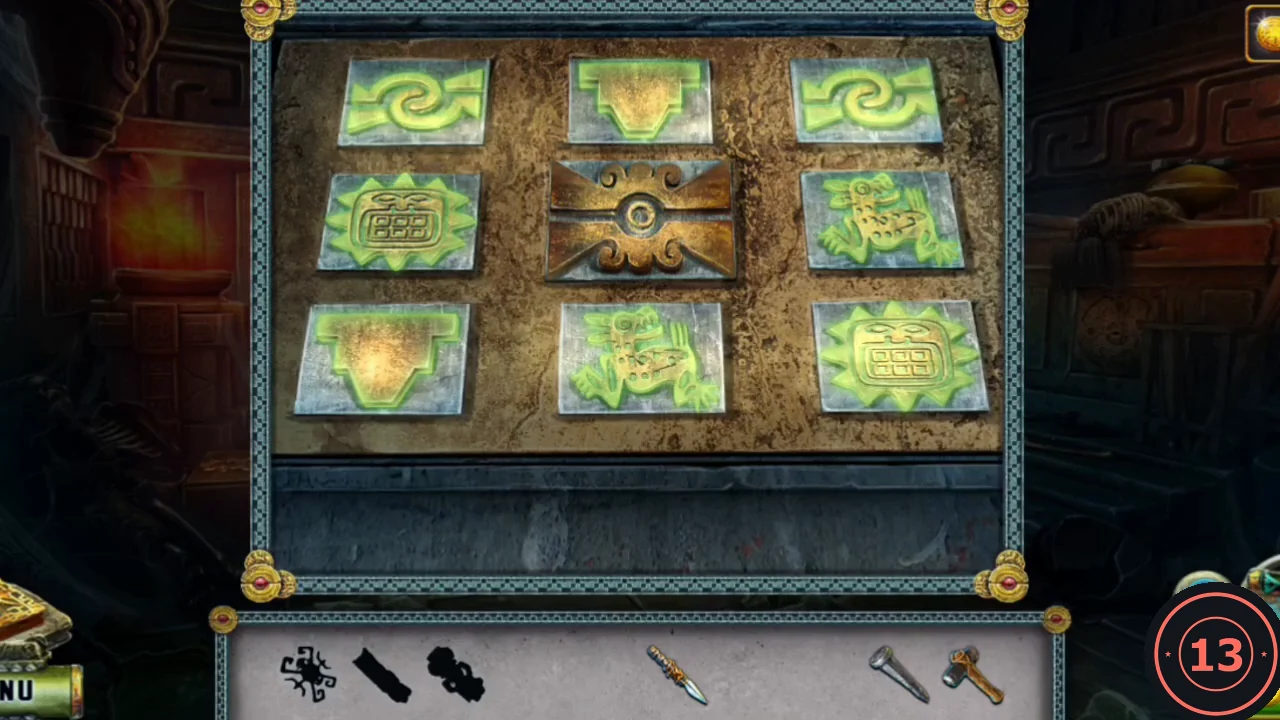
The memory game solved in the recording. Your symbol layout may differ. - The gold Figurine is stuck in the side of the brazier and the Knife cannot free it. Set the Chisel against it first, then strike the Chisel with the Hammer; the Figurine breaks loose. Take it.
- Put the gold Figurine into the matching recess on the lid of the chest at the left. The chest opens; take the silver Figurine.
- Place both figurines on the pots at the base of the altar.
- Insert the Knife into the keyhole of the carved plate on the right wall. A small door opens; take the Statuette and place it on the third pot. The heart rises; take the Heart.
The ritual
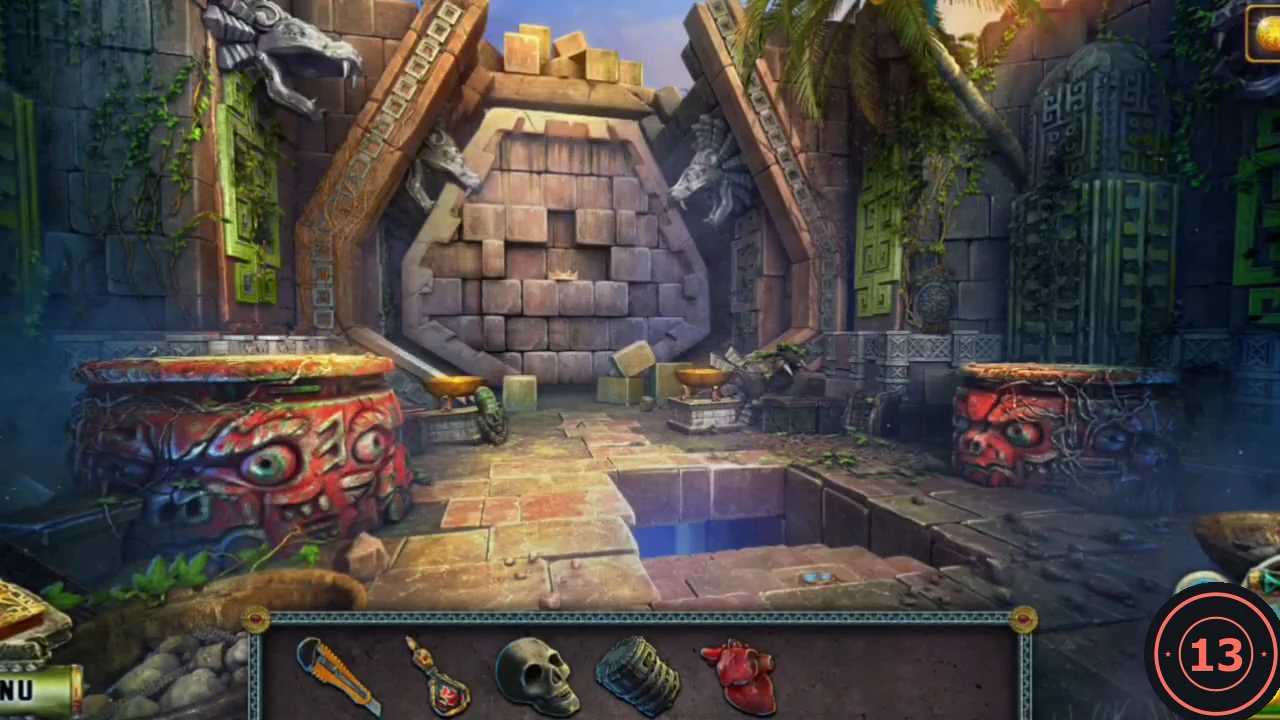
Follow the note from the vault: heart and blood water on the left table, skull and fire powder on the right table.
- Place the Skull on the right table.
- Place the Heart on the left table and pour the Blood water over it.
- Sprinkle the Fire powder over the Skull on the right table. The High Wizard's spirit is freed and tells Diana to place the skull next to the skulls of his ancestors to create the crystal she needs.
- Take the Crystal skull from the right table.
Circle of crystal skulls
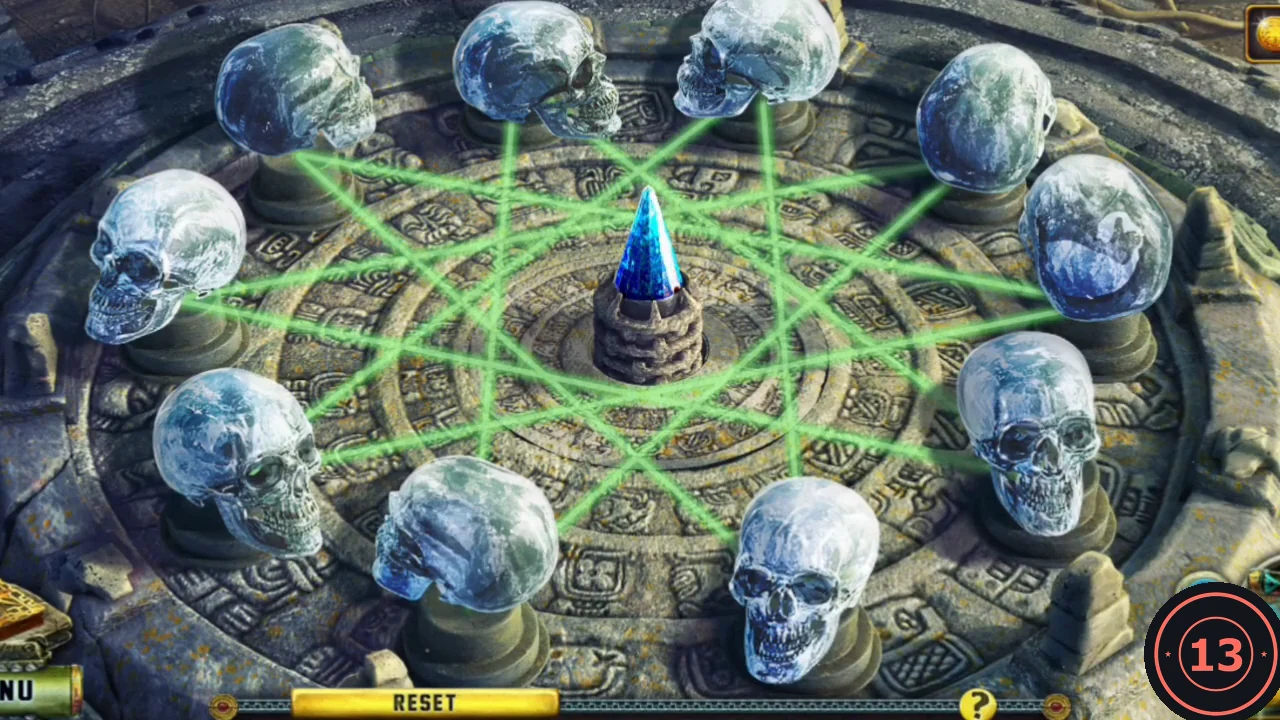
At the tombs entrance, place the Crystal skull in the centre of the skull circle. Ten crystal skulls stand on pedestals around a blue crystal, linked by green lines that form a ten-pointed star.
- Zoom into the skull circle and place the Crystal skull in the centre.
- Click a skull, then click another skull joined to it by a green line: the two swap pedestals. A skull does not turn when it moves, so its gaze direction stays the same. Goal: every skull looks at the central crystal. That means the pedestals at the top need skulls showing their faces, the pedestals at the bottom need skulls showing the backs of their heads, those on the left need skulls looking right and those on the right need skulls looking left. Work one pedestal at a time: move a correctly facing skull to it along the lines, using other pedestals as stepping stones. RESET restores the start. The recording used about eleven swaps.
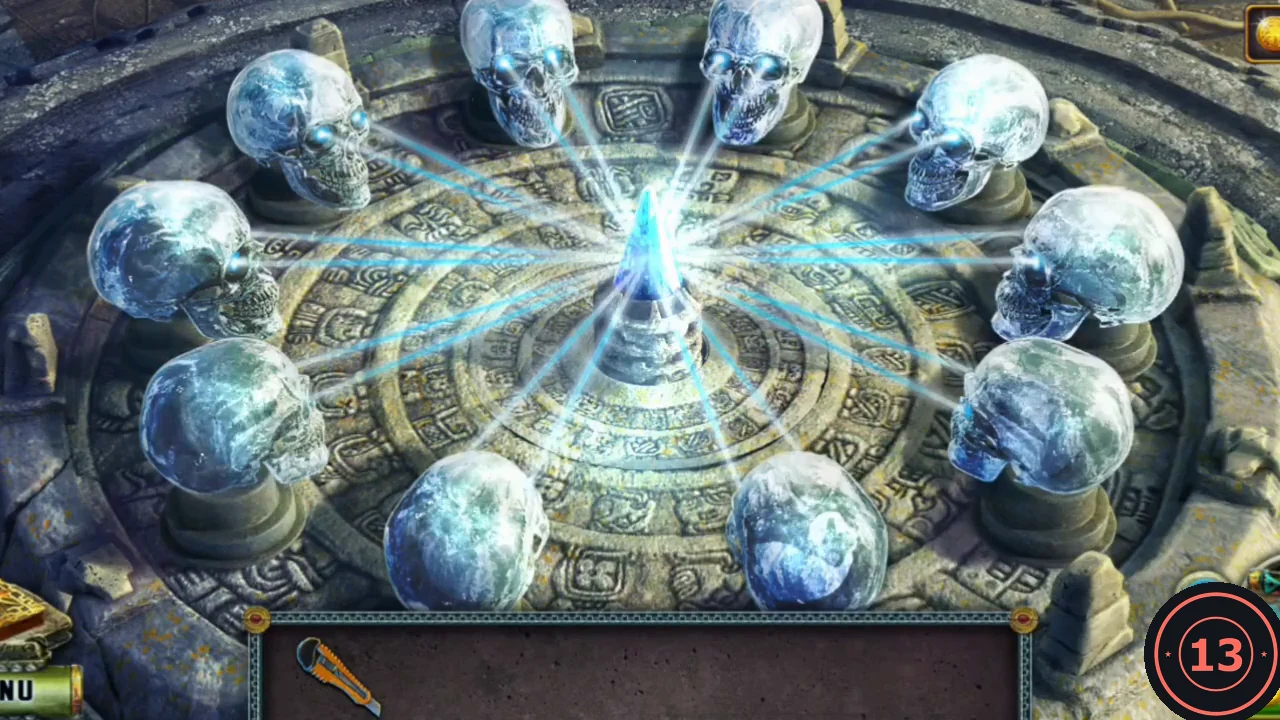
Solved: every skull looks at the central crystal and the beams light up. - Take the Pink Quartz.
- Give the Pink Quartz to Kitron in his hall. He reveals that he was the real prisoner, draining Rhitoris's power, and throws Diana into the water.