Lobby: the pencil and the hidden code
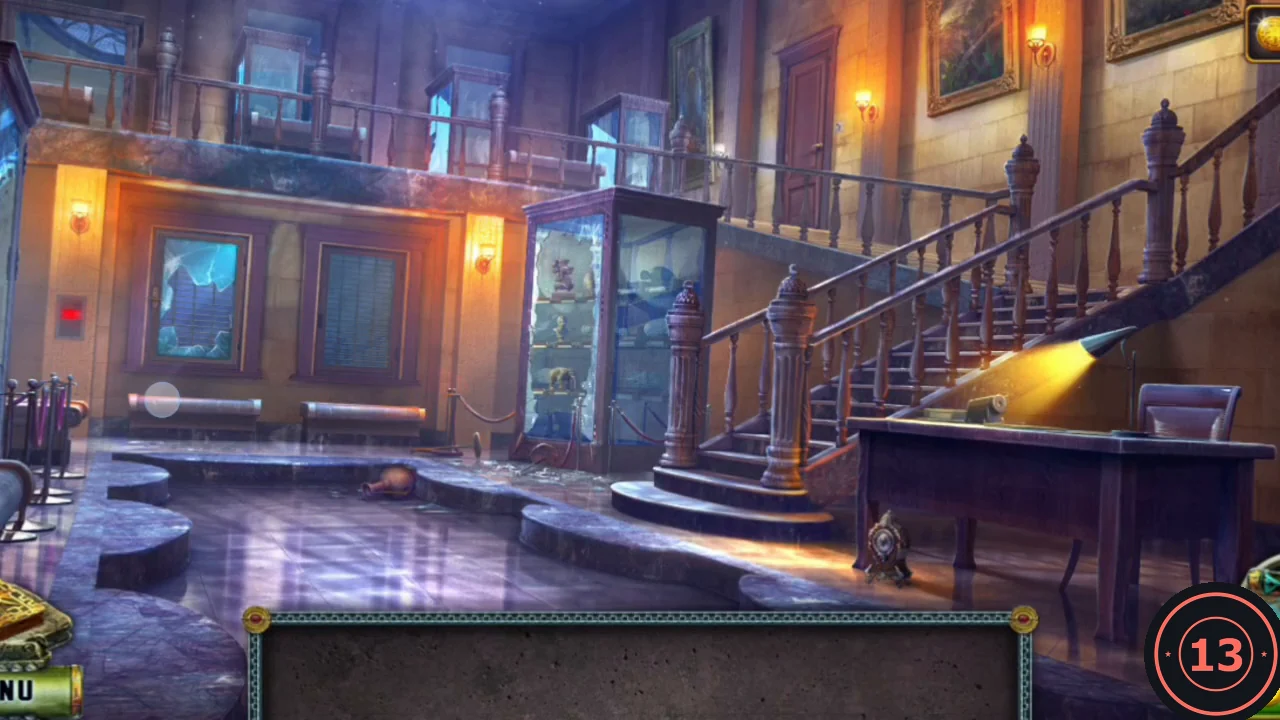
Diana begins in the museum lobby right after the alarm. Start by collecting a few desk items so you can get into the security office.
- Open the display case in the lobby and take the Unsharpened pencil.
- Zoom into the reception desk and put the Unsharpened pencil into the pencil sharpener to get a Pencil.
- Rub the Pencil across the blank notepad on the desk. The impression of a number appears; take the Code note. Also take the Knife case and the Sheet of paper from the desk.
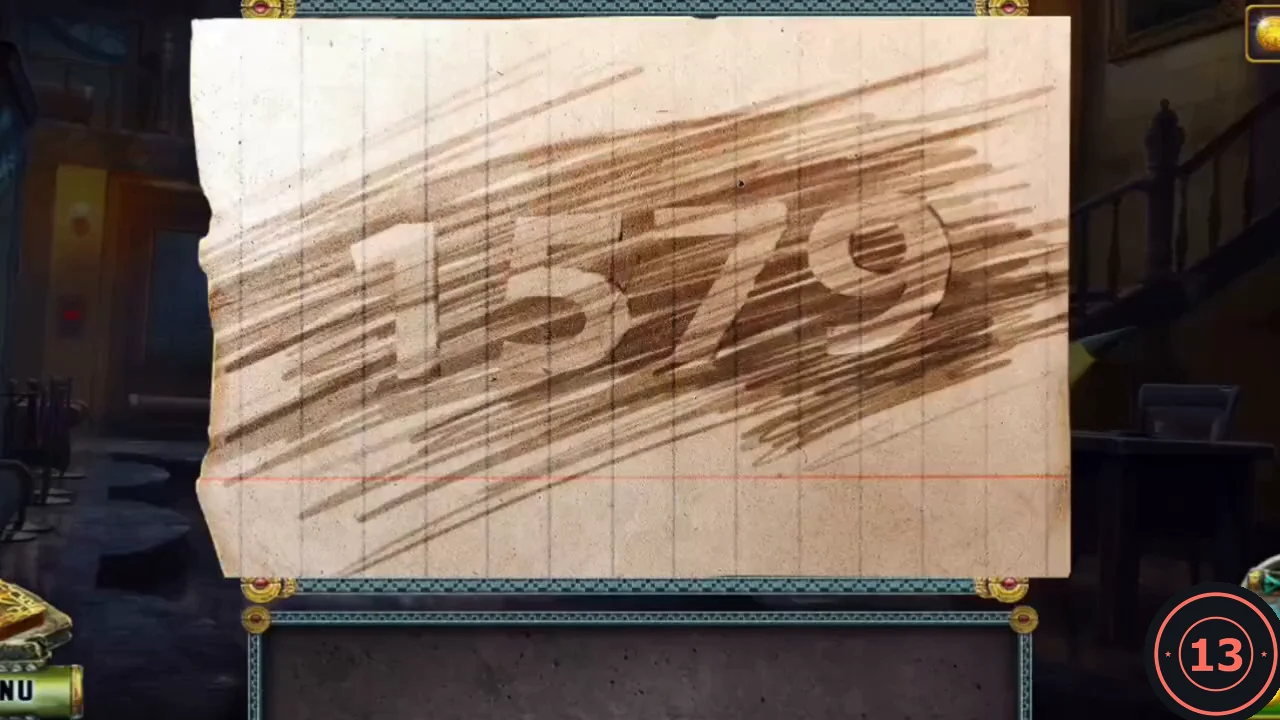
Rubbing the pencil over the notepad reveals the door code 1579.
Security door keypad
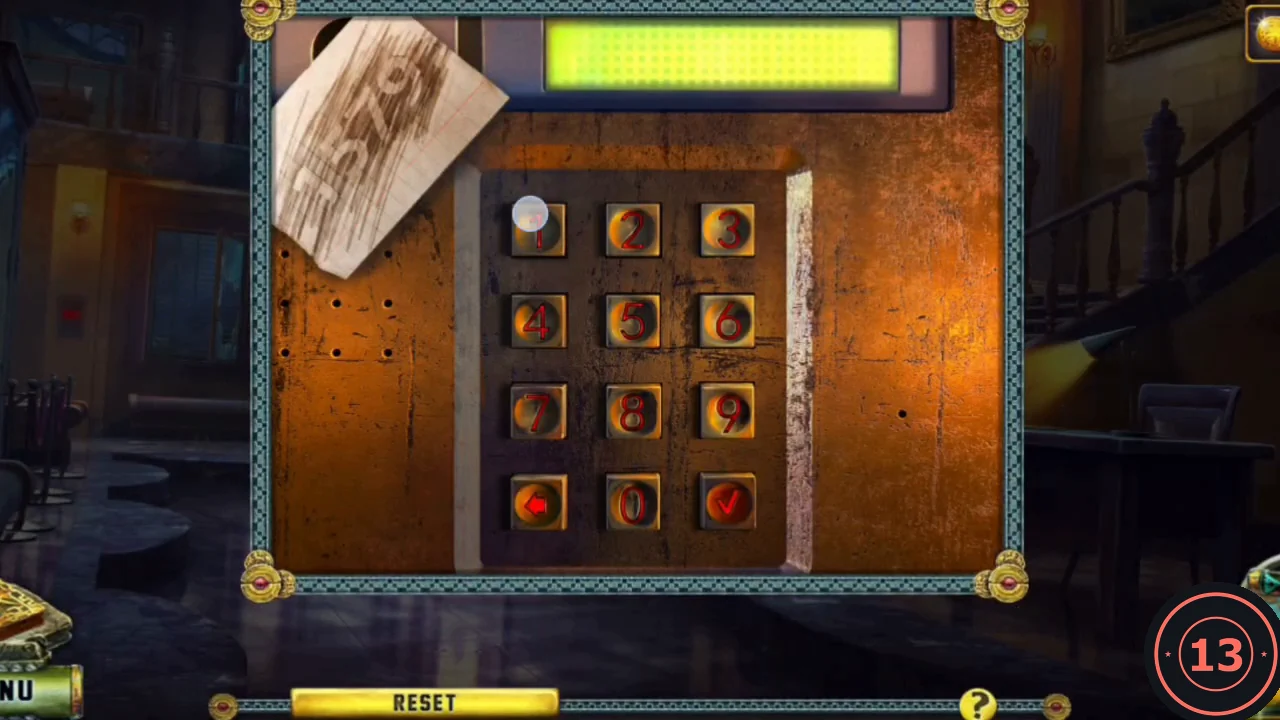
The security office door is locked with a numeric keypad. The number revealed on the notepad is the code.
- Zoom into the keypad beside the security door and use the Code note on it. Enter 1579 and press the check key. The door opens.CODE1579
Security office
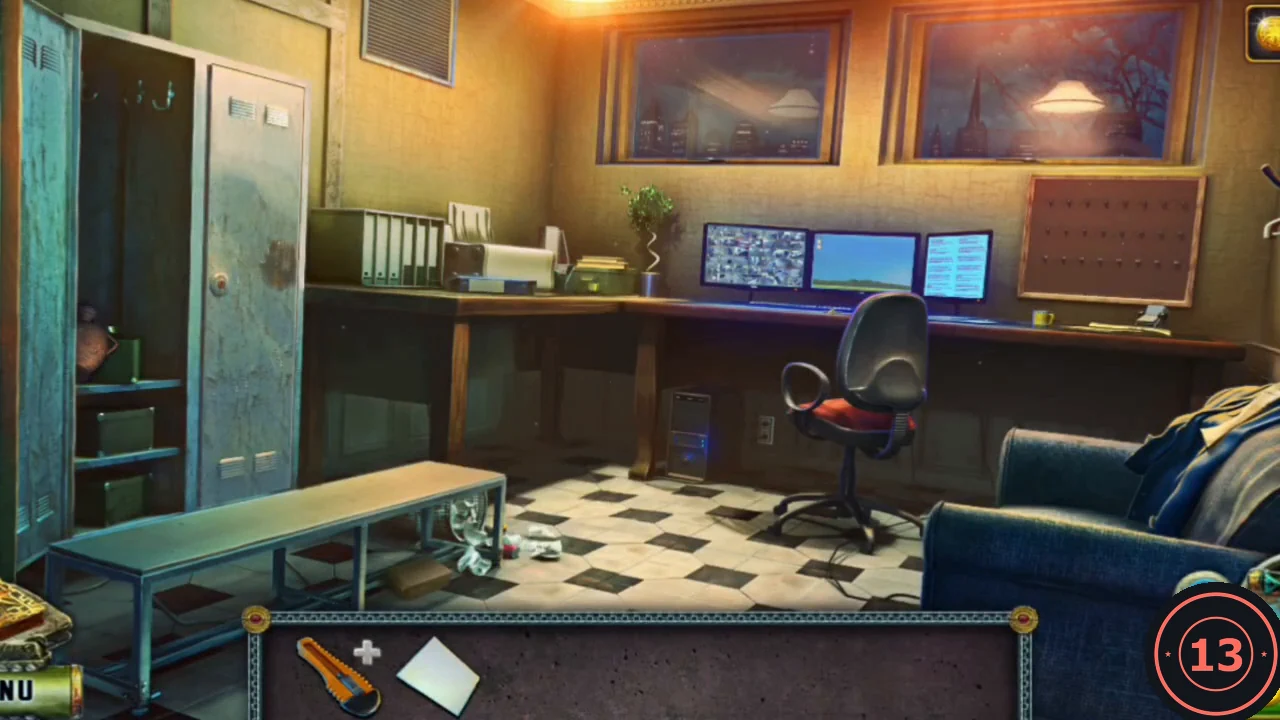
Inside the security office you assemble a knife, print a photo of the exhibit shelf and build a makeshift hook from a paper clip and a bootlace.
- Put the Sheet of paper into the empty printer tray.
- On the desk, take the Knife blade and the Paper clip.
- Put the Knife blade into the Knife case in inventory to make the Knife. Keep it: the knife is used many times later.
- Zoom into the armchair, read the newspaper, then lift the jacket and take the Key.
- Zoom into the computer, open the photo and press the print icon. Take the Photo from the printer.
- Use the Key on the locker. Take the Hammer and the String (a bootlace) inside.
- In inventory, attach the String to the Paper clip to make the Hook on shoelace.
Key card and the Navipad
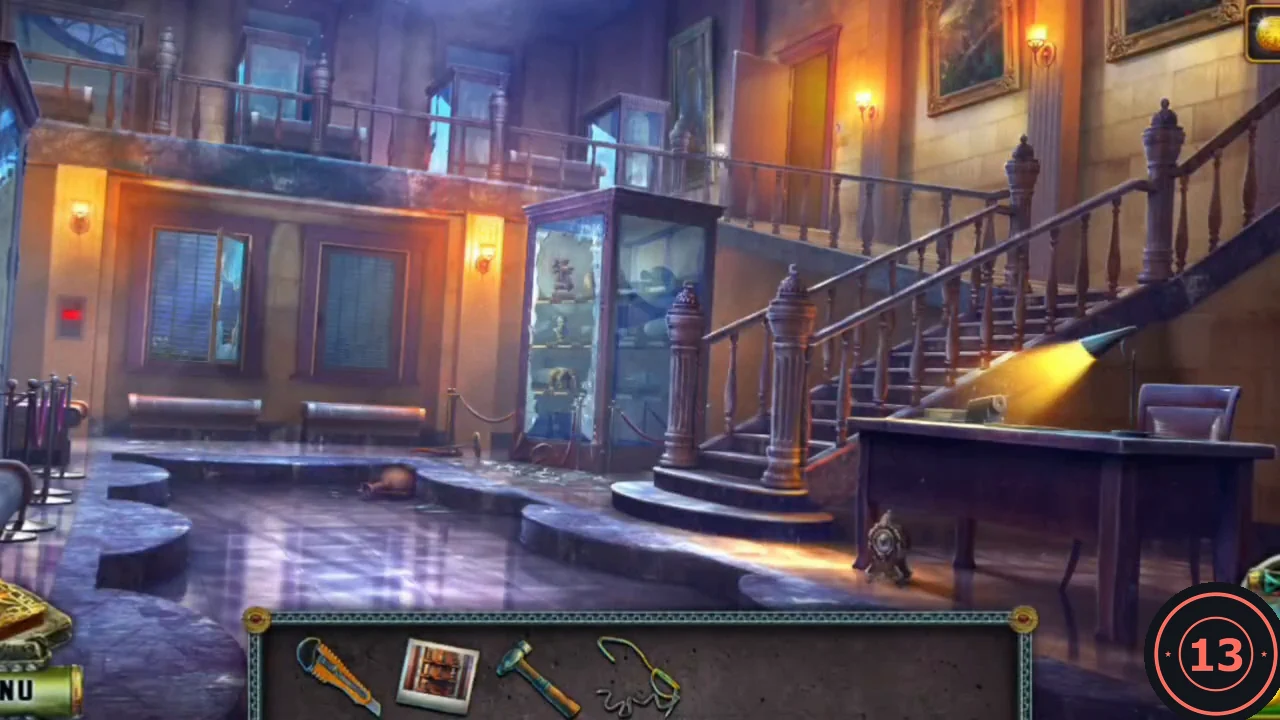
Back in the lobby, use the hook to fish a key card through the bars, then switch off the barred section.
- Go back to the lobby. Zoom into the barred, broken door and lower the Hook on shoelace through the bars to pull out the Key card.
- Use the Key card on the red security panel on the left wall. The light turns green and the bars lift.
- Take the Navipad from the plants. It locates exhibits by their artifact number, but you do not know the number yet.
Restore the exhibit shelf
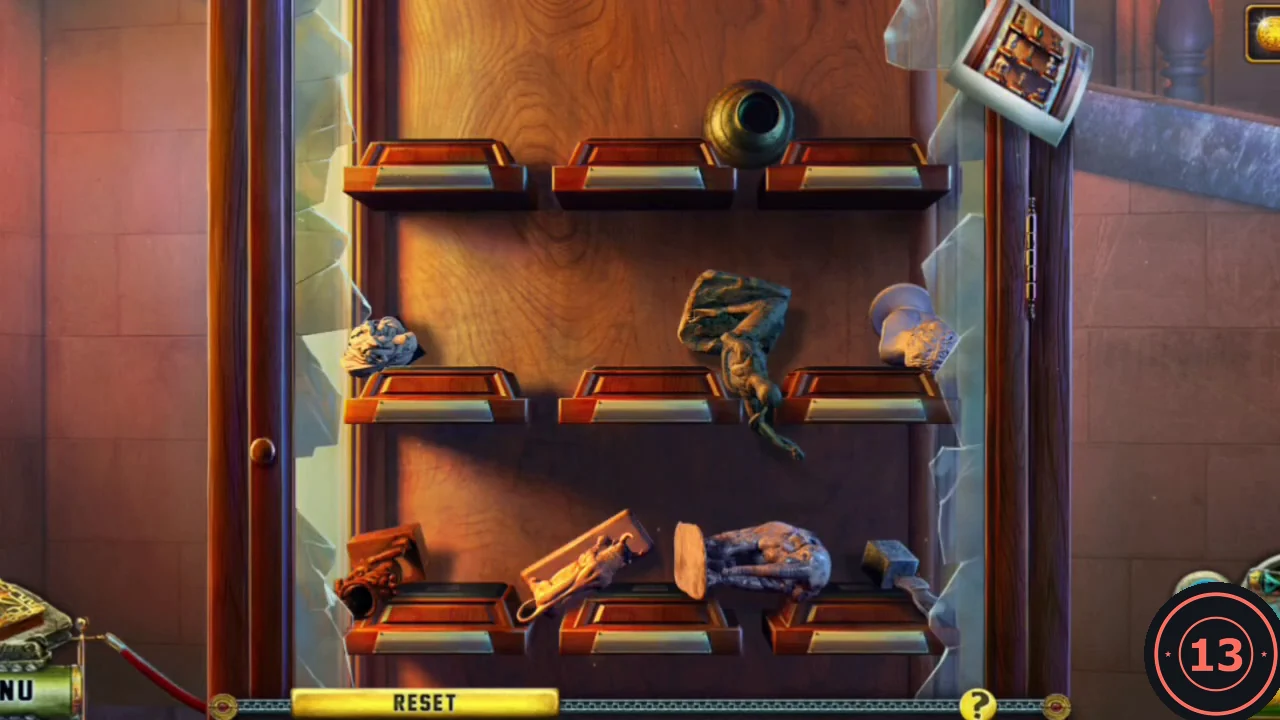
The damaged exhibit shelf in the lobby has to be restored before you can learn which exhibit was stolen. The printed Photo is the reference picture.
- Zoom into the damaged exhibit shelf and place the Photo on it. The photo stays in the top-right corner as your reference.
- Move the exhibits into the positions shown on the photo. Top shelf, left to right: the serpent-dragon statue, the vase and the warrior. Middle shelf: the male bust, the stone hand and the female bust. Bottom shelf: the elephant, an empty space in the middle (where the stolen golden bust belongs) and the bull. RESET restores the starting layout if you get muddled.
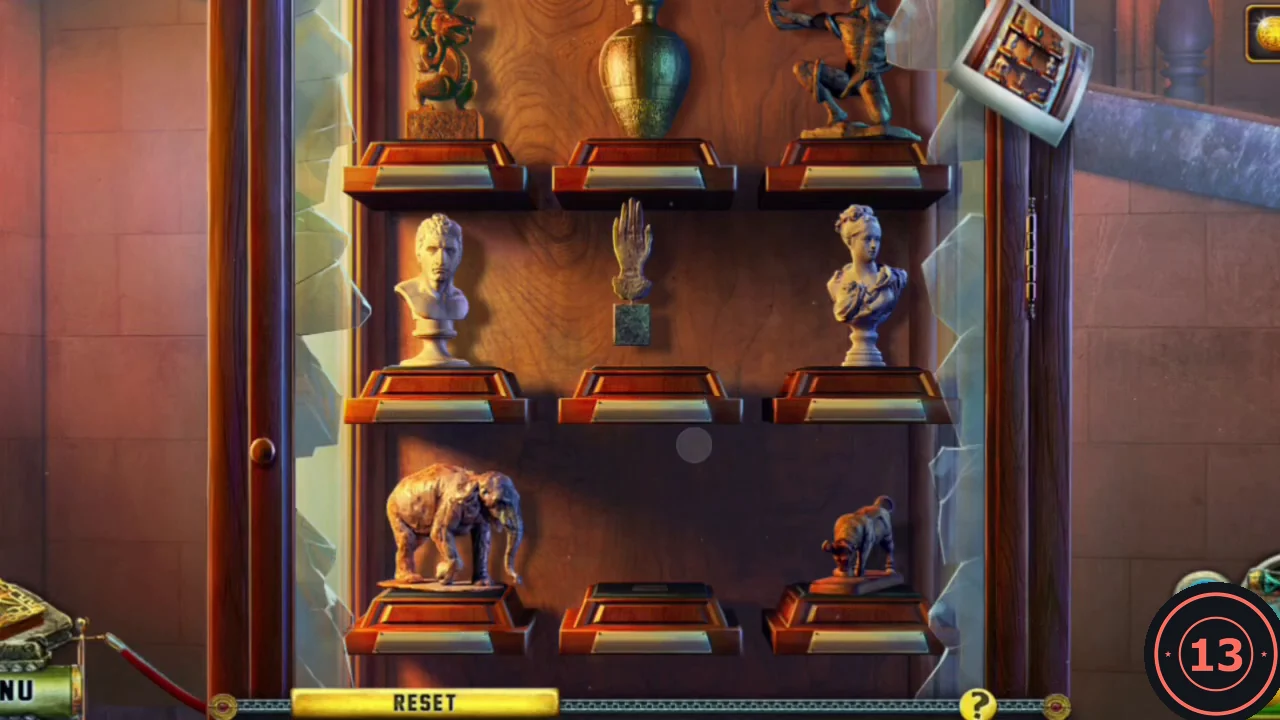
The restored shelf. The gap in the middle of the bottom shelf is where the stolen golden bust stood.
Track the golden bust with the Navipad
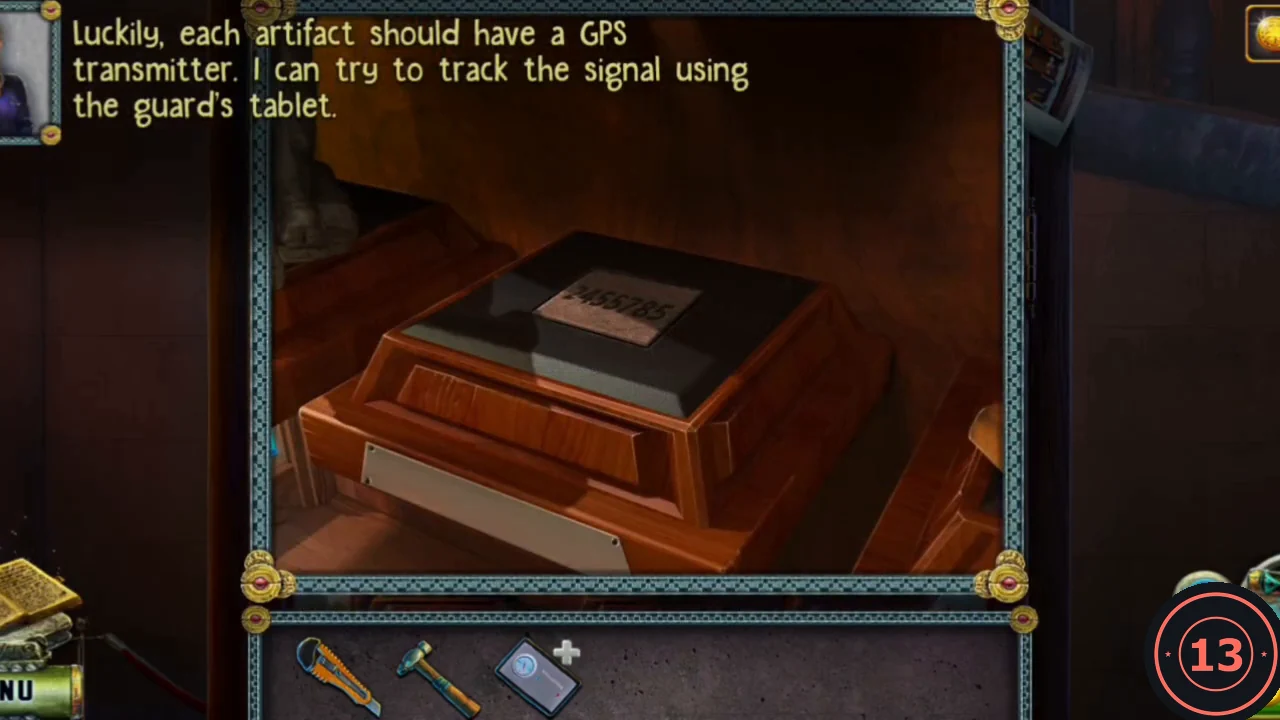
The empty plinth on the restored shelf belongs to the stolen golden bust. Its artifact number lets the Navipad track it.
- Zoom into the empty middle plinth and read the artifact number on its plaque: 2455785.
- Open the Navipad, enter 2455785 and press Enter, then take the Navipad back. A cutscene shows the thief dropping the bust into a well on an abandoned lot, and Diana follows.CODE2455785
Toolbox, crate and crane
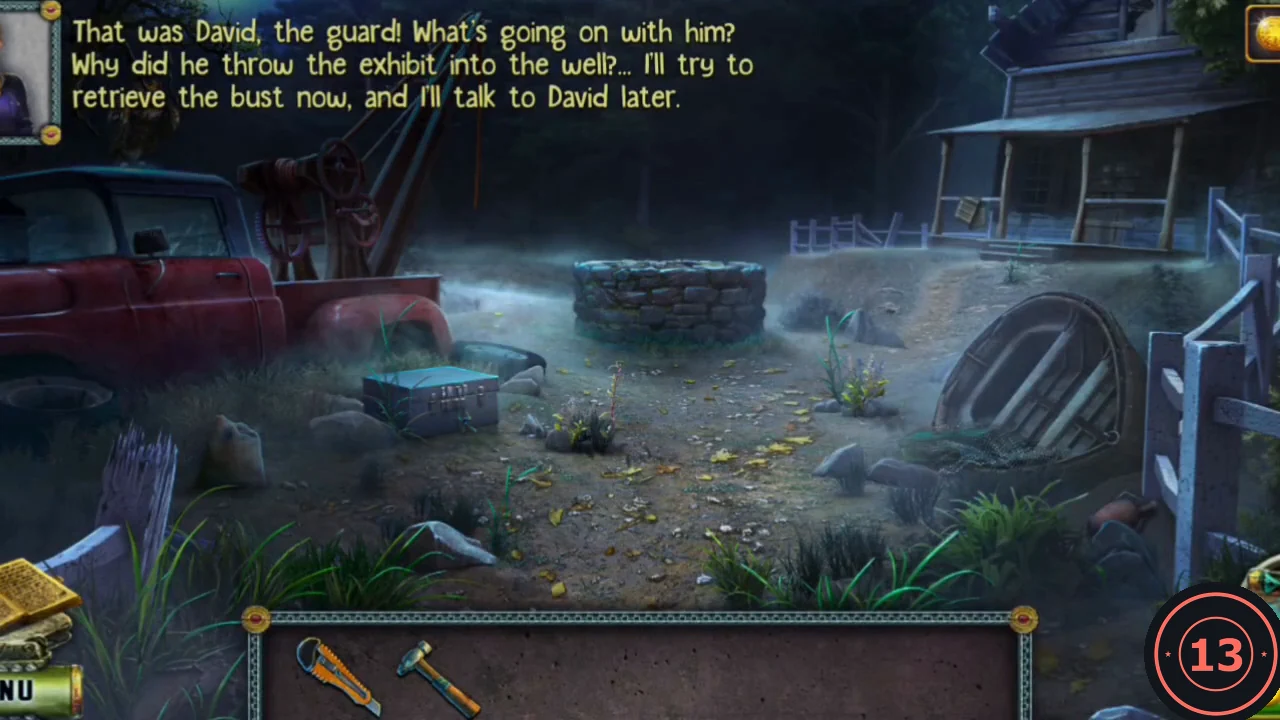
The bust lies at the bottom of a well under a bolted grate. Collect tools on the lot first.
- Zoom into the toolbox, pull off the net and break the lock with the Hammer. Take the Crowbar, Oil and Pliers.
- Cut the wire on the metal crate with the Pliers and take the Chemical lantern.
- Zoom into the crane. Its gears are rusty: oil them with the Oil, then turn the crank.
- Look at the well grate: its bolts must be unscrewed before it can be lifted. Use the Crowbar on the boarded door of the shack to open it.
Shack hidden-object scene
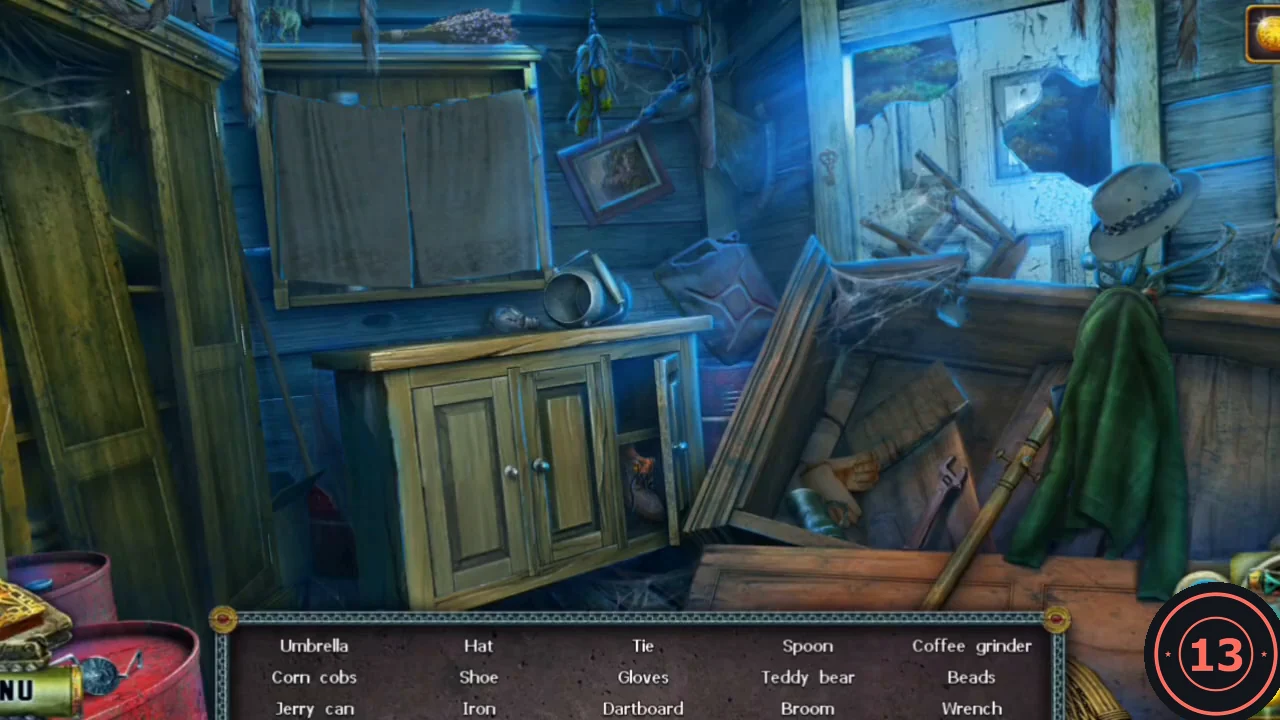
The boarded shack opens into a hidden-object scene. The list at the bottom names the 15 items to find; some are hidden behind doors, curtains or a coat, and the Beads must first be completed in a close-up.
- Find the listed items (any order). Right side: lift the green coat off the hook to reveal the Umbrella hanging under it; the straw Hat sits on top of the same hook. Blue Jerry can: on the low cabinet top, right of the metal pot. Gloves and Wrench: on the planks inside the open crate at lower right. Shoe: in the open right-hand compartment of the low cabinet; open its left door to find the Teddy bear. Upper left: pull the curtain of the wall cupboard aside and take the Coffee grinder from its shelf. Corn cobs: hanging on a string at the top centre. Tie: dangling from the mounted deer head above the framed picture. Iron: on top of the tall wardrobe in the top-left corner. Broom: leaning in the gap at lower left beside the red barrel. Dartboard: open the tall wardrobe door at far left; the dartboard hangs inside the door.
- Zoom into the lower shelf inside the open wardrobe. Take the Spoon at the front left. The bead necklace on the right is incomplete ("Some beads are missing"): tap each loose bead so it slides onto the red thread - one beside the jug, one on the broken pottery, one near the top of the fork, one by the knife blade and two on the ledge below the shelf. When the strand is complete, take the Beads.
- When every list item is found, the Wrench goes into your inventory.
Down the well
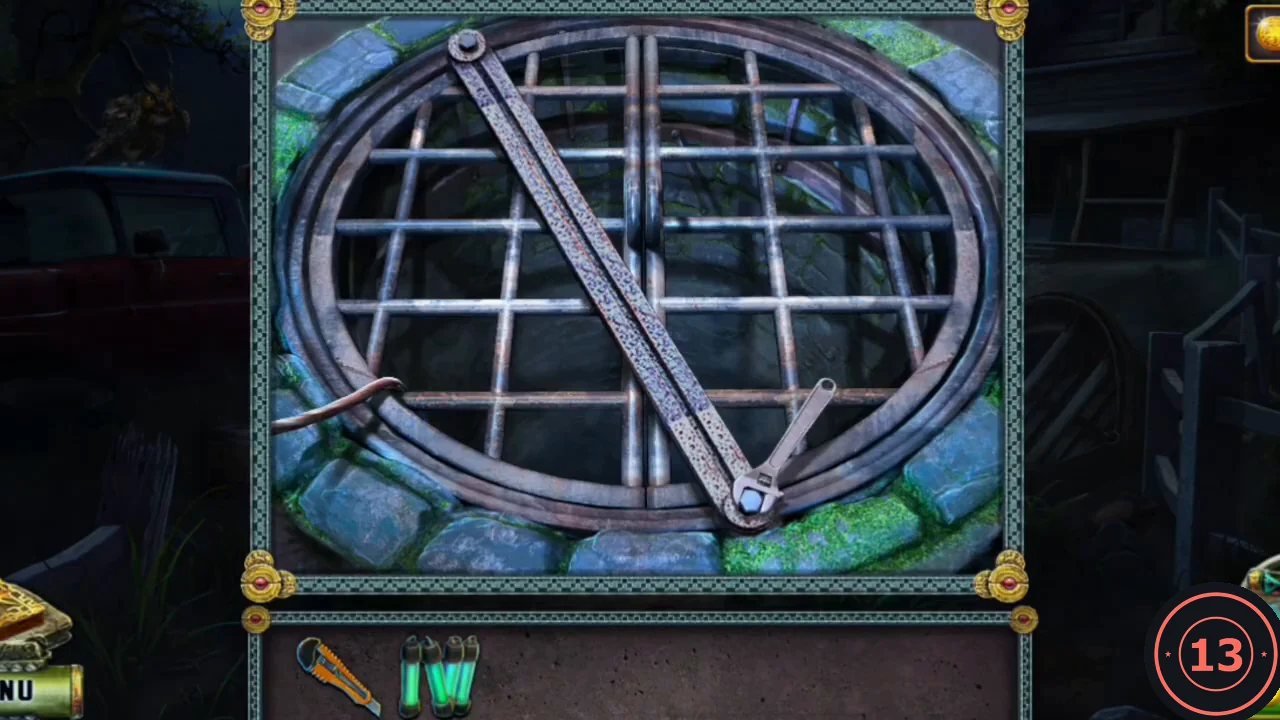
With the Wrench you can finally open the well grate.
- Use the Wrench on the bolts of the well grate.
- Drop the Chemical lantern into the well. Diana climbs down into an underground vault.
The two serpent seals
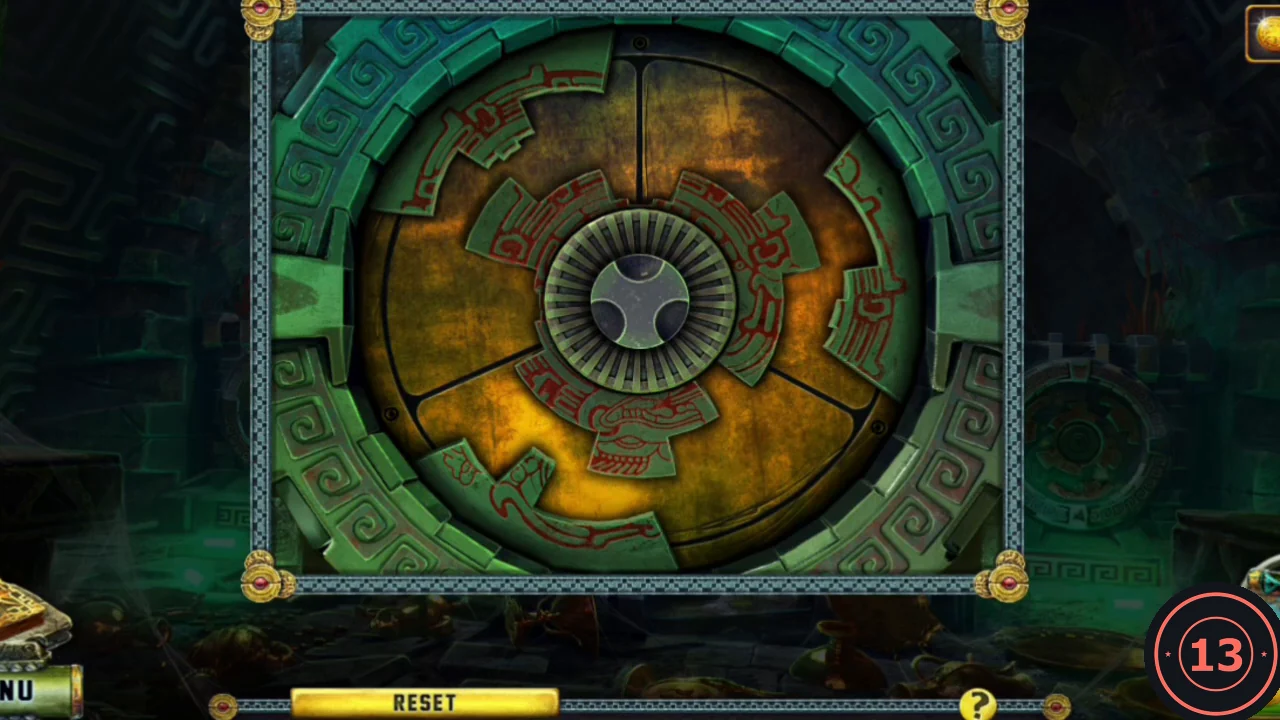
Diana lands in an underground vault with two round mechanisms on the walls. Each needs a Seal and then a ring-rotation puzzle.
- Zoom into the carved skull on the wall and take a Seal from each of its eye sockets (two Seals).
- Zoom into the left wall mechanism and place a Seal in its centre to start the puzzle.
- Rotate the rings and segments until the red serpent carving runs as one unbroken loop around the mechanism. The starting rotation may differ from the recording, so work from the picture rather than counting clicks: line up one stretch of the serpent first, then turn the remaining parts until their pieces join it.
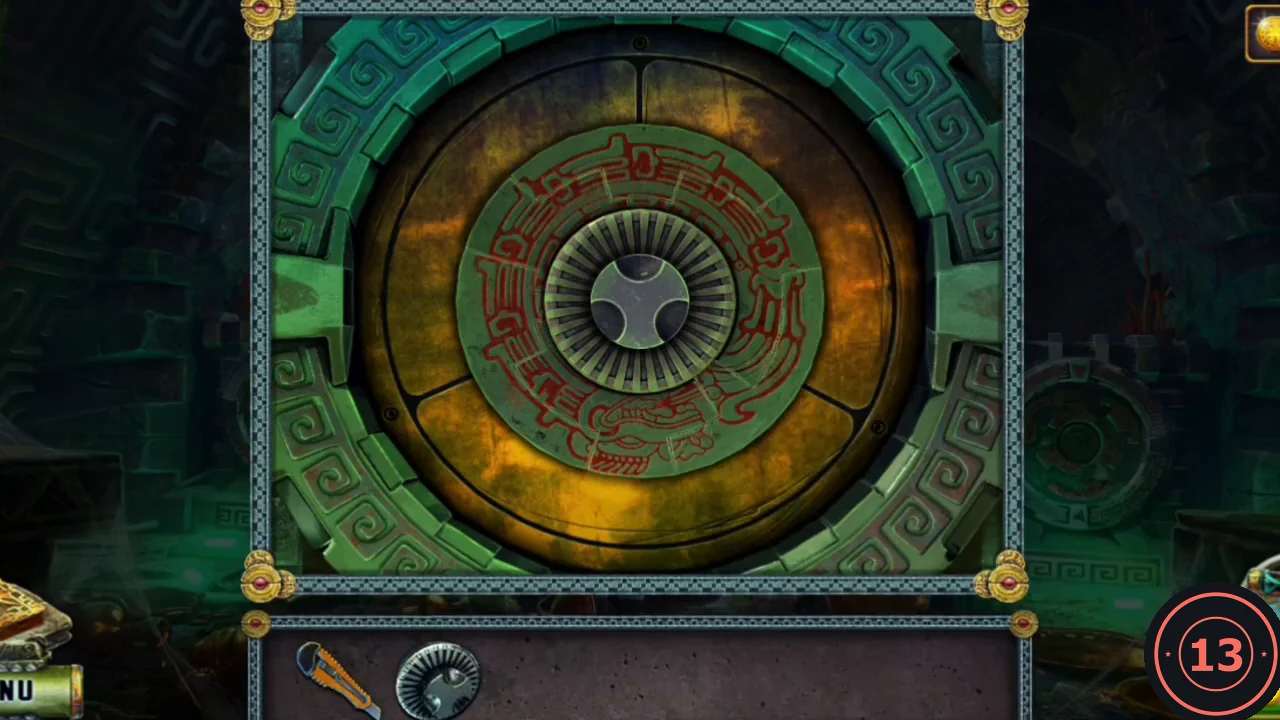
A solved serpent seal: the red serpent forms one unbroken loop. - Zoom into the right wall mechanism, place the second Seal and solve it the same way: join the red serpent into a single continuous loop.
Constellation chart and the jaguar disc
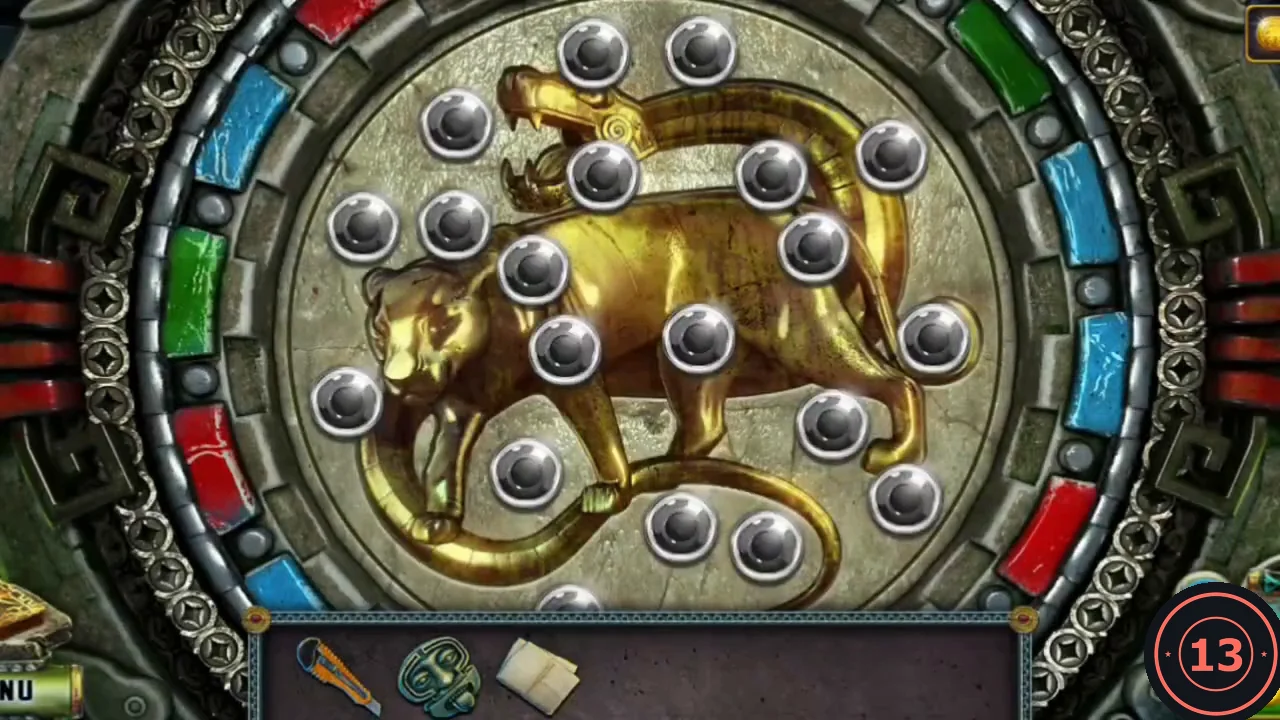
Solving both seals opens a niche with what you need for the jaguar disc on the floor.
- Open the niche and take the Mask and the Tube.
- Examine the Tube in inventory; it opens over a sheet of paper. Pull the dark ink cap off the end of the Tube, dab it onto the decorated Tube so the pattern is inked, then roll the inked Tube across the paper. The printed dots and lines become the Constellation chart.
- Zoom into the jaguar disc on the floor and place the Constellation chart on it. The chart opens full size, then folds to the upper-left corner; tap it whenever you want to see the pattern again. Join the silver studs on the disc so they form the same figure as the chart: link the two studs at the ends of each line on the chart (RESET clears the lines). The disc accepts it once every connection is drawn.
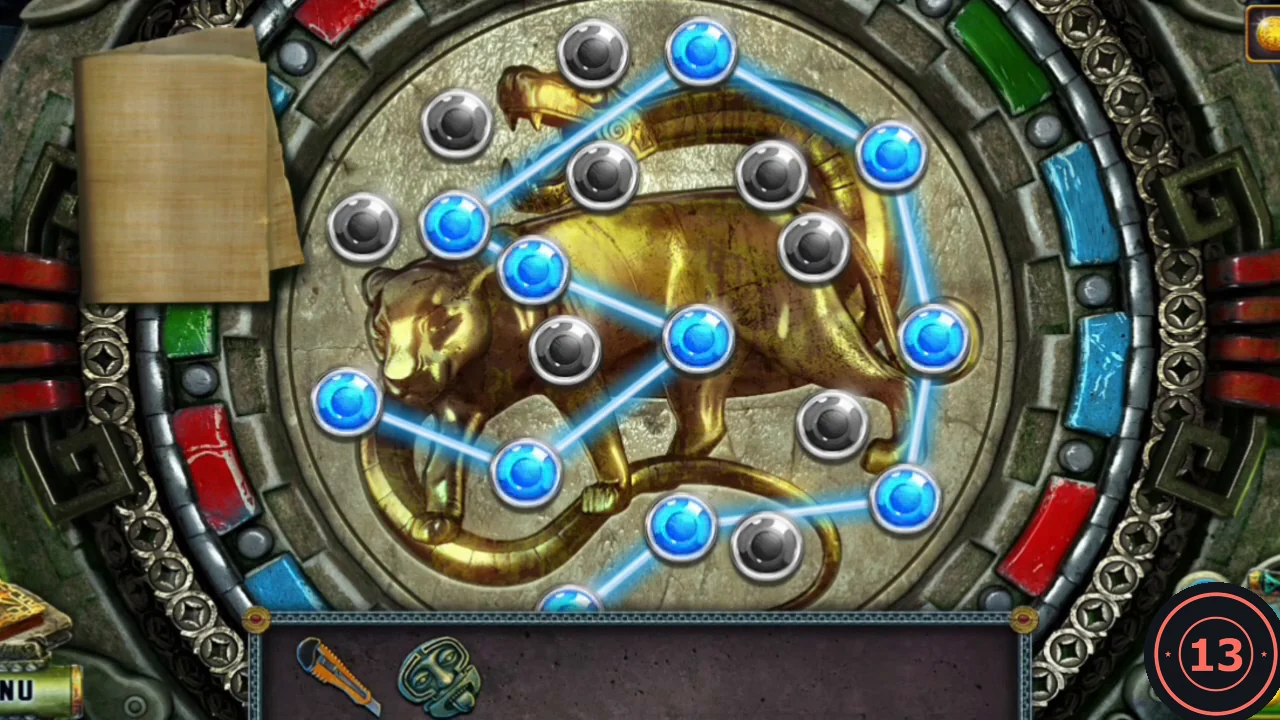
The completed constellation, as drawn on the chart. - Place the Mask on the floor disc. A portal opens and carries Diana to a temple in another world.