Temple courtyard: masks, axe and stone plates
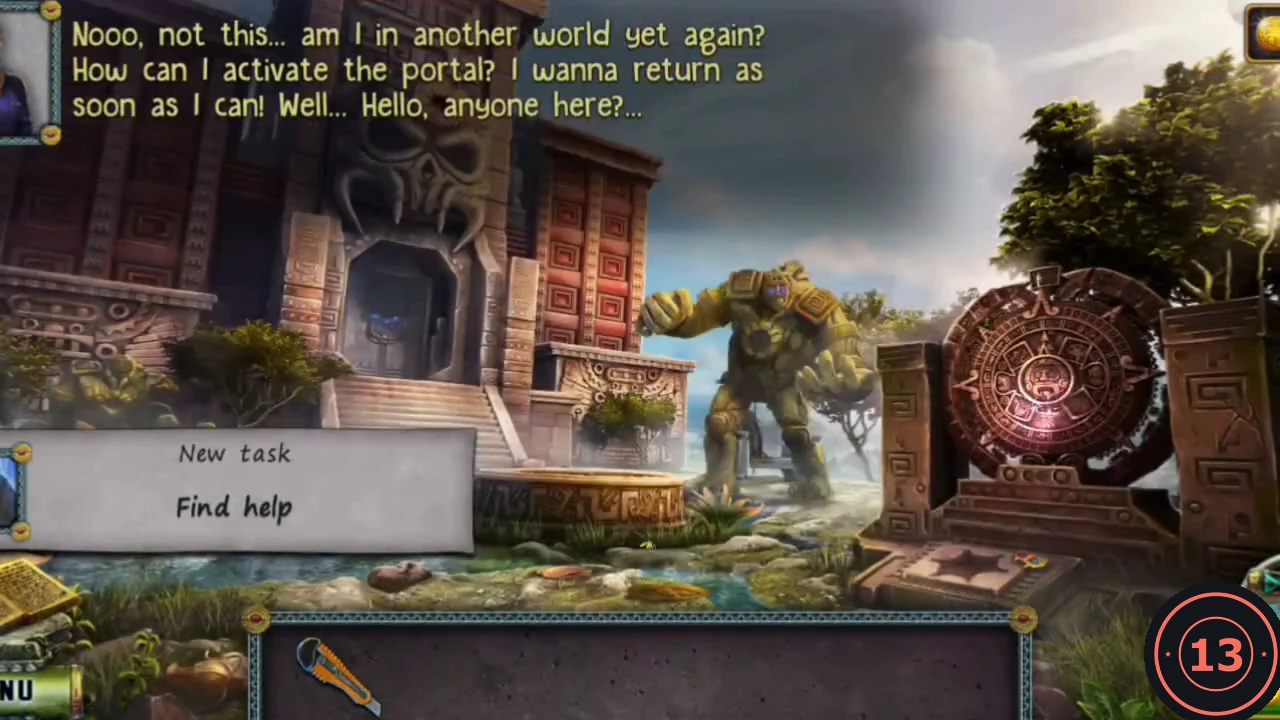
The portal leaves Diana in front of a jungle temple. You need three Stone plates for the glyph board beside the entrance, and you start collecting Mask pieces here.
- Take the first Mask piece from the ground left of the temple facade. Six Masks are needed later; the inventory counter tracks them.
- Zoom into the circular altar in the courtyard. Take the Axe and the Stone plate lying in the altar's notch. A note on the altar says six masks should be placed there.
- Take the Detail (a gold piece with blue gems) from the right-hand plinth.
- Put the Detail into the forehead of the stone golem head. Its mouth opens; take the second Stone plate.
- Zoom into the pond and take the third Stone plate.
Snake-framed glyph board
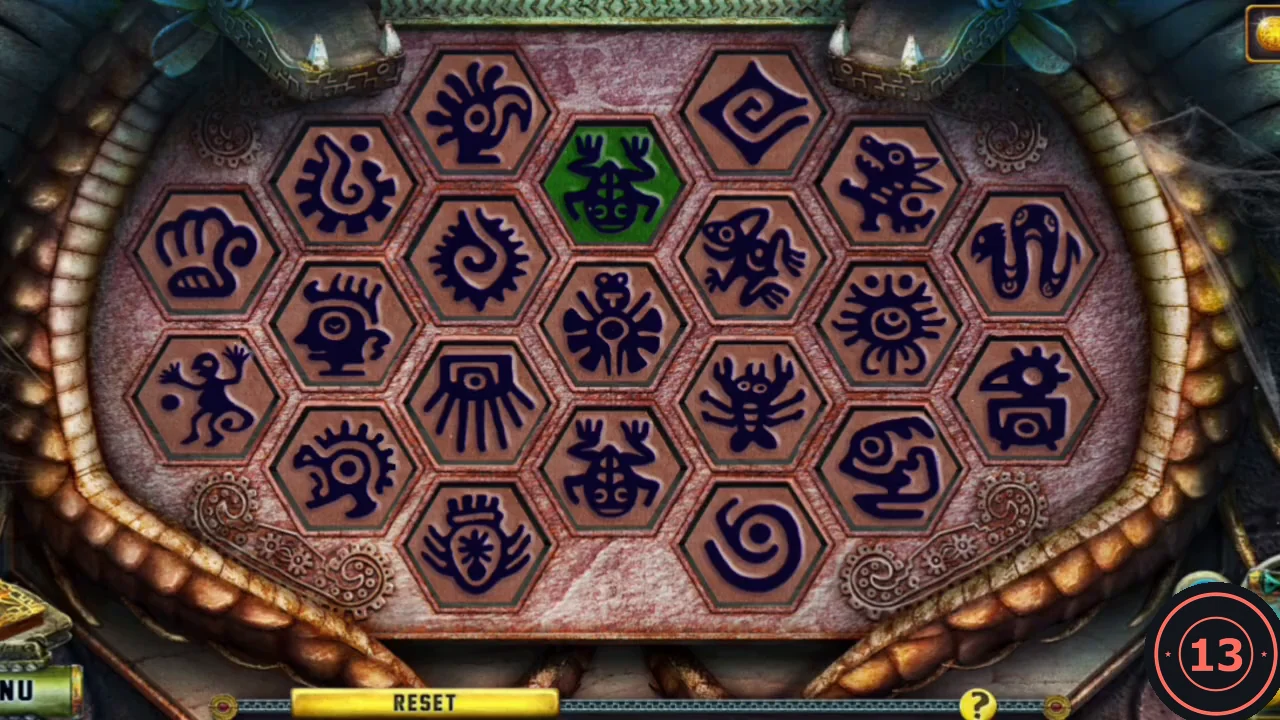
The hexagonal board framed by stone serpents, on the right of the temple entrance, keeps the temple closed.
- Zoom into the glyph board and insert the three Stone plates into the empty slots.
- Click two tiles with the same symbol to remove both. Some tiles hide another symbol underneath: removing the top frog, for example, uncovers a spiral. Keep pairing identical visible symbols, including newly uncovered ones, until the board is empty.
Temple hall: steam and the valve
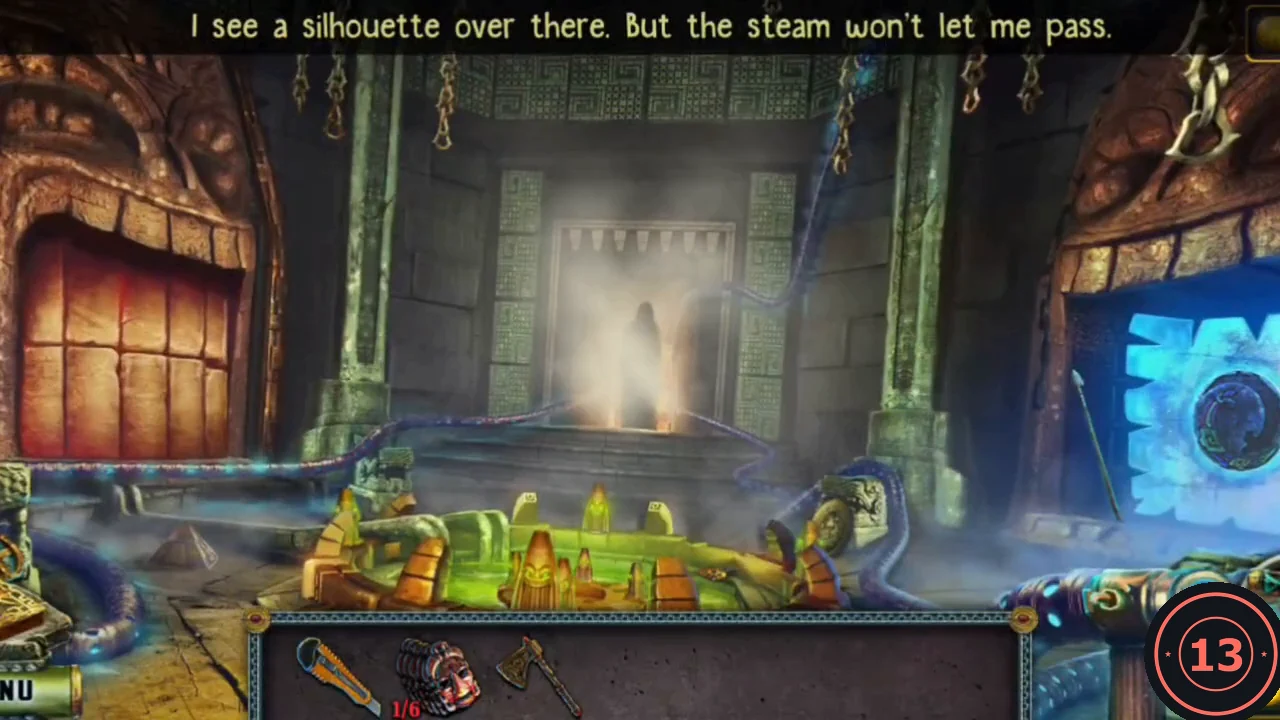
Hot steam fills the temple hall and hides a figure at the back. A valve from the courtyard shuts it off.
- Enter the temple. Take the Pedestal part from the green pool.
- Take the Spear from the frosted blue door frame.
- Return to the courtyard and use the Spear on the chest of the stone colossus to pry out the Valve.
- Back in the temple hall, attach the Valve to the right-hand pipe and turn it. The steam stops and Diana reaches the dungeon, where the elder Kitron and the chained demon Rhitoris are held.
Water for Kitron and the stone head
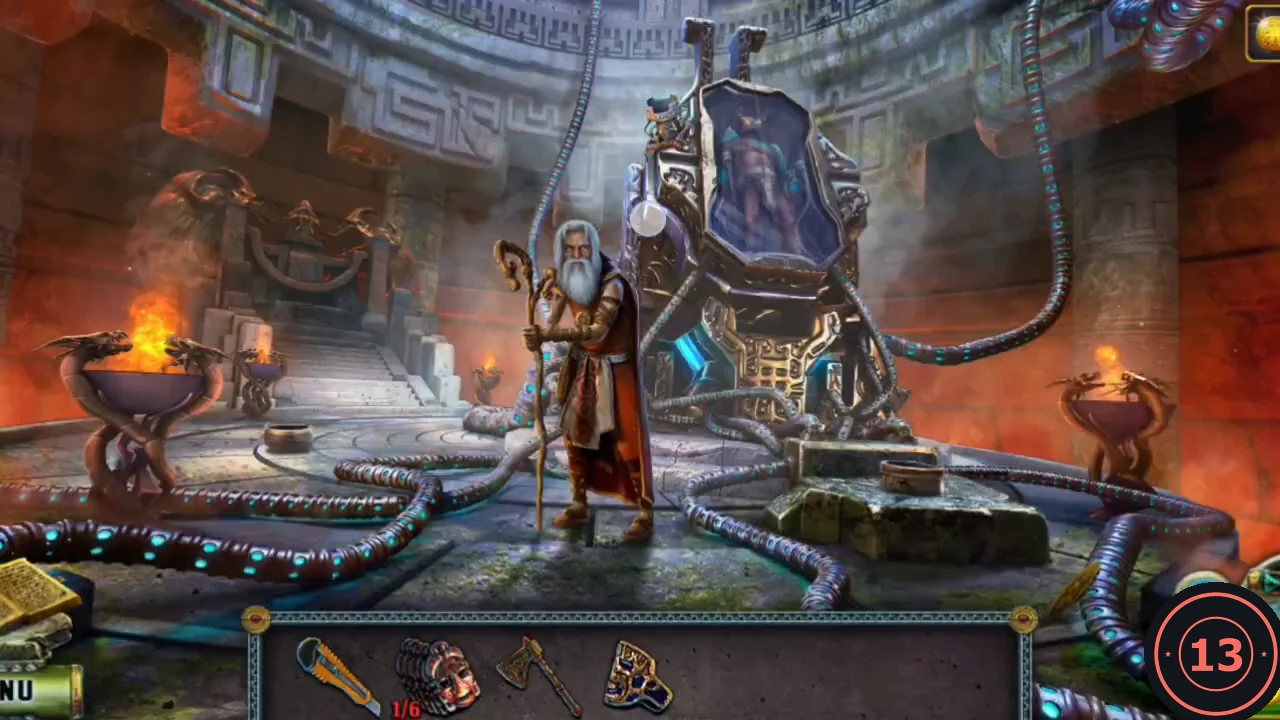
In the dungeon, the elder Kitron sits imprisoned beside the chained demon Rhitoris. Help Kitron, then use both Pedestal parts to make the stone head that carries you to the wizards' crypt.
- Kitron is thirsty. Zoom into Rhitoris in his chair and take the Goblet.
- Go out to the courtyard pond and fill the Goblet with water.
- Give the water to Kitron. He explains that a special Pink Quartz is kept in the wizards' crypt nearby (new task: Find the Pink Quartz). After the conversation you also receive a second Pedestal part, so you now carry two.
- In Kitron's hall, zoom into the chained stone headpiece and insert both Pedestal parts, one after the other. It glows and turns into the Stone head; take it.
- Place the Stone head on the centre pedestal of the green pool in the temple hall. The pool swirls and teleports Diana into the wizards' crypt.
Wizards' crypt interactive scene
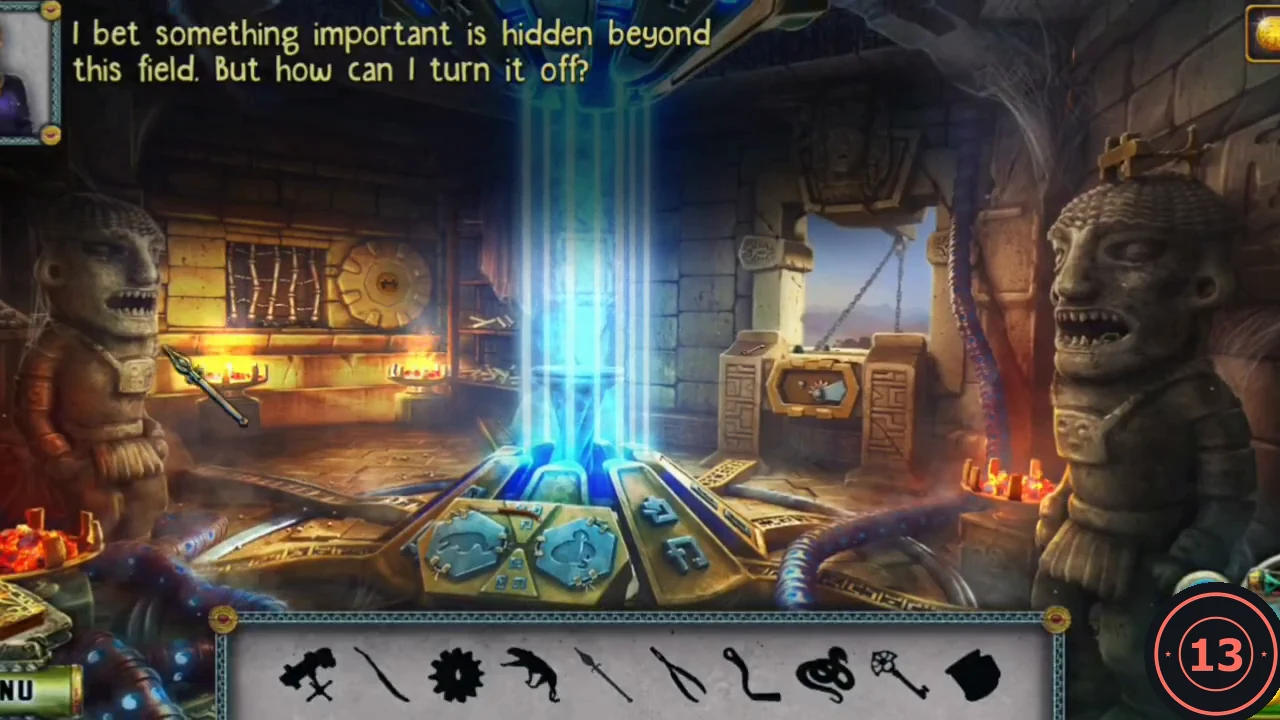
This is an interactive scene: the bar at the bottom shows silhouettes of items to collect, and most of them are used inside the same scene. The goal is to switch off the blue force field.
- Take the Spear from the hand of the carved statue on the left.
- Take the Tongs part from the barred niche on the back wall.
- Zoom into the gearbox on the right. Attach the Tongs part to the broken tongs at the bottom to get the Tongs, and take the small Key at the top of this close-up (it opens a padlock later).
- Zoom into the mouth of the large stone idol on the right. The green Block is stuck in its teeth; pull it out with the Tongs.
- A Gear is stuck in the ceiling ornament at the top right, above the light beam, and is too high to reach. Use the Spear to knock it down and pick it up.
- Put the Gear into the gearbox. It still needs a handle.
- Take the cross-shaped Key from the top of the right stone idol's head and insert it into the round dial on the wall. The dial opens; place the Block inside to start the sliding puzzle.
Emerald block sliding puzzle
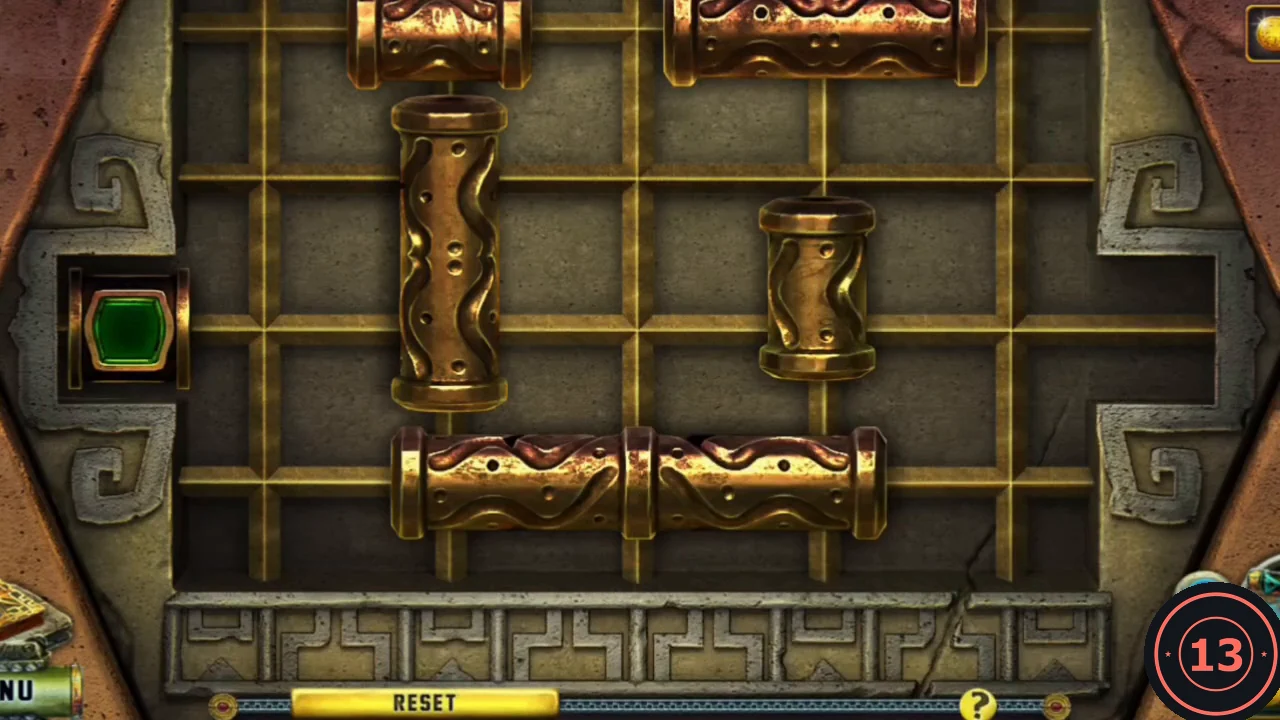
Goal: move the block with the emerald into the notch on the right. Each piece slides only along its own length.
- Slide the tall vertical cylinder up one space, slide the double horizontal bar at the bottom to the left, then slide the short vertical cylinder down. The emerald block now has a clear path: slide it right into the notch.
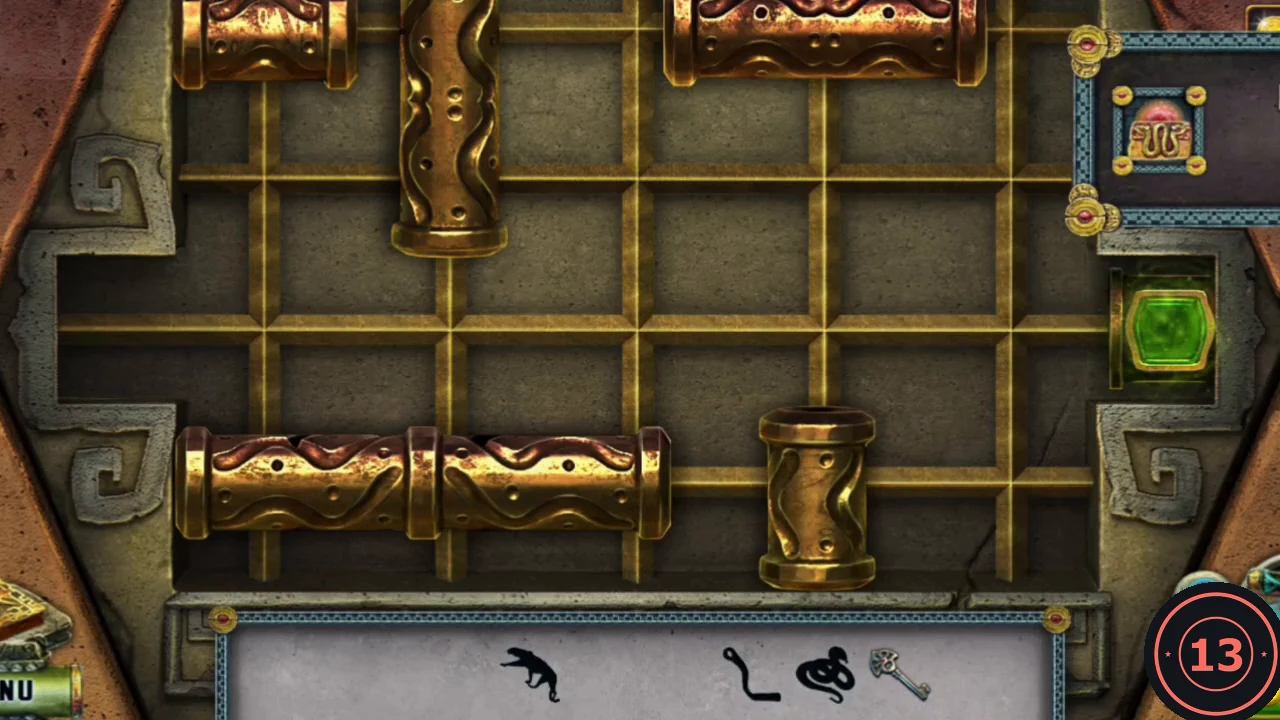
Solved: the emerald block sits in the notch on the right. - Take the Snake figurine and the Handle revealed behind the lifted bars.
Switch off the force field
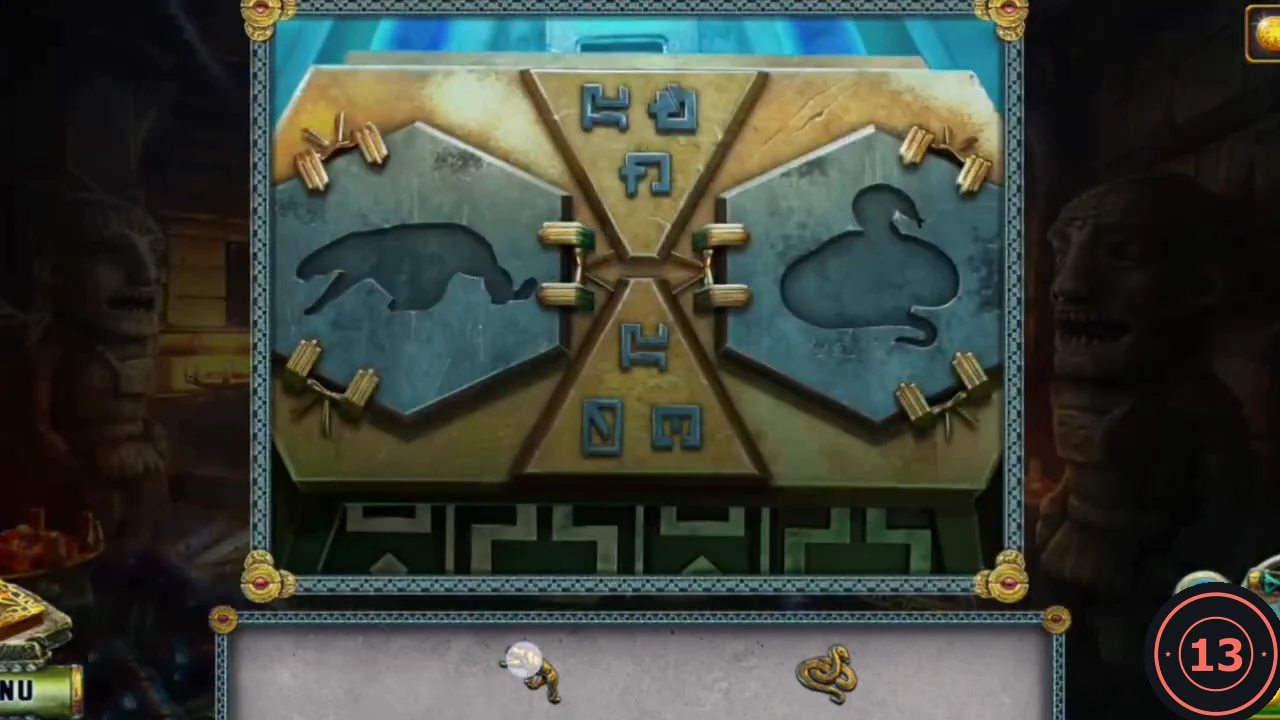
Finish the crypt scene: open the window padlock, power the force-field panel with two figurines and take the Dragon figurine back to the temple.
- Attach the Handle to the gearbox and turn it. A shutter at the window opens to reveal a padlock.
- Open the padlock with the Key from the gearbox close-up and take the Jaguar figurine.
- Zoom into the blue panel at the base of the force field. Place the Jaguar figurine in the left recess and the Snake figurine in the right recess. The force field switches off.
- Take the Dragon figurine from the pedestal.
- In the temple hall, place the Dragon figurine in the round blue disc on the wall. A passage opens to the tombs, where the ghost of the High Wizard waits.