Grotto dock and the Rocktown workshop
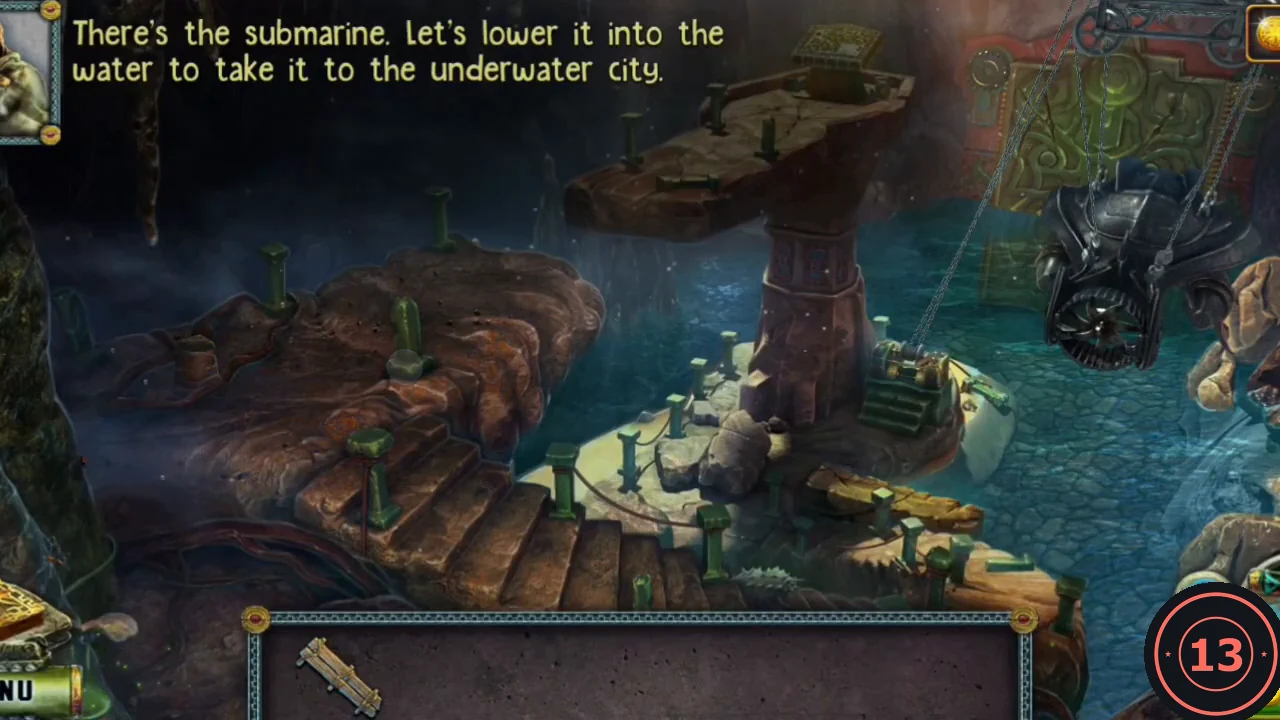
The submarine hangs on a winch above the water in the grotto. You need to lower it, replace its broken propeller and power the pillar panel that controls the gate.
- Zoom into the winch at the front right and take the Elastic (red band).
- Zoom into the gap between the rock ledges at the upper left and lay the Cart ledge across it as a bridge. Walk out to the rock pillar: its panel has a part missing.
- Go back to Rocktown square. Zoom into the bolted house door at the top of the right-hand stairs and use the Elastic on the bolt. The door opens into a workshop.
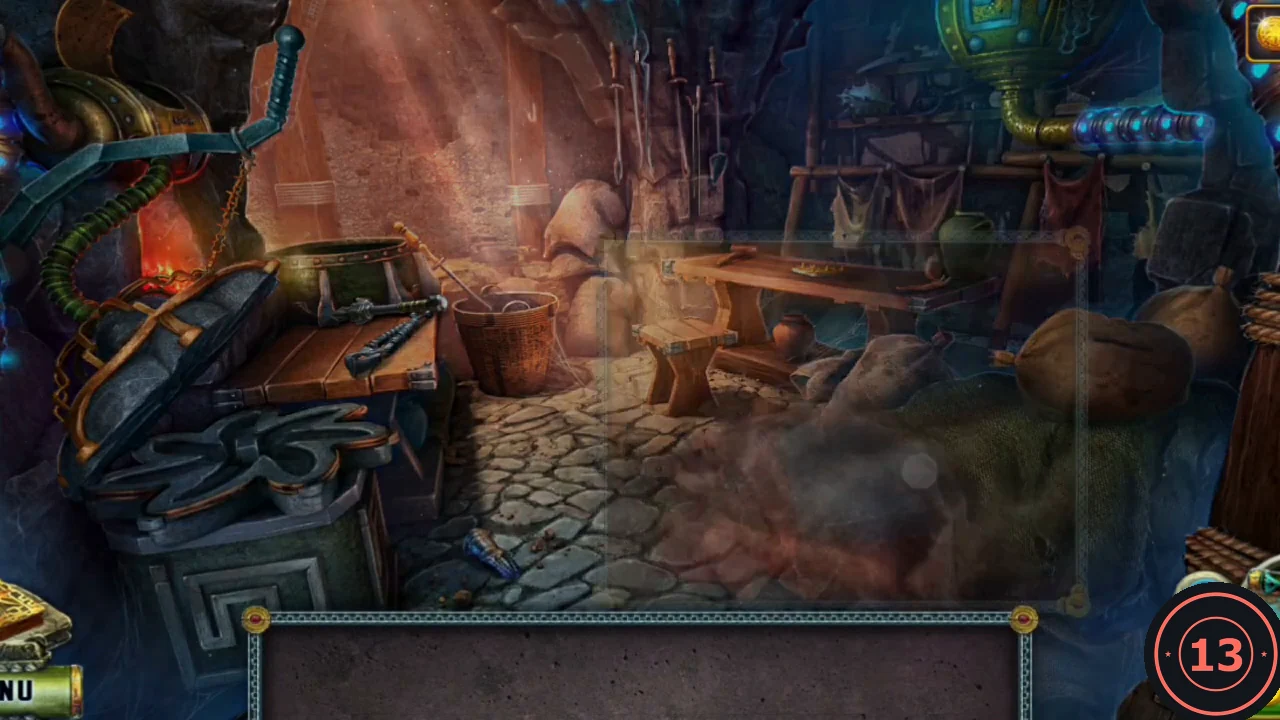
The workshop behind the bolted door: forge on the left, cloth-covered firewood pile at the front. - Pull the cloth off the pile on the floor at the front right and take the Firewood.
- Zoom into the forge on the left. Take the blue Lever from the bench, put the Firewood into the forge and pump the flower-shaped bellows on the left.
- Zoom into the workbench in the centre and take the Panel part.
- Back at the grotto winch, place the Lever and pull it to lower the submarine into the water.
- Zoom into the submarine, open the clamps and take the Broken propeller.
Guide the chip through every point
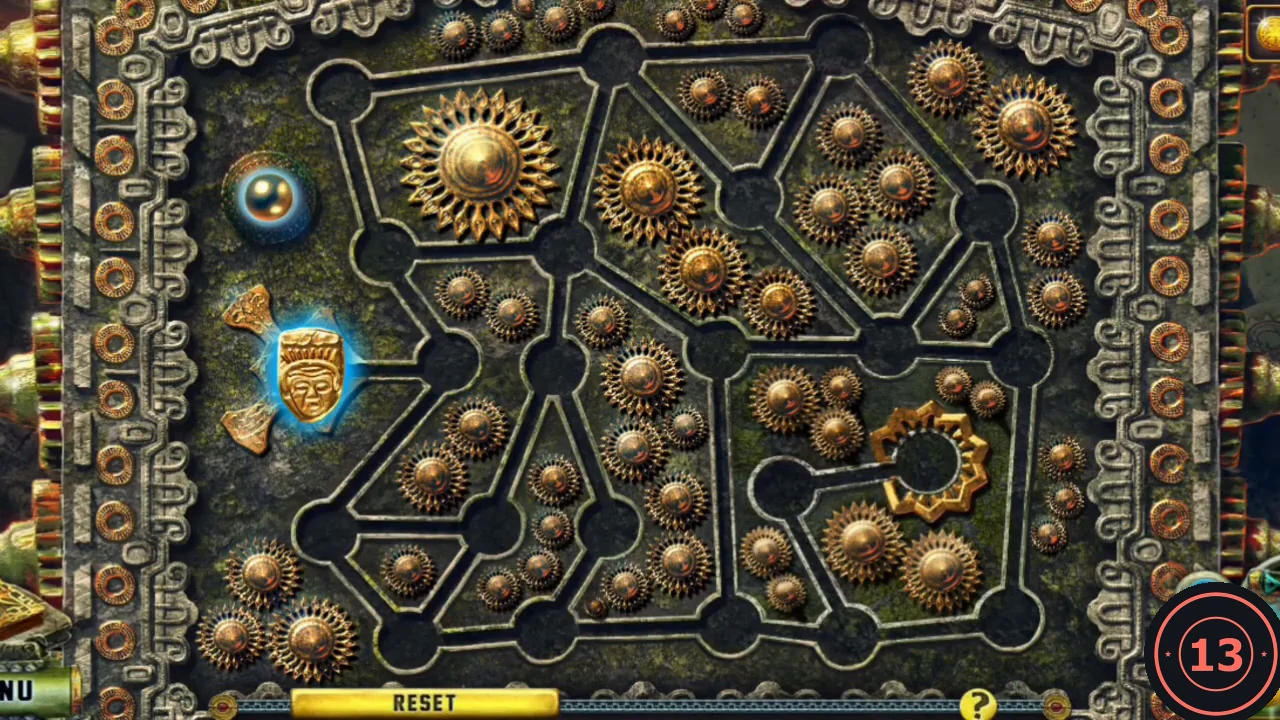
Rule: move the mask chip through all the points; each point can be crossed only once. The chip starts at the mask on the left and must finish in the gold star-shaped socket at the lower right. The layout is fixed. Once lit, all lines between visited points glow, so the finished picture does not show the order; follow this list.
- Place the Panel part on the pillar panel to start the puzzle.
- From the mask, visit the points in this order: 1) the junction just right of the mask; 2) the junction at the lower left; 3) the bottom-left point on the bottom edge; 4) the lower junction left of centre; 5) the middle junction left of centre; 6) the lower junction to its lower right; 7) the bottom-edge point below and left of that; 8) the next bottom-edge point to the right; 9) the middle junction right of centre; 10) the upper junction left of centre; 11) the upper-left junction; 12) the top-left corner; 13) the top-edge point in the middle; 14) the upper junction right of centre; 15) the top-right point on the top edge; 16) the junction at the upper right, below and right of it; 17) the right-middle junction inside the frame; 18) the point on the right edge beside it; 19) the bottom-right corner; 20) the bottom-edge point to its left; 21) the junction left of the star socket; 22) finish in the star socket.
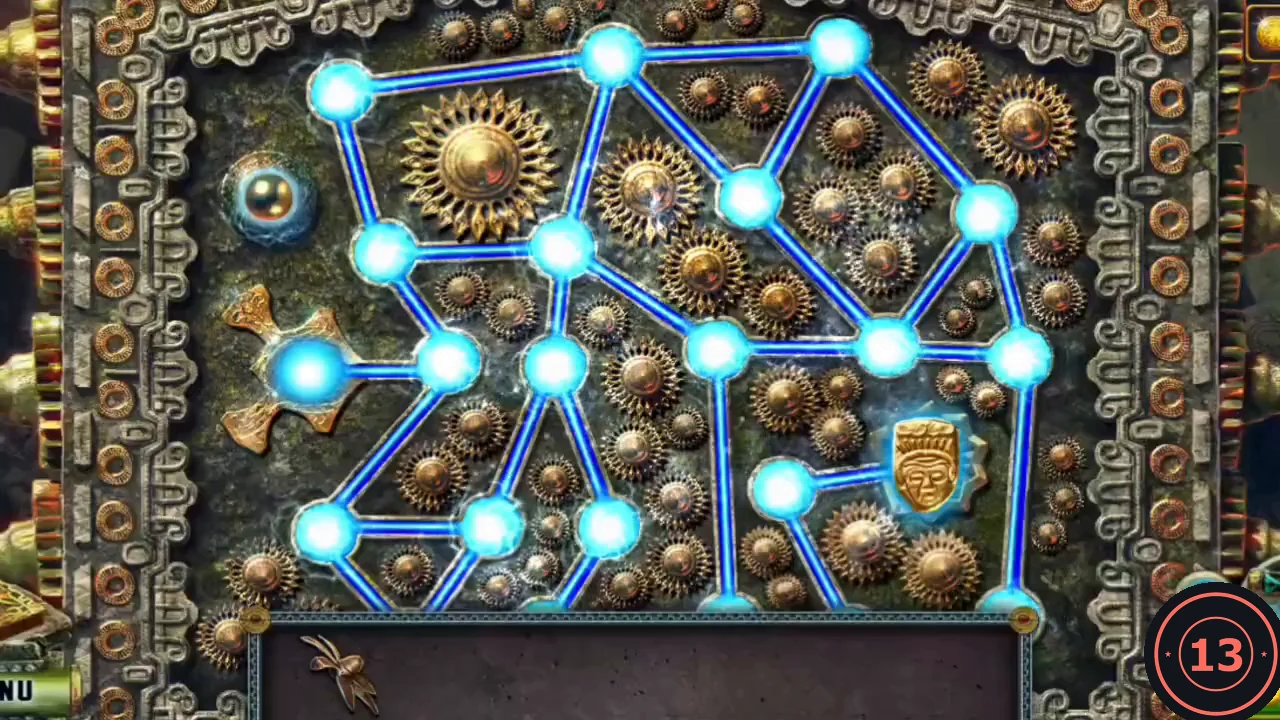
Solved: every point is lit and the mask has reached the lower right.
Cast a new propeller and dive
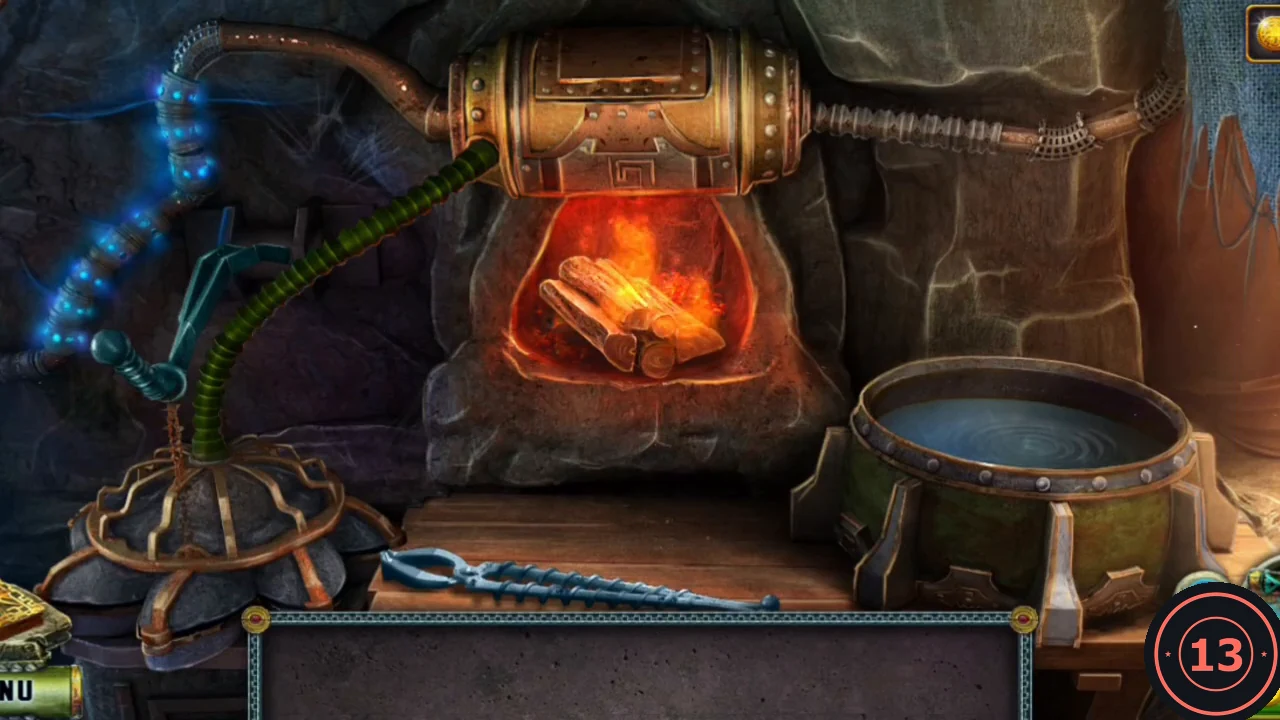
With the grotto gate open, recast the broken propeller in the Rocktown workshop and take the submarine down.
- In the workshop, zoom into the forge. Put the Broken propeller into the hopper on top, close the hopper lid and pump the flower-shaped bellows on the left. The mould on the left opens with a new propeller.
- Click the blue tongs on the bench to lift the propeller and cool it in the water tub on the right. Take the Propeller.
- At the grotto dock, zoom into the submarine, fit the Propeller and close the clamps. The submarine dives to the underwater city. After the conversation with its people, the new task is The seal.
The domed hall
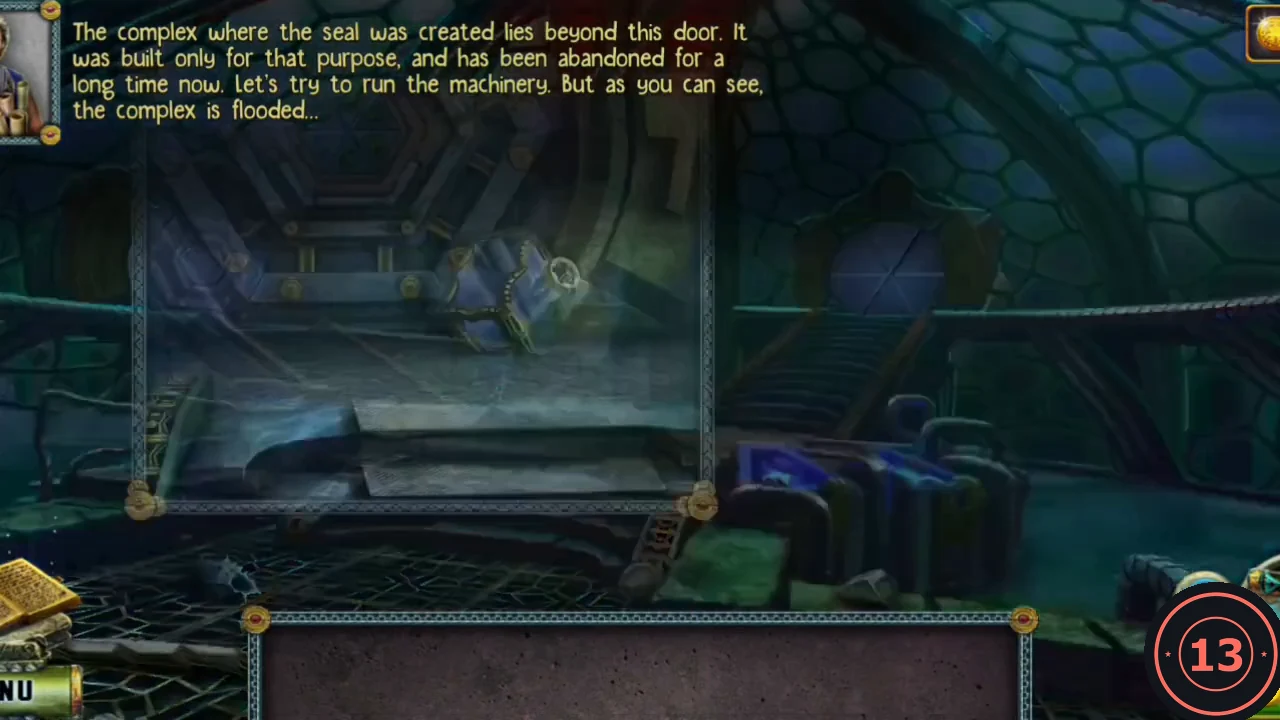
The underwater city's domed hall is the hub for this chapter. Six Molecule figurines are spread through the city; pick up each one you see.
- Zoom into the hexagonal hatch at the upper left and take the Aquarium.
- Zoom into the flooded water on the right side and take the Cobble and the Scheme.
- Zoom into the glass case left of centre that holds a diving mask. Break the glass with the Cobble, then take the Diving mask and the first Molecule figurine.
- Use the Diving mask on the water left of the stairs. Underwater, turn the valve wheel and take the second Molecule figurine.
Set the four switches
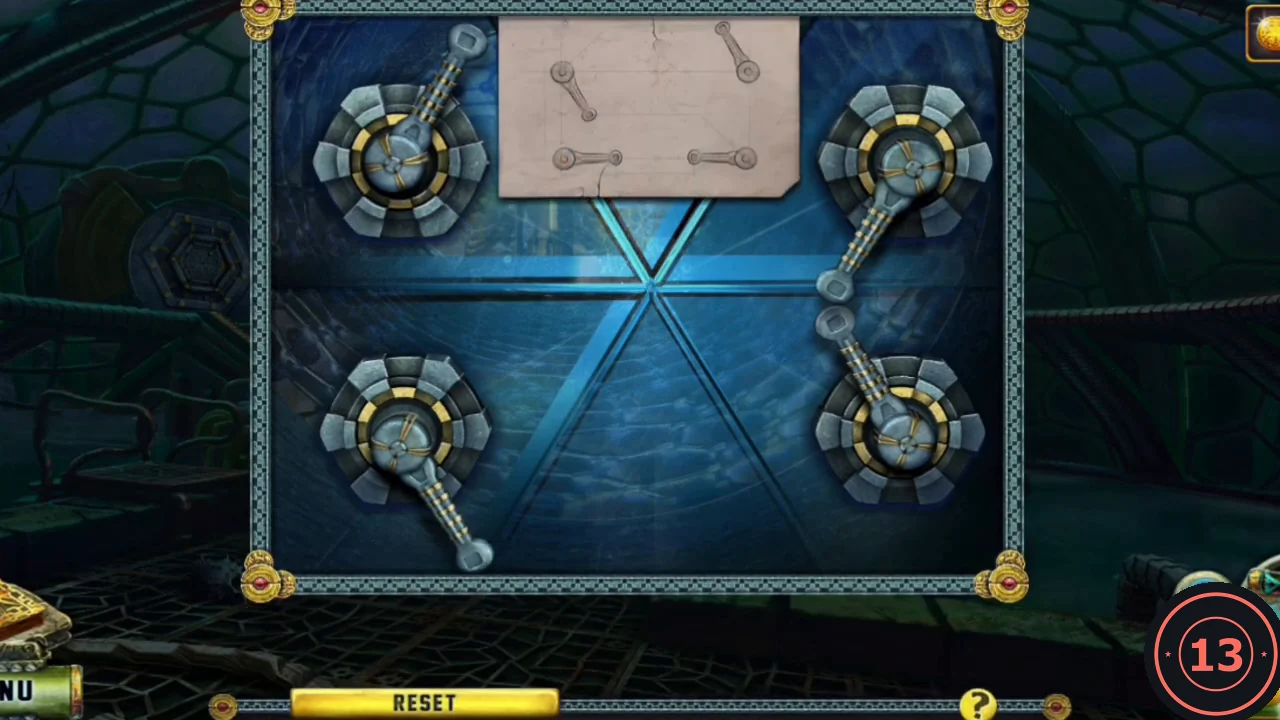
The round hatch at the top of the stairs on the right has four levers that must be positioned correctly.
- Zoom into the hatch and place the Scheme. It shows the target positions.
- Click each lever to rotate it until it matches the Scheme: top-left lever pointing down-right, top-right lever pointing up-left, bottom-left lever pointing right and bottom-right lever pointing left. The hatch opens.
Plankton room and claw hall
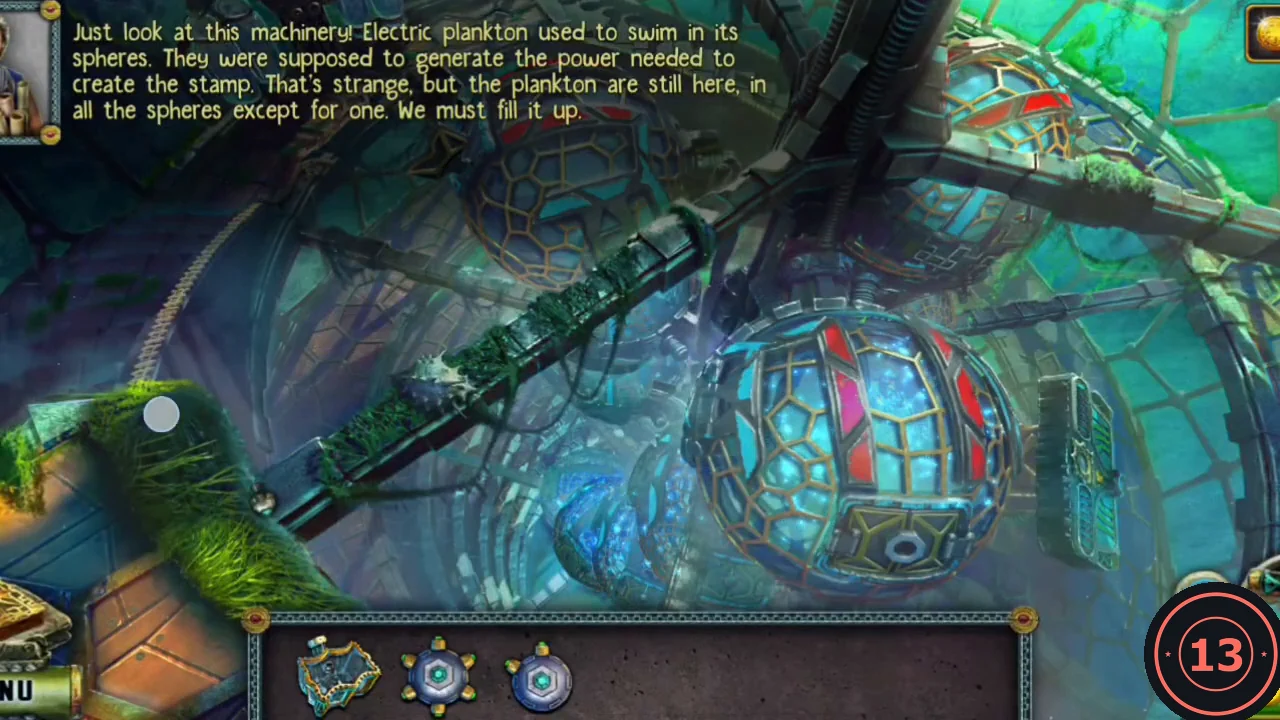
The first room beyond the hatch holds the plankton spheres; the plankton that powers the stamp is missing from one sphere. The next room is a domed hall with a hanging claw.
- In the plankton room, take Molecule figurine 3 on the left by the mossy pipe.
- Zoom into the small green device right of the spheres and take the Bird figurine.
- In the claw hall, zoom into the cloth over the orange boat on the left. Remove the cloth and take Molecule figurine 4 and the Harpoon shaft.
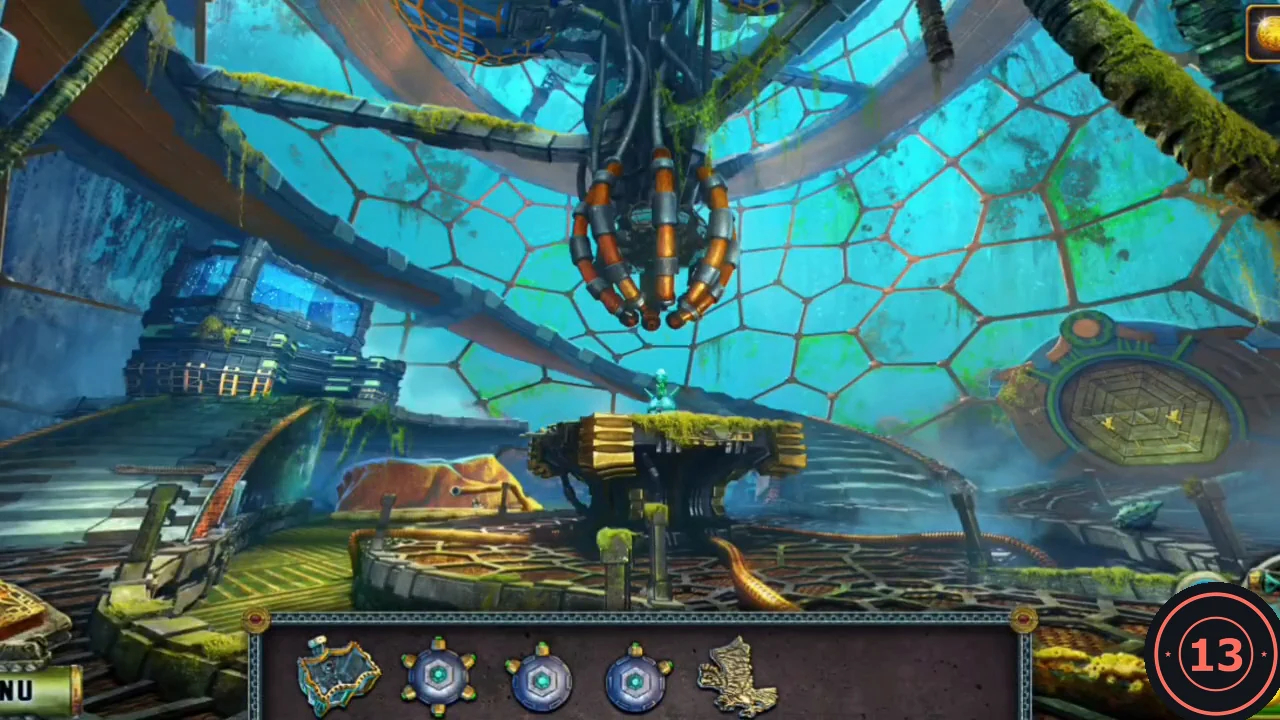
The claw hall: platform under the claw in the centre, hexagonal door on the right. - Zoom into the platform under the hanging claw. Take Molecule figurine 5 and the Harpoon spearhead.
- In inventory, fit the spearhead onto the Harpoon shaft to make the Fish spear.
- Place the Bird figurine in the round hexagonal door on the right of the claw hall. The door opens.
Collect the blue crystals
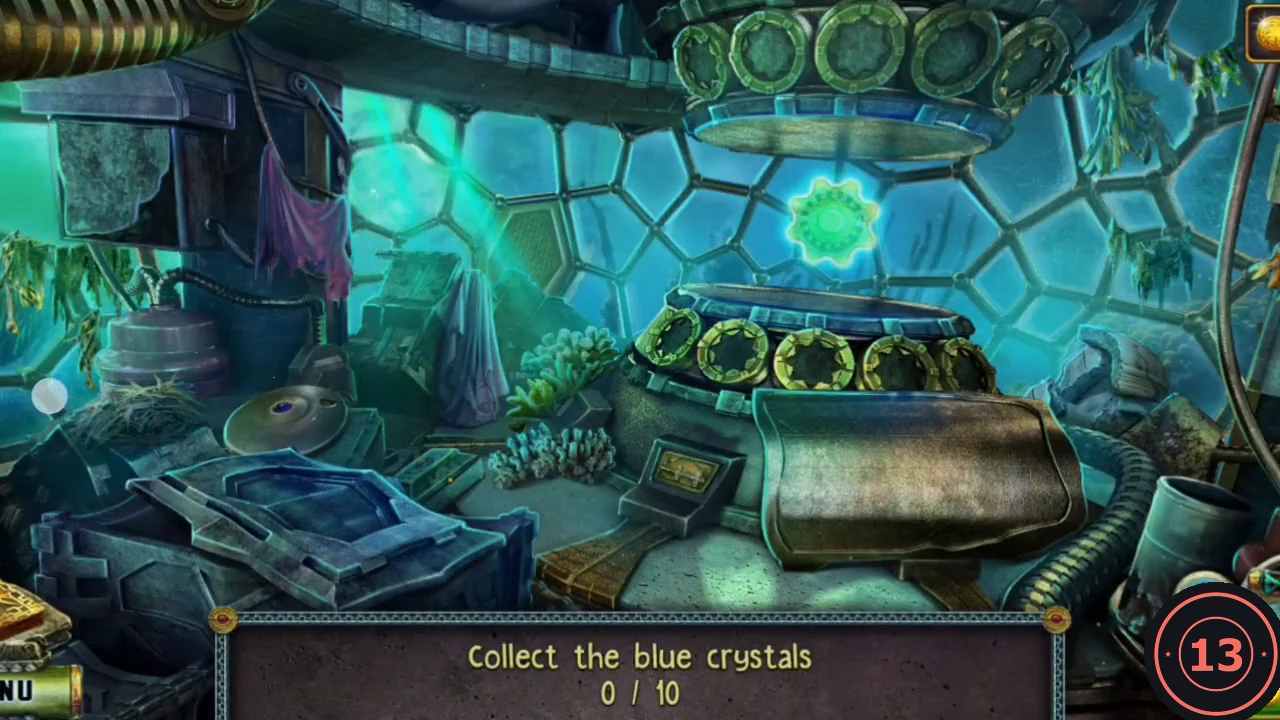
Beyond the hexagonal door is a crystal chamber. Its machine needs ten blue crystals before it gives up the Starter.
- Collect all ten blue crystals in the chamber (counter at the bottom). The room scrolls slightly, so drag to see the top and the right edge. Several crystals are small and dark and only light up once clicked. Locations in the recording's order: (1) lift the blue lid of the box at the lower left and take the crystal inside; (2) click the grey cloth hanging left of the coral to push it aside and take the crystal at its foot; (3) the blue gem in the middle of the round bronze dish beside that blue lid; (4) behind the cracked stone tablet at the top left; (5) on the floor beside the small open box in front of the coral, at the foot of the machine; (6) in the open end of the bent grey pipe at the top left, above the window; (7) on the window glass just right of the crystal ring at the top of the machine; (8) right of the machine, among the rocks behind the hose; (9) at the machine's base below the right end of the big bronze cylinder, beside the hose; (10) tip over the metal bucket at the lower right and take the crystal under it. Each crystal fills a socket on the ring; at 10/10 the machine gives the Starter.
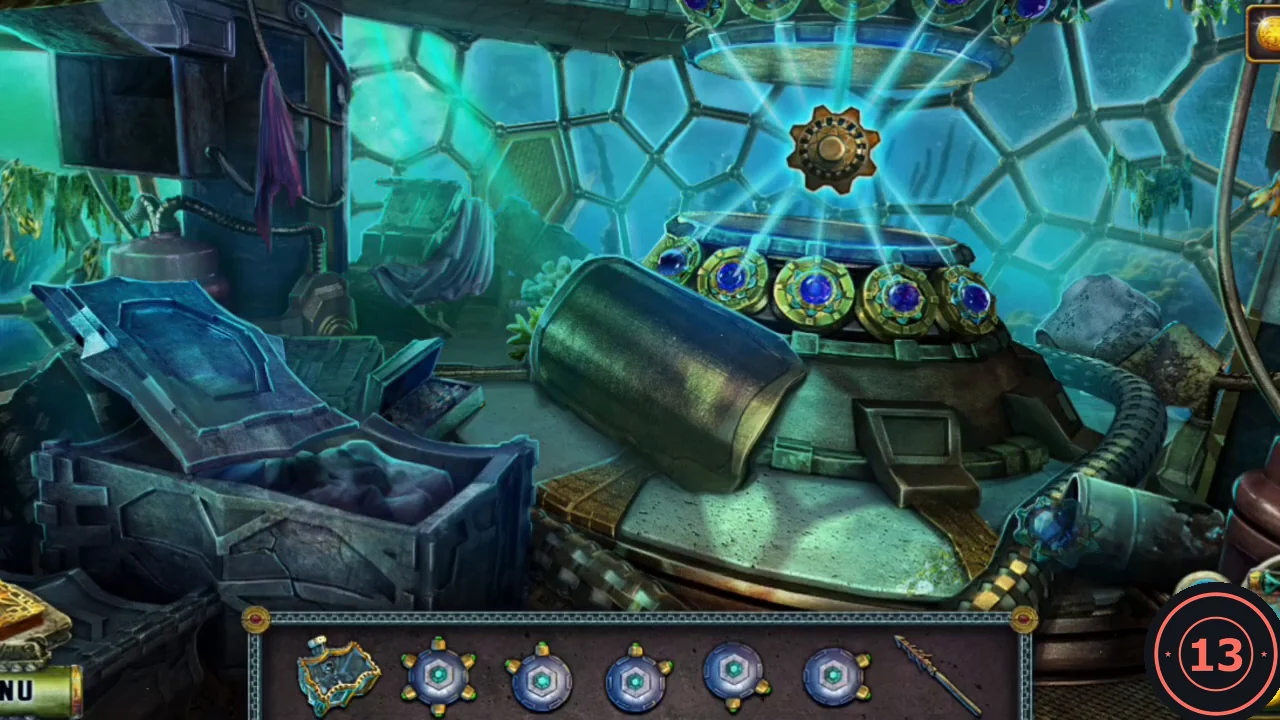
All ten crystals placed: the ring on the machine is full.
Catch plankton and charge the stamp
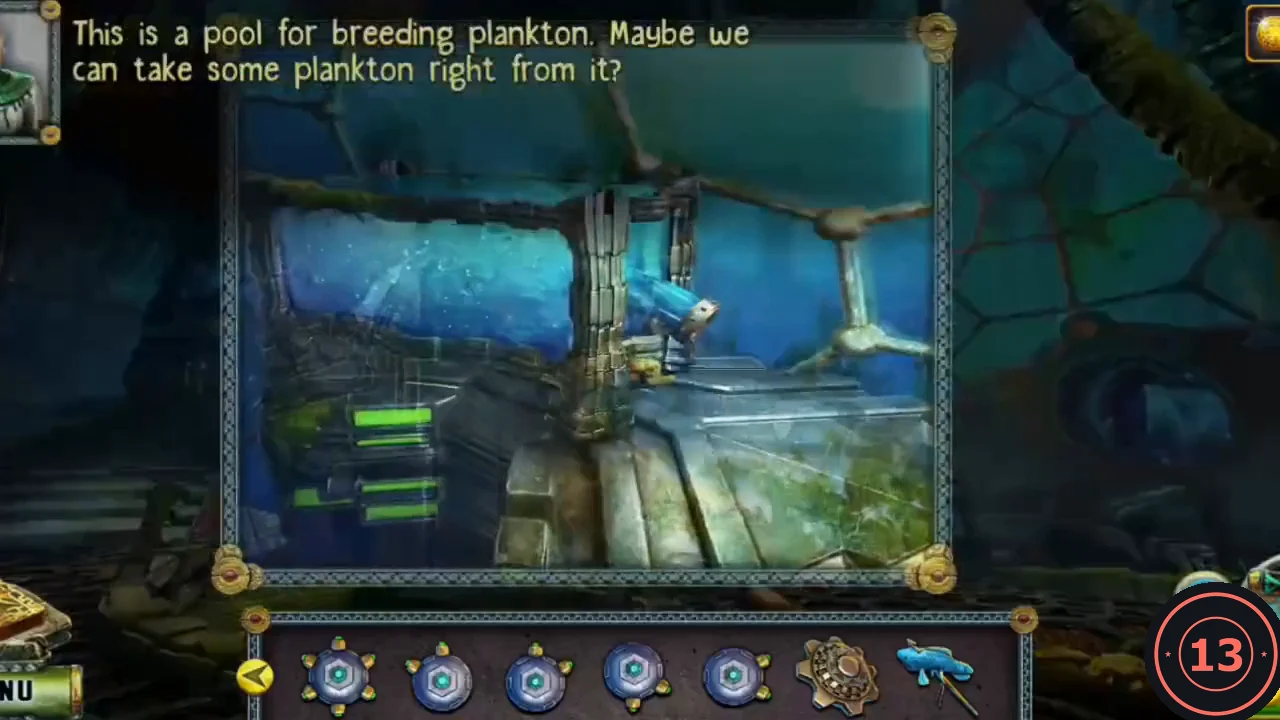
Refill the empty plankton sphere to charge the stamp, then collect the Seal.
- In the domed hall, zoom into the flooded water on the right and use the Fish spear to spear a fish: Bait.
- In the claw hall, zoom into the plankton breeding pool on the left. Bait alone cannot be used here: first place the Aquarium in the pool, then drop the Bait into it. Plankton swims in; take the Electrical plankton.
- In the plankton room, zoom into the green device right of the spheres and put the Starter into the gold socket. Then zoom into the spheres and pour the Electrical plankton into the empty one. Diana charges the stamp.
- In the claw hall, zoom into the platform under the claw and take the Seal. The leader tells you to enter the temple from the other side through the ancestors' secret tunnel, and you receive the sixth Molecule figurine.
Connect the crystal rays
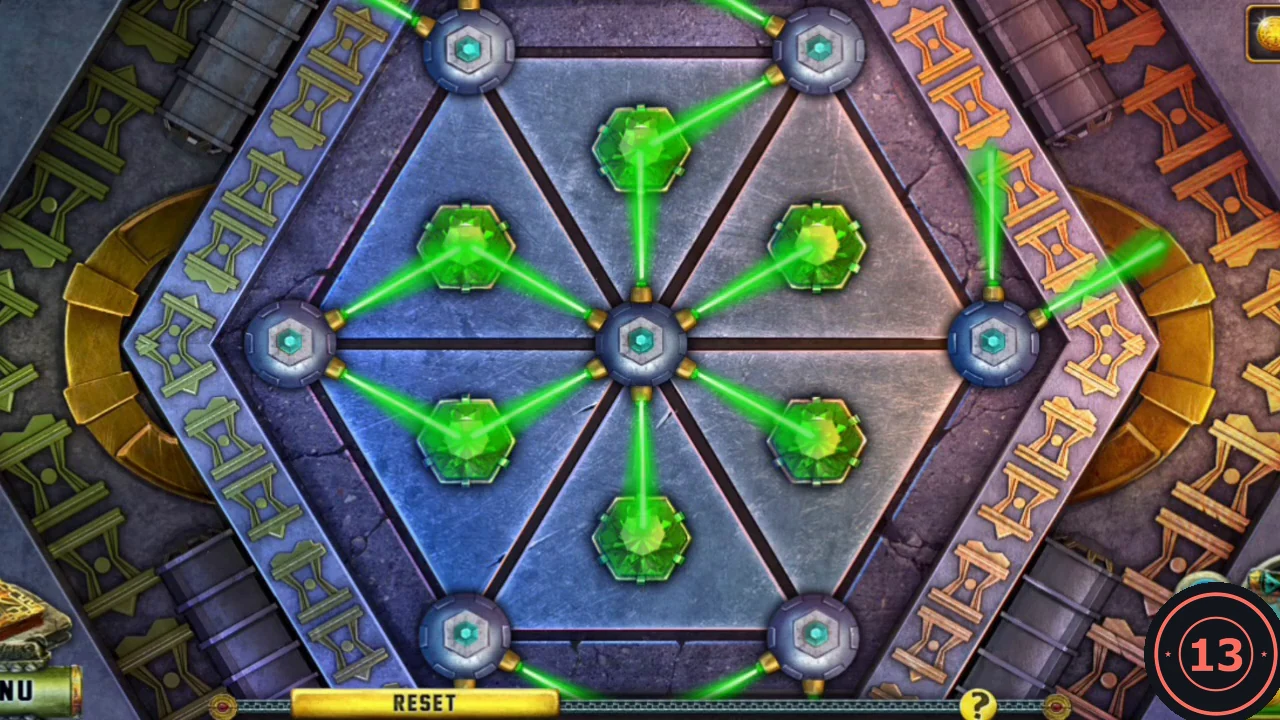
In the domed hall, the hexagonal tunnel door at the upper left has a hexagon lock. Rule: arrange the chips so that all crystal rays are connected. Clicking a green crystal rotates the three figurines at its corners around it. The crystals are named here by position: top, upper right, lower right, bottom, lower left and upper left.
- Zoom into the tunnel door and place all six Molecule figurines on the outer corners of the hexagon.
- Click the crystals in this order: upper right, bottom, top, upper right, lower right, bottom, bottom, lower right, lower right, upper right, upper right. Every crystal now receives rays from all three of its corners and the door opens. This sequence assumes the figurines start where the game places them, as in the recording; if a click goes wrong, press RESET and start the sequence again.
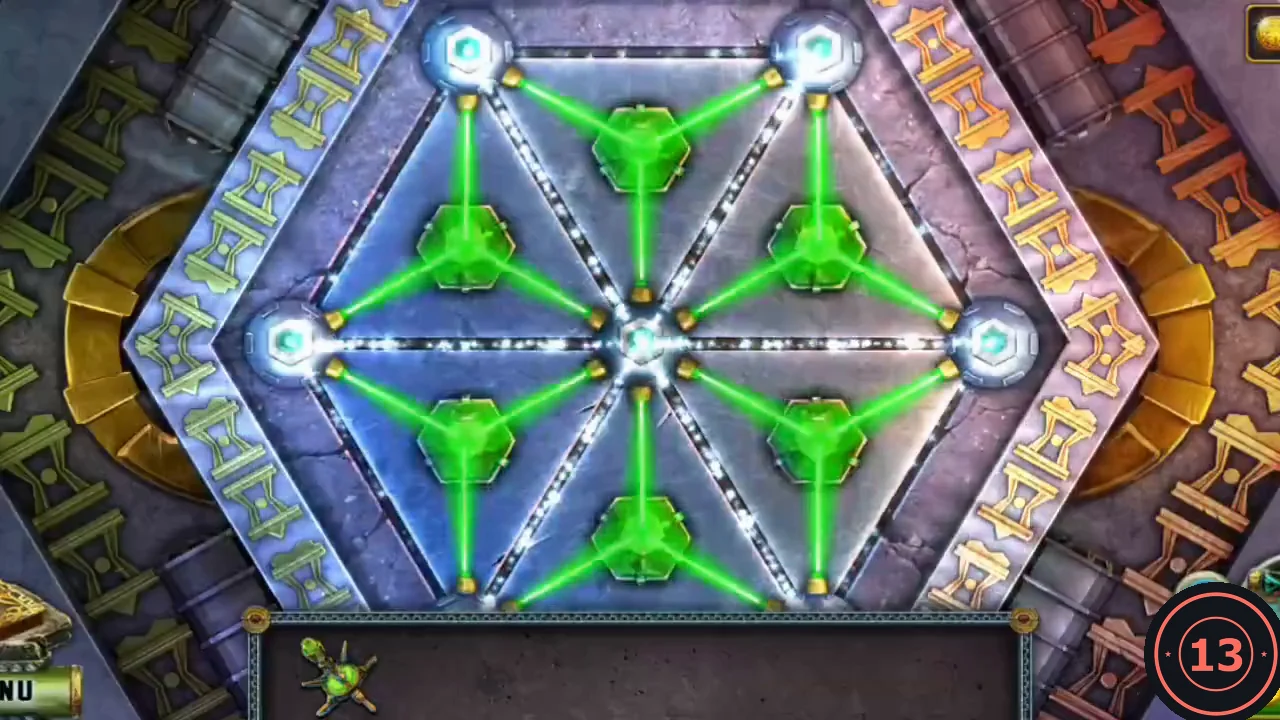
Solved: every crystal is linked to its corners.
Repair the elevator and seal Kitron
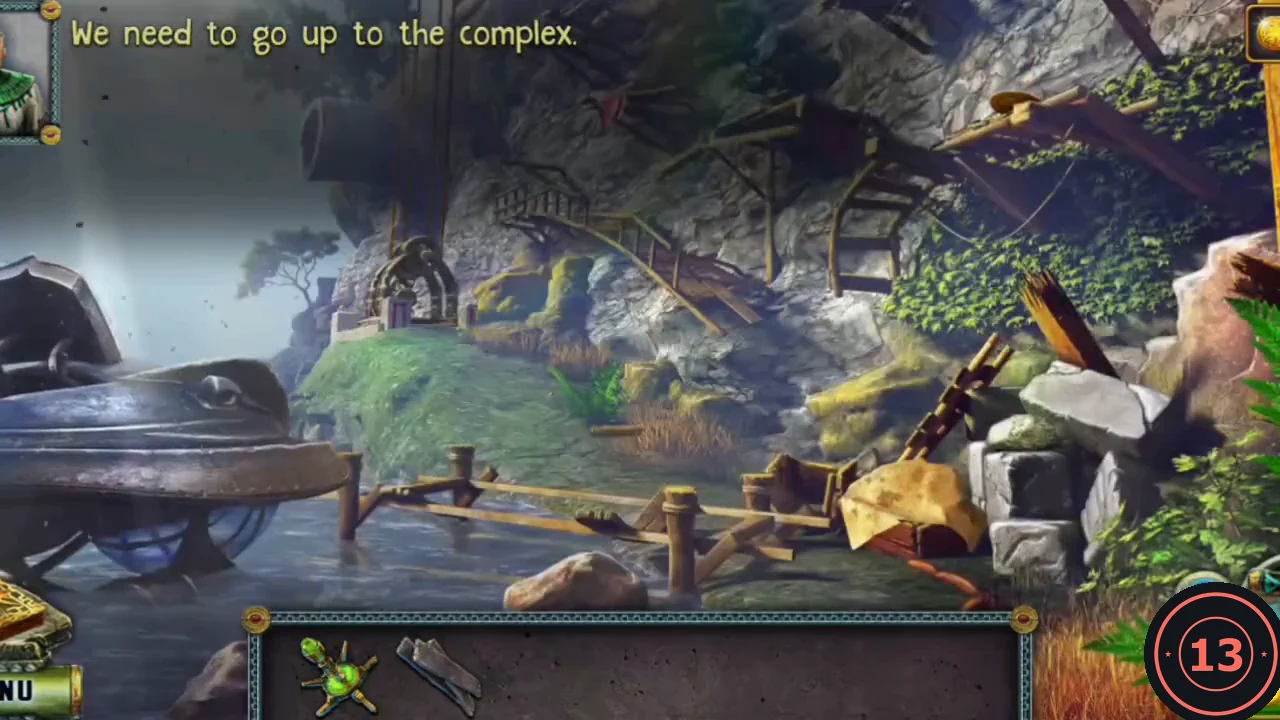
The secret tunnel leads to the submarine, which surfaces at an island dock. You need to go up to the temple complex.
- Go through the tunnel. At the island dock, zoom into the broken wooden frame in the water at the front left and take the Planks.
- Zoom into the wooden pile under the yellow cloth right of the dock. Remove the cloth and take the Steering wheel and the Rock in the box.
- Zoom into the elevator cage hanging from the cable. Its floor is worn out: lay the Planks, hammer them in place with the Rock, then fit the Steering wheel on the post. The elevator rises.
- Go through the temple to Kitron's chamber, where he is absorbing his nephew's powers. Zoom into the pedestal with the pink gem at the front right and place the Seal (task complete: The seal).
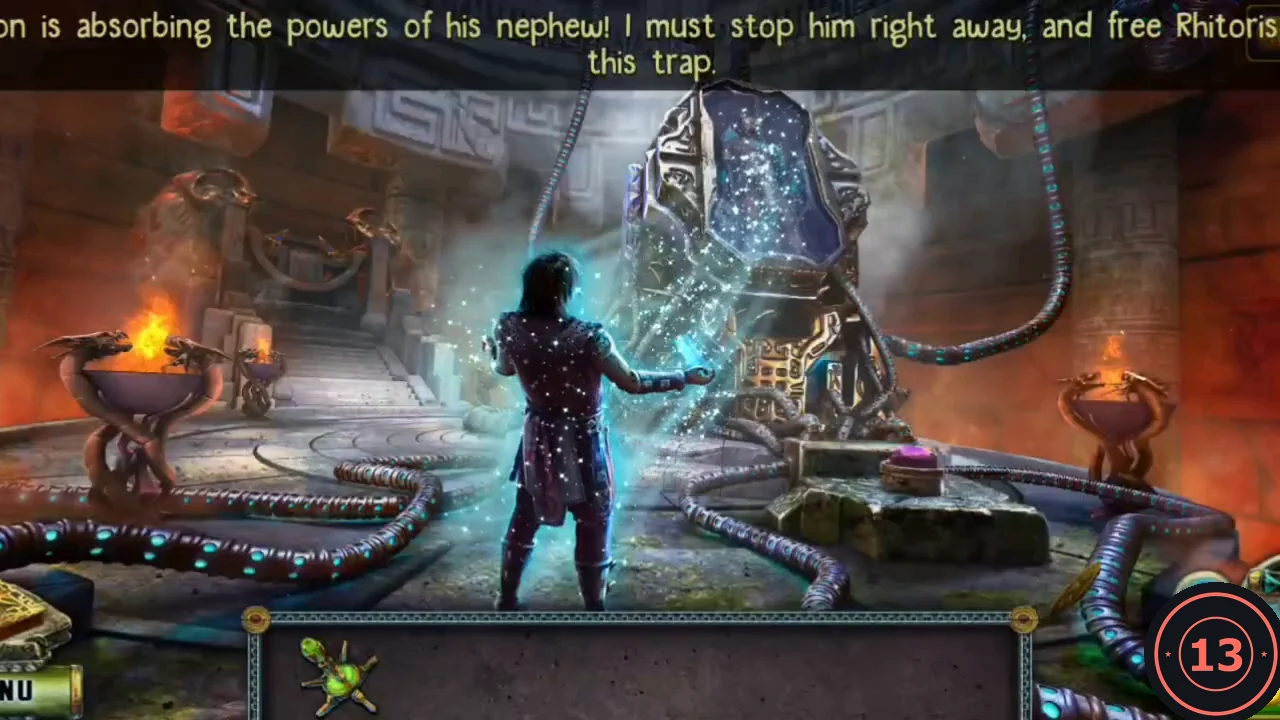
Kitron's chamber: place the Seal on the pedestal with the pink gem. - Watch the ending: Kitron is defeated, Rhitoris is freed and Diana returns home through the portal. A message confirms that the main game is complete and the bonus chapter is now available, and an achievement notice appears.