CHAPTER 9
The Red Container
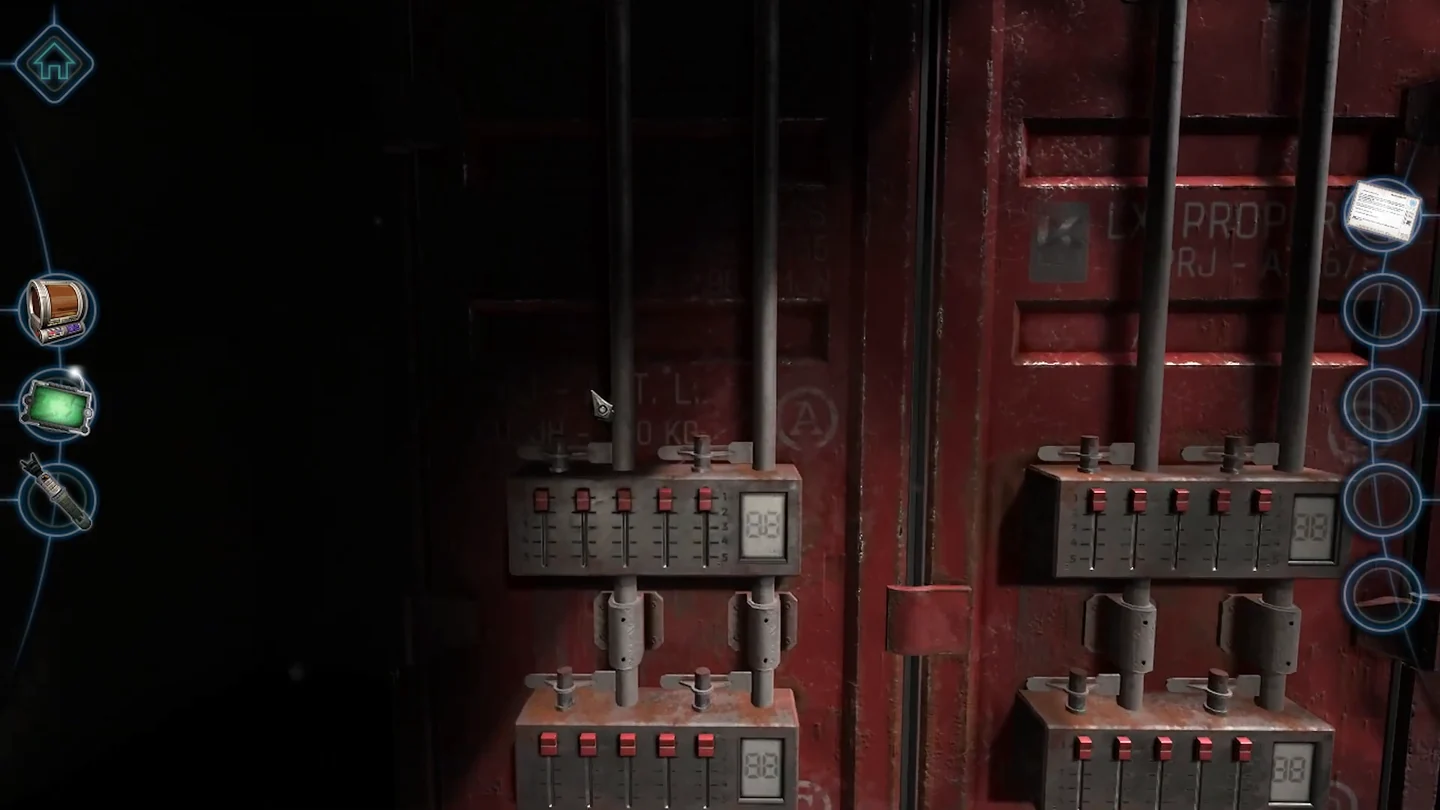
The letter's table chains three slider codes together; each solved lock displays the next entry to use.
- Take the letter from the left side of the red container and turn to page 2: a table of five-digit lock codes labelled A1-C5. The box beside it says lock A uses B3.
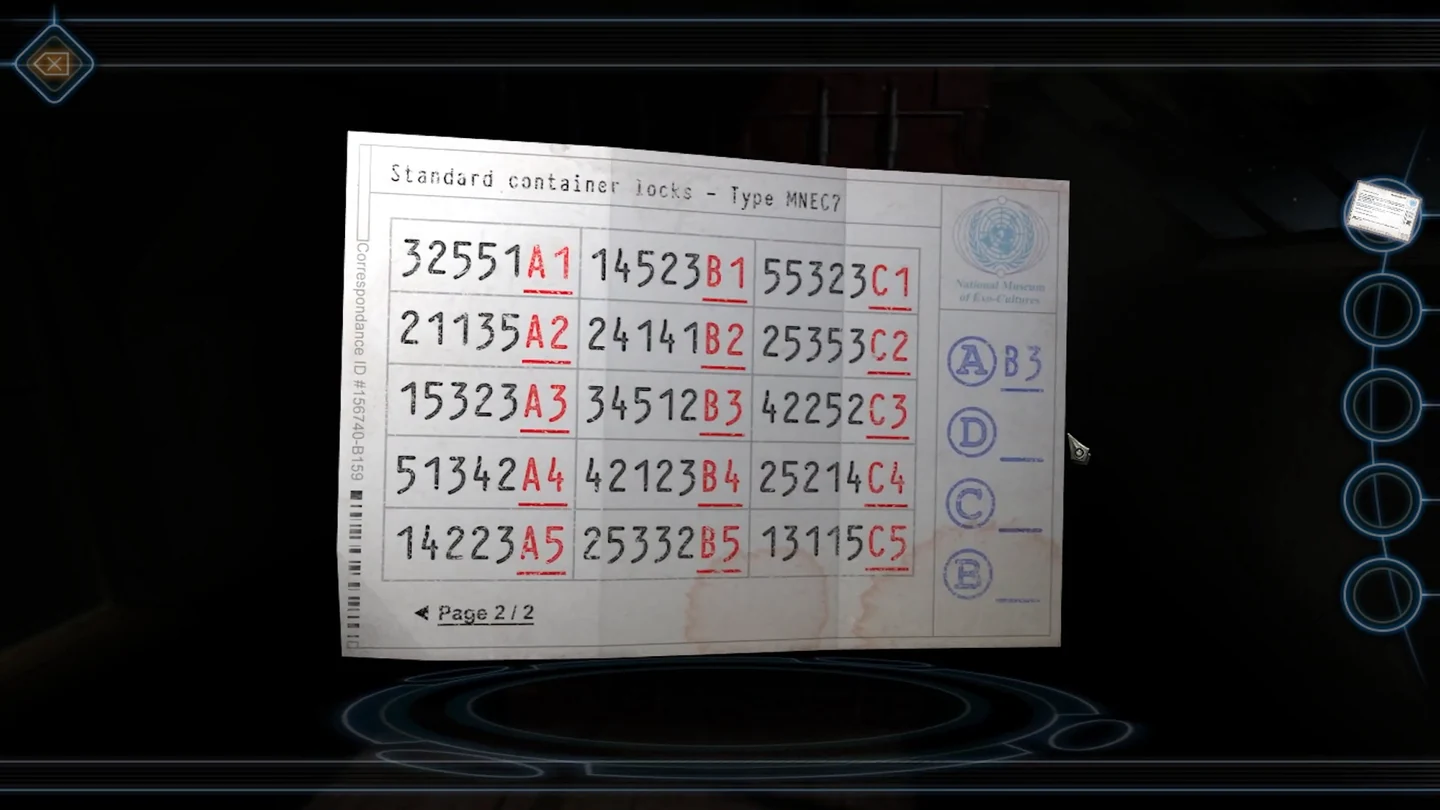
The lock code table; lock A uses B3. - The container has four slider locks; each has five sliders numbered 1-5 from top to bottom. Set lock A to 3-4-5-1-2 (B3); its display then shows the next table entry. Follow the chain: set lock D to 1-4-2-2-3 (A5), which displays C4, then start setting lock C to 2-5-2-1-4 (C4). Partway through this entry the container's displays flash red and an alarm interrupts you. This is intended: you do not need to finish the third code, and you black out as the chapter moves on.CODE34512 > 14223 > 25214
CHAPTER 9
The Command Chair
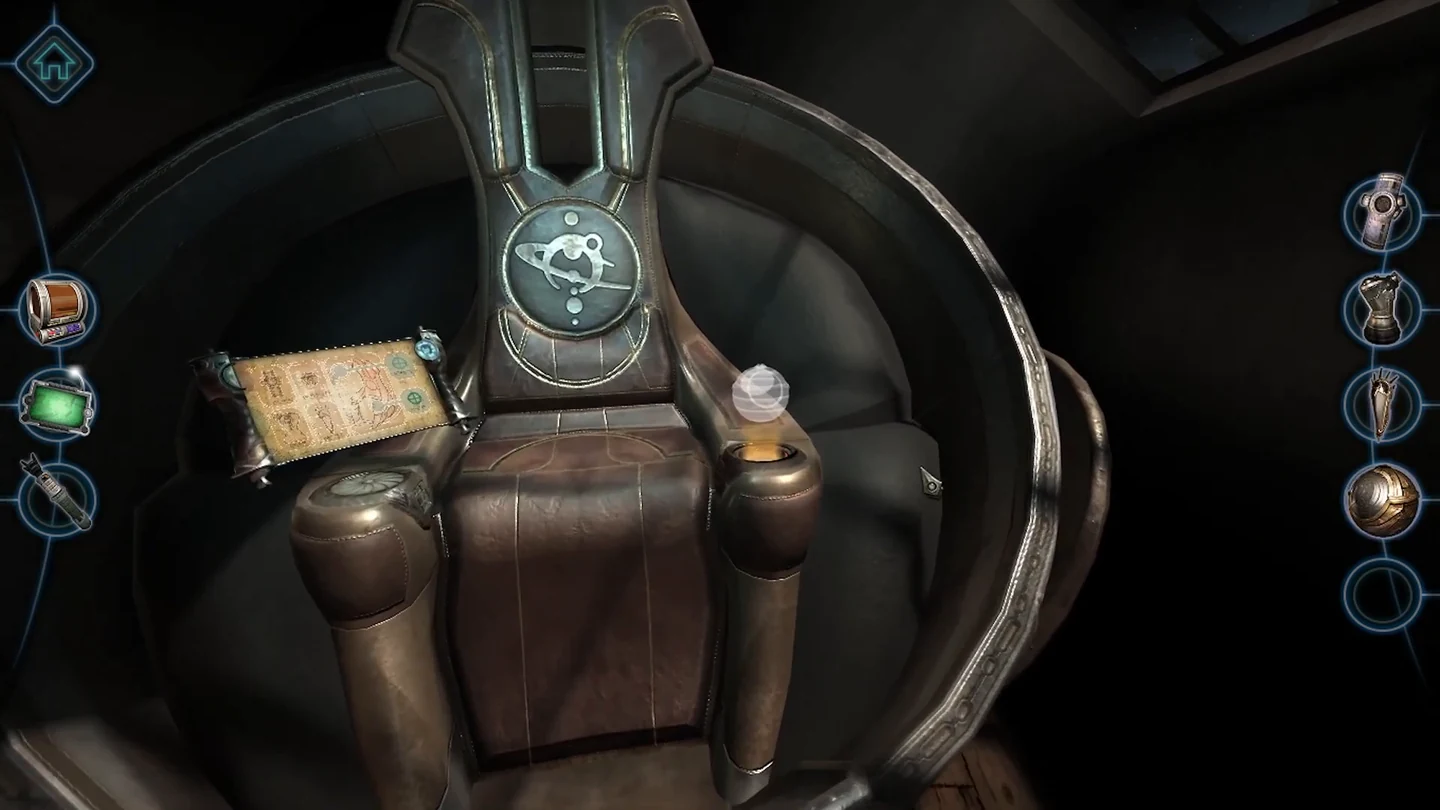
You come to in the workshop facing a large closed sphere. Open it from the outside, then wake the command chair with machines from earlier chapters.
- When you come to, a large closed sphere stands in front of you in the workshop. Look around its outside for an access panel, press it in and pull the handle; do the same with the panel and handle on the opposite side of the sphere. The sphere opens to reveal a command chair.
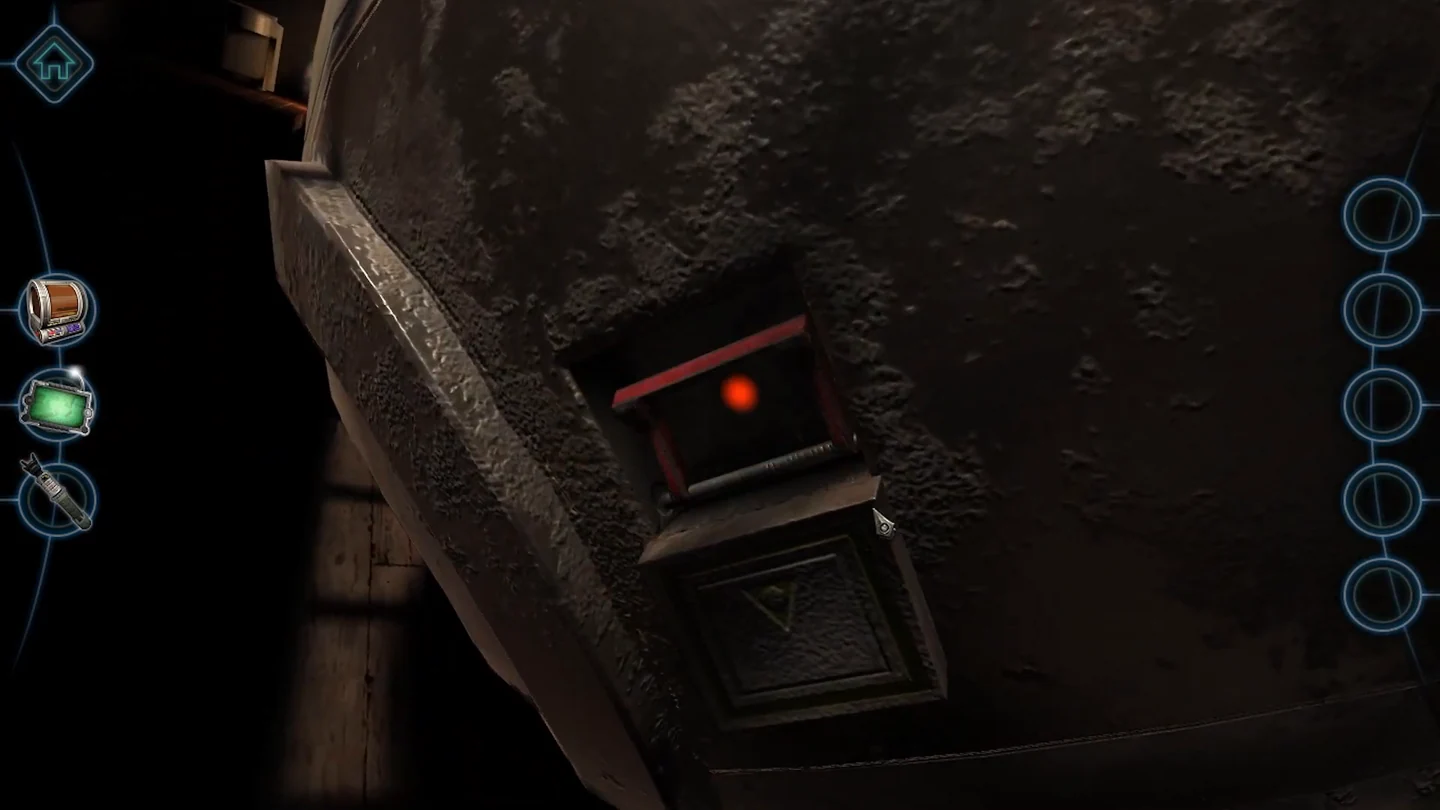
An access panel on the outside of the sphere, pressed in and opened to show its red handle. Pull the handle down; the light turns from red to yellow. - Sit in the chair and look at the armrest with an empty round socket. It needs the scroll case from Chapter 3: go back to the crates of earlier deliveries and pick it up. Seat the case in the socket, and a 3x3 keypad appears on the side of the armrest. The sticky note on the chair shows the same pattern as in Chapter 3: top left, top middle, middle right, bottom middle and bottom right. Press those five squares; the scroll rises out of the armrest and unrolls.
- The unrolled scroll shows pictures of your earlier machines. If your character says they need to get them all, go back to the workshop crates now and collect them (they all go into your inventory at once). Then, on the scroll, click the bottom-right green symbol to look at the other armrest. Slide the glowing tiles above it until their lines form one continuous, slanted figure-eight.
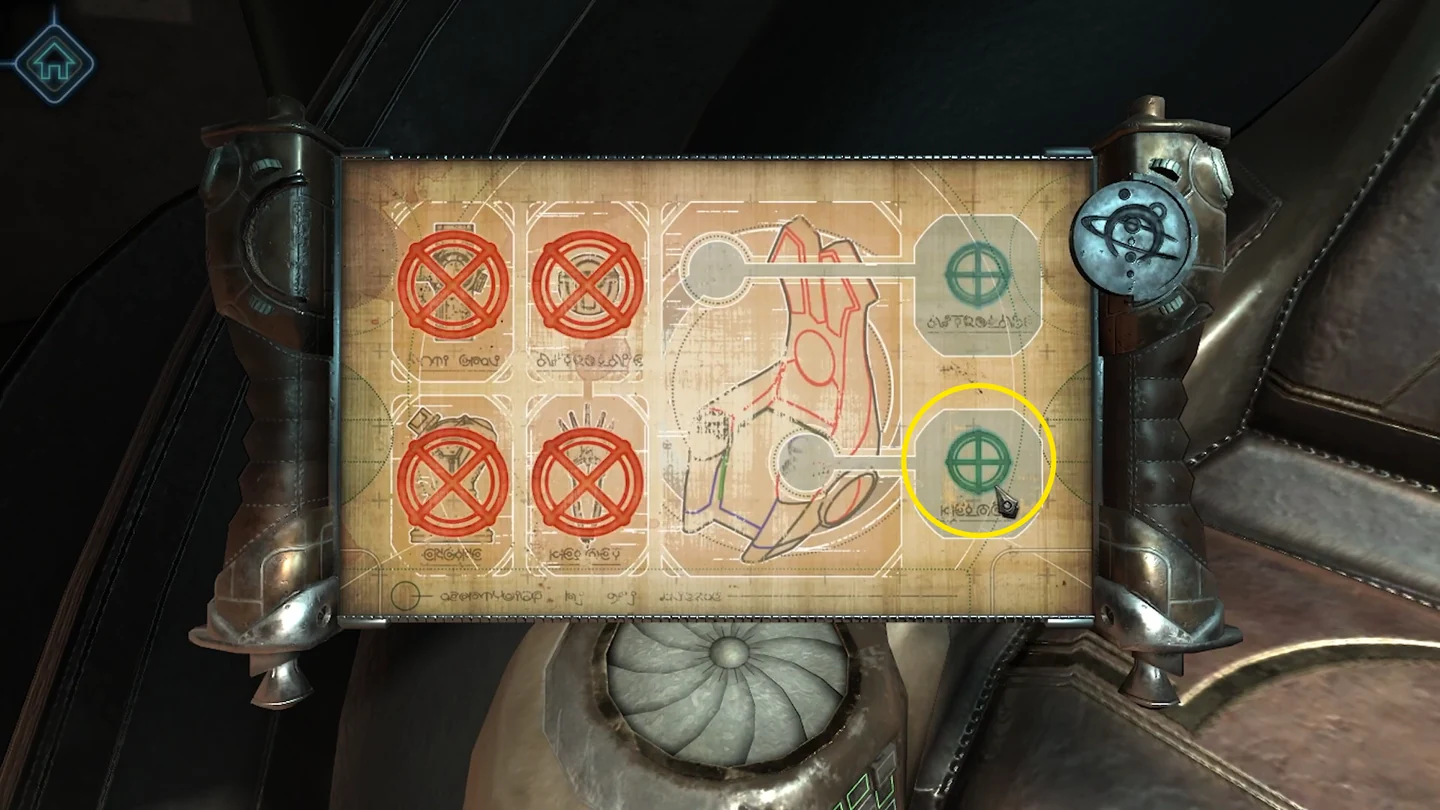
The unrolled scroll. Click the circled bottom-right green symbol to look at the other armrest. 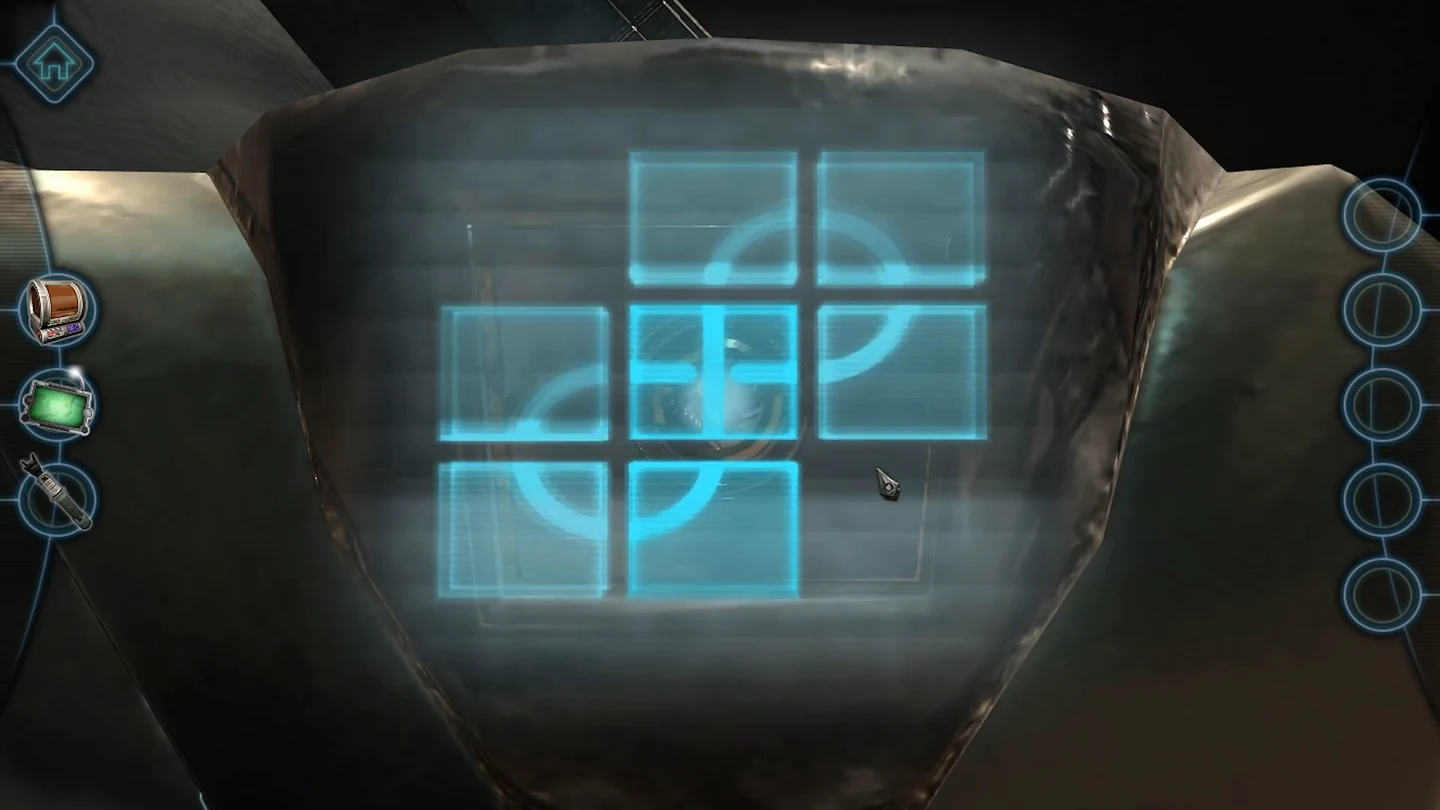
The completed figure-eight. - A hologram of one of your earlier machines appears above the other armrest. If you have not collected your earlier machines yet, go back to the workshop crates now and collect them (they all go into your inventory at once). Then drag the machine whose shape the hologram shows onto it. If it shows the bronze sphere from Chapter 8, drop the sphere onto it; it is already set and needs no adjustment. If it shows the helmet from Chapter 5, drop the helmet onto it; the helmet dissolves, and when you inspect the armrest lid it opens and a built-in sphere rises. Slide this sphere's silver disc down and rotate its larger disc until the mechanism looks all set.
CHAPTER 9
Repairing the Chair
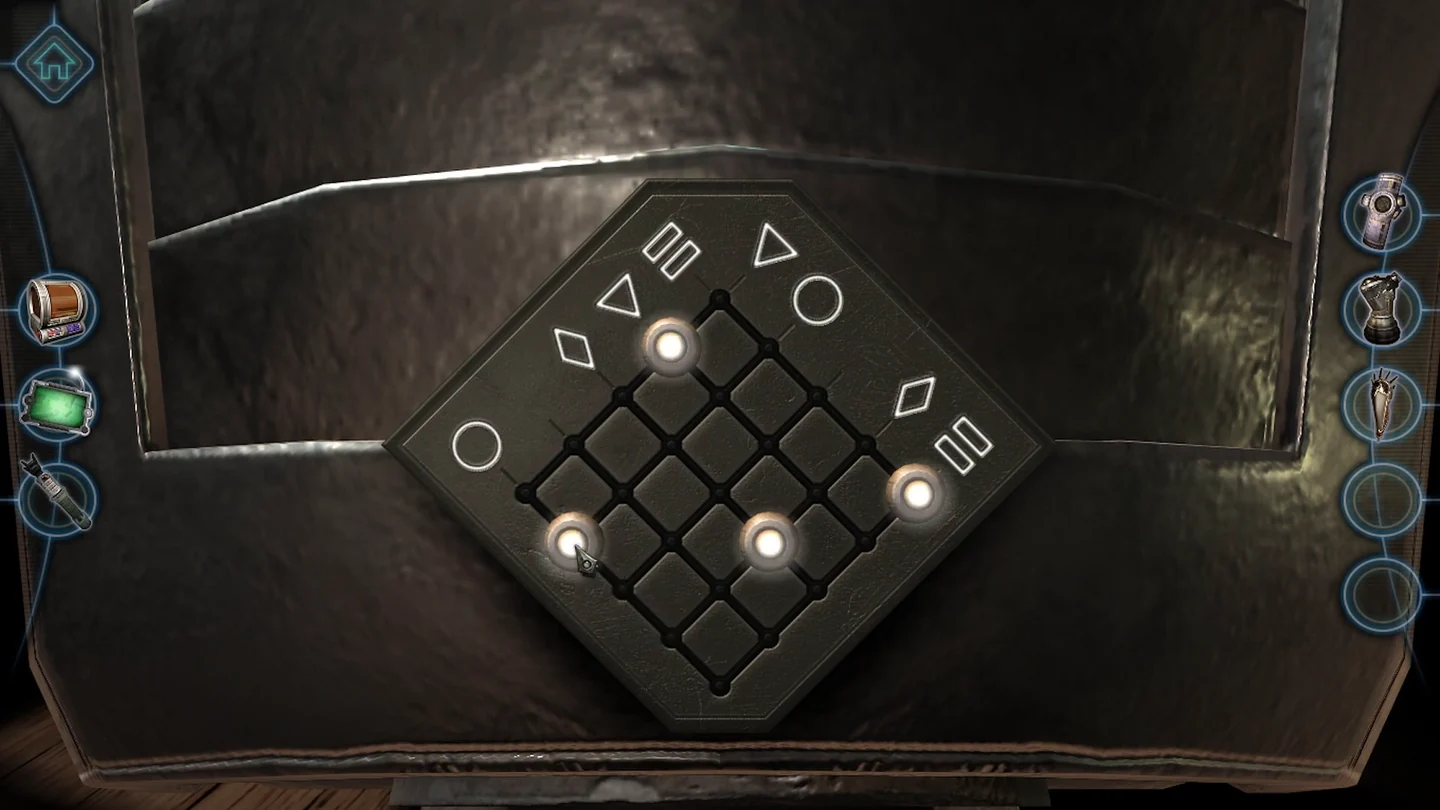
The chair needs the anti-gravity machine and the engine before it can move.
- Back at the scroll, click the top-right green symbol; the barrier around the chair disappears. On the back of the chair is a small grid with symbol pairs around it. Drag the four markers to the points where each matching pair of symbols crosses. A panel opens; insert the anti-gravity machine from Chapter 2 and the chair lifts.
- Use the magnetic screwdriver on the large screw near the base of the chair and match its shape. When it comes out, insert the engine from Chapter 6 into the opening.
CHAPTER 9
Plotting the Course
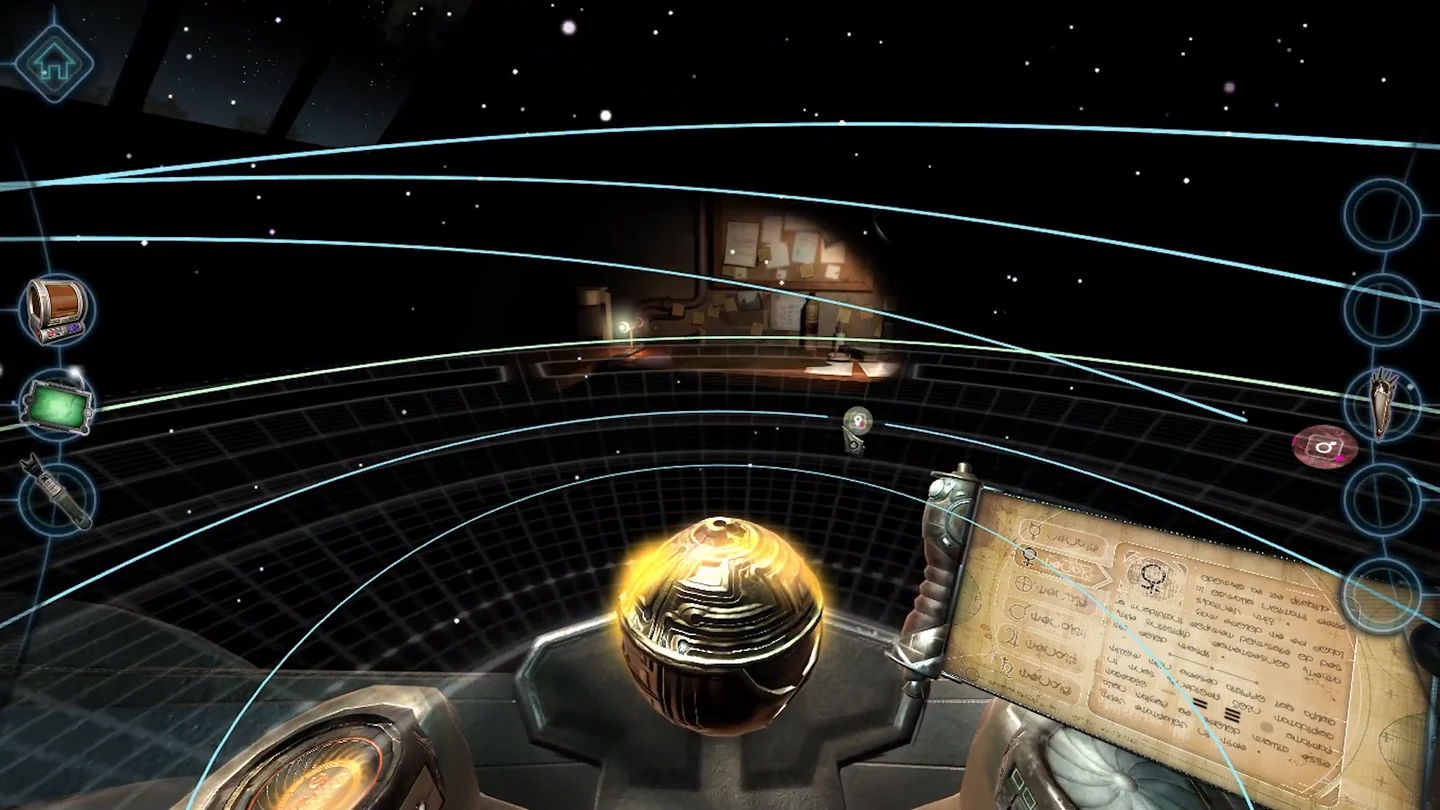
Use the scroll as your star chart: it tells you which marks to set on each planet. Work through the planets one at a time.
- Check the scroll, then sit in the chair. The scroll lists six planet symbols; selecting one shows a row of four marks, and the dark marks are the ones to set on that planet. An entry with no dark marks needs no input, so you only work on the planets that have dark marks: Venus, Earth, Jupiter and Saturn. Rotate the sphere to find each of these planets around you, zoom in and turn its matching marks green. On Saturn, one mark is on a moon rather than the planet. When every marked planet is set, an autopilot path appears.
- The machine activates and carries you away. Watch the ending; the credits follow.