CHAPTER 3
The Button Crate
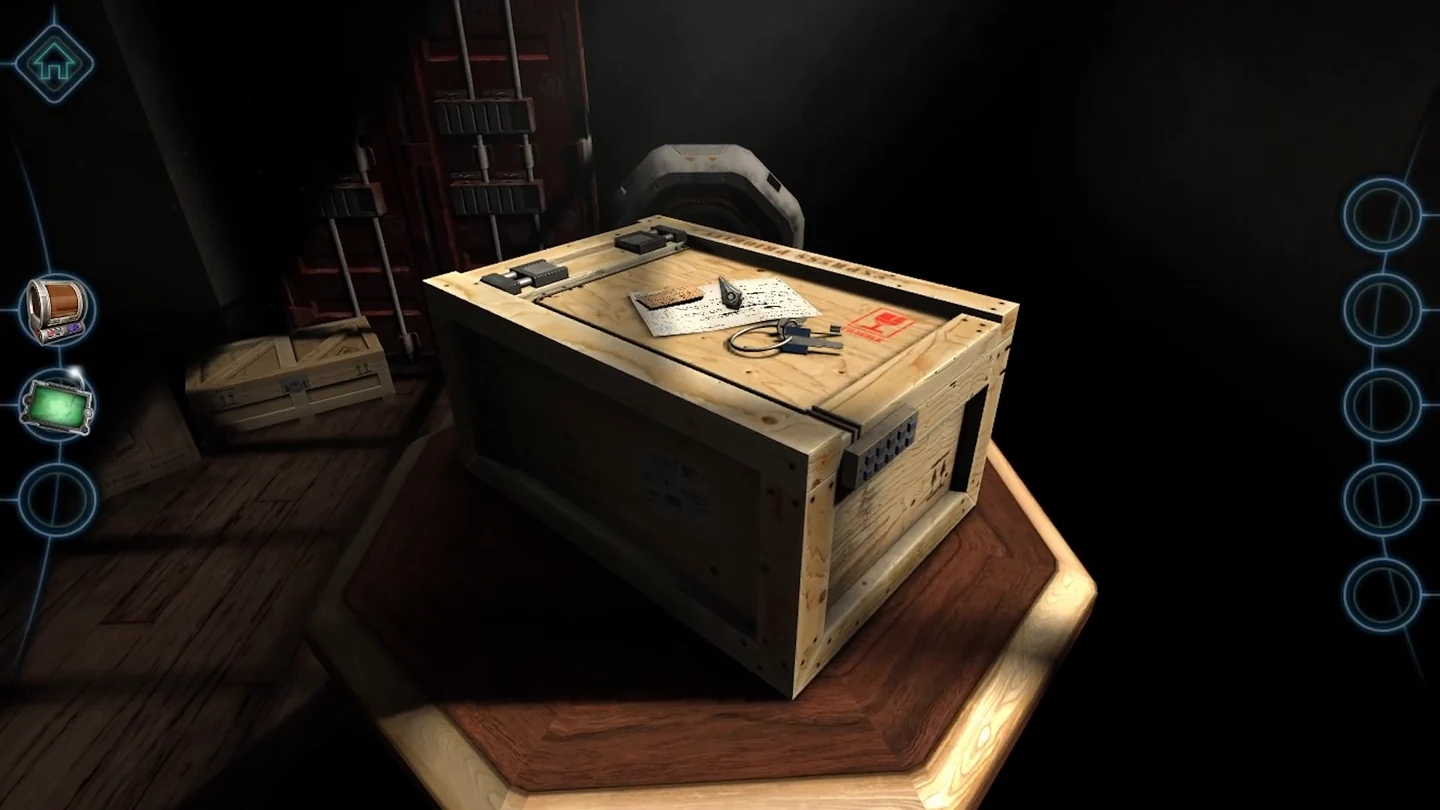
Open the crate with its keyring, then follow the drawing on the hidden note.
- On top of the new crate, take the keys off the keyring and read the discovery report beside them.
- Use the silver key in the keyhole on the side of the crate and turn it, then open the small compartment and take the hidden blue note.
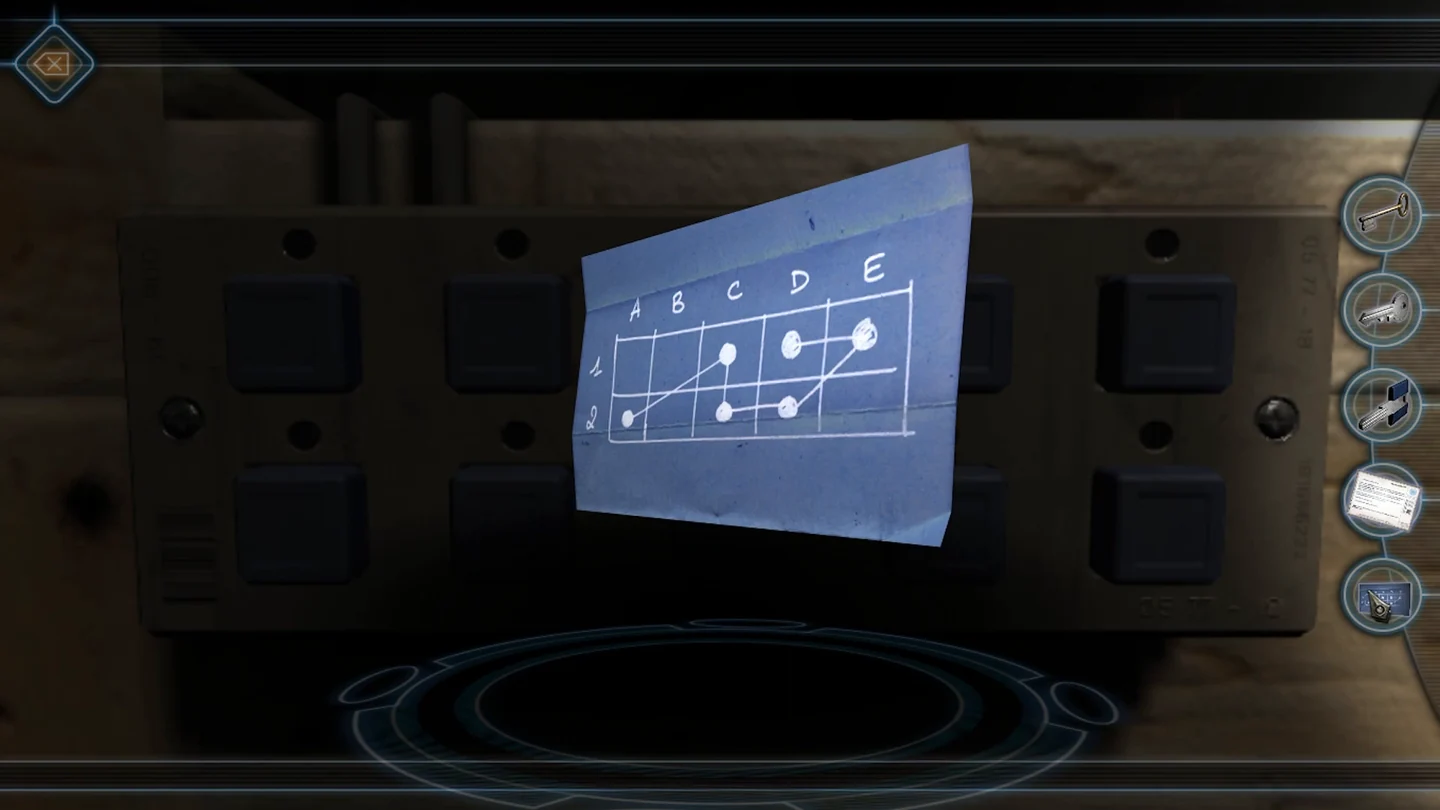
The hidden note: follow the drawn line from A2. It doubles back from E1 to D1. - At the end of the crate is a panel of ten buttons in two rows (columns A-E, rows 1-2). Follow the line drawn on the note: press A2, C1, C2, D2, E1, D1. Row 1 is the top row. A green light confirms each correct press; if you go wrong, start the sequence again.
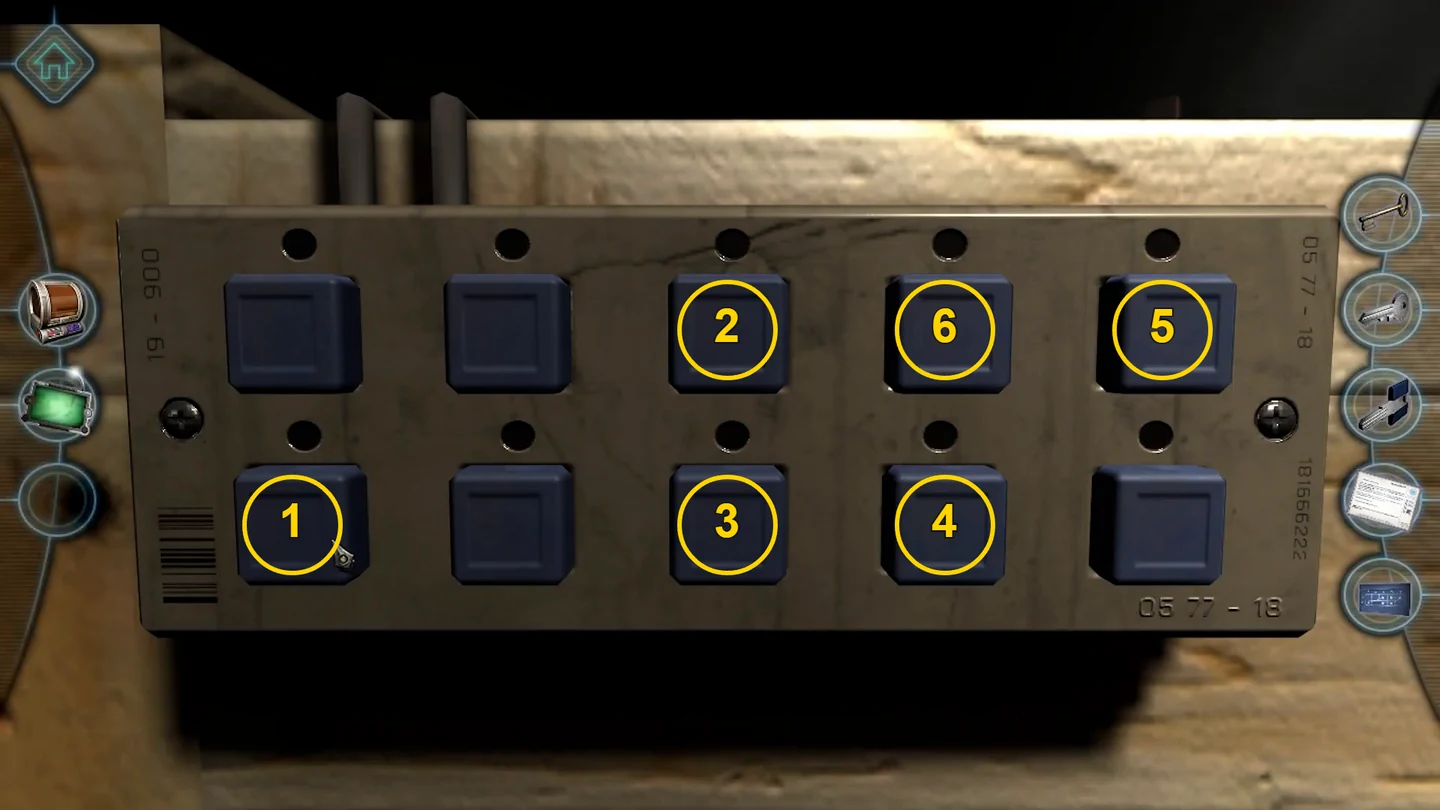
Press order: A2, C1, C2, D2, E1, D1 (numbers 1-6). - Two keyholes are now uncovered on top of the crate. Duplicate the blue key from your keys with the 3D printer, put one blue key in each lock and turn them, then slide the lid open. The canister is placed on the desk.
CHAPTER 3
The Broken Keypad
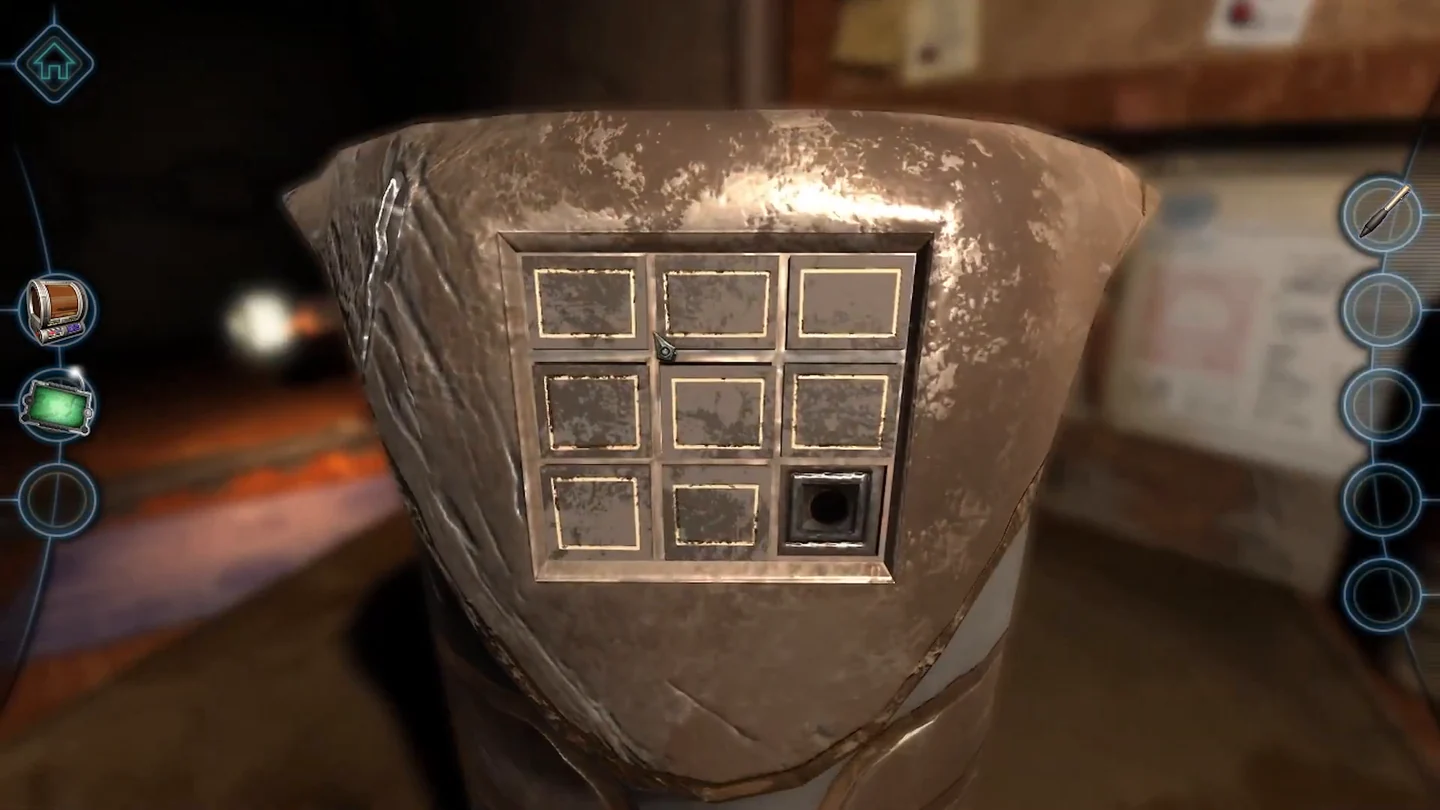
The canister's button pad breaks when you press it. Look at the pad from behind to learn which buttons to press.
- Press the bottom-right button of the 3x3 pad on the canister; it breaks off. Use the endoscope in the crack near the top rim and steer to the back of the button pad.
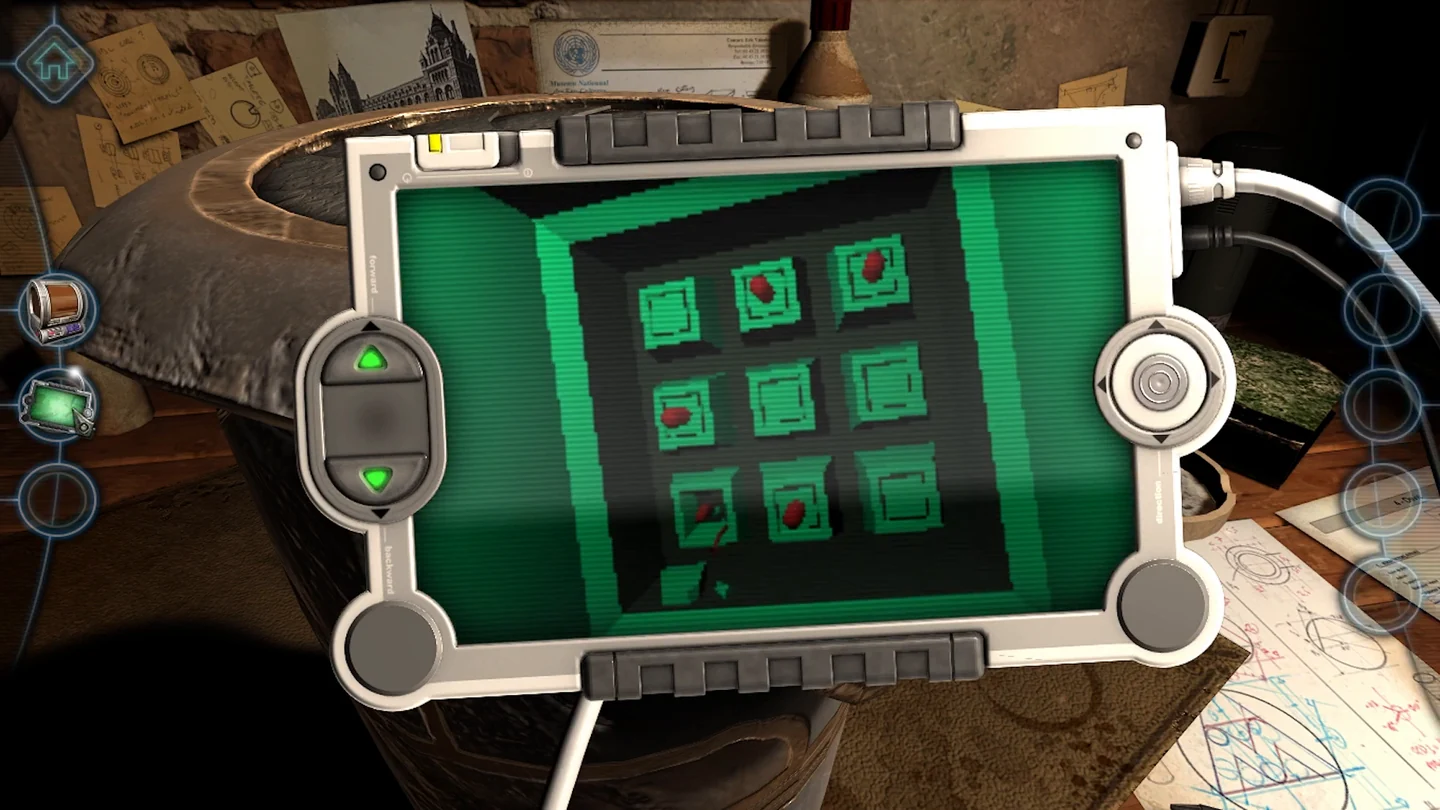
From behind, the marks appear mirrored. - From the back you see marks on five buttons. Mirrored to the front they are top-left, top-middle, middle-right, bottom-middle and bottom-right. Take the pen from the papers on the desk.
- Press top-left, top-middle, middle-right and bottom-middle, then push the pen into the hole of the broken bottom-right button. The top opens and a twin-cylinder object rises out.
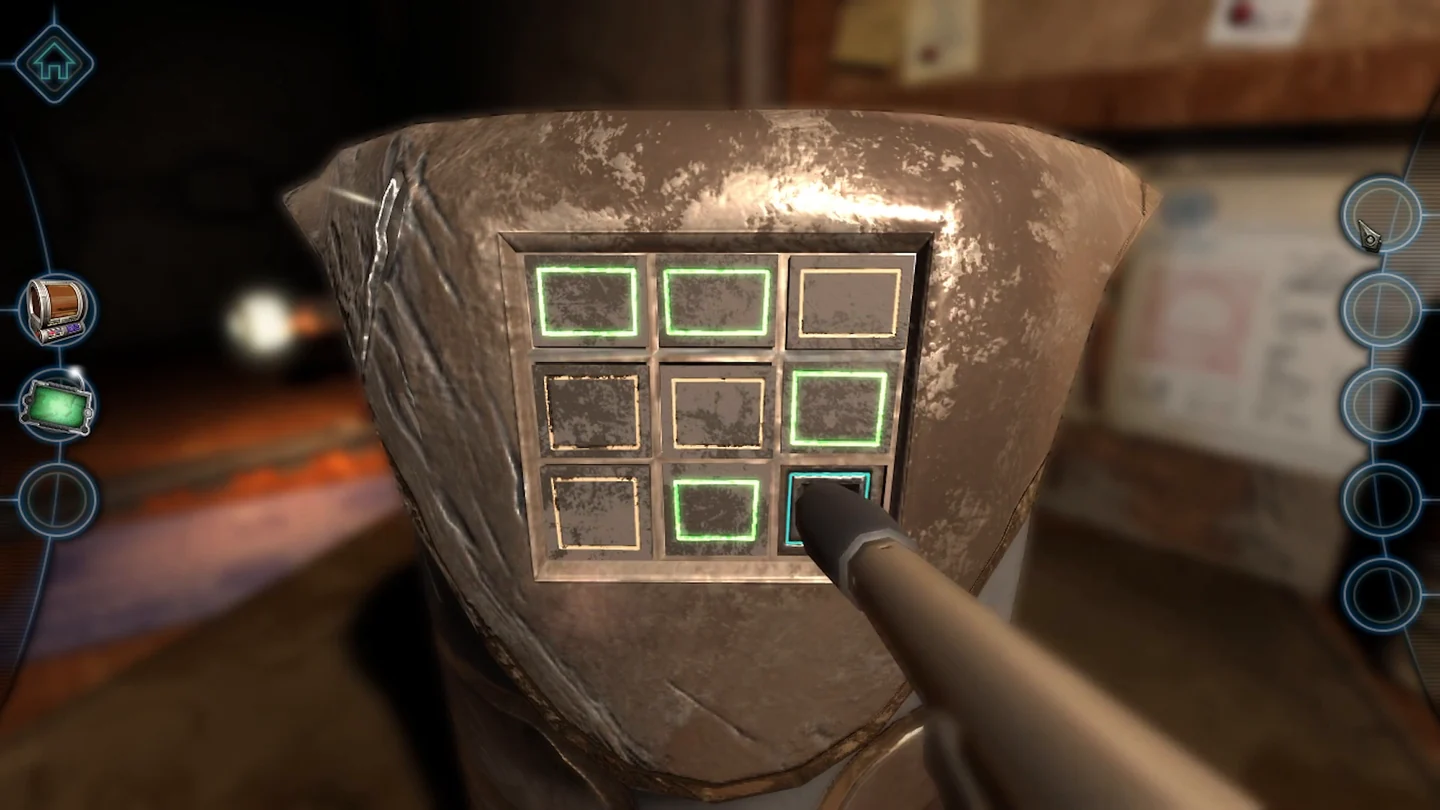
Solved: four buttons pressed and the pen in the broken button.
CHAPTER 3
Opening the Scroll
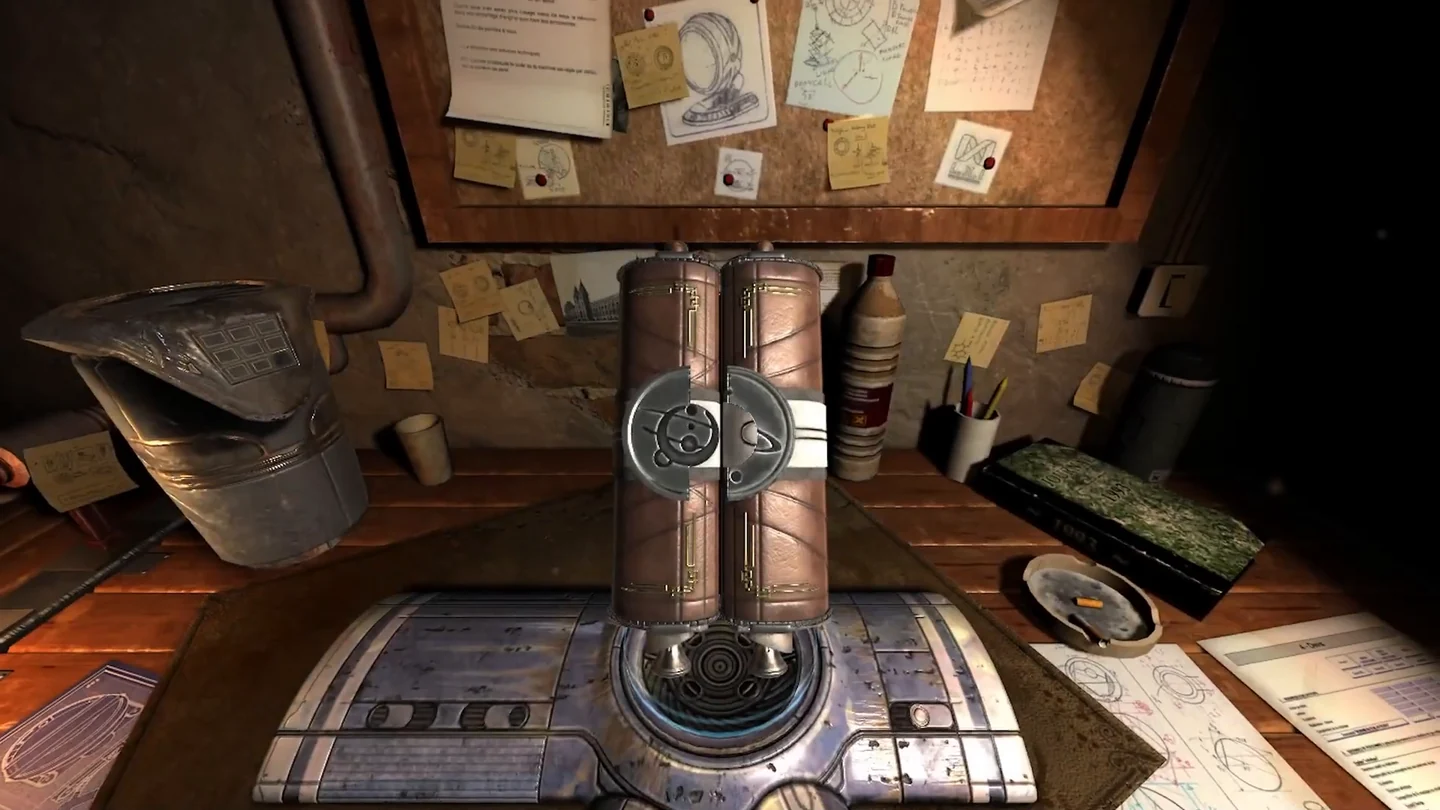
Float the object over the anti-gravity machine so you can turn it freely. The tumbler takes trial and error: lock one segment with the magnet, turn the others, then switch.
- Place the object over the anti-gravity machine so it floats, then turn it around to inspect it.
- Pull down the cage under the right cylinder. It holds three brass segments and a red magnet. Sliding the magnet up or down holds one segment still while the other two rotate. Use this to turn all three segments until their blue marks face the front. The cylinders separate and unroll a blank scroll.
- Look at the inside of the left cylinder's foot and examine the unusual screw there. Your character decides to use the magnetic screwdriver, which then appears in your toolbar. Drag the screwdriver from the toolbar onto the screw. Turn the screwdriver's wheels until its tip matches the screw's first shape, press the orange switch and match the second shape. The screw comes out and the foot slides down; take the metallic ball.
- Duplicate the ball with the 3D printer and put one ball in each socket of the left foot. Turn to the back of the scroll and slide its two latches apart to uncover the clue for the next section. The back also shows the ball settings: the upper arrow points left with one dot above it, and the lower arrow points right with two short lines above it and one long line below. Turn the top ball until it shows the left arrow with one dot, and the bottom ball until it shows the right arrow with those lines. The balls glow blue and the scroll powers on.
CHAPTER 3
Aligning the Scroll
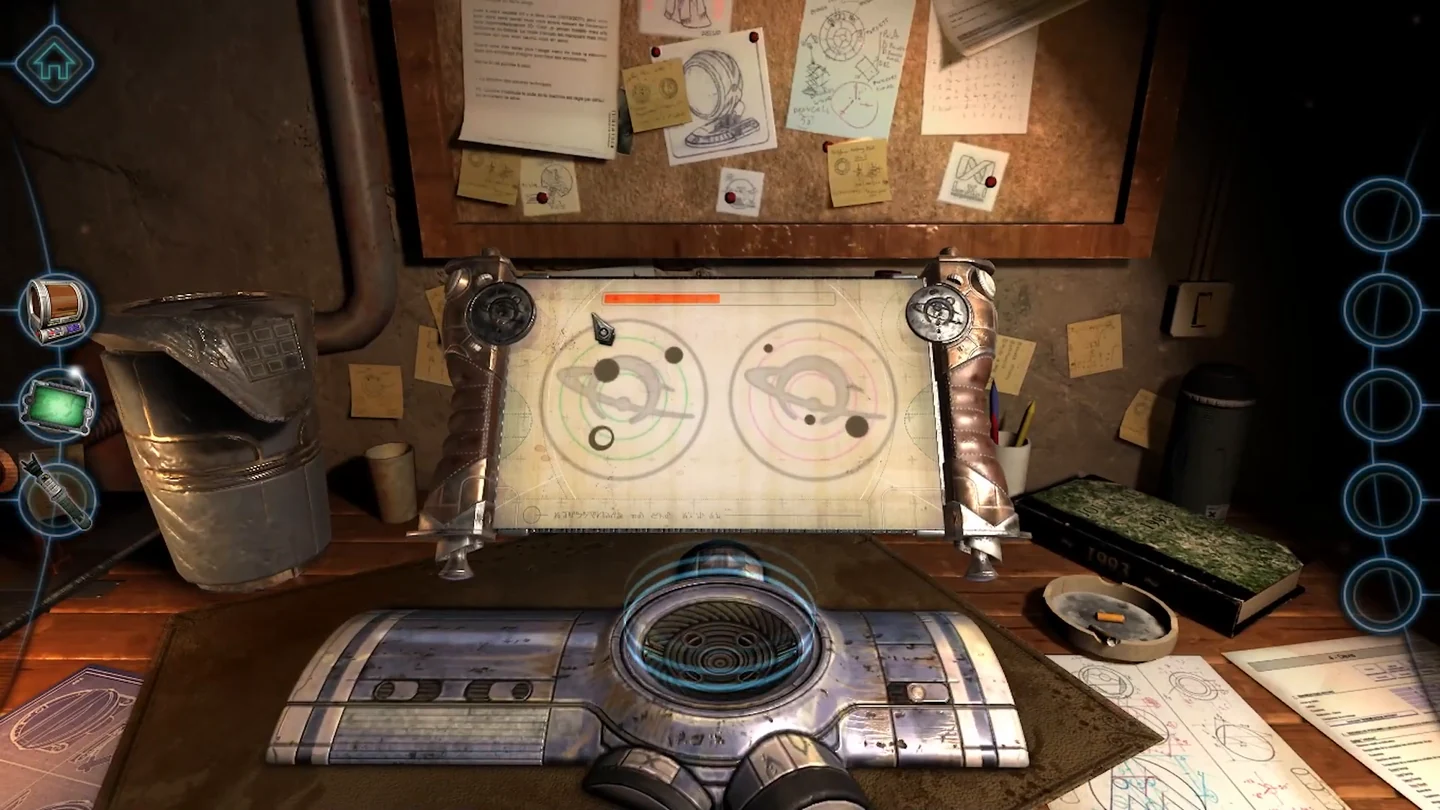
Turn the two handle dials so the scroll's orbit drawings match the coloured dots on its back. Small adjustments are fine; the drawings merge as soon as both match.
- The scroll shows two orbit drawings. Use the yellow and pink dots on the back of the scroll as the target. Turn the dial on the left handle so the left drawing matches the yellow dots: the solid inner circle at about 10 o'clock, the hollow circle at 6 o'clock and the small outer dot at 1 o'clock. Turn the right dial so the right drawing matches the pink dots: the small inner dot at about 8 o'clock, the large dot at 5 o'clock and the small outer dot at 11 o'clock. The drawings merge into one emblem. Drag the green arrows across the bottom of the scroll; a spaceship blueprint appears and the chapter ends.
EVIDENCEScroll device