CHAPTER 4
The Canister
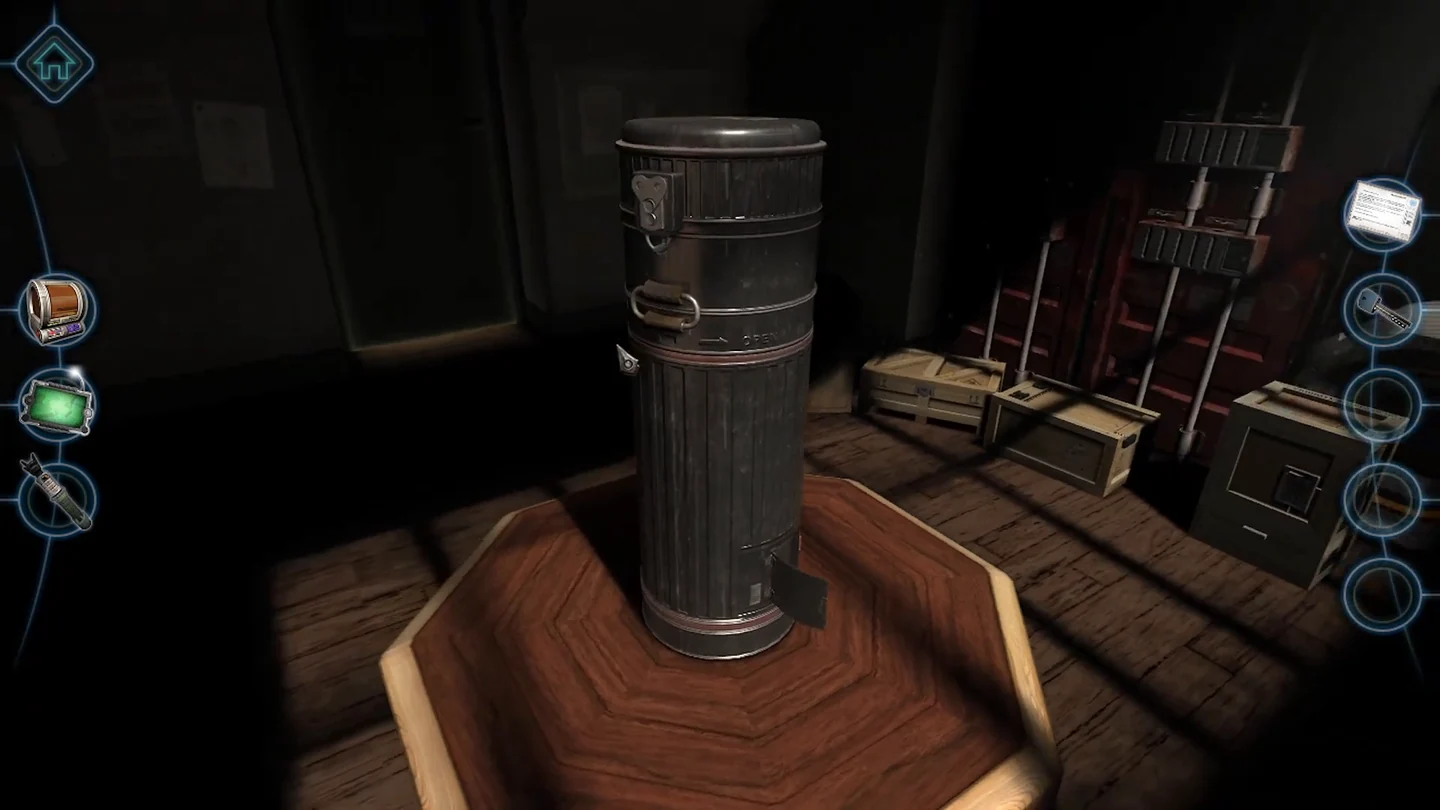
The photo inside the canister gives most of its combination; the stain hides only the first wheel.
- Take the letter from the stand and read it.
- Open the small panel near the bottom of the canister and take the key.
- Use the key in the lock near the top, turn it, swing the handle down and twist the lid off. Inside, take the small pyramid and the photo.
- The photo shows the canister's combination lock, with the first wheel hidden by a coffee stain; the visible wheels read 3 and 7. Set the centre line of the lock to 237. Then twist off the second top, and the stone rises out of the canister.CODE237
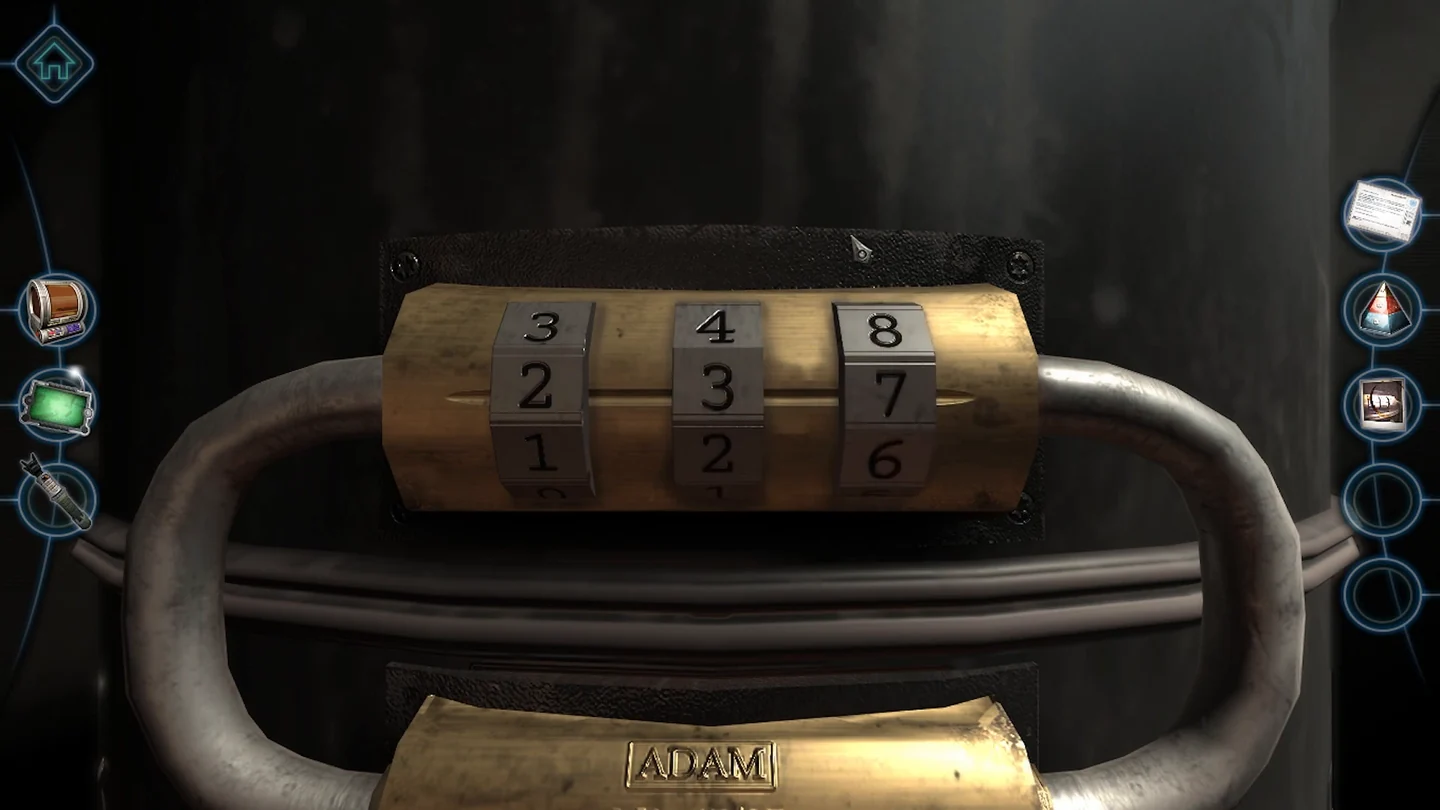
The lock set to 237.
CHAPTER 4
Routing the Energy
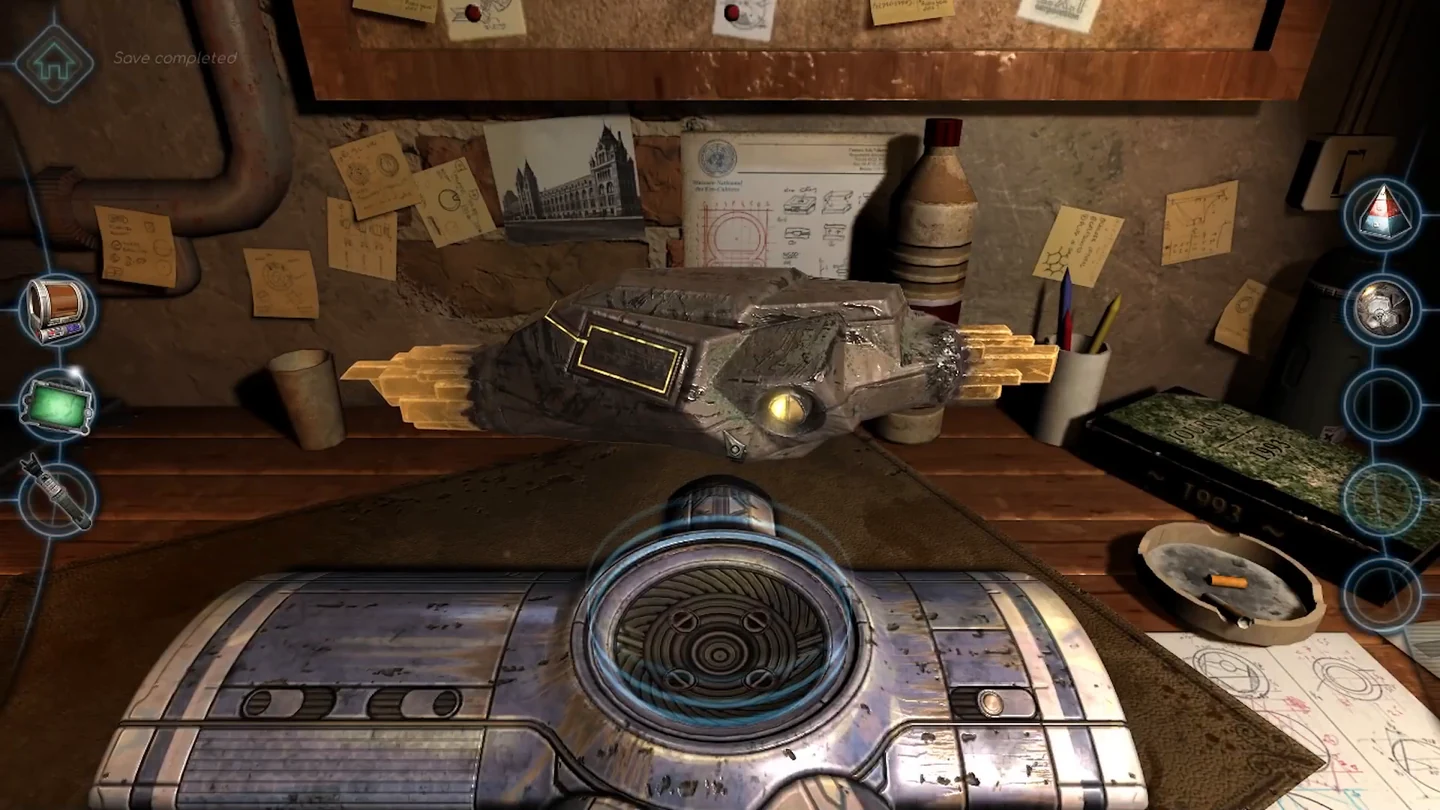
Guide the stone's energy line along both ends and the top. The ring and tile puzzles here are solved by eye: keep turning or sliding until the path is unbroken.
- With the stone floating over the anti-gravity machine, zoom in on the dusty round lock on its back. Click the three segments to rotate them until they form a small circle in the middle, then take the round lock. Click the left half of the yellow disc underneath and a line of energy runs along the stone.
- At the end where the yellow crystals moved aside, turn the three rings of the octagonal cap until they form one continuous path from the energy line to the far end.
- Click the right half of the yellow disc so the energy runs the other way. At the opposite end, place the small pyramid on the platform in the crystal cavity. Rotate the pyramid's segments and the clear crystals so that the beams light all three sides of the dark triangular prism.
- Examine the rectangular panel on top; it slides away to reveal sliding tiles. Move the pieces to uncover the yellow circles, cover them with the three round symbols and link everything into one path. It lights yellow when connected.
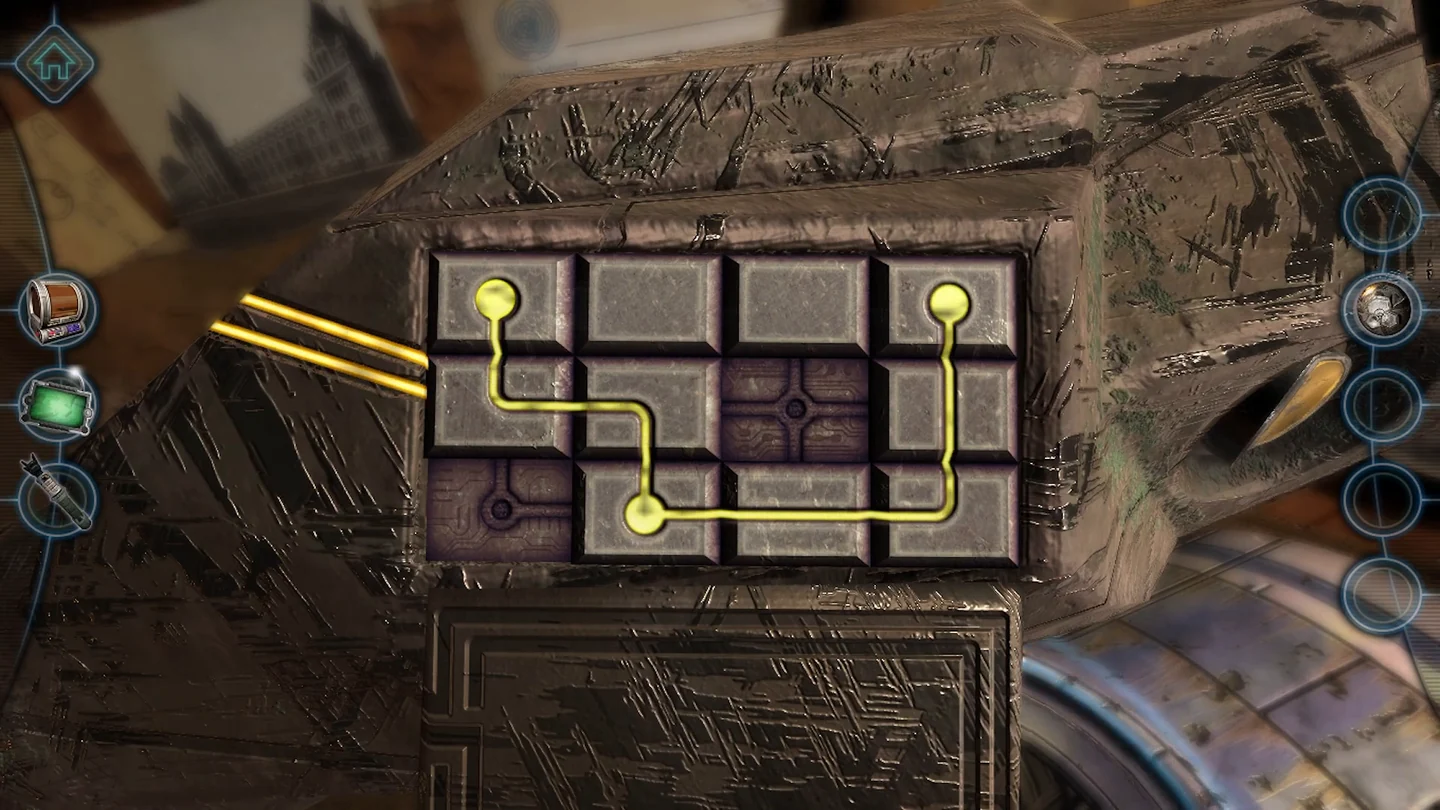
A connected tile path.
CHAPTER 4
The Infinity Track
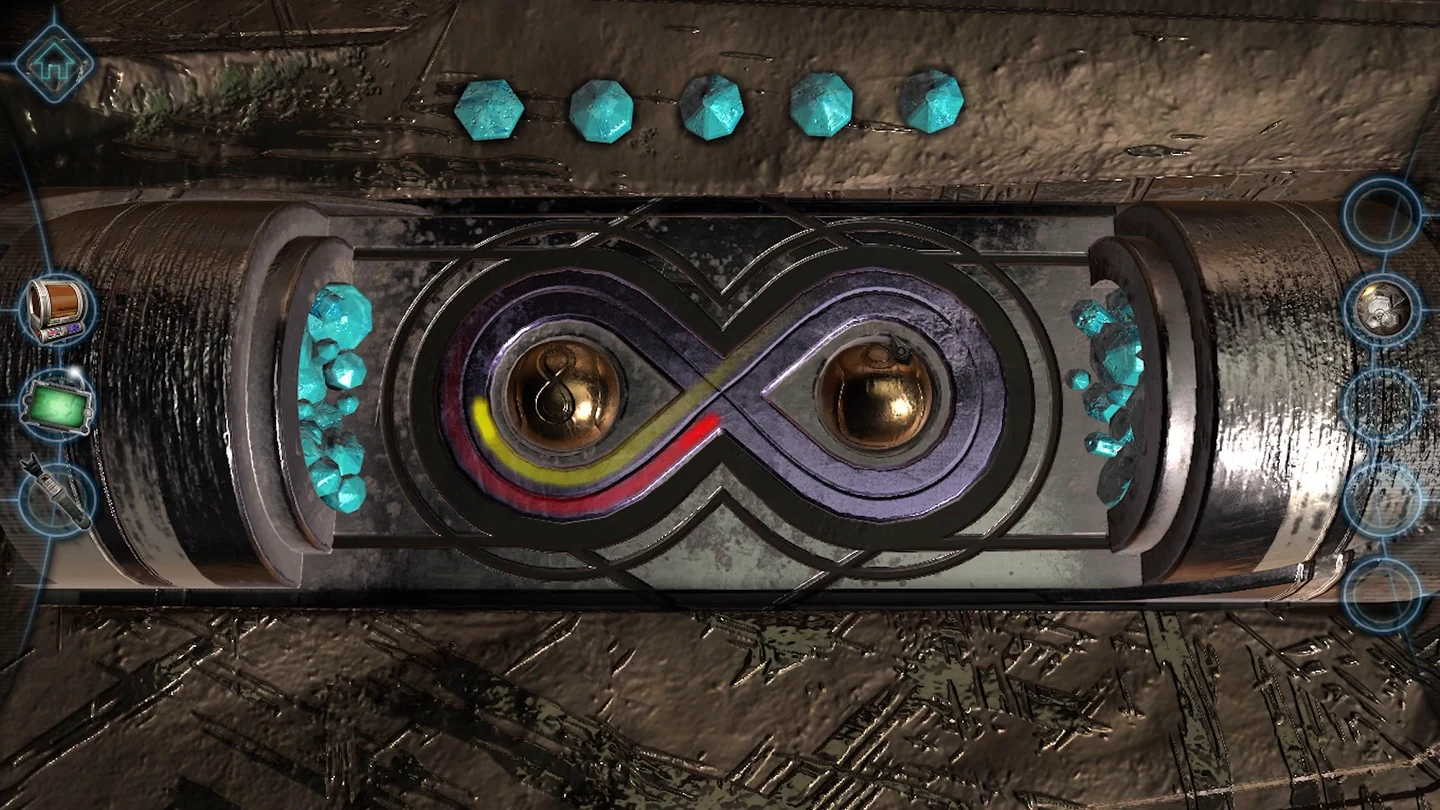
The back of the round lock gives the five colours in order, alternating between the right and left spheres.
- Slide the top cover open. Move the two small latches along their grooves until the large discs line up with the main groove, and the cylinder opens on a figure-eight track holding two spheres. Remove both spheres: one is fine, the other is too damaged to use. Duplicate the good sphere with the printer and place the good sphere and its copy in the two sockets.
- Look at the back of the round lock: five figure-eights, each with one coloured dot. Follow them from top to bottom. Rotate the right sphere until its light is green, the left sphere to pink, the right sphere to red, the left sphere to light blue and the right sphere to light blue. Each correct colour lights one of the five gems above. With all five lit, the stone releases its energy and the chapter ends.
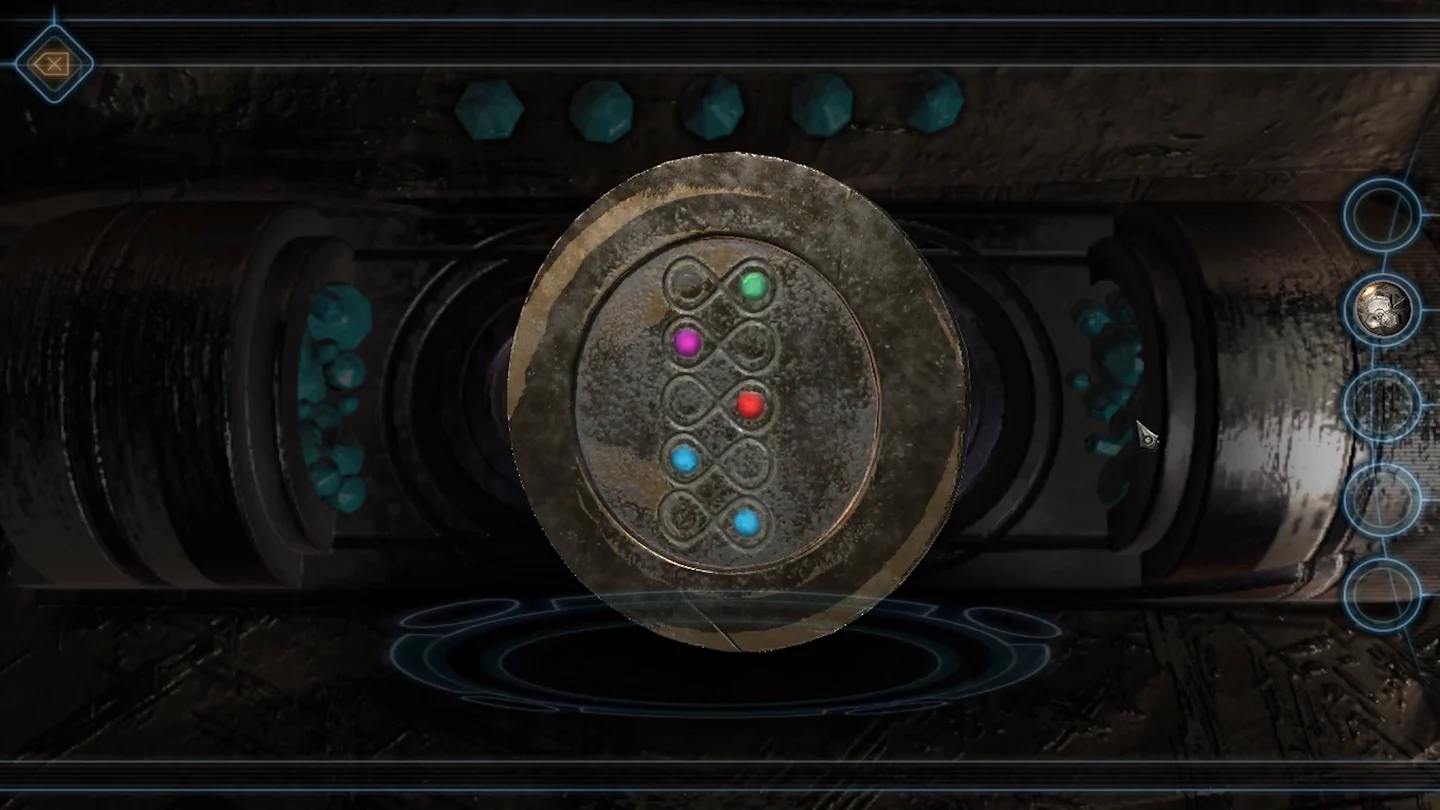
The colour sequence on the back of the round lock.
EVIDENCEEnergy stone