CHAPTER 6
Three-lock door
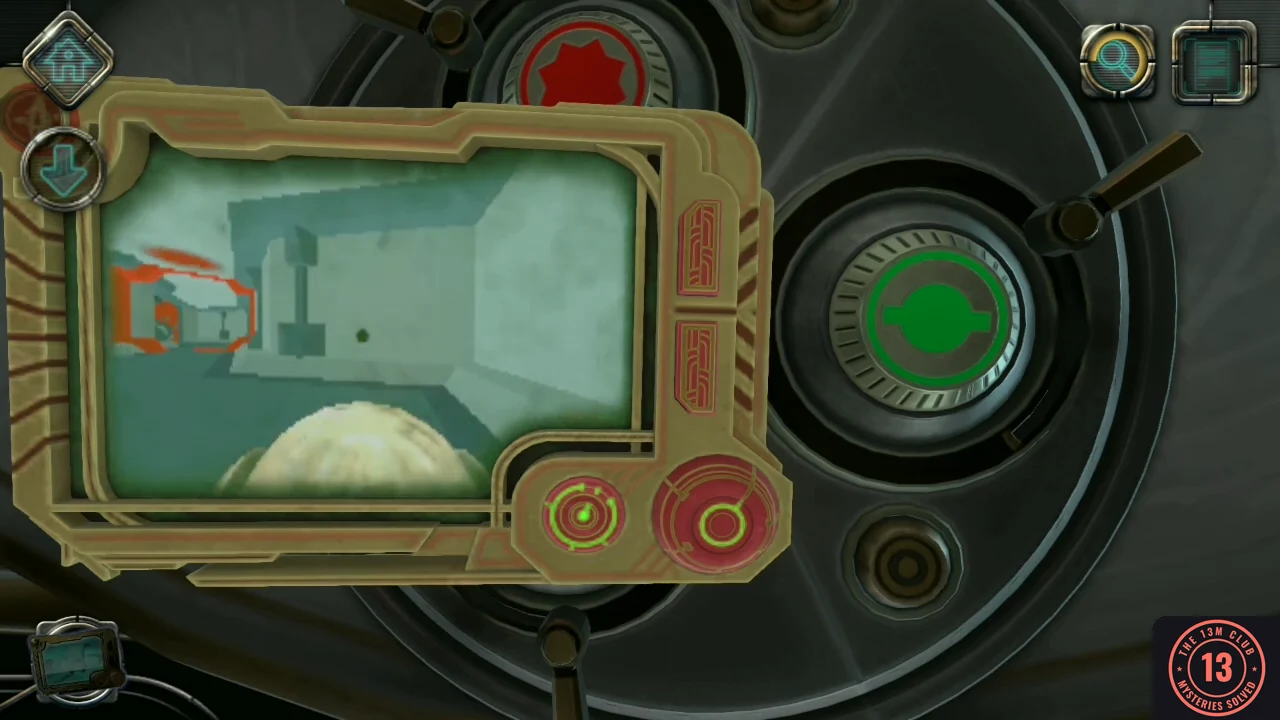
A large round door has three coloured locks. The drone opens them from inside.
- Go through the door at the end of the vent and use the drone controller on the green drone symbol at the round door.
- The large dial in the centre of the door starts on green. Press the small button beneath it to rotate the blue dial into place. Drive through the blue doorway. Laser the yellow block in the way until it clears, then go forward. Use the handle on the right and the blue dial to turn the gears until their holes line up on the drone screen; the blue lock opens.
- Back out and drive through the green doorway. Before turning the gears, press the small button beneath the centre dial until the green dial is in place (the red dial comes up first). Then line up the gear holes the same way with the handle and the green dial. When the green lock opens, press the small button to bring up the red dial for the last lock.
- Back out and drive through the red doorway. Here, instead of using the handle and dial, aim the laser at the small connector on the right of the gear and fire. The red lock opens.
- Back out. At the middle of the door, first turn the small wheel on the right one complete turn, then turn the large wheel. Go through.
CHAPTER 6
Walkway gear
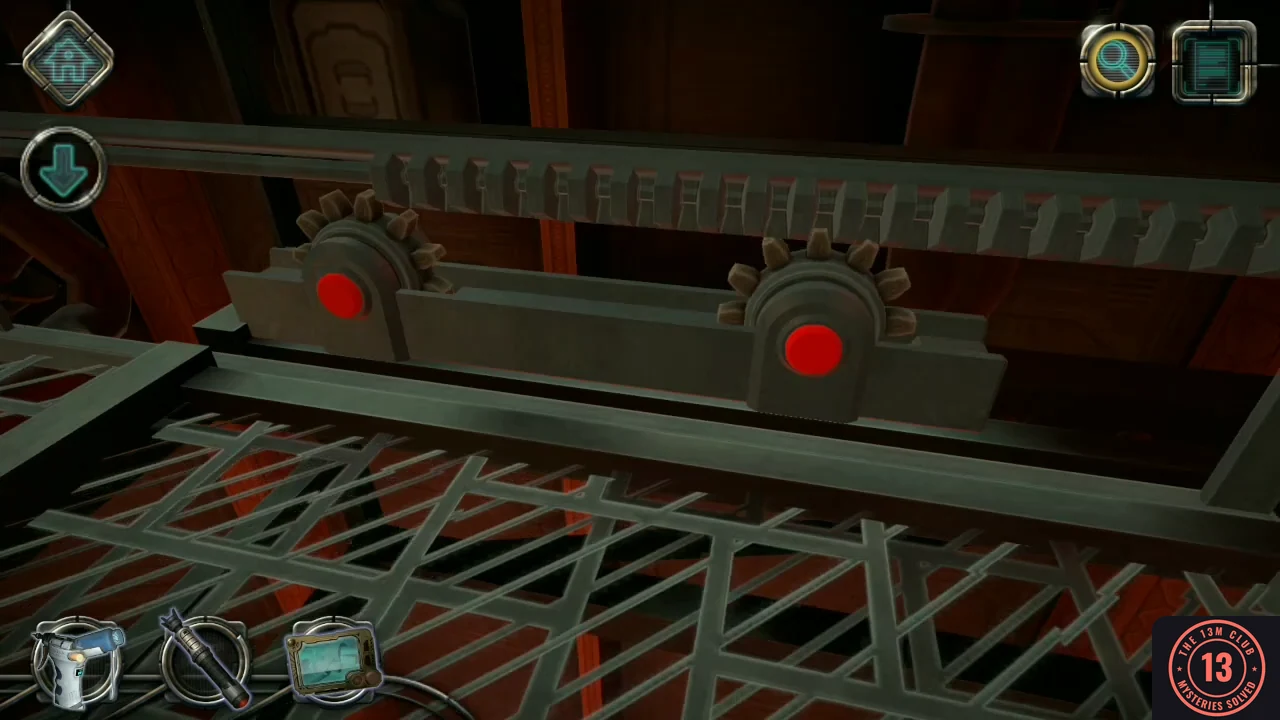
Inside the engine room, the walkway is too short to cross the gap.
- Pick up the gear from the floor, examine it and move the small red part around it to extend its teeth.
- Insert the gear into the mechanism where you found it. Press the red button on the gear you just inserted, then the button on the other gear; the walkway extends in two stages.
CHAPTER 6
Engine hatch
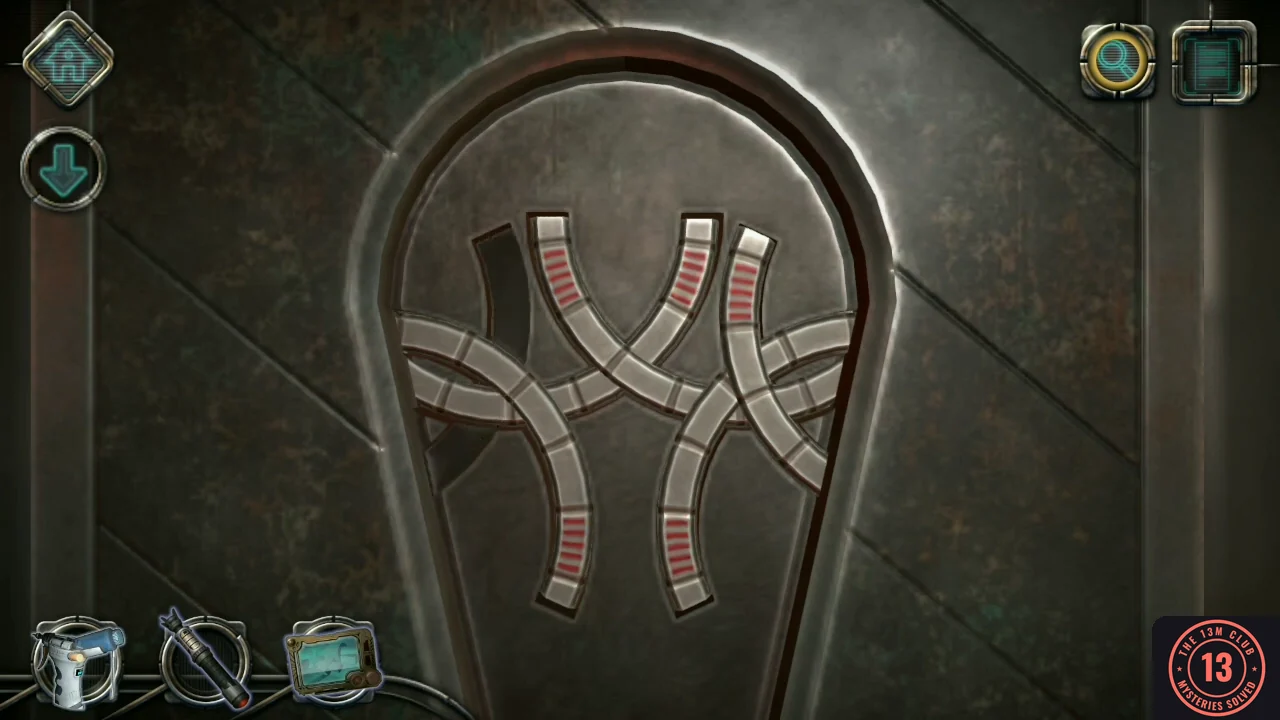
Cross to the large engine. A hatch on its lower right side hides an item and a letter.
- Look at the lower right side of the large engine and move each curved line to the side, from top to bottom.
- Take the strange item and Letter #08.
CHAPTER 6
Engine start console
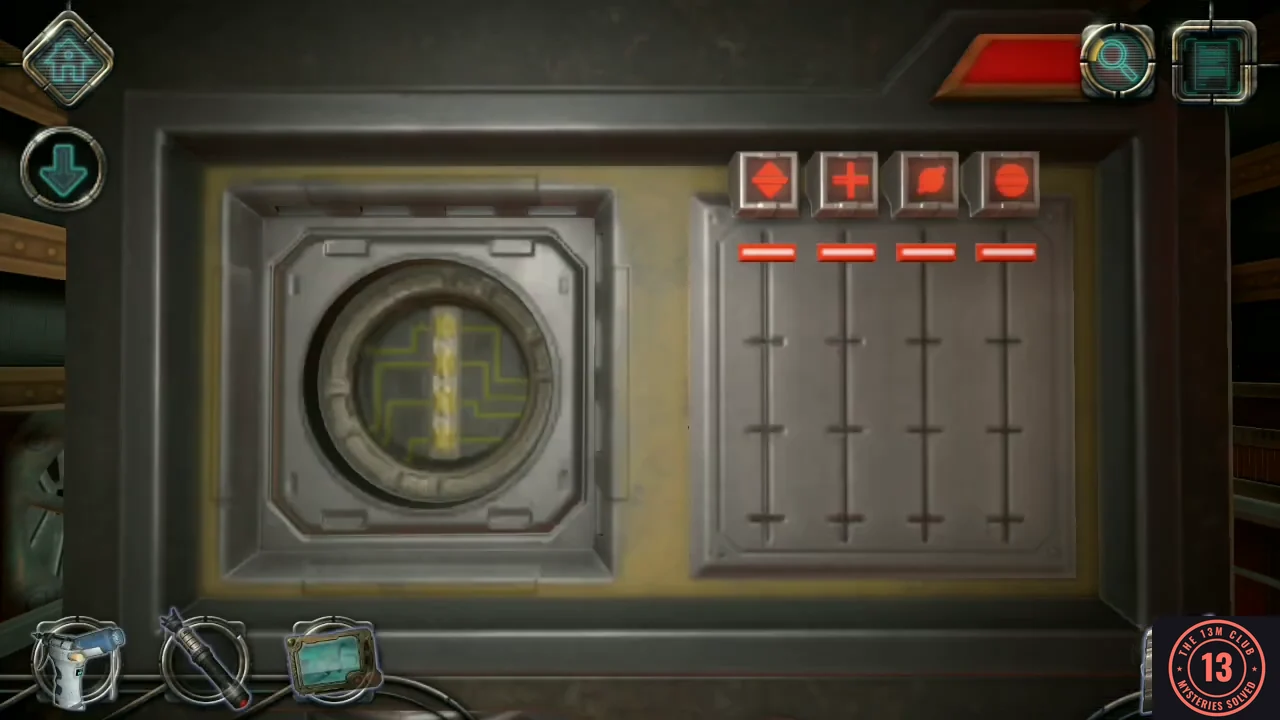
The engine's start console needs the strange item as a key.
- Examine the strange item, turn it over and rotate the red disc a quarter turn clockwise until it locks.
- Open the panel near the top of the engine with the red button and insert the strange item on the left. Slide its parts to reveal the red symbols, and set the sliders on the right to the same positions.
- Pull the lever three times to start the engine.
CHAPTER 6
Pilot seat and power
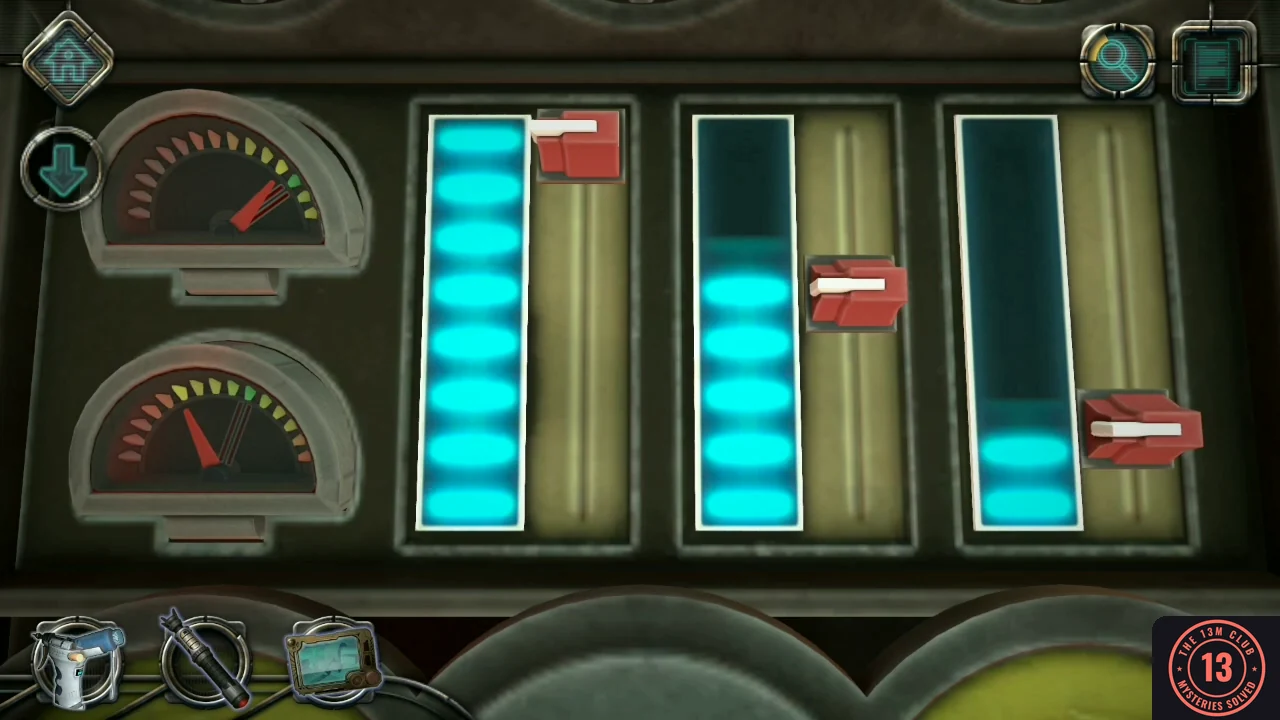
With the engine running, the pilot seat on the catwalk has to be moved into place and powered.
- Pick up the pulley from the walkway, examine it and move the red handles until the arms point straight up and down.
- Attach it to the side of the seat and use the screwdriver, matching the cross-shaped screw.
- Adjust the three power sliders until both gauges point into their marked zones. Push the left slider to the top, then fine-tune the middle and right sliders around the middle of their tracks while watching both needles.
CHAPTER 6
Seat console and gears
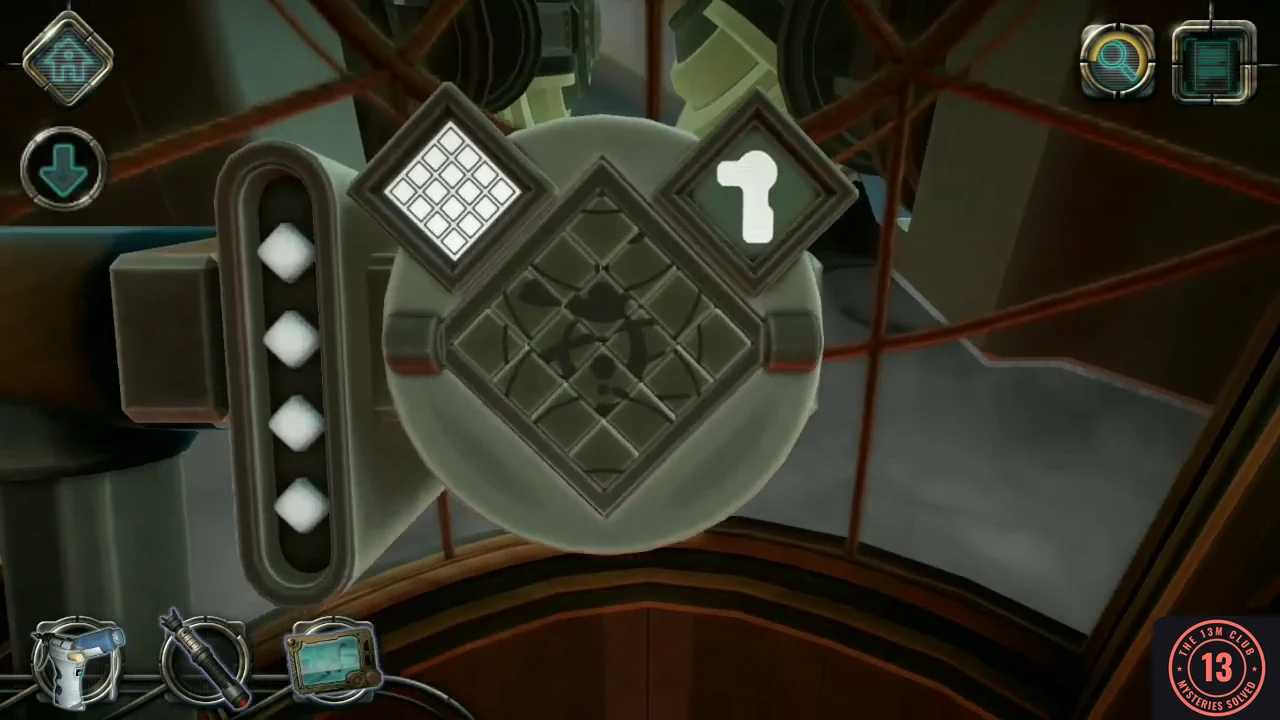
Sit in the seat to use the console in front of you.
- The seat console shows a diamond grid of tiles with a target card beside it; each tap lights up a group of tiles. Make the grid match the card. The first card is fully lit, so light every tile: tap the top corner, left corner, bottom corner and right corner tiles. A second grid follows with a new card showing a pattern that leaves some tiles dark: tap the left corner, the top corner, the inner tile just right of the centre, and the bottom corner to match it. The console then turns into arrow controls.
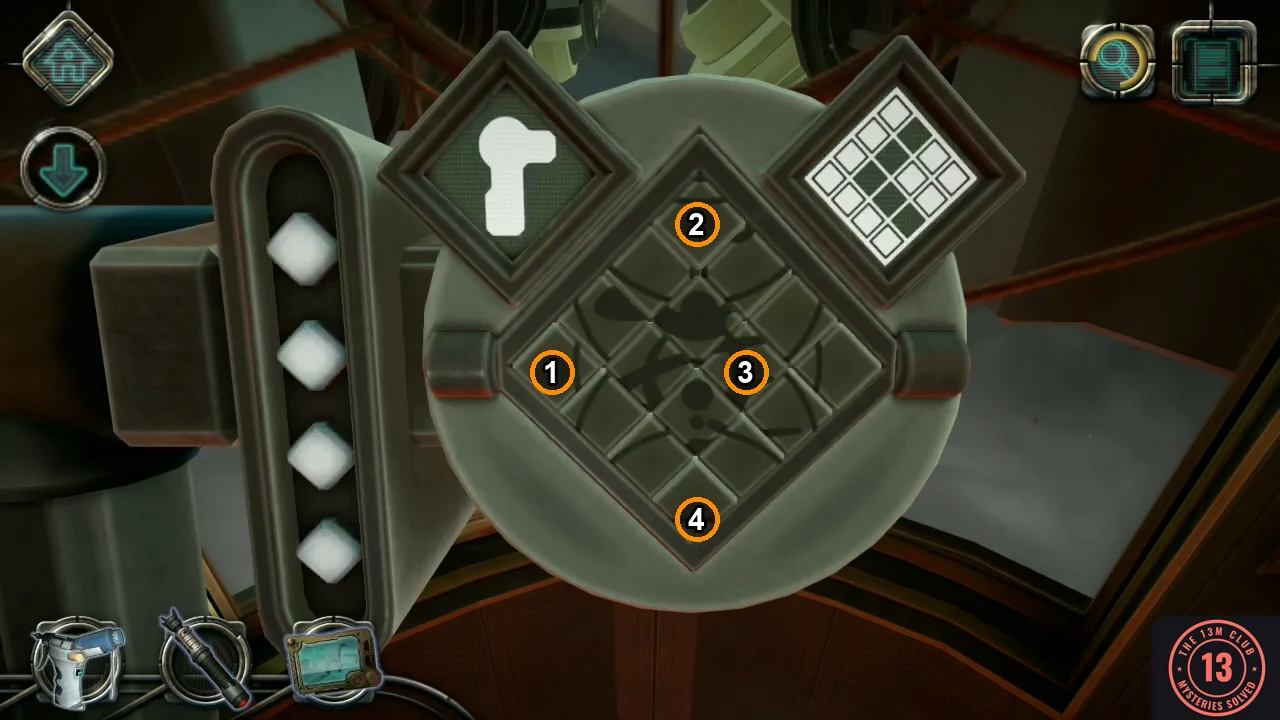
Second grid: tap the marked tiles in the numbered order. - Press the left arrow. Take the three gears, slide the spindles up, put the two red gears back on and press the red button.
- Press down, then right. Take the red gear, slide the spindle up and put the red gear on it. Put the remaining gear on the other spindle and press the red button.
- Press down, then up.
- Spin the inner and outer circles and tap the hexagons to group each colour of pegs together around the triangles.
CHAPTER 6
Tail wing settings
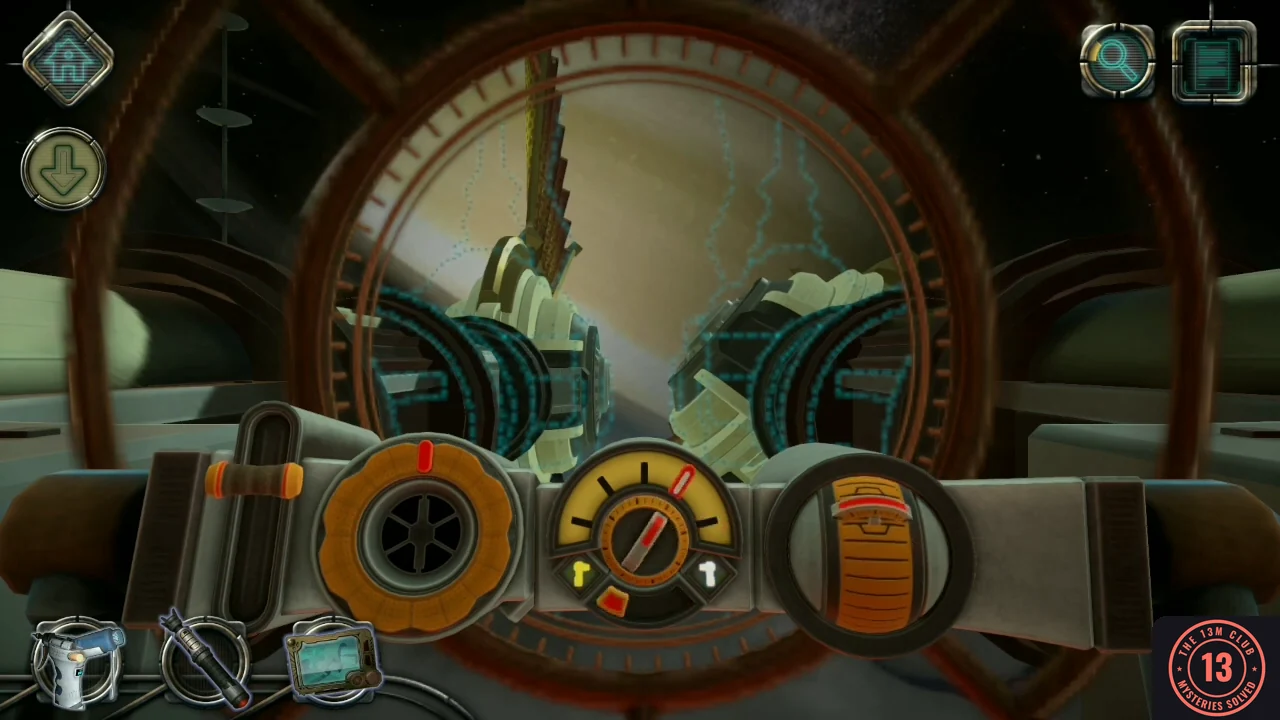
Set each tail wing to its outline.
- Press the small red button on the middle dial to switch between the left and right tail wings. Set each wing the same way: drag the far-left lever to the middle, spin the left dial until three white segments light, turn the middle dial to its middle position and move the right handle to the middle. The three segments from the first wing stay lit when you switch, so after the second wing all six segments on the dial are white.