CHAPTER 3
Balcony vent
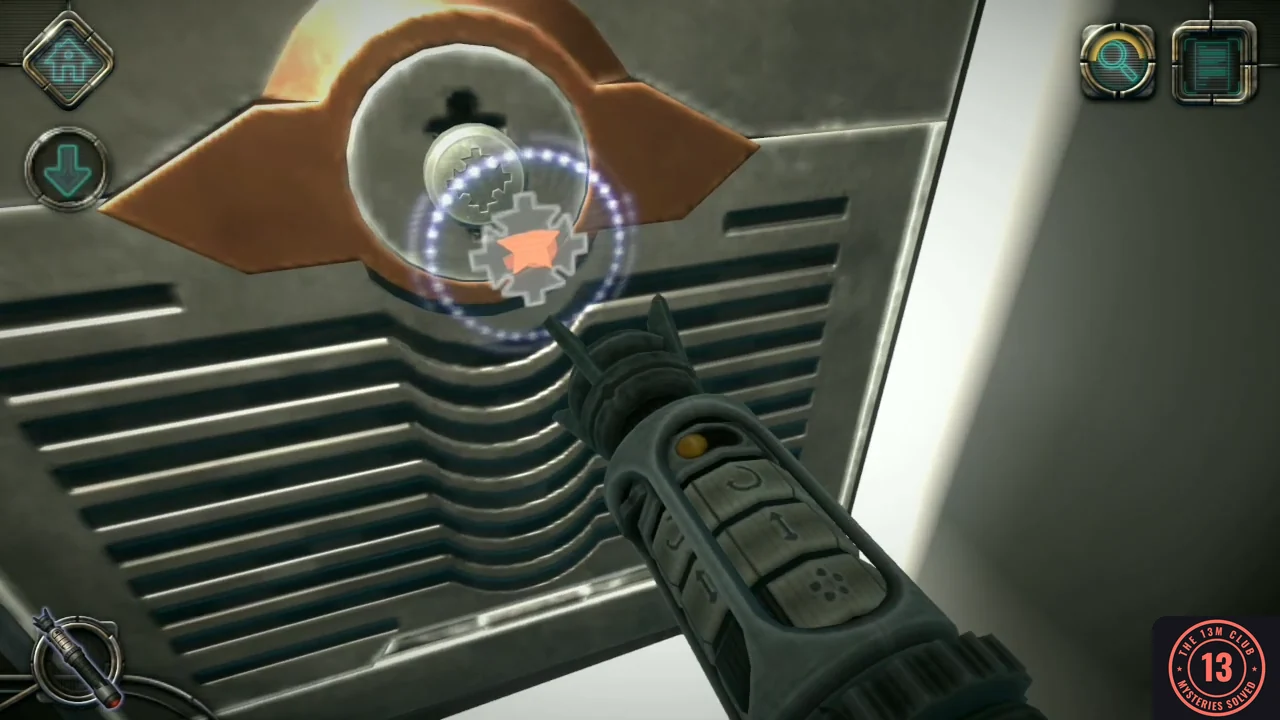
Go through the next two doors onto the balcony. The round door is locked, but there is a vent beside it.
- Tap the red sensors to go through the two doors.
- Examine the vent screw and use the screwdriver, matching the four-pronged screw shape.
- Inside the duct there are two kinds of control. Drag a coloured piece to slide it along its straight track, and rotate a wheel to turn its track; when the tracks of both wheels line up, a piece can pass across from one wheel to the other. Get every piece into the frame of its own colour. One order that works: slide the red piece down into the empty lower-right slot, move the blue piece up from the lower left through the joined wheels into the blue frame at the upper right, slide the yellow piece down into the yellow frame at the lower left, and finally bring the red piece across into the red frame at the upper left.
- At the hatch, slide the two red handles toward the middle, rotate them, then drag them back out to the sides. Push the hatch open.
CHAPTER 3
Seal, letter and drone
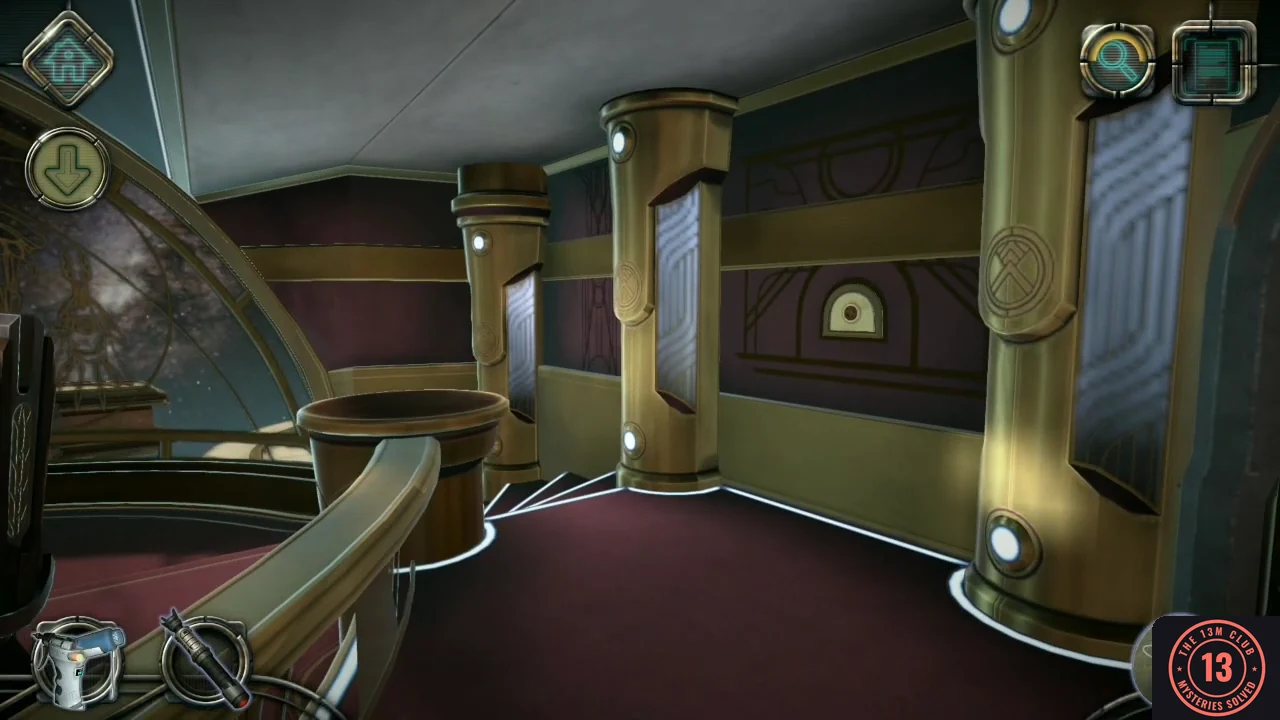
Walk along the upper landing of the meeting room.
- Take the seal from the large silver mural on the right wall.
- Continue along the landing and take Letter #04 from the round side table.
- At the wall panel, tap the round red disc. Slide the button at the base of the dome to the left, take the small drone and drop it into the trapdoor.
- Press the move button to send the drone forward. When it stops, drag the large round joystick to place the small black aiming dot on the red chip. Then press and hold the smaller round laser button: keep holding until the contacts around the chip light up green and the view closes. A short tap is not enough.
- Take the drone controller.
CHAPTER 3
Table battery discs
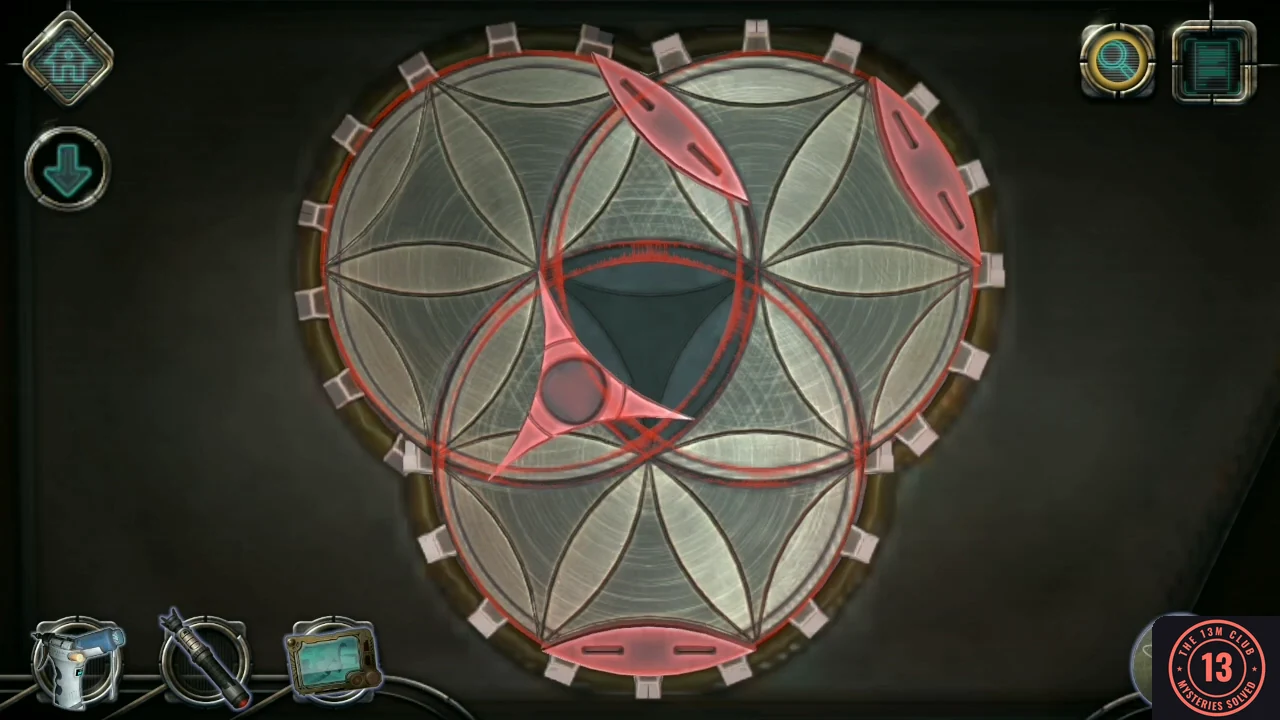
Head down to the large table.
- Examine the silver panel on the side of the table and slide down the red latch.
- Spin the three discs until the four red pieces meet in the middle.
- Take the battery.
CHAPTER 3
Seal lock and grid
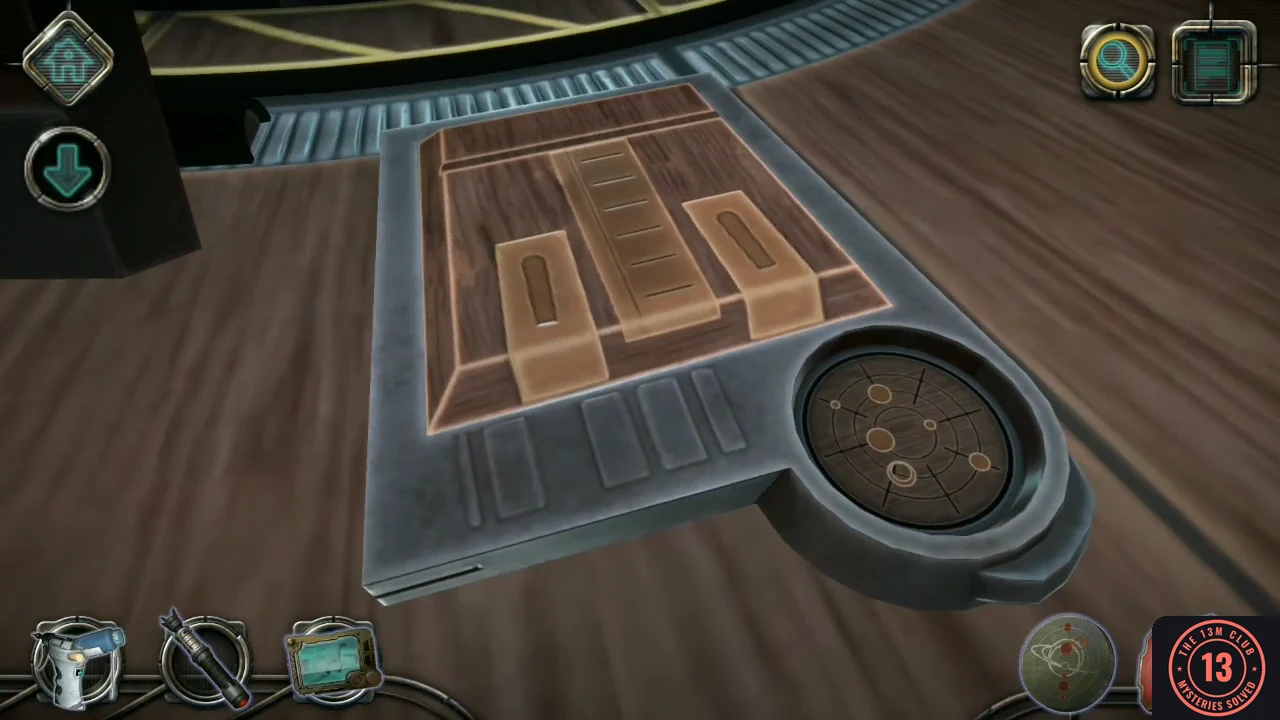
A chair on the far side of the table activates the table's puzzle box.
- Press the red button on the armrest of a chair on the far side of the table.
- Look at the round part of the wooden puzzle. Examine the seal and turn its rings to match that pattern, then insert the seal. When the lid opens, take the grid from inside.
- Examine the grid and tap its squares to rotate them into one continuous line.
- Insert the grid into the left side of the small table screen, then press the buttons that follow the same path.
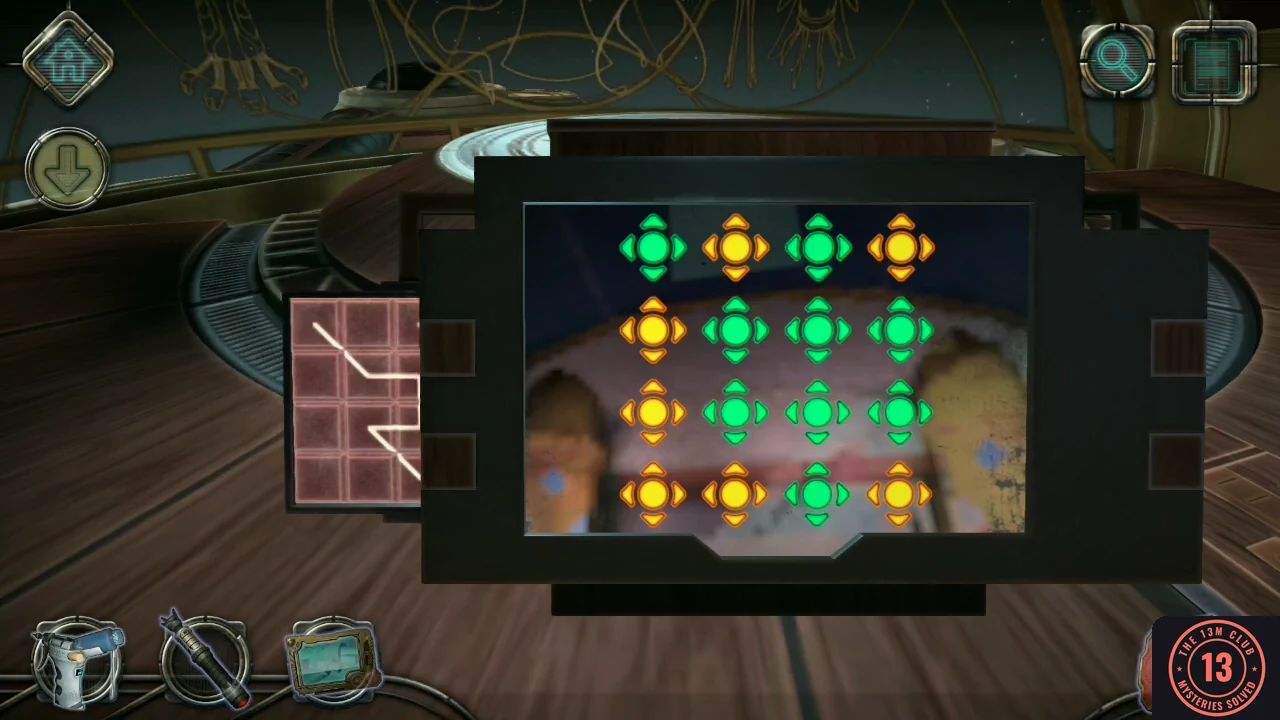
The grid in the left slot and the finished green button path.
CHAPTER 3
Robotic arm maze
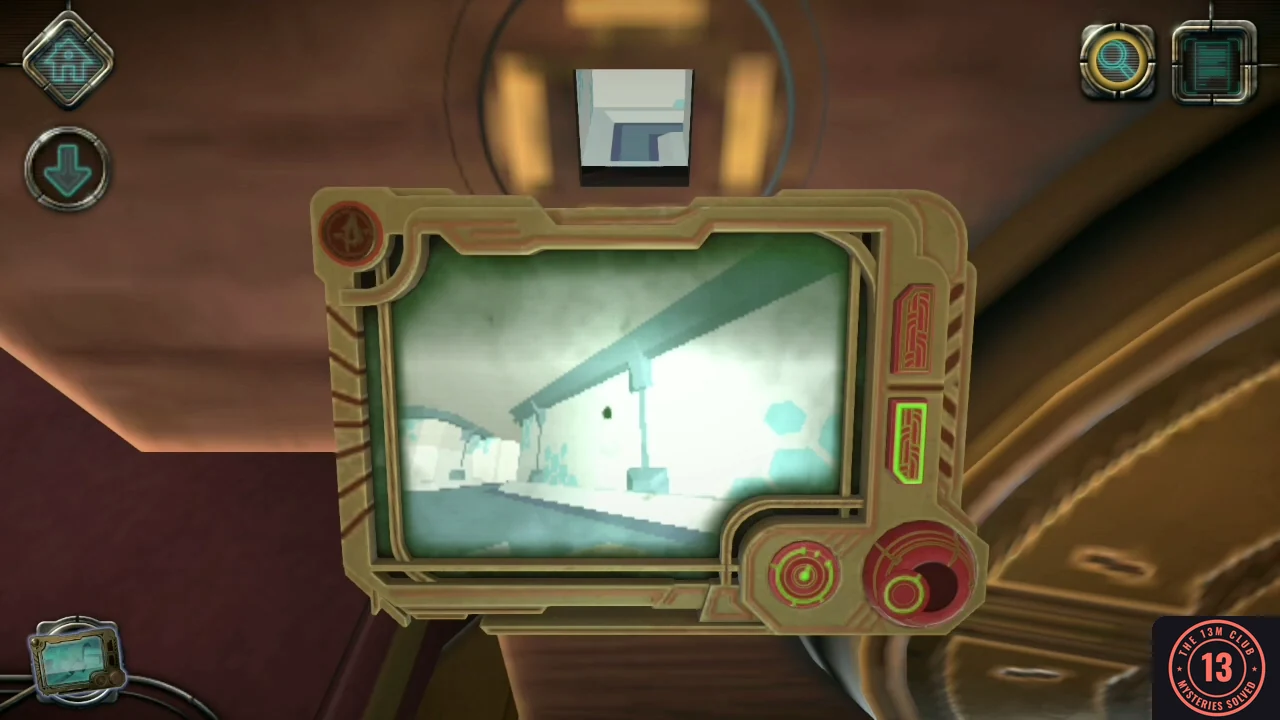
The robotic arm guards the dome. Send the drone into the table to shut it down.
- Optional (Steam achievement Let me in!): keep tapping the dome while the arm guards it.
- Use the drone controller on the small opening near the base of the robotic arm.
- Optional (Steam achievement Self harm): turn right and fire the laser back toward yourself.
- If you turned around for the optional shot, turn back to face down the starting corridor. Then drive: forward to the end, turn left, forward to the fork, turn left, forward to the barrier and laser it, forward again, then laser the red target.
CHAPTER 3
Dome battery
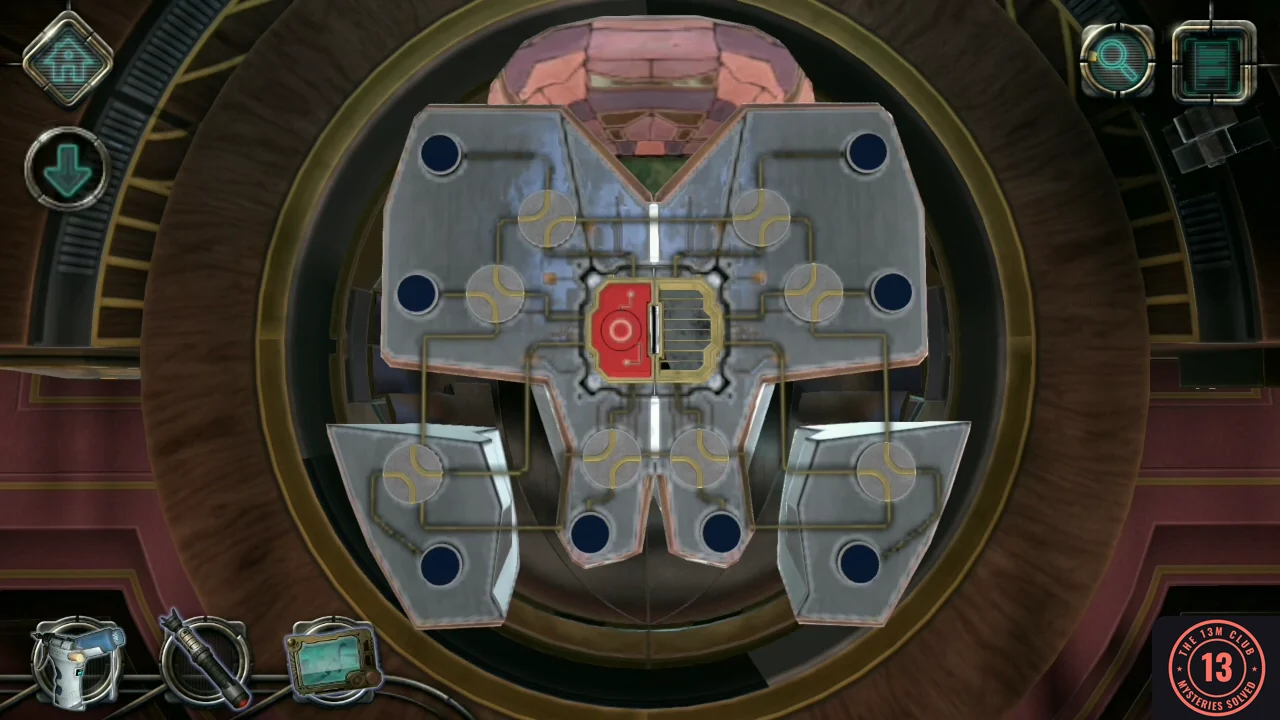
The dome can now be opened.
- On top of the dome, slide the two handles to the sides, then the four knobs to the sides. Tap the two red caps and slide the silver bars to the right.
- Remove the dead battery and insert your new one.
- Rotate the small discs around the battery to change the paths. Press the red button on the battery to test the current arrangement: the eight blue nodes around the edge show which ones receive power. Keep turning the discs on the paths to unlit nodes and test again until all eight nodes light up.
- When the ship hologram appears, slide its parts together.