CHAPTER 2
Corridor boxes
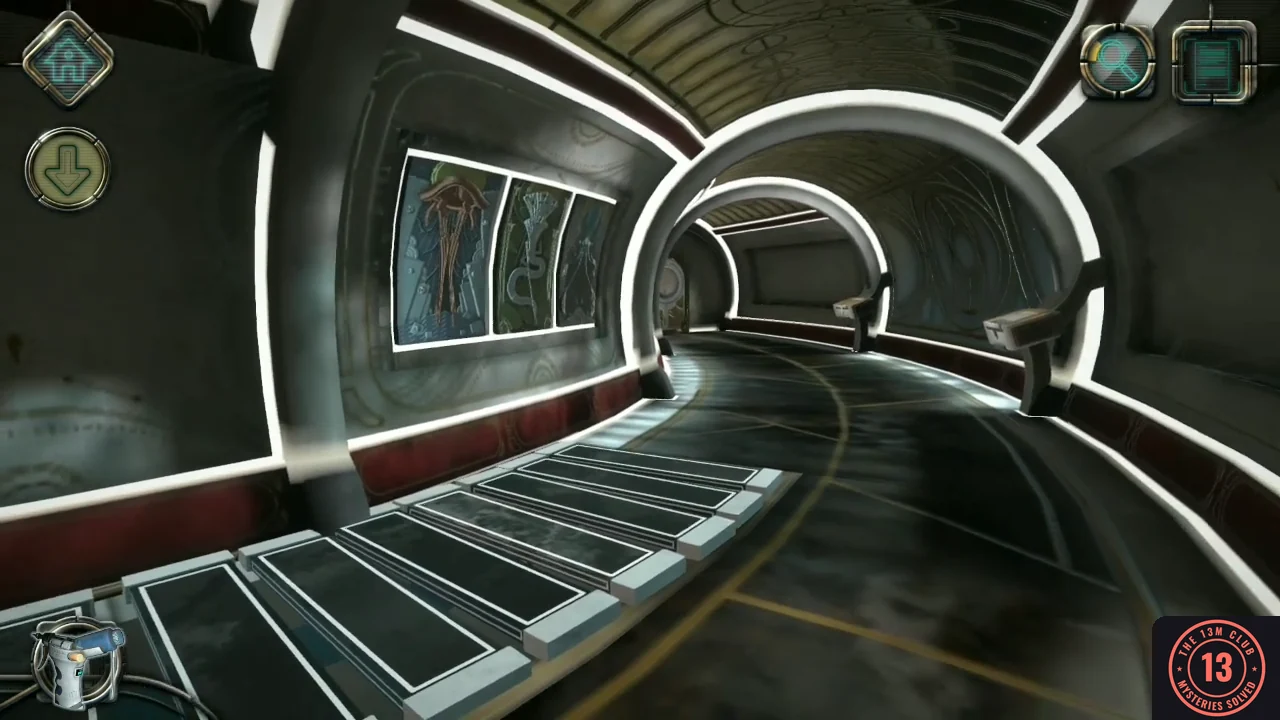
Continue through the two doors into the curved corridor.
- Tap the red sensor on each of the two doors to go through them.
- Open the second box along the right wall with its front catch, lift the lid and take the engraved plaque.
- Look between the paintings on the left wall to find Letter #02.
- Open the first box along the right wall. Tap the segments of its panel to recreate the shape on the engraved plaque; a staircase starts to rise.
CHAPTER 2
Jammed staircase screw
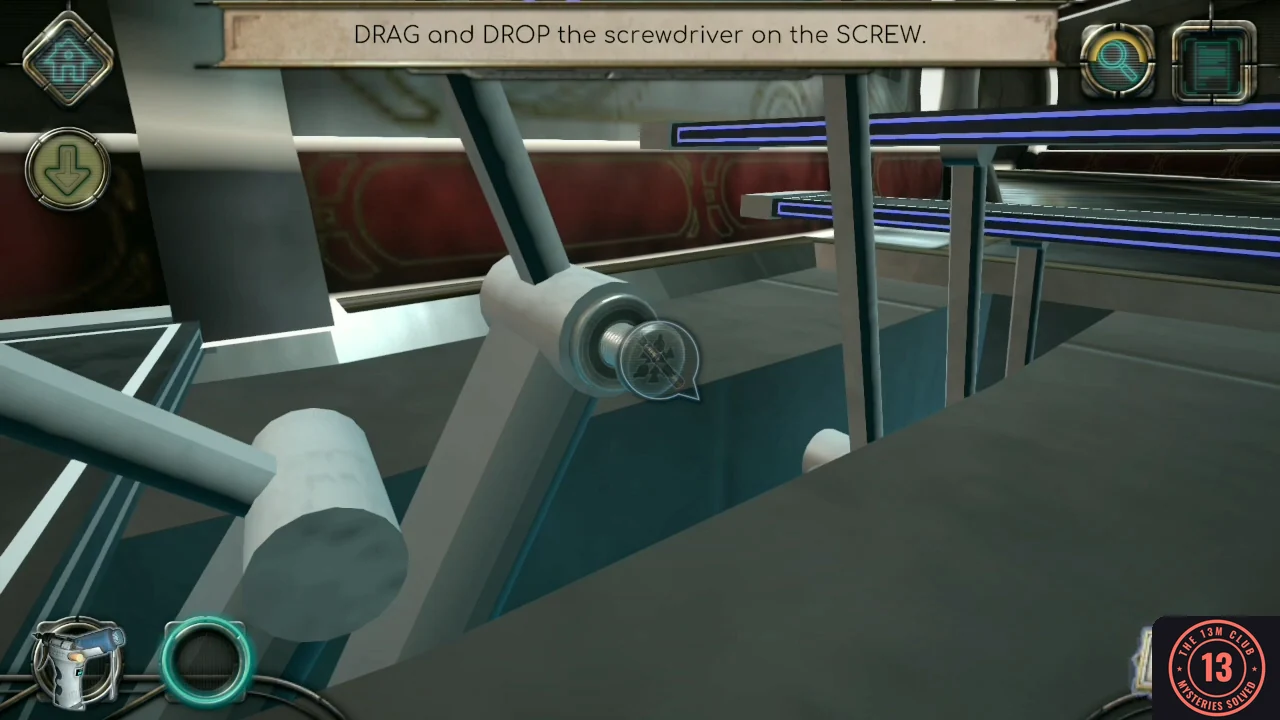
The staircase mechanism is held by an unusual screw. This is the first screwdriver puzzle.
- Tap the odd screw on the stair mechanism to bring out your screwdriver, then drag the screwdriver onto the screw.
- Turn the screwdriver's wheels until its tip matches the screw shape. Press the screwdriver's button to switch to the second part and complete the shape.
- Climb the stairs and tap the red sensor on the door. The room beyond starts Chapter 2.
CHAPTER 2
Silver dome and waveform
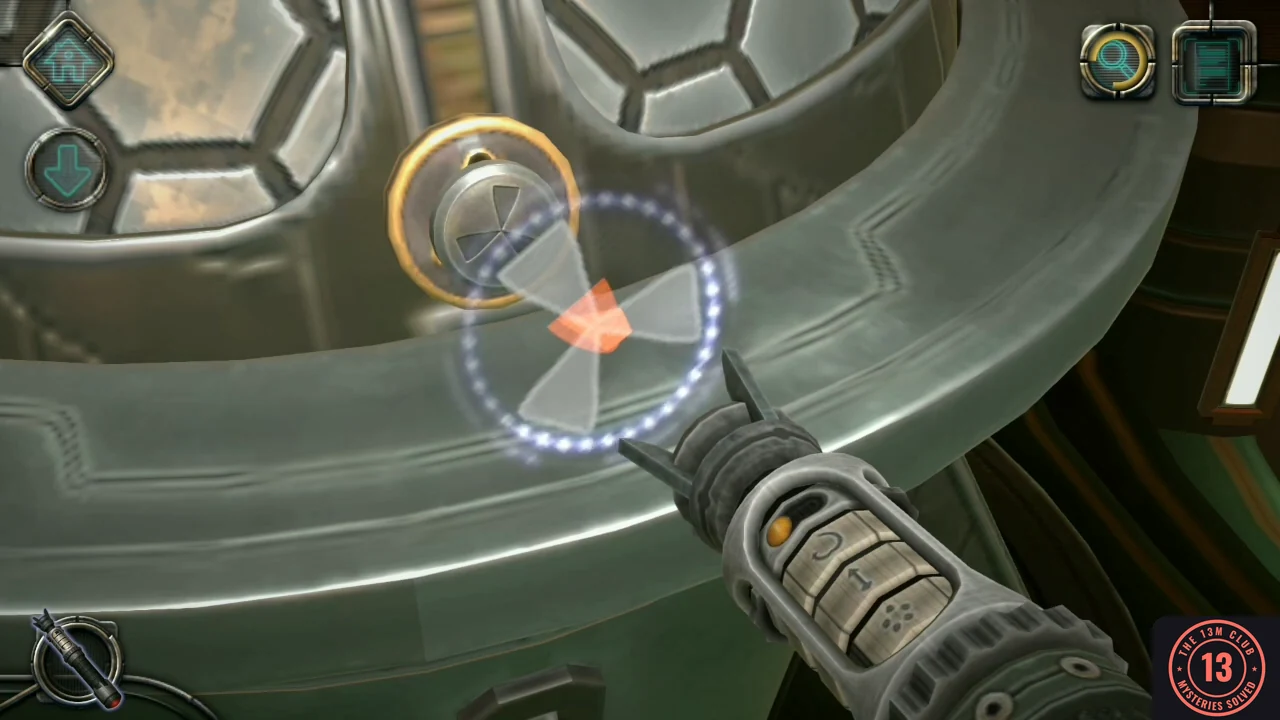
Your walkie-talkie reacts to something in this room. Start with the silver dome on the left.
- Examine the screw on the front of the silver dome and use the screwdriver, matching its three-lobed shape. When the screw comes out, slide the released latch up its track to open the dome.
- On the red board, slide the covers aside and slide each blue symbol piece over its matching red symbol.
- Put your walkie-talkie into the cradle.
- The circle travels along the line by itself. Slide the gold bar along the top edge to pick one of the three sections of the wave, then slide the gold ring on the right post up or down to change that section's wave height. Adjust each section until the moving circle stays on the line all the way to the end.
- Take the walkie-talkie back.
CHAPTER 2
Console light bulbs
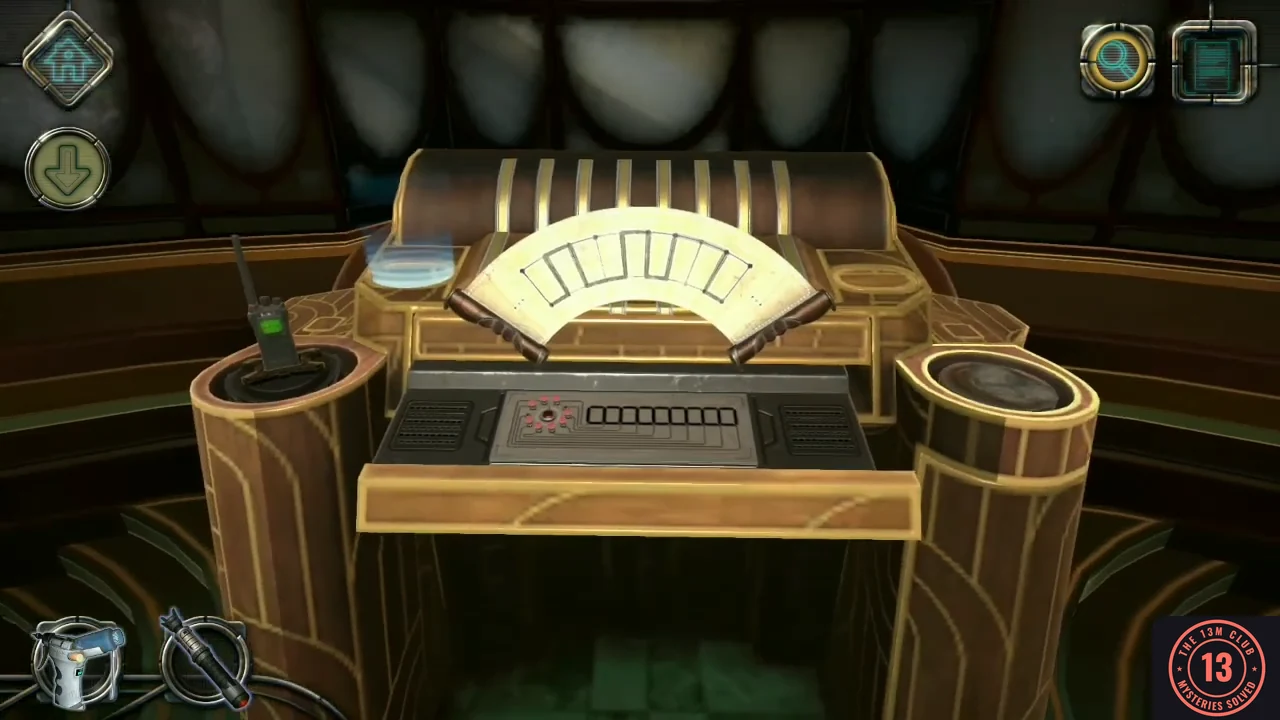
The large console in the middle of the room needs the walkie-talkie and two light bulbs.
- Put the walkie-talkie in the slot on the console's left pillar. A drawer with a ring of bulbs opens and a scroll shows a stepped pattern.
- Clean the dirty dial on the right pillar with the air duster, turn the discs into line and pull the lever that appears. Organ pipes rise behind the console.
- Open the compartment on the left pillar. Slide the wooden panels aside until the red bar can slide free, then take the light bulb.
- Open the compartment on the right pillar and solve its sliding panels the same way to take the second light bulb.
- Insert both bulbs into the drawer to complete the ring of ten. Switch on the bulbs that reproduce the stepped pattern, then press the red button in the middle.
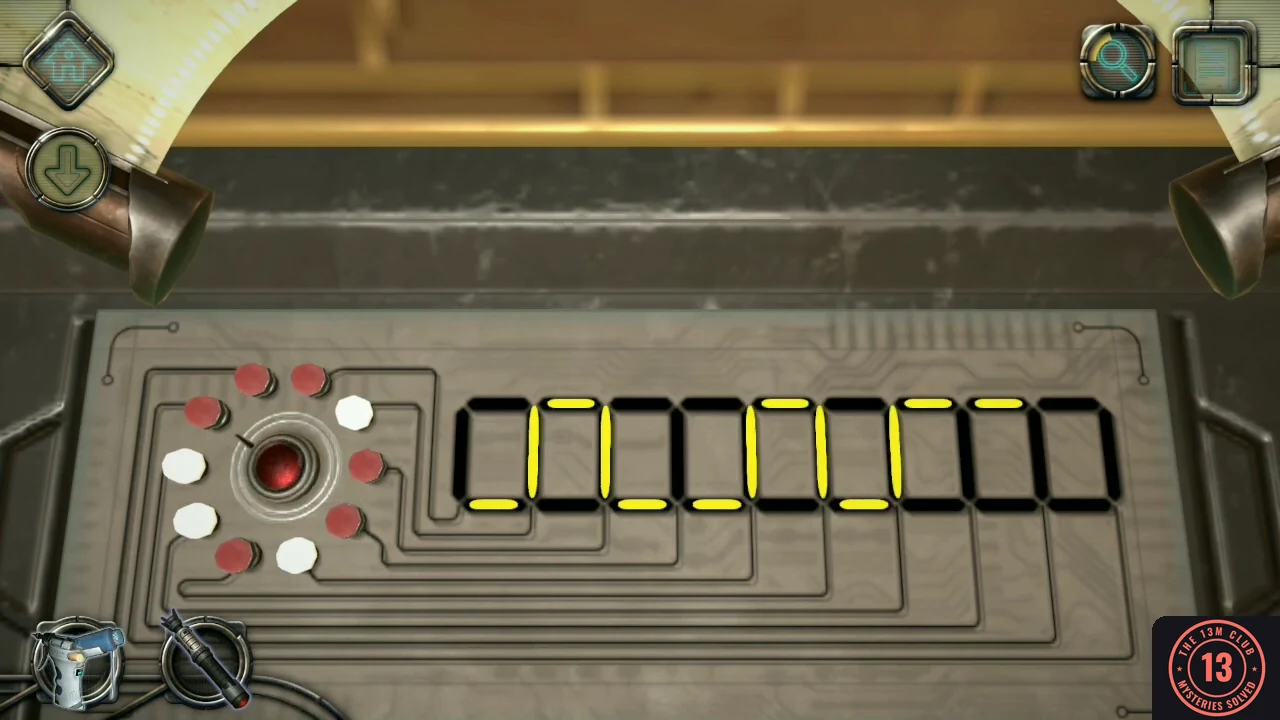
The four bulbs switched on (white) to reproduce the stepped pattern. After you press the red button, a yellow line traces the pattern. - Pick up the key that fell to the right of the console. Examine it, straighten the bent pin and turn the dial to line up the orange marks.
CHAPTER 2
Organ levers
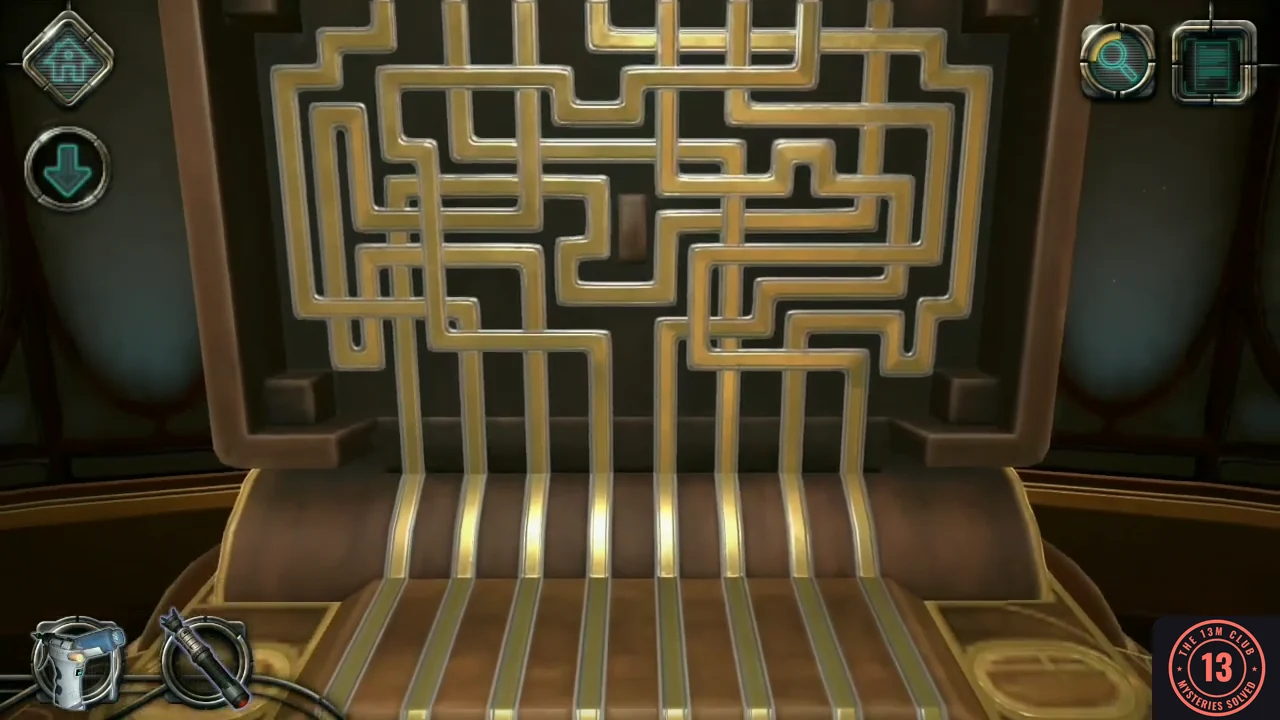
Four of the eight pipes above the lever tray are marked with one to four dots.
- Insert the key into the empty slot at the right of the lever tray.
- Follow each marked pipe down through the maze to the lever it ends at. The four marked pipes lead to the 2nd, 5th, 7th and 1st levers from the left. Pull those levers in that order so all four turn red. The organ then plays the four notes in turn and the walkie-talkie transmits.
CHAPTER 2
Upper viewer
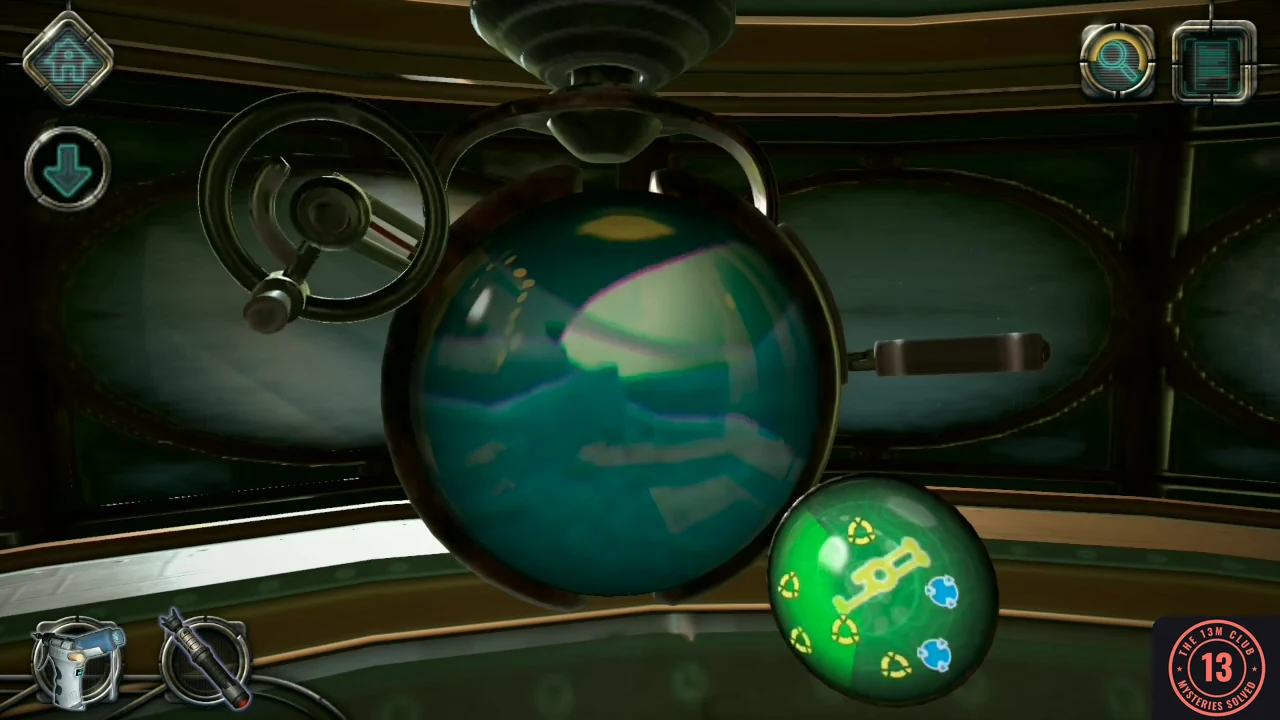
The walkie-talkie now opens a capsule lift in the alcove.
- Take the walkie-talkie, put it into the dock on top of the capsule in the alcove and pull the lever. The capsule rises to a viewing room above.
- Take Letter #03 from the shelf in the viewing room.
- Use the handles on the viewer to move its view and find the three flashing lights. For each one, tap the matching marker on the small green panel.
- Watch the transmission. The capsule carries you back down and you talk to an outside contact.