BONUS CHAPTER
Archwitch's Ship: Deck and Hold
Unlocked after you finish the main game. You play as Mistress Sindal's bodyguard, sailing to Eltay island before the main story. This chapter has its own collection of 12 shells (see Part 9).
- On deck take the CAULDRON WITH RESIN. Note the rope chest in the net, the metal tip on one handle of the wheel, the locked chest and the leaking boat.
- In the hold take the LAMP. The cage needs a key, the brazier coals are cold and the hatch cover is missing its lock elements. Zoom into the brazier and take the BAR from beside it.
- On deck, Sindal gives you the RING OF THE ARCHWITCH. Use it on the cage lock in the hold and take the KNIFE from the shelf; the key there is stuck in resin.
- Shape the BAR with the KNIFE. On deck cut the rope of the chest in the net with the KNIFE, take the ROPE and the MALLET, then open the chest and take the LOCK ELEMENTS (1/2).
- In the hold cut the yellow sack with the KNIFE to pour coal into the brazier and light it with the LAMP. Put the CAULDRON WITH RESIN on the brazier and dip the BAR to make a TARRED BAR.
- Plug the hole in the boat with the TARRED BAR and drive it in with the MALLET. At the ship's wheel, pry the metal cap off the end of a handle with the KNIFE to get the second LOCK ELEMENTS (2/2).
BONUS CHAPTER
Hold Hatch: Rotating Lock
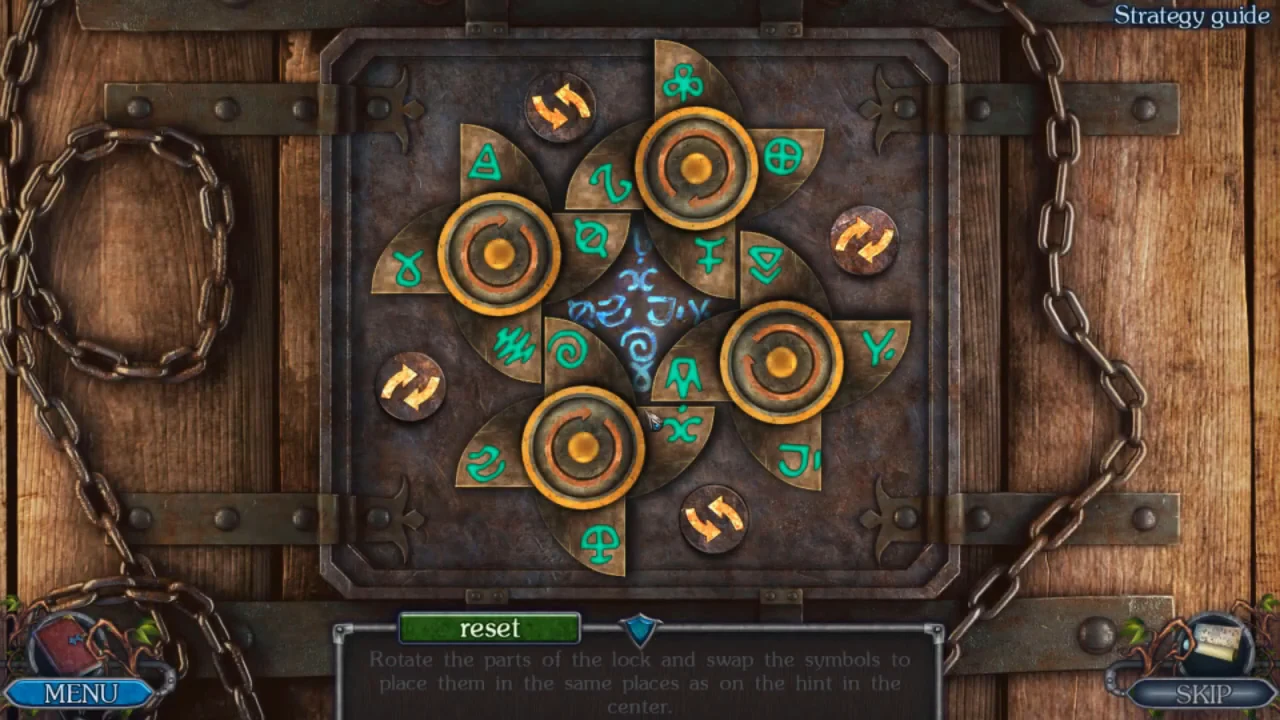
The hatch cover in the hold.
- Put the LOCK ELEMENTS on the hatch cover in the hold.
- Rotate the four discs and use the orange swap buttons between them to exchange symbols, until every symbol is in the same place as on the blue hint in the centre.
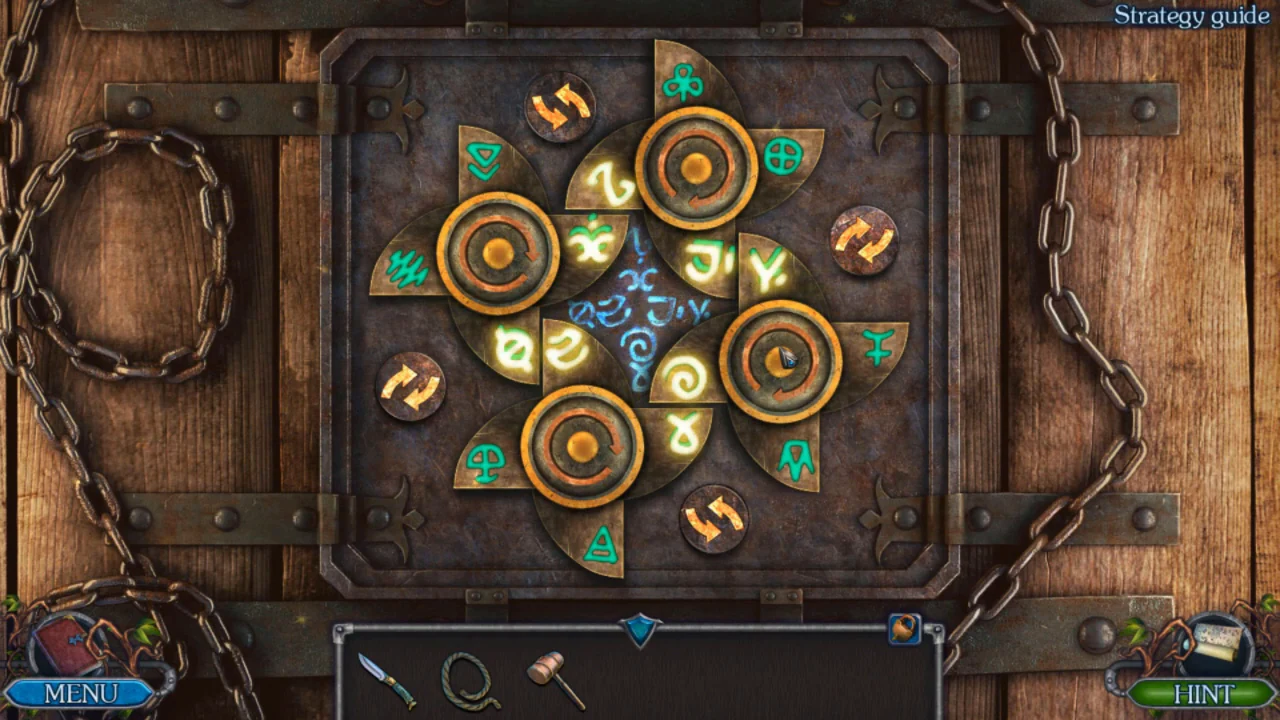
Solved: the symbols match the blue hint and the inner ring glows. - Take the WIRE and the LADDER from the open hatch. In the cage, knock the KEY out of the resin on the shelf with the MALLET. On deck open the chest with the KEY and take the LEVER. Insert the LEVER into the pulley block of the boat davit to lower the boat, then hang the LADDER on the rail above it and climb down.
BONUS CHAPTER
Beach, Jungle and the Cave Storeroom
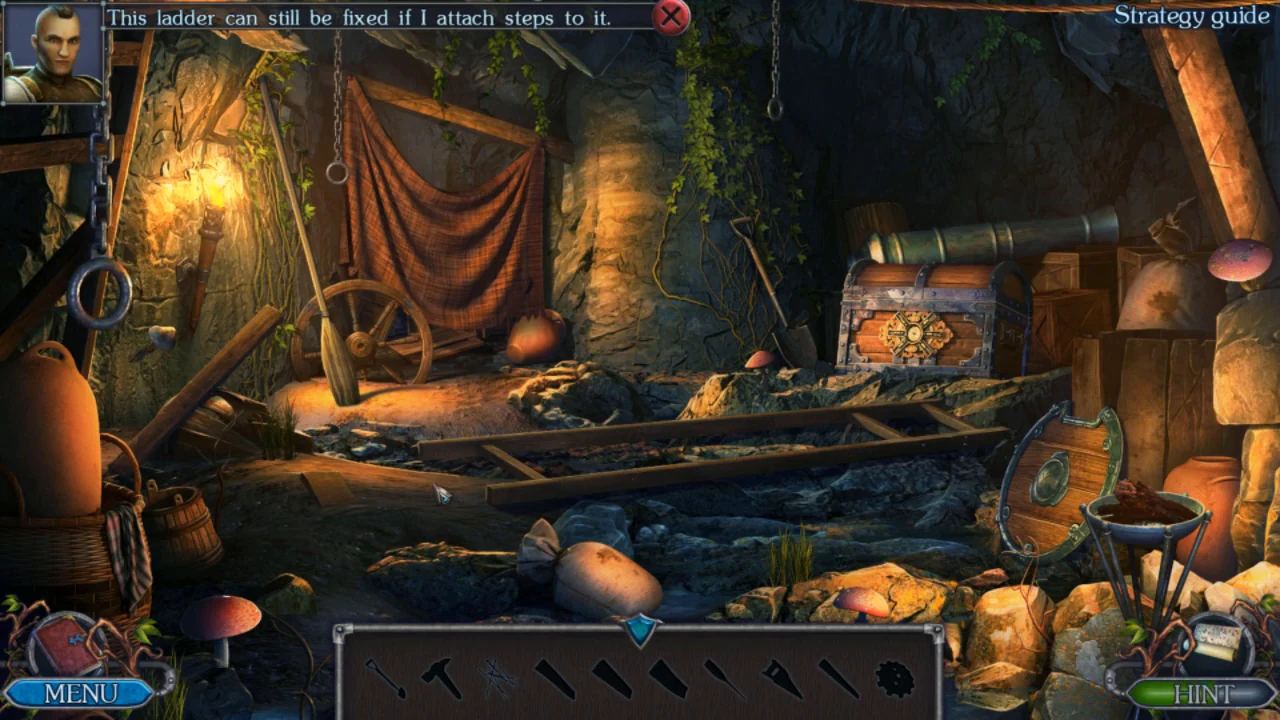
Sindal wants to search the island. Explore the beach, the jungle path and the cave.
- On the beach take the DISKS from the stone box in the centre and the TORCH from the tree hollow on the left. Light it at the campfire. The plaque on the rock on the right has a recess for later.
- On the jungle path, note the flytrap on the left (it holds something, but the KNIFE cannot open it), the tree house high up and the chest held by thick roots. The cave on the right is dark: light it with the BURNING TORCH and go in.
- The cave storeroom is a separate item scene: the bar at the bottom shows silhouettes of a shovel, hammer, nails, boards, chisel, saw and gear. Find the SHOVEL and dig out the board buried in the ground, then collect the other boards, the HAMMER and the CHISEL. Place the boards in the open crate, where they become steps; one board is too long and must be shortened later. Pull the bent board out of the barrel with the CHISEL and take the GEAR.
BONUS CHAPTER
Cave Storeroom Chest: Piston Gear Lock
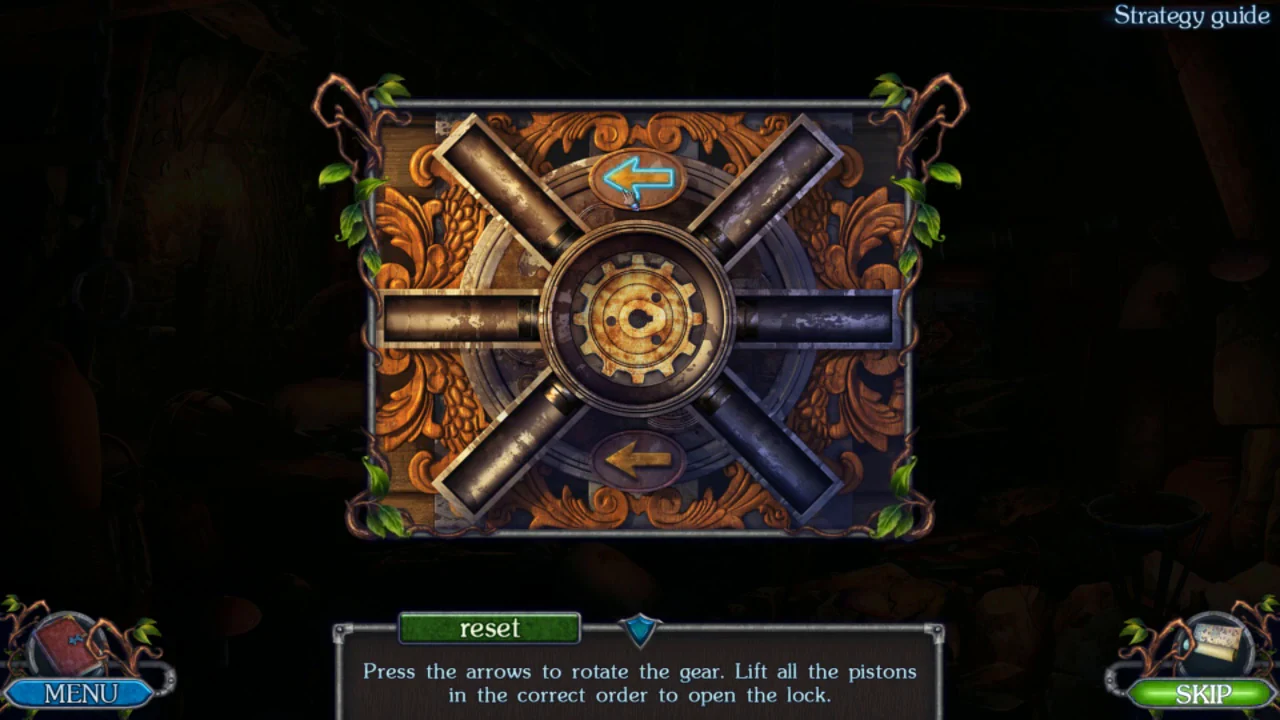
The chest in the storeroom holds the tools you need to finish the ladder steps.
- Put the GEAR in the centre of the chest lock. The two arrow buttons above and below the gear both turn it. Each correct press pushes the next piston out to the end of its tube, always in the same order: lower right, lower left, left, upper left, upper right, right. A wrong press drops every raised piston and you start again from the lower right. Press: bottom, bottom, top, bottom, top, top. The chest opens.
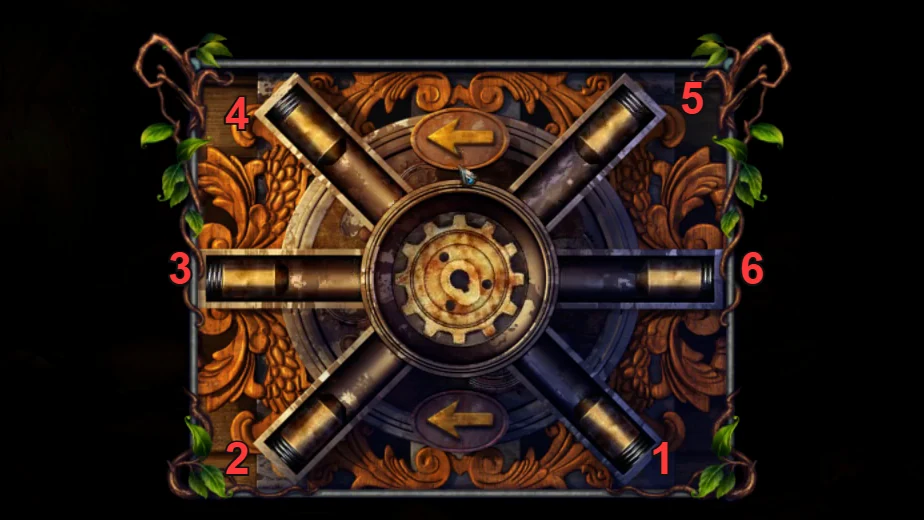
Solved: all six pistons pushed out. Numbers show the fixed order: lower right, lower left, left, upper left, upper right, right. - Take the NAILS and the SAW from the chest. Shorten the long board in the crate with the SAW, finish the steps with the HAMMER and NAILS and attach them to the ladder to get the LADDER.
BONUS CHAPTER
Beach Plaque: Disk Path
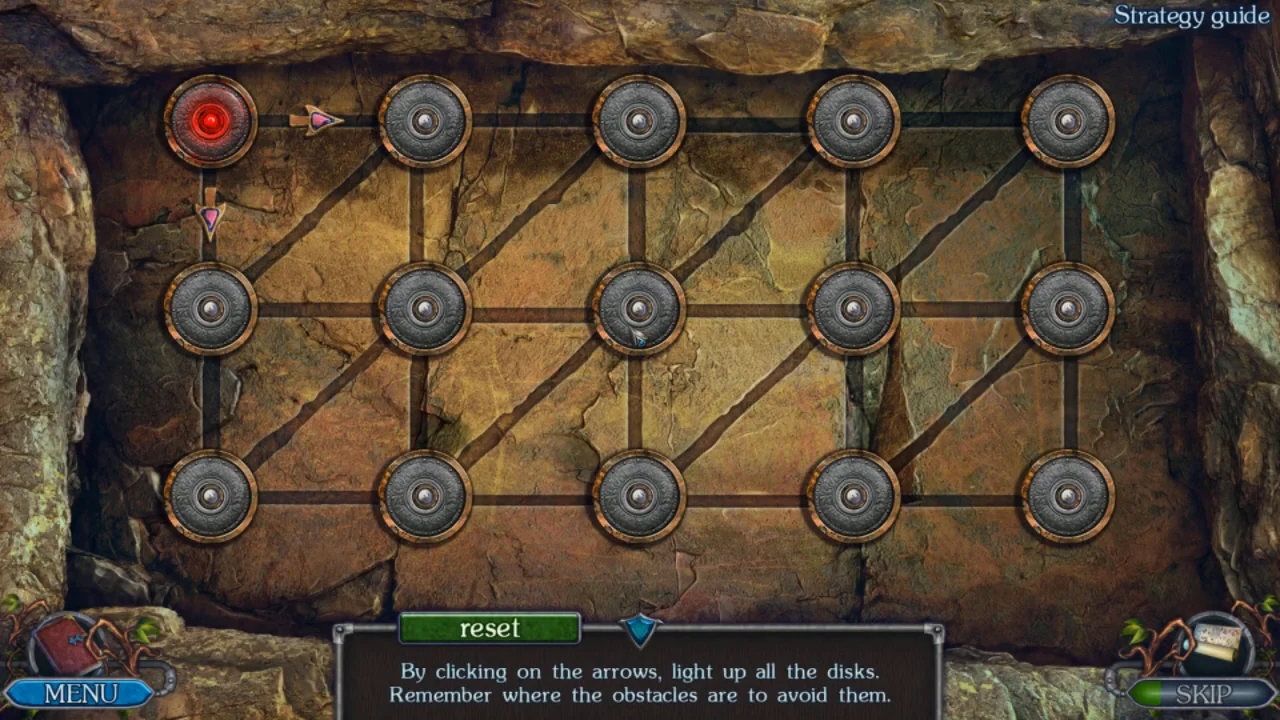
Collect the other two disks and place them in the rock plaque on the beach.
- On the jungle path set the LADDER against the tree house and take the BASKET from the tree-house door; the door itself is locked with a key. Pick up the EGG from the nest beside the small pond in the lower left. Open the BASKET in the inventory and put the EGG inside to make the BAIT BASKET.
- On the beach put the BAIT BASKET at the tree hollow on the left: the snake is lured into the basket and you can take the KEY. Unlock the tree-house door with the KEY and take the DRAWING and the BOOMERANG.
- On the beach zoom into the tree branches and throw the BOOMERANG at the item stuck high up: DISKS fall down. On the jungle path open the flytrap with the WIRE (the rope does not work) and take the DISKS from its mouth.
- Put the DISKS into the plaque on the beach rock.
- Start at the top-left disk and use the arrows to move along the lines so every disk lights up. Rock ridges block some lines; they stay hidden until a move runs into one, and Reset hides them again. You may pass back over a lit disk. A working route (rows from the top, columns from the left): R1C1, R2C1, R1C2, R2C2, R3C1, R3C2, R2C3, R1C3, R1C4, R2C3, R3C3, R2C4, R1C5, R2C5, R3C4, R3C5. Each move draws a line along the arrow you click; R2C3 is visited twice on this route.
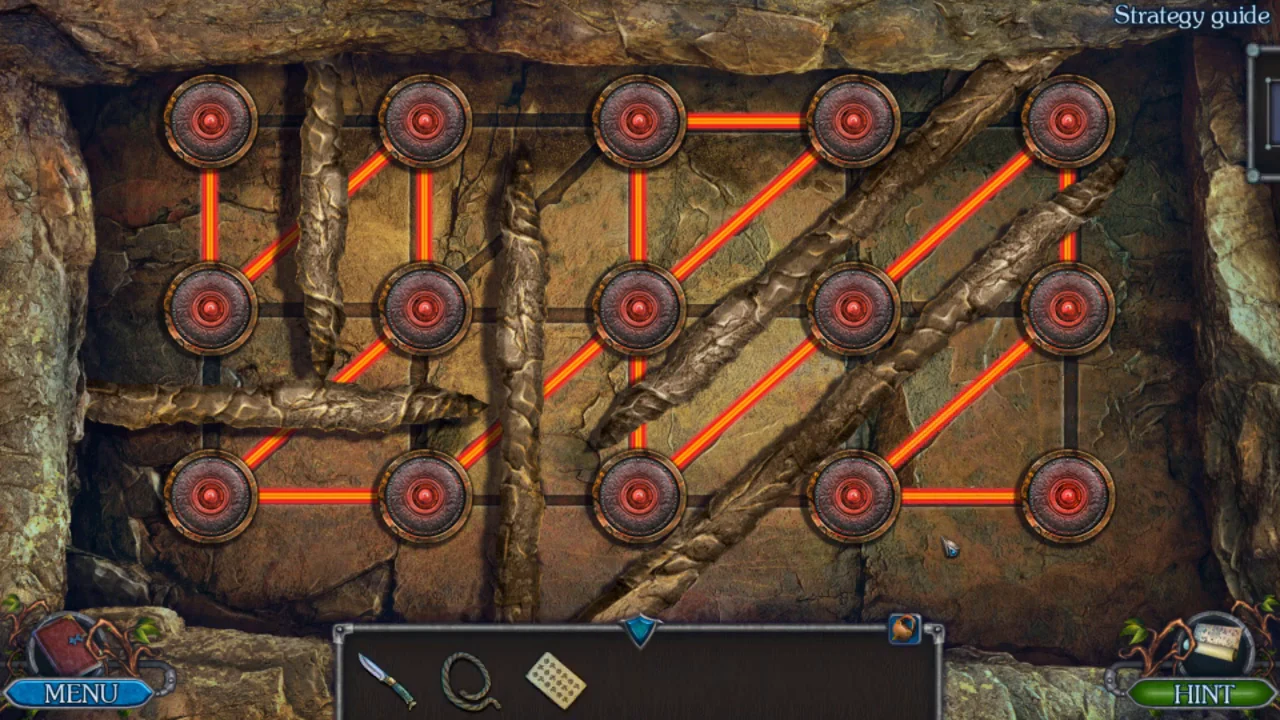
The working route from step 5 with every disk lit. - A native villager agrees to help only if you bring him an energy crystal.
BONUS CHAPTER
Native Village and the Riverside Bridge
The native wants an energy crystal. First raise the village gate and build a bridge over the ravine.
- In the native village, zoom into the broken gate mechanism right of the gate and take the KEY. Open the lock of the crate in the stall on the left with it and take the SPEAR.
- Pry the LEVER out of the crack in the rock with the SPEAR. Fit the LEVER to the gate mechanism and tie the ROPE to it to raise the gate. Under the stall roof, cut the thin rope holding the green BROOM with the KNIFE and take it.
- On the riverside path, take the PLANKS WITH FLOWERS near the stump on the right. Clear the brushwood off the cart on the left and take the BROKEN AXE. Zoom into it in the inventory and pull off its SHAFT. The nest in the tree is too dangerous to reach for now, and something is buried in the sand.
- In the village, put the SHAFT into the axe head stuck in the mossy stump and take the AXE.
- At the riverside, lever up the cart with the SPEAR and take the BAG. Cut its tie in the inventory with the KNIFE: it holds a PLATE, the FLINT and a POUCH.
- Put the BROOM into the hole at the roots of the tree with the nest, set the FLINT beside it and strike the FLINT with the KNIFE to light the broom. When the smoke has driven out the insects, take the PLANKS WITH FLOWERS from the hole, then chop the tree with the AXE so it falls across the ravine.