Harbor and Warehouse
The ship is guarded. Trade for the warehouse key and gather the boat pieces.
- Take the HARPOON leaning by the barrels.
- Zoom into the pier edge at the lower left. Hook the net with the HARPOON, cut it with the SICKLE and take the BOTTLE OF RUM.
- Talk to the old sailor by the crates and give him the RUM for the warehouse KEY.
- Open the warehouse door on the right with the KEY.
- In the warehouse, use the HARPOON on the net in the upper-left corner to drop a BOATS piece. The crystal ball on the floor at the lower left by the barrel is a collection item.
- Zoom into the bench at the lower left, move the yellow cloth and take the last BOATS piece.
Pier: Boat Ring Puzzle
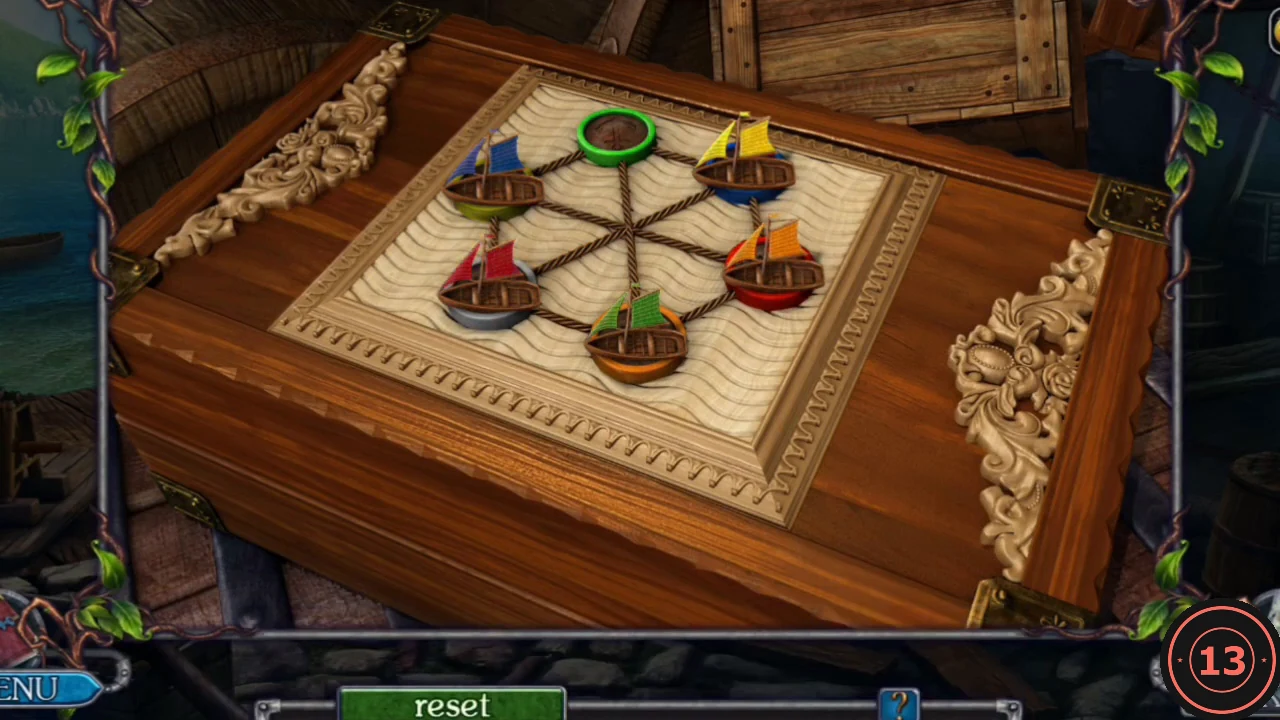
The box on the crates holds the wire cutters.
- On the pier, zoom into the wooden box on the crates by the barrels and place the BOATS.
- Six bases are joined by ropes. Click a boat next to the empty base (along a rope) to move it there. Put every coloured sail on the base of the same colour: green top, blue top right, red right, orange bottom, yellow top left. The grey anchor base stays empty.
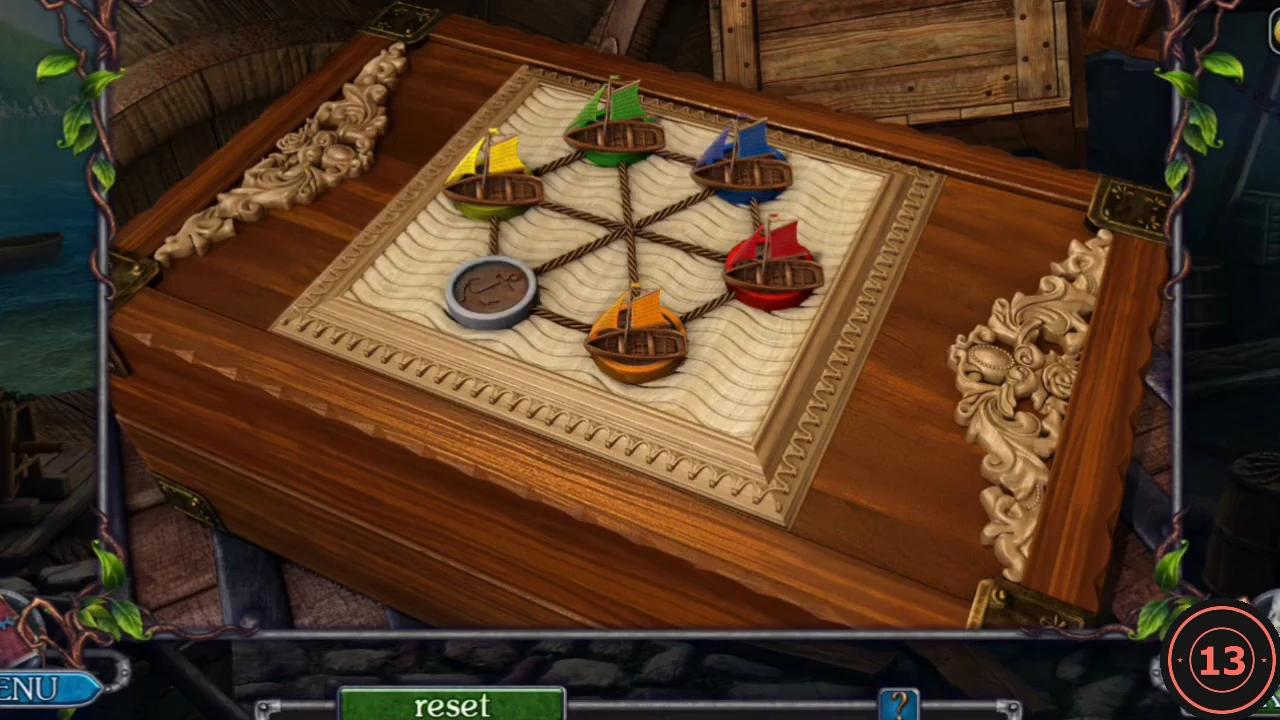
Solved: each boat sits on the base of its sail colour; the anchor base stays empty. - Take the WIRE CUTTERS from the box.
- In the warehouse, cut the wire on the right-hand door latch with the WIRE CUTTERS, take the WIRE and enter the tool storage.
Tool Storage Hidden-Object Scene
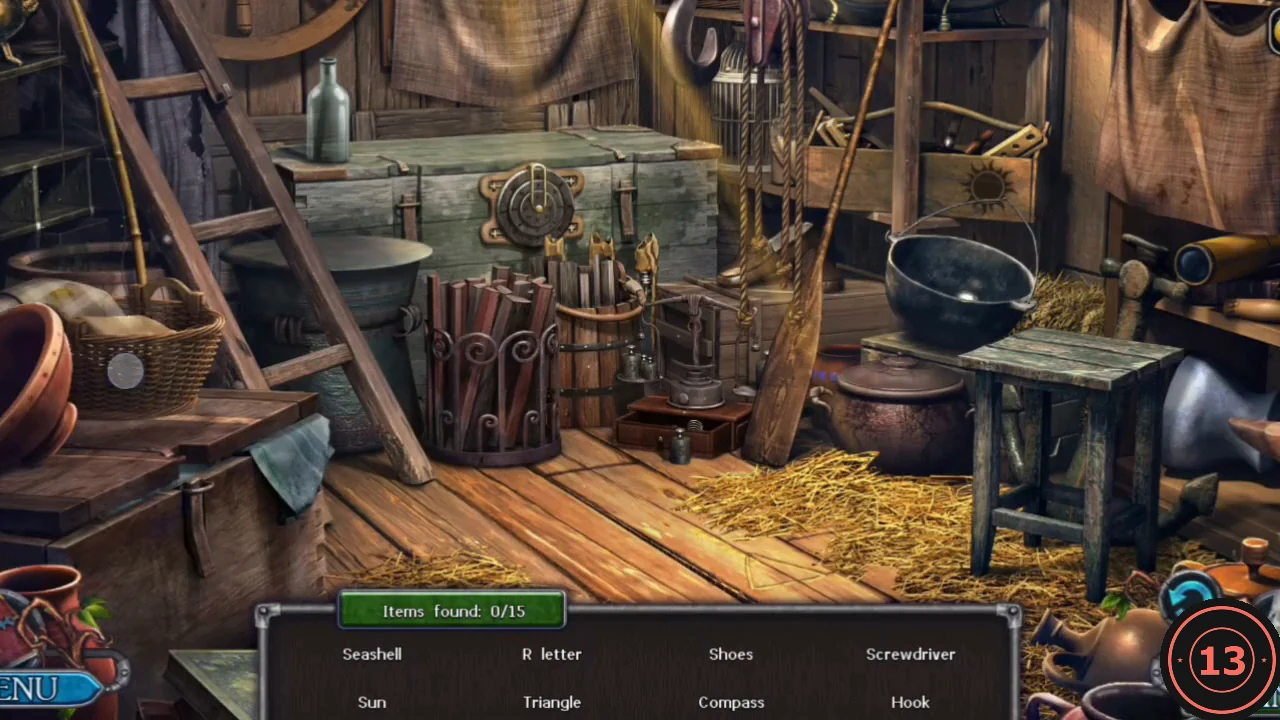
Find the listed items. Three spots need extra steps.
- Small drawer with scales: put weights totalling 10 on the left pan (for example 1 + 1 + 3 + 5) and take the SPRING.
- Uncork the bottle on the upper-left shelf and read the parchment: it shows A, 7 and a rune.
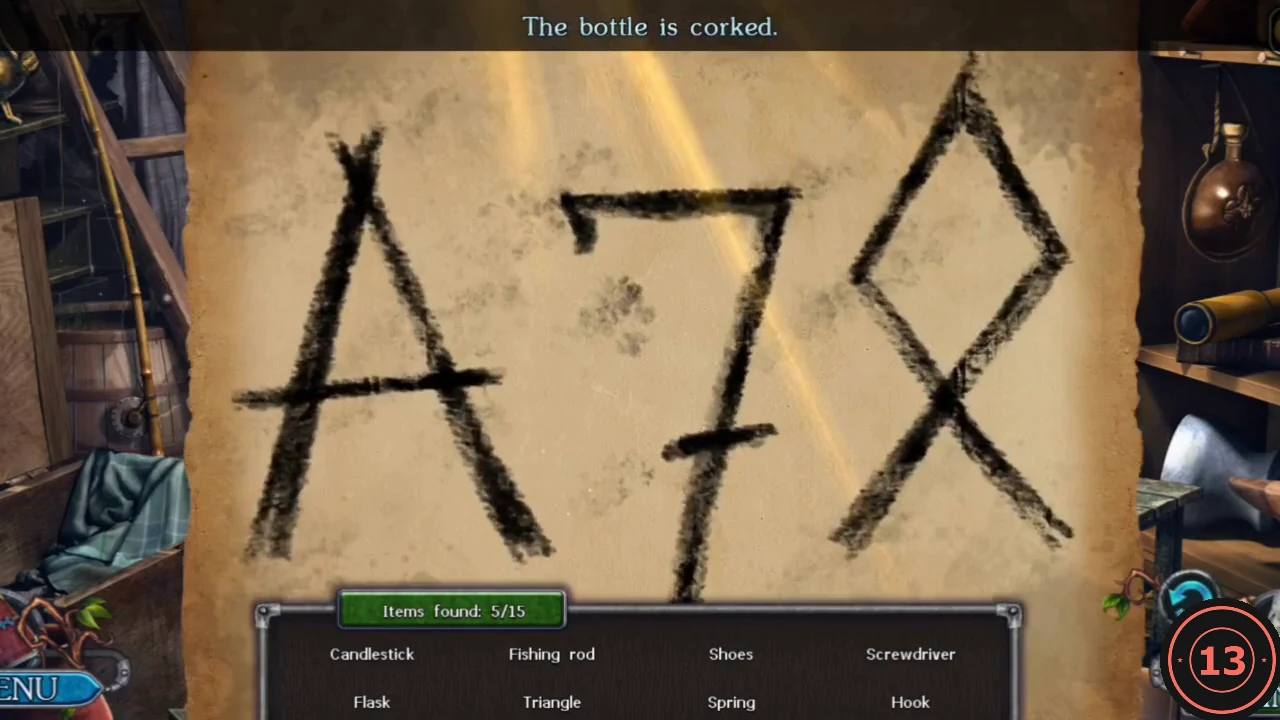
The parchment from the bottle: A, 7 and the looped diamond rune for the chest dial. - Set the three-ring chest dial to A on the outer ring, 7 on the middle ring and the looped diamond rune on the inner ring.CODEA - 7 - rune
- Find the remaining listed items to finish the scene and receive the CROWBAR.
Weapon Crate Packing Puzzle
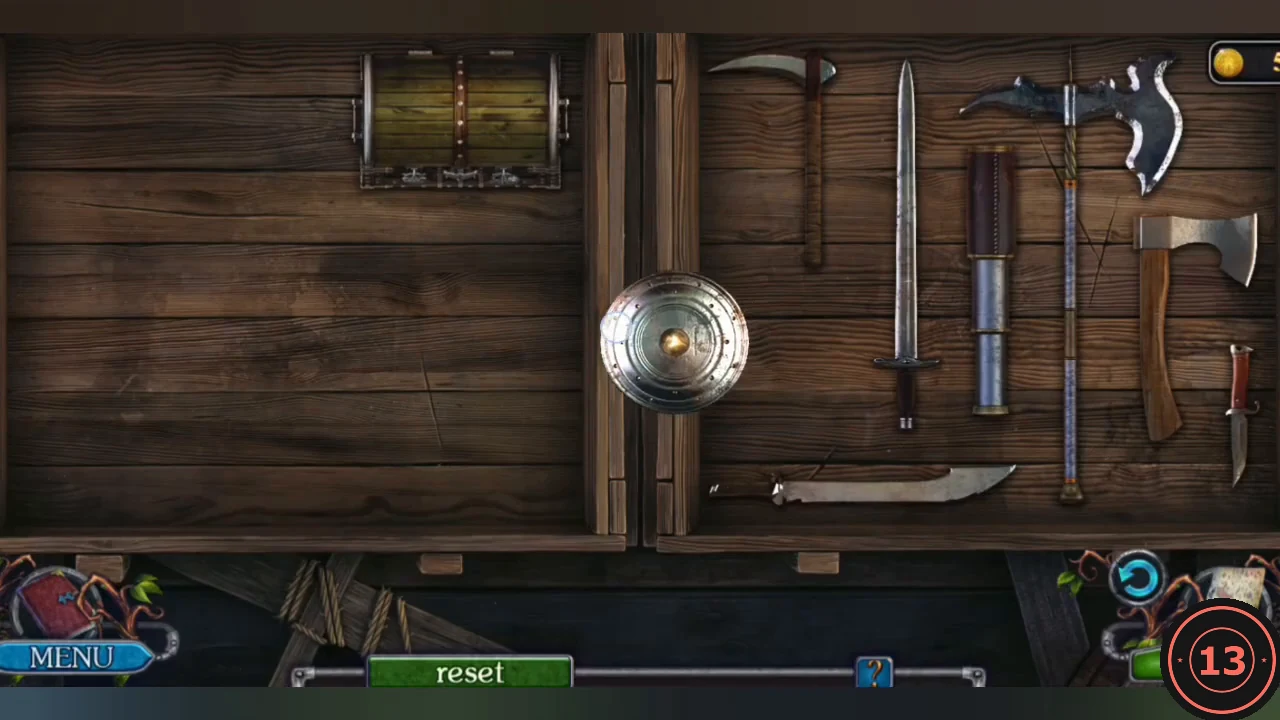
Lower the hanging crate and pack the weapons around the small chest so you can hide inside.
- In the warehouse, use the WIRE on the barred box to hook out the KEY.
- On the pier, open the caduceus cabinet with the KEY. Take the POPPY HERBAL INFUSION and the TONGS.
- Pry the winch handle off the boardwalk at the lower left with the CROWBAR.
- Attach the HANDLE to the cargo wheel in the warehouse and turn it to lower the crate.
- Open the crate with the CROWBAR and remove the scorpions with the TONGS.
- Drag every weapon from the right half into the left half; a green outline means it fits. Final layout: long sword in the left column, halberd top left, short dagger top centre beside the chest, scimitar under the chest, sheathed short sword upright, hatchet, round shield bottom centre and the pick on the right.
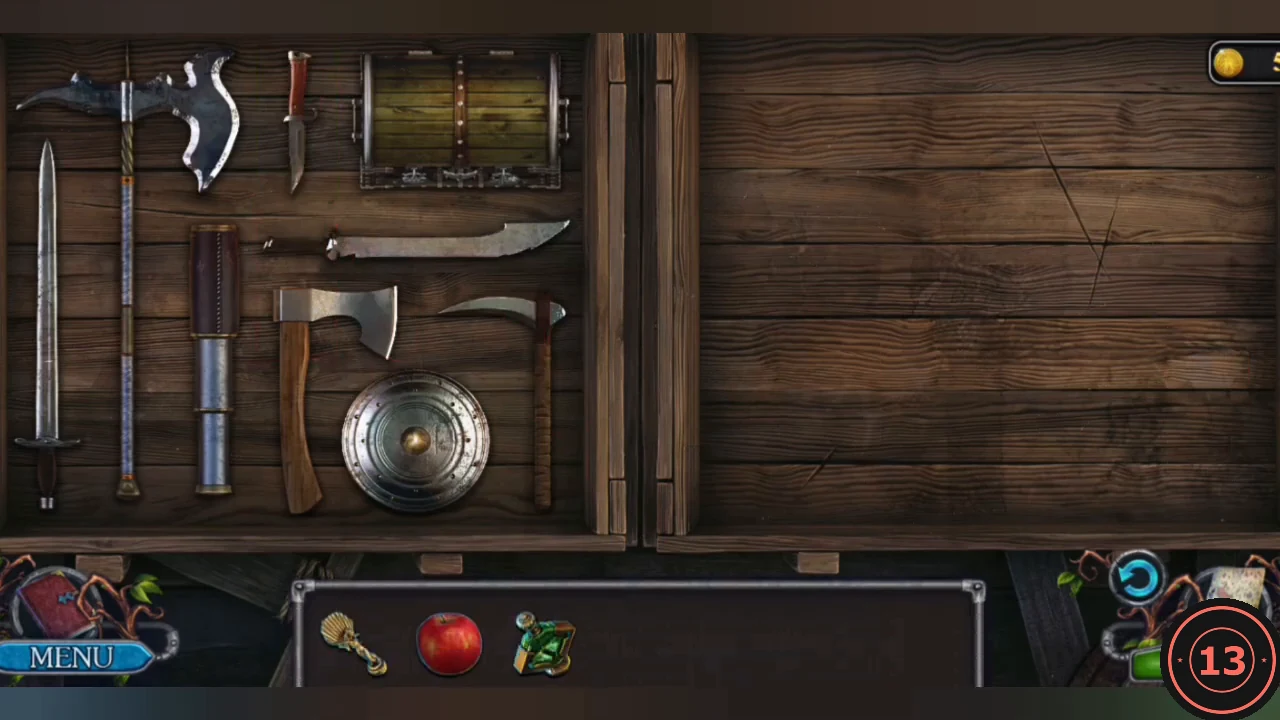
Packed: every weapon fits in the left half around the chest.
Ship Hold and the Sleeping Draught
The sarcophagus of the Ancients is in the hold. First put the archwitch to sleep.
- At the table under the stairs take the SIGN (gold medallion) and read the book (Manuscript 3 of 8).
- Give the APPLE to the animal in the cage in the central cell and take the PICKLOCK.
- Use the PICKLOCK on the item stuck in the table crack and take the ELEMENT.
- Climb to the deck. After the conversation the archwitch hands you an empty GOBLET.
- In the hold, fill the GOBLET at the wine barrel tap, then add the POPPY HERBAL INFUSION in the inventory to make SOPORIFIC WINE.
- Give the SOPORIFIC WINE to the archwitch on deck, then open the cabin double door with the PICKLOCK.
Archwitch's Cabin: Star Hunt
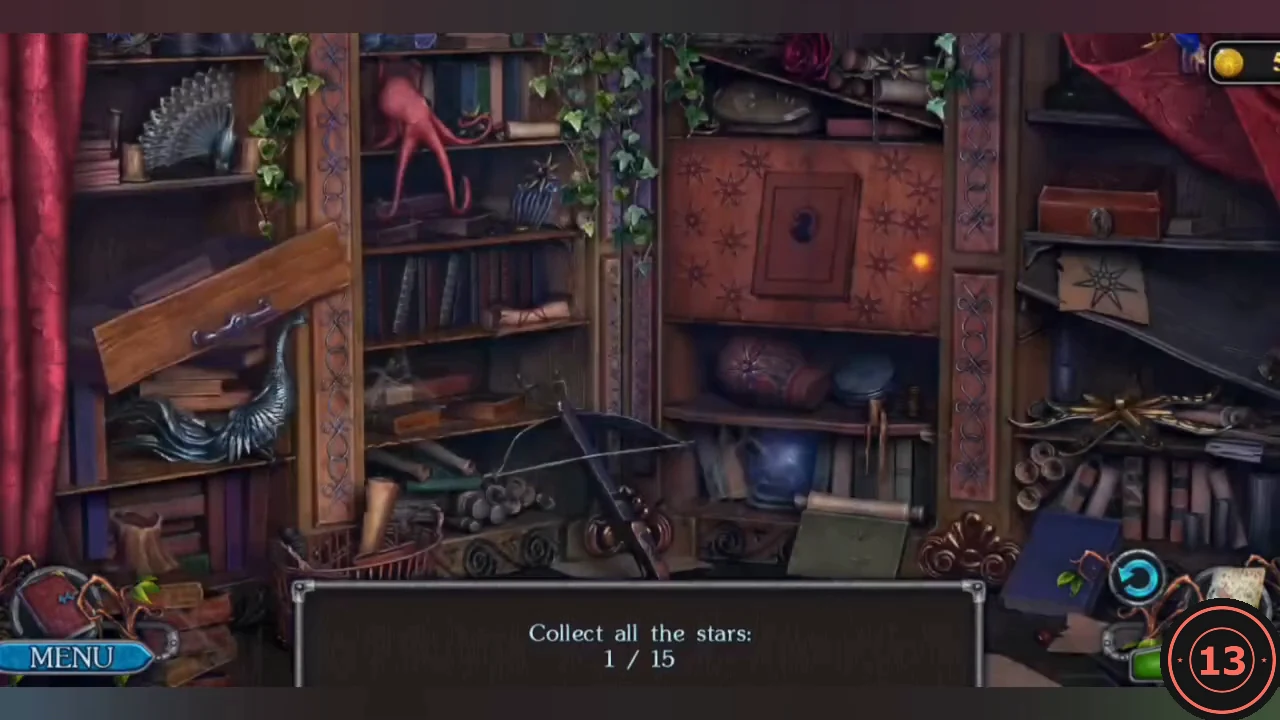
Collect 15 stars to open the cabinet with the star pattern. Each find lights a dot on the cabinet door.
- Click the plain star shapes hidden around the cabin. Also open the top-left drawer with scrolls and the heart-latched lower cabinet (jewellery box) for stars inside.
- Desk sub-puzzle: turn the patterned blades until they match the sketch on the paper at the upper right.
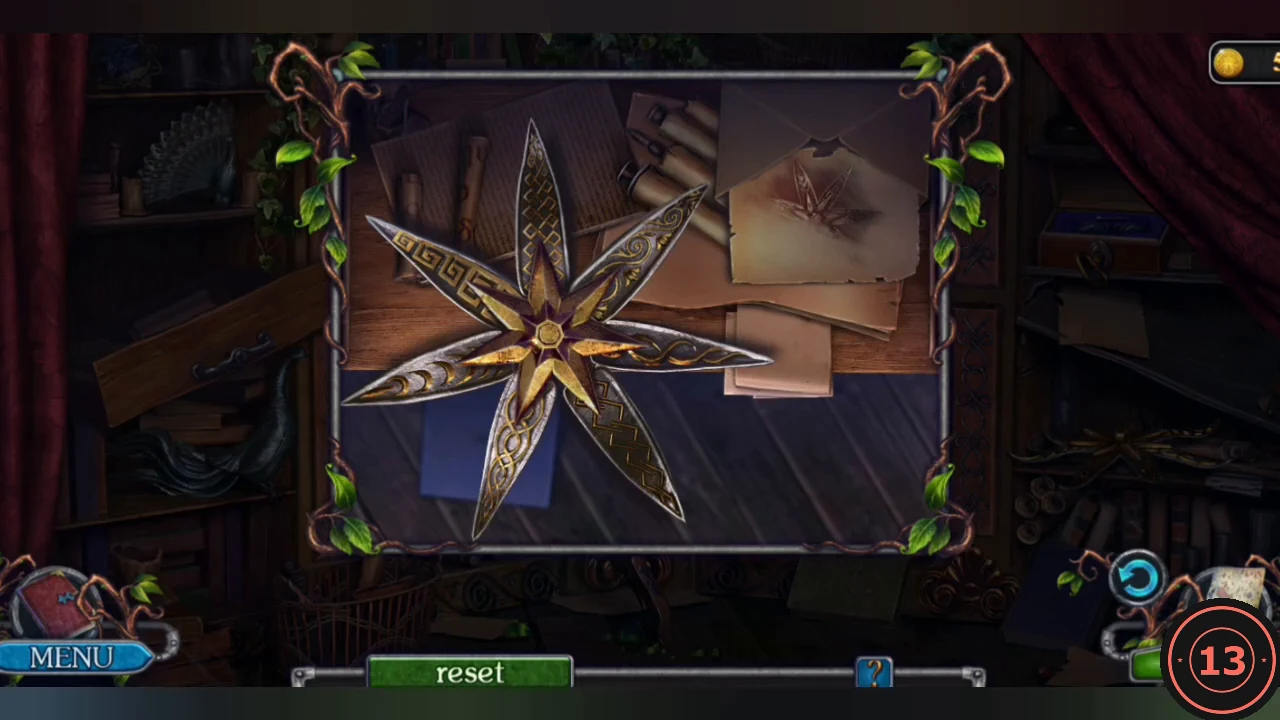
Desk sub-puzzle solved: the blades match the sketch on the paper. - Last star: in the top-left drawer, assemble the paper scraps into an eight-pointed star. The cabinet opens; take the MAGIC BOOK.
Deck Elements and Octopus Rosettes
Assemble the spyglass lens, gather the other two elements and open the box on the railing.
- Read the open book on the desk (Manuscript 4 of 8). Put the SIGN into the round recess of the locked desk box and take the STYLUS and SCISSORS. Put the MAGIC BOOK into the gap on the bookshelf; a small drawer opens: take the INKWELL.
- On deck, take the SPYGLASS from the right-hand bench. Pry the stuck COIN out of the slot with the STYLUS. In the inventory unscrew the spyglass ring with the COIN to get the LENS.
- Cut the net above the crate on the left with the SCISSORS and take an ELEMENT. Then cut the wire holding the ELEMENT in the gargoyle carving's teeth.
- Place the STATUETTE on the empty left pedestal on the right railing.
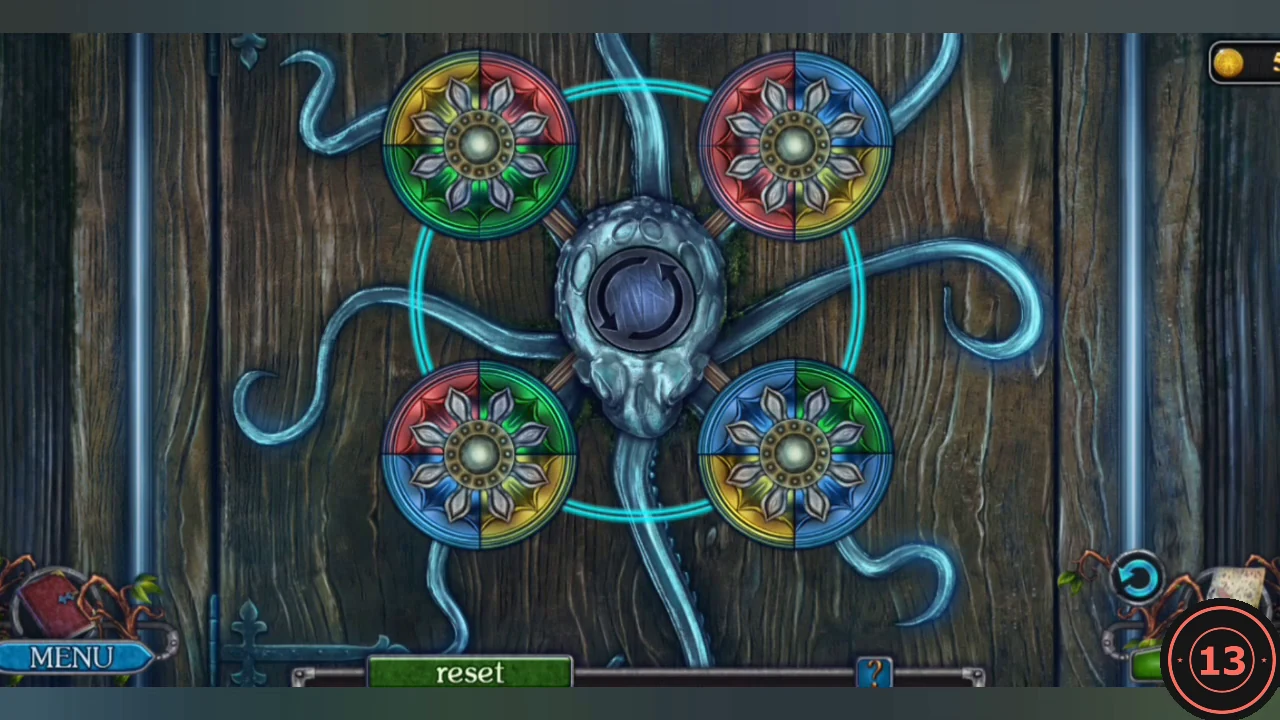
- Clicking a rosette turns its four quarters; clicking the octopus turns the four inner quarters around the centre. Make each rosette a single colour: green top left, red top right, blue bottom left, yellow bottom right. Take the COMPASS.
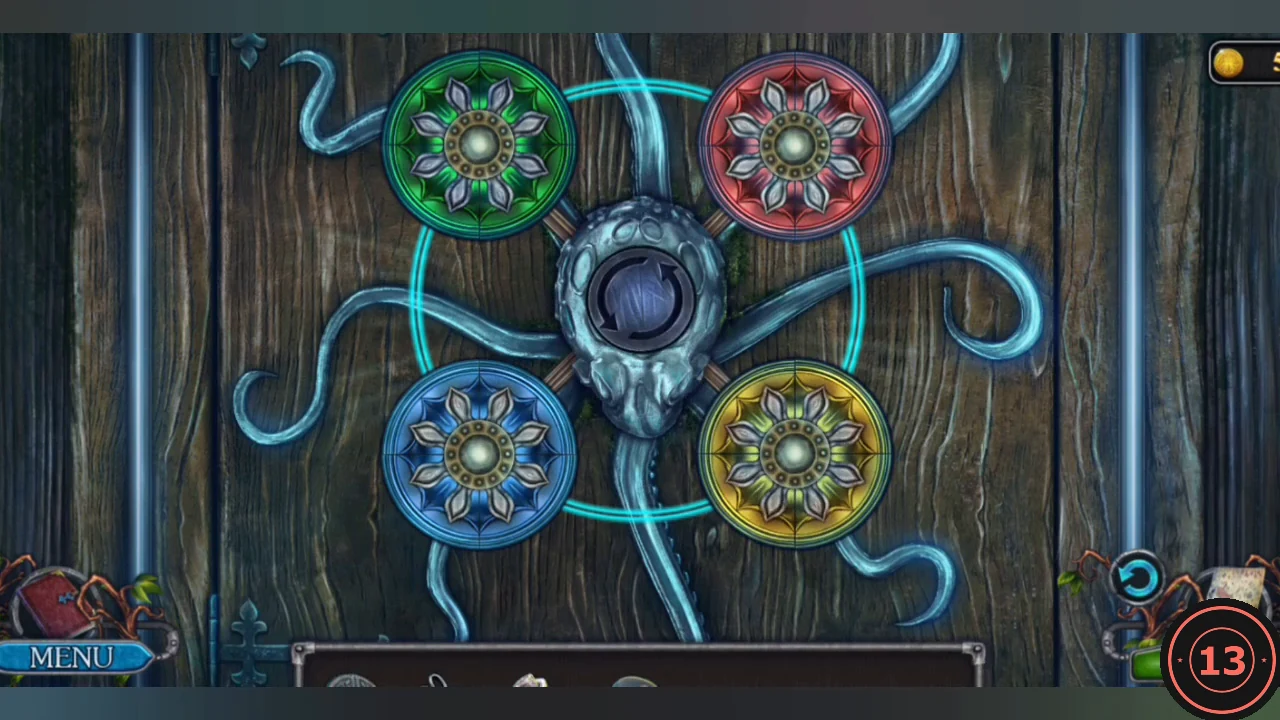
Solved: green top left, red top right, blue bottom left, yellow bottom right.
Compass Gem Grid and the Ring
Copy the symbols for the sarcophagus and open the lattice cabinet with the compass.
- At the cabin desk, put the LENS in the magnifier stand and the INKWELL in the pen stand. Take the SYMBOLS paper.
- Put the COMPASS into the centre lock of the lattice cabinet in the cabin.
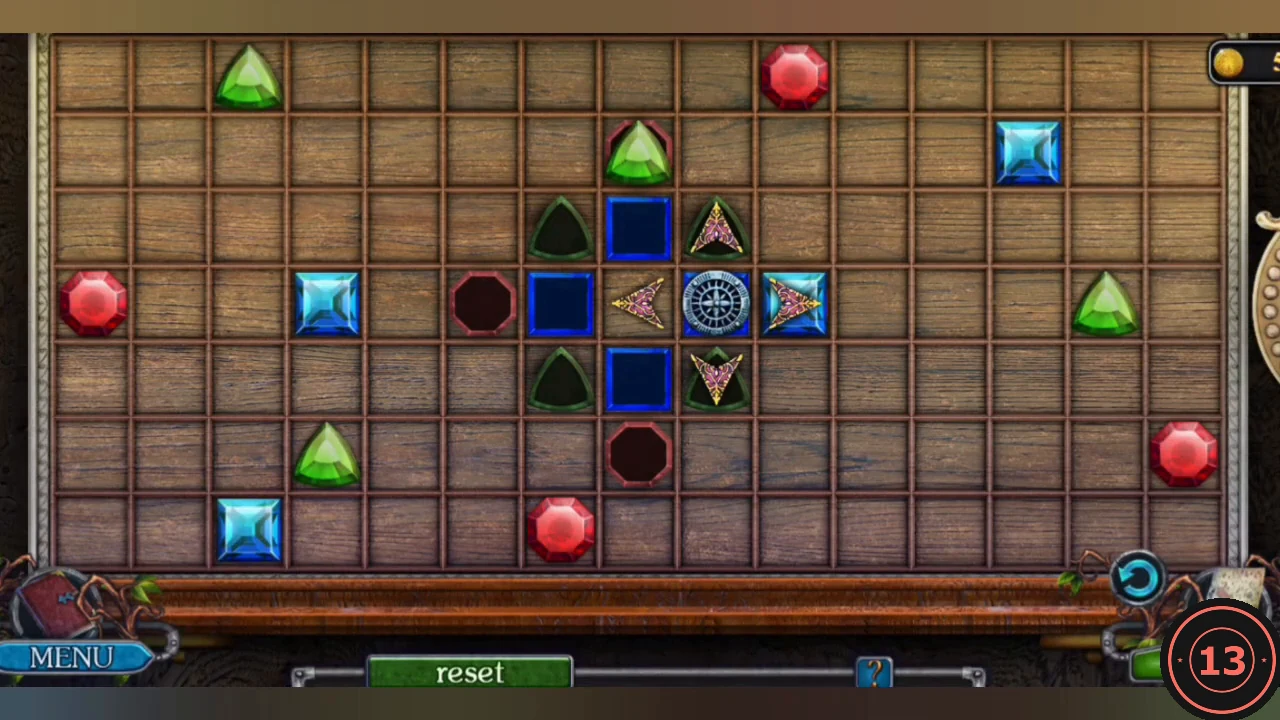
- Move the compass with its arrow buttons; every gem it touches sticks to it. Build the outline in the centre: blue squares directly N, E, S and W; green triangles on the four diagonals; red octagons two cells out N, E, S and W. Then drive the cluster into the outline. Reset if a wrong gem sticks.
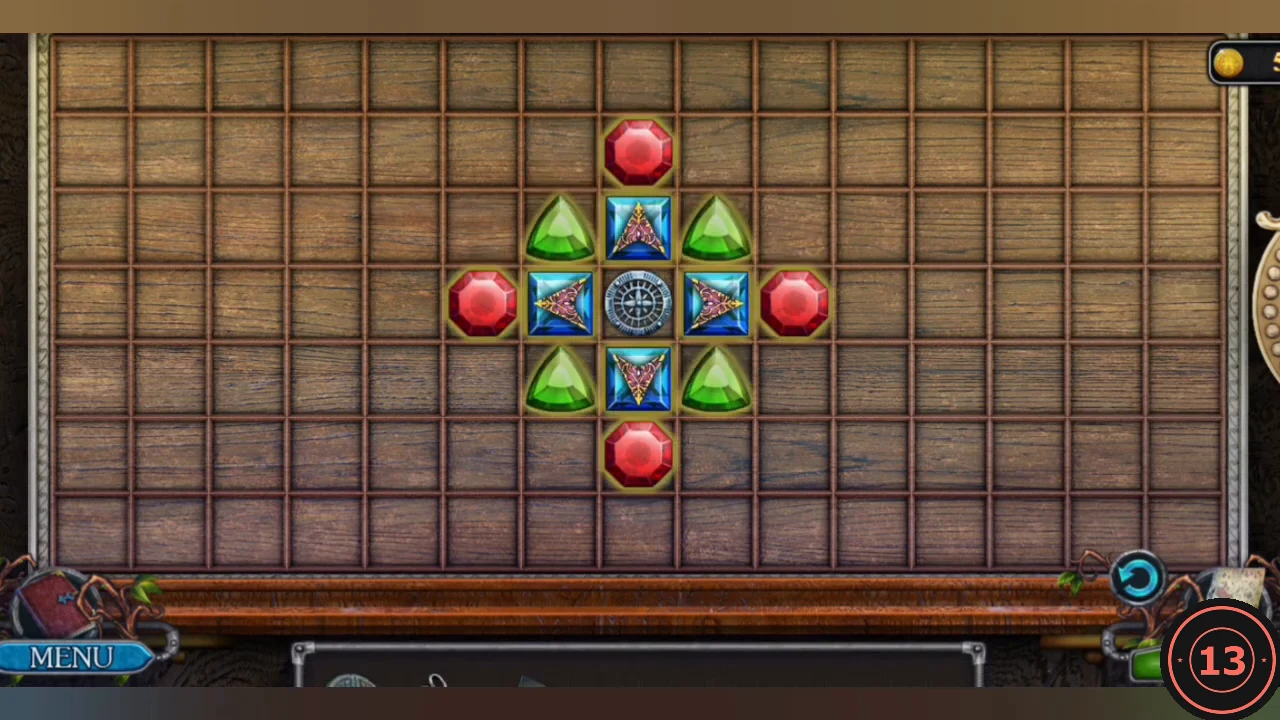
Finished cluster: blue squares beside the compass, green triangles on the diagonals, red octagons two cells out. - Take the SOAP from the opened shelf and use it on the sleeping archwitch's hand to slip off the RING OF THE ARCHWITCH.
Sarcophagus Symbol Lock
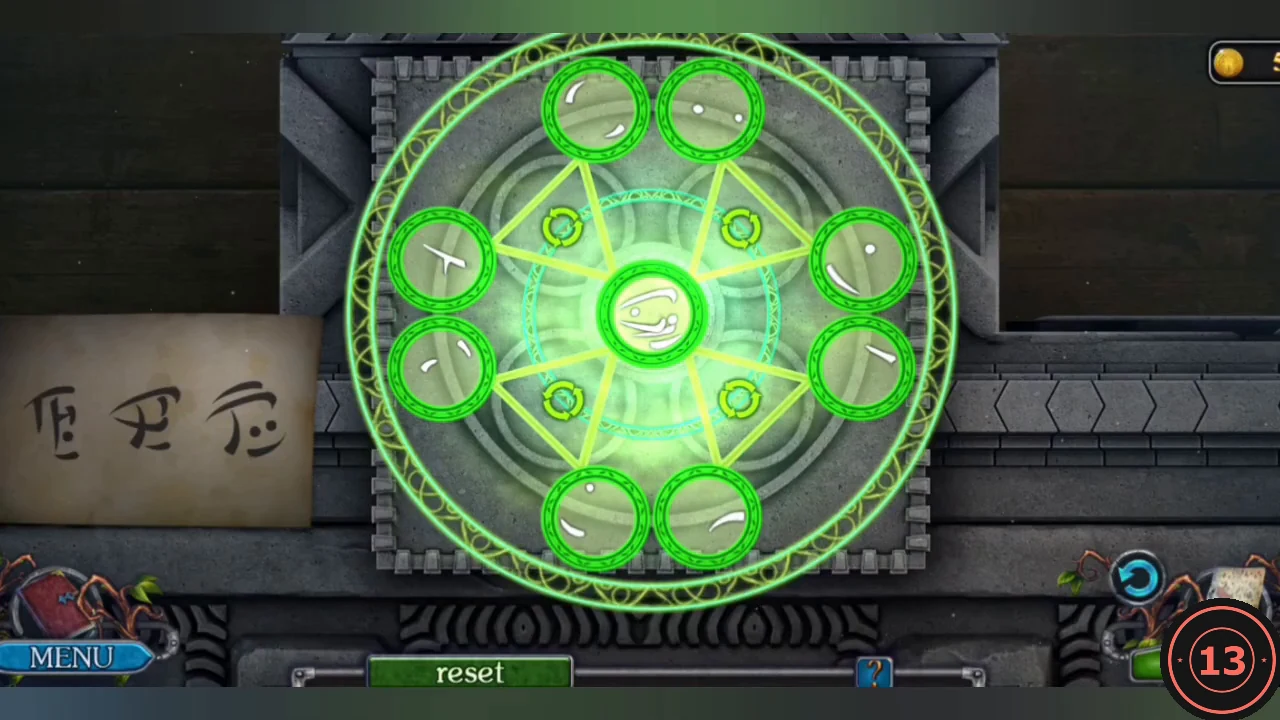
Open the cage and the sarcophagus of the Ancients.
- In the hold, put the RING into the lattice lock of the cage around the sarcophagus.
- Place the three ELEMENTS in the round lid lock and attach the SYMBOLS paper.
- Eight outer discs each hold a stroke fragment and the centre shows the glyph they form together. Click the four small round-arrow buttons between the discs: each one moves the fragments among the discs linked to it. Keep turning them until the centre shows the first glyph on the paper. It lights up on the paper; repeat for the other two glyphs.
- Cut the ropes of the Ancient with the SCISSORS. He introduces himself as Anum Kayfel; the archwitch catches you and the ship sinks.
Sunken Hold Escape
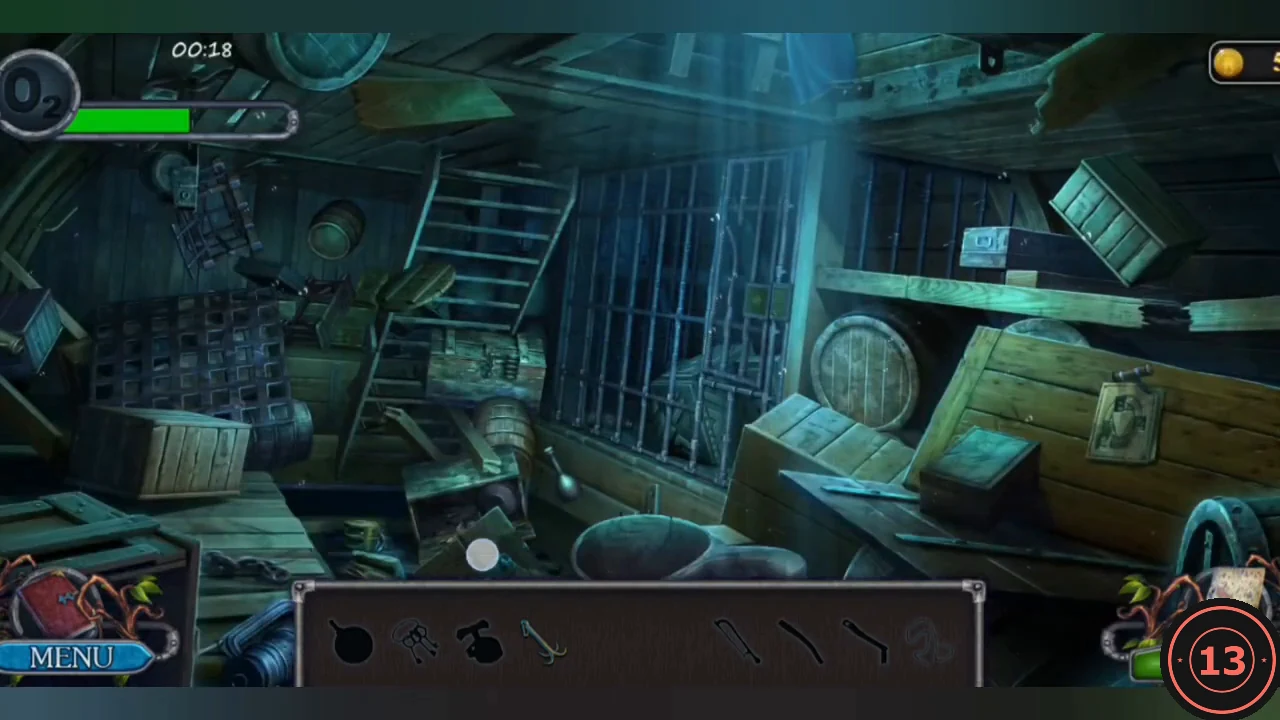
You play as Anum with a 30-second air gauge. Click the heroine at the hatch at the top to refill it at any time.
- Take the WINCH and mount it on the beam above the floor grate. Pick up the HOOK in the hold.
- Take the STENCIL from the green chest lid and lay it over the note on the crate (5890 / 1234 / 2367). Enter the revealed code on the chest lock.CODE284
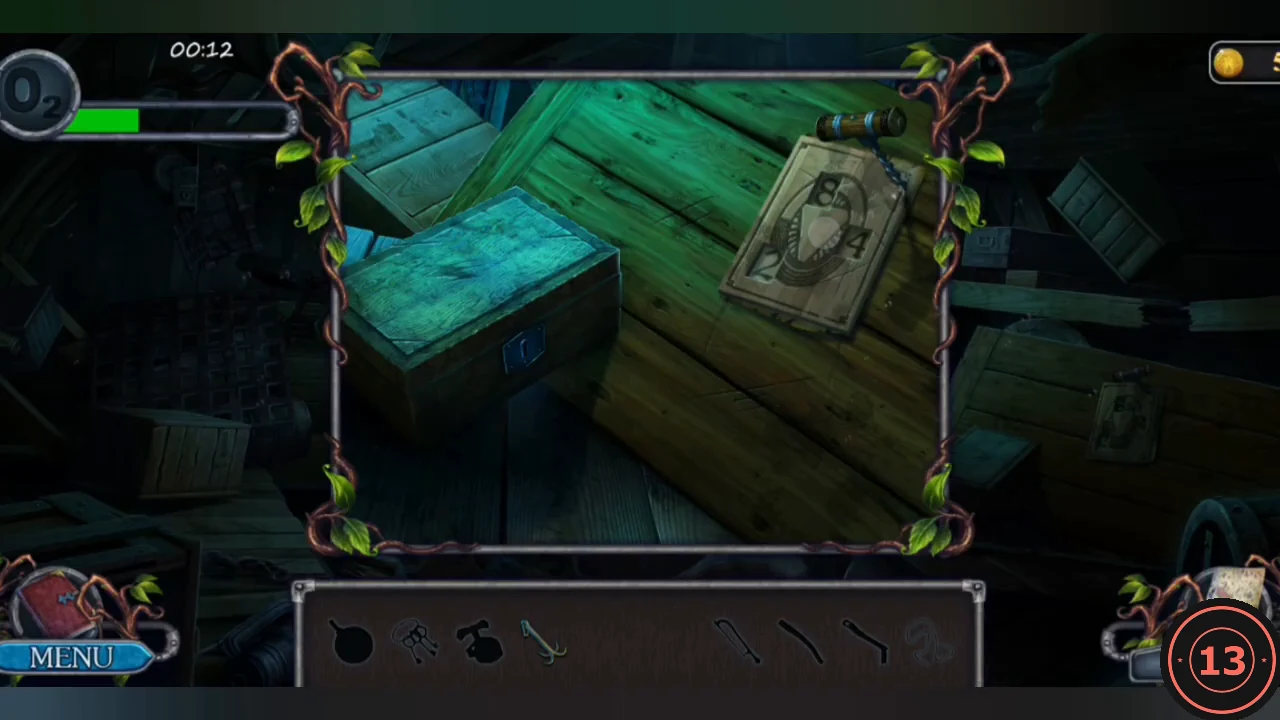
The stencil over the note leaves only the digits 2, 8 and 4 visible: the chest code is 284. - Take the HACKSAW and the HANDLE from the chest. Saw a bar of the central cell to get the ROD, then pry the cell open with it and take the ROPE and the KEYS.
- Fit the HANDLE and the ROPE to the winch, hook the grate with the HOOK and crank it up. Take the CANNON BALL and give it to the heroine at the hatch.
- Try the KEYS on the small lock of the green chest until one fits, take the FLINT and give it to the heroine.