THE COAST
Coast and the Shipwreck
The fisherman's boat is locked in a cave behind fallen rocks. You need a bomb.
- Talk to the fisherman on the coast and take the MANUAL.
- Take the HARPOON left of the boat. Lever the stone on the shore with it and take the WOODEN PLANKS; some gems glisten in the sand there. Take the FLASK from the rock pile at the cave on the right.
- At the fisherman's house, open the shells in the basket with the DAGGER and take the PEARL. Take the CASE from the yard.
- Search the shipwreck. Find the listed items; the box in the broken hull opens a peg puzzle (next section).
THE COAST
Shipwreck: Bear and Wolf Peg Board
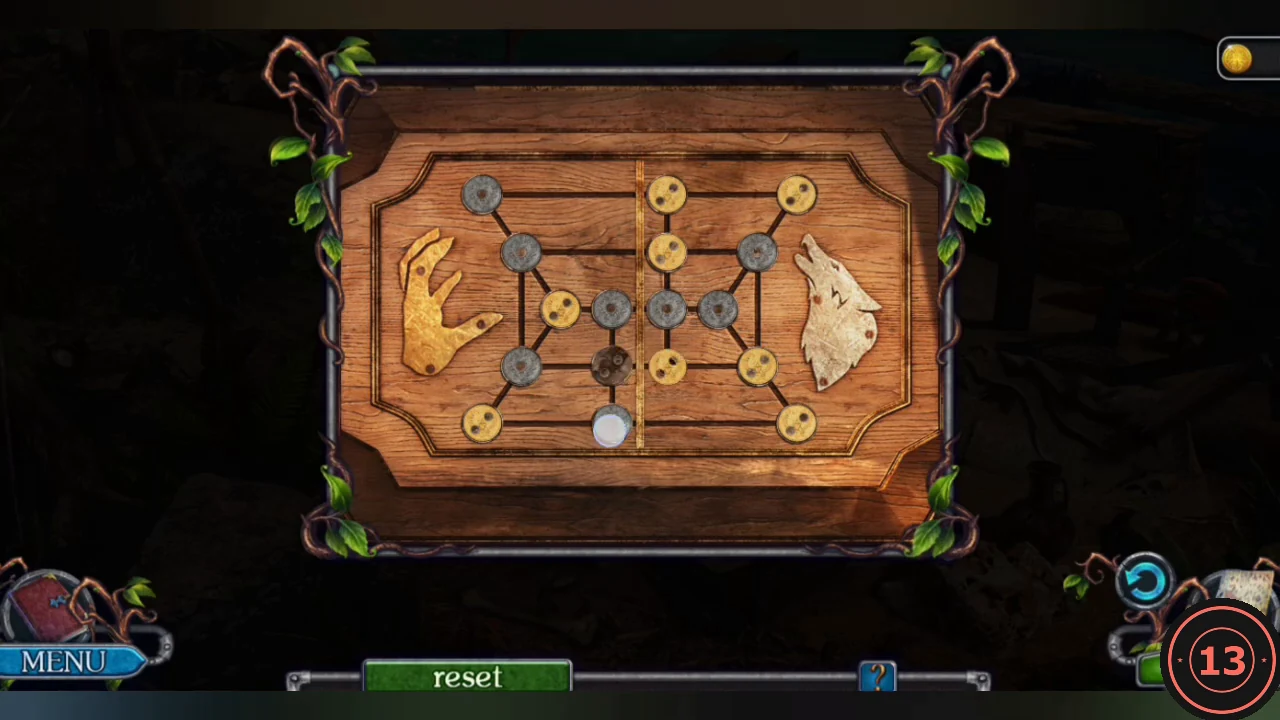
A peg board in the broken hull of the shipwreck.
- Eight yellow bear pegs and eight grey wolf pegs sit on a line network with one empty node. Slide a peg along a line into the empty node. Finish with all yellow pegs on the left (bear) half and all grey pegs on the right (wolf) half.
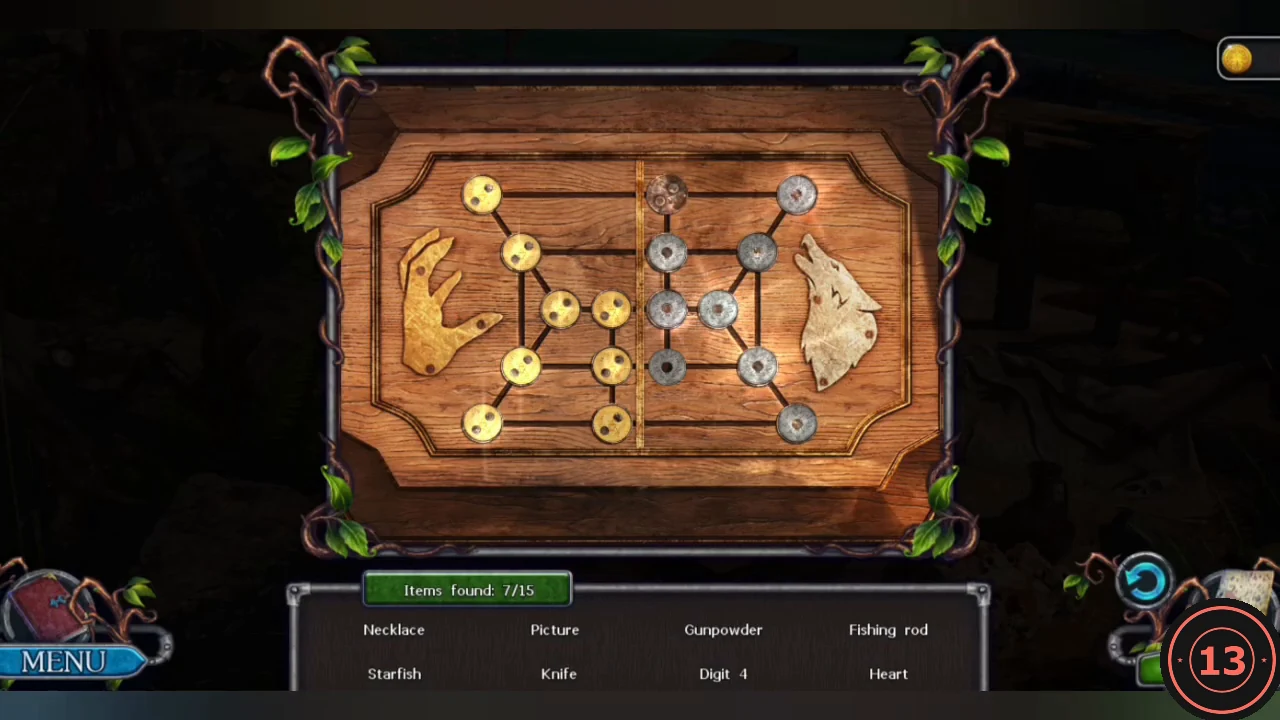
Solved: yellow pegs on the bear half, grey pegs on the wolf half. - Take the items from the box and finish the shipwreck list to receive the GUNPOWDER.
THE COAST
Fisherman's House: Fish Grid Chest
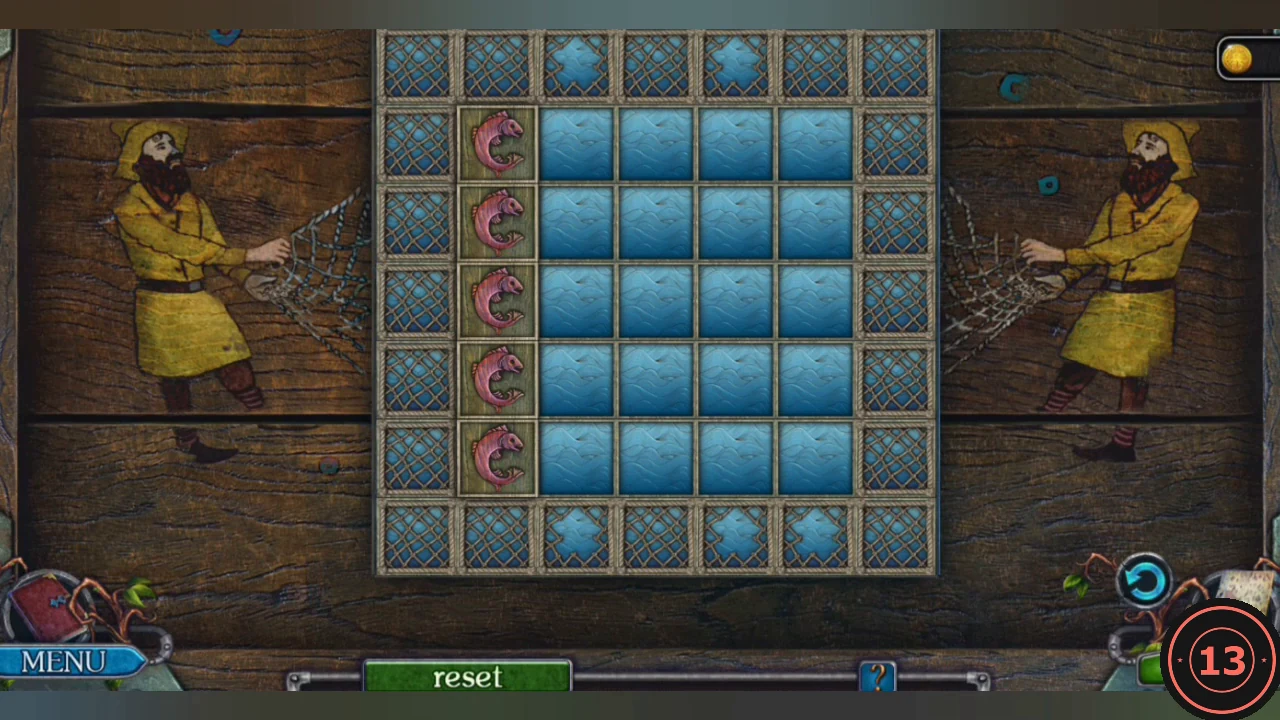
Gather tools from the fisherman's house and open the chest in his boat.
- Crush the PEARL under the heavy press on the yard table to get BLACK PEARL POWDER.
- Inside the house, take the FISH FIGURINE from the window shutter, the OIL from the fisherman at the table and the LADDER from the inner wall. Zoom into the chest of drawers, pull the drawer open with the FORCEPS and take more WOODEN PLANKS.
- Set the LADDER against the left side of the house and climb to the loft door. Take the METAL TEMPLATE and cut down the clock WEIGHT with the DAGGER.
- On the coast, zoom into the boat and put the FISH FIGURINE into the round recess of the chest.
- Click a fish to see where it can go; it slides in a straight line until it hits another fish or the frame. The star-marked openings in the frame let a fish slide off the board. Use the other fish as stoppers to line each one up with an opening and clear the board. The chest opens.
- Move the blue pillow in the chest and take the HOOK, then move the spool and take the STRING. The string could be a fuse, but it must be soaked first.
THE COAST
Building the Bomb
Collect the remaining bomb ingredients listed in the manual.
- Open the FISHING ROD in the inventory and fit the HOOK to it, then soak the STRING with the OIL to make the FUSE.
- On the fisherman's pier, catch the floating GOLD PAN with the FISHING ROD. Sift the glistening sand by the shore stone with it and take the QUARTZ.
- Hang the WEIGHT on the wall clock in the house. When the clock runs, take the KEY.
- Open the closet at the back wall with the KEY, cut the tied sack with the DAGGER and take the SALTPETER.
- Open the MANUAL at the bomb page and place the fuse, saltpeter, black pearl powder, flask, gunpowder and quartz. Give the ingredients to the fisherman to assemble the BOMB.
- Put the BOMB into the gap in the rock pile at the cave and light it with the MATCHES.
THE COAST
Fisherman's House: Fish Tile Panel
The rudder and sail of the boat in the cave are broken.
- In the cave, hook the KEYS out of the round stone pool with the HARPOON. On the boat stern take the last WOODEN PLANKS tile (3/3) and the BROKEN PART of the rudder.
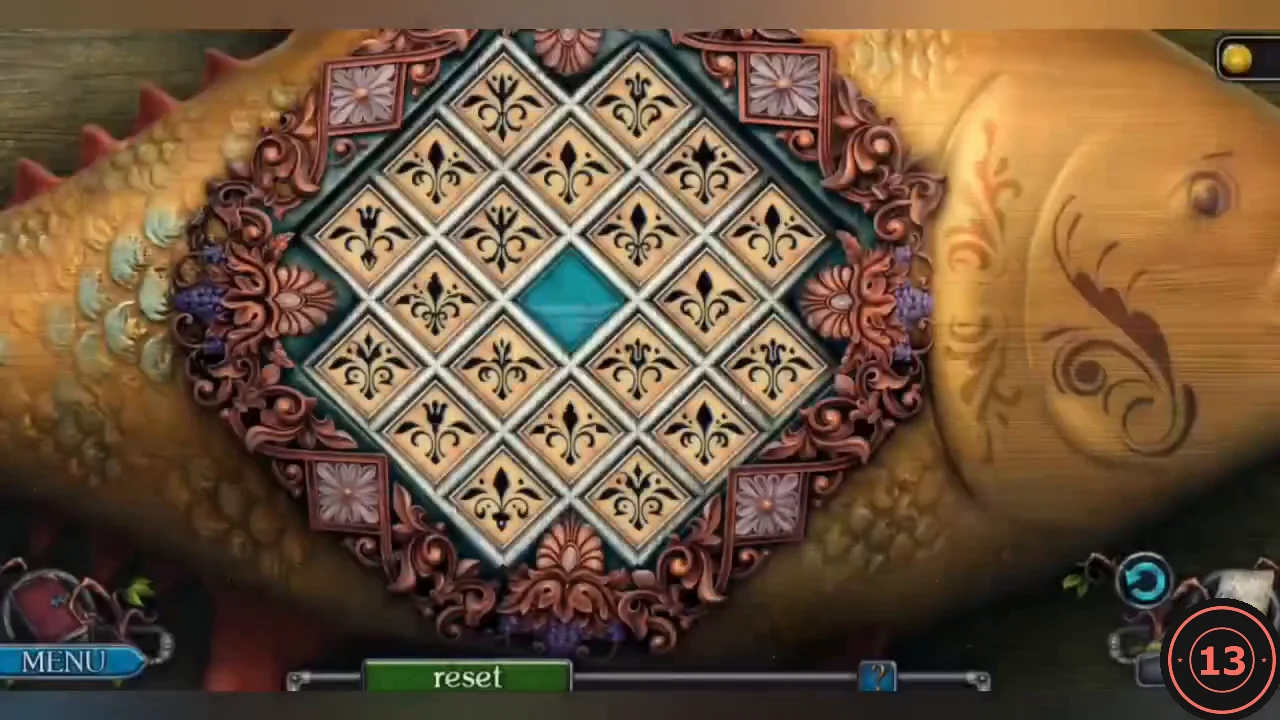
- In the fisherman's house, zoom into the carved fish on the right wall and fill the three empty slots around the fixed turquoise centre tile with the WOODEN PLANKS.
- Rearrange the 20 fleur tiles around the turquoise centre. Click one tile and then another to swap the two. A tile that lands in its correct place turns dark; a swap that puts neither tile in place leaves both light. Keep swapping until every tile is dark, using the solved arrangement as the target. The start order differs between playthroughs, so do not copy a fixed list of swaps.
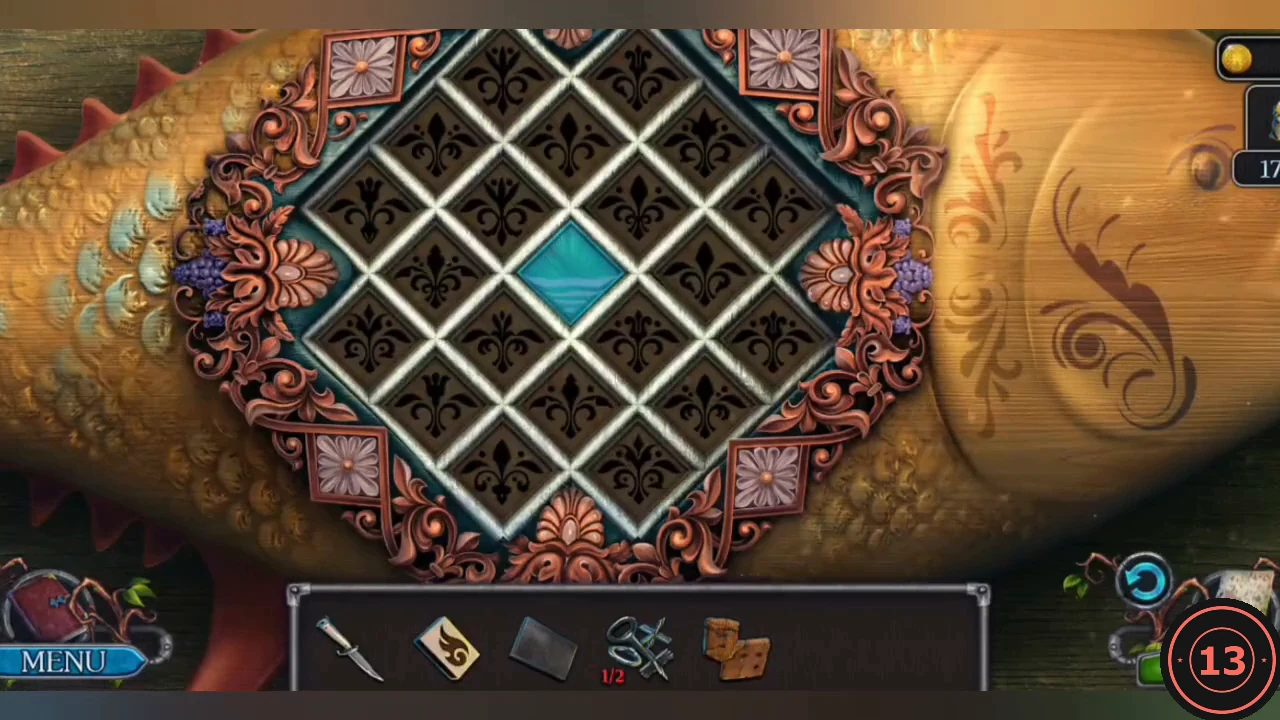
Target: the solved arrangement, with every tile dark. - Take the second KEYS piece and the NEEDLE AND THREAD.
THE COAST
Cave Shed: Clock Face Puzzle
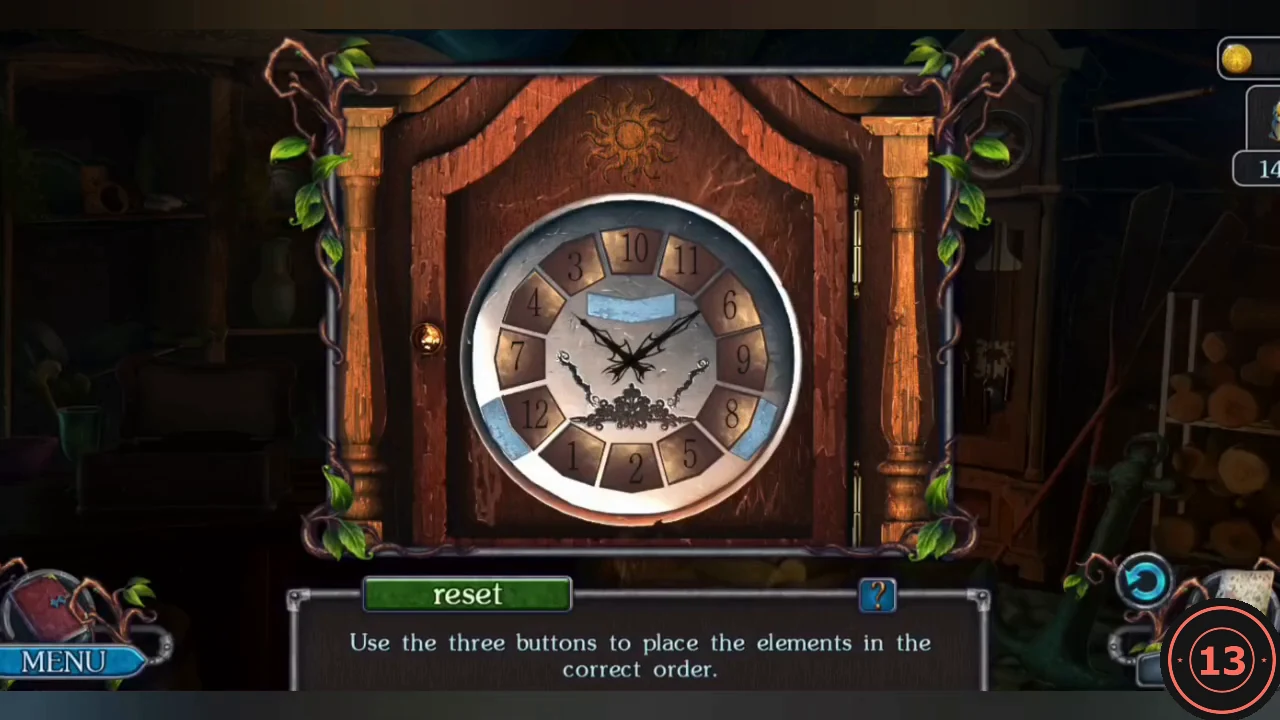
The fisherman says the lever from the watch can launch the boat.
- On the boat in the cave, open the wooden chest with the KEYS and take the CLOTH and the TORCH (read the note too). Patch the torn sail with the CLOTH and the NEEDLE AND THREAD.
- Put the TORCH into the bracket inside the dark shed right of the boat and light it with the MATCHES.
- Shed: collect the silhouette items. Click the cylinder segments on the left shelf until all three show the same pattern; put the deer figurine on the candle mural; hang the WEIGHT in the grandfather clock and add the missing PART OF THE CLOCKFACE.
- The three blue segments are the buttons. The lower-left one turns the whole ring of number plates one place clockwise, the lower-right one turns it one place anticlockwise, and the top one swaps the two plates at 11 and 1 o'clock (the plate at the top stays put). A swap moves a plate two places, so odd and even numbers always stay on alternating plates: treat the ring as two rings of six. Turn the ring until two odd numbers (or two even numbers) that are in the wrong order sit at 11 and 1 o'clock, then press the top segment to swap them. Repeat until the ring reads 1 to 12 clockwise. The puzzle is not finished until the numbers are in their clock positions, so then turn the ring until 12 is at the top. Take the LEVER.
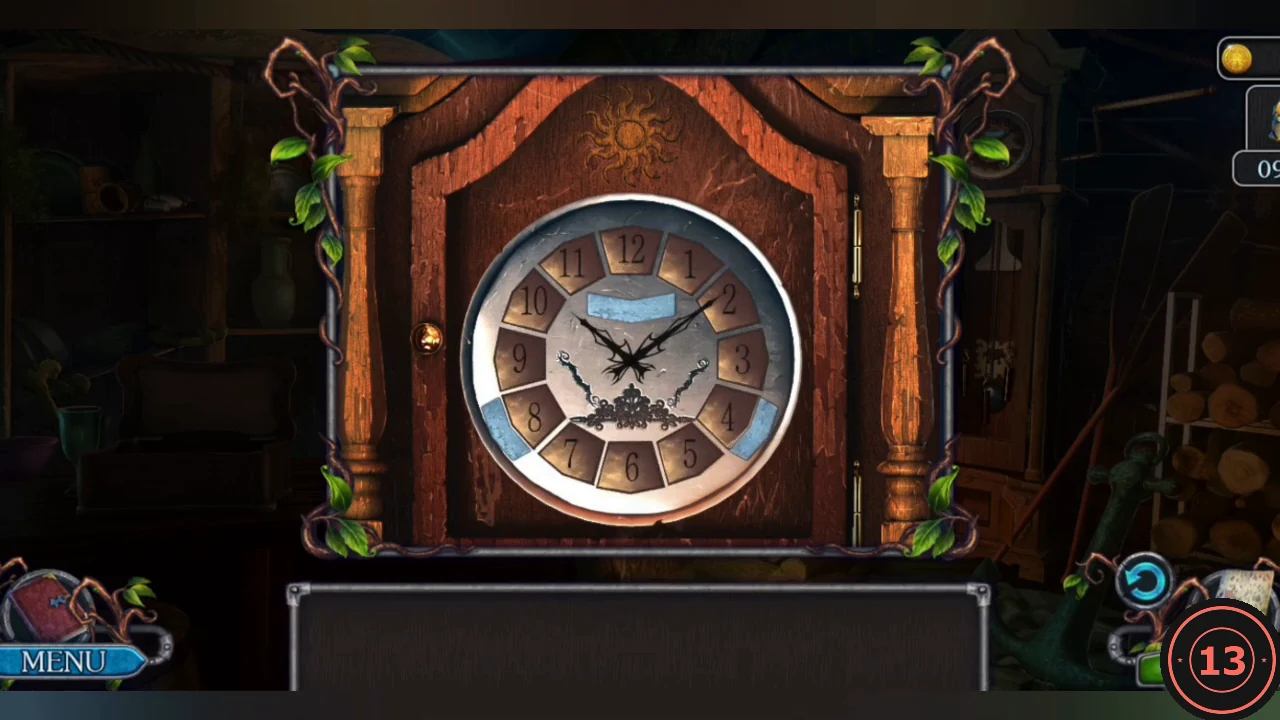
Solved: 1 to 12 clockwise with 12 at the top.
THE COAST
Hunter's Workbench: Rudder Template
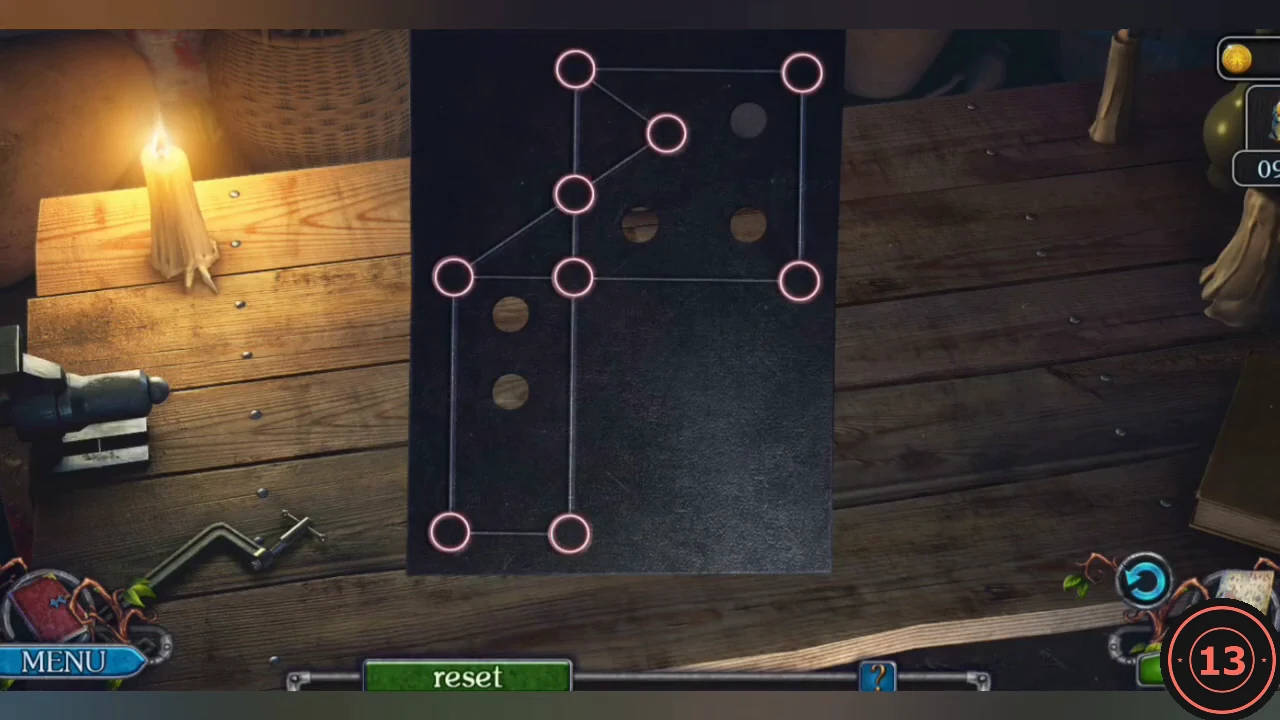
Make a new rudder part on the workbench in the treasure hunter's shed.
- In the treasure hunter's shed, put the BROKEN PART and the METAL TEMPLATE on the workbench.
- Link the pins to draw the outline of the broken rudder part; correct lines turn green. The shape is a tall L: a square at the top, a vertical bar down the left side to the bottom pins and a diagonal from the top-left pin to the middle of the left side. The grinder then cuts the RUDDER PART.
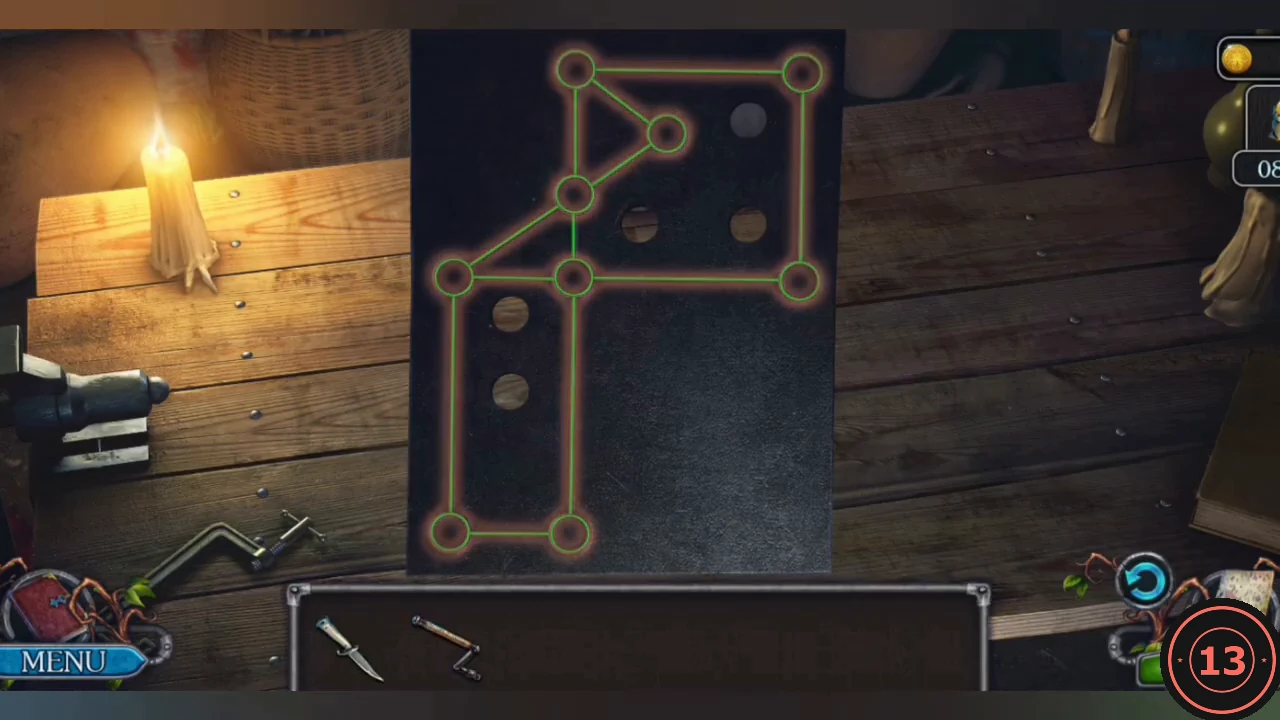
The finished outline: a tall L with the diagonal at the top left. - Fit the RUDDER PART on the boat stern in the cave and use the LEVER on the winch to launch the boat.